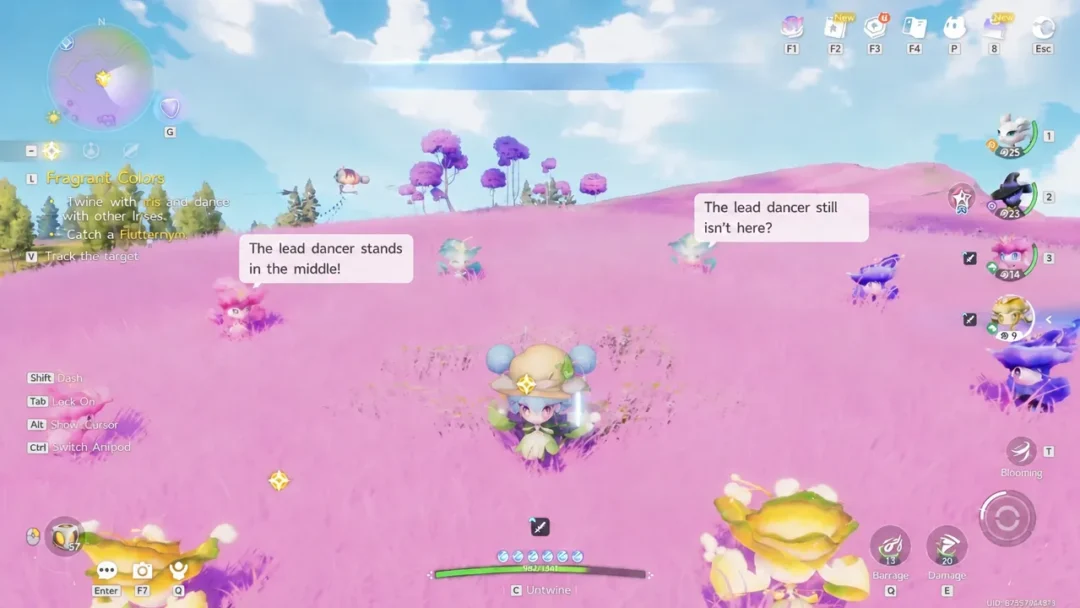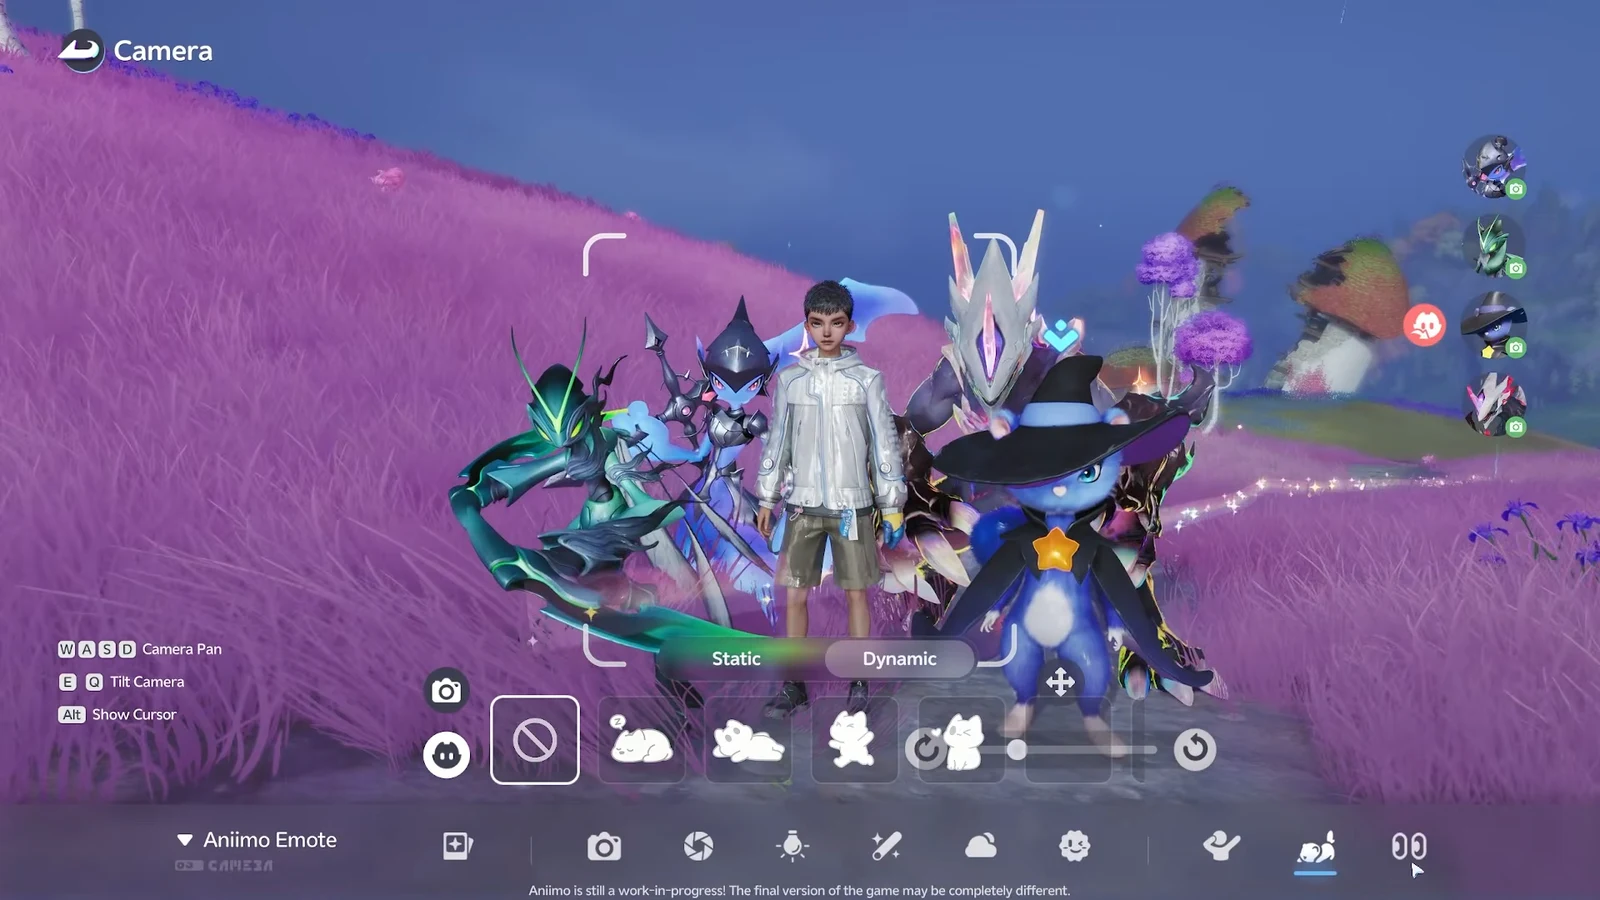
Photo Mode in Aniimo turns the open world of Idyll into a full studio. You can frame the scenery, pose your Pathfinder, summon your creatures into a group shot, and fine-tune the lens, lighting, and weather before you press the shutter. The camera is not available from the very start, so the first thing to sort out is when it opens.
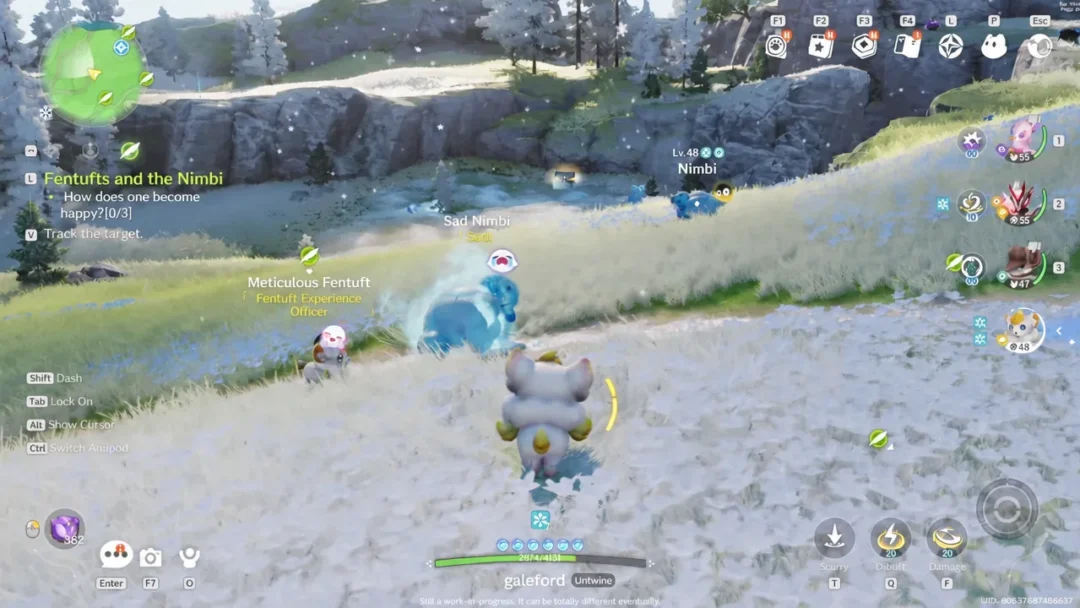
Quick answer: Finish the prologue to reach Nimbus Fields, activate the first Bloom waypoint, then press F7 (or click the camera icon at the bottom-left of the screen) and hit Spacebar to take a photo.
How to unlock Photo Mode in Aniimo
Photo Mode unlocks the moment you complete the prologue mission and arrive in Nimbus Fields alongside Dr. Lewis and Nicole. The system stays locked through the tutorial, so you cannot use it during the opening story beats.
Once you activate the first teleport waypoint, which is called a Bloom, the camera becomes available. You will know it is live when the camera icon appears in the bottom-left corner of the screen, beside the Aniipods.
Open the camera and take a shot
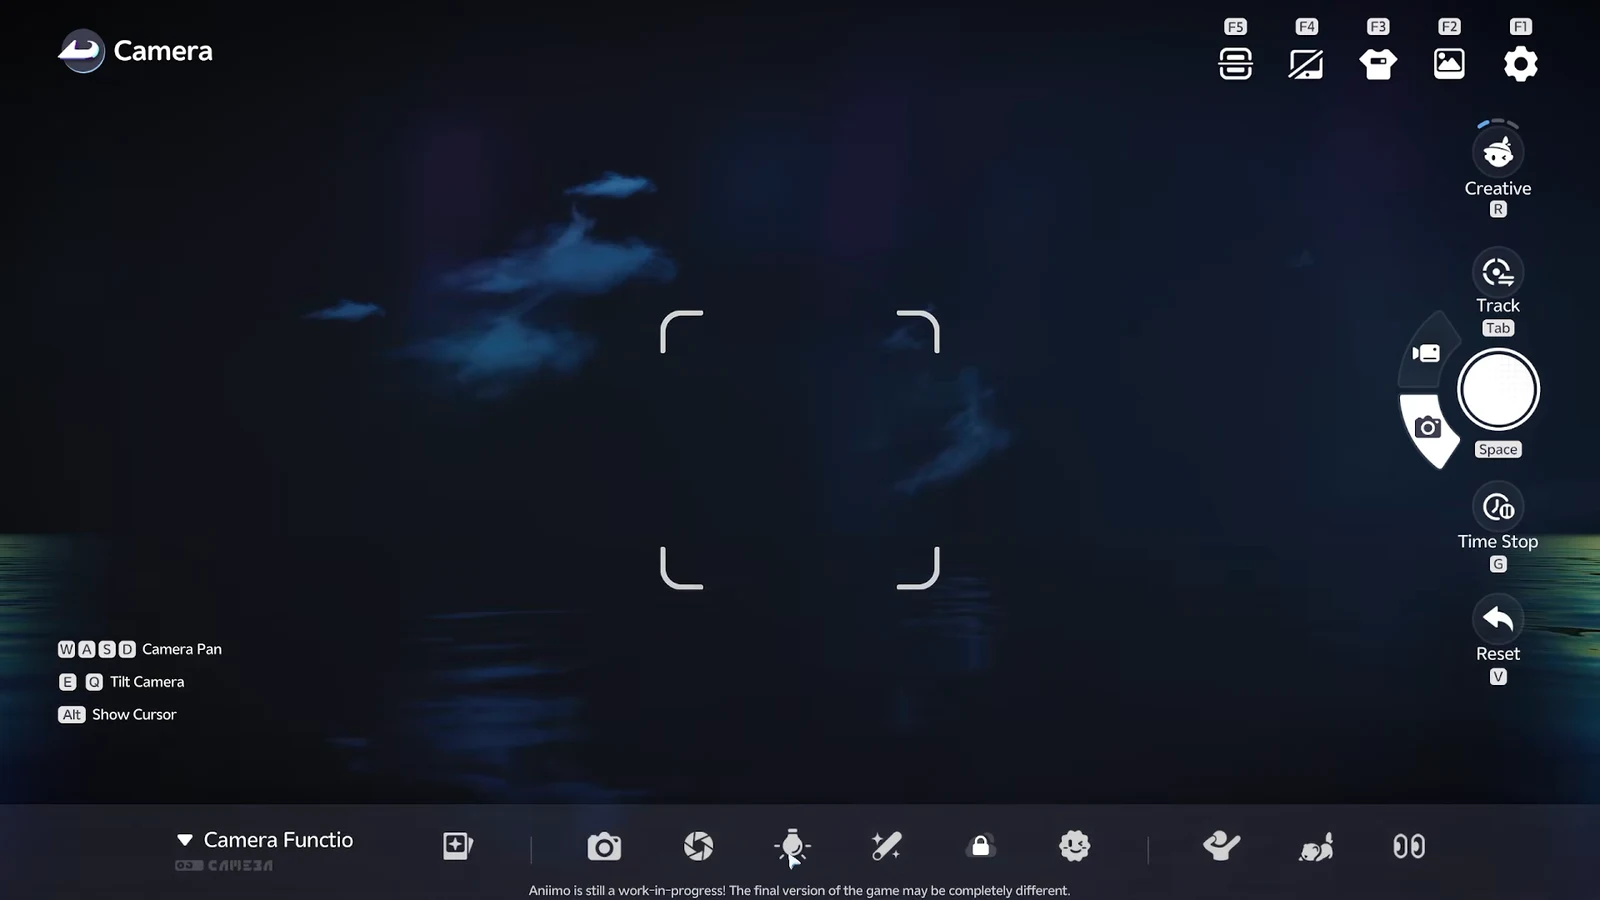
Creative, Follow, and Selfie modes
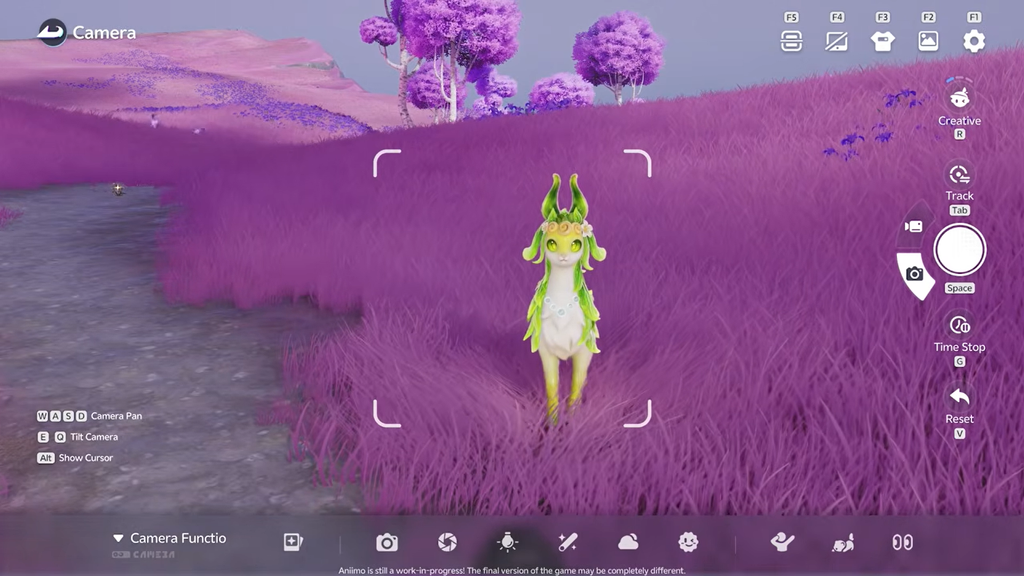
The camera has three shooting modes, chosen from the selector in the top-right corner. Each one changes how the camera relates to your character and companions.
| Mode | Best for | How it works |
|---|---|---|
| Creative | Any angle | Free camera you can move anywhere |
| Follow | Scenery | Move your character or companion to compose the shot |
| Selfie | Close-ups | Frames your character or companion up close |
In Creative mode, hold Alt to free the cursor so you can reach the menus along the bottom of the camera interface. In Selfie mode, your summoned creatures position themselves next to the player in front of the lens.
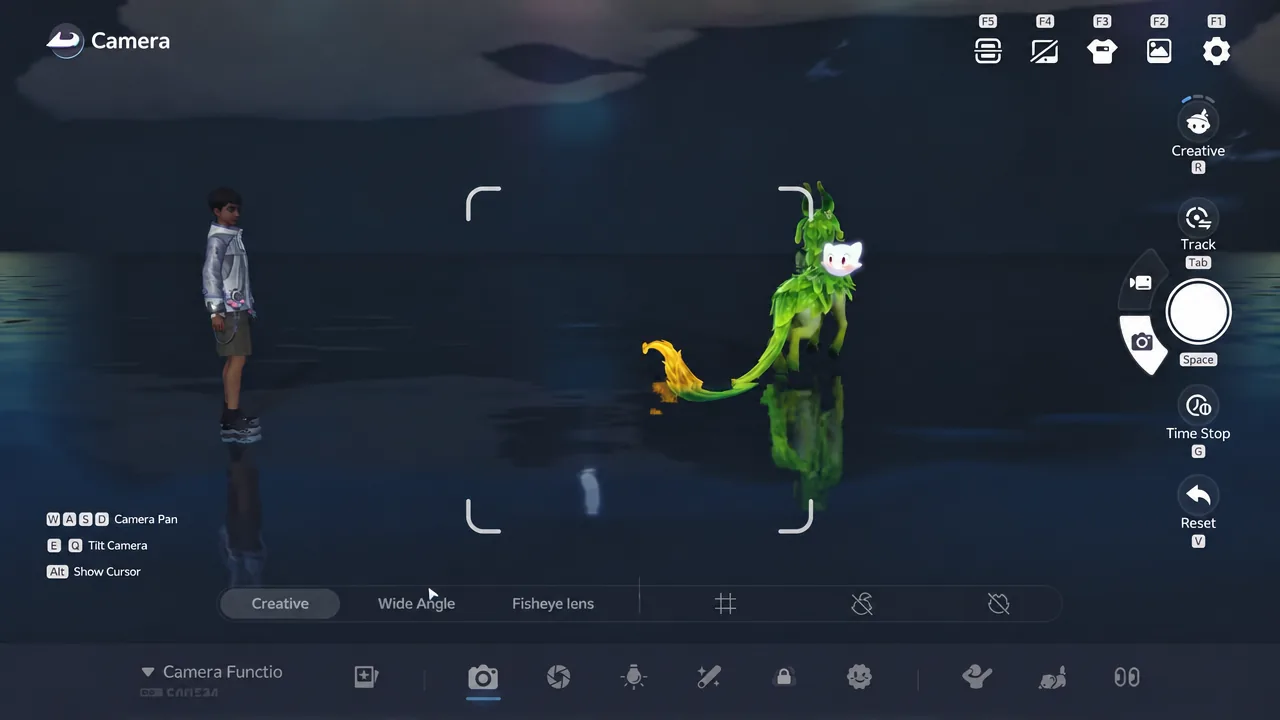
Photo Mode keyboard controls on PC
| Key | Action |
|---|---|
| F7 | Enter Photo Mode |
| Spacebar | Take a photo |
| Tab | Track and lock onto a target |
| Mouse wheel | Zoom in and out |
| G | Time Stop, freezing animations mid-motion |
| Alt (hold) | Move the cursor across menus in Creative mode |
| F4 | Hide the UI for a clean frame |
| F3 | Appearance menu |
| F2 | Photo album |
| F1 | Settings |
| F5 | Import Snap Data |
Tab is useful for wildlife shots. Lock onto a flying creature, then use the mouse wheel to zoom in and out until it fills the frame. Time Stop with G pauses movement so you can capture a creature or emote mid-animation.
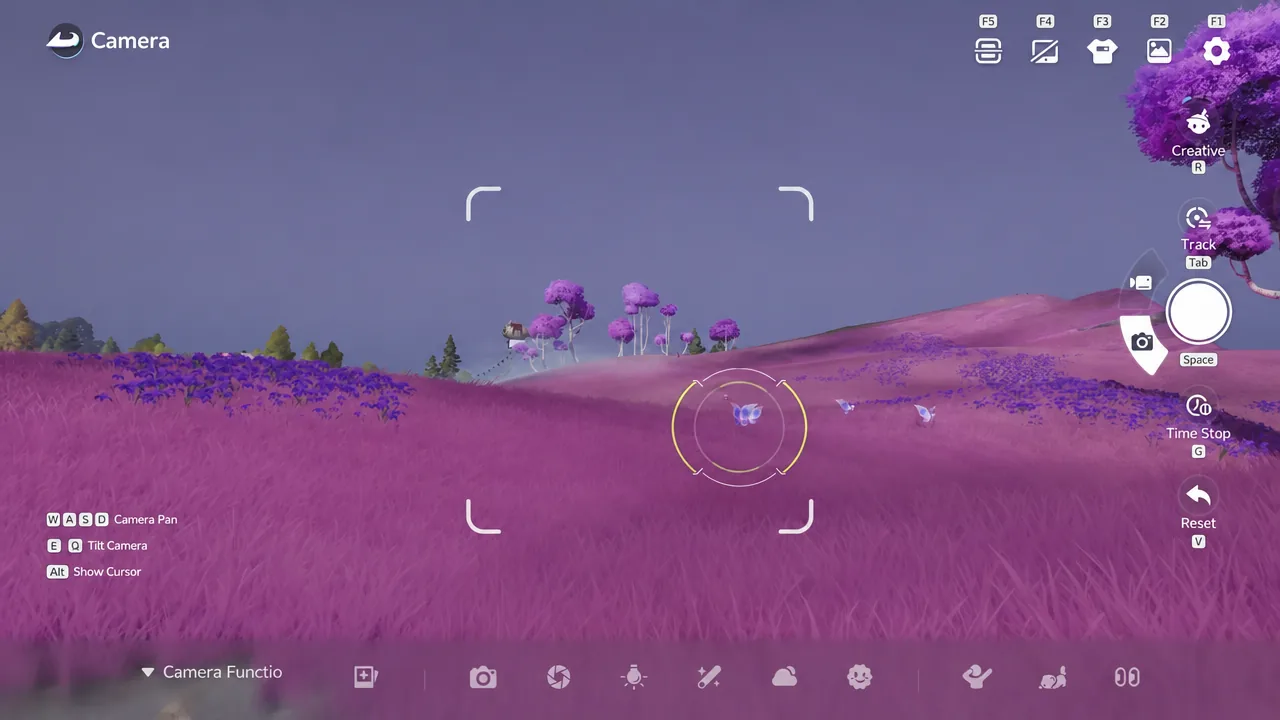
Adjust lenses, lighting, filters, and weather
The camera includes several lens types, along with a Grid toggle and buttons to hide or show the character and the Aniimo. The lens options are Creative, Wide Angle, and Fisheye.
Lens parameters
- Focal length
- Blur and Blur range
- Exposure and Brightness
- Saturation and Contrast
- Vignette
- Rotate
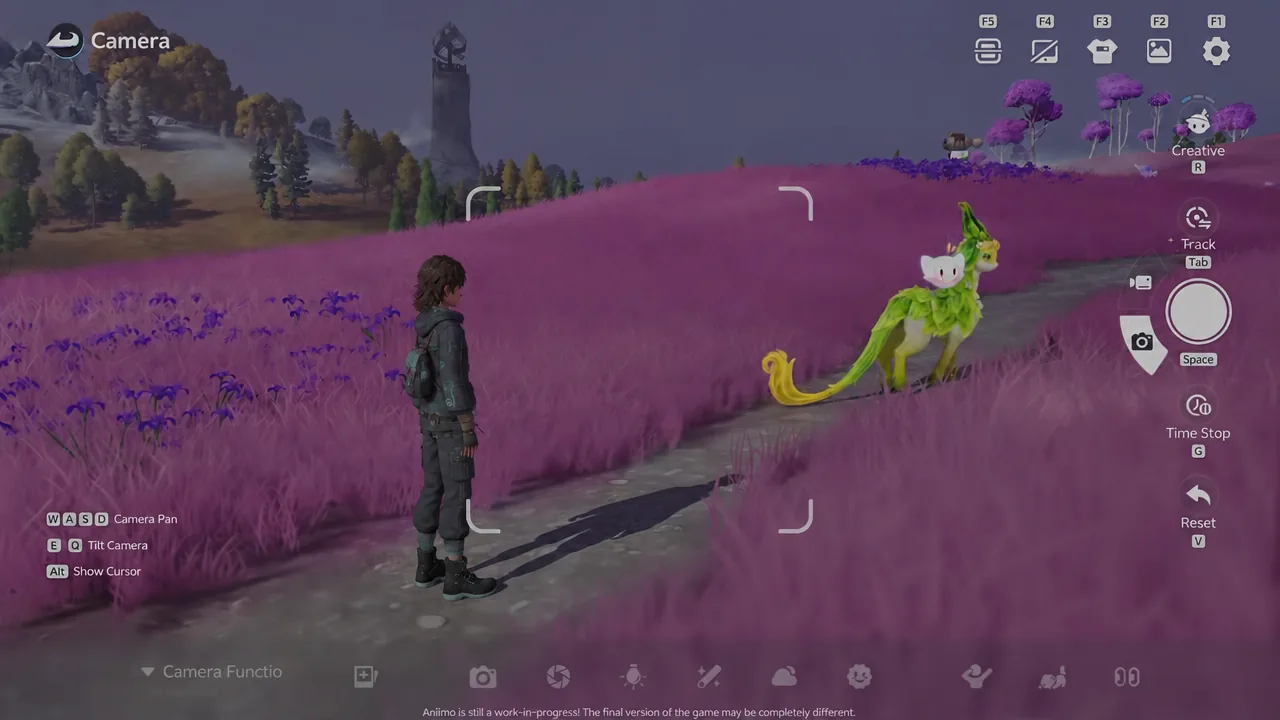
Lighting and filters
The Lighting menu offers preset Pathfinder light styles with sensitivity sliders. Filters are grouped into Natural, Scenic, Finish, and Retro categories, so you can shift the overall look without touching individual sliders.
Time and weather
Time and weather sliders let you reshape the whole scene. You can switch to rain, snow, or a thunderstorm, or move the sky to sunrise, sunset, or nighttime for a completely different mood.
Stickers and templates
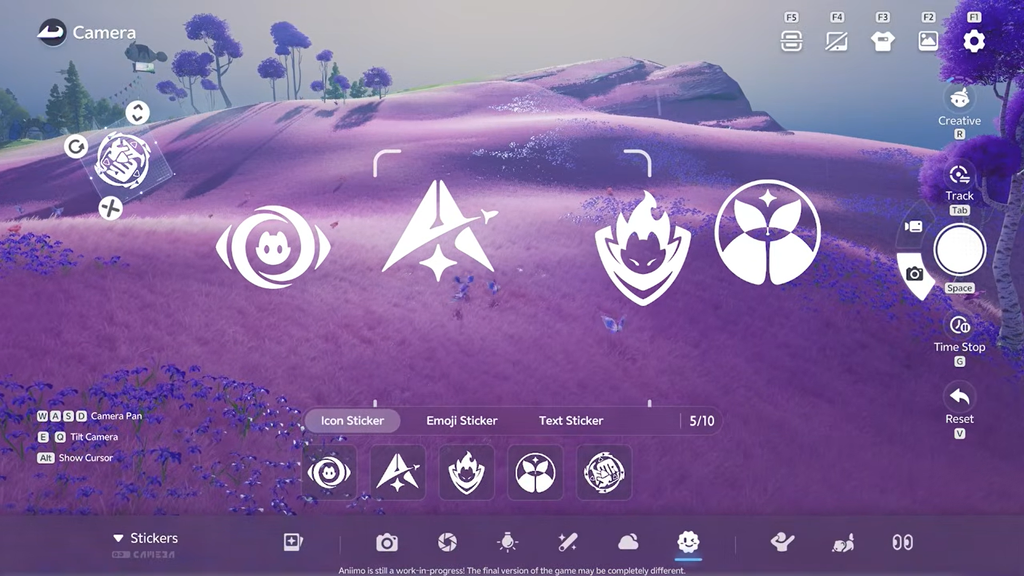
Icon, Emoji, and Text stickers can be placed on the frame, then resized and rotated. The Template tab holds Photo Studio presets such as Beach and Starry Sky, plus set World locations like Pink Beach and Promise that you can teleport into for a themed backdrop.
Pose your Pathfinder and Aniimo
Your character can strike static poses like Shrug, Peace Sign, and Trumpet, or play dynamic emotes such as Dance, Hello, Cheer, and Thumbs Up. Creatures have their own emotes, including Sleep, Casual, Happy, and Like, and you can reposition each one in the frame.
Eye Direction settings control where everyone looks. Character Gaze and Aniimo Gaze can be set to Natural, At Camera, or a manual Adjust option for precise framing.
For a group shot, open the Aniimo roster menu and equip the creatures you want, then summon them into the frame using the side icons. You can bring in up to four and arrange them together before you shoot. The Appearance menu (F3) changes your character’s outfit sets, clothing, accessories, and hairstyles for the photo.
Find, save, and import photos
Captured images go to the in-game album. Open it from Photo Mode by selecting the picture icon in the top-right, beside the Settings bar, or press F2. The album is split into Cherished Moments and an Open Local Album option for the files saved on your machine.
To bring in someone else’s setup, press F5 to open Import Snap Data. From there you can scan a QR Code or enter a Snap Code to load their shot. Once a photo lands in Cherished Moments, you know the capture worked and can revisit or share it at any time.