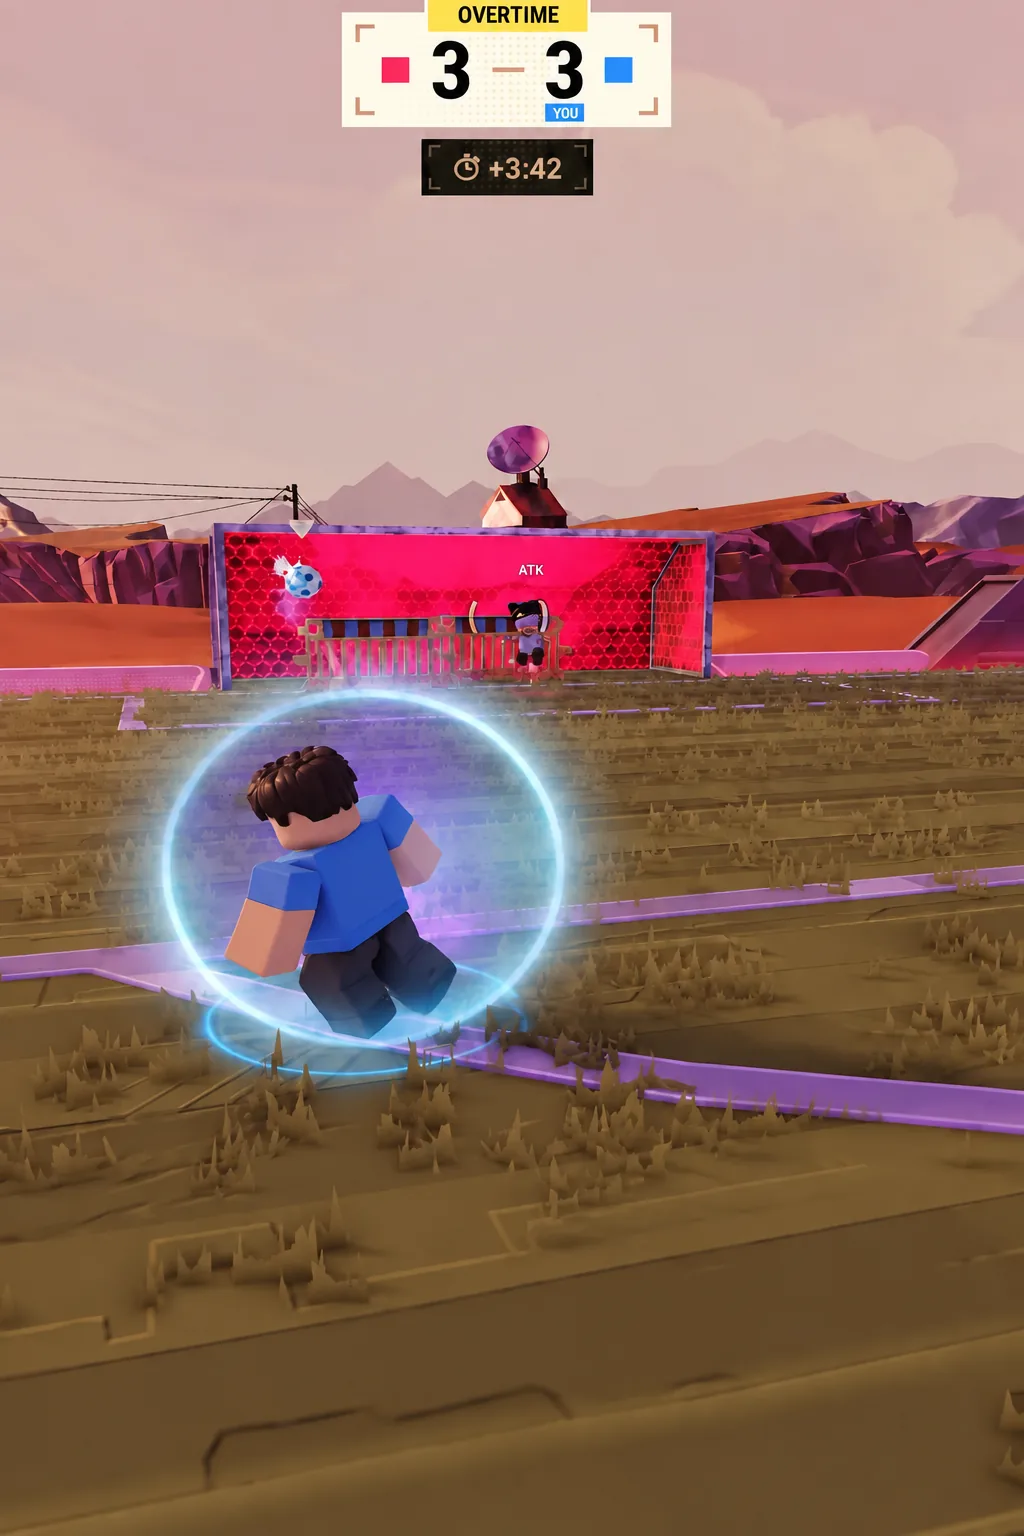
The curve shot in Illegal Soccer lets you bend a strike mid-flight instead of firing it straight, which is the difference between a saved shot and one that drops into the far corner. It runs on a separate input from the normal shot, and it shows a meter you steer while the ball is being struck. Controller and keyboard players trigger it differently, and keyboard players need to set it up in Settings first.
Quick answer: On controller, hold LT and RT together, then push the right stick left or right when the meter appears to set the bend. On keyboard, bind Curve to a key first.
Curve shot controller inputs in Illegal Soccer
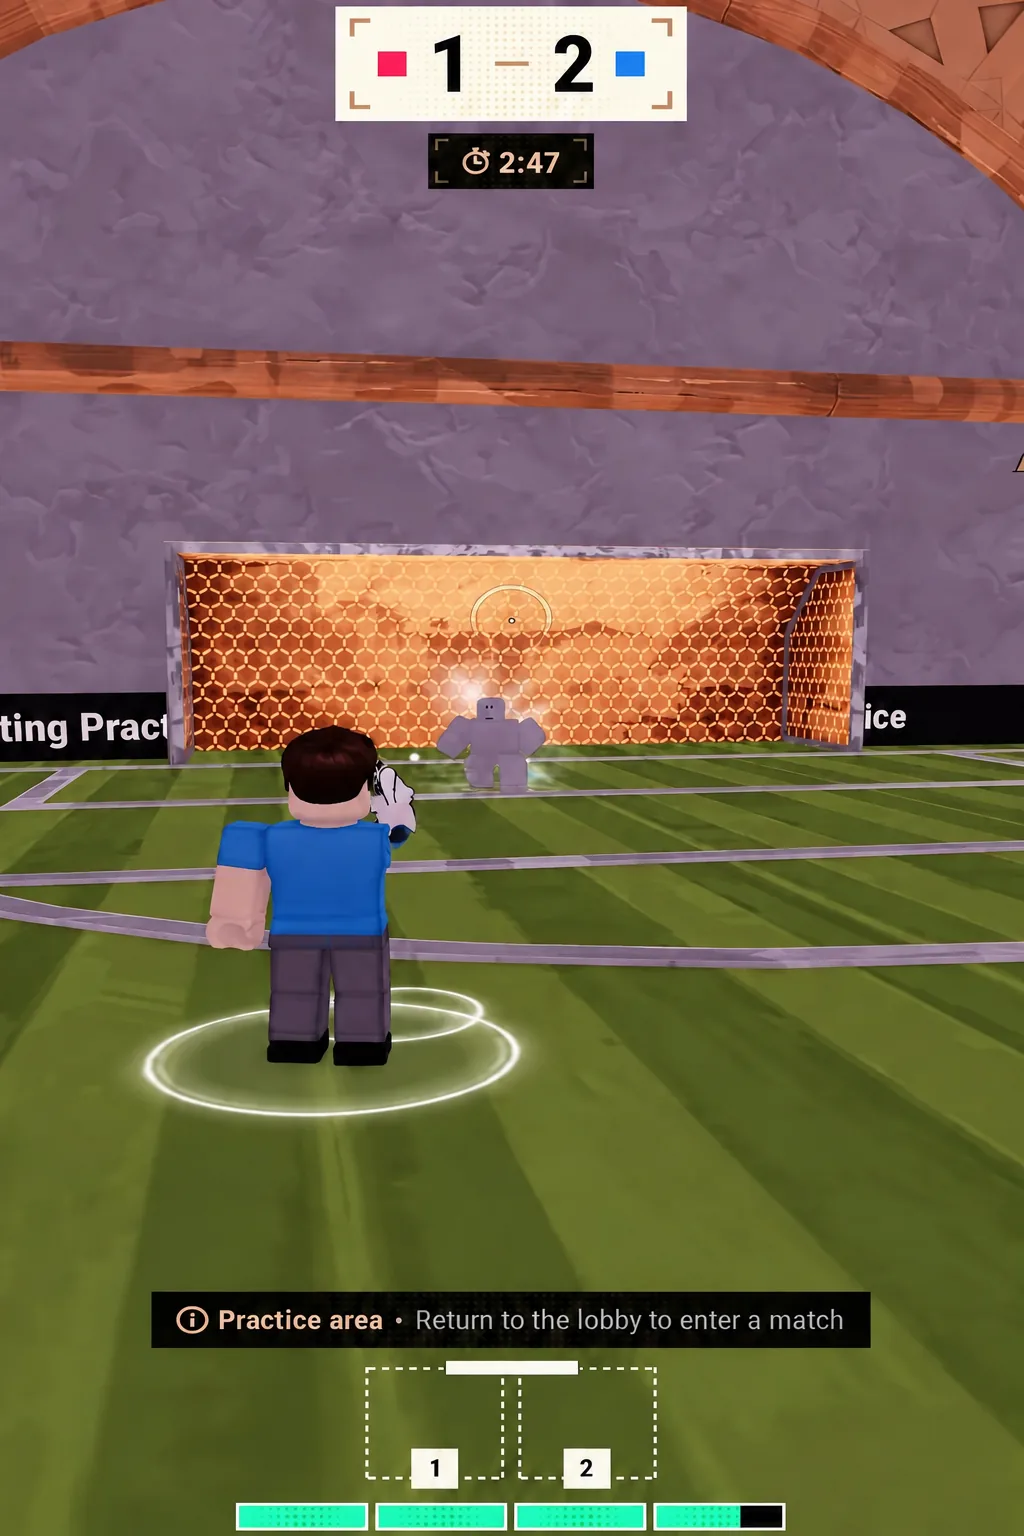
Aim at the post rather than the middle of the net and let the spin pull the ball inside it. That is how the top-corner finishes land past a keeper who is already committed.
Set the Curve keybinds and Curve Sensitivity on keyboard
Keyboard players work from the Settings menu, which holds both the Gameplay Keybinds list and the sliders that control how strong the bend feels. Two options matter here.
- Curve — the keybind that applies spin, bound under Gameplay Keybinds.
- Curve Sensitivity — a slider in the Sensitivity section that sets how much bend your input produces.
- Invert Curve — flips the direction the ball bends relative to your input.
Curving a shot off a flick
The curve is not limited to grounded shots. Flick the ball up into the air first, then apply the curve input as you strike the volley, and the spin carries over to the airborne shot. It produces a dipping, bending strike that is far harder to read than a flat volley.
Timing is the whole trick. You need the curve input active while the ball is actually being struck, not while it is still rising, so flick, let it drop into your strike height, then shoot with the curve held.
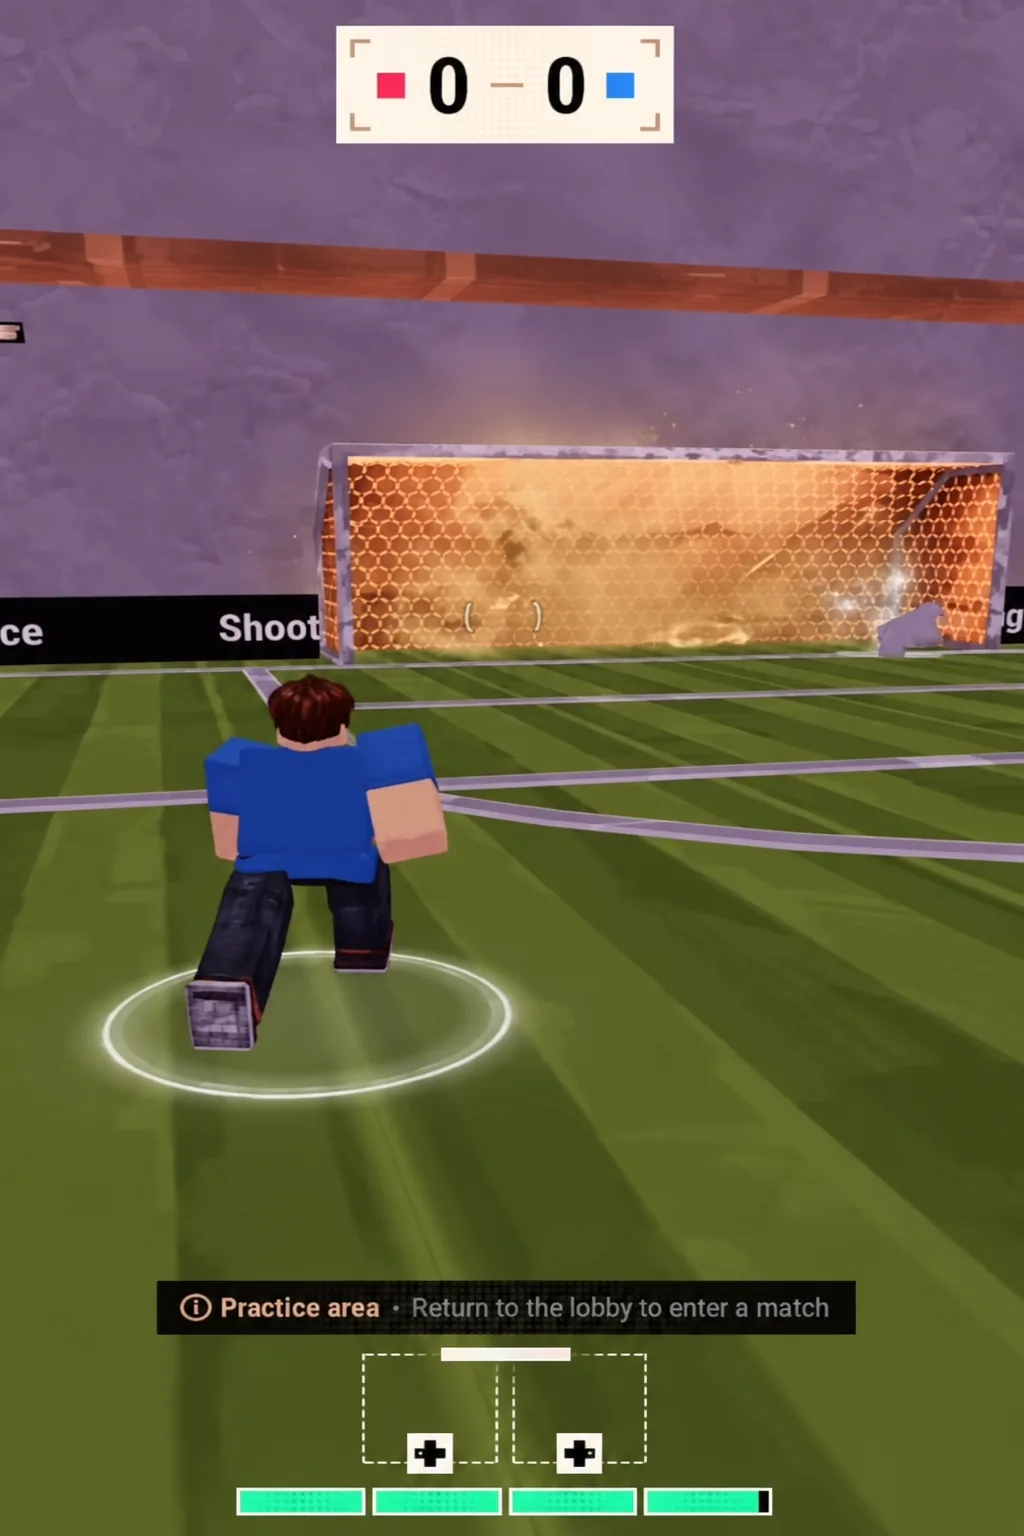
Practice area drills for the curve shot
Test everything in the Practice area before you take it into a match. You get an empty goal, no pressure, and unlimited attempts, which is the only realistic way to learn how far your Curve Sensitivity setting actually bends the ball.
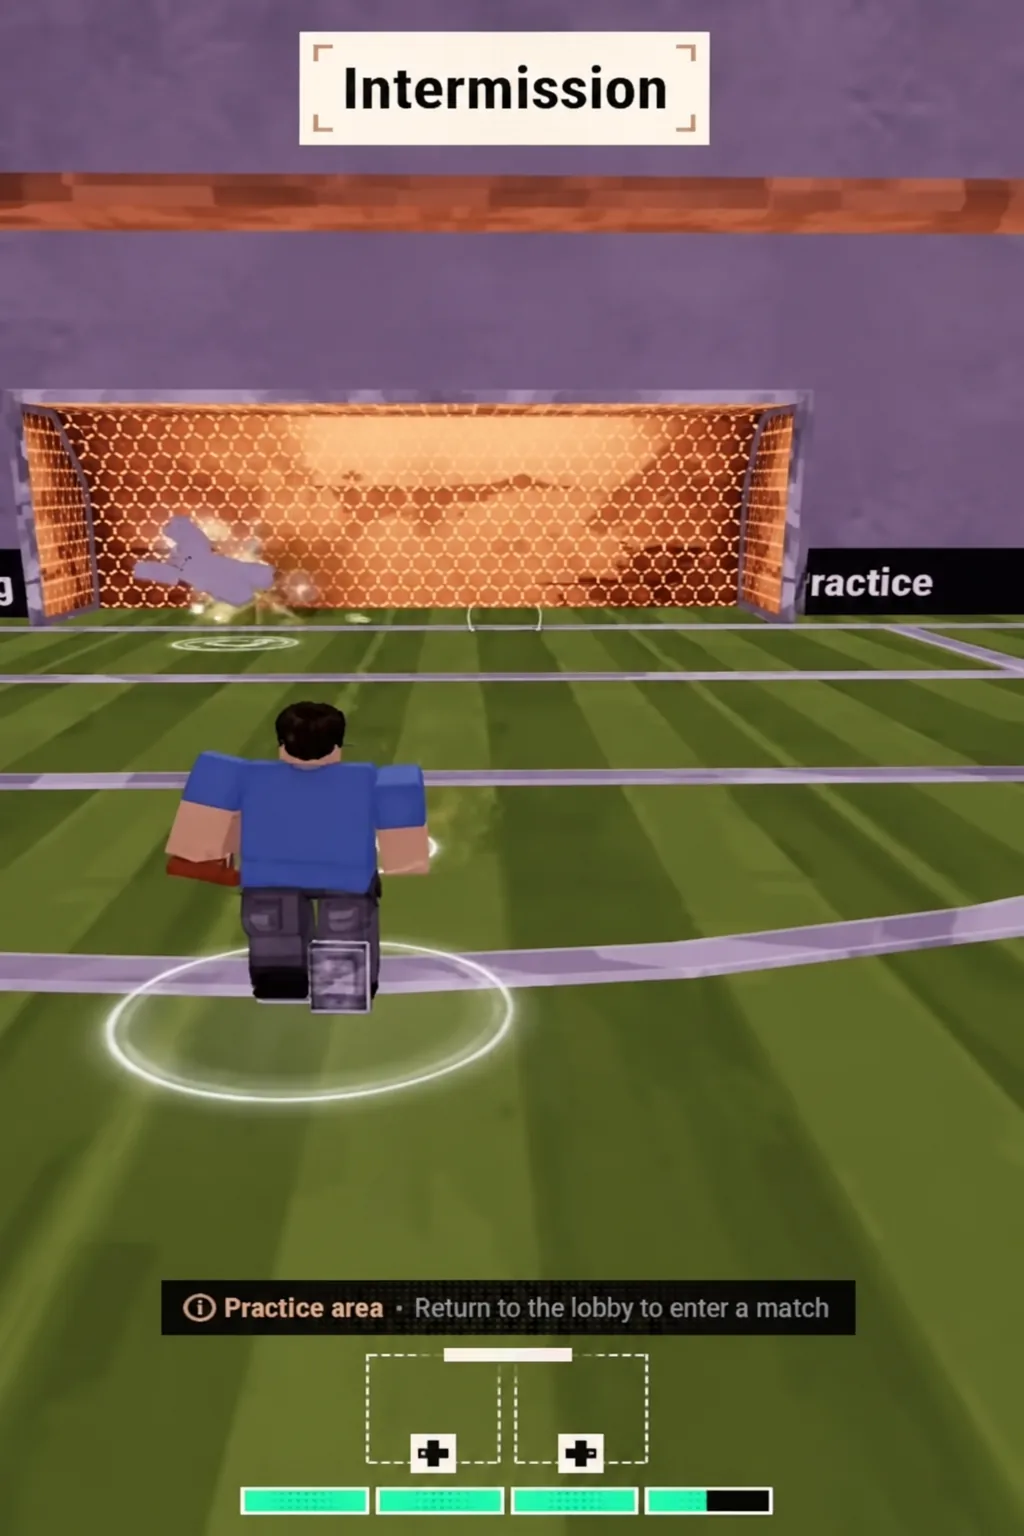
Start static. Set the ball down, face the goal squarely, and take the same shot three or four times with the curve held in one direction so you can see the size of the arc. Then repeat it in the other direction.
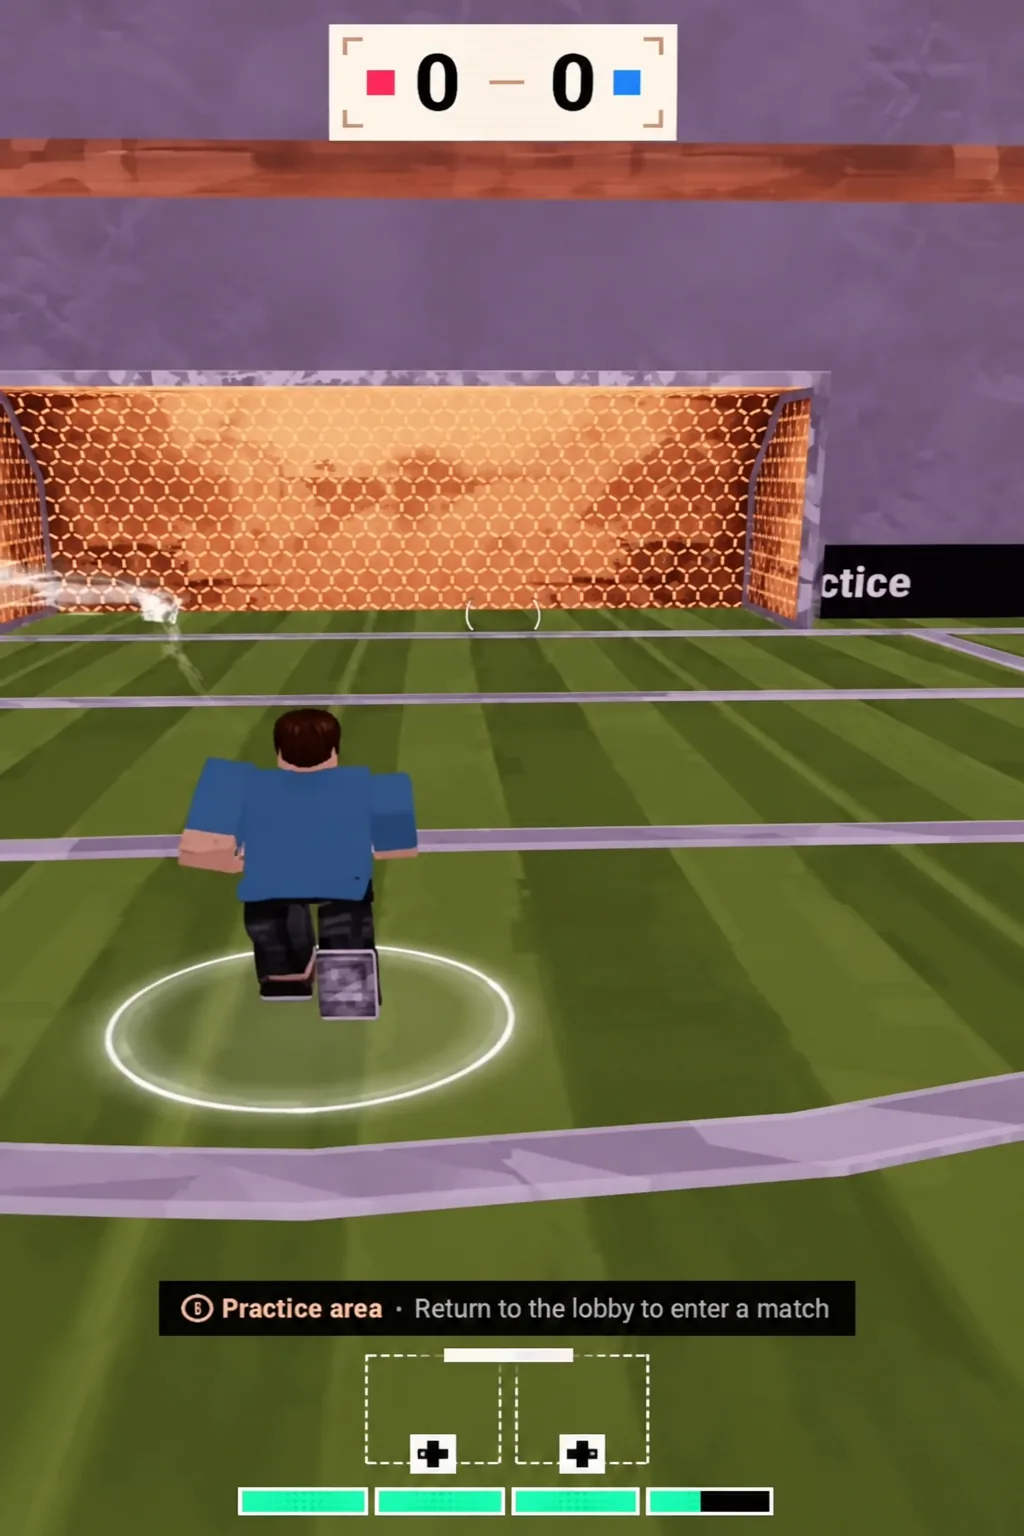
Once the static shot is landing, move onto it at an angle from the edge of the box. A curve struck while running behaves differently from one struck standing still, and the angled attempt is the version you will use in a real match.
How to tell the curve shot registered
Two things confirm it worked. The meter appears on screen when the curve input is held, and the ball leaves your foot on a visibly bent path instead of a straight line to wherever the camera was pointed.
If the meter never shows up on controller, you are not holding both triggers together. If it never shows up on keyboard, the Curve action has no key assigned yet — go back into Gameplay Keybinds and set it. And if the meter appears but the ball still travels almost straight, your Curve Sensitivity is sitting too low.
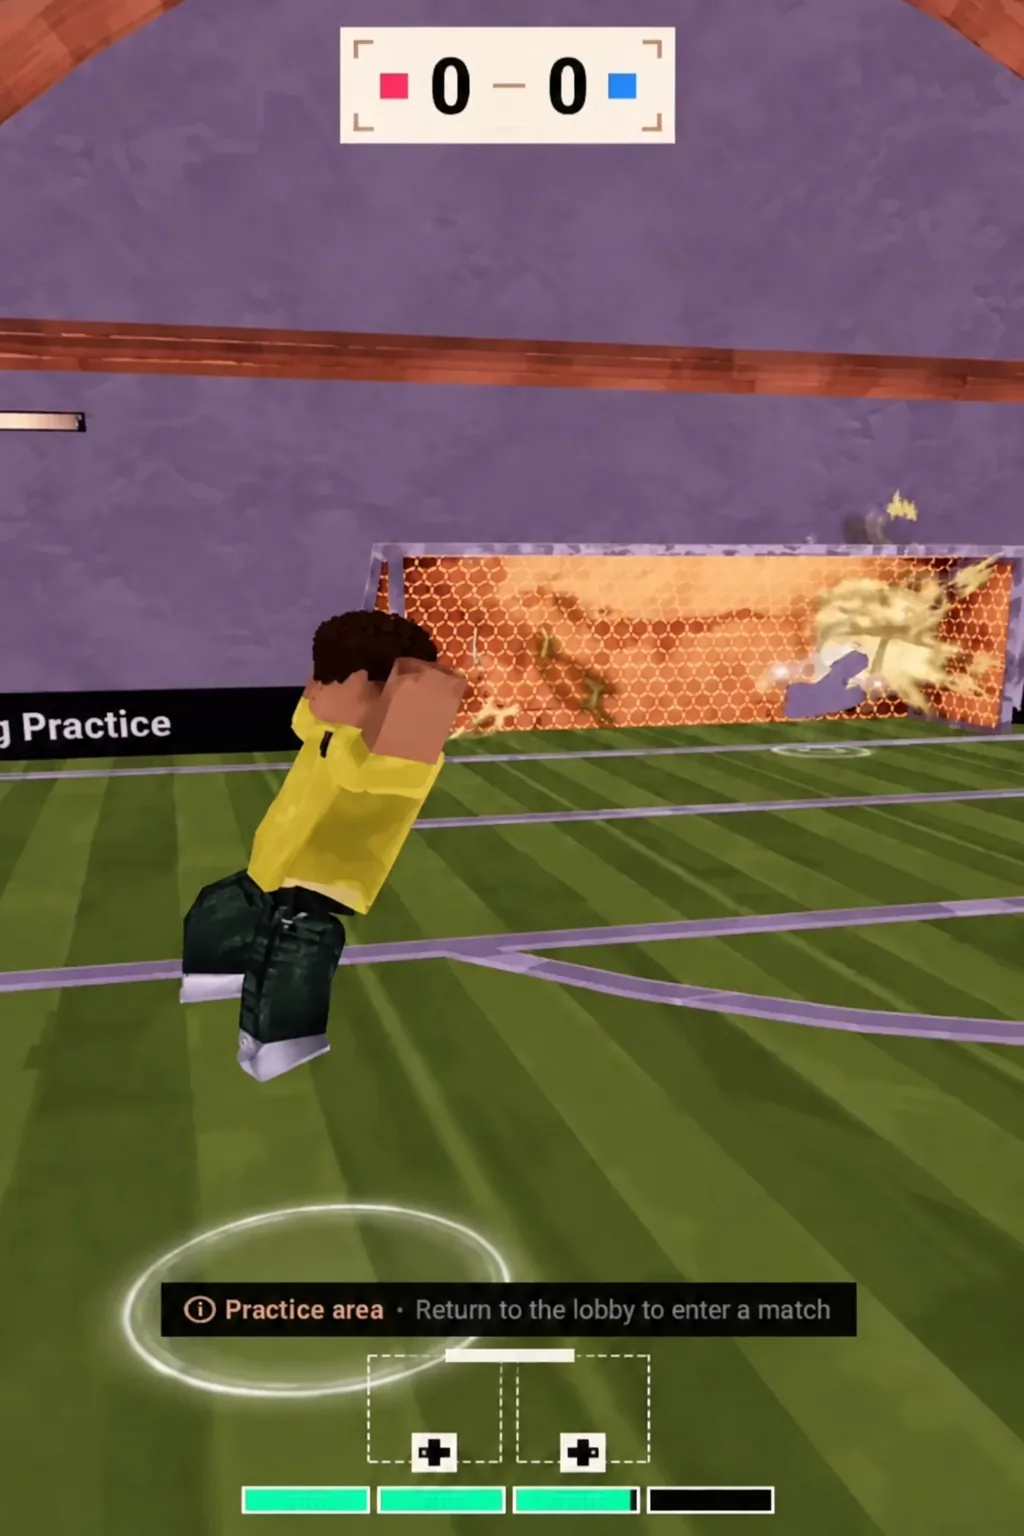
Once the input is second nature, the curve becomes the shot you reach for from wide angles and outside the box, where a straight strike has nowhere to go. Keep the sensitivity high while you learn the shape of the arc, then dial it back if you find yourself dragging shots wide of the post.