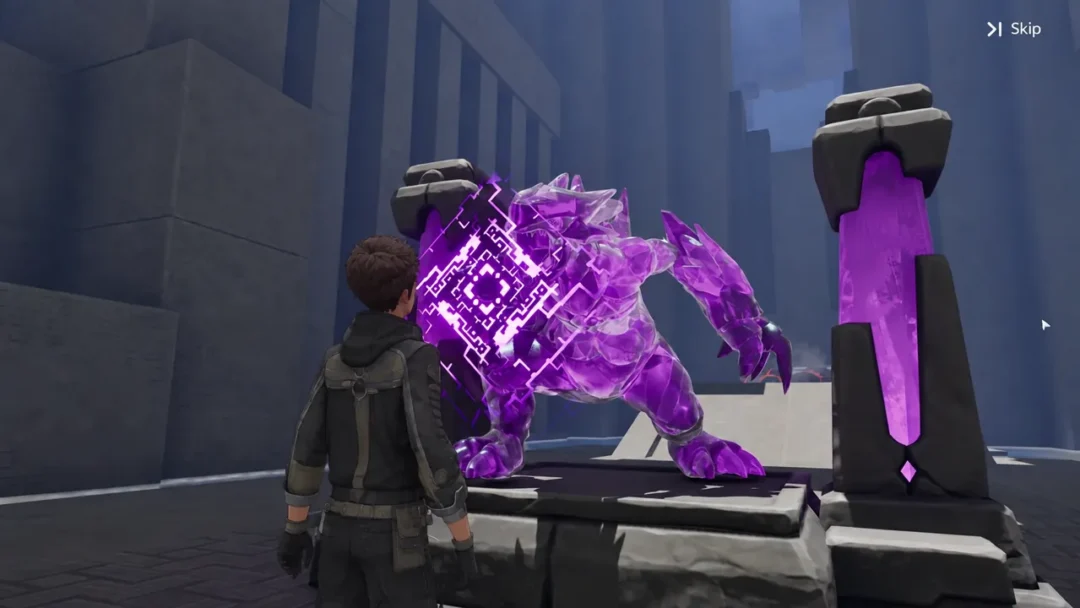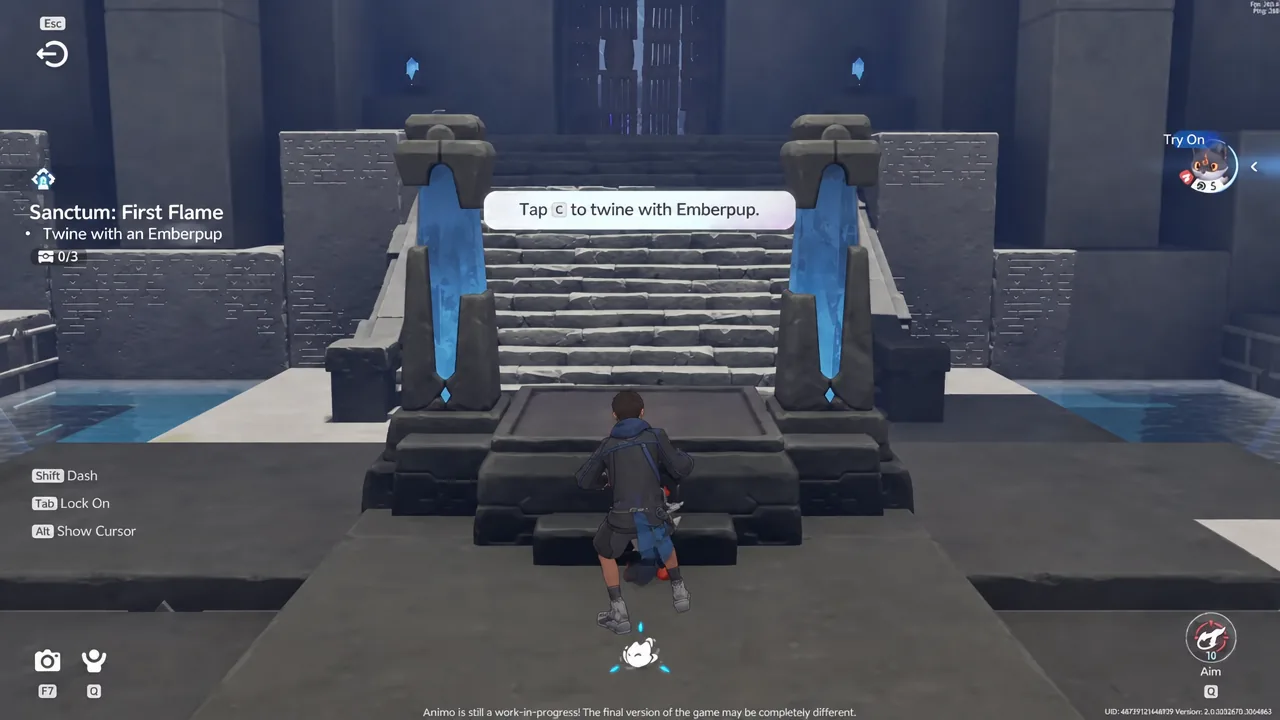
Sanctums are the self-contained puzzle dungeons dotted across Idyll. Each one seals an Aniimo near the entrance, hands you one elemental or movement gimmick, and asks you to work your way to the Terminus at the heart of the room to restore the Vein. The optional chests inside are tracked separately from the clear itself, which is where most runs go wrong.
Quick answer: Idyll holds 17 Sanctums, 14 solo and 3 co-op, with 53 optional chests between them. Match a room’s exact chest count before you touch the Terminus and restore the Vein.
All 17 Sanctum locations and chest counts
| Sanctum | Area | Players | Chests |
|---|---|---|---|
| First Flame | Nimbus Fields | Solo | 3 |
| Mistrider | Nimbus Fields | Solo | 4 |
| Flaming Wings | Sea of Flowers | Co-op | 5 |
| Wings Unfurled | Forest of Falling Stars | Solo | 3 |
| Windborne | The Argent Strait | Solo | 3 |
| Rising Flames | Beast Fang Ridge | Solo | 2 |
| Water to Ice | Beast Fang Ridge | Solo | 3 |
| Through Flame and Thorn | Mistwoods | Solo | 2 |
| Rigged Maze | Mistwoods | Solo | 1 |
| Rushing Rapids | Echoback Landing | Solo | 3 |
| Electric Surge | Blitzwood | Solo | 3 |
| Chasing Stormwinds | Berylline Causeway | Co-op | 4 |
| Double Vision | Russet Highlands | Solo | 3 |
| All in Sight | Russet Highlands | Solo | 5 |
| Sword in the Stone | Russet Highlands | Solo | 1 |
| Courageous Wit | Zephyrus Landbridge | Co-op | 5 |
| Shatterstone | Zephyrus Landbridge | Solo | 3 |
Solo rooms account for 39 of the chests. The remaining 14 sit inside the three co-op Sanctums, so a solo-only player caps out at 39 without a partner.
Sanctum areas and level ranges
Sanctum entrances follow the level curve of the area they sit in, so the running order below doubles as a rough progression route. Chasing Stormwinds is the outlier in Berylline Causeway, reachable once you are working through the mid-forties content.
| Area | Level range | Sanctums |
|---|---|---|
| Nimbus Fields | 5–15 | First Flame, Mistrider |
| Sea of Flowers | 19–28 | Flaming Wings |
| Forest of Falling Stars | 20–25 | Wings Unfurled |
| The Argent Strait | 28–32 | Windborne |
| Beast Fang Ridge | 30–35 | Rising Flames, Water to Ice |
| Mistwoods | 35–37 | Through Flame and Thorn, Rigged Maze |
| Echoback Landing | 36–40 | Rushing Rapids |
| Blitzwood | 40–45 | Electric Surge |
| Russet Highlands | 45–50 | Double Vision, All in Sight, Sword in the Stone |
| Zephyrus Landbridge | 47–57 | Courageous Wit, Shatterstone |
First Flame and Mistrider sit close together in Nimbus Fields and are easy to confuse. Read the counter at the door before you commit — Mistrider shows four chests, First Flame shows three.
Clear order: chests first, Vein last
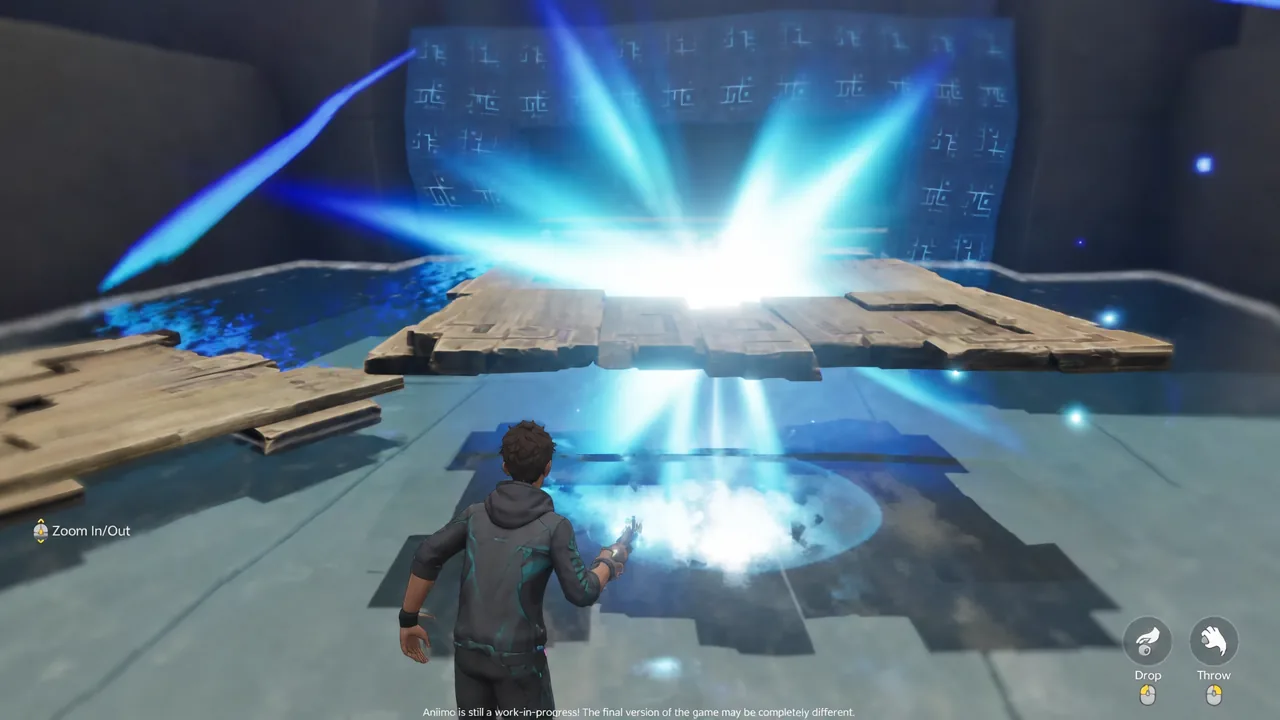
Do not finish on a short counter. The activated entrance stays on the map, but the chest layer and the clear layer close independently, and a skipped chest is not worth gambling on.
What each Sanctum asks you to do
Fire rooms: First Flame, Rising Flames, Through Flame and Thorn
First Flame is the cleanest introduction. You awaken Emberpup, tap or hold Q to launch fireballs, and burn wooden crates and tangled vines to expose chests and the route upward. One chest is frozen in ice until you light the nearby bonfire, and an explosive barrel handles another blockage.
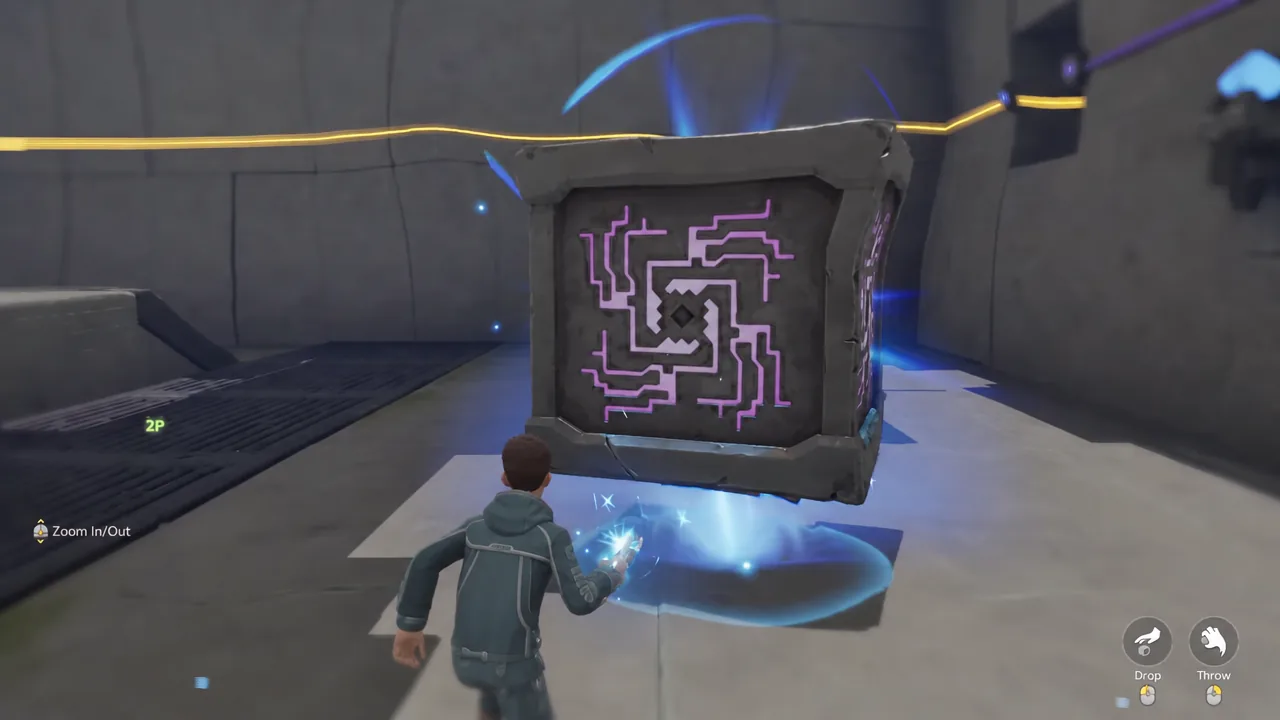
Rising Flames mixes fire with object placement. Flame jets cut across the corridors, and you block them by grabbing a purple cube and parking it in front of the nozzles, sometimes reaching through iron bars to do it. Both chests hide behind that logic — the first unlocks only after every brazier in the dark lower chamber is lit, and the second sits on a raised ledge you reach by dropping a crate onto a metal grate and swimming across the basin.
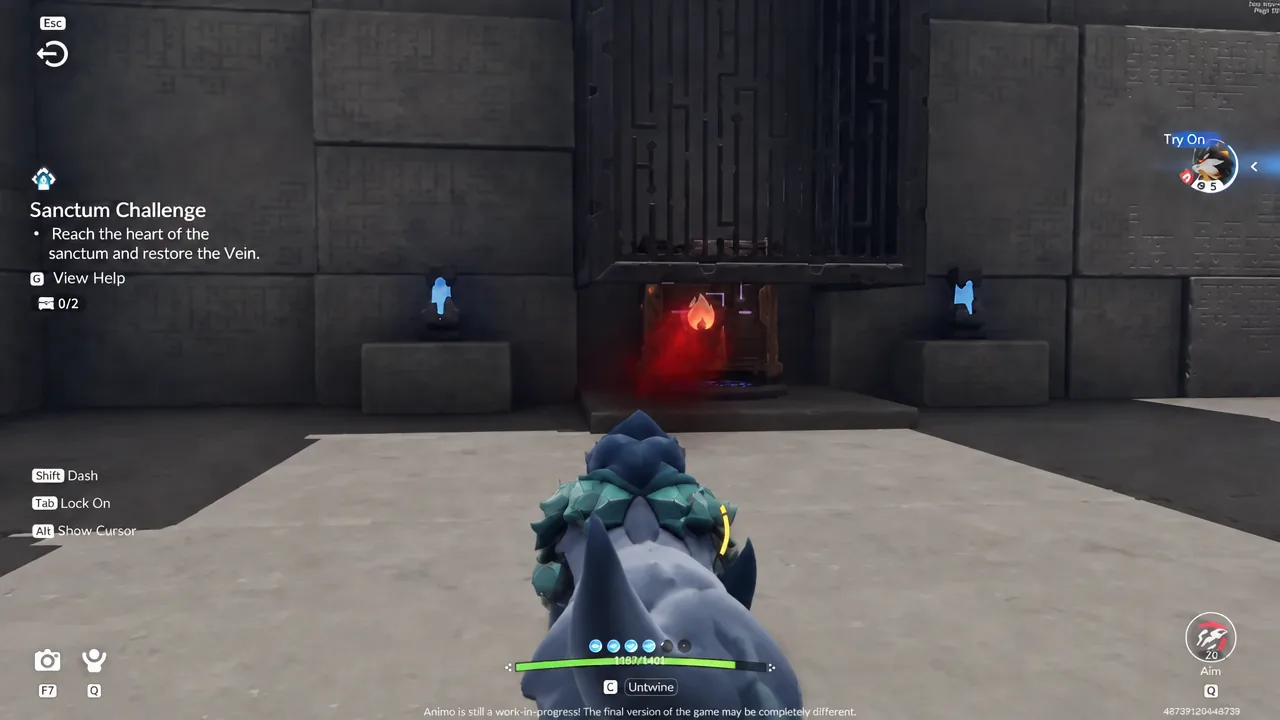
Through Flame and Thorn is a carry puzzle. You burn wooden doors and thorn barricades, then roll purple spheres into circular floor sockets to open gates, re-igniting the carrier after every stretch of water. Lighting the high bonfires is what unlocks the last gated path to both chests.
Ice, wind and cloud rooms: Water to Ice, Wings Unfurled, Windborne, Mistrider
Water to Ice uses a trial Fenrier to freeze marked water into crossable paths. When a receiver has to be held down, untwine and move a complete ice block onto it rather than trying to break one apart. Chests sit on elevated ledges either side of the basins.
Wings Unfurled opens with two climbs up walls marked by upward triangles, then feeds you through staged vertical wind fields. Scan the side ledges before you take the highest launch, because one of the three chests sits on a lower detour you cannot easily return to mid-flight.
Windborne pairs air bombs that spawn tornadoes with two spheres that must be pushed through gates into receptacles. Crate barriers block the route between them, and the run ends on a fixed-pedestal updraft. Mistrider is the longest approach of the four — a cloudwalk ascent through heavy mist, Ancient Batteries carried across open shafts, device gates and a perspective alignment before the fourth chest opens.
Circuit and sightline rooms: Electric Surge, All in Sight, Double Vision
Electric Surge teaches Grab first, then hands you Bolty. Trace each circuit from its source and place devices in dependency order, because not every movable cube belongs to a circuit. Powering the battery nodes drops the iron bars covering one of the three chests, and a Wet Wooden Chest and a round component round out the room.
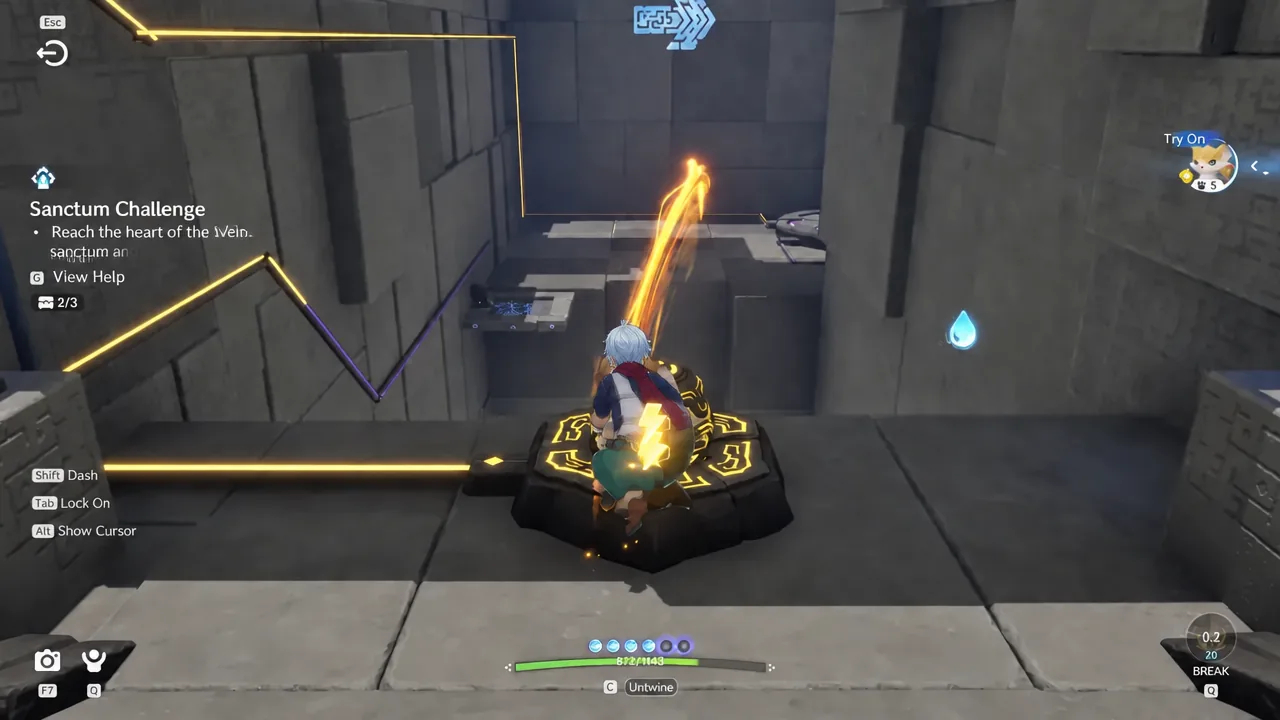
All in Sight is the biggest solo chest haul at five. It runs on Helmut Detection, hidden rails, remote ram controls that raise and lower wall sections, and ball sockets. Confirm 5/5 before you approach the Terminus.
Double Vision uses Helgon’s Bilateral view across ten separate sightlines, merging split wall glyphs into single circles from the right vantage point. When an alignment refuses to lock, move the camera in small increments rather than moving the geometry — the object is usually already correct. A drag-and-drop raft and water columns carry you between the later alignments.
Timed runs: Rushing Rapids and Shatterstone
Both of these are races first and chest hunts second. Rushing Rapids twines you with Popota for a surf through yellow rings and magenta speed tiles against a timer; learn the ring line, take the S rank, then sweep the three chests along the course afterwards. Shatterstone runs on Magmarex Hustle, smashing lava spheres and crystal barriers before the chest seals close, with the reward chests waiting on the victory platform.
Short rooms: Rigged Maze and Sword in the Stone
Rigged Maze is the fastest clear in the game. Three Vine Cores outside open a straight interior with a single chest on the landing, which yields Glimmer x20, Sparkling Crystal x5, Gargantuan Claw x1 and Idyll Ancient Coin x200 before you climb the stairs to the cube and restore the Vein. Sword in the Stone is similarly compact — one chest at the Pawney monument slab and a Touch prompt.
Co-op Sanctums that need two players
Flaming Wings, Chasing Stormwinds and Courageous Wit will not open for one player. Between them they hold 14 chests, and every mechanism in all three splits into a holder and a runner. Decide who is holding a pad and who is crossing before each mechanism, and call out when the held state is safe to release — a partner stepping off a persistent switch early is what resets most of these rooms.
- Flaming Wings (Sea of Flowers, 5 chests): Gracewing holds the pressure pads while Sparki burns the thorns, with a movable wind module and a Fire-switch that reorients a fan.
- Chasing Stormwinds (Berylline Causeway, 4 chests): Bolty and Wisptis electrify circuits across the Maharba Fault, with wind launches, wet-conductor routing and paired cubes carried over gaps. Two chests hide in ceiling alcoves you have to fly into.
- Courageous Wit (Zephyrus Landbridge, 5 chests): Pawney’s Grappling Hook anchors move you across vertical platforms while the other player works target toggles that disable flame jets and spike traps.
Sanctum chest rewards and first-clear payout
Optional chests pay out a consistent base bundle of Glimmer x20, Sparkling Crystal x5 and Idyll Ancient Coin x200, plus one rotating material on top. Fission Needles, Spirited Feather and Gargantuan Claw all turn up in that last slot.
Separately from the chests, the entrance carries a First Clear Reward slot that pays Lumin Amber the first time you finish the room. Repeat visits keep the Transport destination but not that payout, so there is no reason to re-run a Sanctum for currency once its counter is full.
Older Sanctum names you may still see
| Current name | Older alias |
|---|---|
| First Flame | Fresh Fire |
| Mistrider | Cloud Riding |
| Water to Ice | Frozen Crossing |
| Rushing Rapids | Full-Speed Surfing |
| Chasing Stormwinds | Lightning and Wind |
| All in Sight | Clear Sight |
| Double Vision | Keen Gaze |
| Sword in the Stone | Sandy Cliff Fort |
How to confirm a Sanctum is fully complete
Three things have to line up. The in-room chest counter has to read the same total printed on the entrance card. The Terminus has to play its restoration cutscene — the cube shifts from purple to a blue core, energy runs up through the Vein roots and the screen reads Success as the challenge resolves. And Transport to that Sanctum has to appear on the in-game map, which happens from your very first interaction at the door.
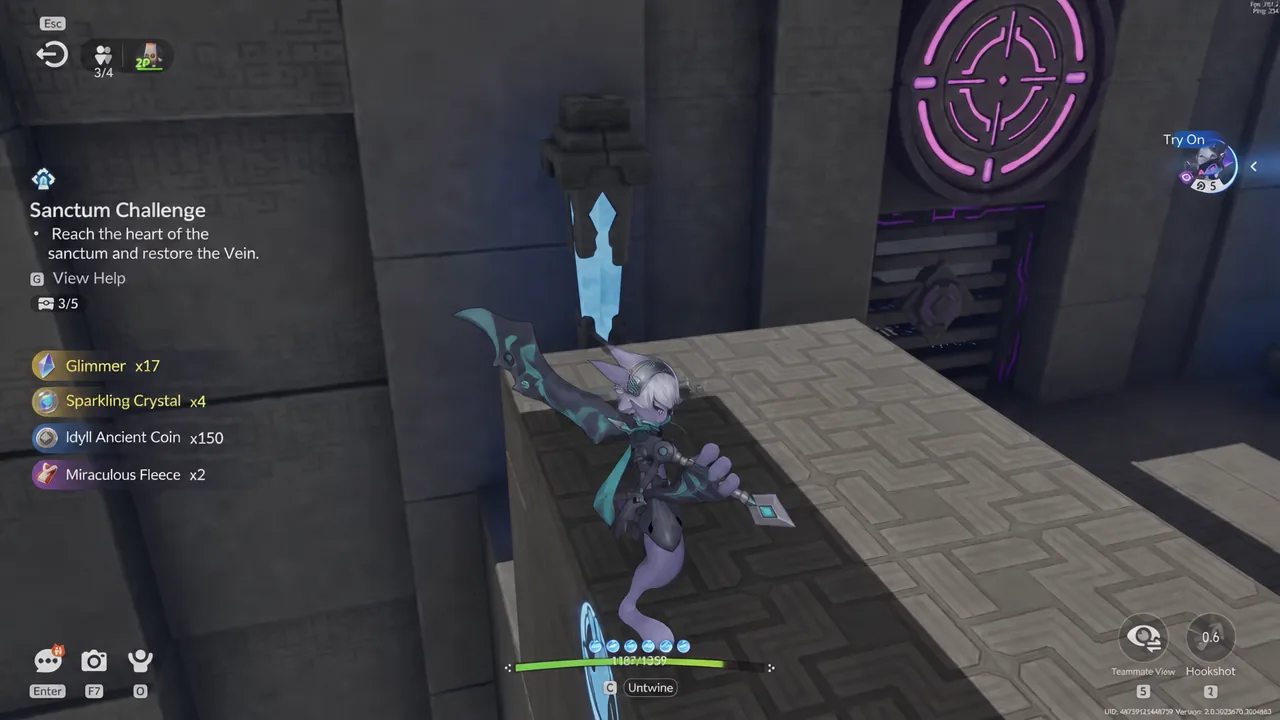
If the counter is short when you reach the Terminus, stop and walk back through whatever changed after your last big state change — a burned wall, a drained lane, a raised platform. Those altered spaces are where the missing chest almost always sits, and they are far easier to search before the Vein resolves than after.