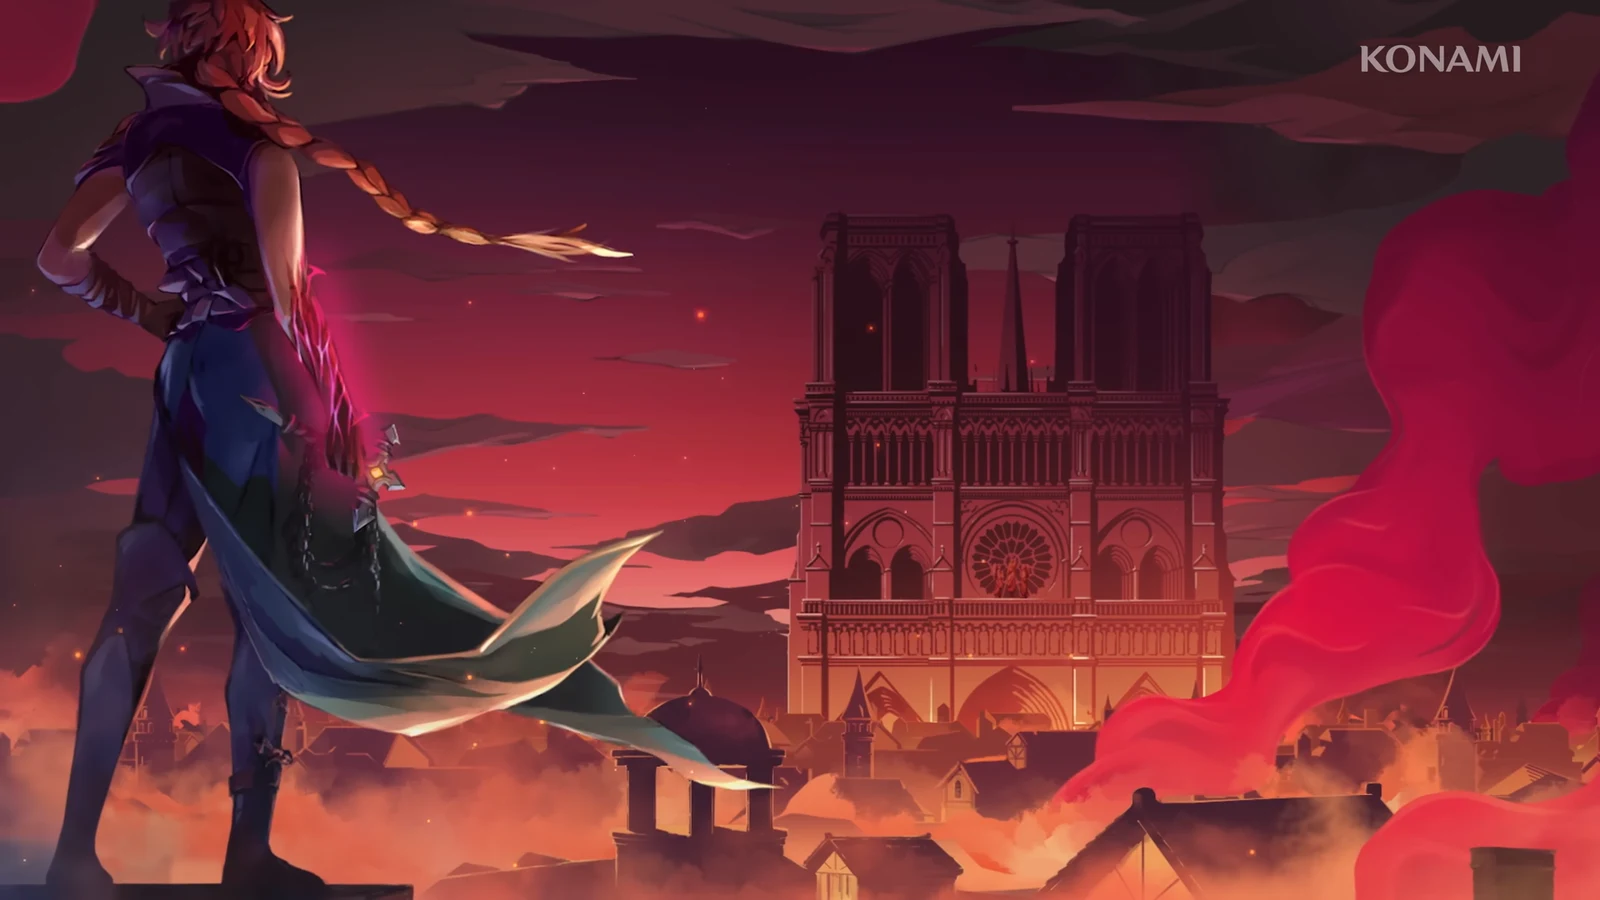
Castlevania: Belmont’s Curse has three endings, and all of them are decided at the same place: the Cursed Horologium at the top of the Clock Tower and the Master’s Quarters beyond it. Whether the clock is still running when you walk past it, and which Arcana you have equipped when you face Dracula, decides whether you get the Bad, Normal, or True Ending.
Quick answer: To get the Bad Ending, meet Dracula while the Horologium is running. For Normal, stop it with the Shadow Arcana and win the fight. For True, defeat Dracula with The Self equipped and activate it after phase two.
All three endings and their trophies
| Ending | Trigger | Trophy / achievement |
|---|---|---|
| Bad | Reach Dracula with the Horologium running | Belmont’s Fall |
| Normal | Stop the Horologium, beat both Dracula phases | The Hunt Goes On |
| True | Ring four virtue bells, beat Rose’s shadow, use The Self on Dracula | Curse lifted |
The first two endings leave your save intact. Bad Ending sends you back to just before the encounter. After Normal Ending, choose to resume with your gear; from there, you can pursue True Ending without a new game. You can earn all three endings on one save, in this order: Bad, Normal, then True.
Bad Ending: walk past the running Cursed Horologium
The Bad Ending is available a few hours after Dracula’s Castle appears. When you head toward Isaac at the top of the Clock Tower, a cutscene plays in front of the Cursed Horologium, and your companions tell you to turn back. Ignore them and keep moving through the door on the left while the clock is still ticking. Rose ends up in front of Dracula, and a scripted sequence plays in which she loses and is consumed by her curse.
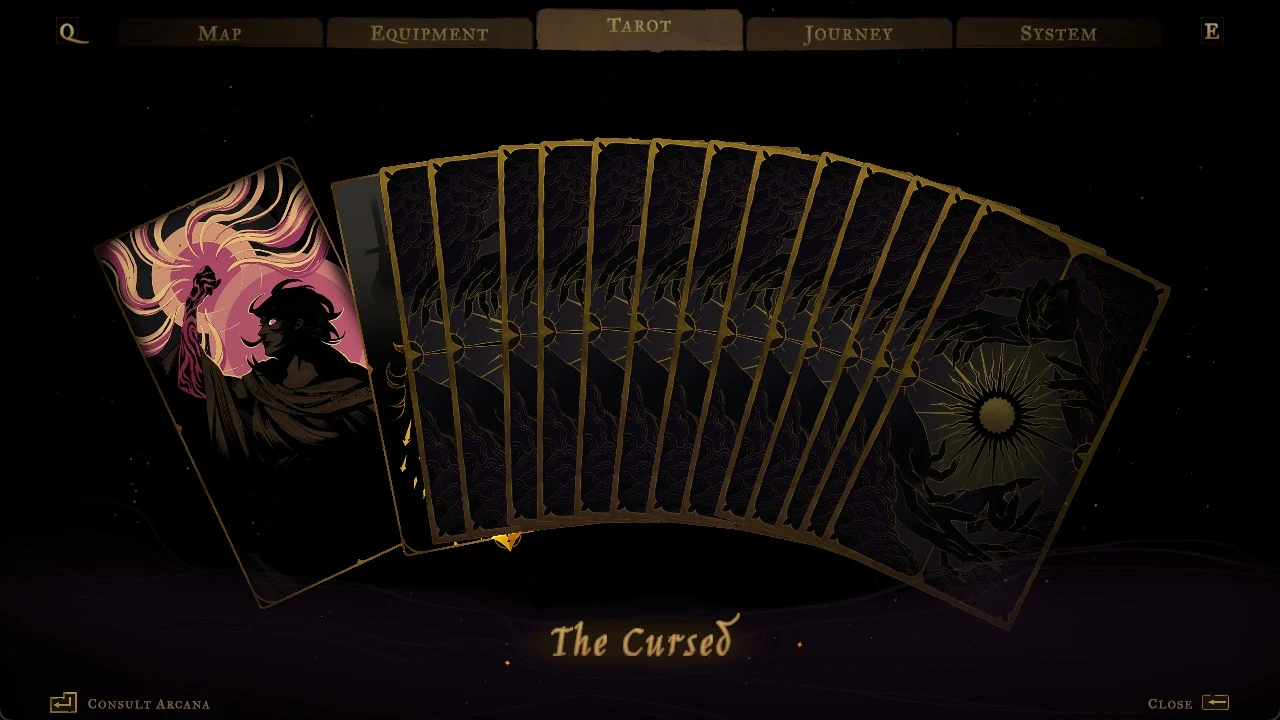
The Belmont’s Fall trophy confirms the ending is complete, and Rose also receives Cursed’s Outfit. To trigger this ending after stopping the Horologium, put on the Shadow Arcana and use the clock once more; it starts running again.
Normal Ending: the four Arcana that unlock the Shadow
The only thing that stops the Horologium is the Shadow Arcana, which you get by defeating Death. Interacting with the clock hints at this, since Rose mentions Death’s magic. Getting to Death takes a chain of four Arcana, and each one opens the way to the next.
The Builder (Clock Tower)
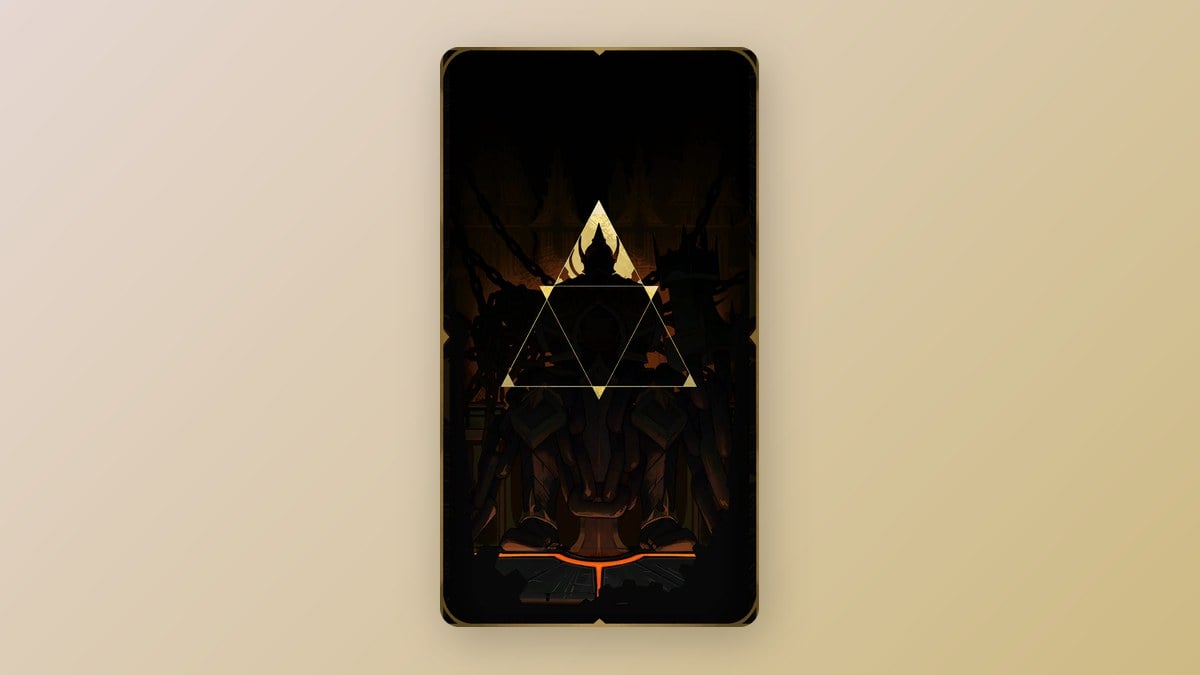
In the lower Clock Tower, rotate the gear beams until they all stand vertically, then smash through the floor to drop down. Keep heading to the bottom and defeat Talos for The Builder. This Arcana teaches Smash, which breaks destructible blocks from the air. You’ll need it for the next step. The Talos Aversion trophy confirms the kill.
The Artist (Main Hall)
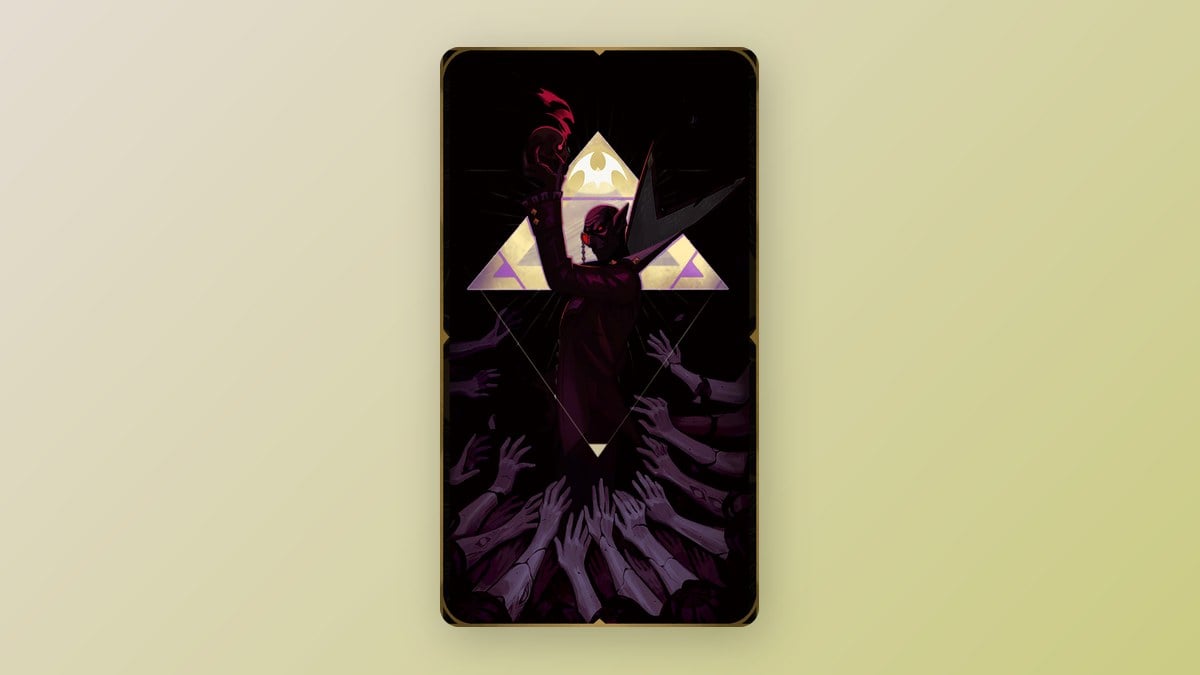
In the Main Hall, break through the barrier at Brauner’s Atelier. Face Brauner inside and absorb The Artist. This Arcana grants the Masterpiece spell and allows you to enter the painting later.
The Occultist and Brauner’s Paintbrush (Library)
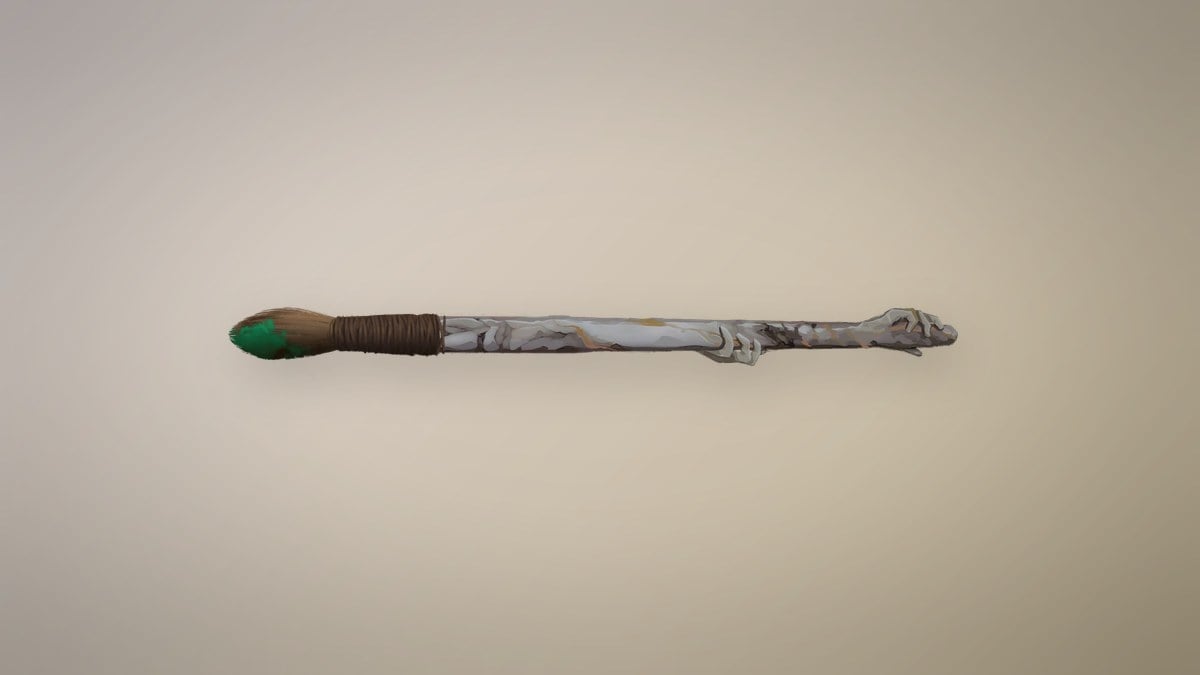
Climb through the Library and the Planetarium to reach Carmilla in the Observatory. Defeat her for The Occultist, then stay in the room and pick up Brauner’s Paintbrush from the desk. It’s a key item, and it’s easy to walk past after a hard fight.
The Shadow (Notre-Dame painting and Giant Organ)
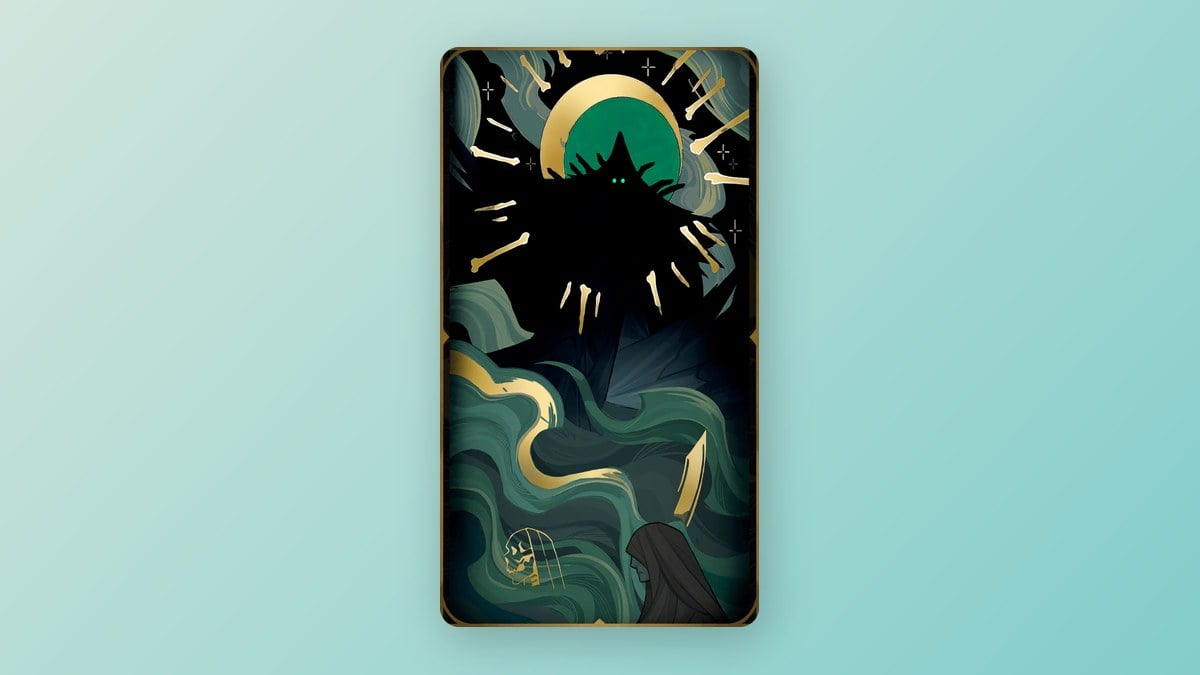
Put on The Artist, then use the oversized Notre-Dame painting in the Main Hall to enter Notre-Dame. The Giant Organ blocks access to the boss door: perform its three correct songs to open the way, then beat Death in the Choir. Absorbing The Shadow grants Soul Harvest (60 mana) and freezes the clock.
Stop the Cursed Horologium and defeat Dracula
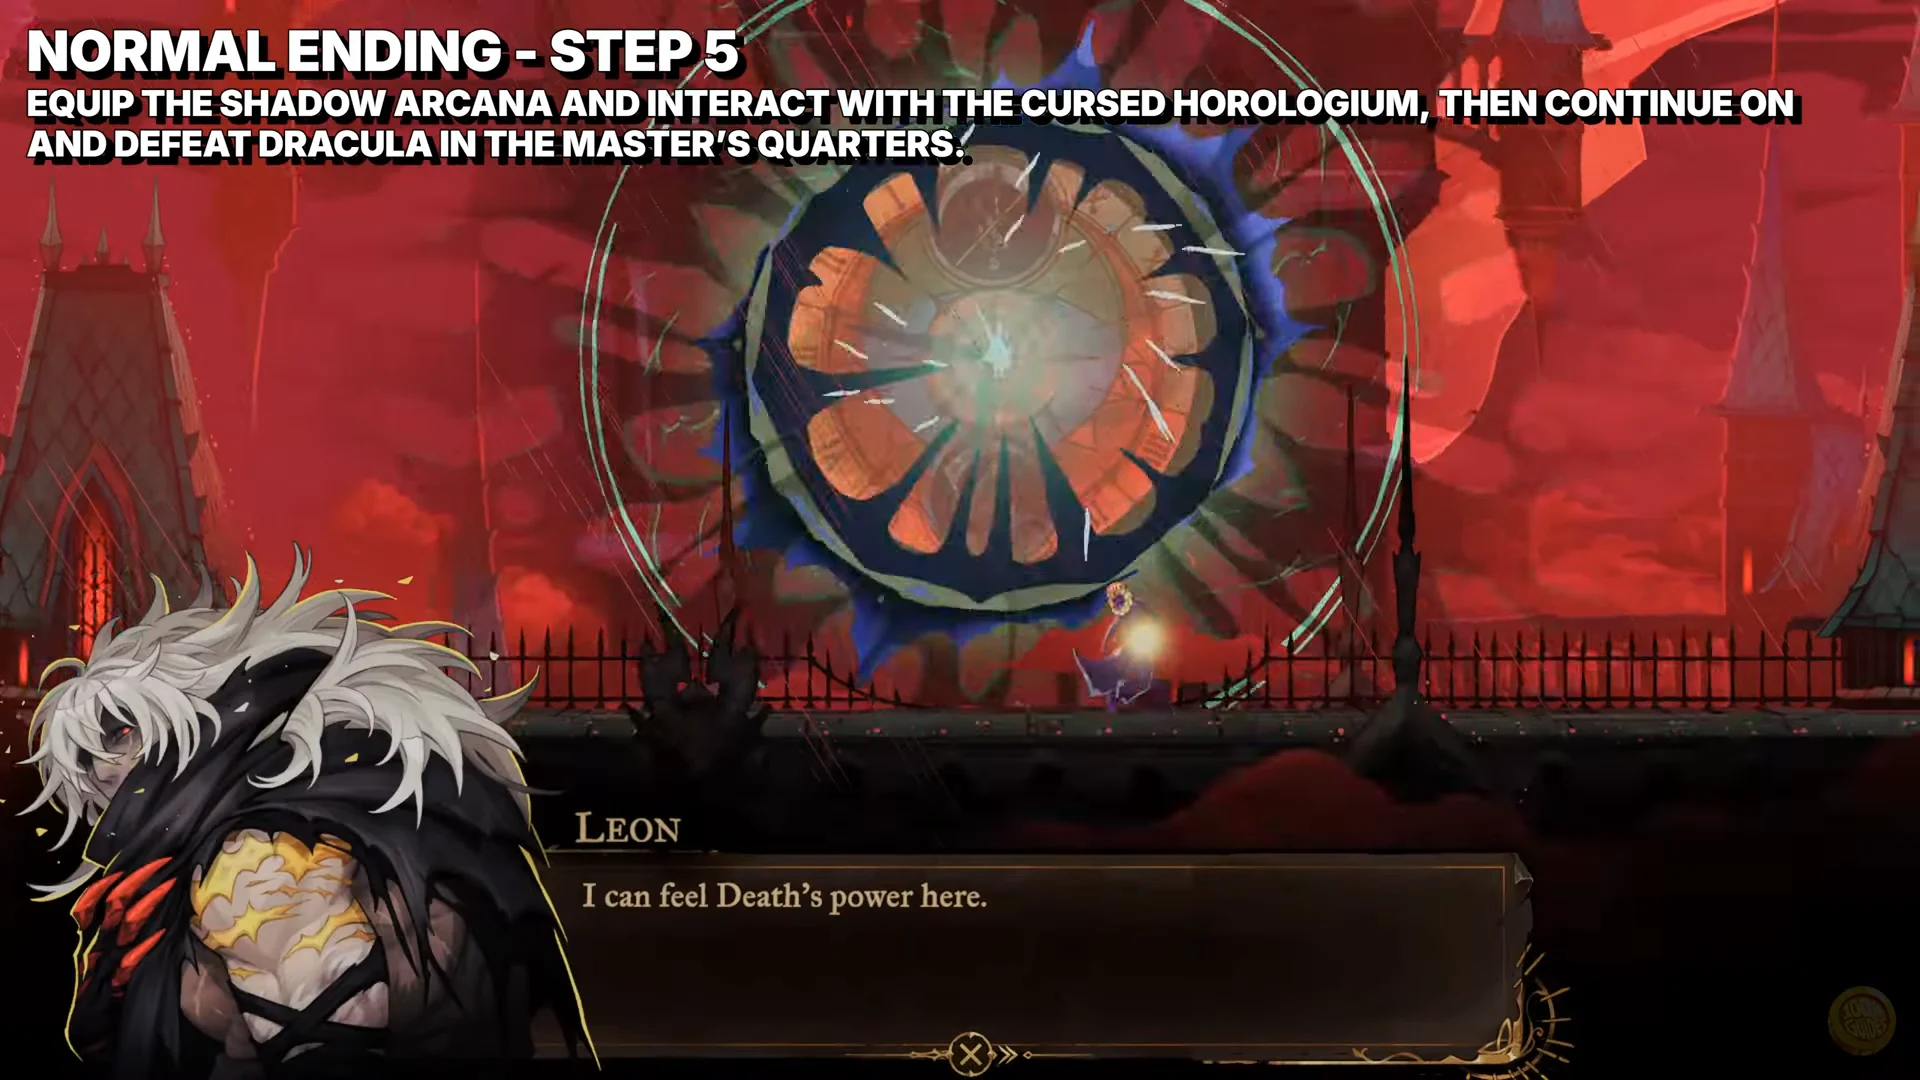
Clearing both phases rolls the Normal Ending and awards The Hunt Goes On. Dracula is gone, but Rose’s curse isn’t. When the credits finish, resume with your gear.
True Ending: get the Judge, Whisperer, and Sage Arcana
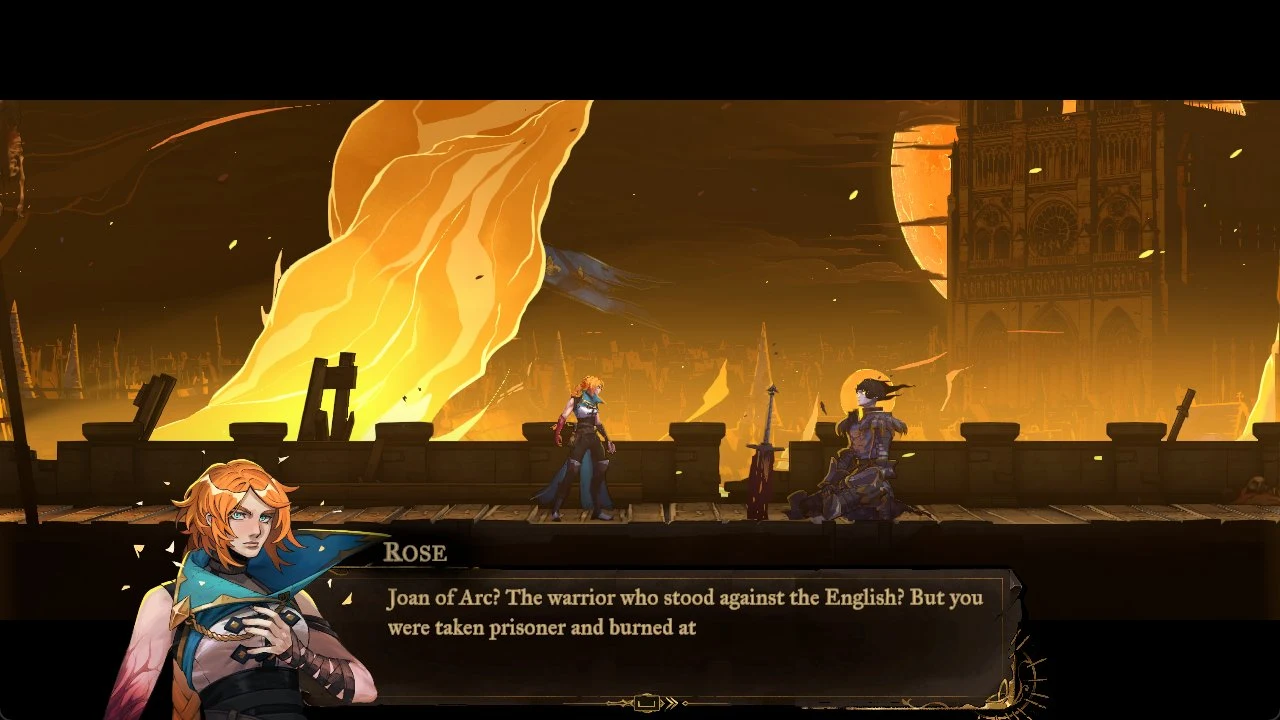
The True Ending runs through the Gallery of the Four Virtues in Notre-Dame, and each of its four trials only opens with a specific Arcana equipped. You already have The Warrior from beating Joan at the top of the Prison Tower. The other three come from side quests.
The Judge (Palace of Justice)
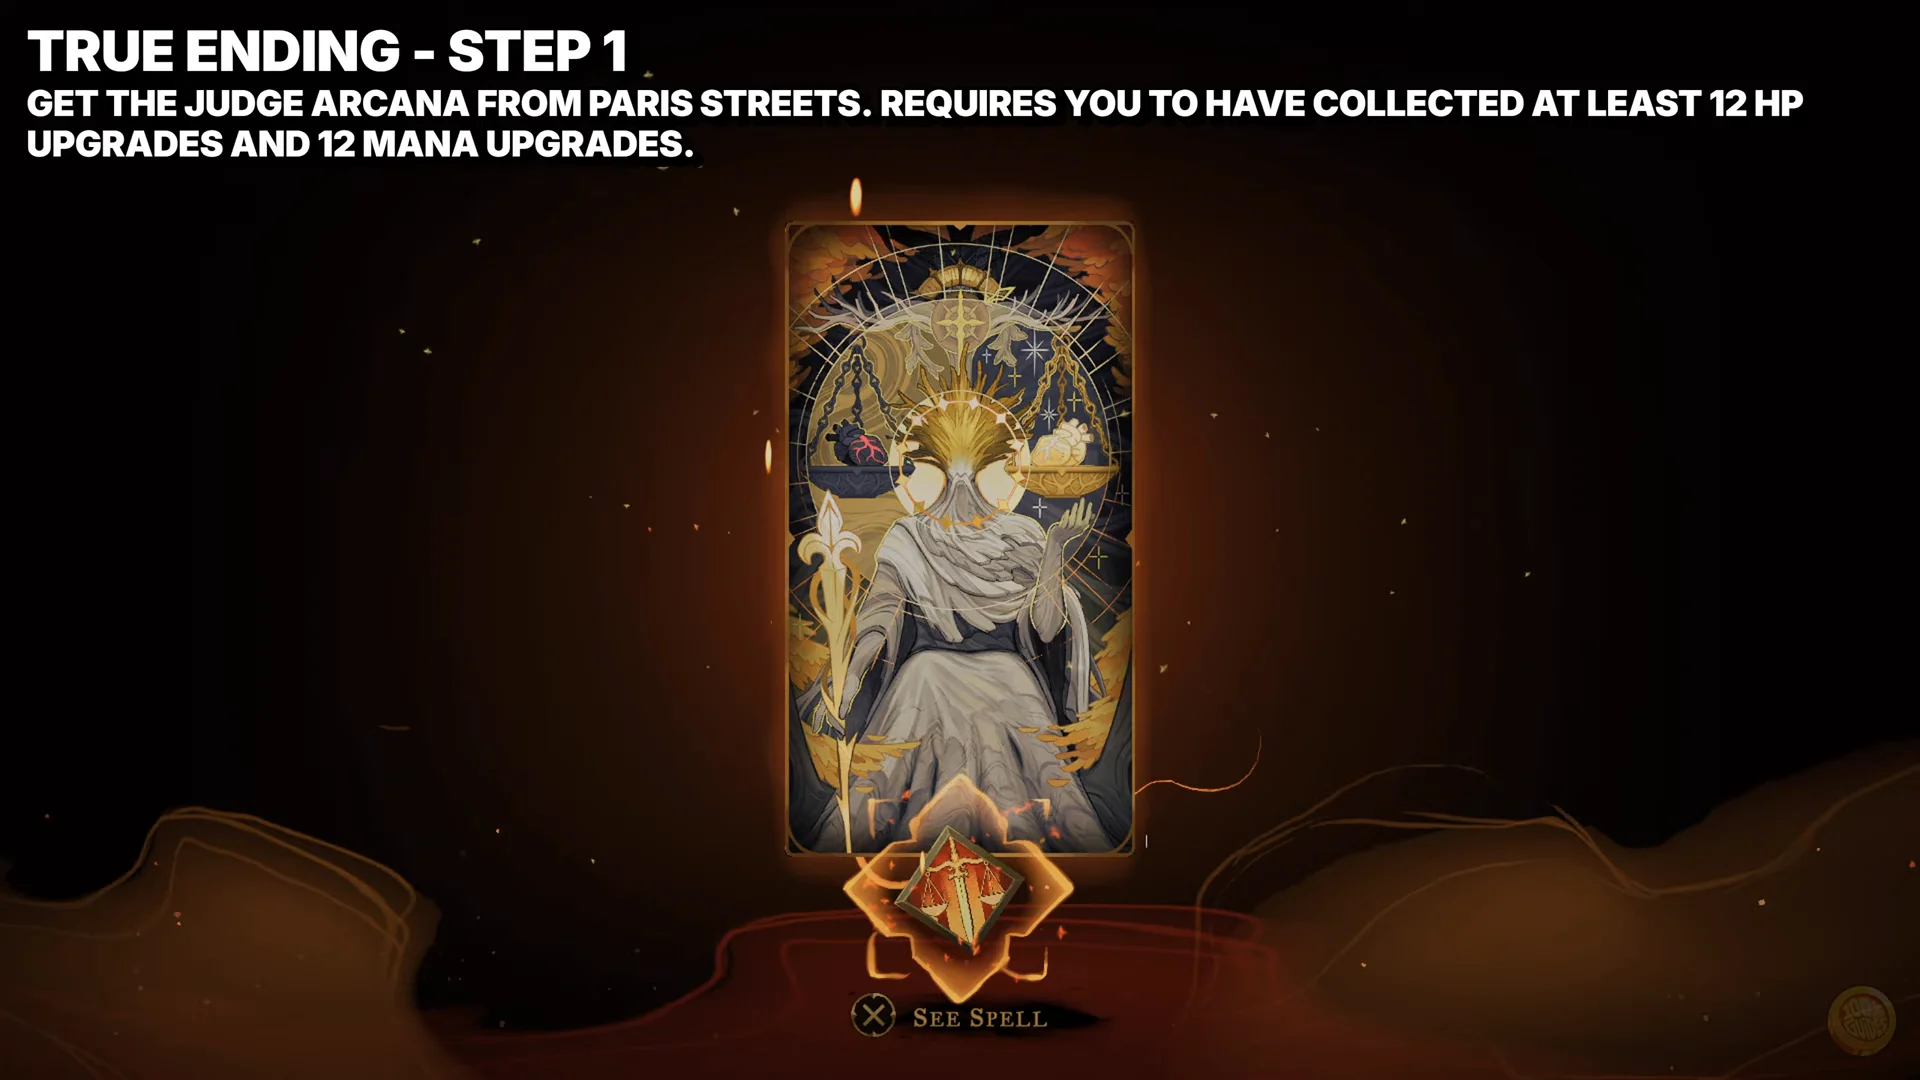
The Palace of Justice is reached from Paris Streets, and it only lets you through after you’ve collected at least 12 HP upgrades and 12 Mana upgrades. Inside, stand on the scale and go through Saint Louis’s judgment dialogue. When the scales balance, The Judge is yours, along with Chains of Justice.
The Whisperer (three eye relics and the Ferryman’s Obol)
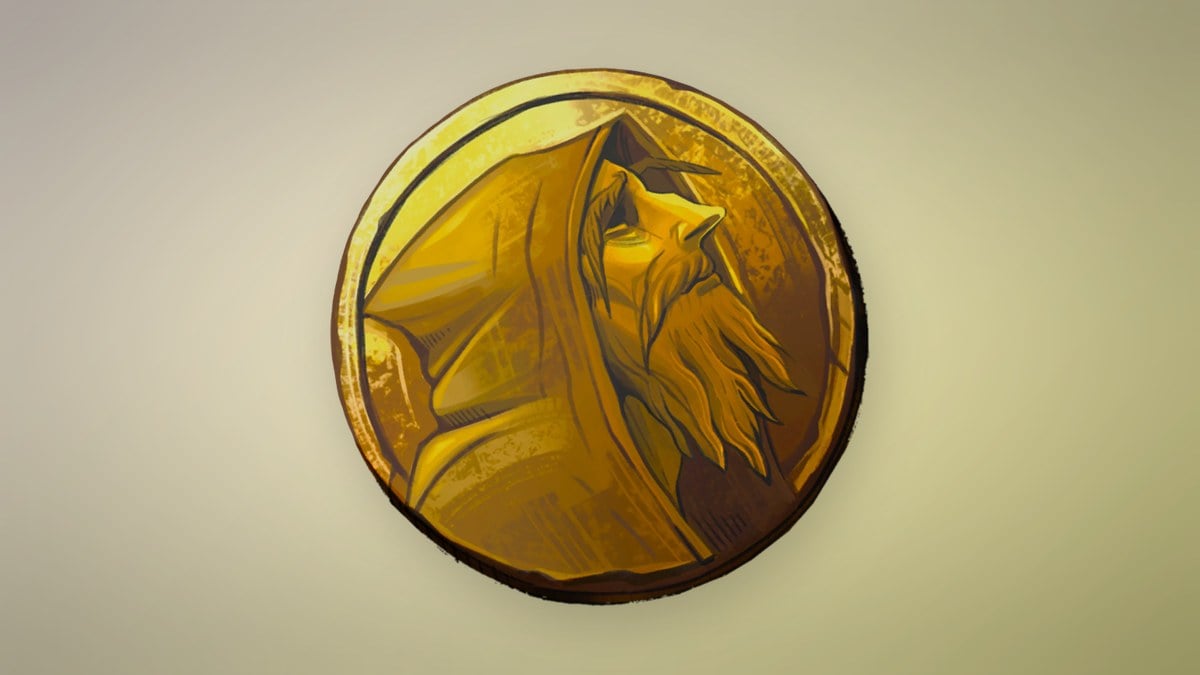
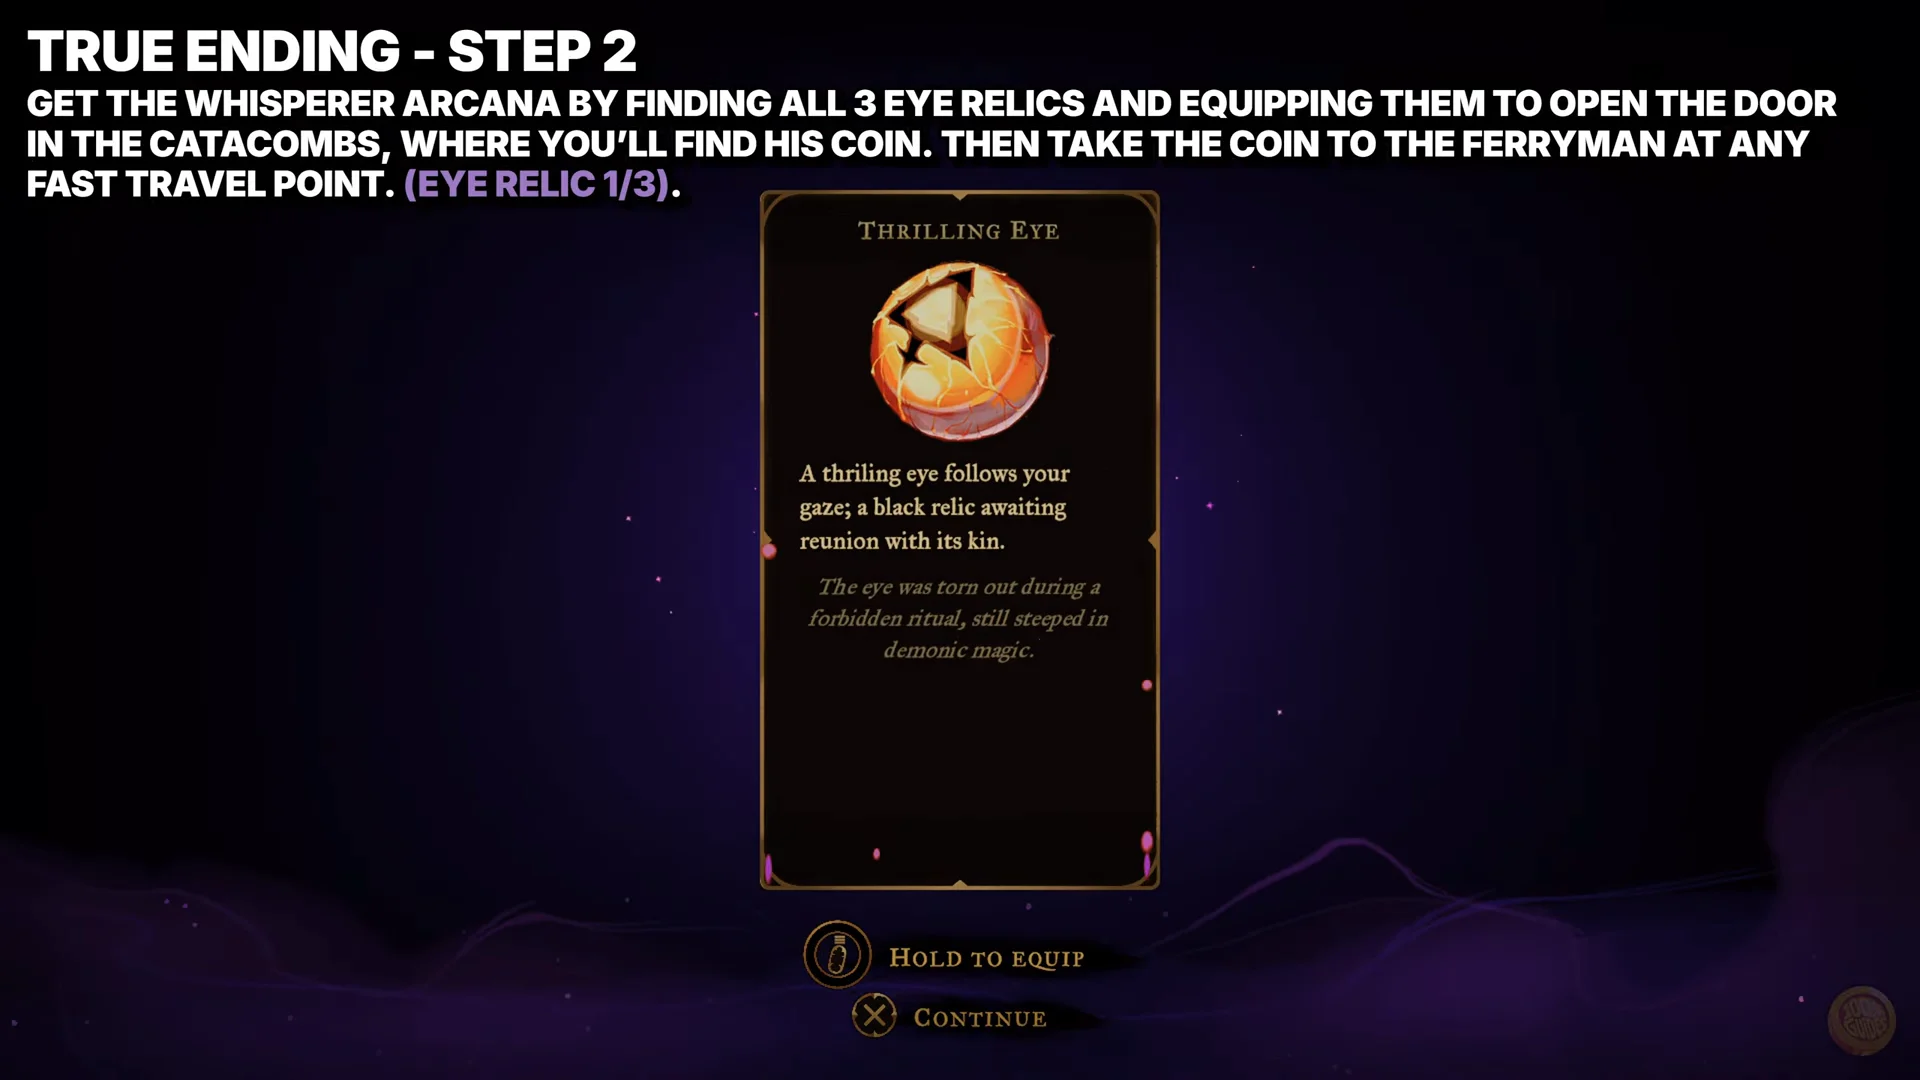
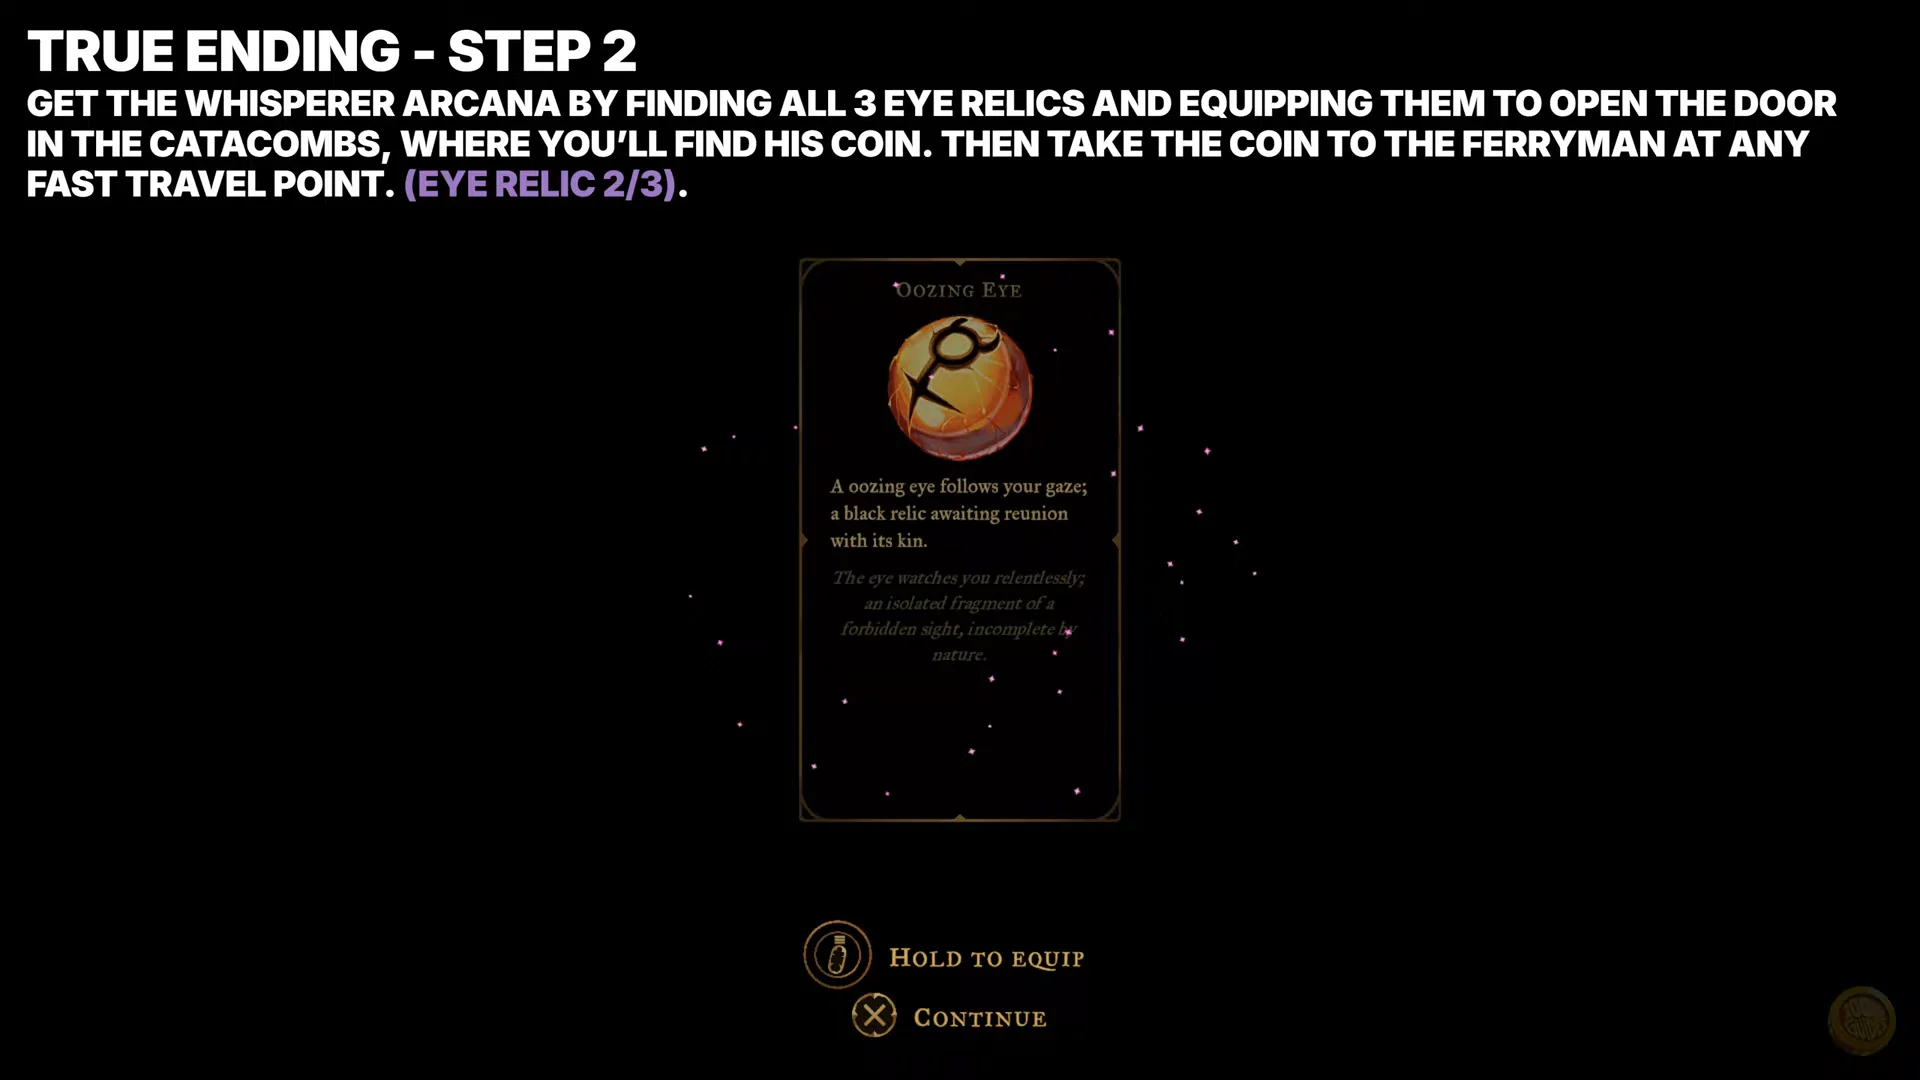
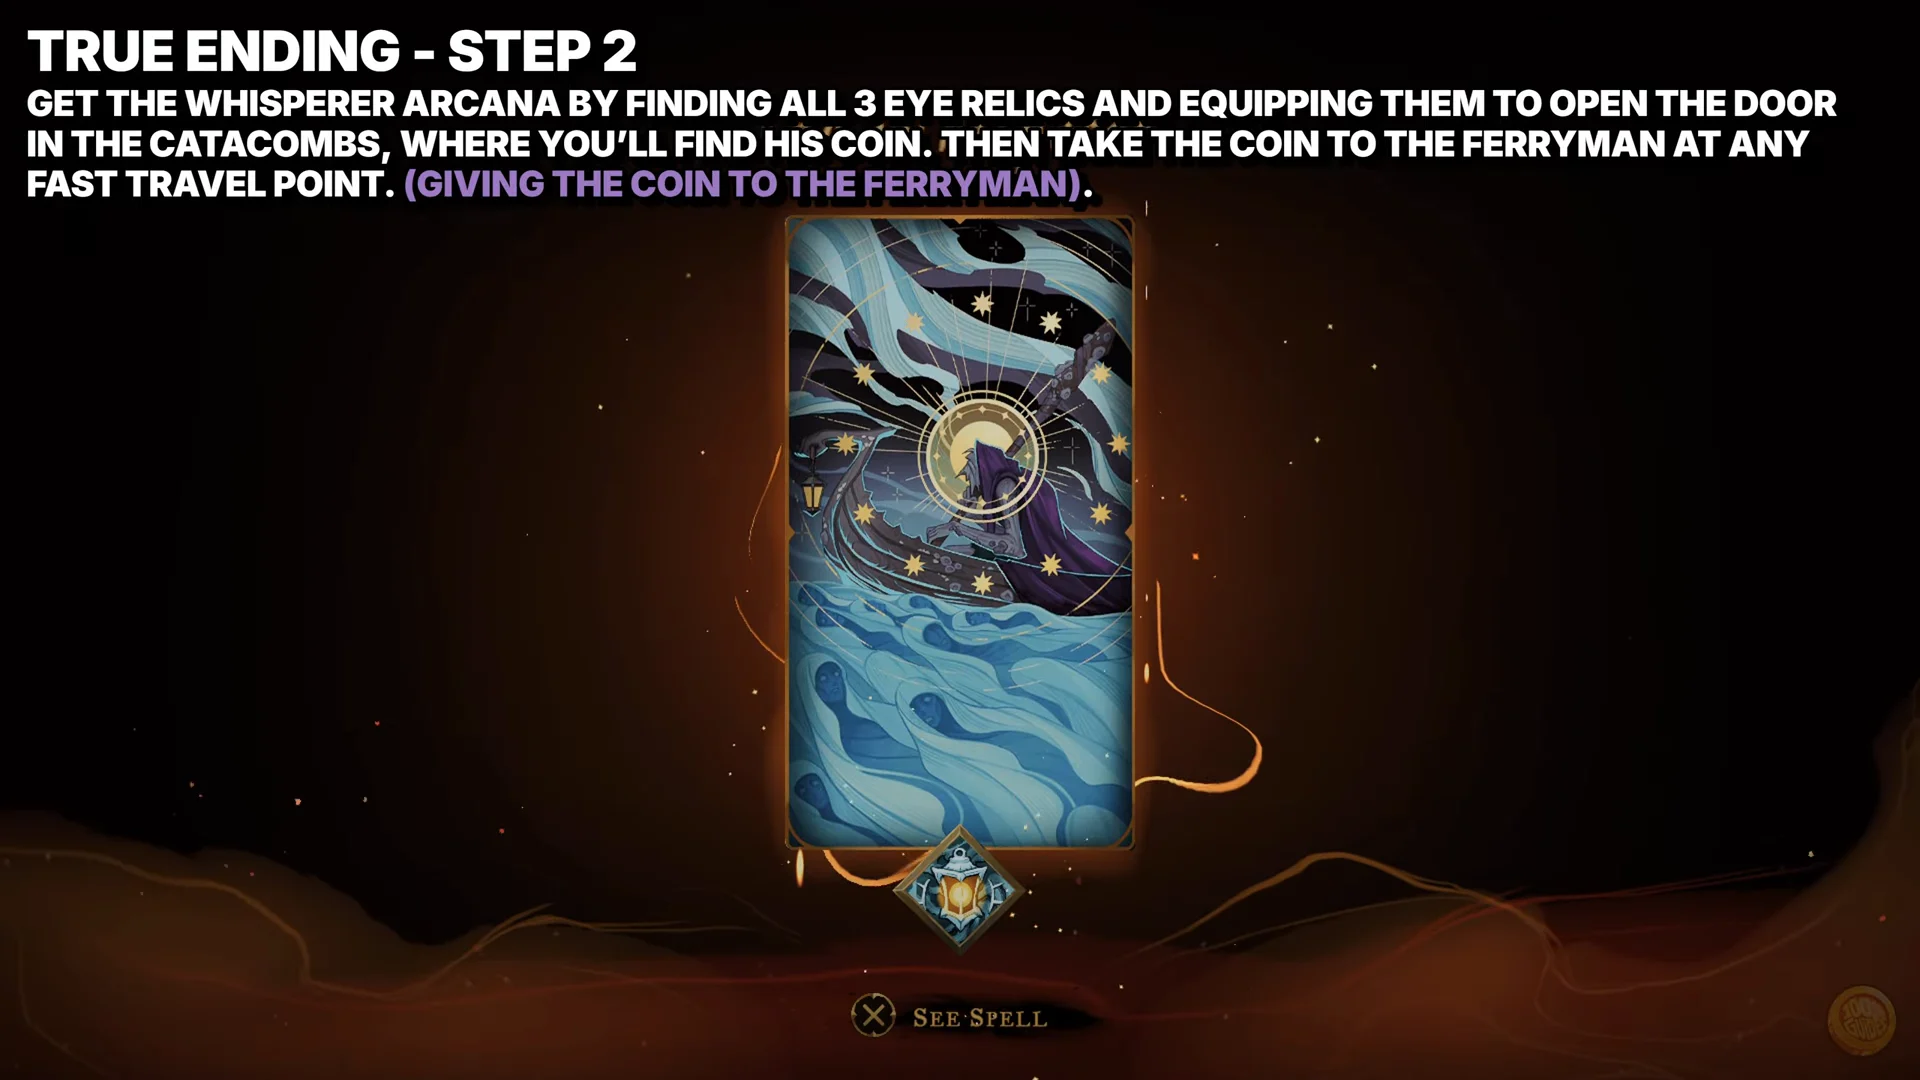
The Whisperer requires three key relics, the Ferryman’s Obol, and a trip to the Ferryman.
| Item | Type | Found in |
|---|---|---|
 Thrilling Eye Thrilling Eye | Key relic | Paris Streets |
 Trembling Eye Trembling Eye | Key relic | Holy Innocents’ Cemetery |
 Oozing Eye Oozing Eye | Key relic | Catacombs of Paris |
 Ferryman’s Obol Ferryman’s Obol | Key item | Catacombs of Paris (behind the Gate of Flesh) |
The Sage (Mirror trials and the Hall of Mirrors)
Four Mirror of Life trials are spread across the map: one in Holy Innocents’ Cemetery, one in Notre-Dame, one in the Clock Tower, and one reached through the Notre-Dame and Main Hall side of the castle. Clear all four to open the portal to the Hall of Mirrors.
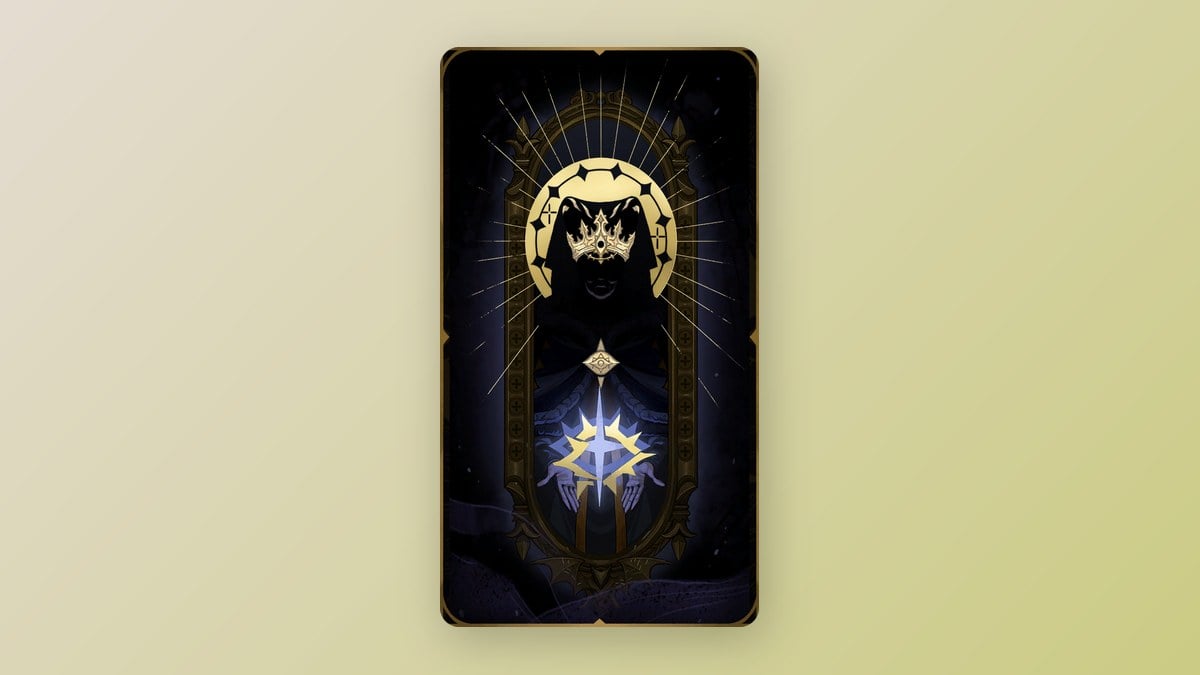
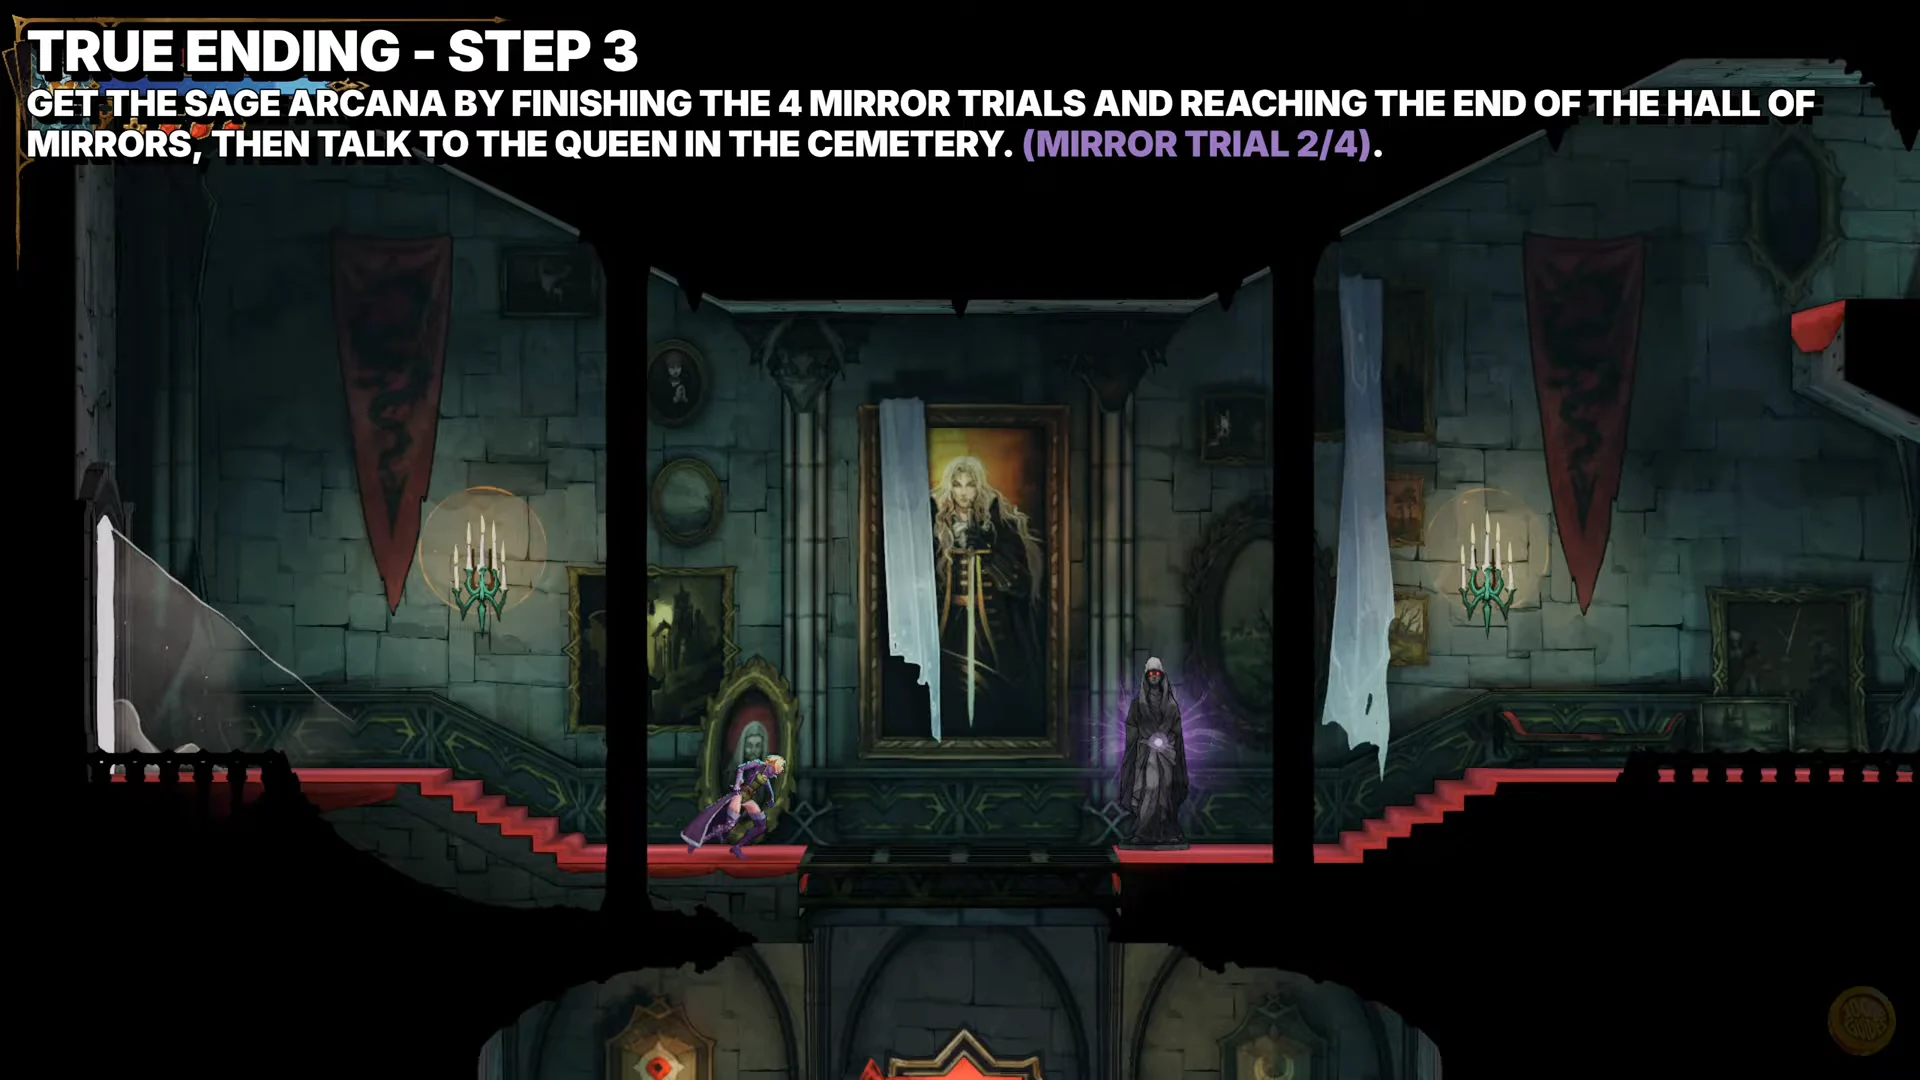
The Hall of Mirrors is a long labyrinth of traps and hostile apparitions. In the chamber at the end, Sypha is waiting, but it’s actually the Succubus in disguise. Expose her and defeat her. Then go to the Tomb of the Noble Queen and speak with Eleanor, who hands over The Sage and Mirror Walk.
Ring the four bells in the Gallery of the Four Virtues
Each stained-glass window in the gallery only opens with its matching Arcana equipped. Swap cards between windows.
| Virtue | Arcana to equip | Spell | Window figure |
|---|---|---|---|
| Courage |  The Warrior The Warrior | Infernal Pyre | Joan |
| Temperance |  The Whisperer The Whisperer | Freezing Path | Ferryman |
| Justice |  The Judge The Judge | Chains of Justice | Saint Louis |
| Prudence |  The Sage The Sage | Mirror Walk | Eleanor |
These virtue blessings are separate from the Works of Mercy tied to each Arcana. Only the four bells count toward the True Ending.
Defeat Rose’s shadow for The Self Arcana
Once all four bells have rung, interact with the middle stained-glass window in the gallery. It pulls you into a fight with Rose’s shadow reflection, the Doppelganger, which has 8,778 health and shrugs off most crowd control, including petrify, freeze, launches, Chains of Justice, and Freezing Path. Plan on straight damage. Winning awards The Self, whose spell, Absolution, spends all of your mana.

Trigger the True Ending against Dracula
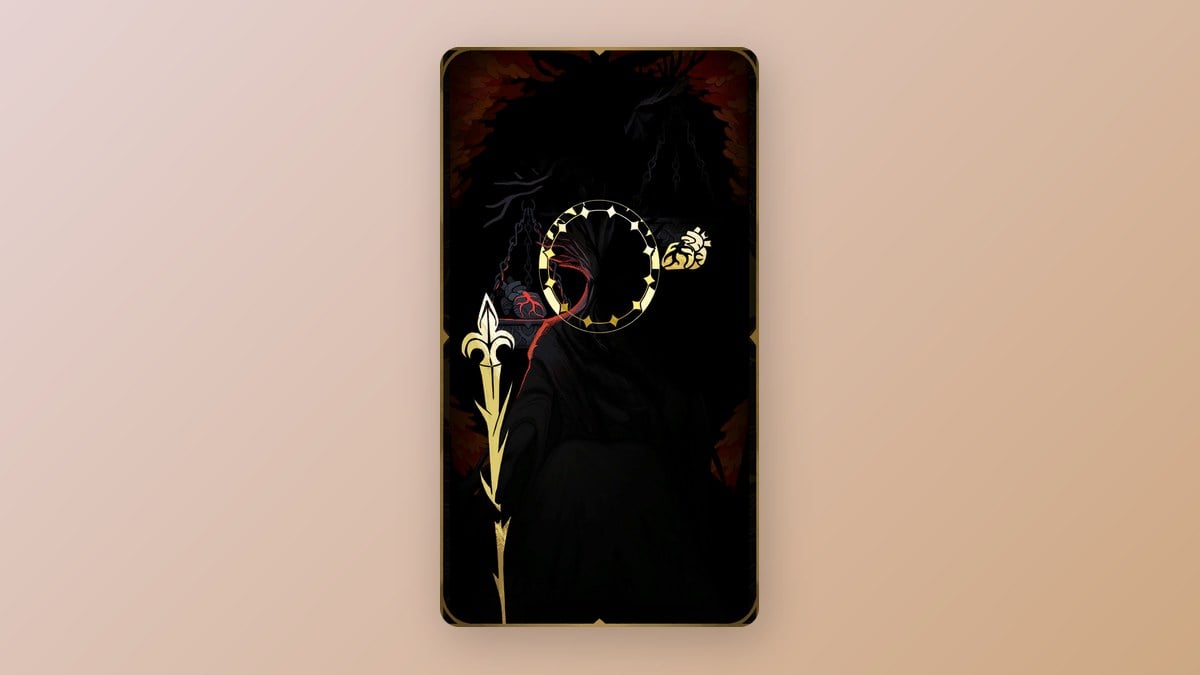
Activating it at that moment casts Absolution, banishes Dracula for good, and lifts the Belmont curse. The “Curse lifted” trophy is your confirmation. If you just watch the credits roll after phase two, you’ve missed the prompt and gotten the Normal Ending again.
Ending-route Arcana and boss stats
Every Arcana on the ending path, with its card number, the character behind it, and its spell where one is listed:
| Arcana | No. | Character | Spell / ability |
|---|---|---|---|
 The Self The Self | 1 | Doppelganger | Absolution |
| The Warrior | 3 | Joan | Infernal Pyre, Holy Light |
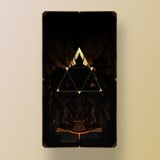 The Builder The Builder | 5 | Talos | Smash |
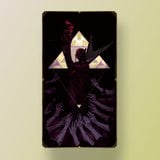 The Artist The Artist | 6 | Brauner | Masterpiece |
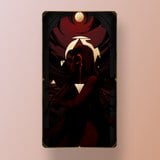 The Occultist The Occultist | 7 | Carmilla | Blood Spikes |
 The Shadow The Shadow | 8 | Death | Soul Harvest |
| The Whisperer | 10 | Ferryman | Freezing Path |
| The Judge | 14 | Saint Louis | Chains of Justice |
| The Sage | 15 | Eleanor | Mirror Walk |
The bosses you have to beat before the final Dracula fight:
| Boss | Location | Health / attack | XP |
|---|---|---|---|
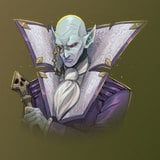 Brauner Brauner | Main Hall, Brauner’s Atelier | 4,250 / 30 | 500 |
 Carmilla Carmilla | Library, Observatory | 4,500 / 35 | 850 |
 Death Death | Notre-Dame, Choir | 8,444 / 40 | 1,000 |
 Doppelganger Doppelganger | Notre-Dame, Gallery of the Four Virtues | 8,778 / 50 | 1,000 |
Death and the Doppelganger hit hardest of this group, and Death can’t be made to bleed. Brauner, Carmilla, and the Doppelganger all ignore Chains of Justice’s root and stun, so don’t plan around binding them in place. Infernal Pyre (80 mana) can’t launch any of these four bosses, but its flames still burn everything here except Arthur-style burn-immune targets, which makes it a reasonable spell to keep equipped between Arcana swaps.