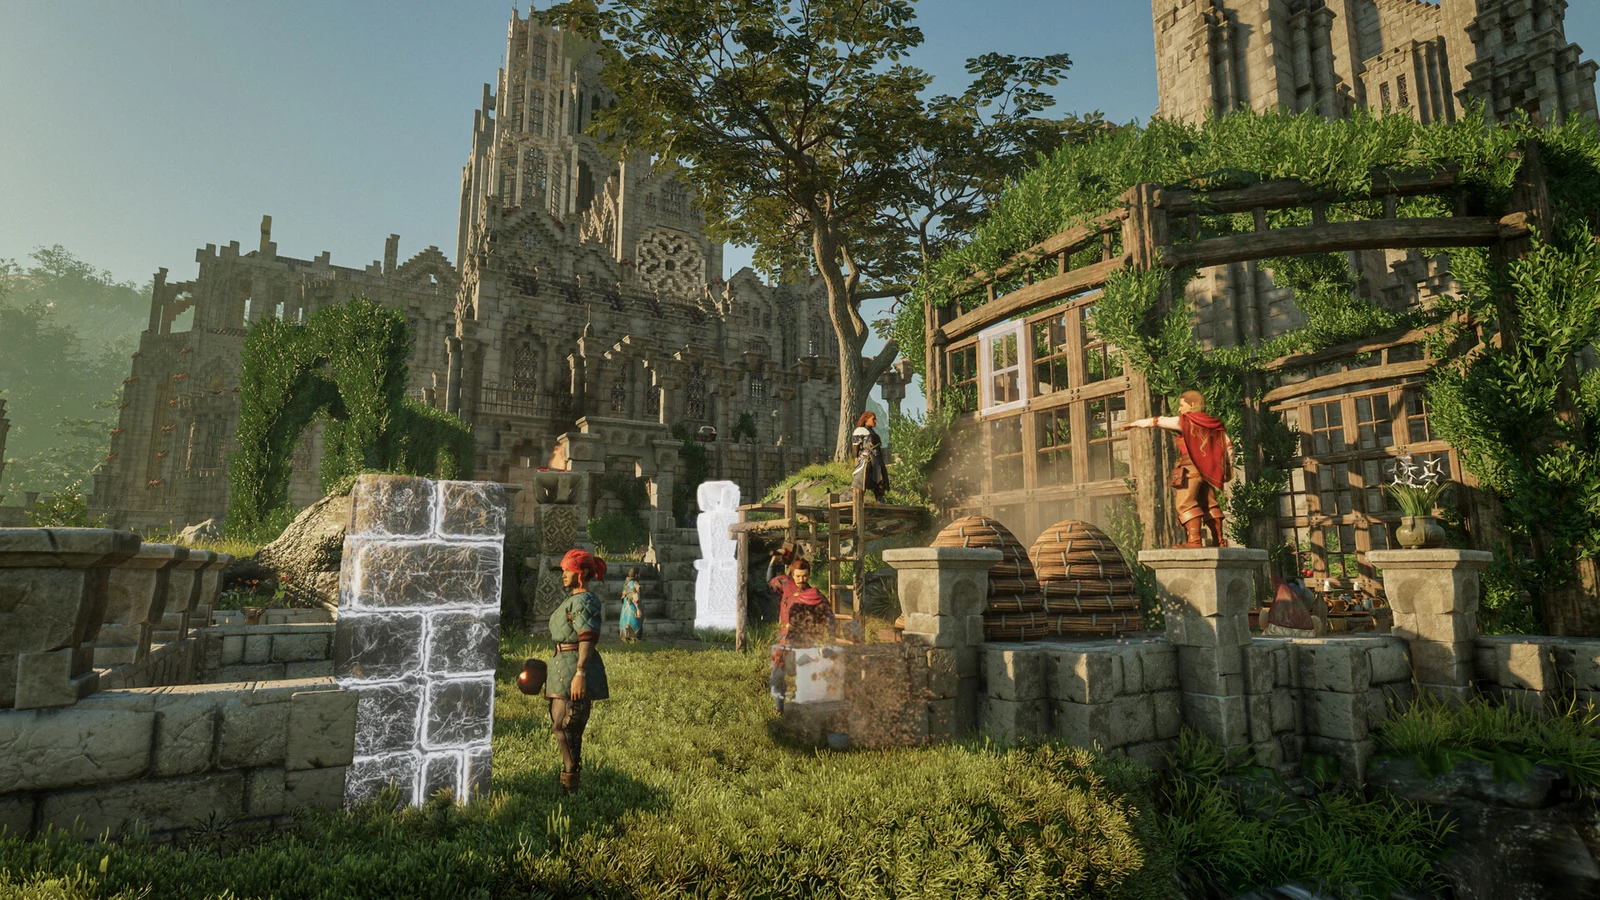
Enshrouded’s building system has no structural integrity checks, so a starter base doesn’t need a stone foundation. This modular layout uses that fact. It is a cross of wooden 3×3 platforms floating off a raised ledge, with an open crafting hub in the middle and a separate wing for each job you’ll do in the early game. The materials are cheap, and every wing can grow upward later without tearing anything down.
Quick answer: Place a Flame Altar on high ground, snap 4m wooden ceilings into 3×3 grids, then build a central hub with four wings: alchemist and farm, storage, survivor dormitory, and comfort room.
Enshrouded starter base layout: The hub and four wings
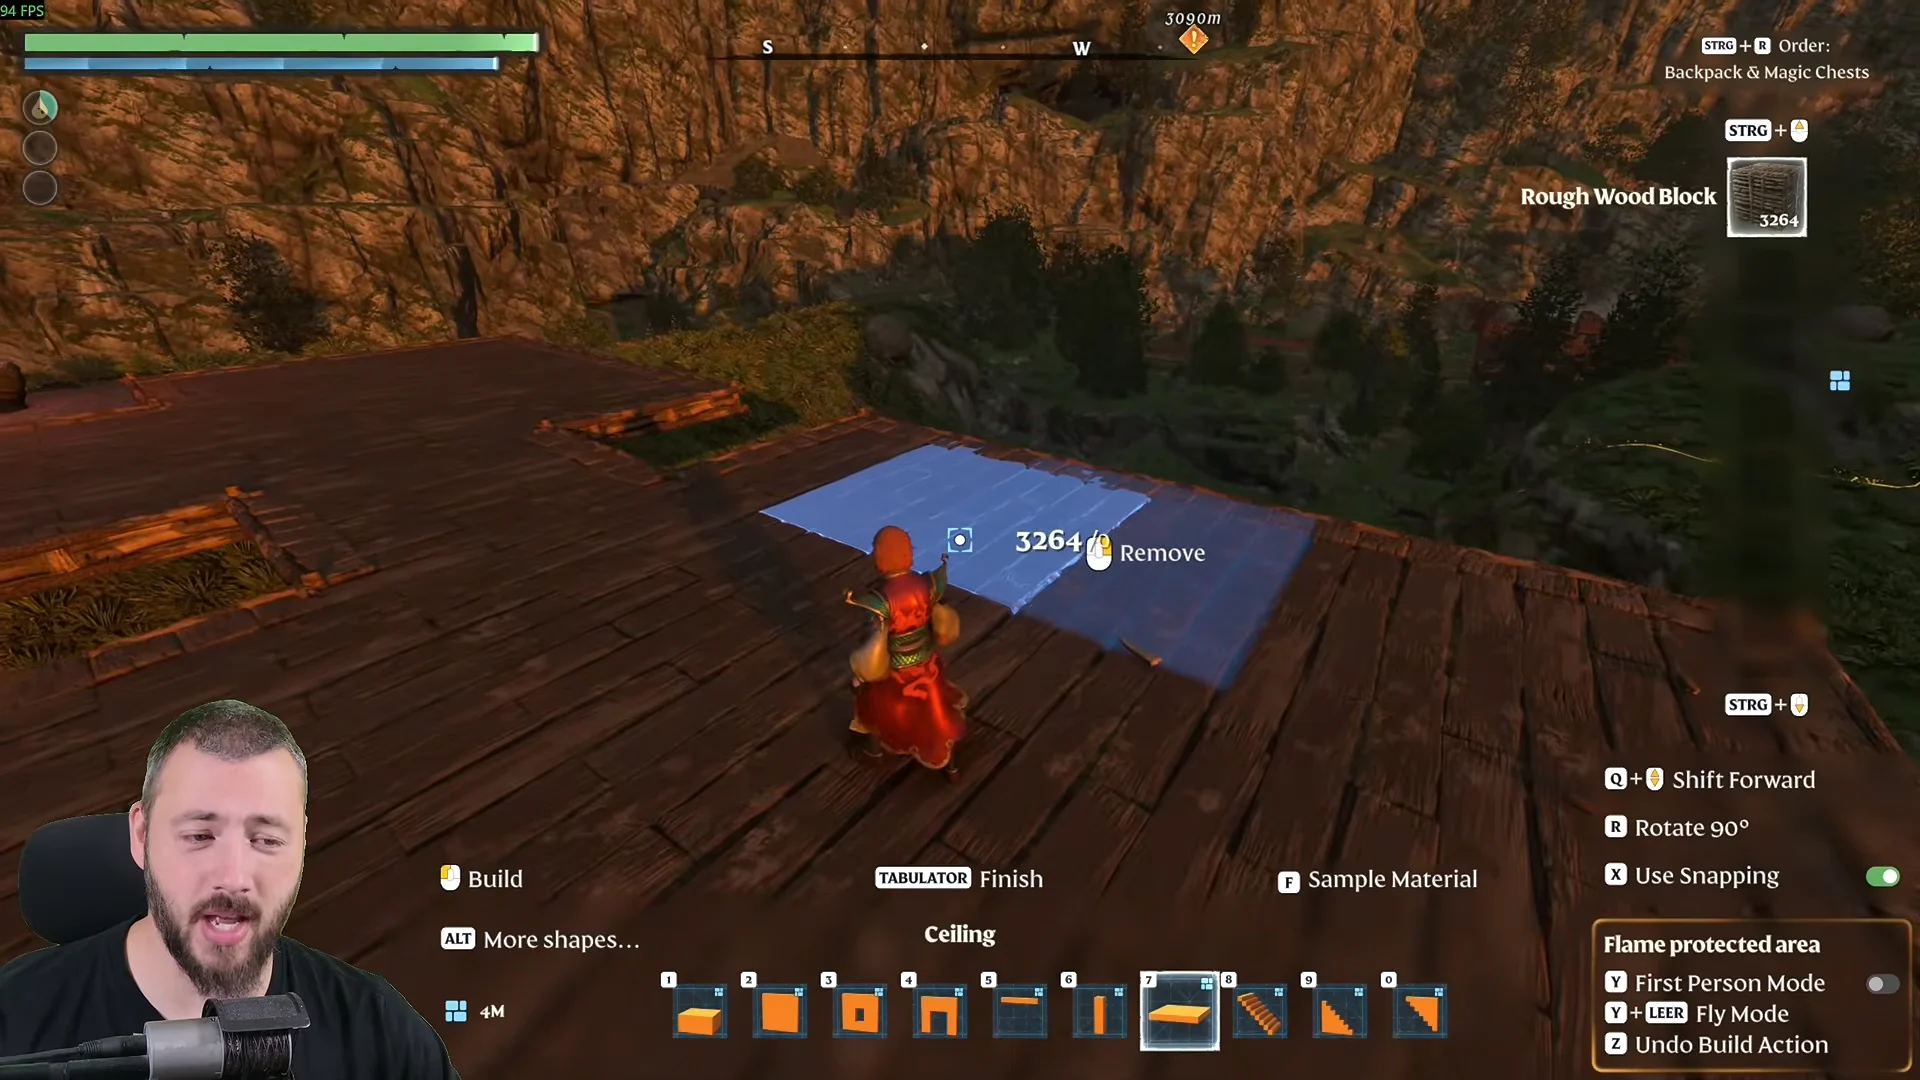
Every part of the base sits on a 3×3 grid of 4m ceiling tiles. The hub is open on its sides so you can reach your crafting stations quickly. Each wing has one clear purpose, which keeps you from walking through the whole house to drop off loot or brew a potion.
| Section | Footprint | Purpose |
|---|---|---|
| Central hub | 3×3, open pavilion | Crafting stations |
| Rear wing | 3×3, walled | Alchemist, chest storage |
| Rear terrace | 3×3, lower level | Seedbed and crop plots |
| Right wing | 3×3, multi-level | Survivor beds |
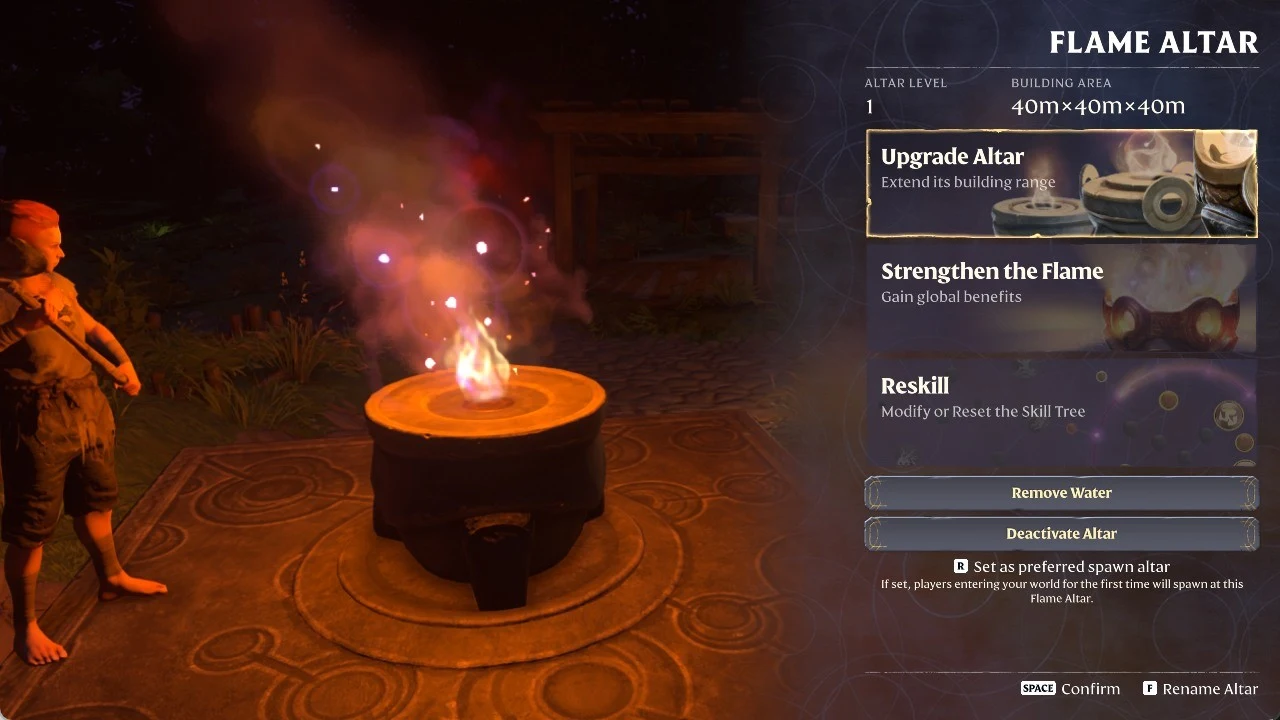
| Left wing | 3×2, multi-level | Flame Altar and comfort items |
The left wing is one row short because the Flame Altar’s collision takes up the space. Both side wings use internal stairs, so new floors can be added on top as you collect more beds and furniture. Extra 3×3 platforms can also be snapped onto any outer edge if you need more room.
Requirements for the build
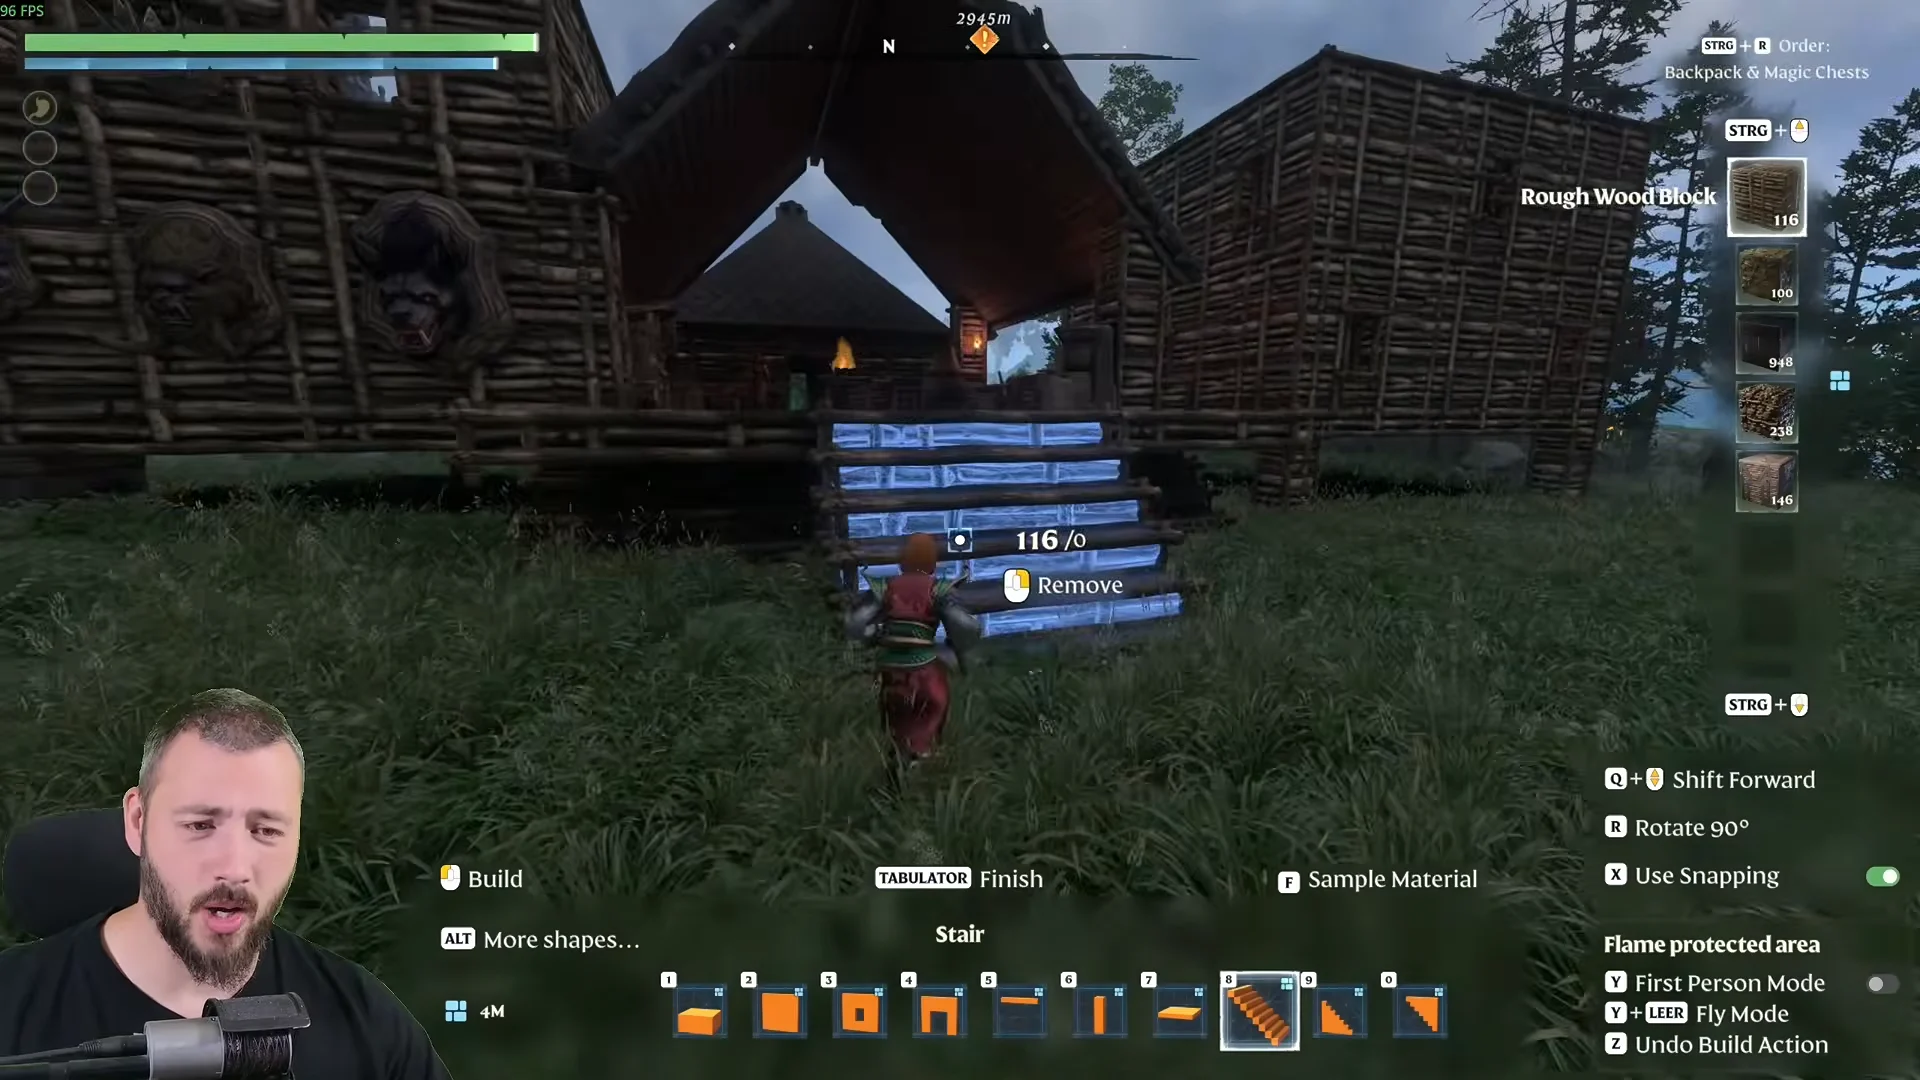
All of the structure is made from early-game pieces. You need these before you start:
- A placed Flame Altar. The hammer only works inside its range.
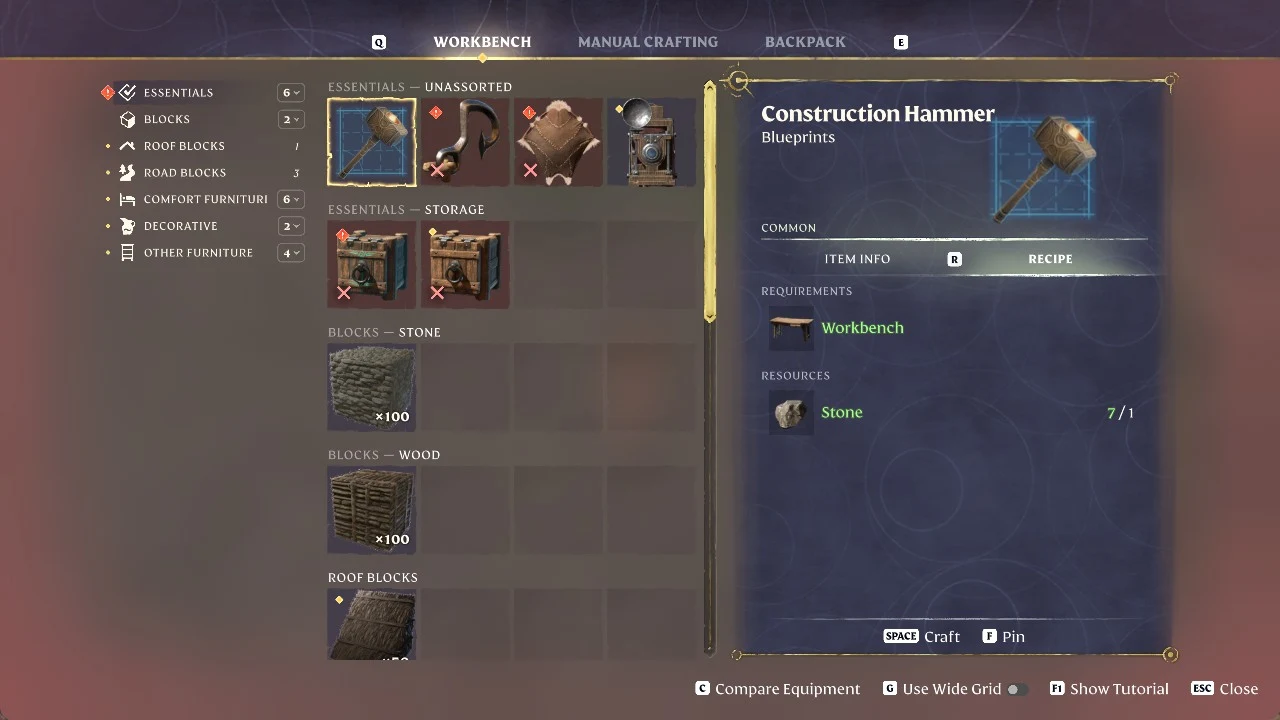
- The Construction Hammer, crafted at the Workbench.
- Rough Wood Block material for the ceilings, walls, columns and stairs.
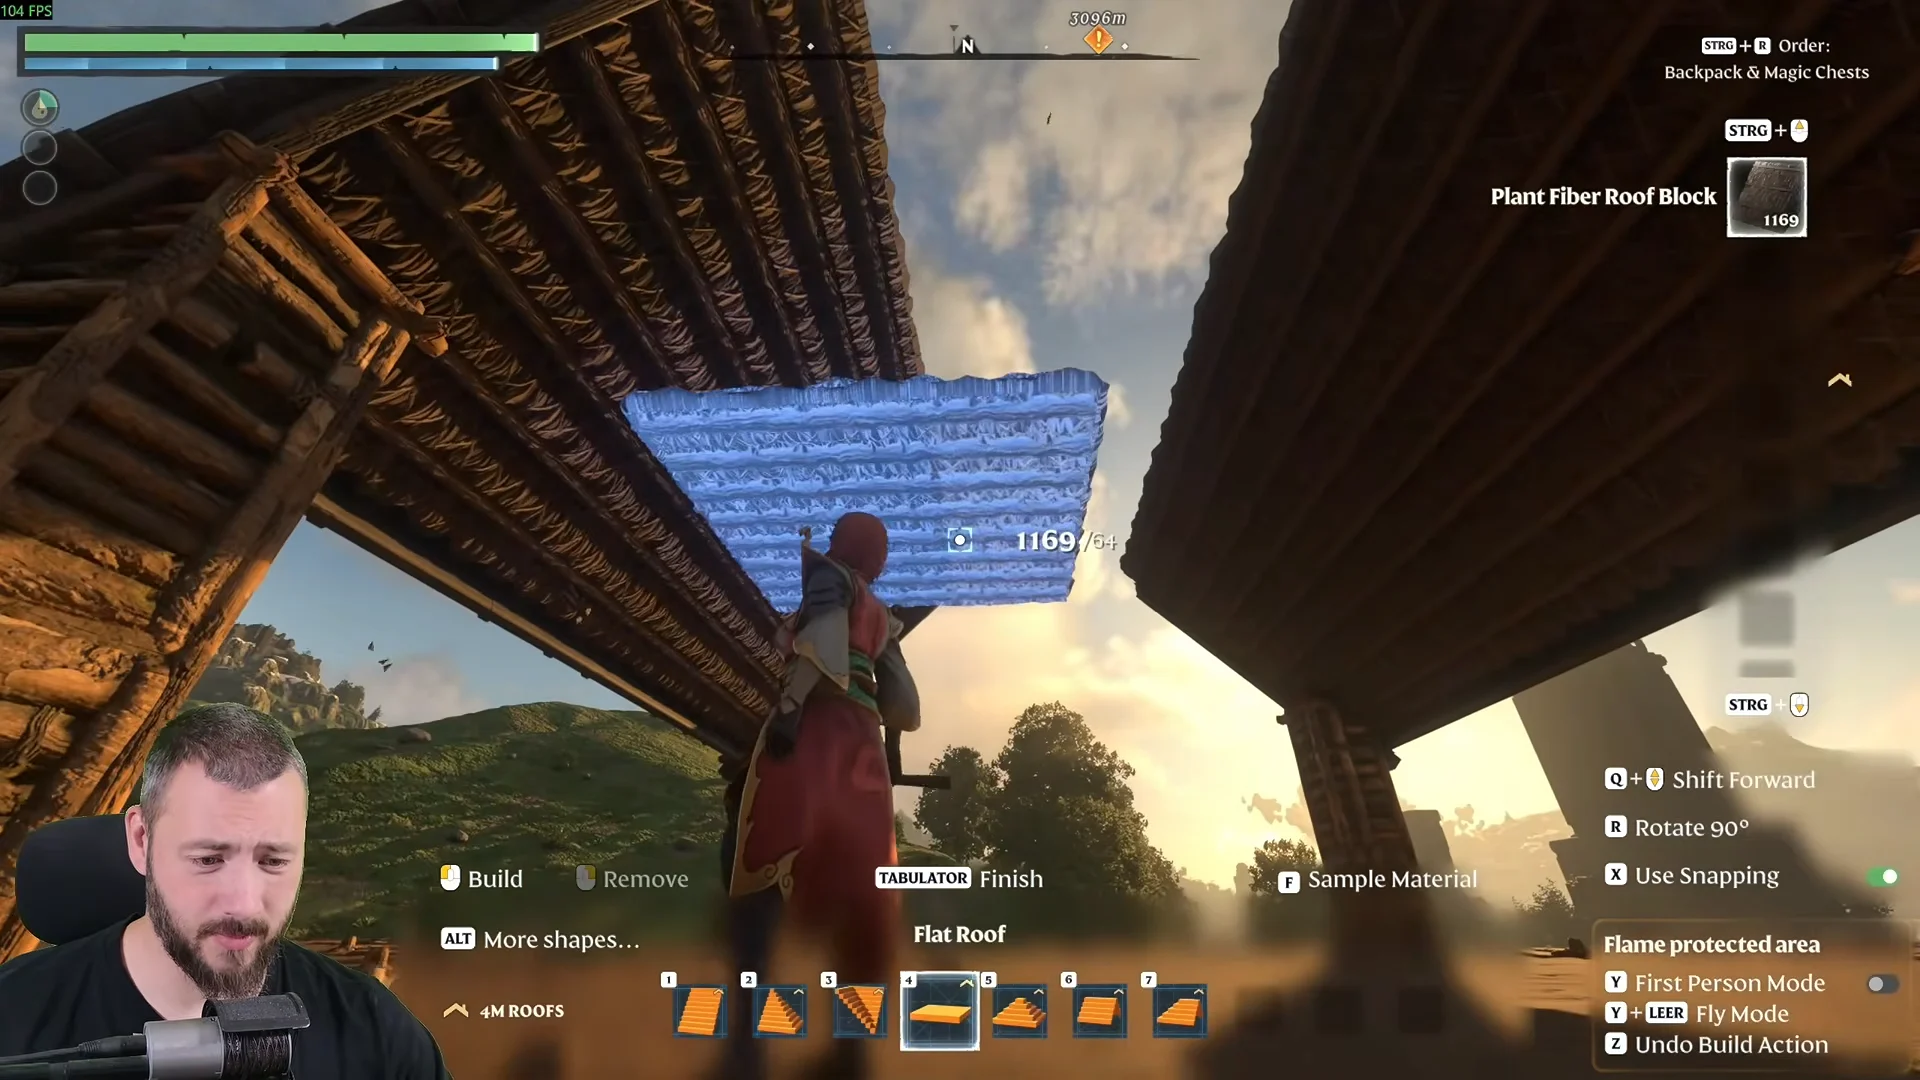
- Plant Fiber Roof Block material for the hub roof.
- Small Chests for the storage wall, plus soil for the farm terrace.
The Construction Hammer unlocks when you pick up Stone and reach player level 2. It is also the reward for the Building Shelter quest. It takes one Workbench recipe to make, and it does nothing outside the area covered by a Flame Altar.
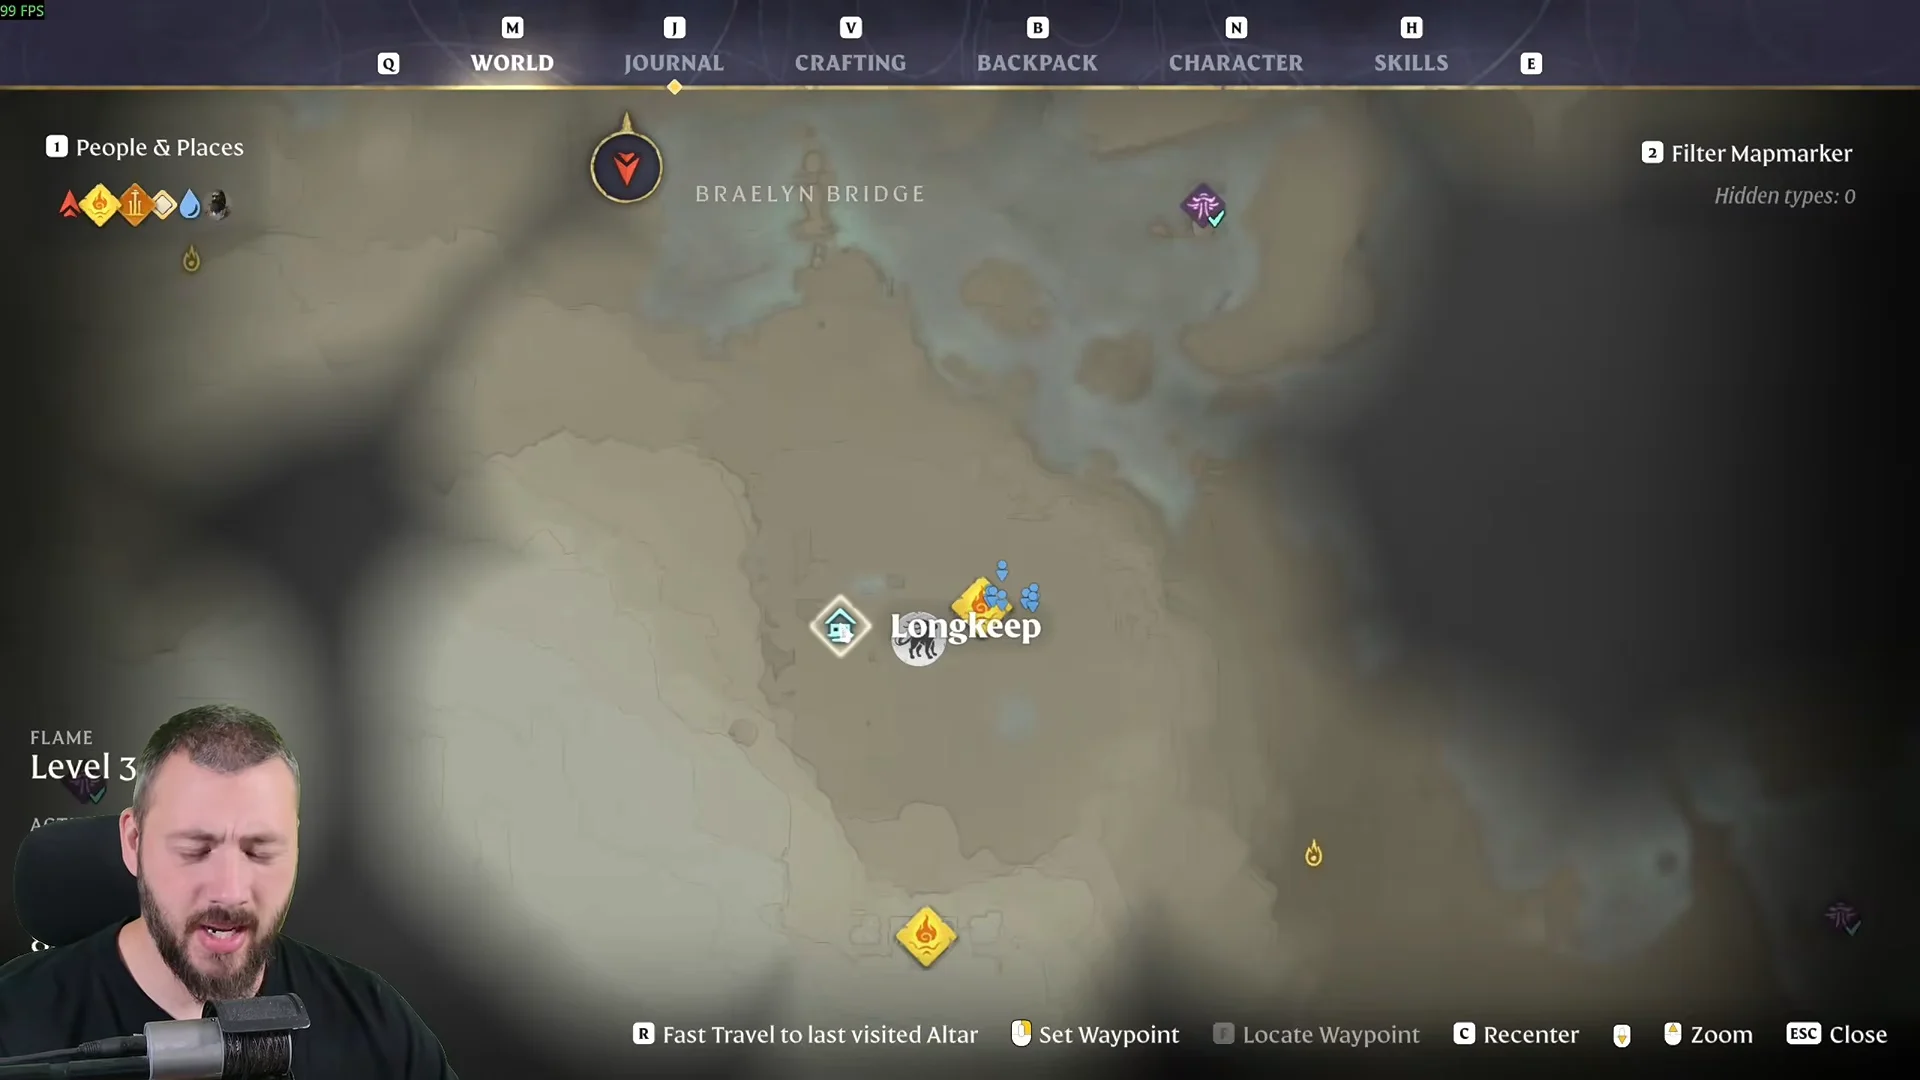
Flame Altar placement near Longkeep
The base works best on an elevated dirt ledge, because the floors can then extend straight out from the altar’s height. The example build is close to Longkeep, in the starting area near Braelyn Bridge.
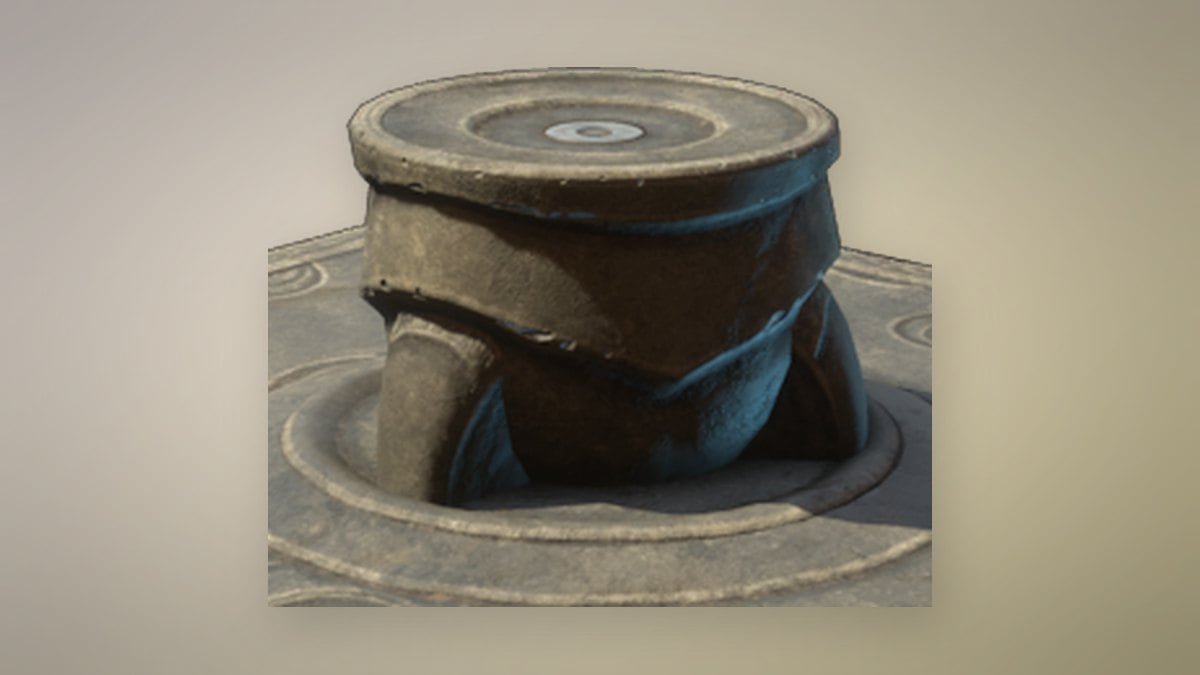
You can grow the build zone later from the altar menu. Upgrading the altar from level 2 to level 3 increases the building area from 80m×80m×80m to 120m×120m×120m and costs 5 Shroud Core.
Floating floor grids from 4m ceilings
Foundation blocks would have to run all the way down to the terrain, and that uses up stone quickly. The 4m wooden Ceiling piece is thin, snaps outward from whatever it touches, and can float. A full 3×3 grid of ceilings costs only a fraction of a foundation-based floor.
Central crafting hub: Pillars, roof and railings
The hub is a roofed pavilion with open sides, so stations can be reached from every wing.
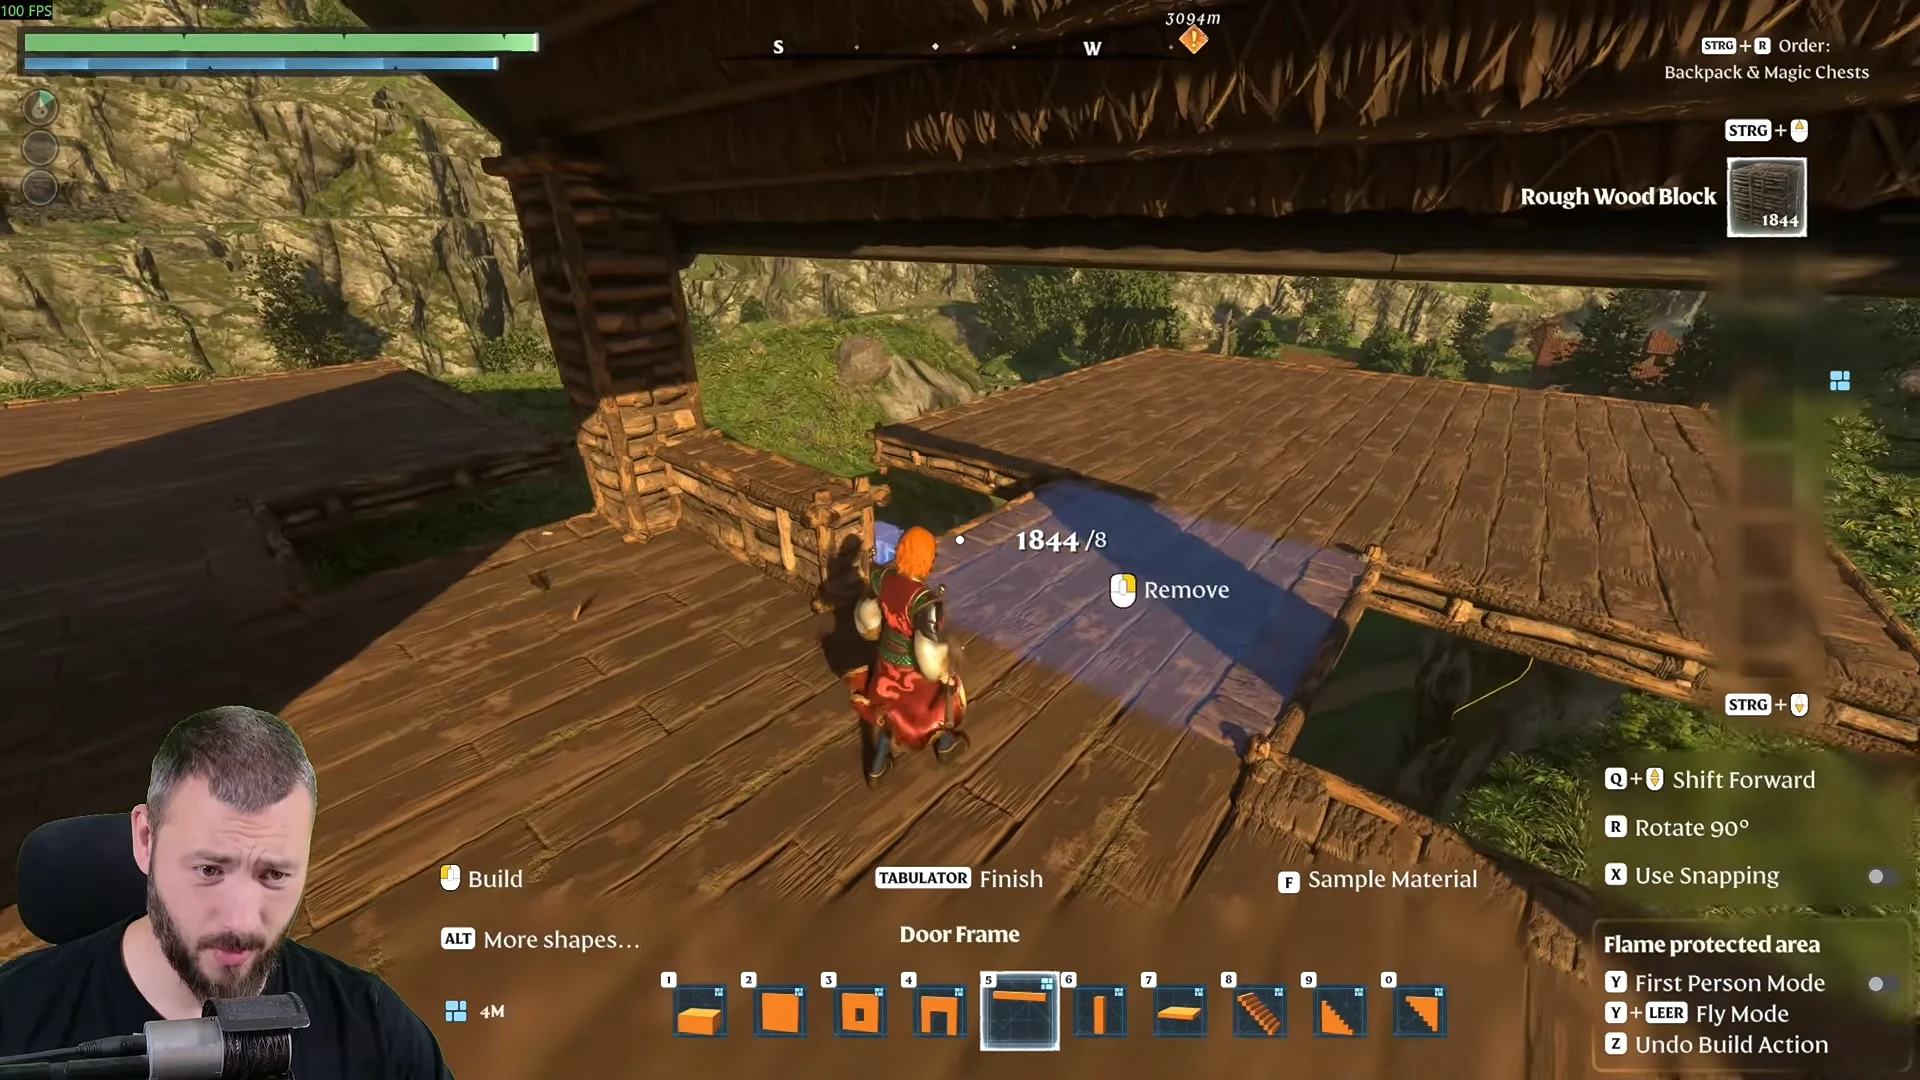
Alchemist room, storage wall and farm terrace
The rear wing is the busiest part of the base. Balthazar’s station, your chests and the crop beds are all a few steps apart, so you can harvest an ingredient and make a Health Potion with it in a single trip.
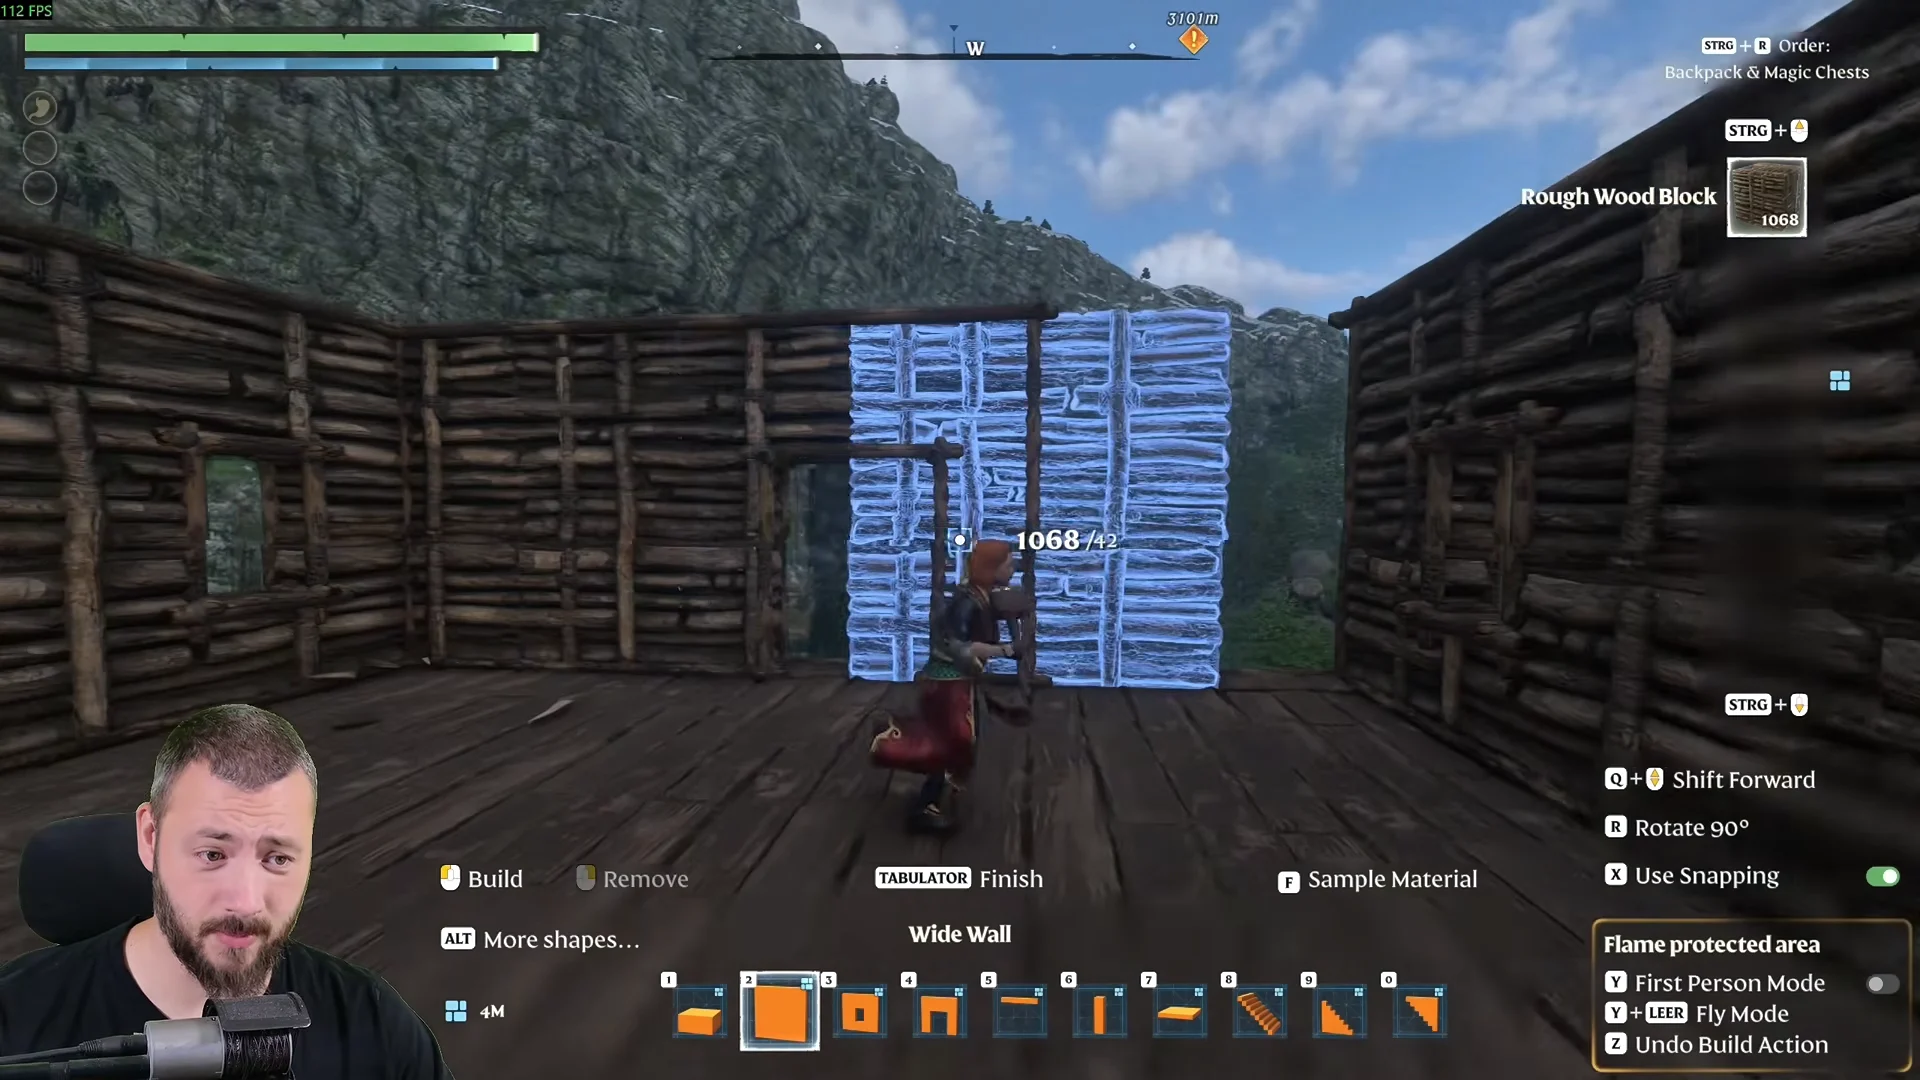
Walls and windows for the alchemist’s den
Tiered chest shelves
Lower farm terrace with soil beds
The Farmer can make Farm Soil in batches of 10; its recipe becomes available after you craft beneath a roof. Most plants grow faster in it, and water flowing across it uses up a little water—a detail to keep in mind on a raised wooden terrace.
Survivor dormitory and comfort tower
Both side wings are built to go up, not out. Beds and comfort furniture need floor space, and adding a level is cheaper than adding another platform.
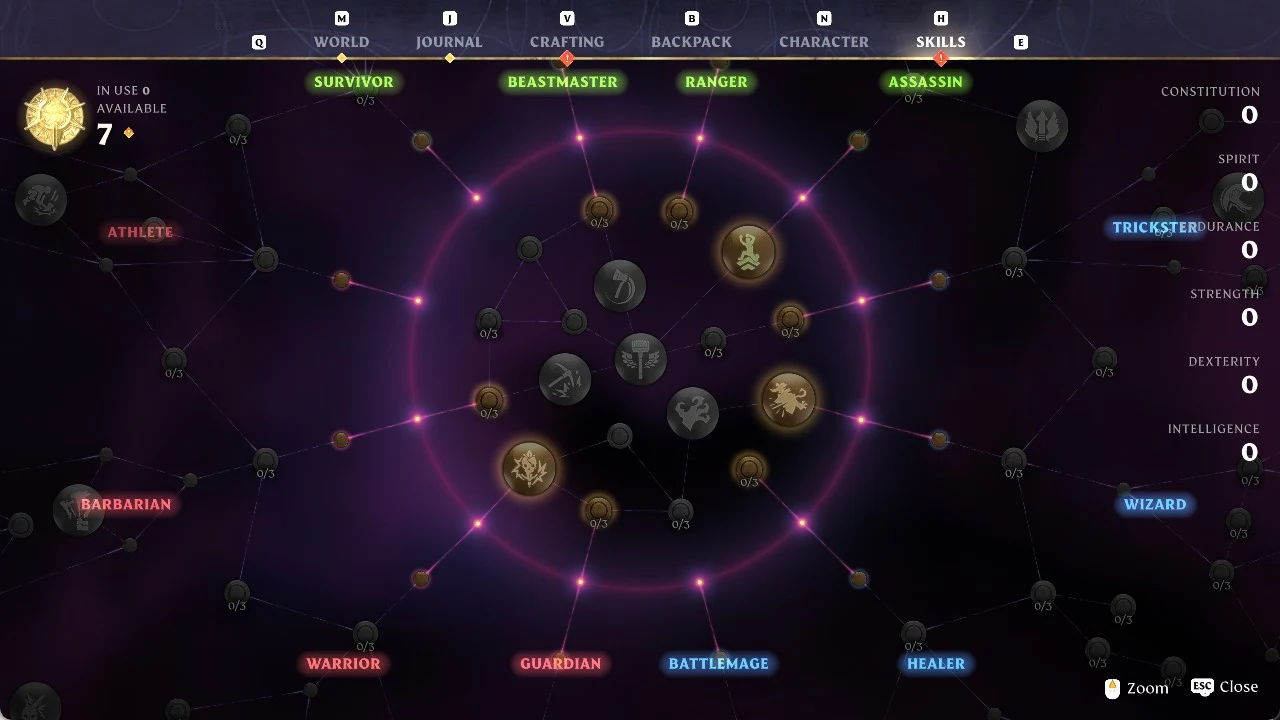
Enshrouded 1.0 reference values for the base materials
These are the items you will craft, farm or spend while building and upgrading this base, with their values from game build b25988036.
| Item | Source | Unlocked by | Stack |
|---|---|---|---|
 Construction Hammer | Workbench | Stone, player level 2+ | — |
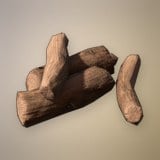 Wood Logs | Felling trees | — | 250 |
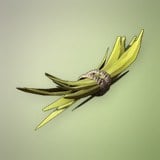 Plant Fiber | Gathering | — | 250 |
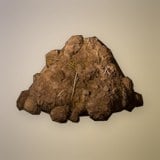 Farm Soil | Farmer (10 per craft) | Crafting under a roof | 250 |
 Shroud Core | Alchemist or Fell Bosses | Roof, or Shroud Spores | 250 |
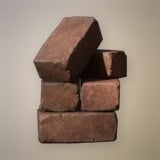 Fired Bricks | Kiln (30 per craft) | Lump of Clay | 250 |
 Indigo Plant | Revelwood | — | 250 |
Shroud Core is Rare, and it is the item you burn at the altar to grow your building area. Fired Bricks and Indigo Plant are both item level 13. The bricks come up in a Smelter quest that asks for 50 of them along with a Crucible. The Indigo Seedling planted on the terrace grows into Indigo Plant, which is a source of deep blue pigment.
Balthazar, the alchemist for the rear wing
| Field | Value |
|---|---|
| Role | Alchemist |
| Found in | Ancient Vault — Alchemist, Springlands |
| Recipes | 247 |
| Quest reward | Powerful Alchemy |
Balthazar’s list covers Health Potion, Shroud Core, the Mortar, the Alchemy Station and Shroud Survival Flask, along with early spells and mage armor. His quest chain includes Alchemist Needs Shelter and The Alchemist’s Mortar. That is why his room sits next to the crop beds and the chest wall, since his recipes use up so many raw ingredients.
How to confirm the starter base is working
The game shows you when each part of the build is doing its job:
- “Flame protected area” appears in the HUD anywhere on the platforms.
- Indoors, your status shows Sheltered, Warmth and Comfortable, and Rested after you sleep.
- The comfort readout goes up as furniture fills the left wing. The example build reaches Comfort (Level 18).
- The seedbed shows Water 1/1, Farm Soil 1/1 and a growing plant, such as Indigo Plant 1/1.
- Quick-stack at the chest wall clears your inventory, or shows “Nothing to Deposit” if it is already empty.
Once all of these show up, the base is done for now. Any later growth is just another 3×3 ceiling grid or one more floor on top of a wing. The walls, stations and chests you already have can stay where they are.