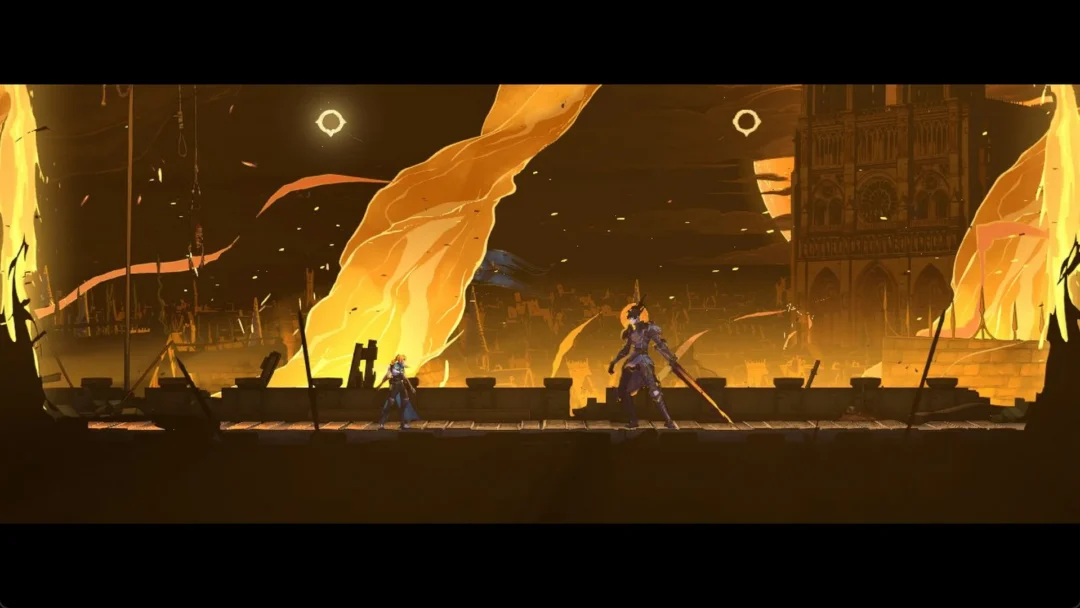
The Library in Castlevania: Belmont’s Curse is spread across districts. It holds relics, weapons, Heart Fragments, clues and a boss fight with Carmilla. The checklist below follows the districts in the order you reach them and lists every pickup, where it sits, and what it needs. Values are as of launch, version 1.0.
Quick answer: The Library holds 9 XP statues, 4 relics, 4 clues, 3 weapons, 3 Brave Heart Fragments, 3 Wise Heart Fragments, 2 Mirrors of Life, 2 whole meat, 1 Ferryman’s Wharf, 1 Arcana card, 1 ability, 1 spell, 1 keepsake and 1 boss.
Item checklists by area, with a map link for every item: Paris Streets, Holy Innocents’ Cemetery, Catacombs of Paris, Main Hall, Library, Clock Tower and Master’s Quarters, Notre-Dame, Hall of Mirrors.
Library access, Smash checks and Mirrors of Life
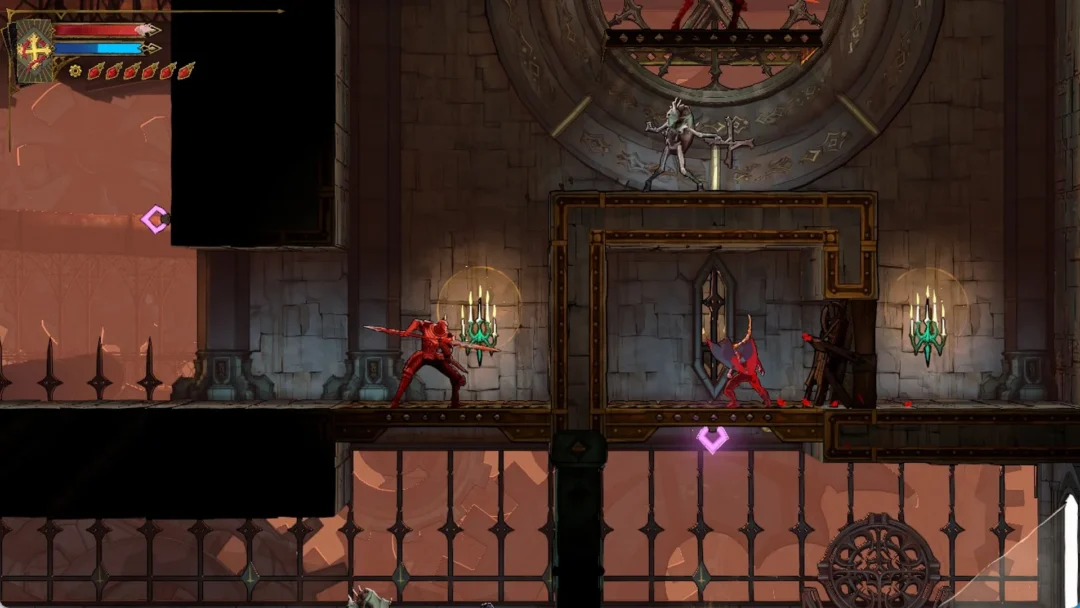
From the Main Hall, enter the Library. You need Smash for two pickups: Revenant’s Shard in the Curiosity Cabinet and a Wise Heart Fragment in the Rhetoric Shelves. Grapple rings give access to the Fine Arts Shelves, where you can collect the Thorn Whip. Carmilla is in the Observatory. Defeat her to receive The Occultist Arcana and the Blood Spikes spell; Brauner’s Paintbrush is on a desk nearby. Look for Aerial Rush in the corridor on the left side of Carmilla’s hall.
The two Mirrors of Life are in the Rhetoric Shelves and the Exhibition Room. The Rhetoric Shelves mirror covers most of the Library. The Exhibition Room mirror is closest to the Curiosity Cabinet, Lisa’s Laboratory, the Condemned Shelves and the Drawing Room.
Bridge of Knowledge
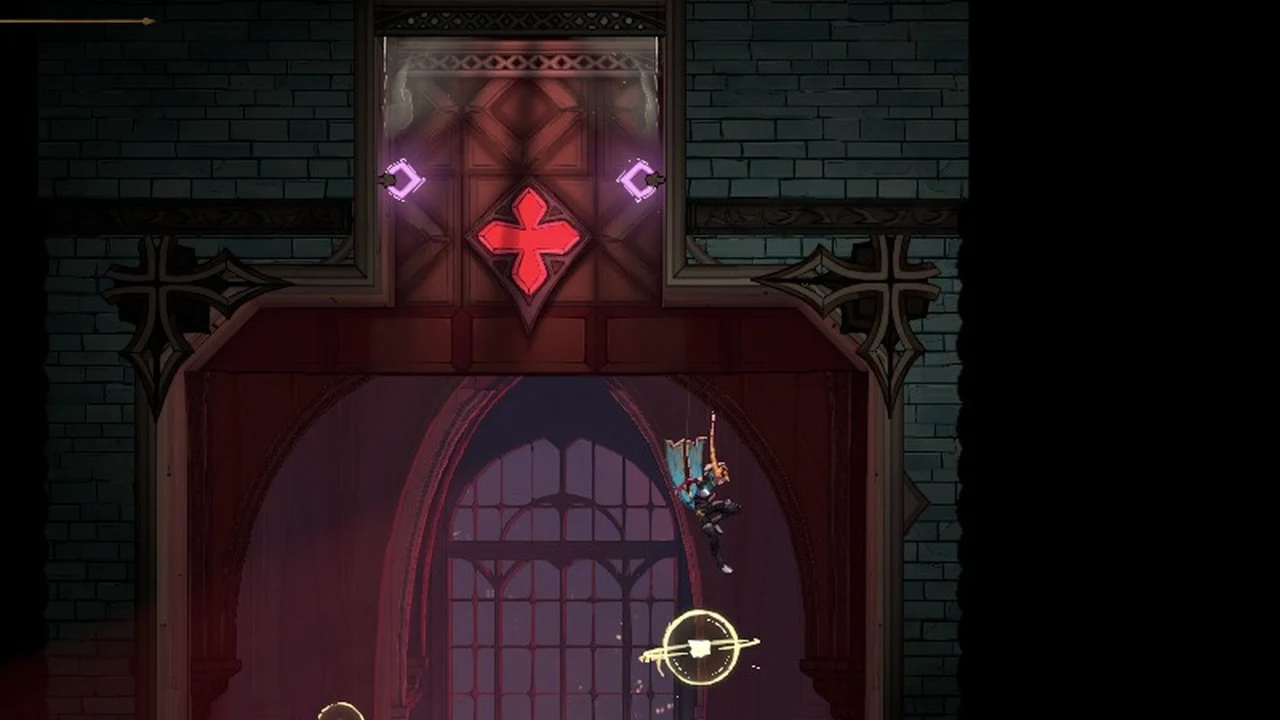
The Bridge of Knowledge has one stop, the Ferryman’s Wharf. The nearest Mirror of Life is in the Rhetoric Shelves.
| Item | Type | Where | Needs | Map |
|---|---|---|---|---|
| Ferryman’s Wharf | Ferryman’s Wharf | Nearest Mirror of Life: Rhetoric Shelves | — | Map |
The Ferryman’s Wharf is in the Bridge of Knowledge.
Poetry Shelves
A Brave Heart Fragment hides behind a hidden passage here, and there is one XP statue.
| Item | Type | Where | Needs | Map |
|---|---|---|---|---|
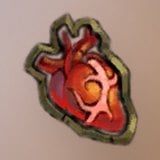 Brave Heart Fragment | Heart (HP) | Secret area behind a hidden passage. Nearest Mirror of Life: Rhetoric Shelves | — | Map |
| XP statue | XP statue | Nearest Mirror of Life: Rhetoric Shelves | — | Map |
Rhetoric Shelves
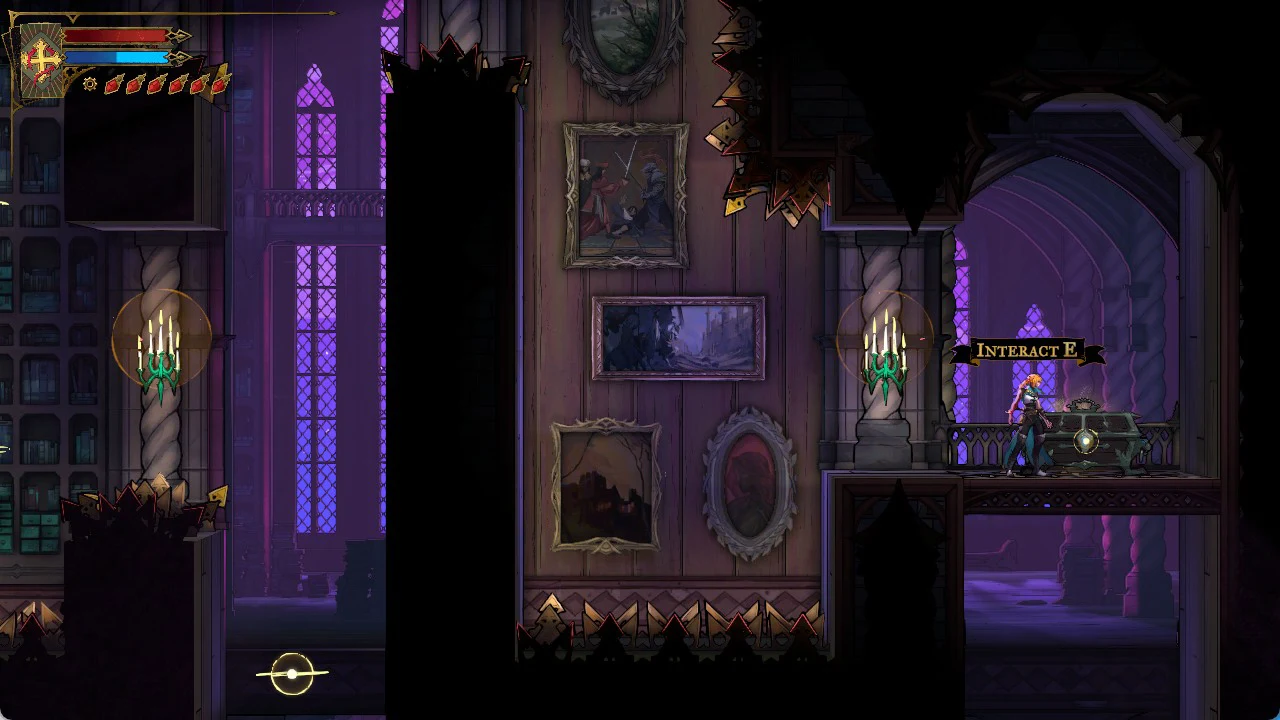
This district has two relic chests, Lich’s Mark and Midnight Tear, plus a Wise Heart Fragment under a floor that needs Smash. It also holds the first Mirror of Life.
| Item | Type | Where | Needs | Map |
|---|---|---|---|---|
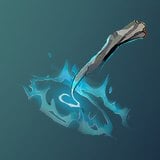 Lich’s Mark | Relic | Secret area behind a breakable wall, chest. Nearest Mirror of Life: Rhetoric Shelves | — | Map |
 Midnight Tear | Relic | Secret area behind a hidden passage, chest. Nearest Mirror of Life: Rhetoric Shelves | — | Map |
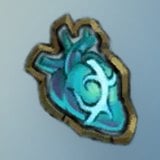 Wise Heart Fragment | Heart (mana) | Under a Smash floor. Nearest Mirror of Life: Rhetoric Shelves | Smash | Map |
 Mirror of Life | Mirror of Life | — | Map |
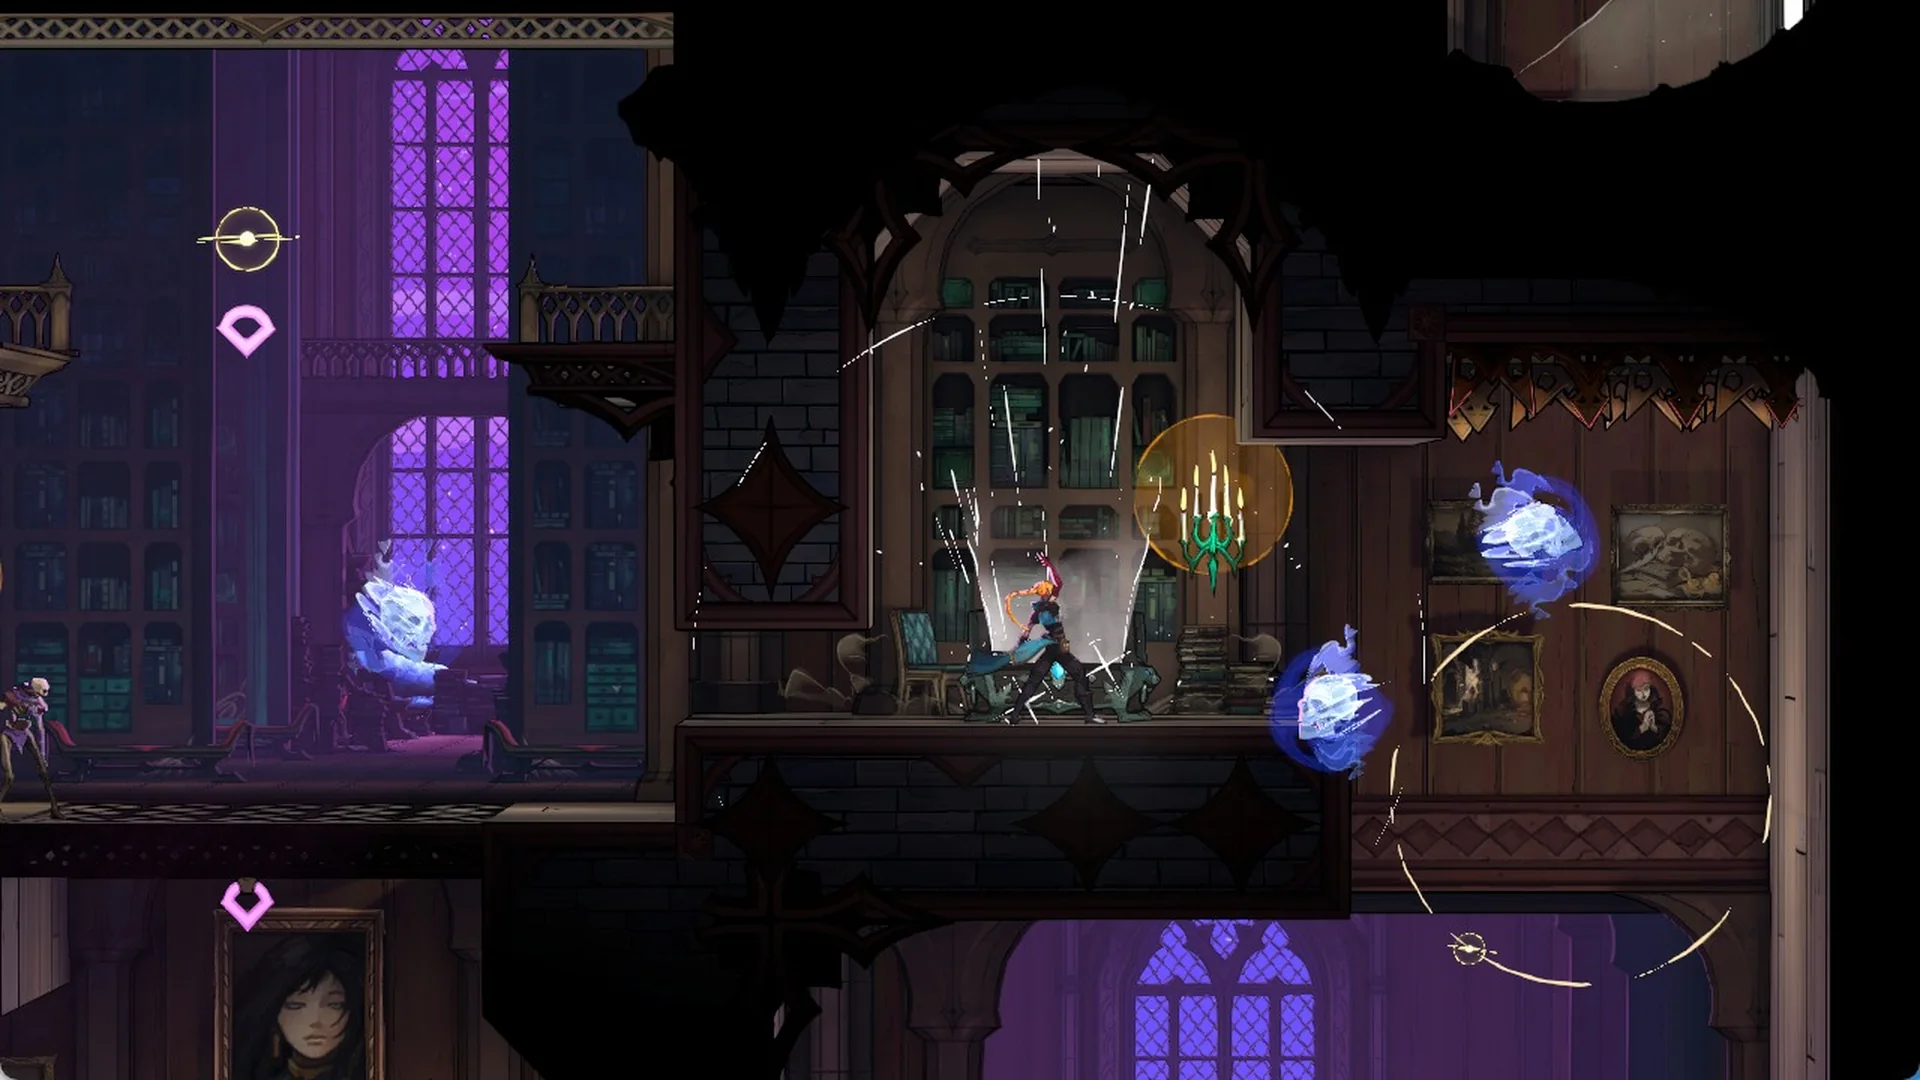
Relic chests show an interact prompt when you stand next to them.
Library Foyer
The Library Foyer has a Brave Heart Fragment and one XP statue.
| Item | Type | Where | Needs | Map |
|---|---|---|---|---|
| Brave Heart Fragment | Heart (HP) | Nearest Mirror of Life: Rhetoric Shelves | — | Map |
| XP statue | XP statue | Secret area behind a breakable wall, near a breakable wall. Nearest Mirror of Life: Rhetoric Shelves | — | Map |
Study Room
The Wraith’s Tear relic is in a chest behind a hidden passage, and the room has two XP statues.
| Item | Type | Where | Needs | Map |
|---|---|---|---|---|
 Wraith’s Tear | Relic | Secret area behind a hidden passage, chest. Nearest Mirror of Life: Rhetoric Shelves | — | Map |
| XP statue | XP statue | Nearest Mirror of Life: Rhetoric Shelves | — | Map |
| XP statue | XP statue | Secret area behind a breakable wall, near a breakable wall. Nearest Mirror of Life: Rhetoric Shelves | — | Map |
Planetarium
The Planetarium holds one of each Heart Fragment, a Brave Heart Fragment and a Wise Heart Fragment.
| Item | Type | Where | Needs | Map |
|---|---|---|---|---|
| Brave Heart Fragment | Heart (HP) | Nearest Mirror of Life: Rhetoric Shelves | — | Map |
| Wise Heart Fragment | Heart (mana) | Nearest Mirror of Life: Rhetoric Shelves | — | Map |
Observation Tower
The Observation Tower has the Aerial Rush skill, which you can only take after you beat Carmilla, and the Magical Brush clue.
| Item | Type | Where | Needs | Map |
|---|---|---|---|---|
 Aerial Rush | Ability | Nearest Mirror of Life: Rhetoric Shelves | Beat Carmilla | Map |
| Magical Brush | Clue | Nearest Mirror of Life: Rhetoric Shelves | — | Map |
Observatory
The Observatory is Carmilla’s boss arena. Beating her gives you The Occultist Arcana and the Blood Spikes spell, and Brauner’s Paintbrush sits on a desk nearby.
| Item | Type | Where | Needs | Map |
|---|---|---|---|---|
 Carmilla | Boss | Boss arena. Nearest Mirror of Life: Rhetoric Shelves | — | Map |
 The Occultist | Arcana card | Nearest Mirror of Life: Rhetoric Shelves | Beat Carmilla | Map |
 Blood Spikes | Spell | Nearest Mirror of Life: Rhetoric Shelves | Beat Carmilla | Map |
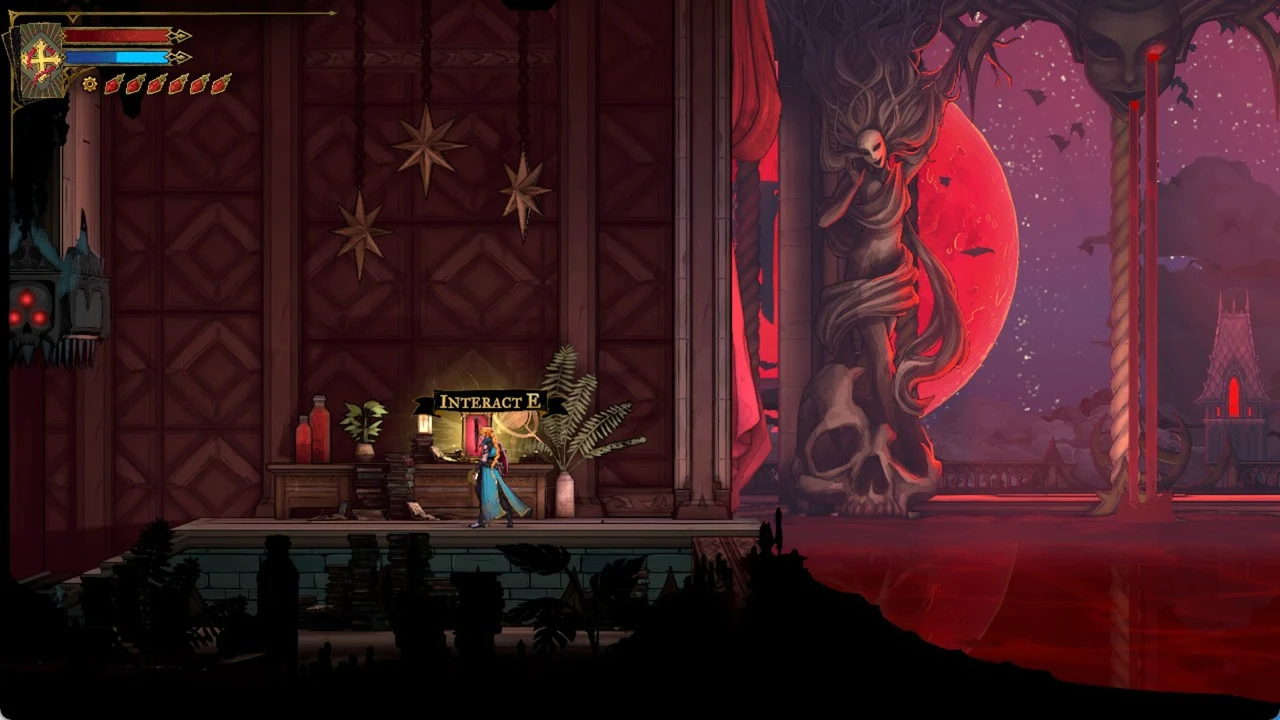
| Brauner’s Paintbrush | Keepsake | On a desk near Carmilla’s hall; press Interact. Nearest Mirror of Life: Rhetoric Shelves | — | Map |
Walk up to the desk and the interact prompt appears so you can pick up the Paintbrush.
Fine Arts Shelves
The Thorn Whip sits in a chest behind a hidden passage that you reach with the grapple rings. A Wise Heart Fragment hides behind another hidden passage.
| Item | Type | Where | Needs | Map |
|---|---|---|---|---|
 Thorn Whip | Weapon | Secret area behind a hidden passage, chest. Nearest Mirror of Life: Rhetoric Shelves | — | Map |
| Wise Heart Fragment | Heart (mana) | Secret area behind a hidden passage. Nearest Mirror of Life: Rhetoric Shelves | — | Map |
Natural Philosophy Shelves
The Blood Poem clue is behind a hidden passage, and the district also has one whole meat and two XP statues.
| Item | Type | Where | Needs | Map |
|---|---|---|---|---|
| Blood Poem | Clue | Secret area behind a hidden passage. Nearest Mirror of Life: Rhetoric Shelves | — | Map |
| Meat | Whole meat | Secret area behind a breakable wall, near a breakable wall. Nearest Mirror of Life: Rhetoric Shelves | — | Map |
| XP statue | XP statue | Secret area behind a hidden passage. Nearest Mirror of Life: Rhetoric Shelves | — | Map |
| XP statue | XP statue | Secret area behind a hidden passage. Nearest Mirror of Life: Rhetoric Shelves | — | Map |
Exhibition Room
The second Mirror of Life is here, along with one XP statue.
| Item | Type | Where | Needs | Map |
|---|---|---|---|---|
| XP statue | XP statue | Secret area behind a hidden passage. Nearest Mirror of Life: Rhetoric Shelves | — | Map |
| Mirror of Life | Mirror of Life | — | Map |
Trophy Room
The Trophy Room has a single XP statue.
| Item | Type | Where | Needs | Map |
|---|---|---|---|---|
| XP statue | XP statue | Nearest Mirror of Life: Exhibition Room | — | Map |
Curiosity Cabinet
Revenant’s Shard is in a chest under a floor that needs Smash, and there is one whole meat. The nearest Mirror of Life is in the Exhibition Room.
| Item | Type | Where | Needs | Map |
|---|---|---|---|---|
 Revenant’s Shard | Relic | Under a Smash floor, chest. Nearest Mirror of Life: Exhibition Room | Smash | Map |
| Meat | Whole meat | Under a Smash floor. Nearest Mirror of Life: Exhibition Room | Smash | Map |
Lisa’s Laboratory
The Durandal weapon is in a chest here.
| Item | Type | Where | Needs | Map |
|---|---|---|---|---|
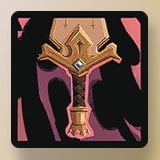 Durandal | Weapon | Chest. Nearest Mirror of Life: Exhibition Room | — | Map |
Condemned Shelves
The Fleuret and Tower Shield is in a chest behind a hidden passage.
| Item | Type | Where | Needs | Map |
|---|---|---|---|---|
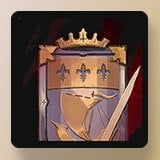 Fleuret and Tower Shield | Weapon | Secret area behind a hidden passage, chest. Nearest Mirror of Life: Exhibition Room | — | Map |
Astronomer’s Office
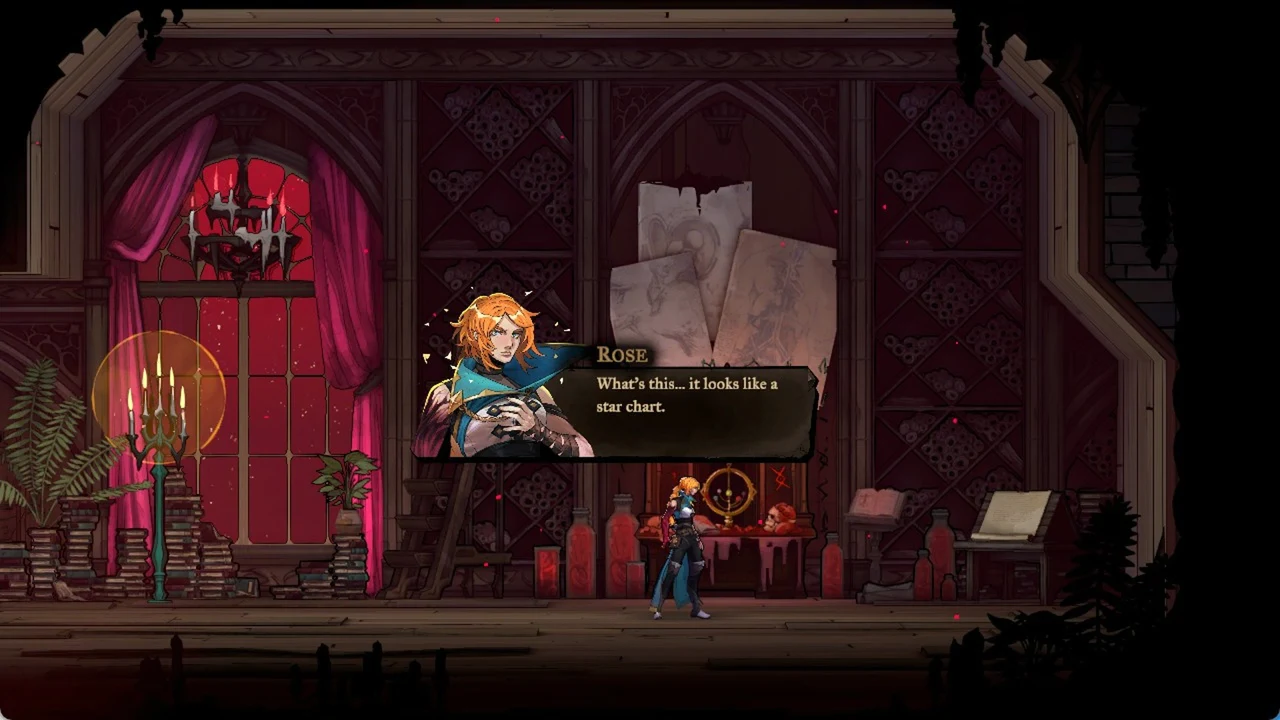
The Star Chart clue is on the desk, and the office has one XP statue.
| Item | Type | Where | Needs | Map |
|---|---|---|---|---|
| Star Chart | Clue | Nearest Mirror of Life: Rhetoric Shelves | — | Map |
| XP statue | XP statue | Nearest Mirror of Life: Rhetoric Shelves | — | Map |
Drawing Room
The last clue, Organic Astrology, is in the Drawing Room.
| Item | Type | Where | Needs | Map |
|---|---|---|---|---|
| Organic Astrology | Clue | Nearest Mirror of Life: Exhibition Room | — | Map |
To place each of these on the map, use the interactive Castlevania: Belmont’s Curse map, and for the full route, follow the part 5 walkthrough through the Library and Clock Tower or the Library secret areas guide.