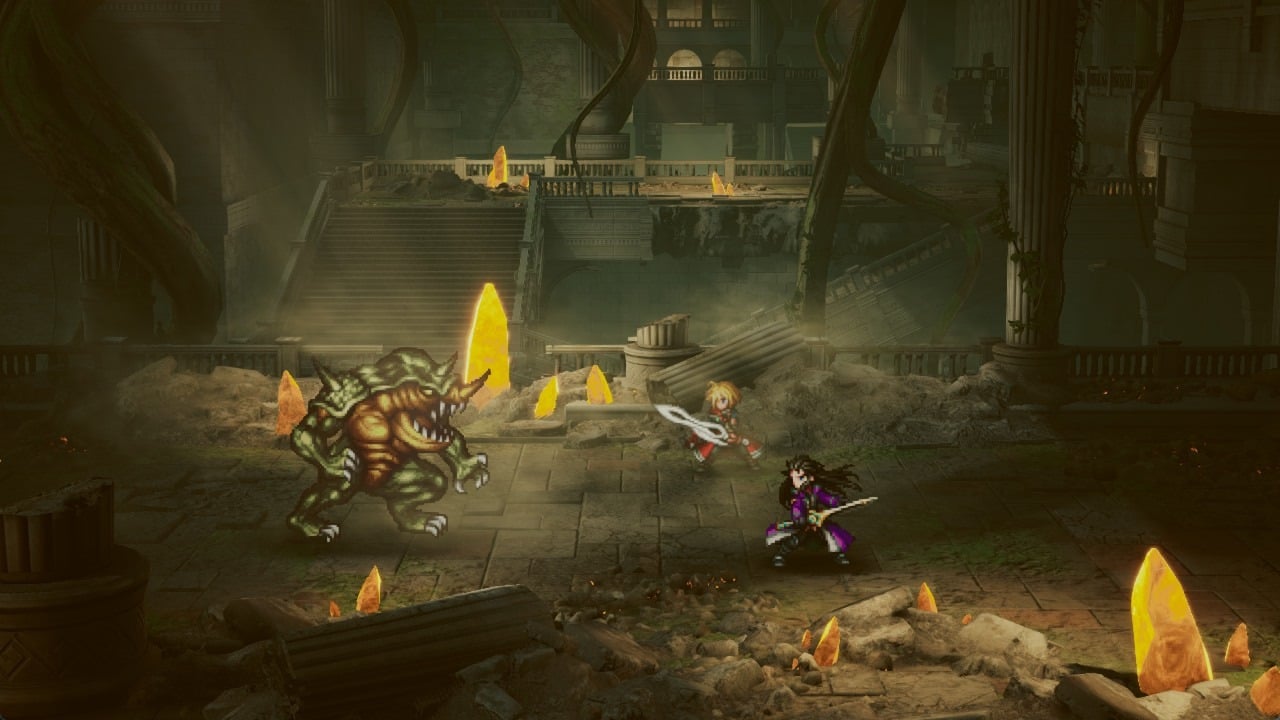
Belmodar, the Lv.4 boss at the bottom of the Earth Shrine, is weak to Fire. Rain should cast Fire every turn while Lasswell hammers its stagger gauge with Dawn Frost, because each stagger cancels its devastating attack and hands your party extra actions.
Quick answer: Before fighting, pitch a tent at the save point and rest. Each turn, have Rain cast Fire and Lasswell use Dawn Frost to stagger Belmodar; give Lasswell a Potion if his HP gets low.
Where to fight Belmodar
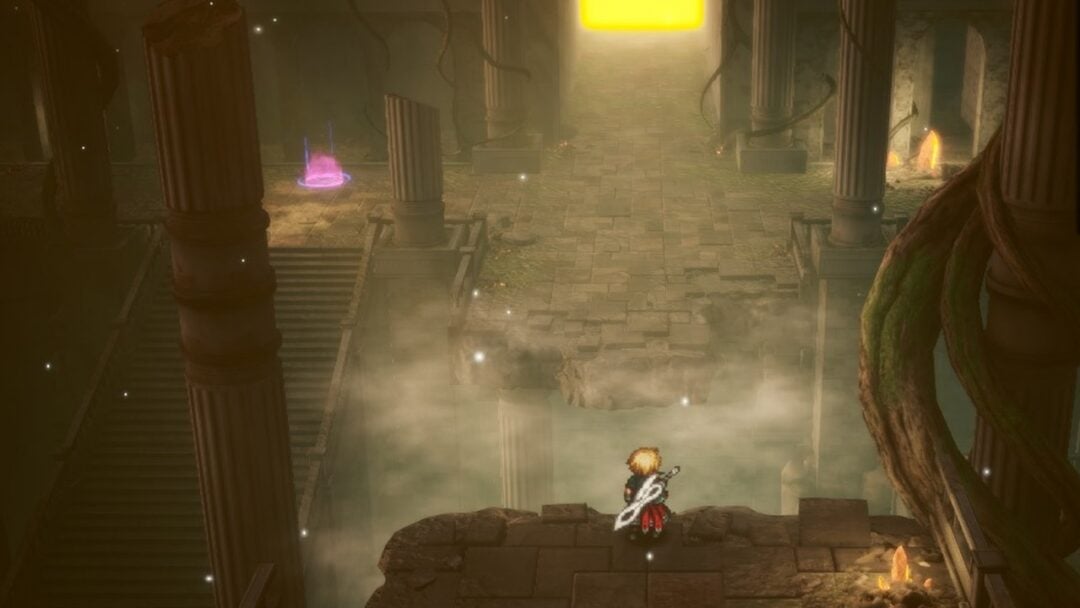
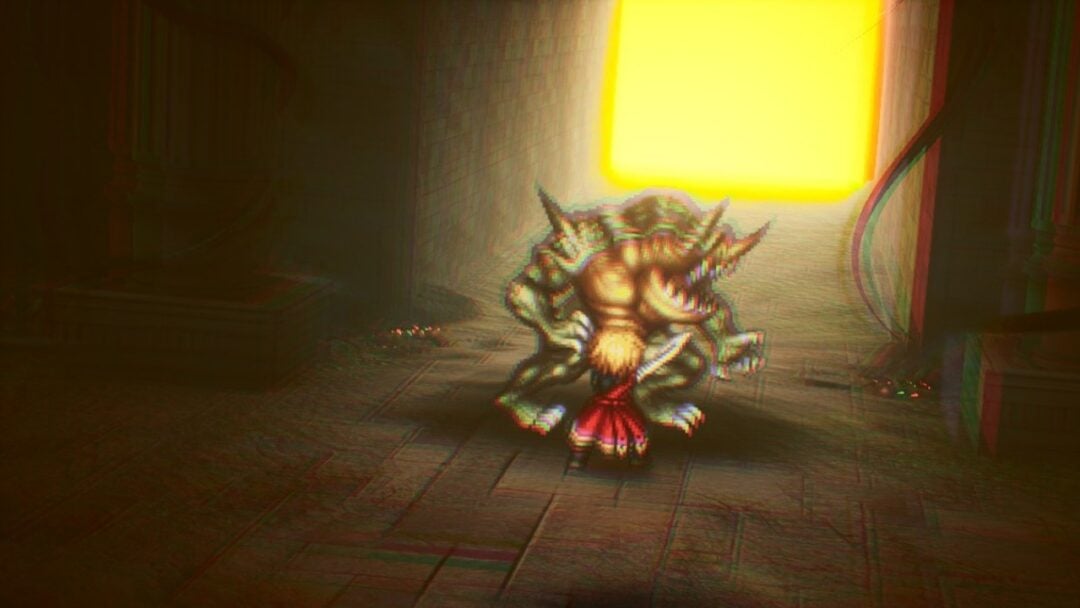
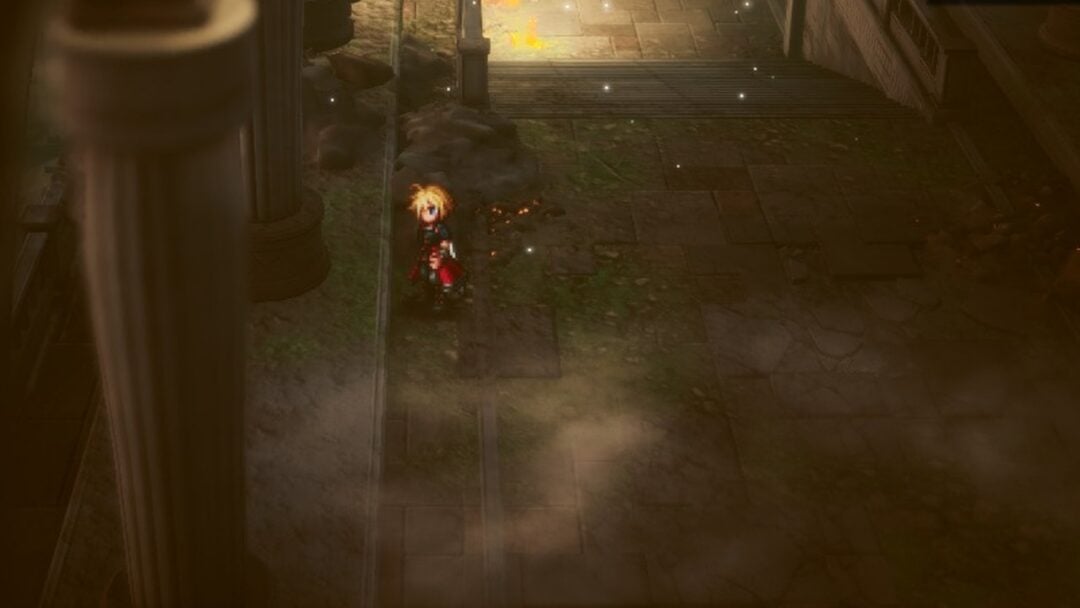
Belmodar appears in Chapter 1, “Tailing the Truth”. It guards the entrance to the Crystal Chamber at the deepest point of the Earth Shrine. A save point sits at the top of the long staircase just before it. Save there and rest in a tent, which fully restores HP and MP for the whole party. That save point also unlocks Teleport back to the save point at the shrine entrance. A short scene plays, and then the fight begins.
Belmodar’s weakness
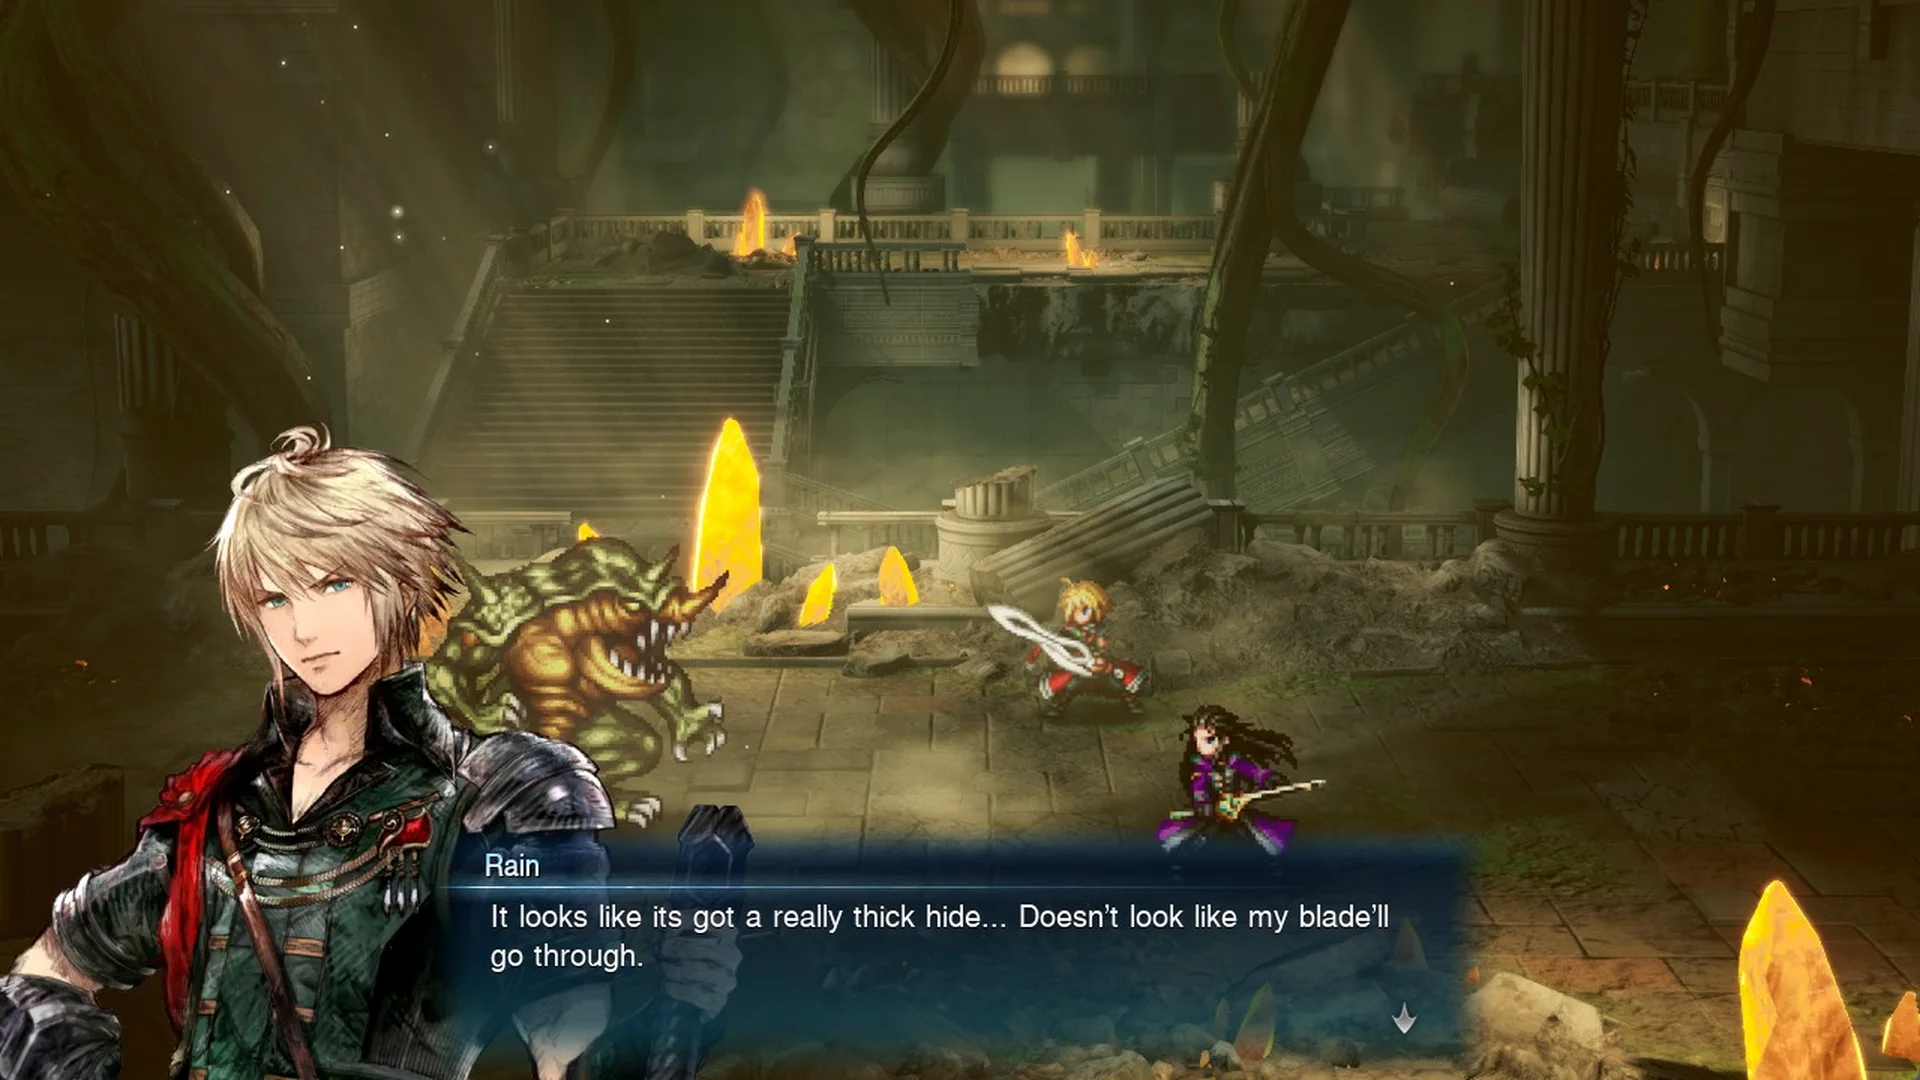
Before your first turn, the game provides a hint: Rain remarks that the creature’s hide seems too tough for his blade.
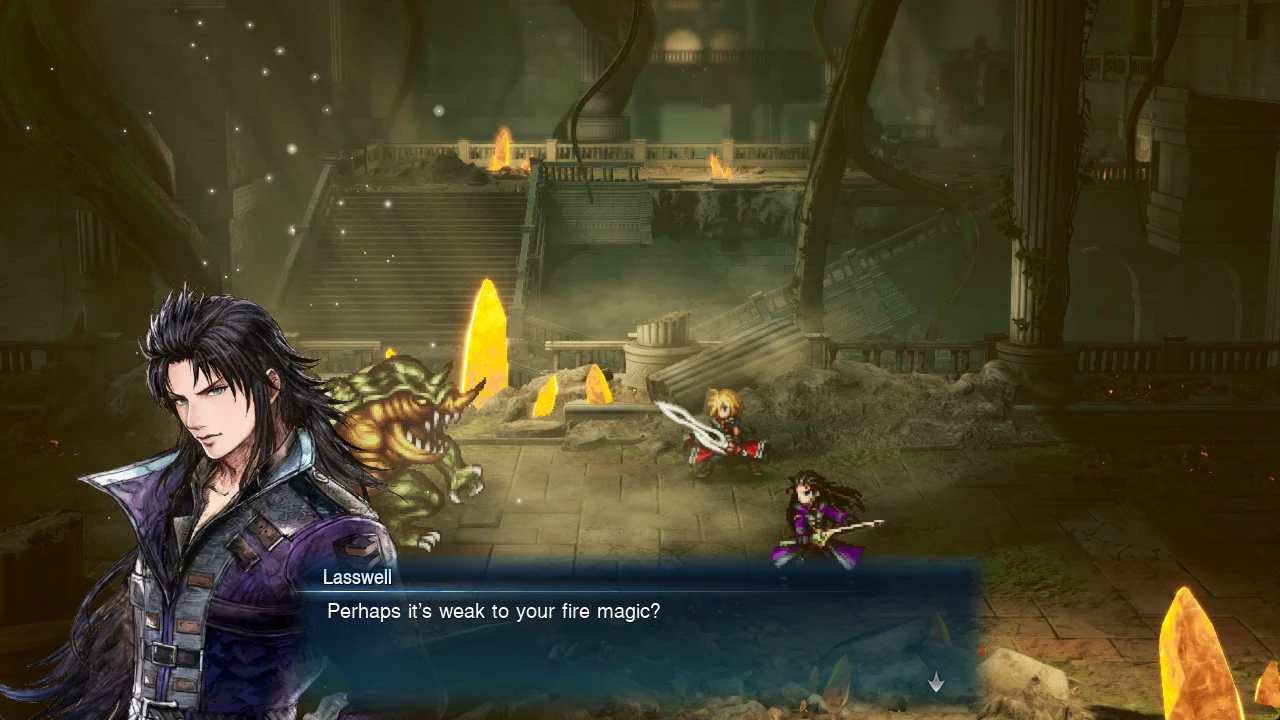
Lasswell replies by suggesting Rain try his fire magic.
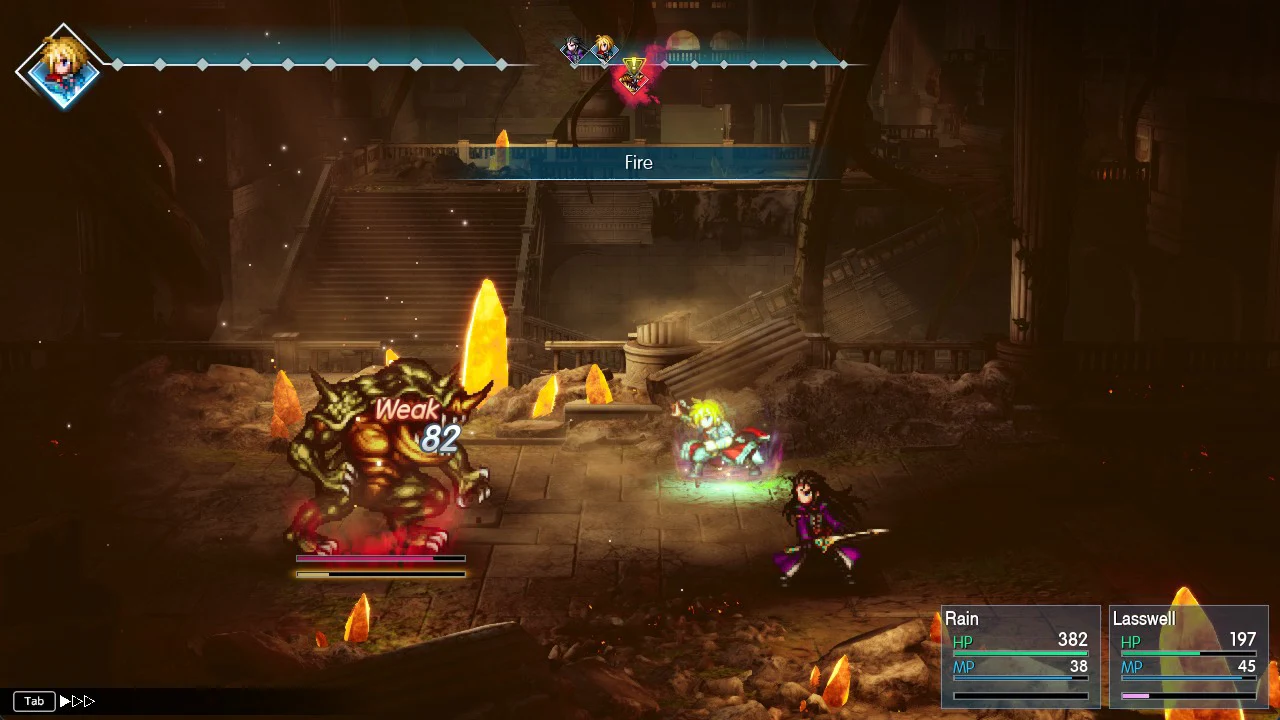
The target info reads “Lv.4 Belmodar” and has an Affinities row of three icons. Each icon stays hidden as “?” until you hit Belmodar with that element. Once Fire connects, the Fire icon turns red.

Rain’s Fire (“[Black Magic] Deal Fire magic damage.”) costs 5 MP and shows “Weak” over Belmodar. With the party at Lv.3 on NORMAL, it deals 82 damage to an unstaggered Belmodar and 129 to a staggered one.
Belmodar’s attacks and the red warning
| Attack | What it does |
|---|---|
| Crush | Single-target hit (113 to Lasswell at Lv.3) |
| Slam | Single-target hit (69 to 75 to Lasswell at Lv.3) |
Belmodar aims most of its hits at Lasswell. Rain tends to stay near full HP (382) until late in the fight. The attack name appears on screen as Belmodar uses Crush.
Slam deals 75 damage to Lasswell.
Belmodar also has a devastating attack, and it warns you before using it. Its body glows red, and its icon on the turn order bar at the top gets a red flare with a yellow “!” mark. The game shows its “Devastating Attacks” tutorial during this fight:
“Some enemies can unleash savage blows, which you can prevent by staggering them.” / “Doing so will require concerted effort, but if things are looking grim, remember that you can always select Defend to bolster your guard.”
If you stagger Belmodar before its turn comes up, the red attack never goes off.
Belmodar strategy: Fire plus Dawn Frost


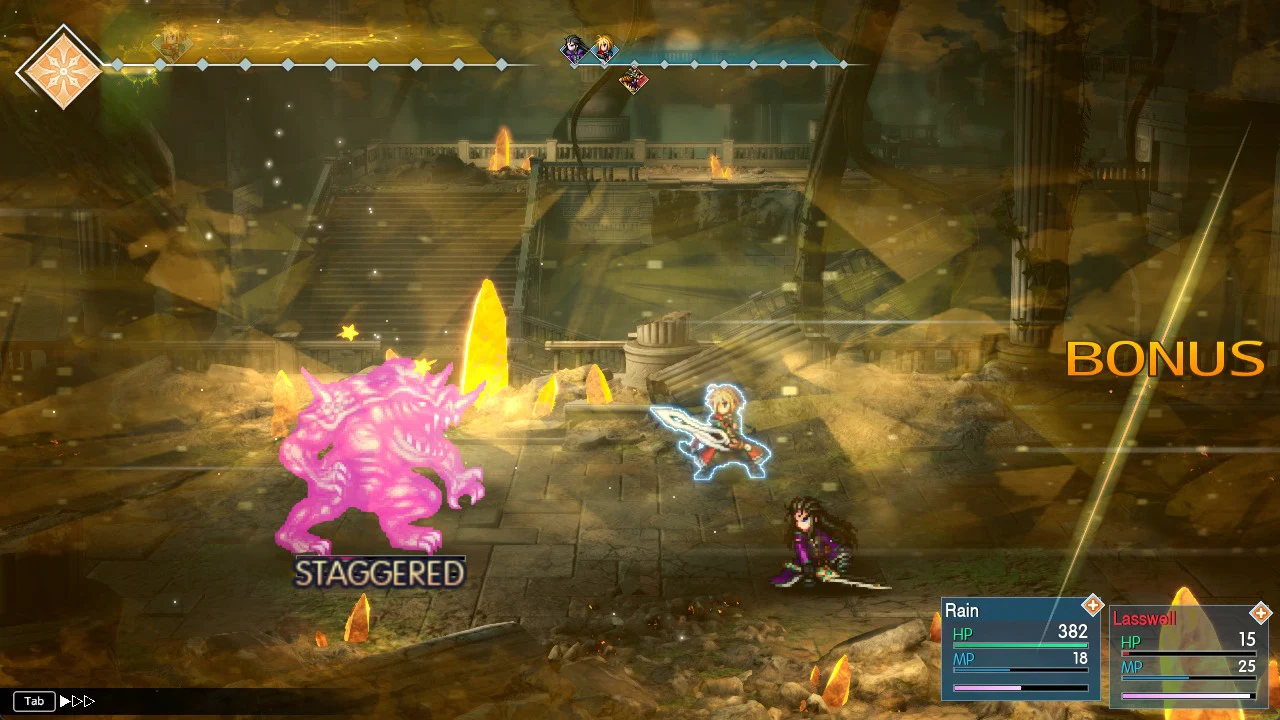
If Rain is too low on MP for Fire, use his Tackle (“Deal physical damage to an enemy.”, 5 MP). Its tooltip shows a full five-pip stagger rating, so it still pushes the gauge down.
If the fight still feels too punishing, you can change the difficulty at any time from Options and drop the difficulty to Casual.
Belmodar rewards
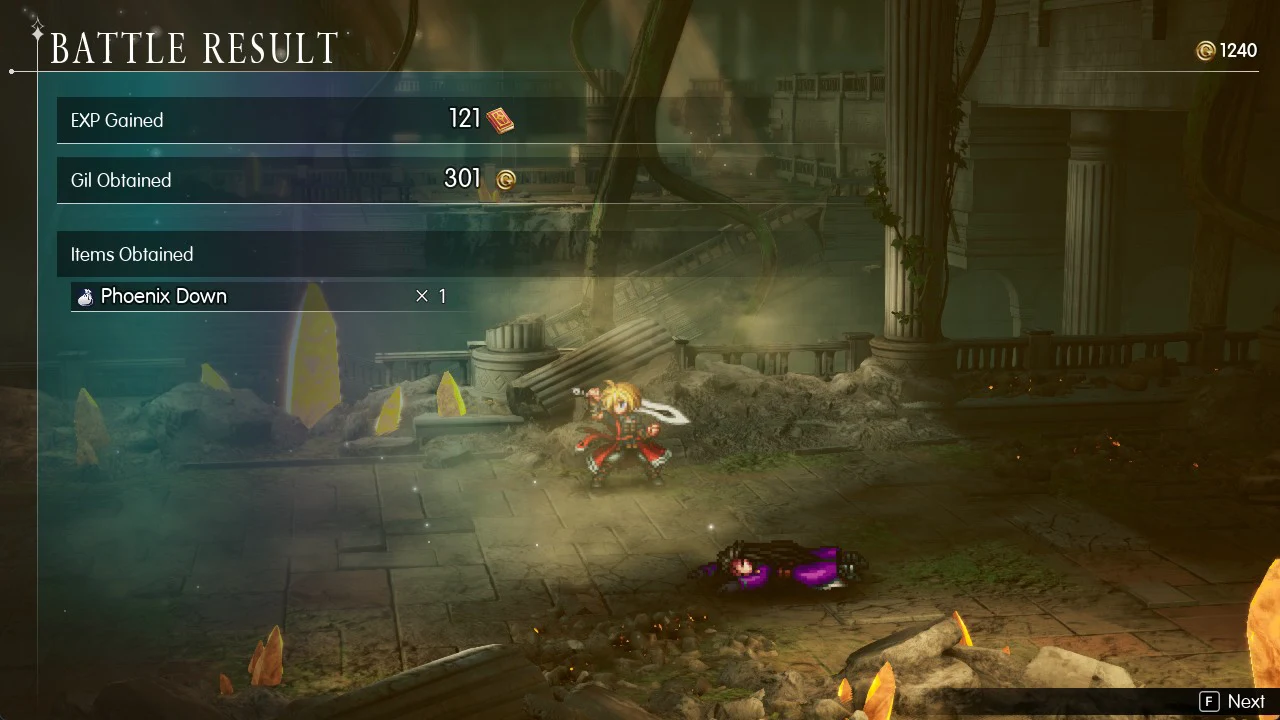
The Battle Result screen confirms the win. It awards 121 EXP, 301 Gil, and Phoenix Down x1, which is enough to take both Rain and Lasswell to Lv.4.
A story scene then plays in the Crystal Chamber. Afterward, your objective changes to “Go to the town of Mitra”.