Your journey through the Kolobos Ruins in Final Fantasy Resonance starts in the entrance hall, continues across a room of fallen columns and a walkway, then plunges into the basement when the metal bridge breaks. Climb out by ladder and follow the lengthy corridor to an Ether chest, the inner save circle and Dr. Lazarov’s lab, where The Hunger awaits.
Quick answer: Go up, along the south walkway, down to the green tanks room, fall into the basement, then follow the corridor north. Save at the inner circle; there is no save point before The Hunger.
| Part | Where | What happens |
|---|---|---|
| Entrance | Entrance hall | Emma scene, 3 Wraith Soldiers (scripted), save circle |
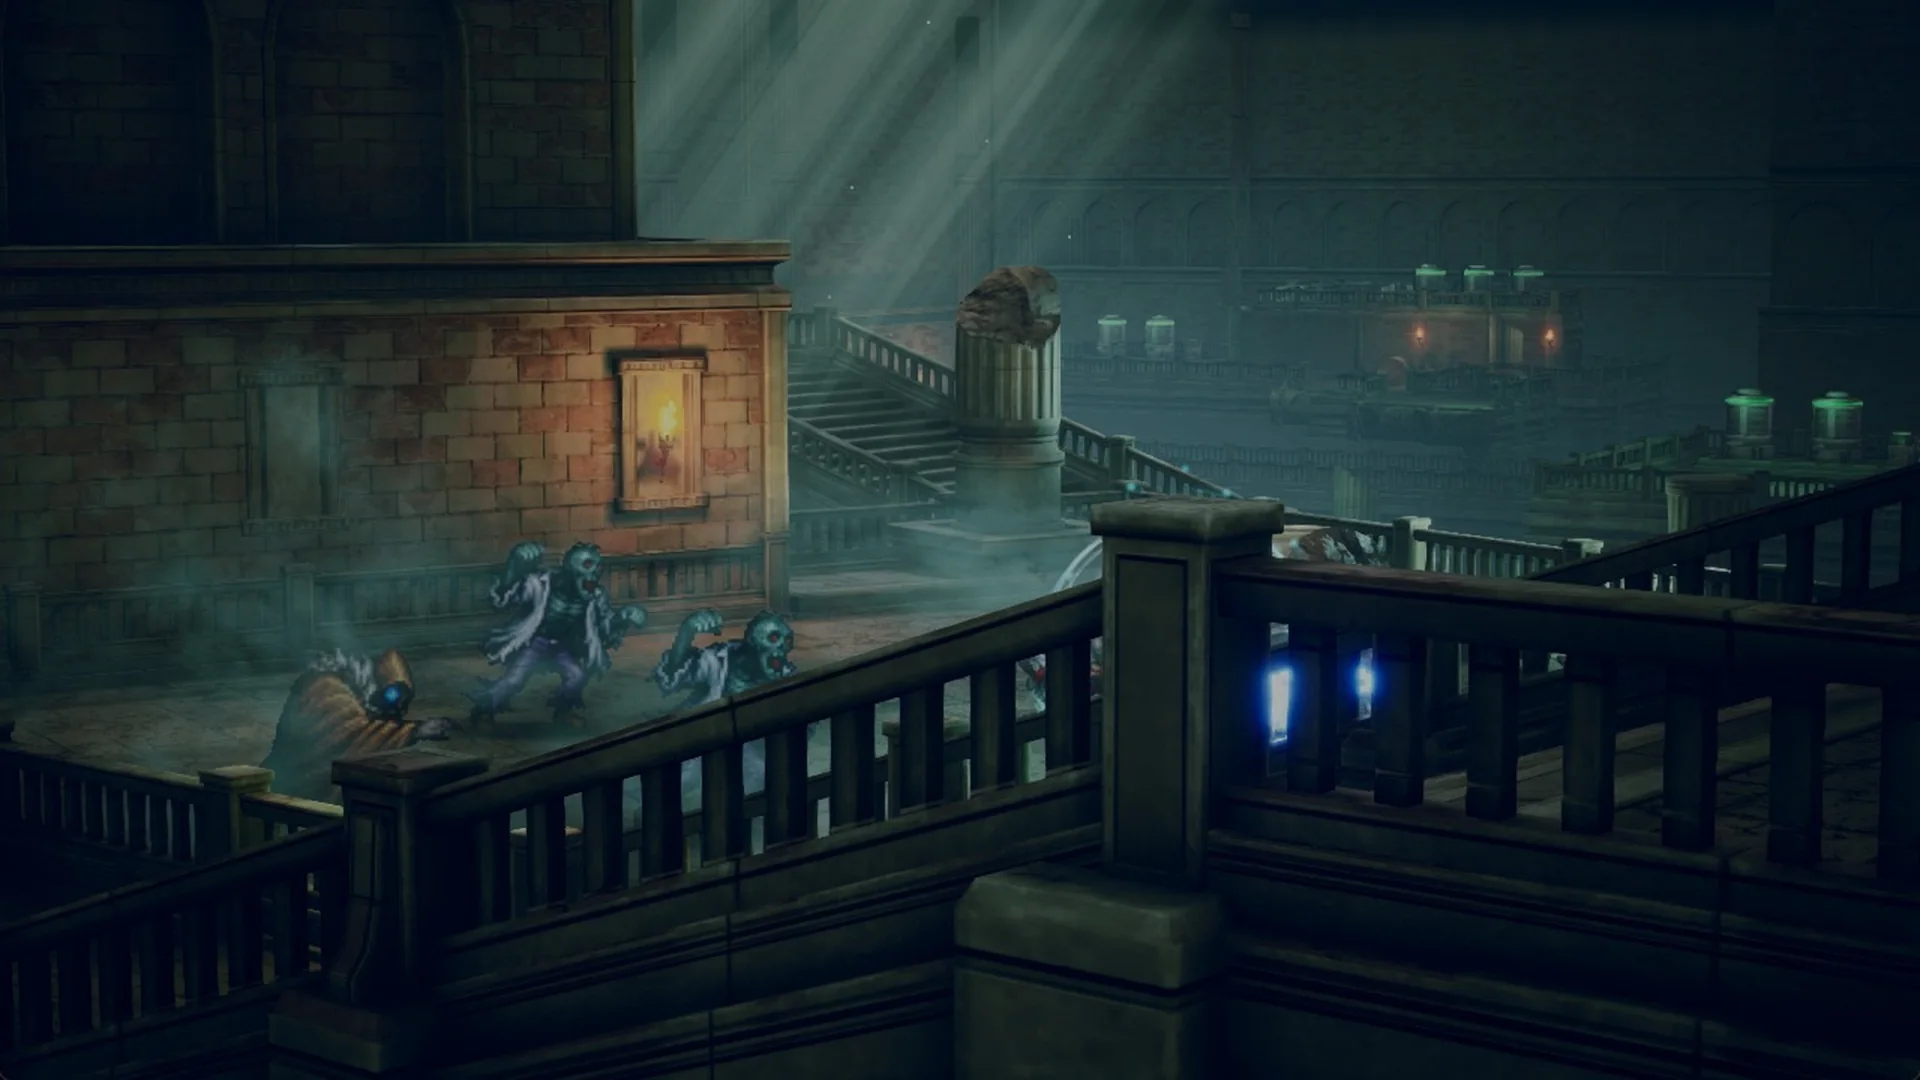
| Upper floors | Fallen-column room, south walkway | 2 Ghouls and a Ghost (scripted) |
| Tanks room | Bottom of the long stairs | Metal bridge collapses |
| Basement | Hall with armour statues | 4 Wraith Soldiers (scripted) |
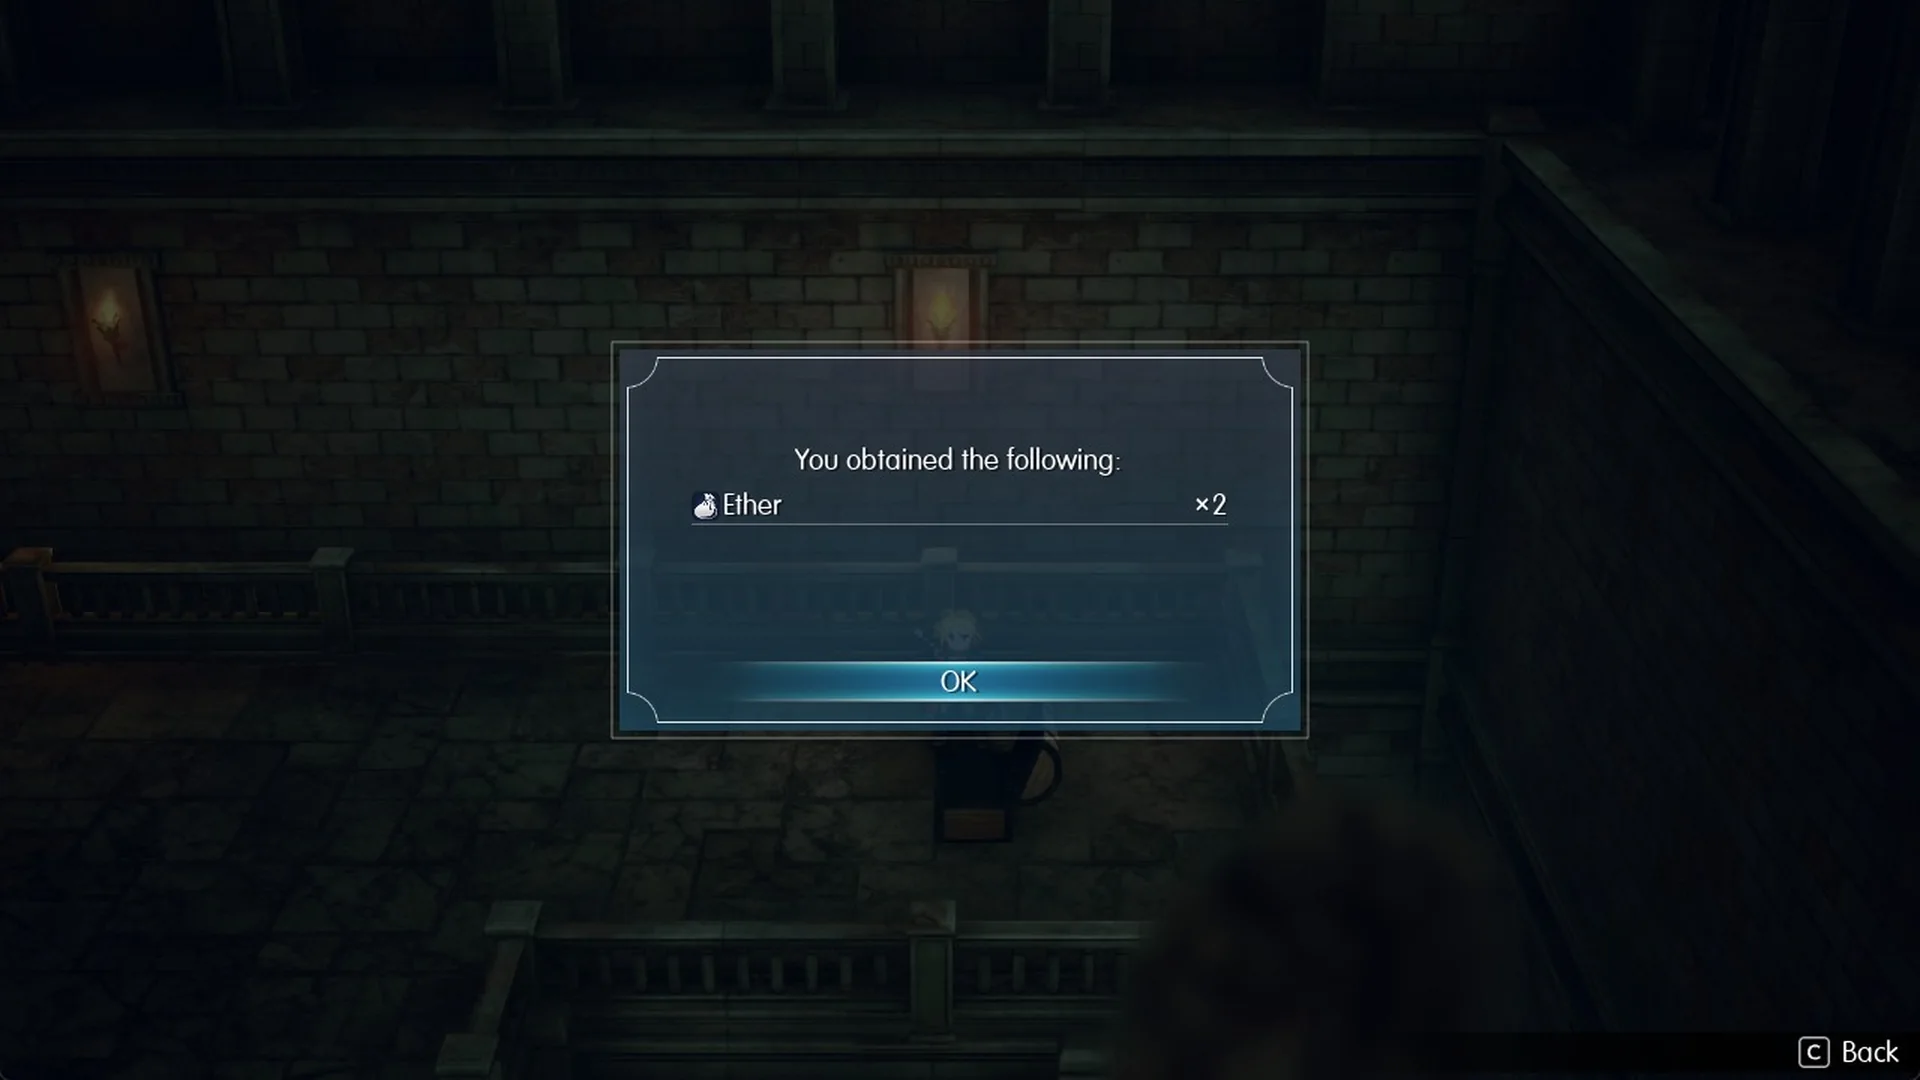
| Corridor | Ladder, stairs, long corridor north | Ether x2 chest |
| Inner circle | West of the corridor top | Save, Rest in a tent, Teleport |
| Lab | North of the inner circle | Dr. Lazarov, then The Hunger |
Entering the Kolobos Ruins
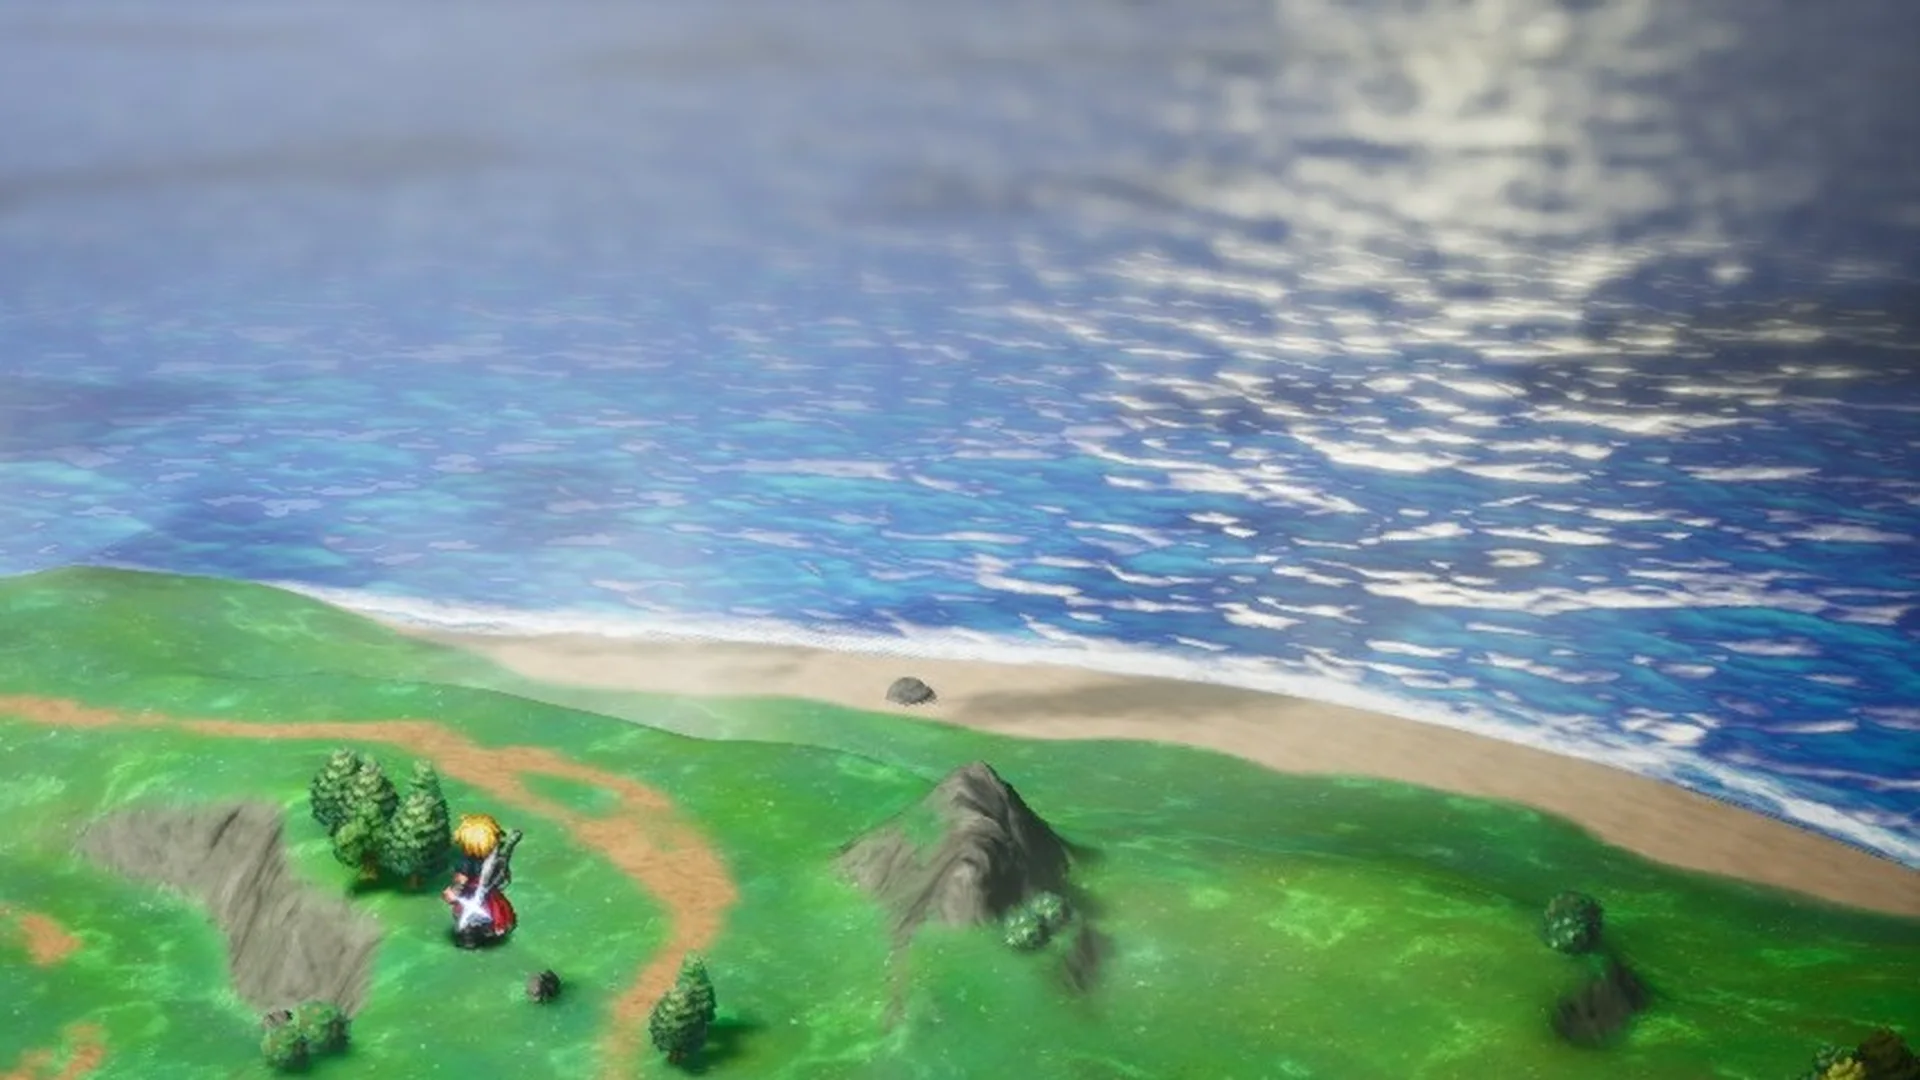
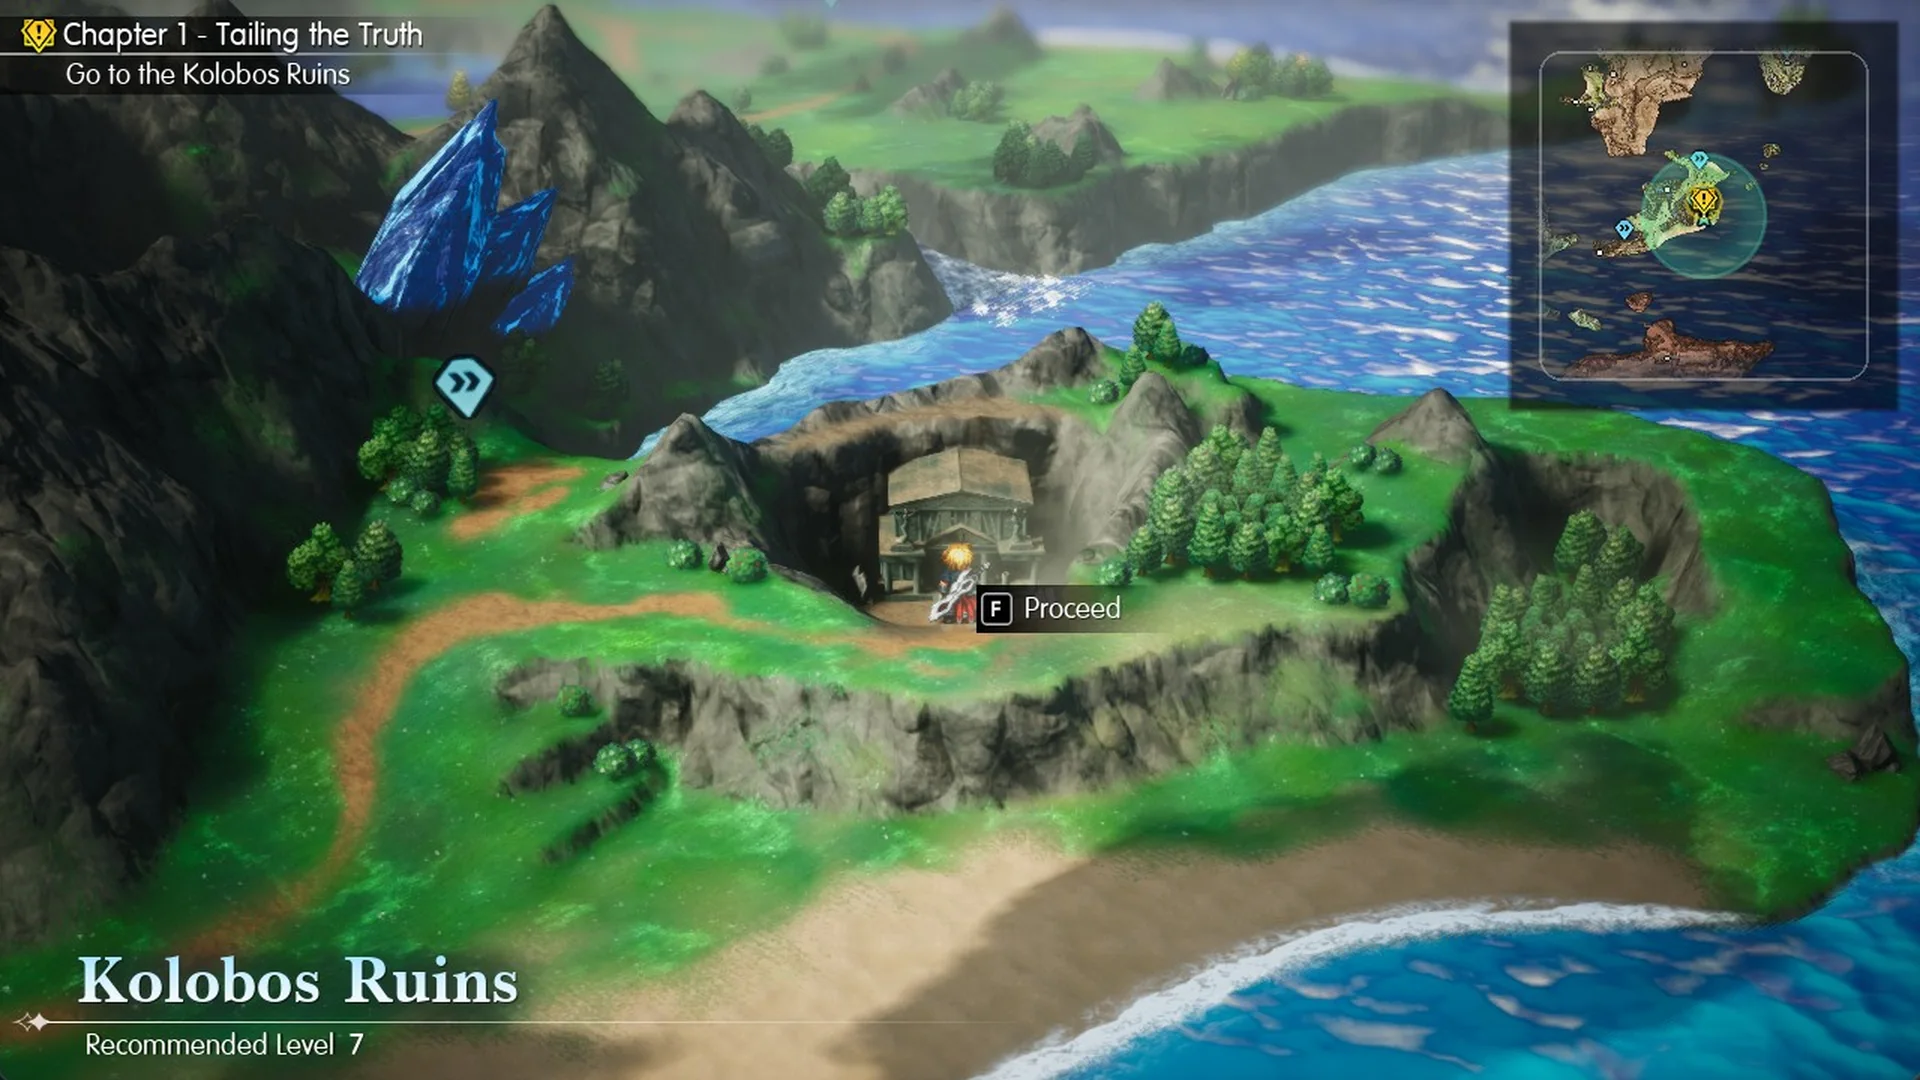
The ruins building sits in a rock hollow south-east of Felicitas. If you still need the route there, here is how to get to the Kolobos Ruins. At the door, press F on “Proceed”. The banner reads “Kolobos Ruins” and “Recommended Level 7”.
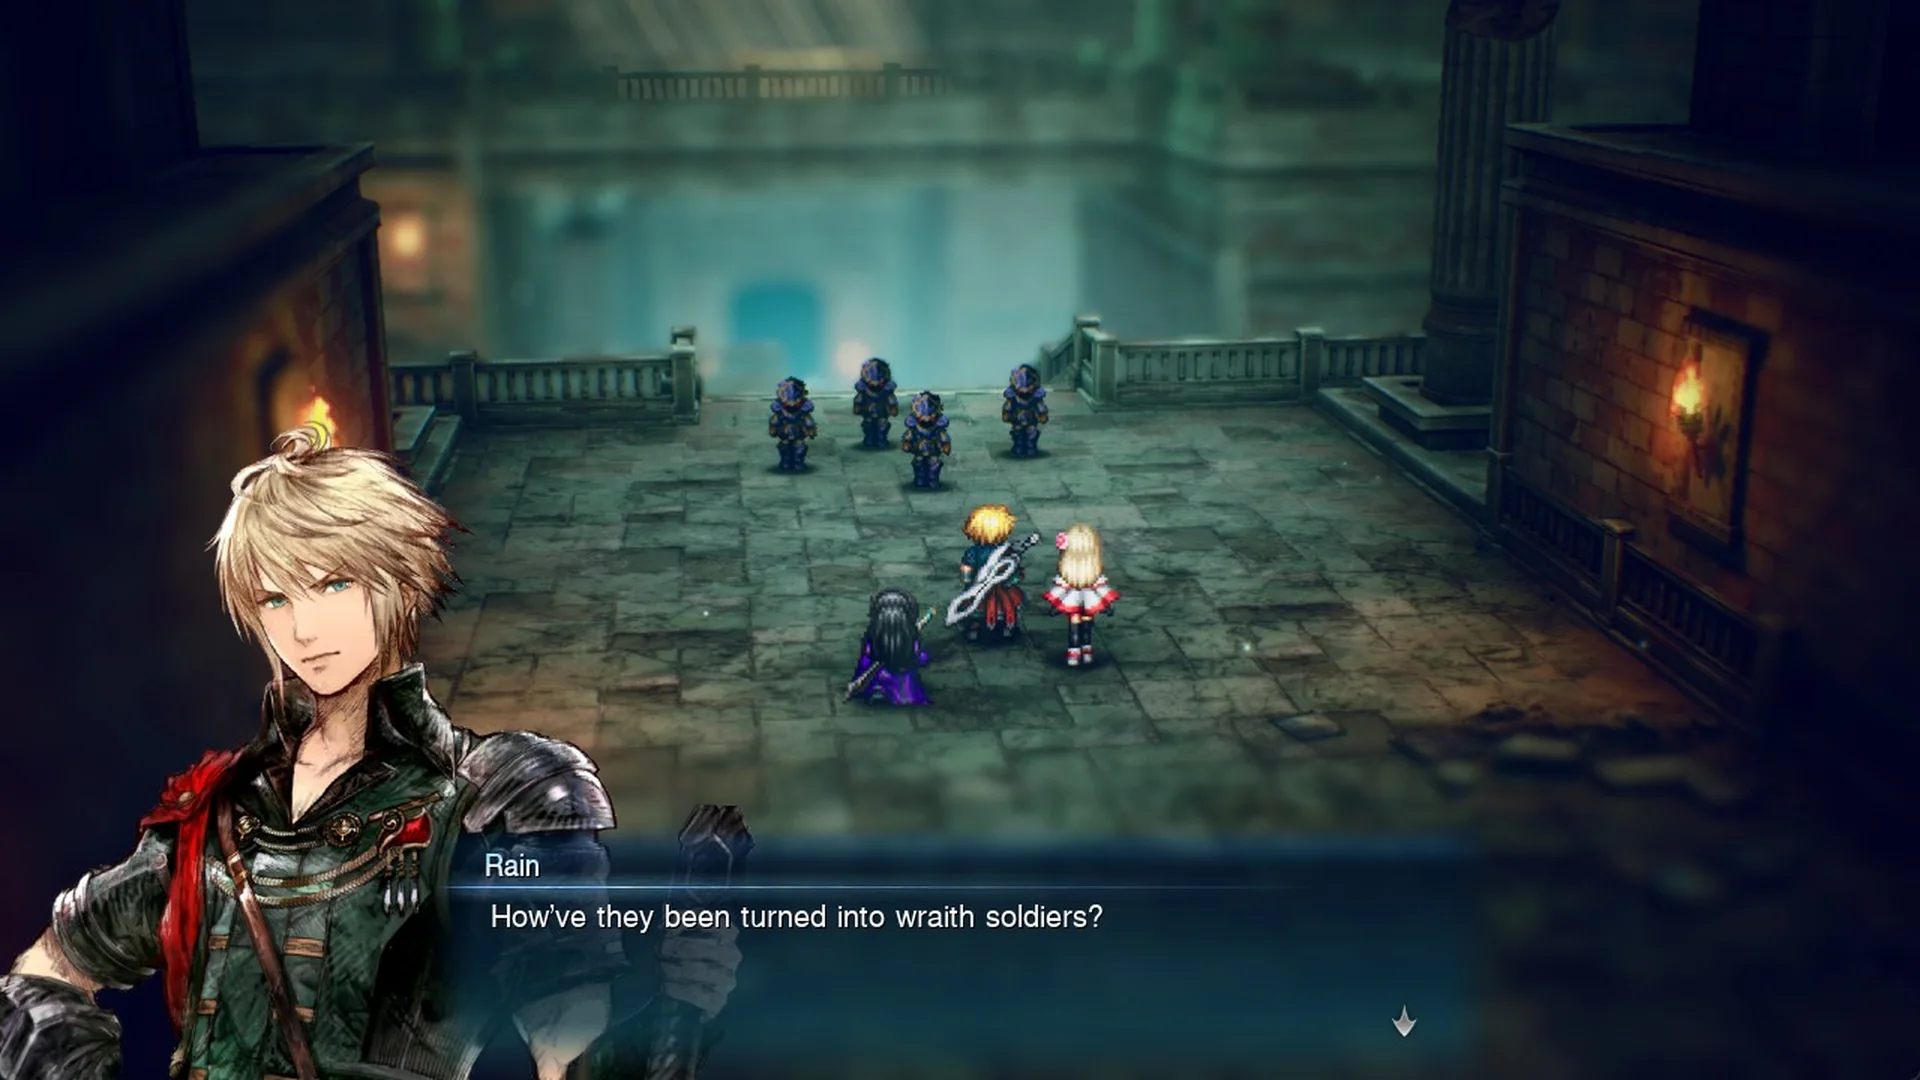
Emma is waiting in the entrance hall, terrified: “They’re coming… The scary monsters are coming…” The monsters turn out to be Rain’s own men, now wraith soldiers, and Rain asks the obvious question.
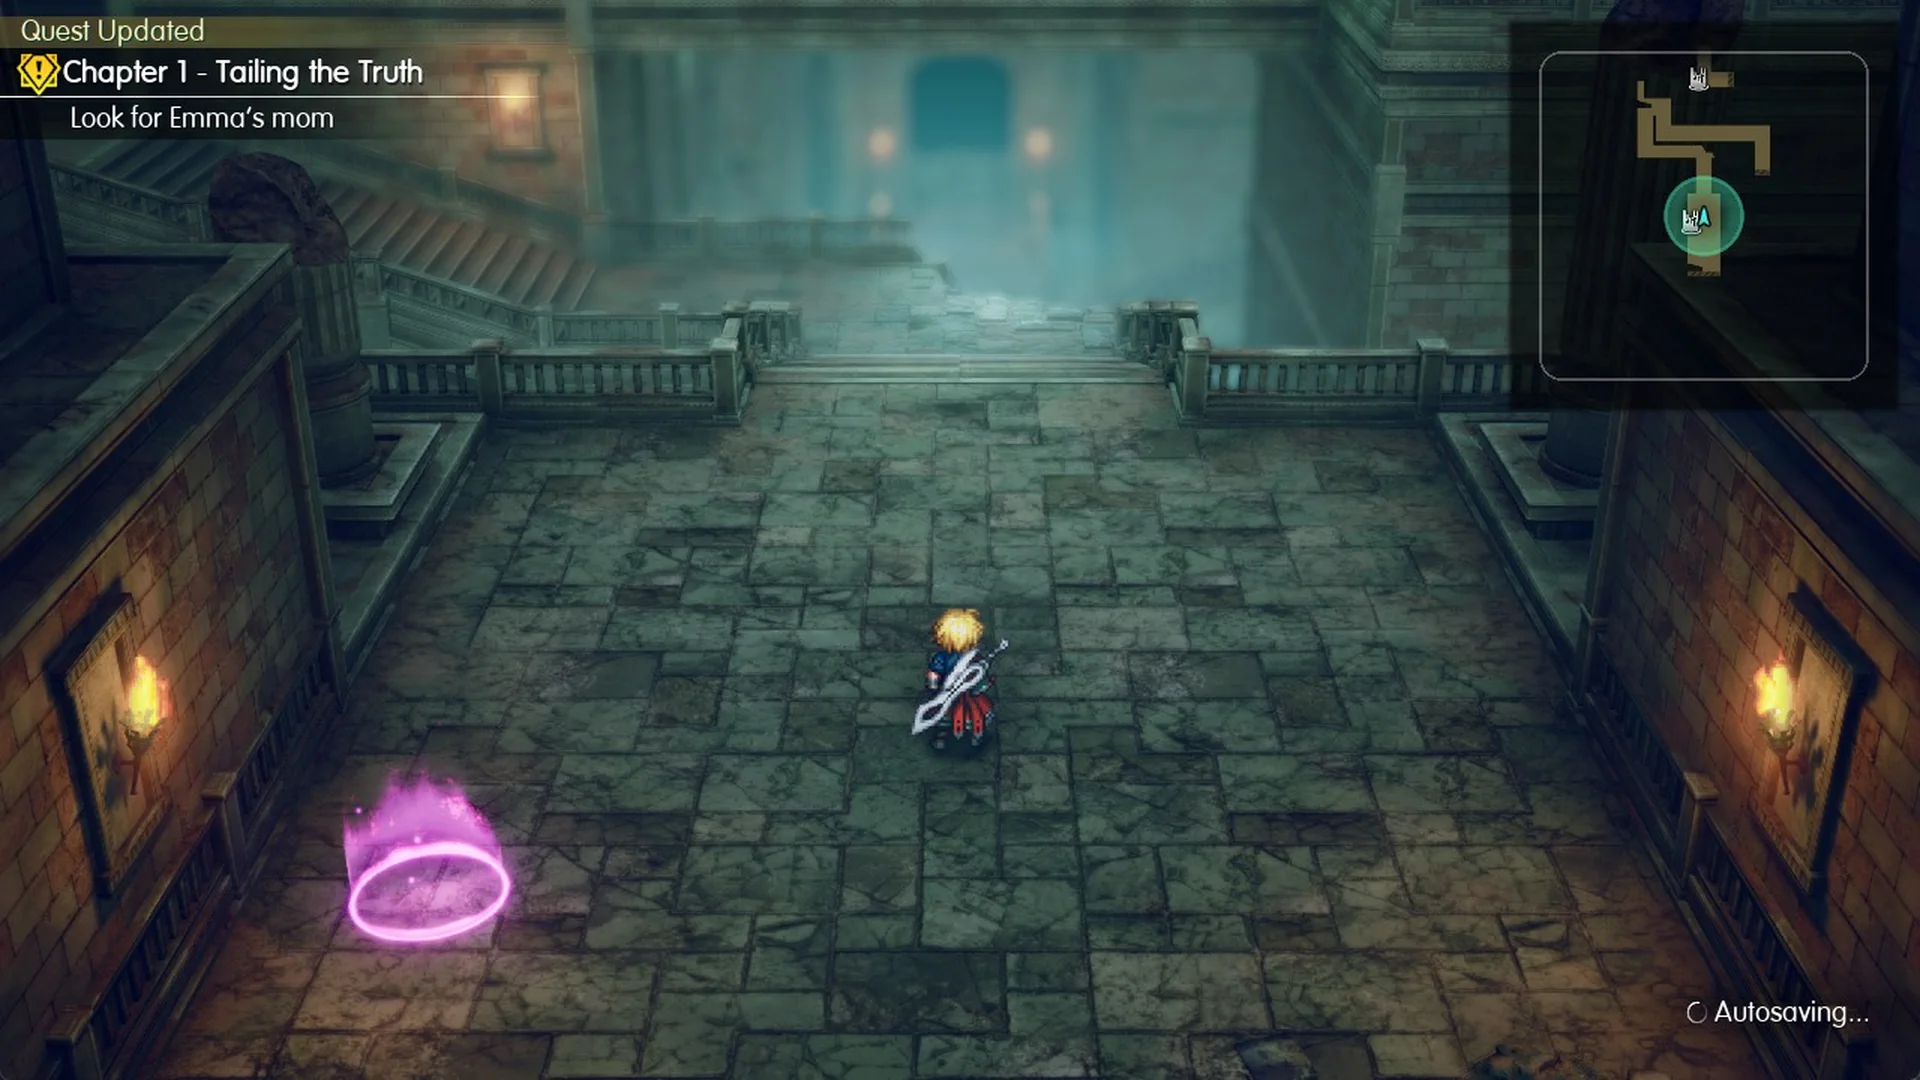
A scripted fight against three Lv.5 Wraith Soldiers (240 HP, Reaper) follows. Finishing it on a stagger with the Stagger Finish Bonus pays 54 EXP, 90 Gil and 8 MRP. Afterward the objective changes to “Look for Emma’s mom”, and the entrance hall’s pink save circle autosaves the game.
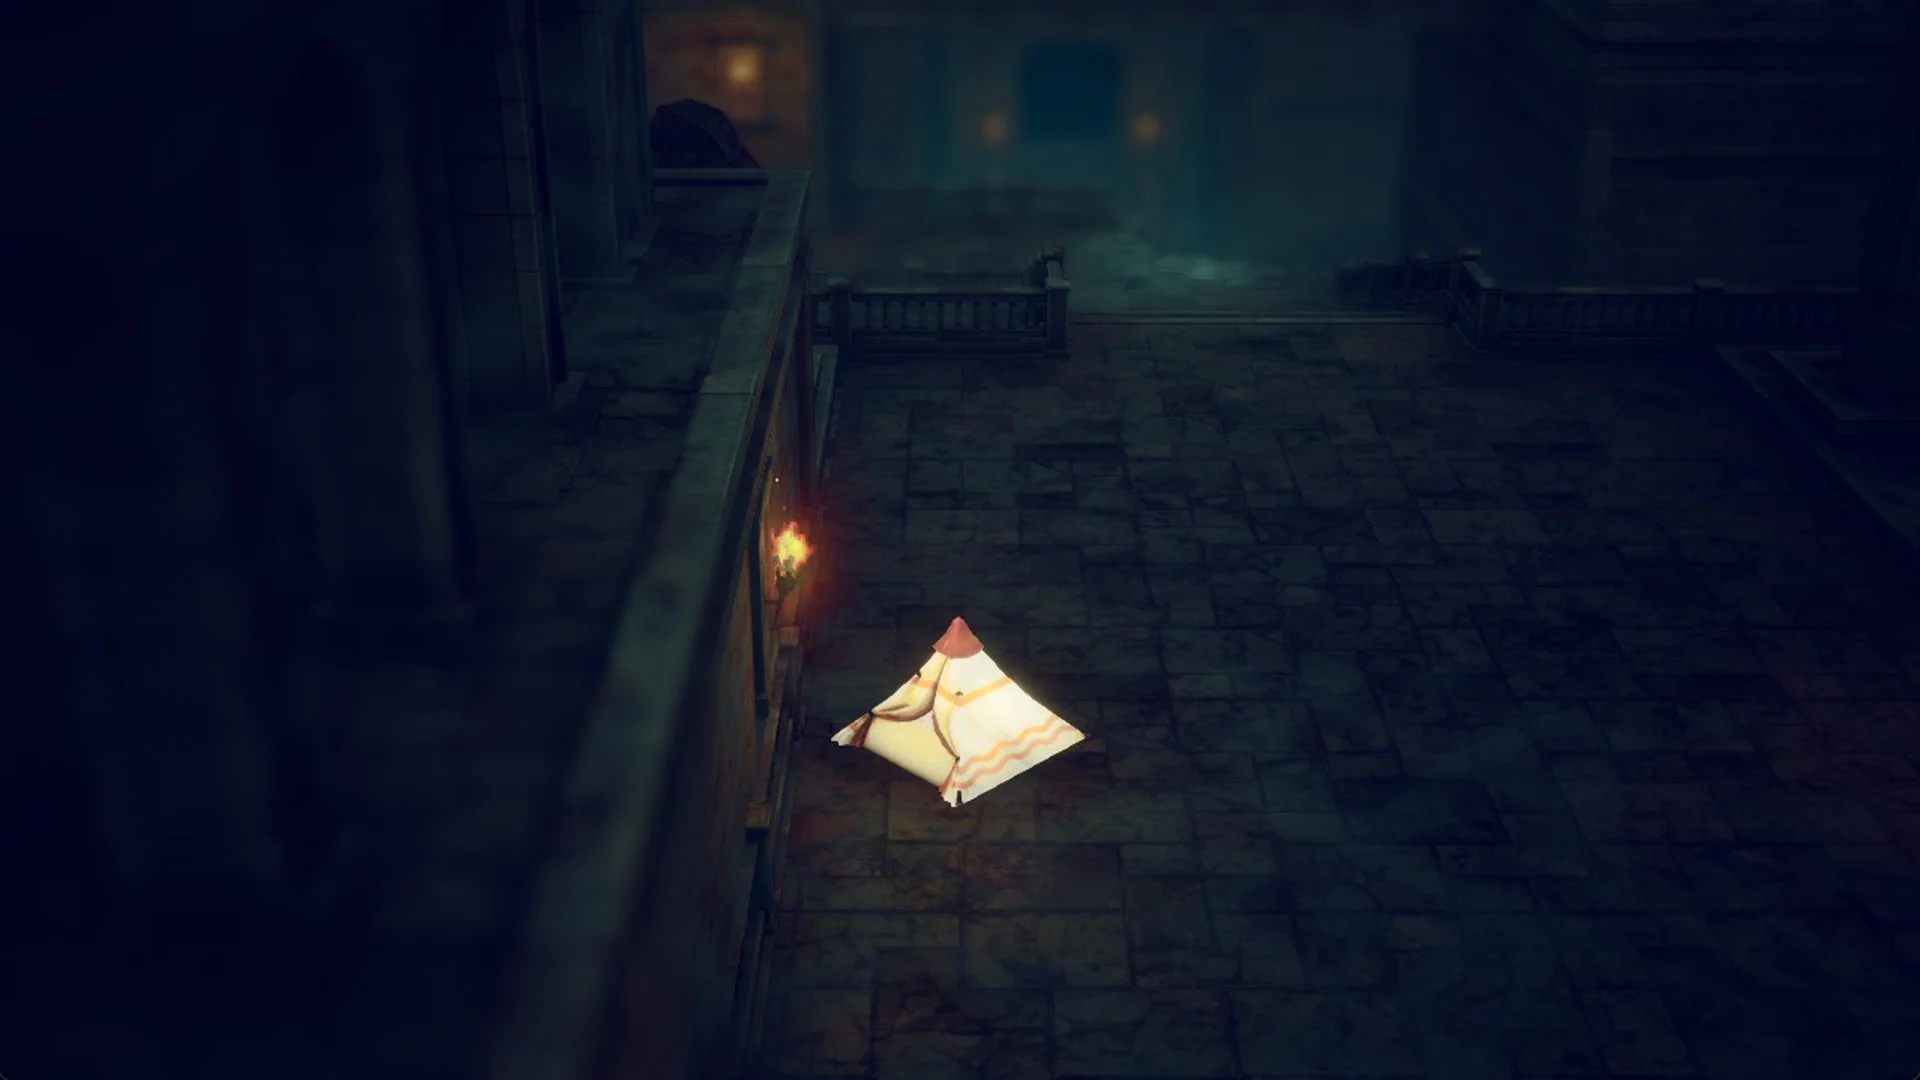
At a save circle, choose Save Point > Rest in a tent to use one Tent and restore the party. The “Use item?” prompt starts on No; change the selection before you confirm.
The Secrets Unearthed samples are found outdoors in the field rather than within the ruins. Look for one marker immediately west of the ruins building.
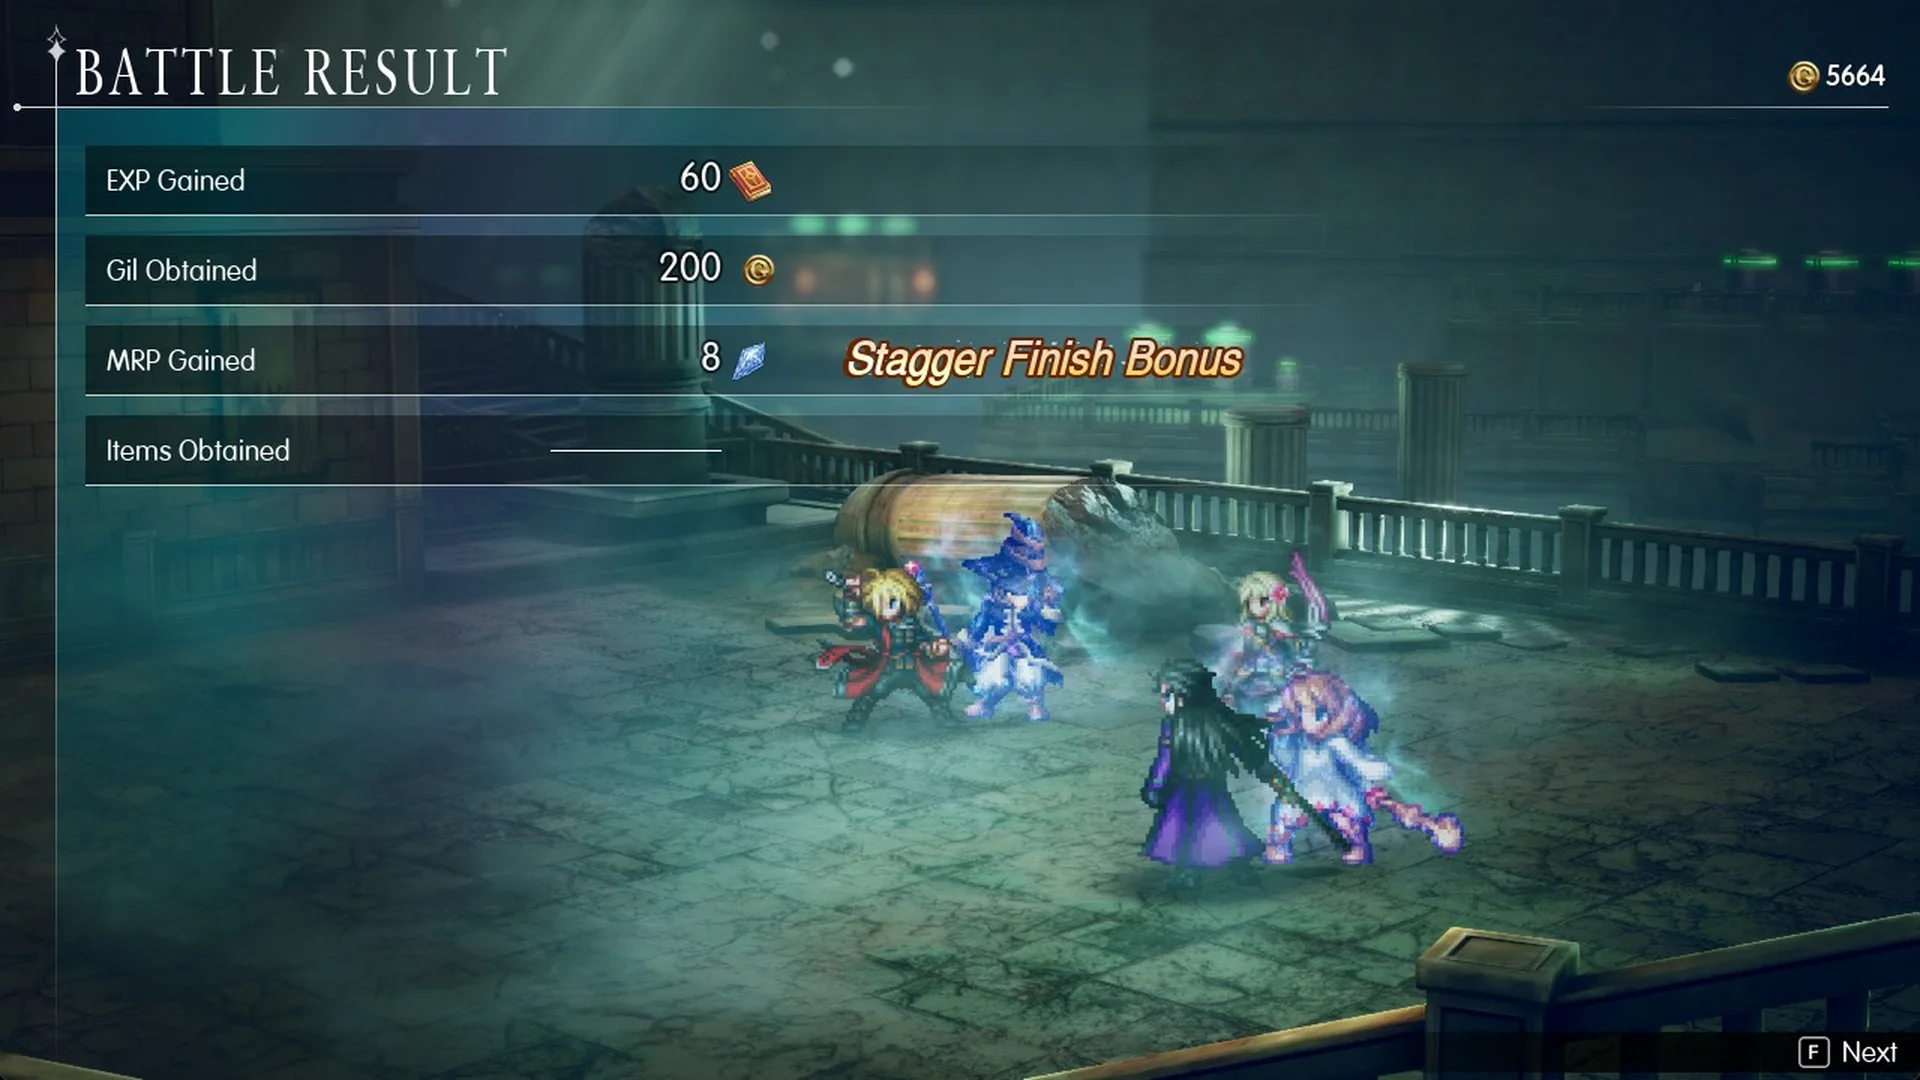
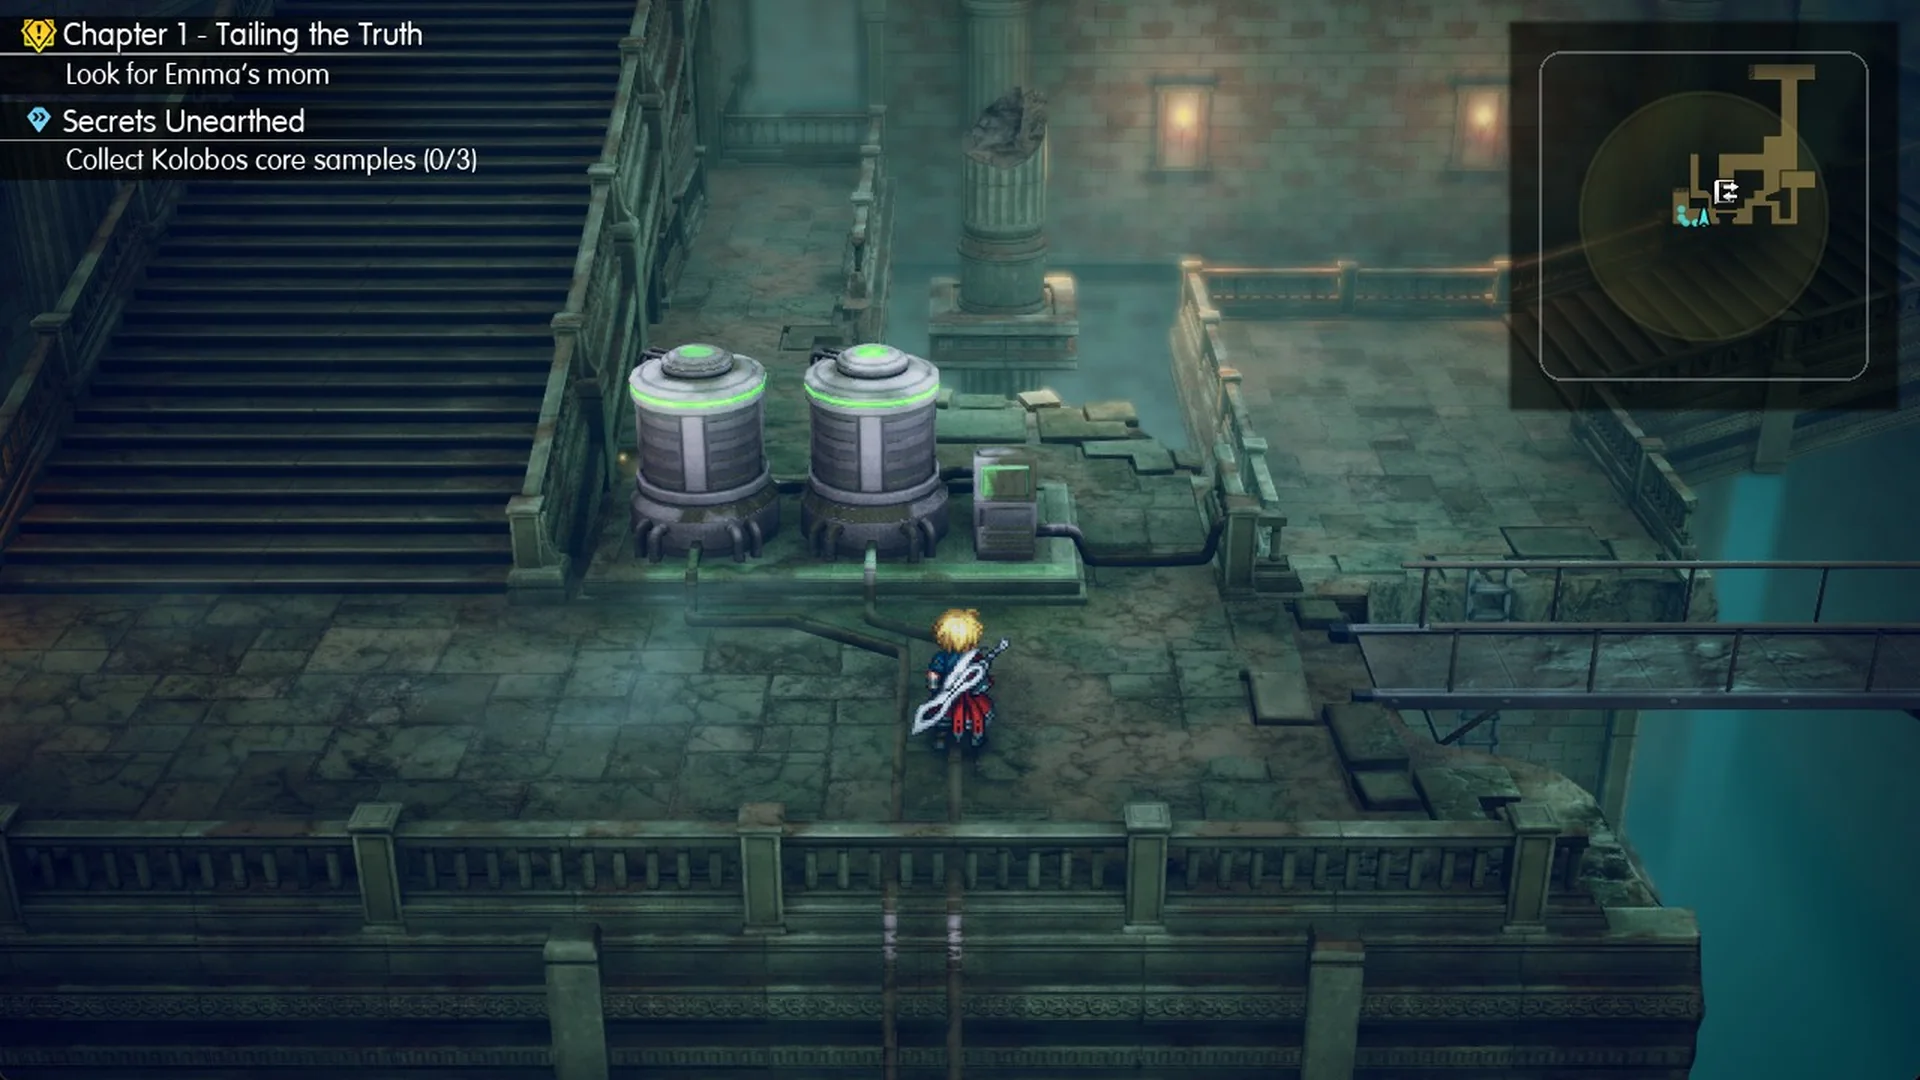
Entrance to the green tanks room
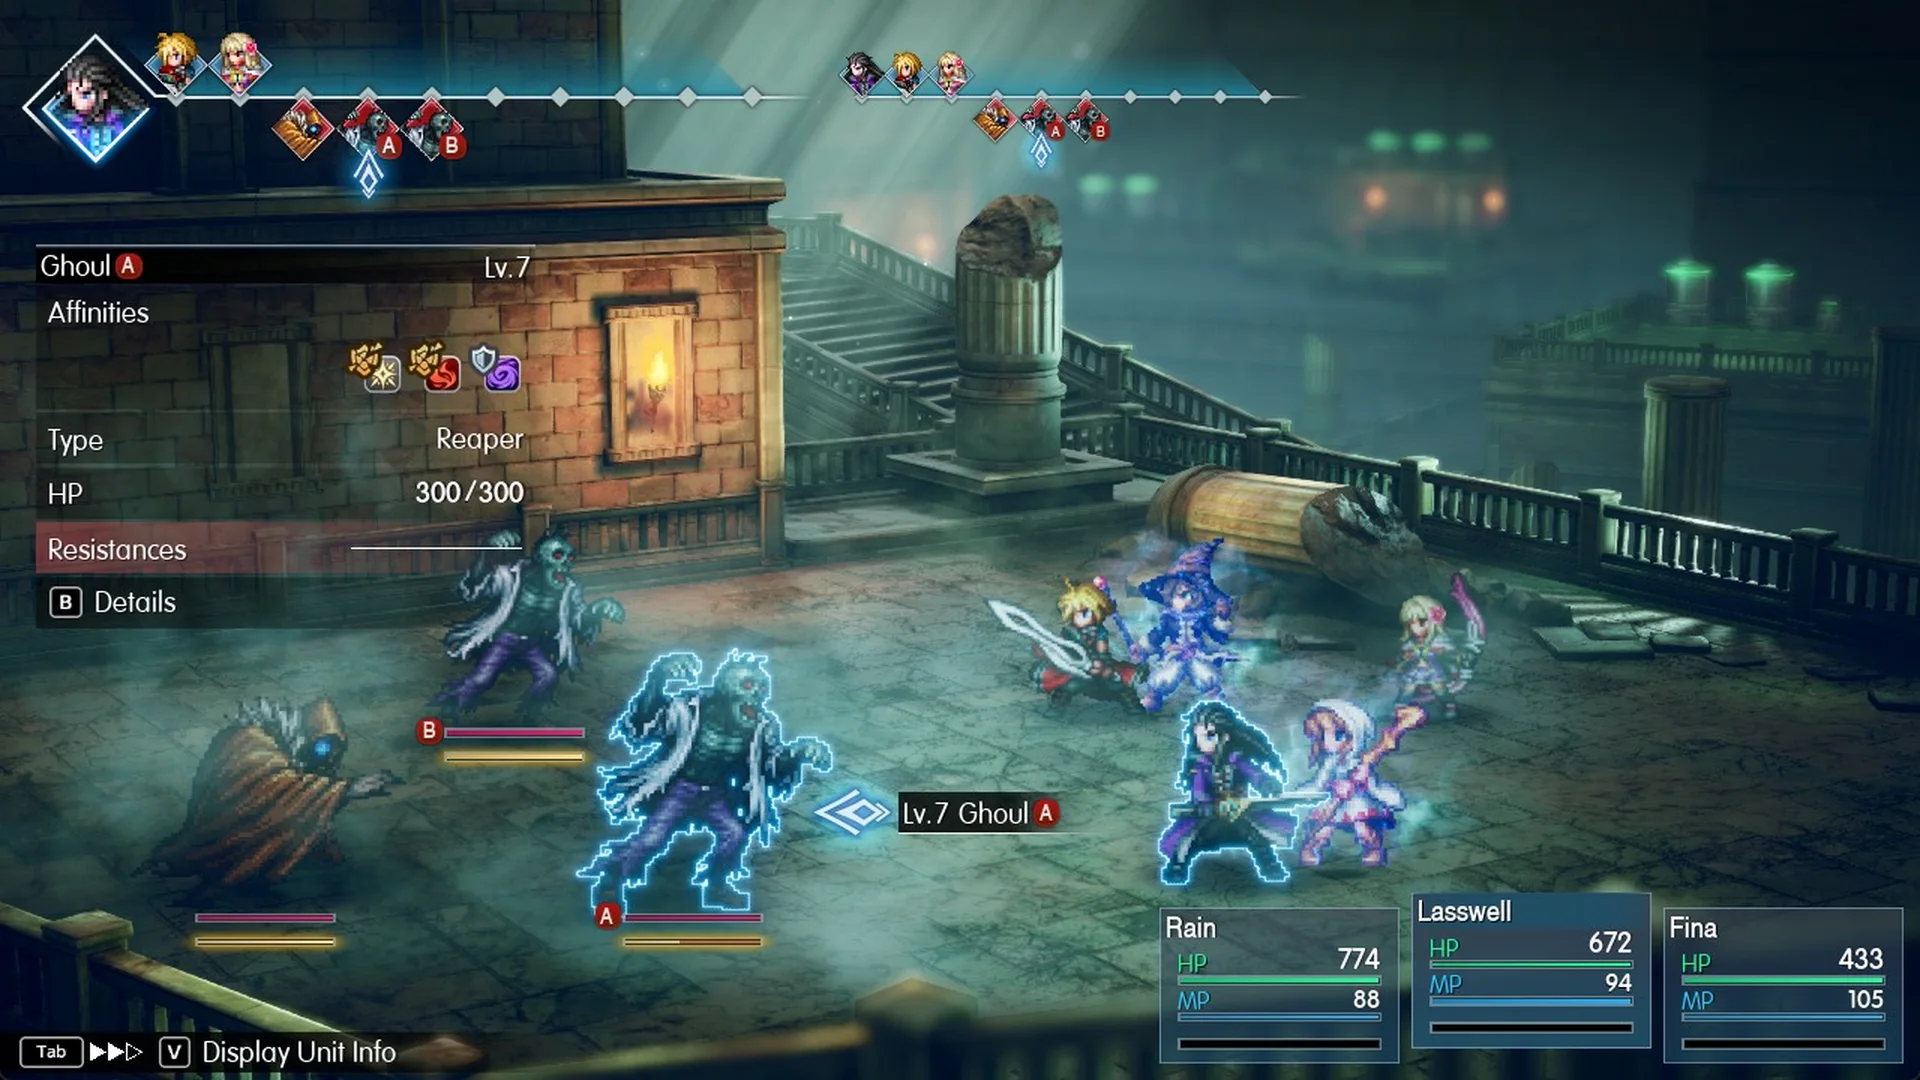
Winning with the Stagger Finish Bonus pays 60 EXP, 200 Gil and 8 MRP.
Random fights on the upper floors can include two Ghosts with an Enhanced Wraith Soldier (Lv.9, 650 HP). That group pays 90 EXP, 260 Gil and 13 MRP.
Bridge collapse and the basement fight
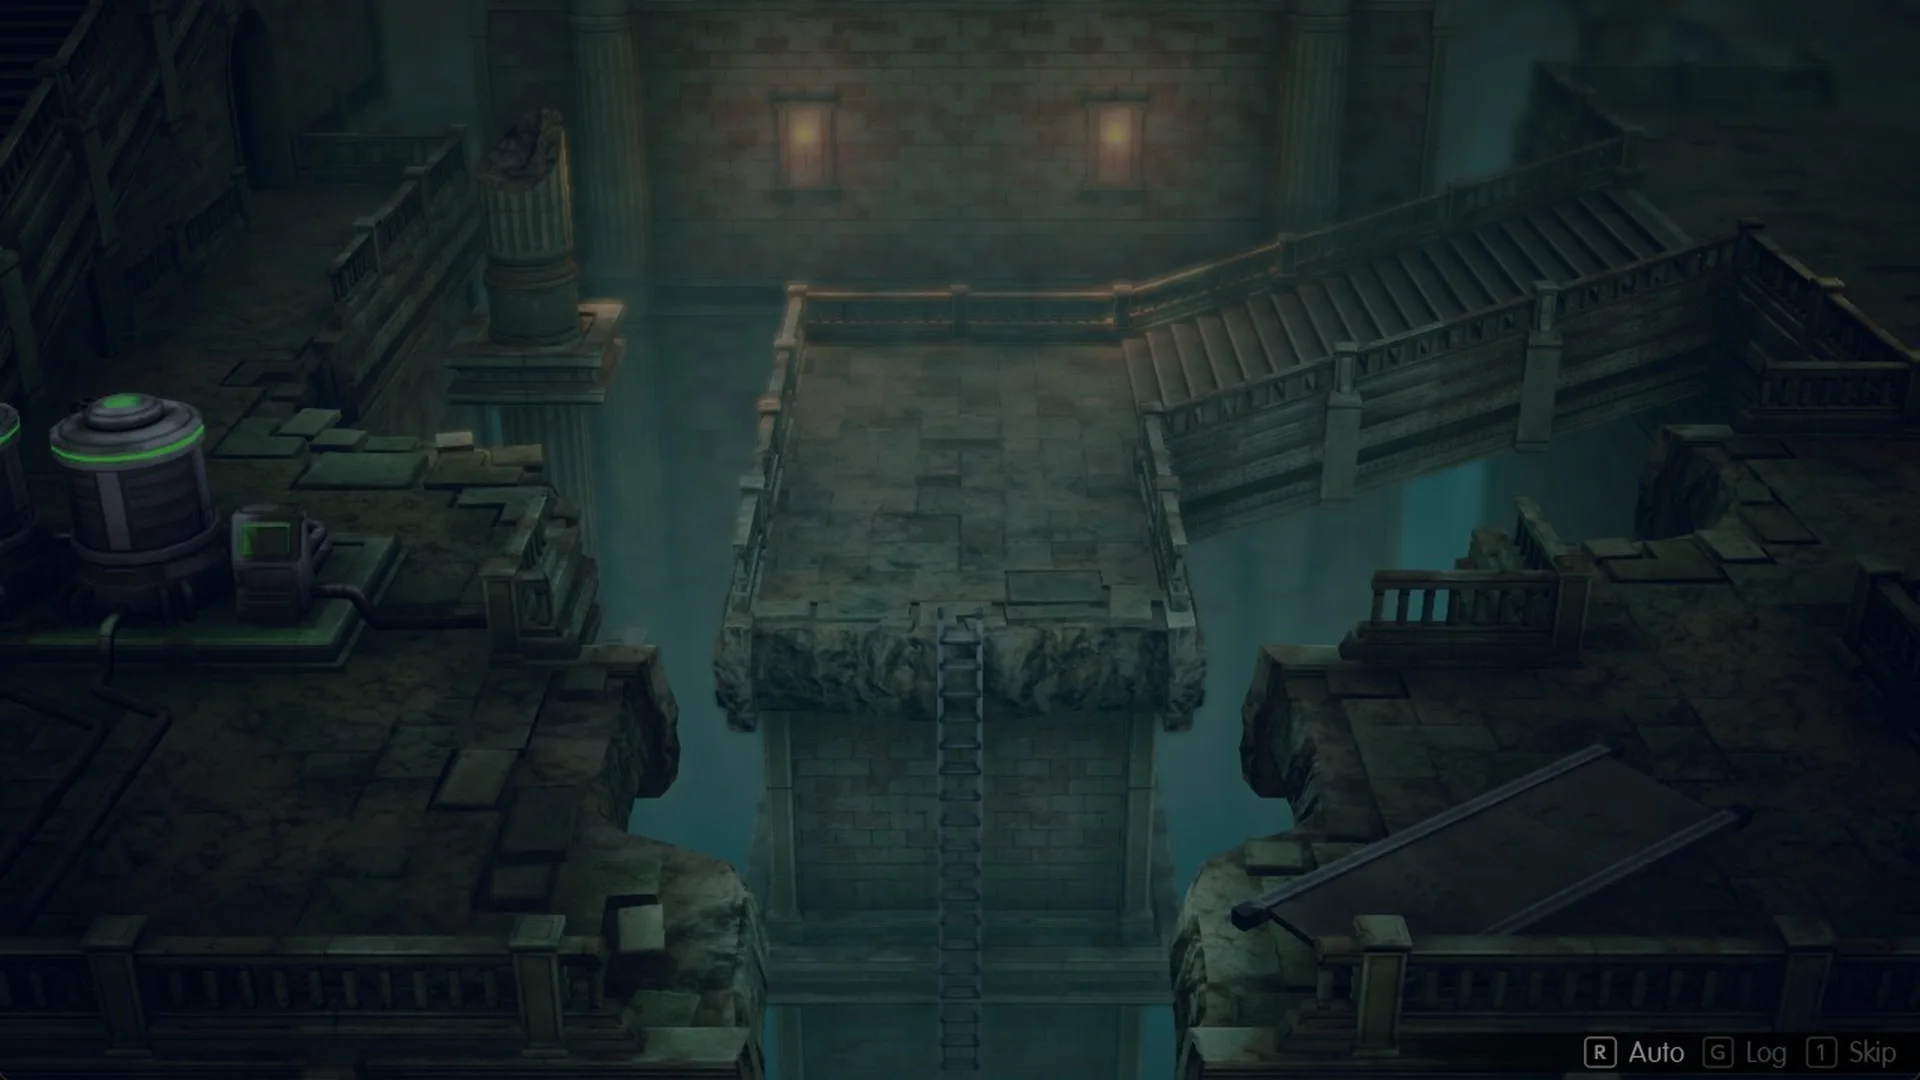
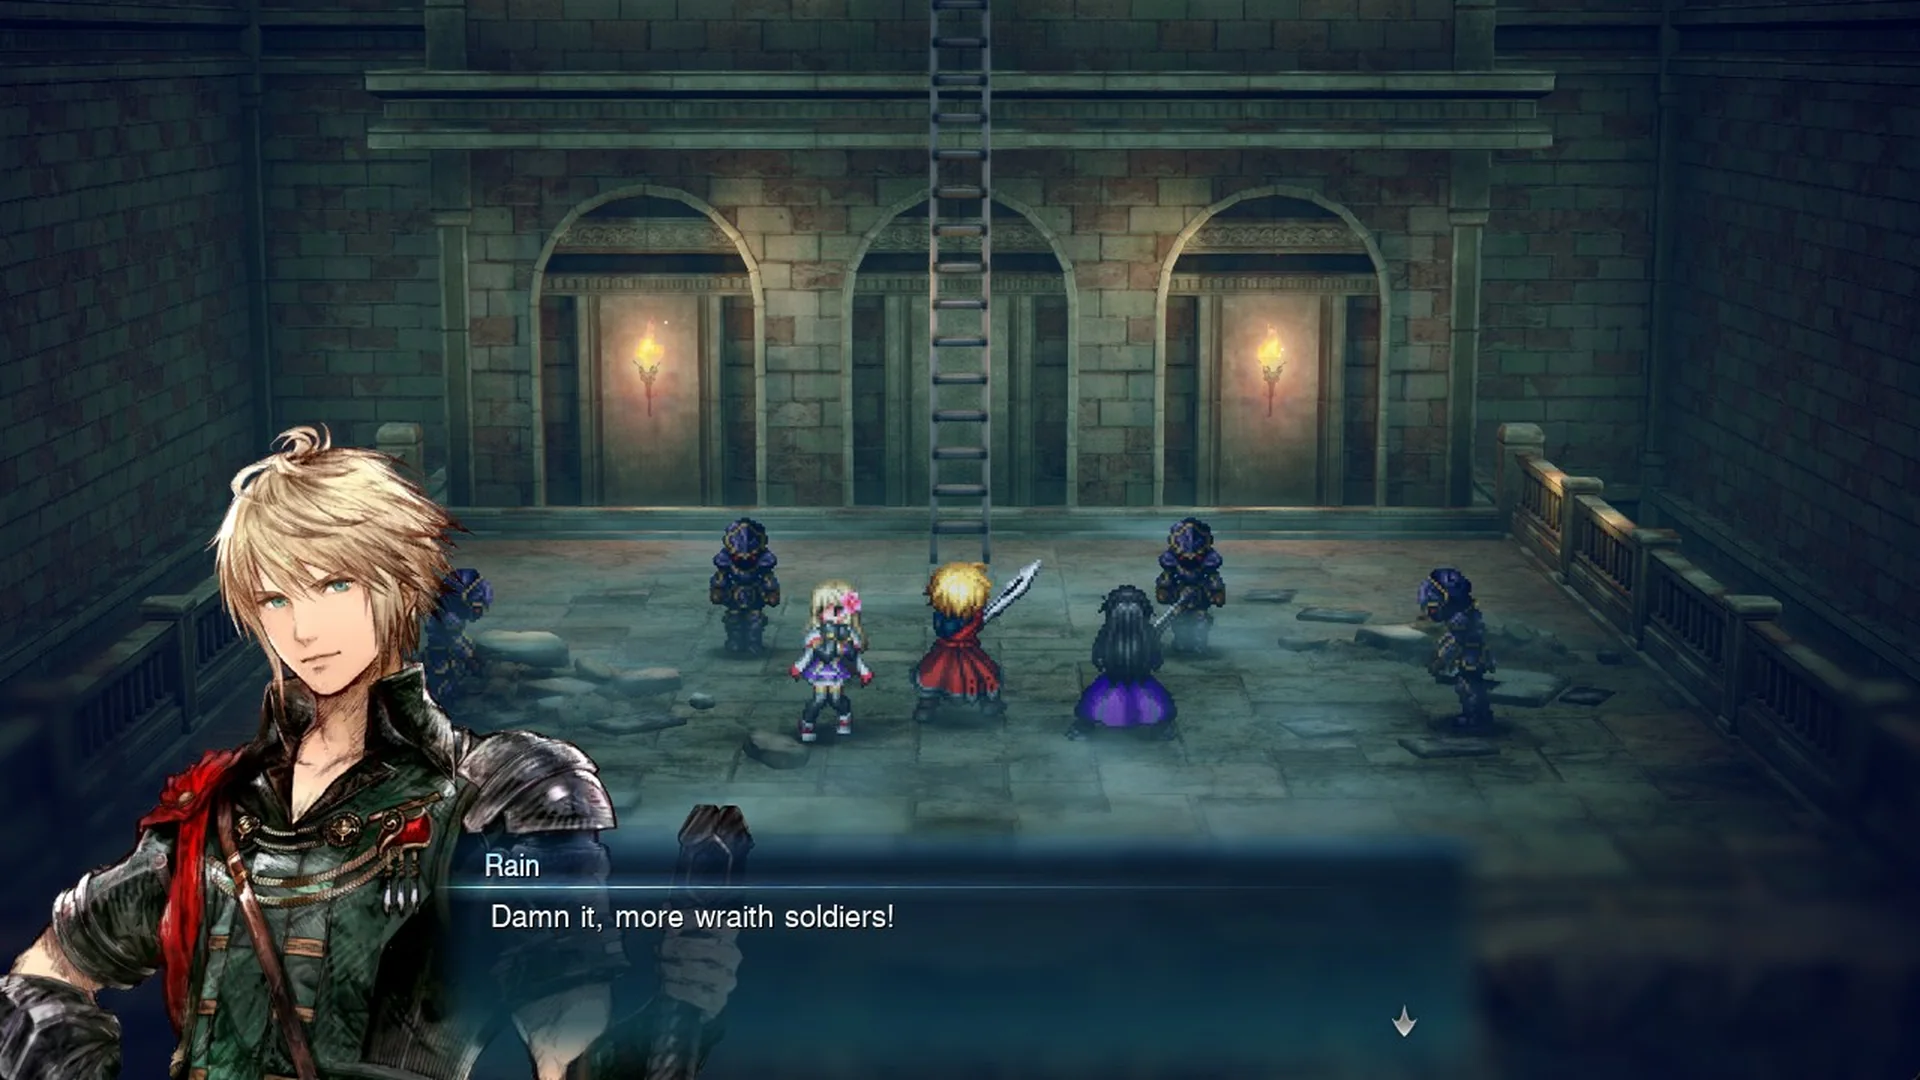
Walk onto the metal bridge east of the tanks and a scene takes over. The bridge collapses and drops the party into a basement hall lined with armour statues, with a ladder on one side. Rain says “Damn it, more wraith soldiers!” and four Wraith Soldiers attack in a scripted fight.
All four are weak to Fire, so Rain’s Fire hits several at once and staggers them. They still hit hard on NORMAL. A single hit can take Lasswell from 672 HP down to 43, so heal early rather than late.
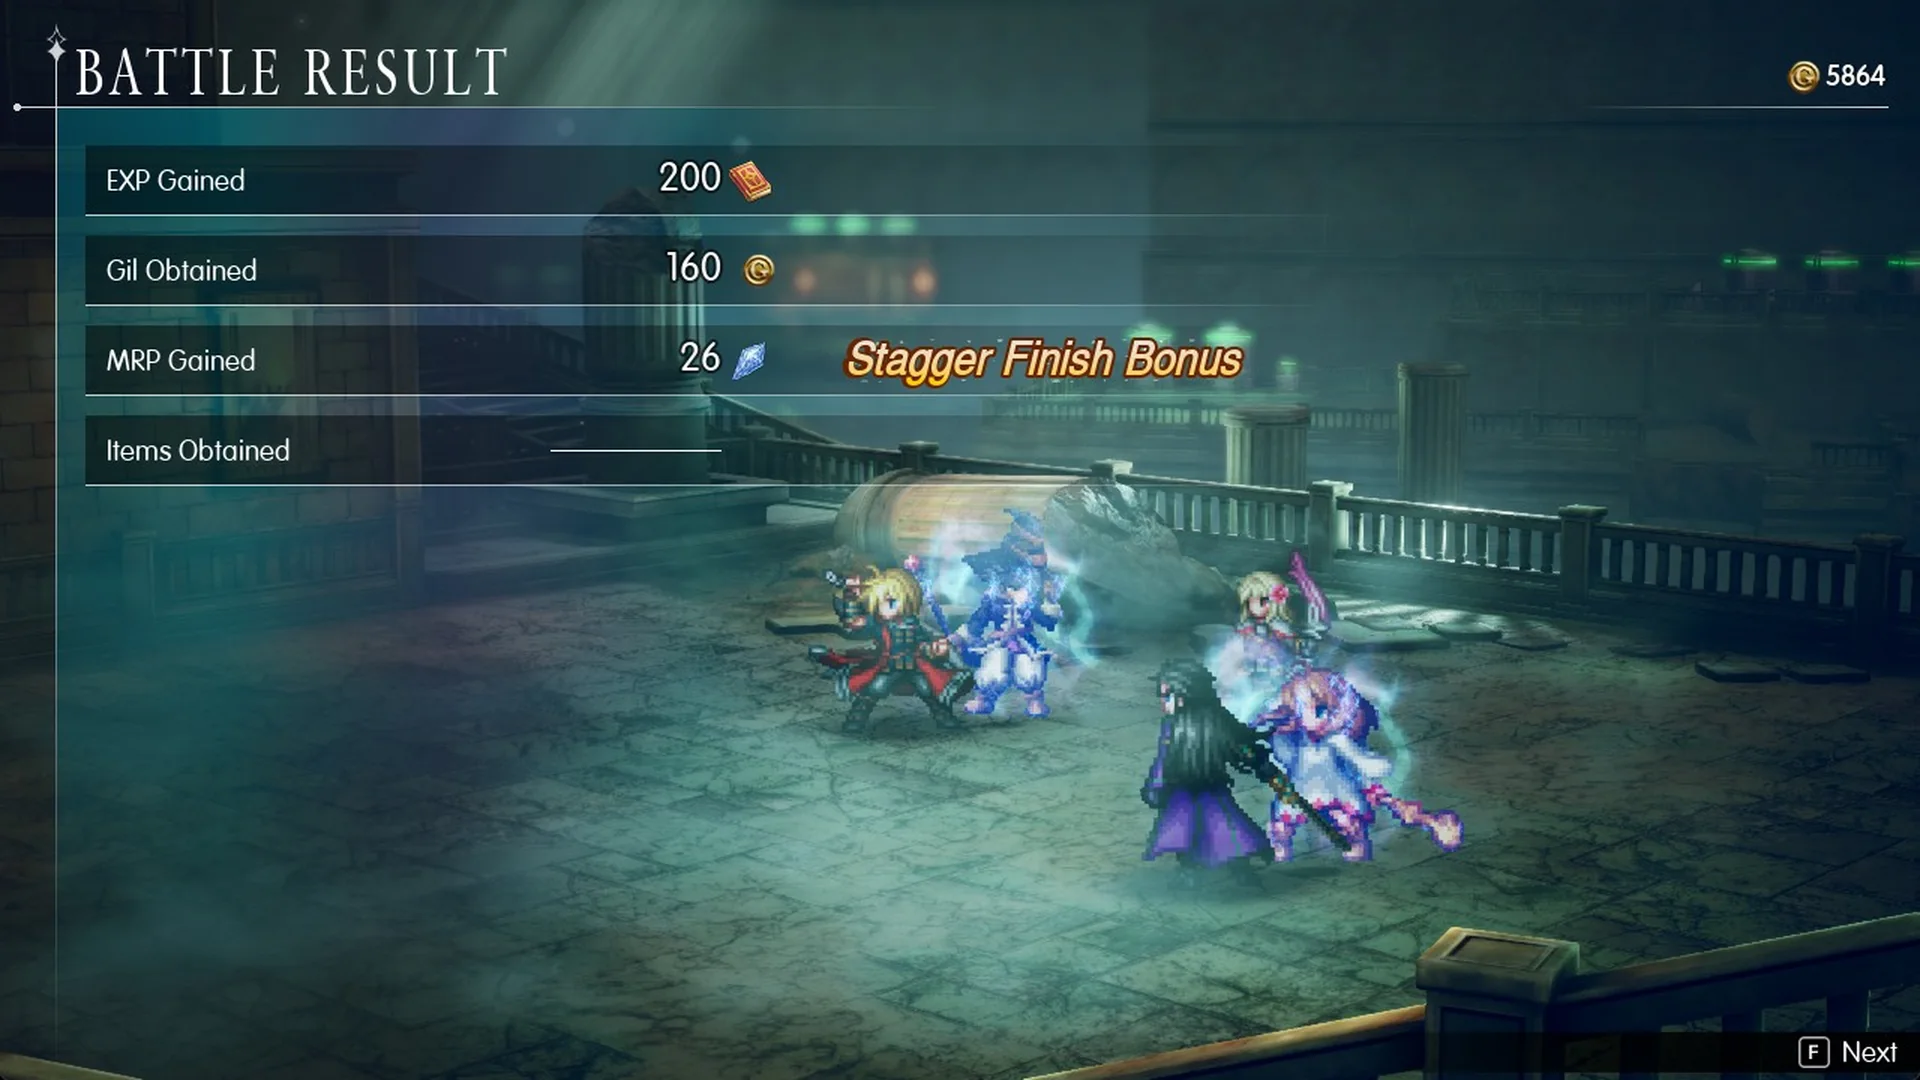
The win, with the Stagger Finish Bonus, pays 200 EXP, 160 Gil and 26 MRP.
Basement to the Ether chest and inner save circle
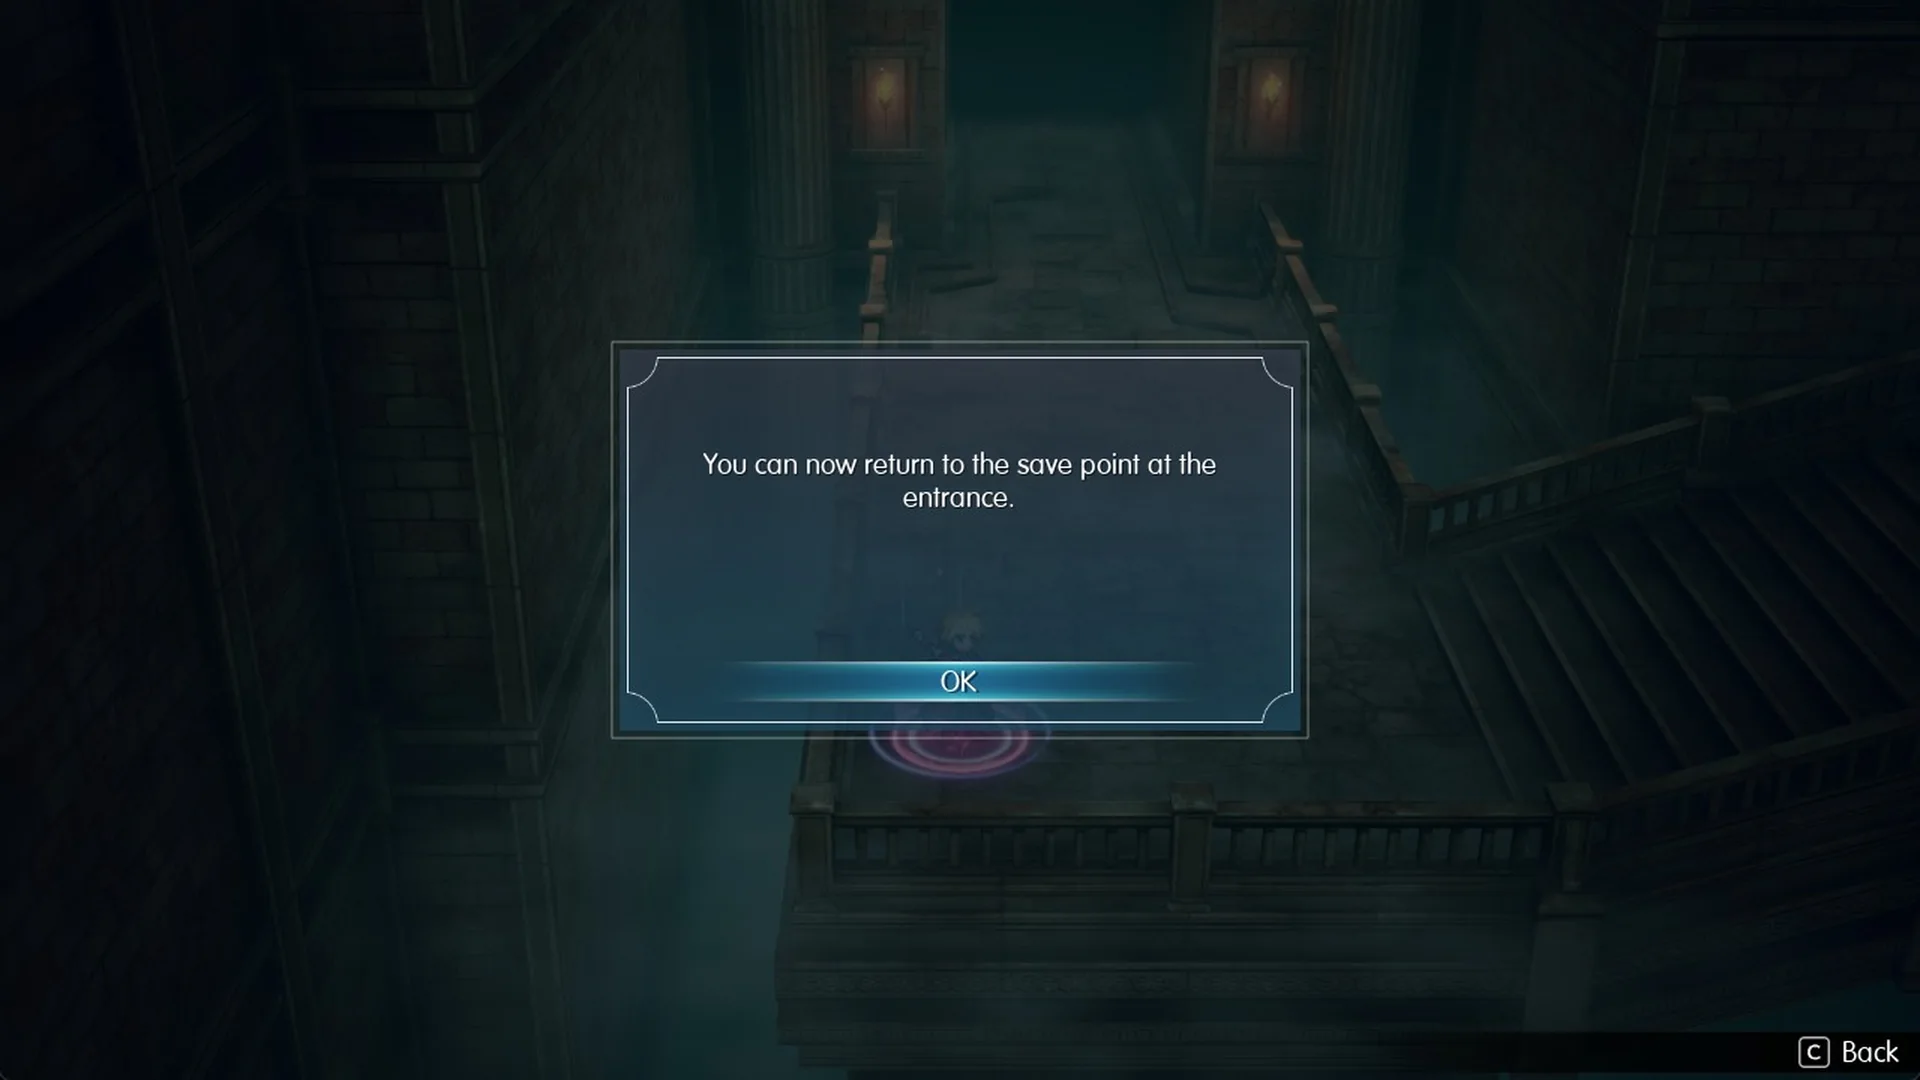
Before continuing, save and Rest in a tent here. No other save point lies between this circle and the boss.
Dr. Lazarov and The Hunger boss fight
Leave the inner circle heading north and pass through the arch into the lab, where green tanks fill the room. Entering immediately starts the Dr. Lazarov scene; you won’t get a door prompt beforehand.
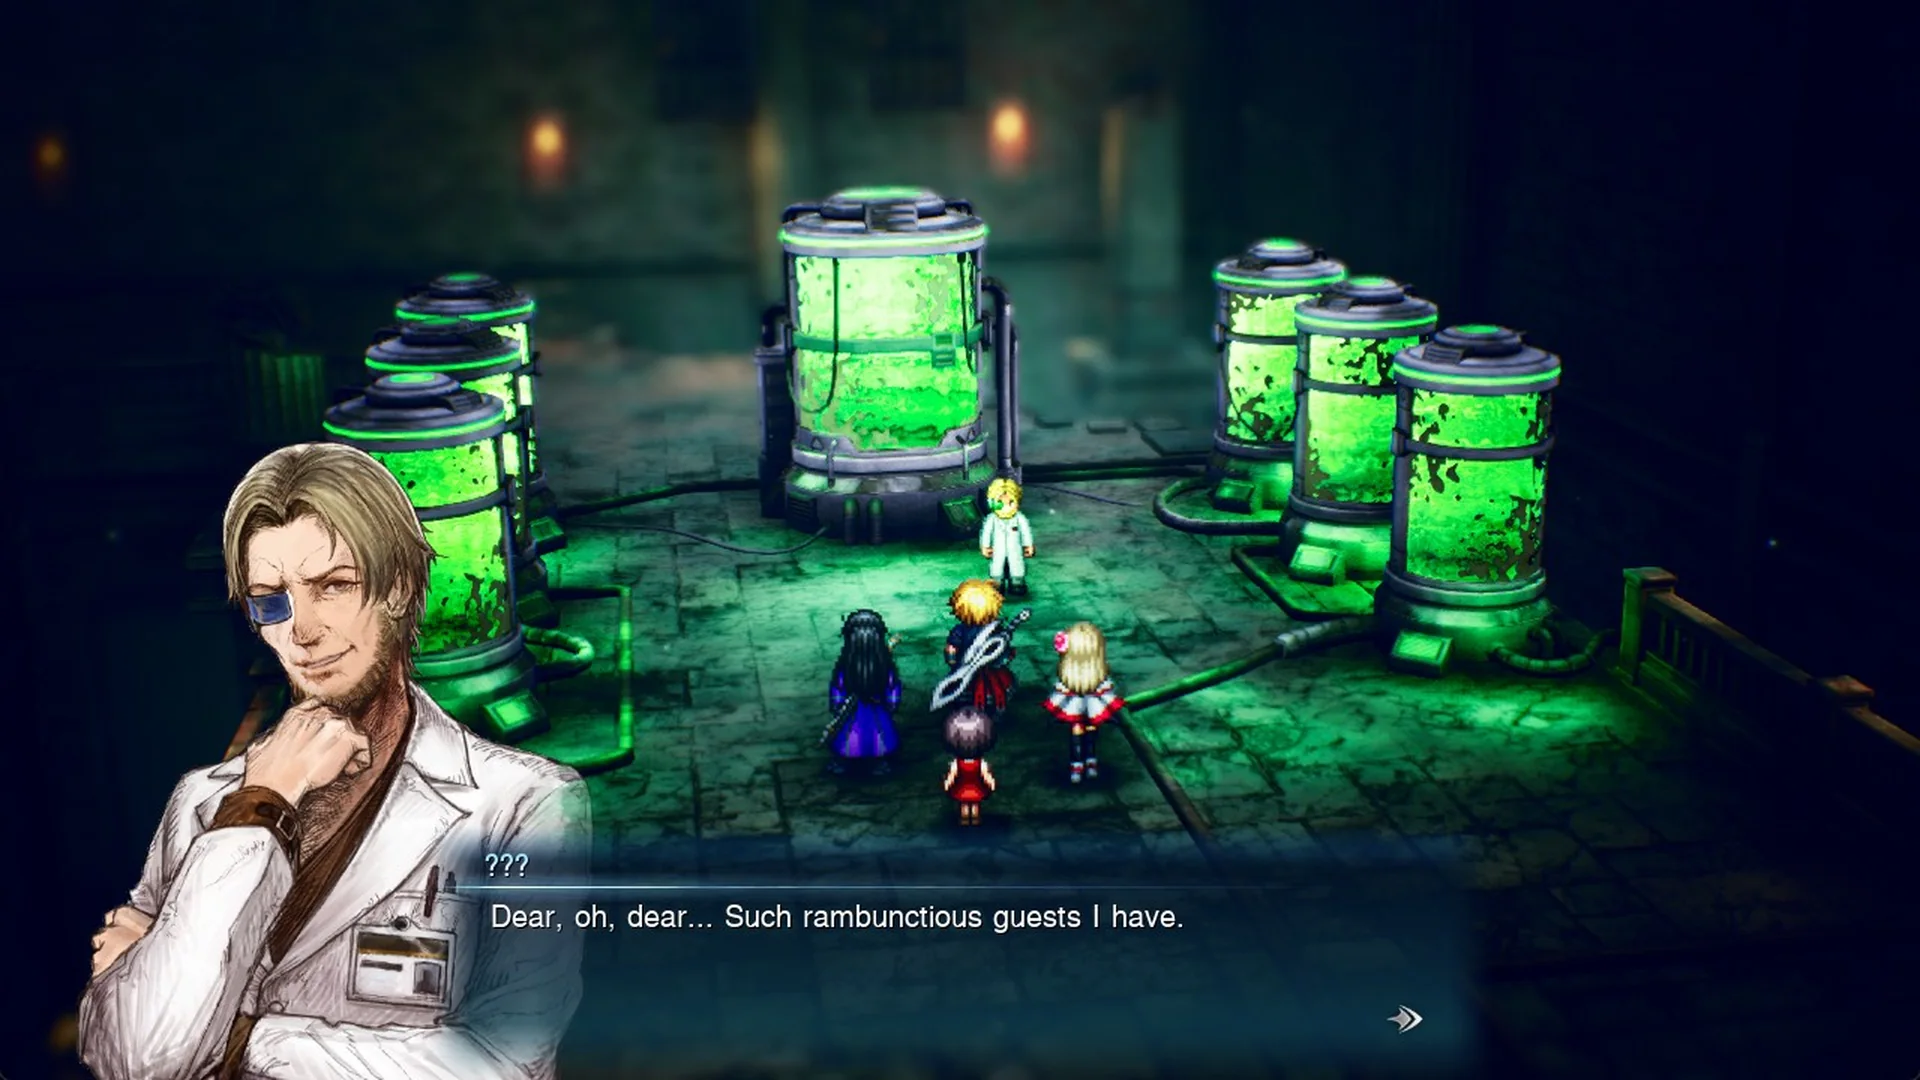
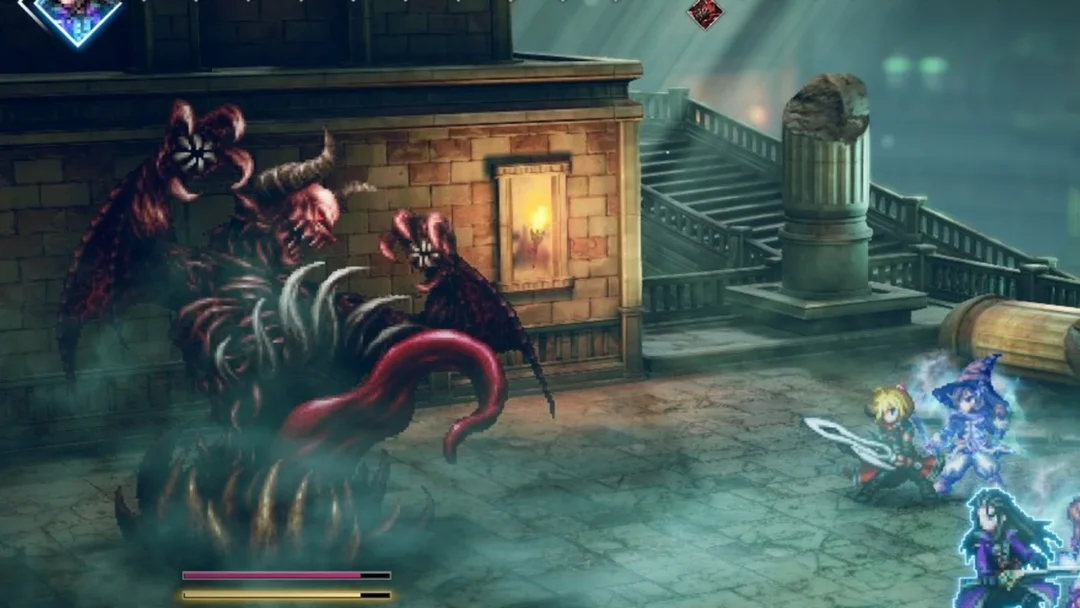
He calls himself “The man who gave your subordinates new life”, says he works with the Sworn Six, and tells you the missing survey team is “in the cells in back”. He signs off with “You’ll have to play with this instead.” and the boss fight begins immediately, with no chance to save.
| Phase | Level | HP | Weak to |
|---|---|---|---|
| The Hunger | Lv.9 | 2,500 | Ice |
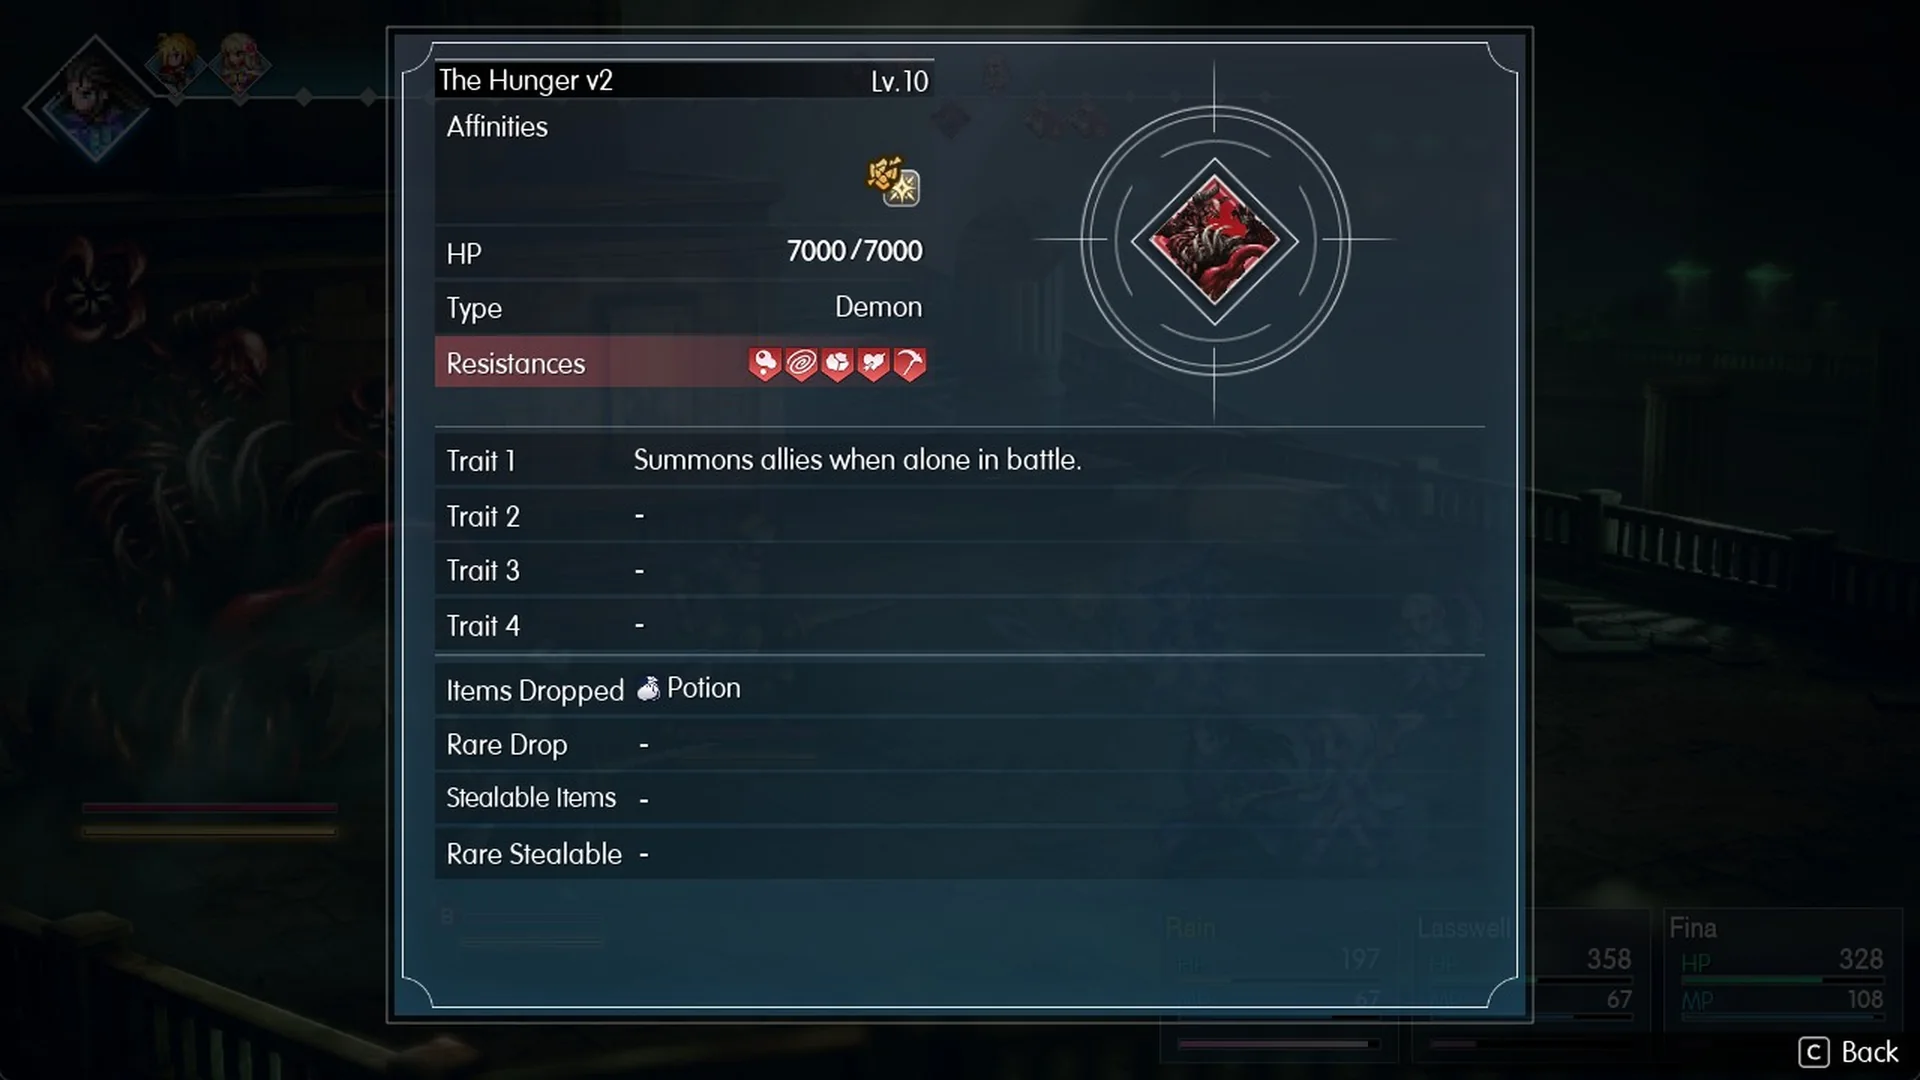
| The Hunger v2 | Lv.10 | 7,000 | Light |
| Enhanced Wraith Soldier (x2, phase 2) | Lv.9 | 650 | Light, Fire |
Phase 2 brings two Enhanced Wraith Soldiers in alongside The Hunger v2. Both share its Light weakness, so Light damage covers the whole field. The full strategy is in how to beat The Hunger, and full boss stats sit in the bosses list.
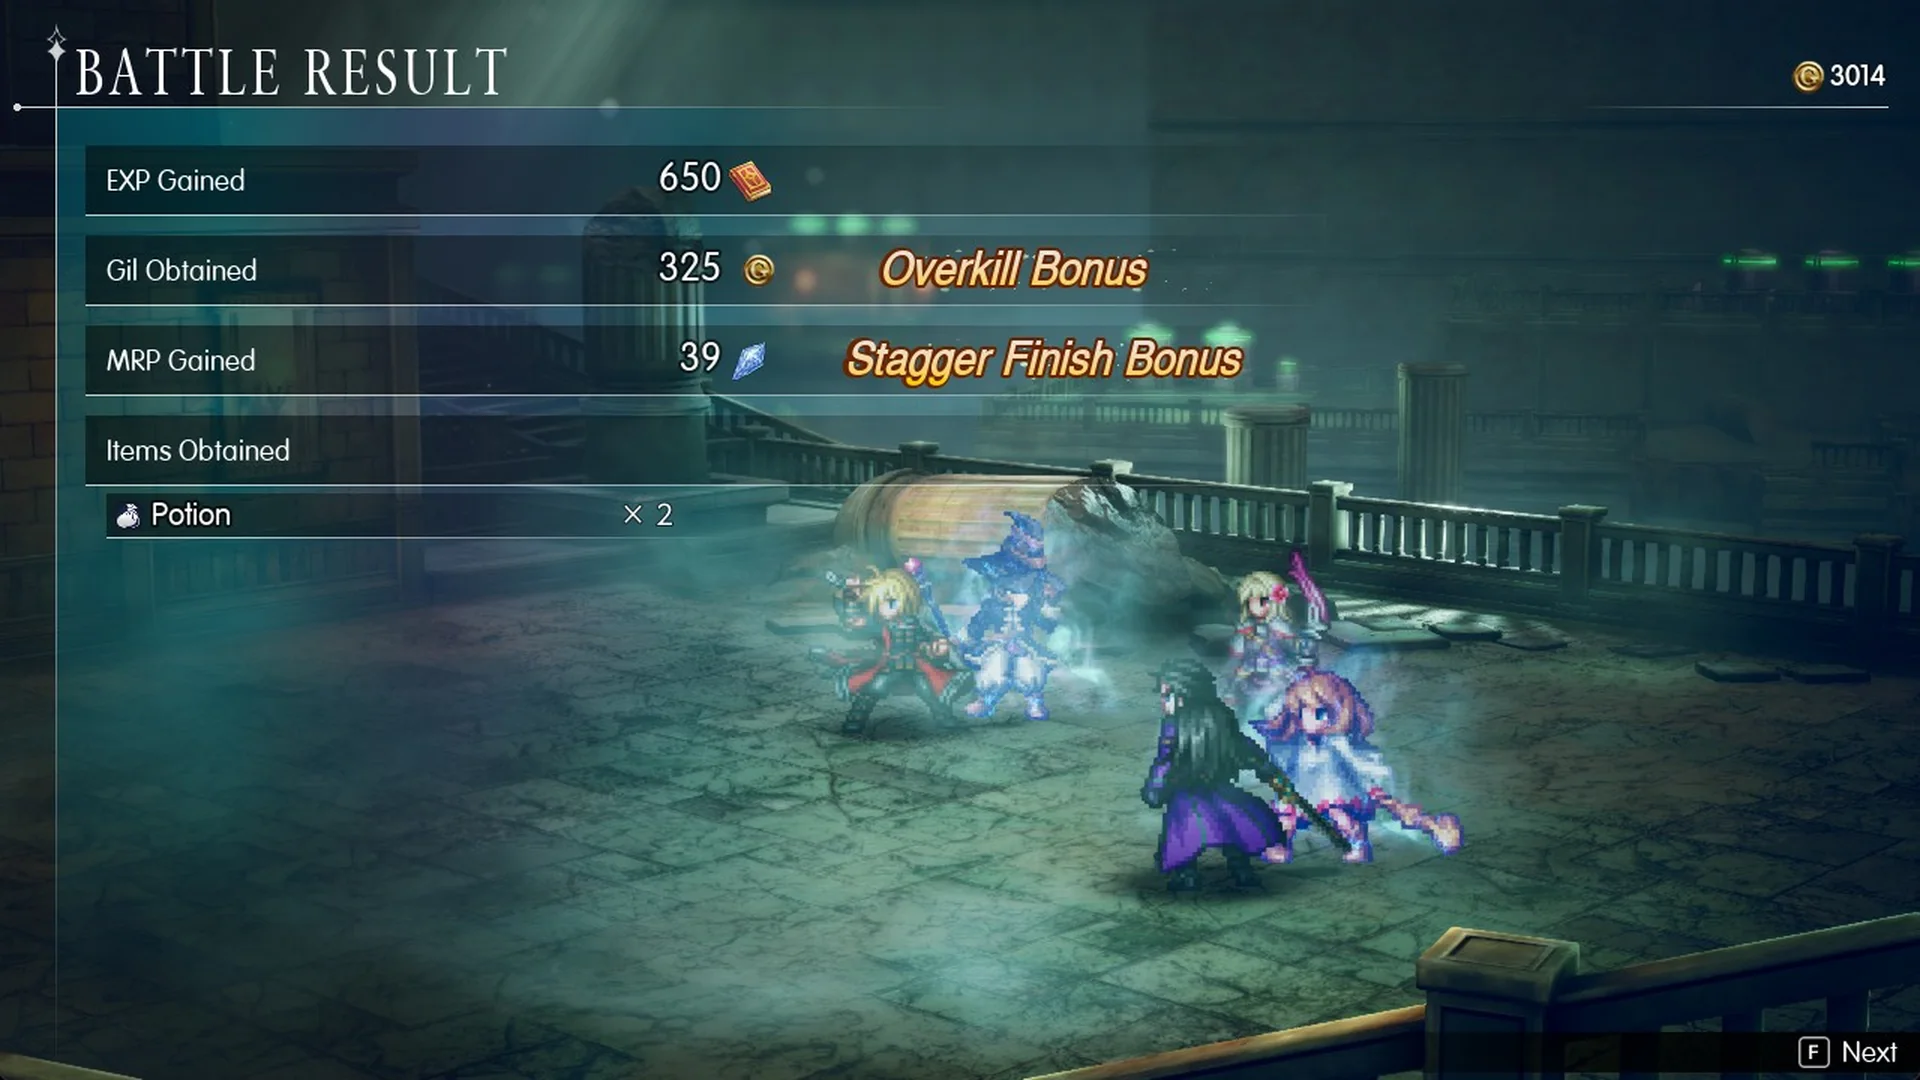
Victory pays 650 EXP, 325 Gil with the “Overkill Bonus”, 39 MRP with the “Stagger Finish Bonus”, and Potion x2.
If the party is defeated, choosing Retry starts the battle over at phase 1, but items you’ve used stay spent.
After The Hunger: Back to Felicitas
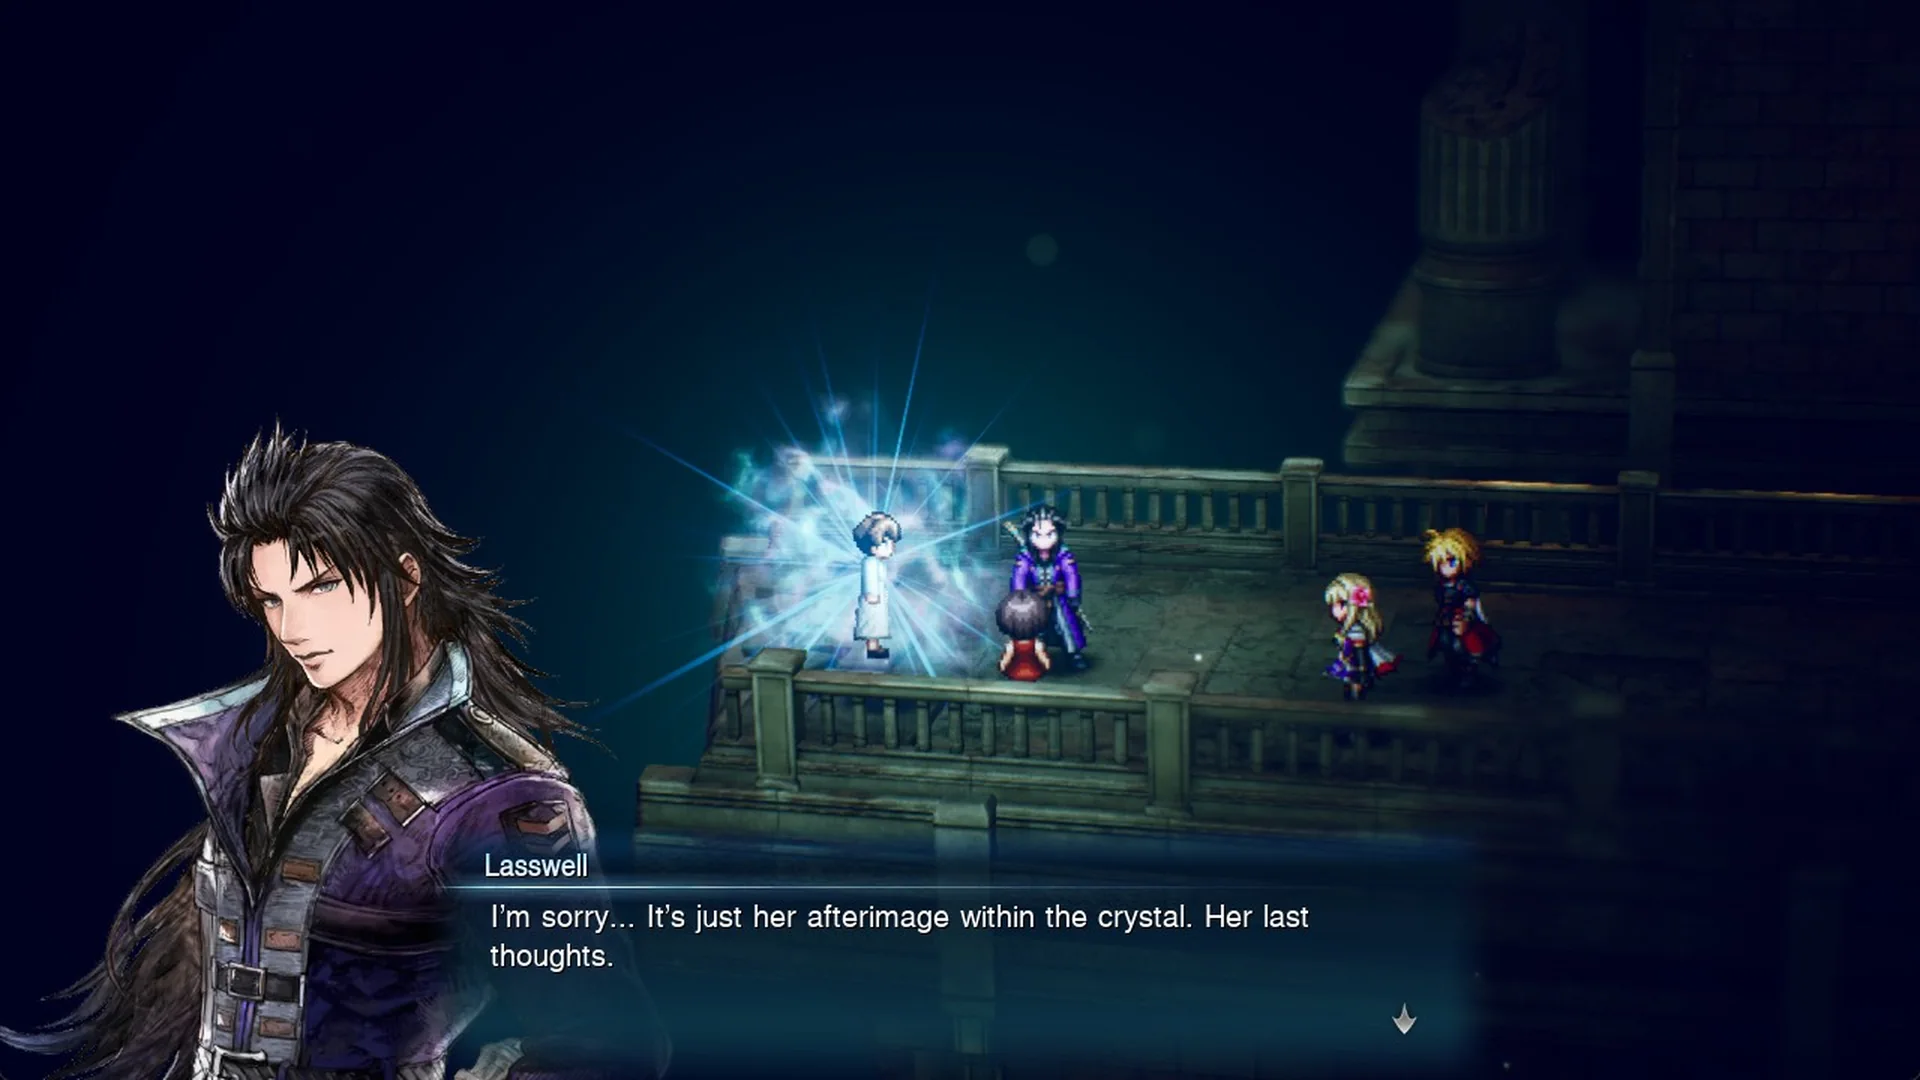
Lazarov escapes, and Rain says “He got away…” Emma finds her mother’s bag (“Her tools and the rocks she dug up are inside…”), and a crystal holds her mother’s afterimage. Lasswell explains: “It’s just her afterimage within the crystal. Her last thoughts.”
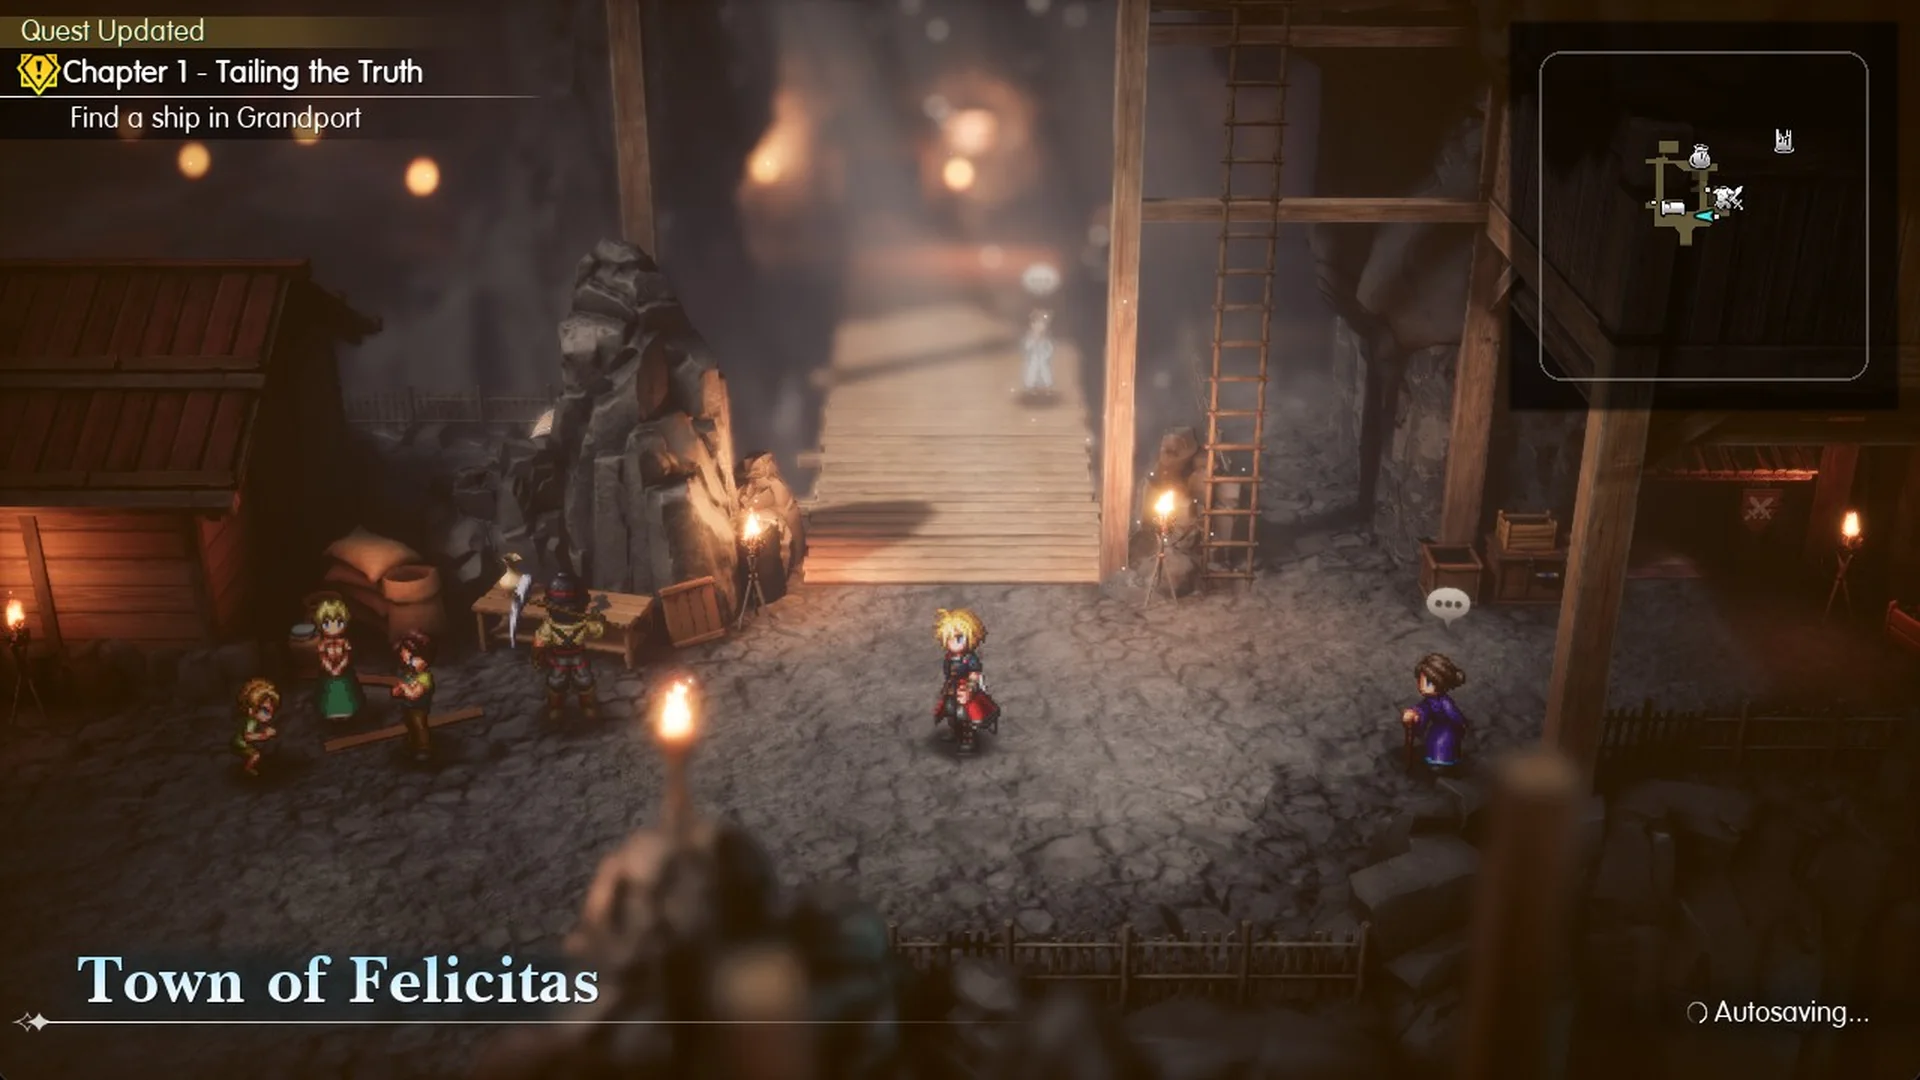
The survey team is rescued and the party returns to the Town of Felicitas. Lasswell says they need a ship to reach Dirnado, and that Grandport lies west of the desert. You know the dungeon is done when “Quest Updated: Chapter 1 – Tailing the Truth / Find a ship in Grandport” appears and the game autosaves in Felicitas. The next leg continues in the Final Fantasy Resonance walkthrough.
For another visit, fast travel to Kolobos Ruins using the World Map. You’ll arrive at the entrance circle; use Teleport to go directly to the inner circle.
Kolobos Ruins enemies and weaknesses (NORMAL)
| Enemy (type) | Lv / HP | Weak to | Drops |
|---|---|---|---|
| Wraith Soldier (Reaper) | 5 / 240 | Light, Fire | – |
| Ghoul (Reaper) | 7 / 300 | Light, Fire | – |
| Ghost (Humanoid) | 7 / 300 | Light, Ice | Ether (steal Smoke Bomb) |
| Enhanced Wraith Soldier (Reaper) | 9 / 650 | Light, Fire | Potion (rare Mist Potion) |
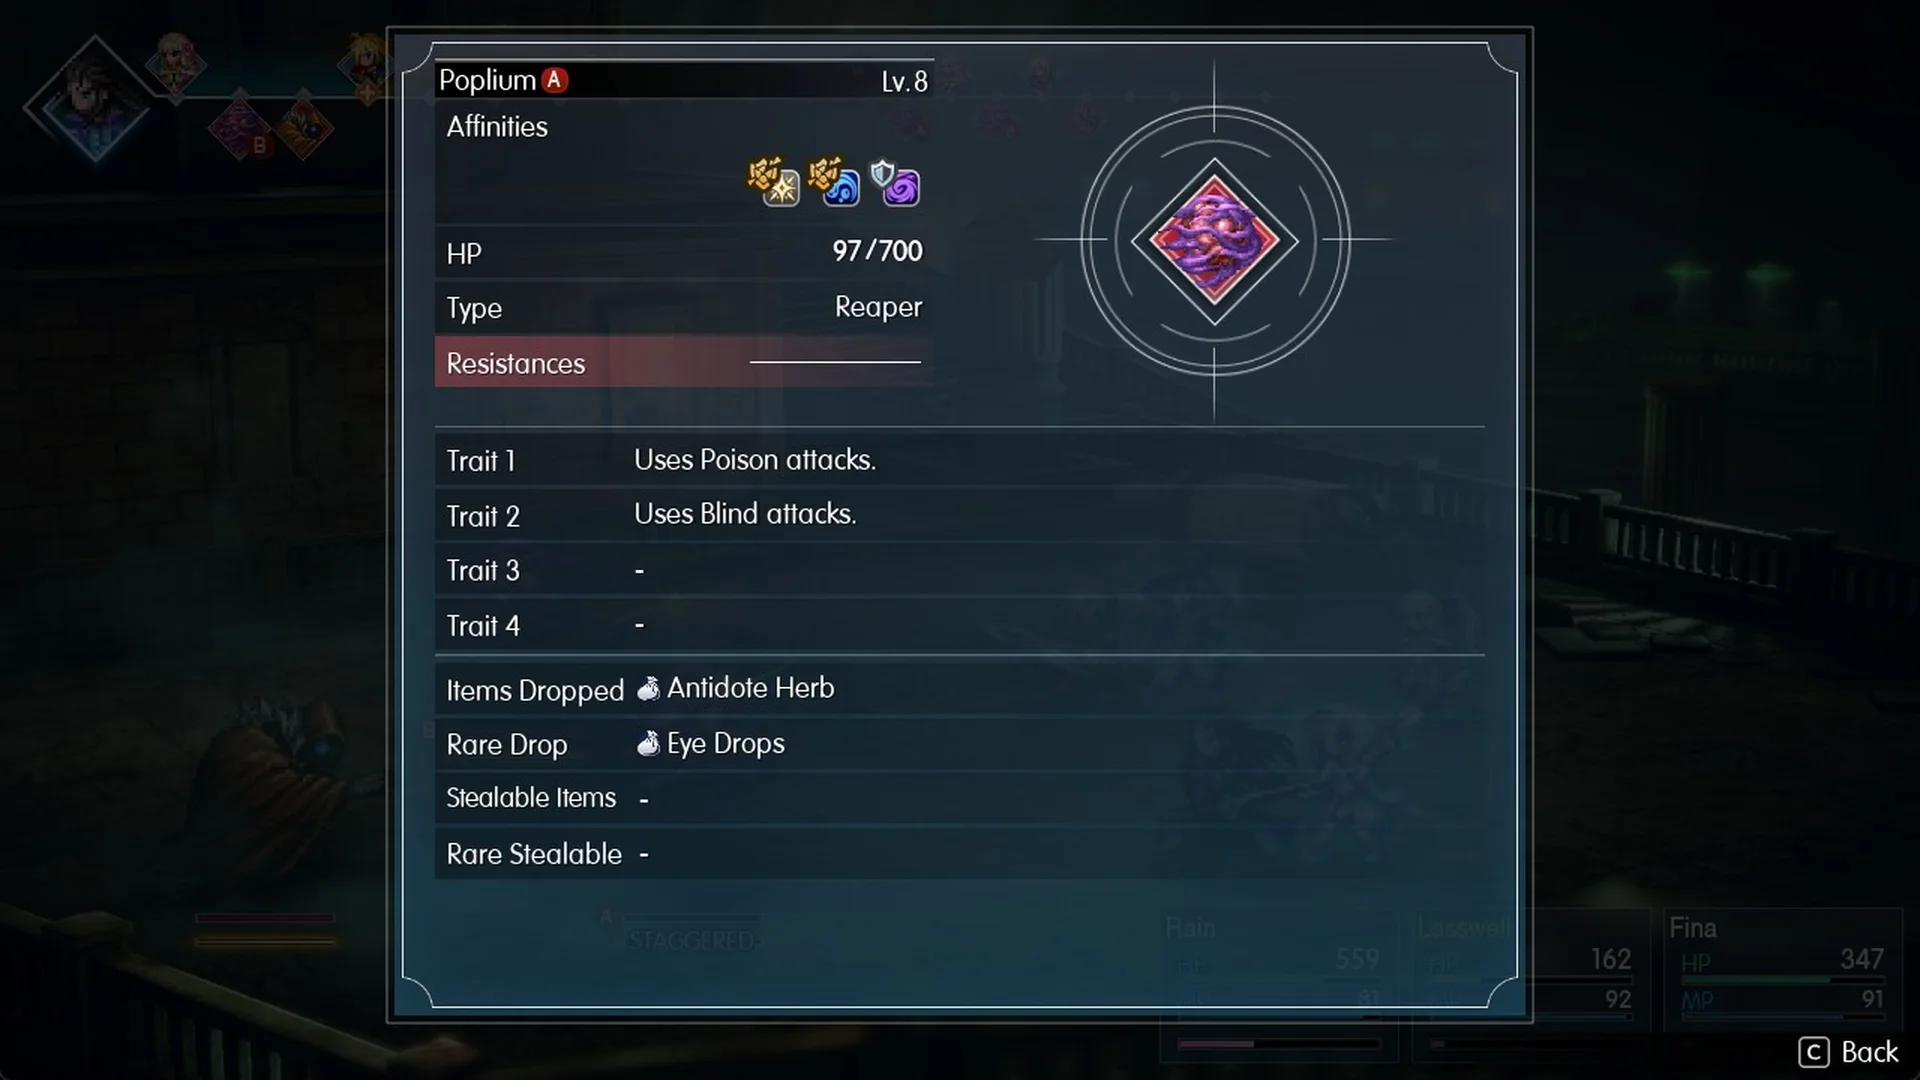
| Poplium (Reaper) | 8 / 700 | Light, Water | Antidote Herb (rare Eye Drops) |
More enemy details are in the Chapter 1 enemies rundown.