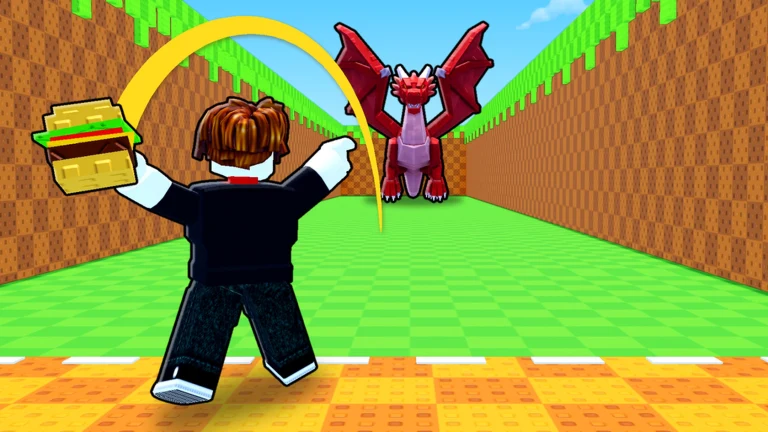
Goofy Chupacabra has a single admin abuse session on the Roblox calendar for Throw Food For Animals. It is bundled with a new map, and it falls on a Saturday. The game’s latest update arrived on November 5th, so the event follows it by two days. The time before the event is best spent on throw distance and your plot, because those two things decide how much you can catch and earn once it begins.
Quick answer: The “New Map + Admin Abuse” event is listed for Saturday, Nov 7, 2:00 PM. Open the event listing and tap Notify Me to get an alert when it begins.
Throw Food For Animals admin abuse event time and listing
The event appears in the Events panel on the game’s Roblox page. Its description says only “new map & admin abuse.” No other admin abuse dates are scheduled after this one. Times on Roblox event listings can look different depending on where you are, so open the listing on your own account to see when it starts for you.
| Detail | Value |
|---|---|
| Event name | New Map + Admin Abuse |
| Listed start | Sat, Nov 7, 2:00 PM |
| Developer | Goofy Chupacabra |
| Server size | 5 players |
| Last game update | 11/5/2026 |
To get a reminder, open the New Map + Admin Abuse event page and press Notify Me. Roblox will then alert you when the event goes live. Because servers hold only five players, join through the Throw Food For Animals game page a little early. That way you are already in a lobby when it starts.
Food Shop upgrades to buy before the event
Your equipped food controls which animals come to the landing spot. Better food brings rarer animals, and those earn more cash per second. The Food Shop sits by the blue water effect near your base. Each row shows the food’s tier and rarity, plus an EQUIP, EQUIPPED or price button.
| Food | Rarity | Tier | Price |
|---|---|---|---|
| Bacon | Legendary | 6 | Owned (EQUIP) |
| Burger | Legendary | 7 | Owned (EQUIPPED) |
| Shank | Legendary | 7 | $6.8T |
| Steak | — | — | $1.5Qa |
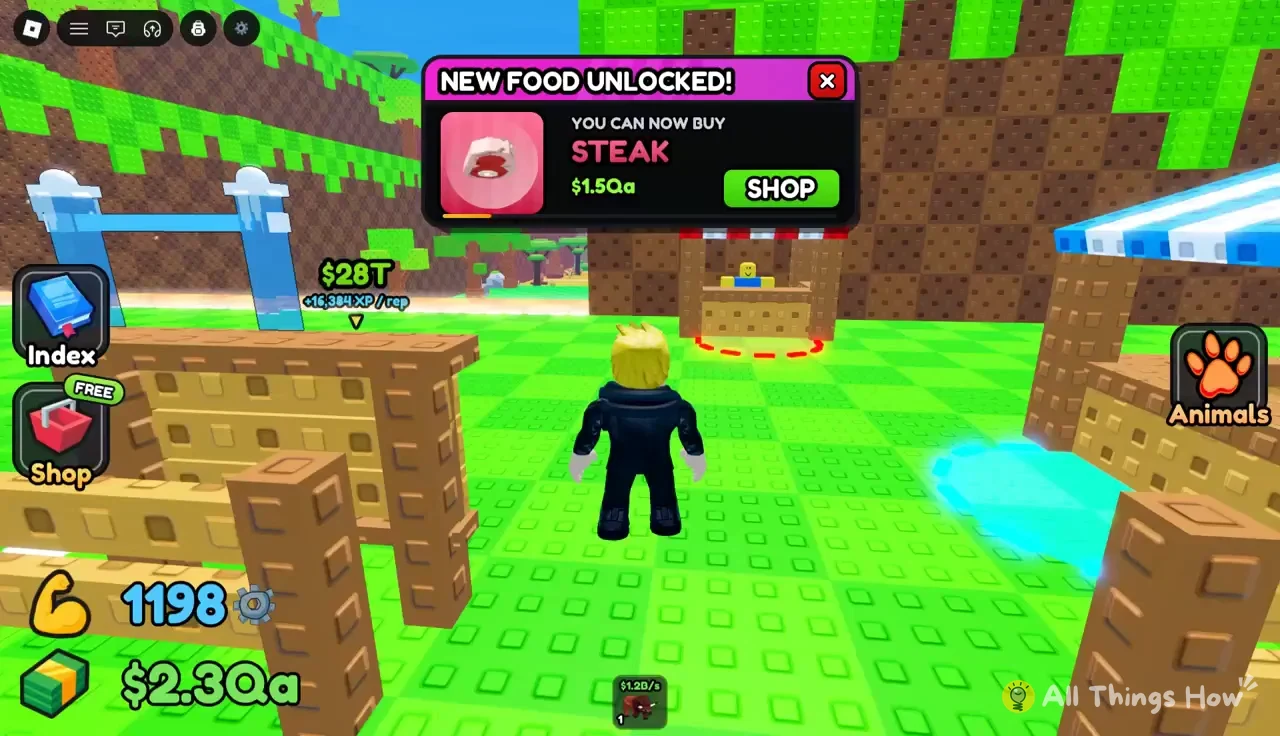
When your cash passes a new food’s price, a “NEW FOOD UNLOCKED!” banner appears. It names the food, shows its cost and includes a Shop button that takes you straight to the purchase. At the Shank stage, the next unlock is Steak at $1.5Qa. Equip the newest food you own before you throw, because a stronger food you bought but never equipped does nothing.
Pull-up bar upgrades and Throw Power training
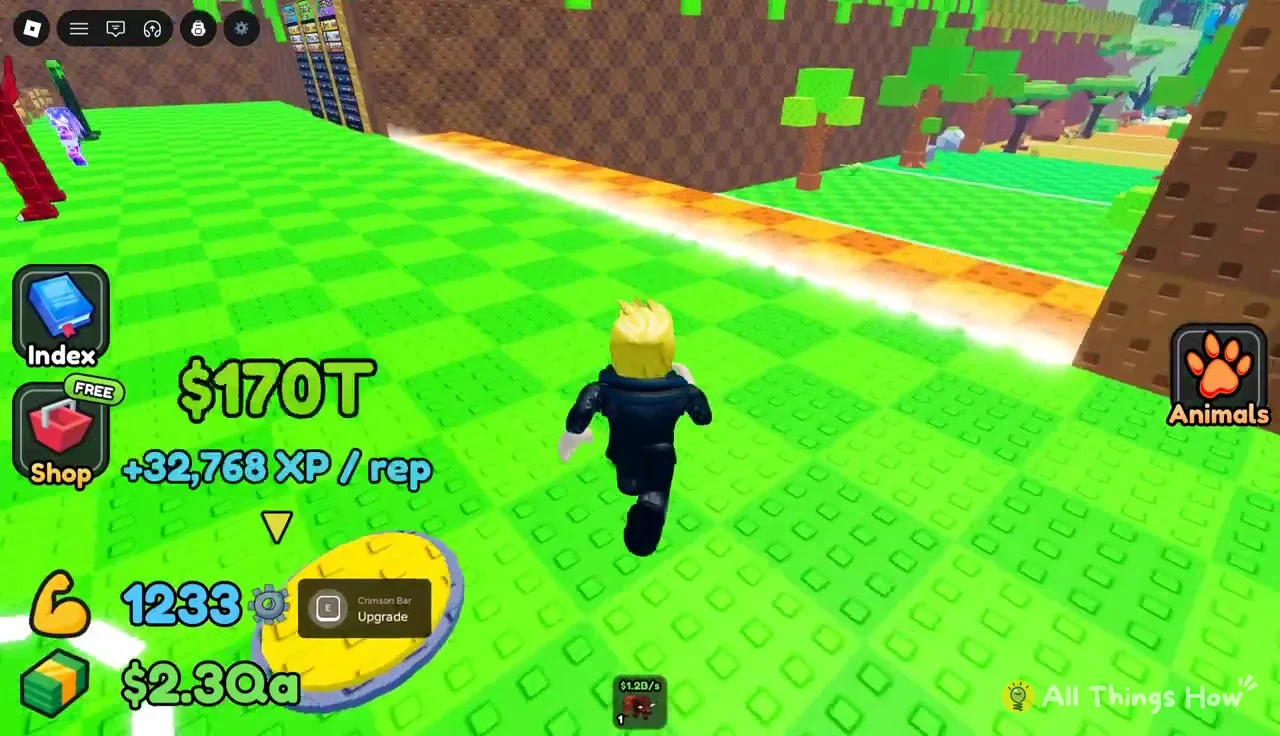
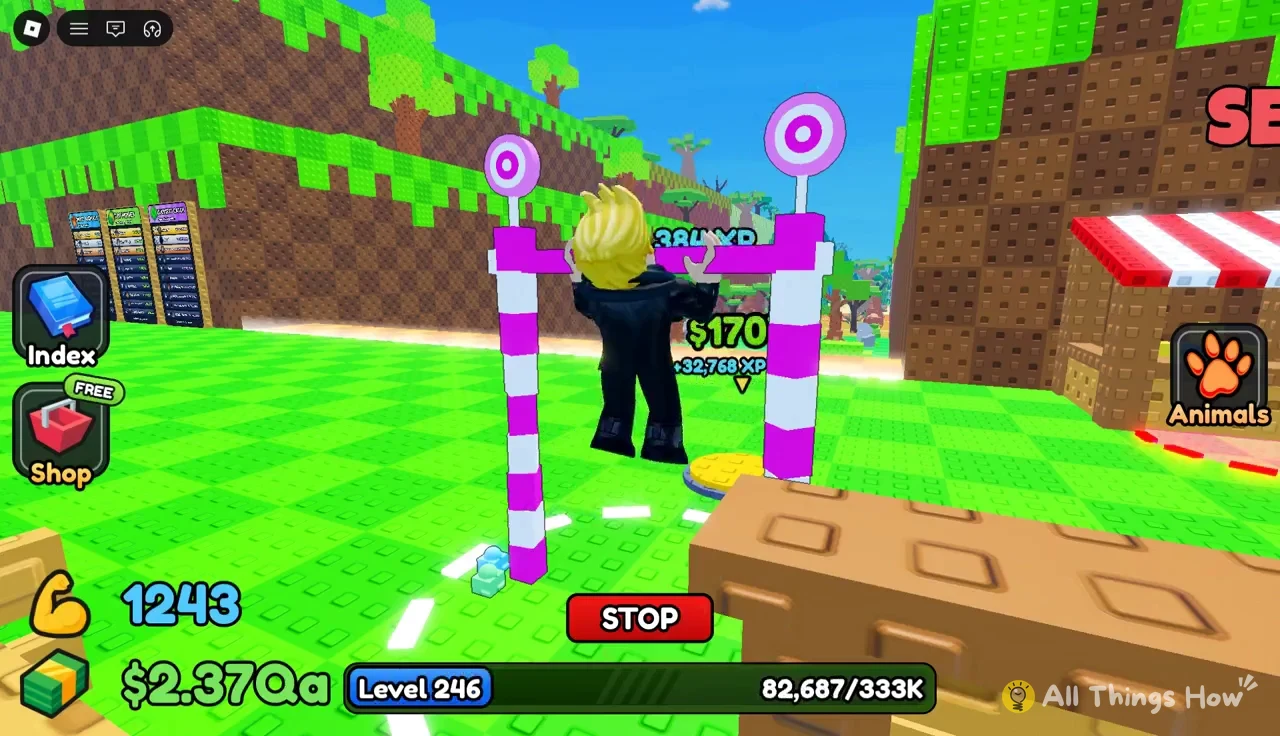
Food sets which animals you can attract. Throw Power sets how far the food flies, so it decides which biome you reach. You build Throw Power with pull-ups. Each rep gives XP, and every level-up adds +5 Throw Power. A better bar gives more XP per rep, which makes each level faster to reach.
| Bar | Price | XP per rep |
|---|---|---|
| Magenta Bar | $28T | +16,384 |
| Crimson Bar | $170T | +32,768 |
Each bar doubles the XP per rep of the one before it. That makes the next bar the quickest way to more Throw Power once you can afford it.
Throwing food down the biome runway
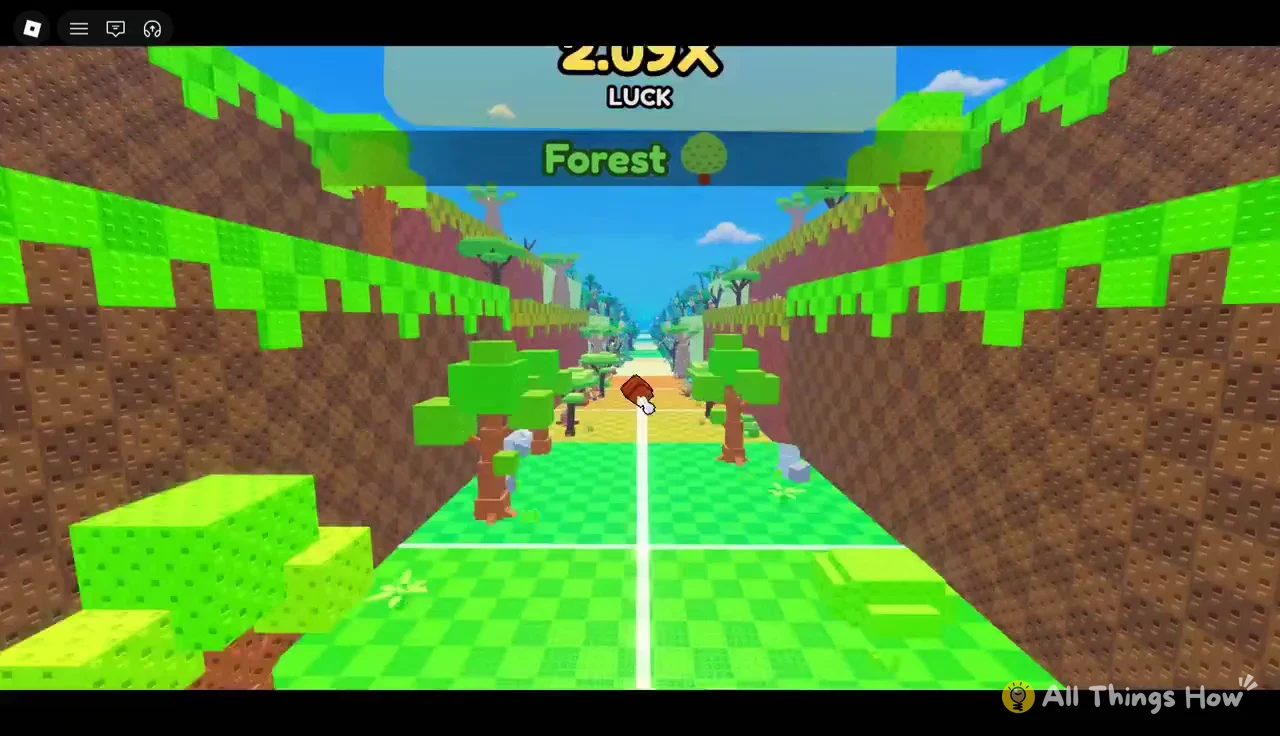
The runway runs through seven biomes in a fixed order. Your food lands in one of them, and the animals of that biome come to it.
- Forest
- Savanna
- Desert
- Ocean
- Mountains
- Taiga
- Winter
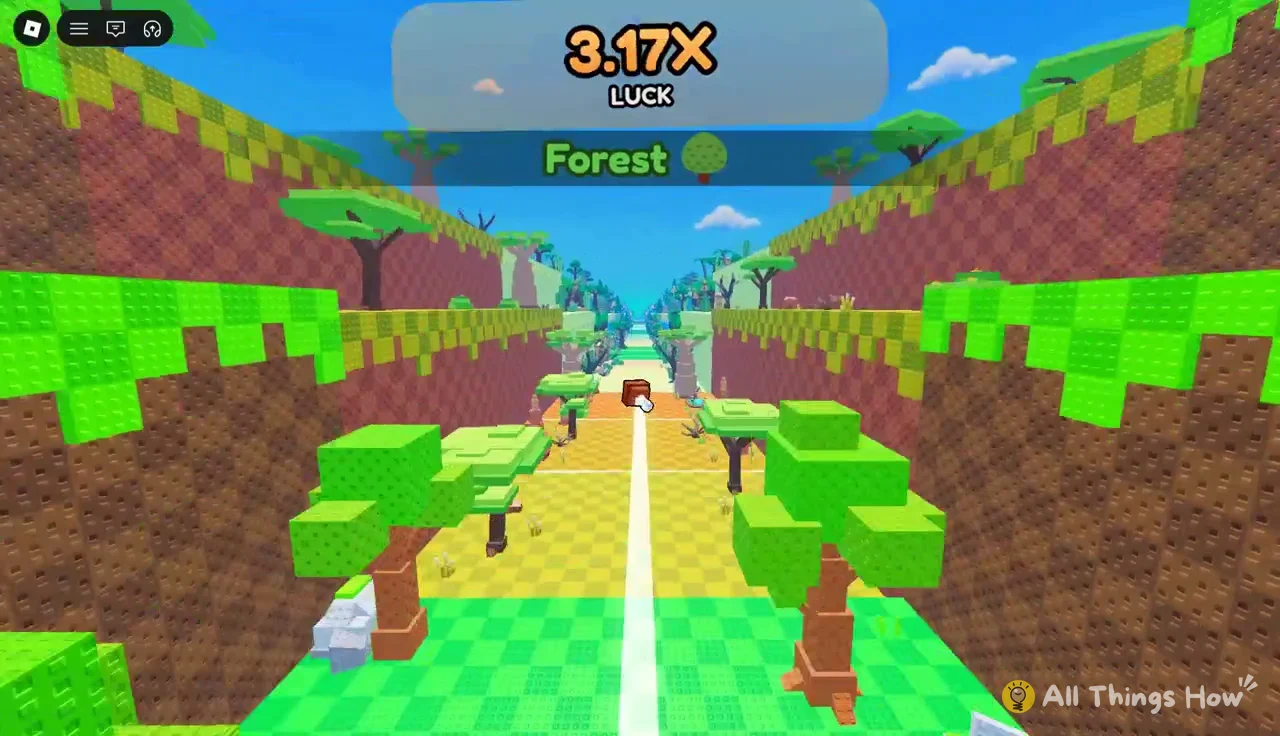
With Shank and Level 244 to 258 Throw Power, PERFECT throws reached Taiga and then Winter. These are the animals those throws pulled in:
| Animal | Cash rate | Biome | Roll |
|---|---|---|---|
| Gold Goat (Big) | $934B/s | Winter | Super Lucky, 1 in 51 |
| Gold Tanuki | $675B/s | Winter | — |
| Goat (Big) | $622B/s | Winter | — |
| Tanuki | $450B/s | Winter | — |
| Husky (Big) | $311B/s | Winter | — |
| Diamond Fenrir | $300B/s | Taiga | Lucky, 1 in 31 |
| Kitsune (Big) | $149B/s | Taiga | — |
Gold and Diamond mutations and the Big size raise an animal’s rate above its plain version. A plain Tanuki earns $450B/s, while the Gold Tanuki from the same biome earns $675B/s. Bringing in Winter animals one after another depends on throws that reach Winter every time. That is why you need the bar upgrades before the event.
Equip Best, plot slots and the Sell stall
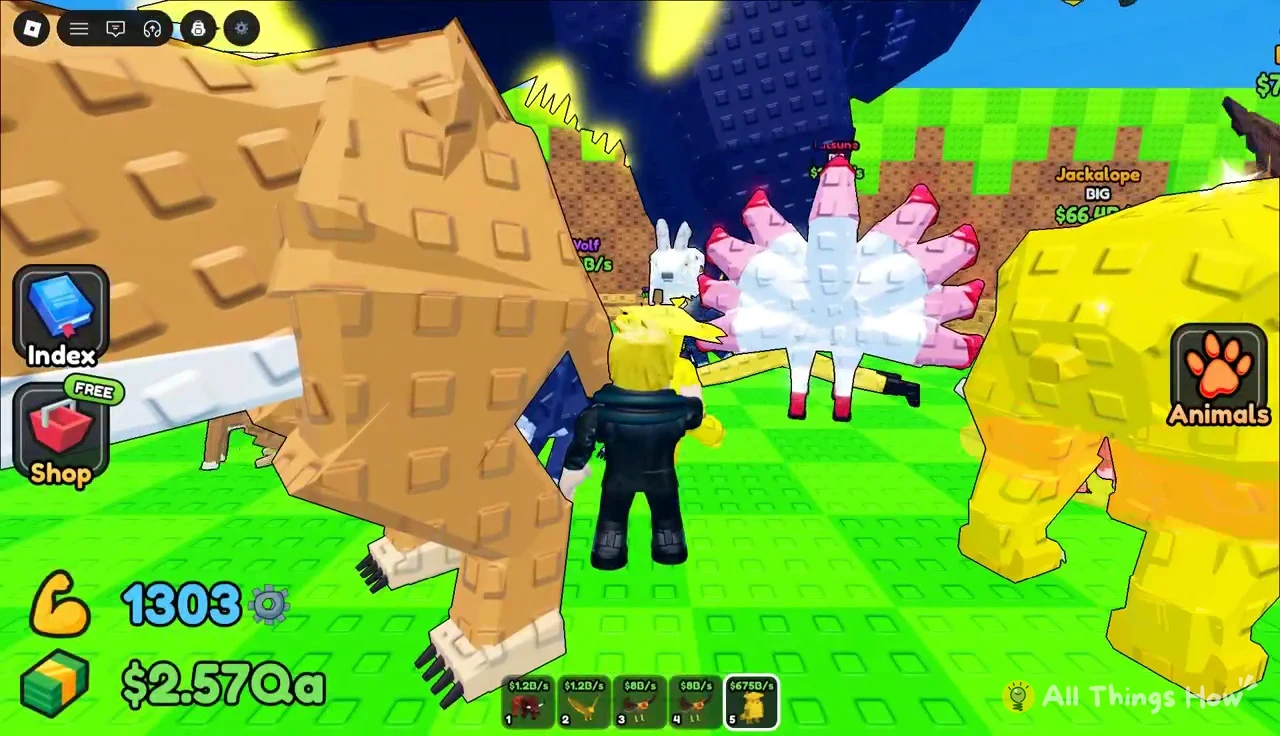
Animals earn cash only while they are placed on your plot. New catches go to your backpack first. After every good throw, go back to base and move your strongest animals onto the plot.
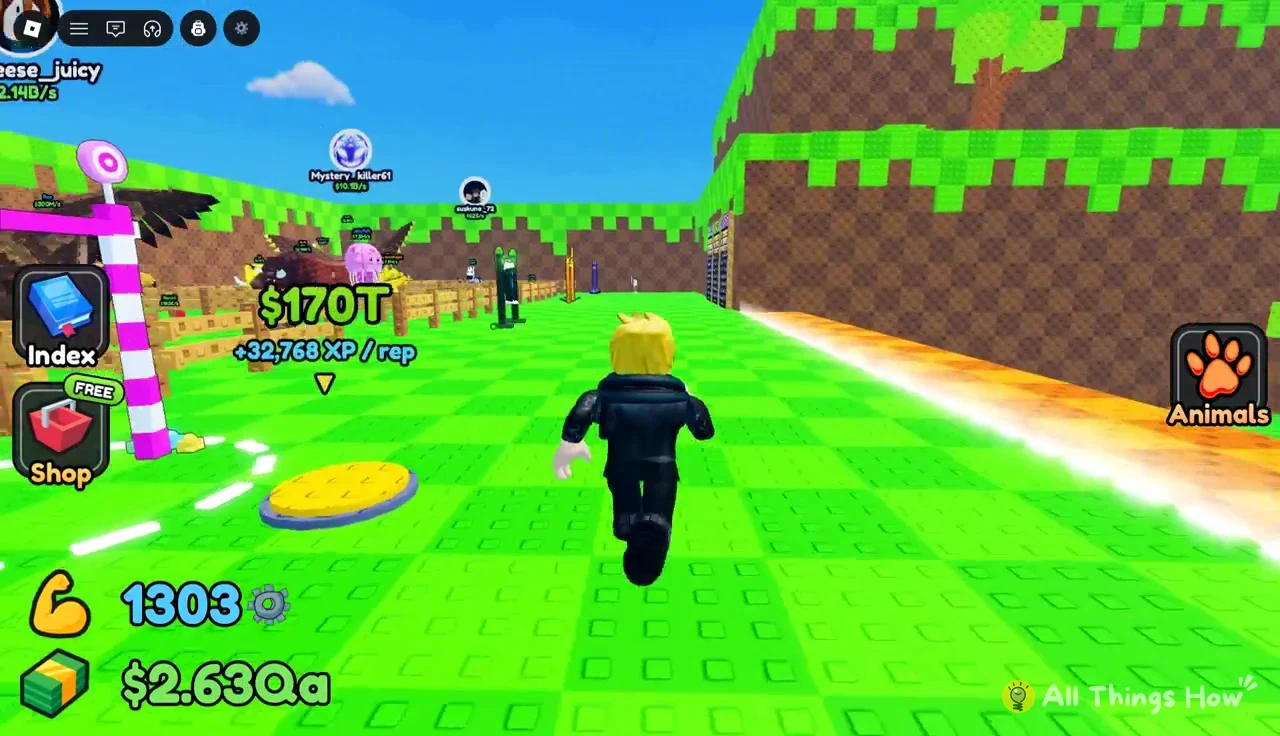
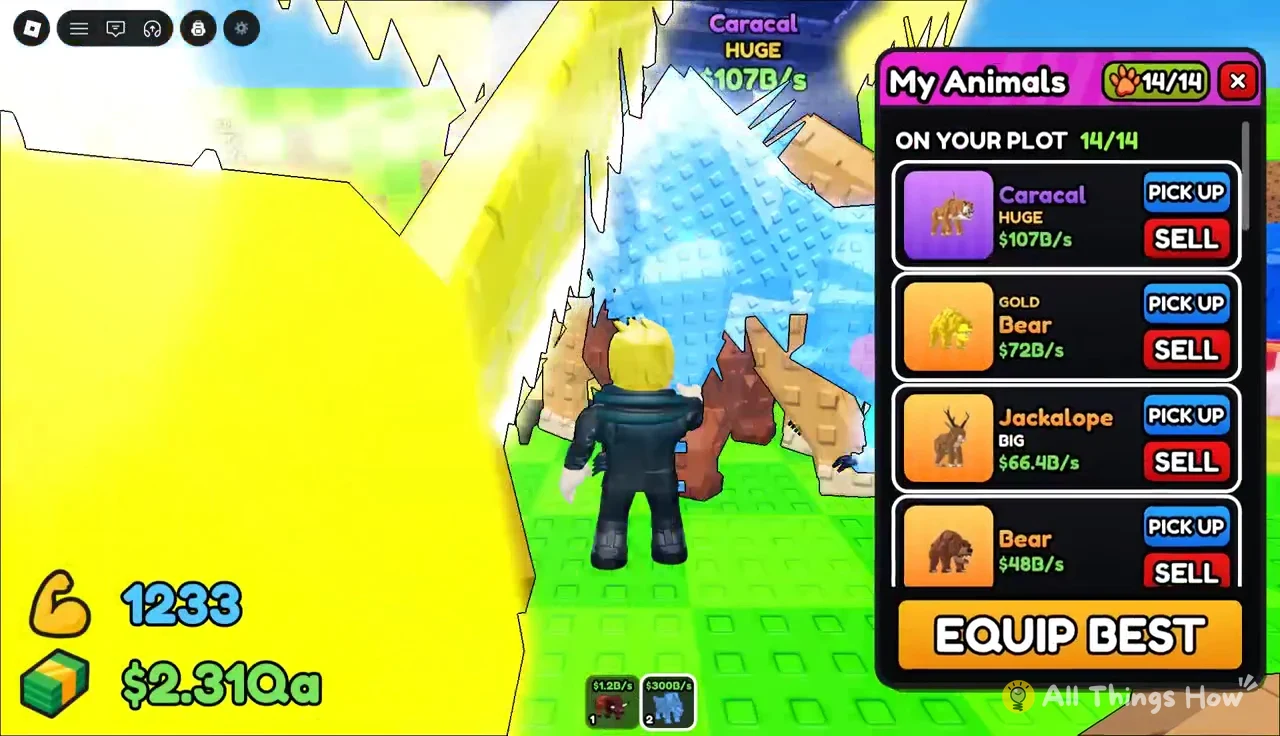
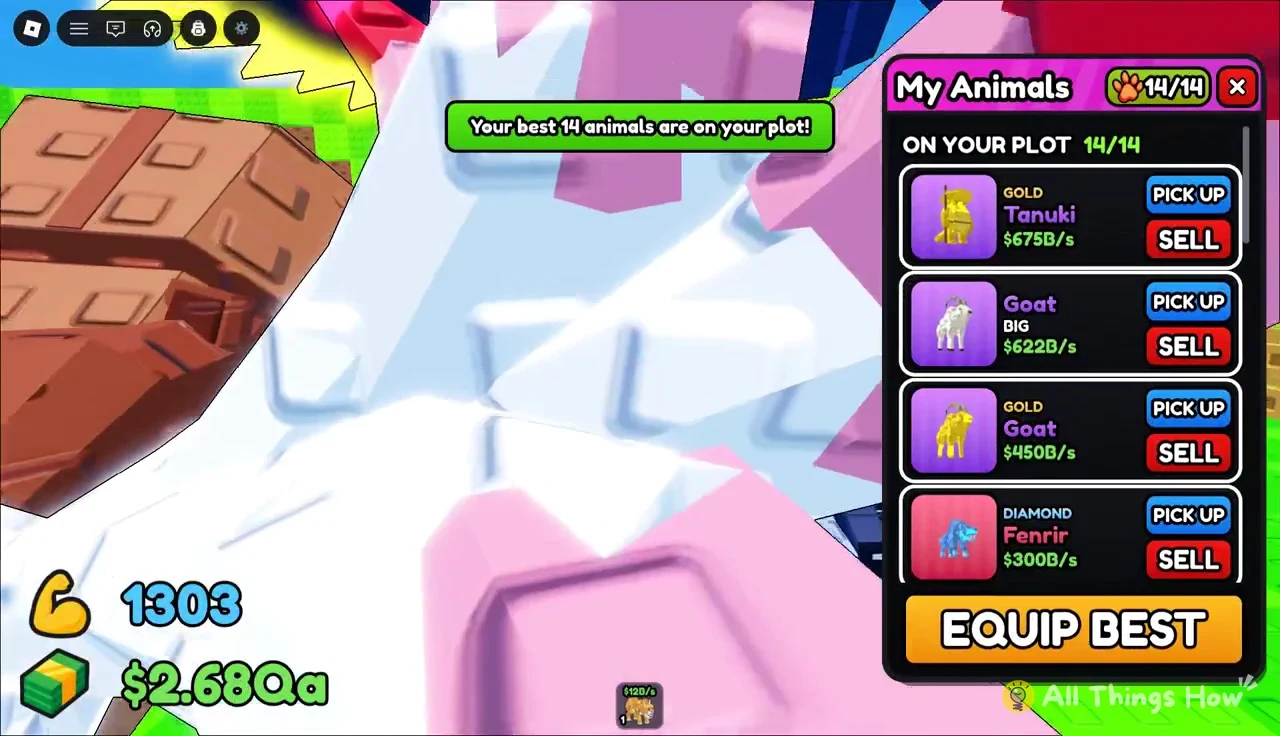
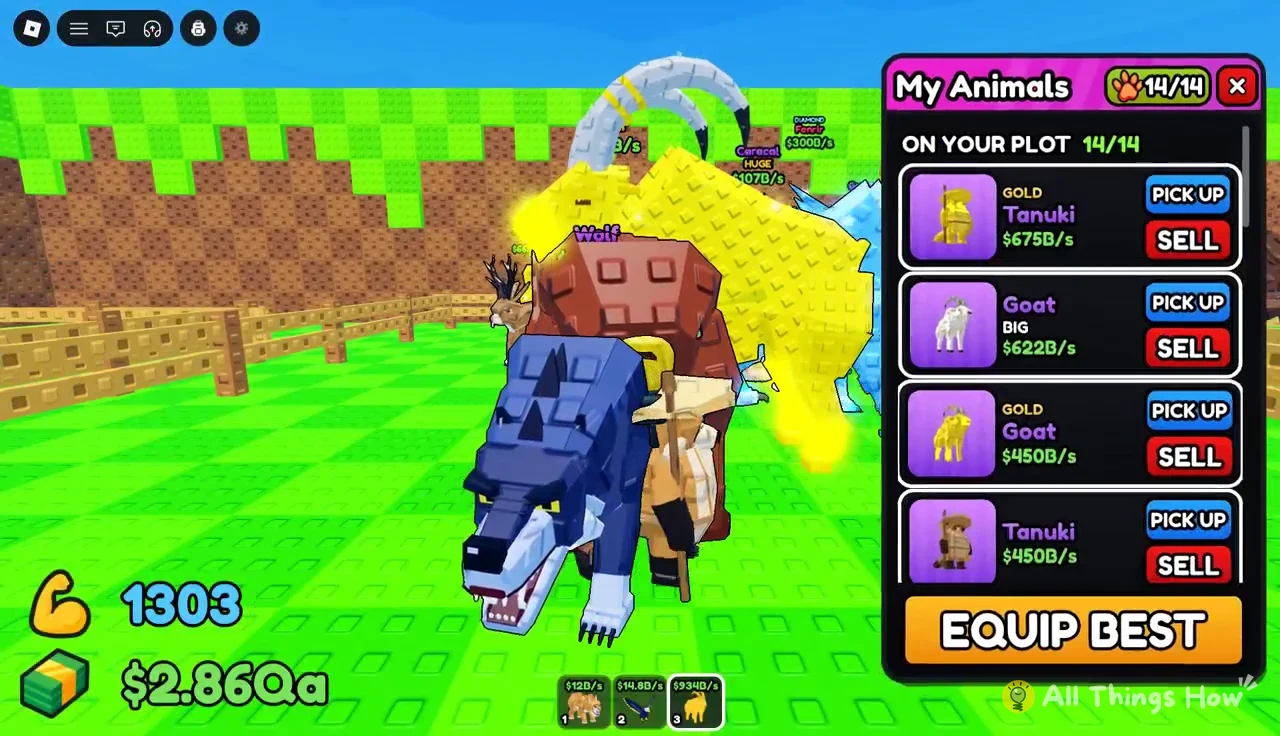
To manage animals one at a time, select an animal in the list and use Pick Up to send it back to your backpack, or Sell to cash it out on the spot. This is handy when you want a specific animal off the plot without running Equip Best again.
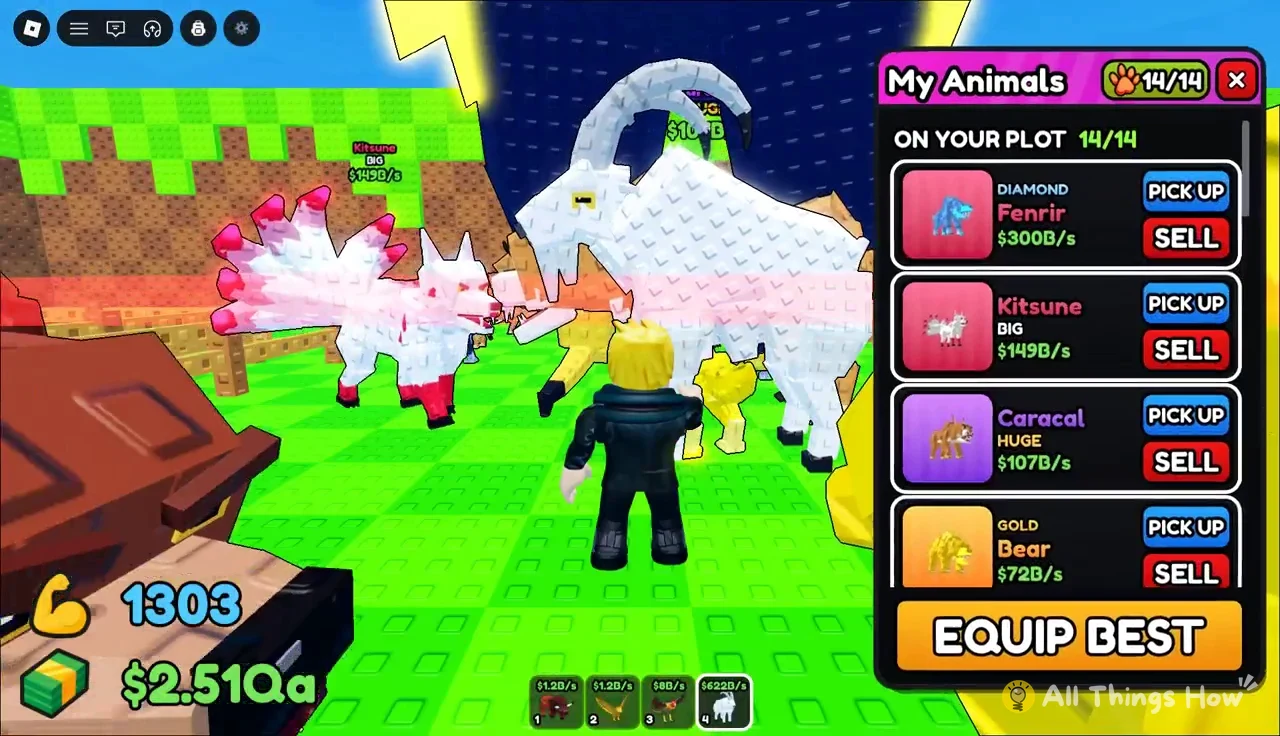
Run Equip Best again after each new catch, not only once per session. A single Winter roll can beat the weakest animal on a full plot, and that animal keeps earning nothing until you swap it in.
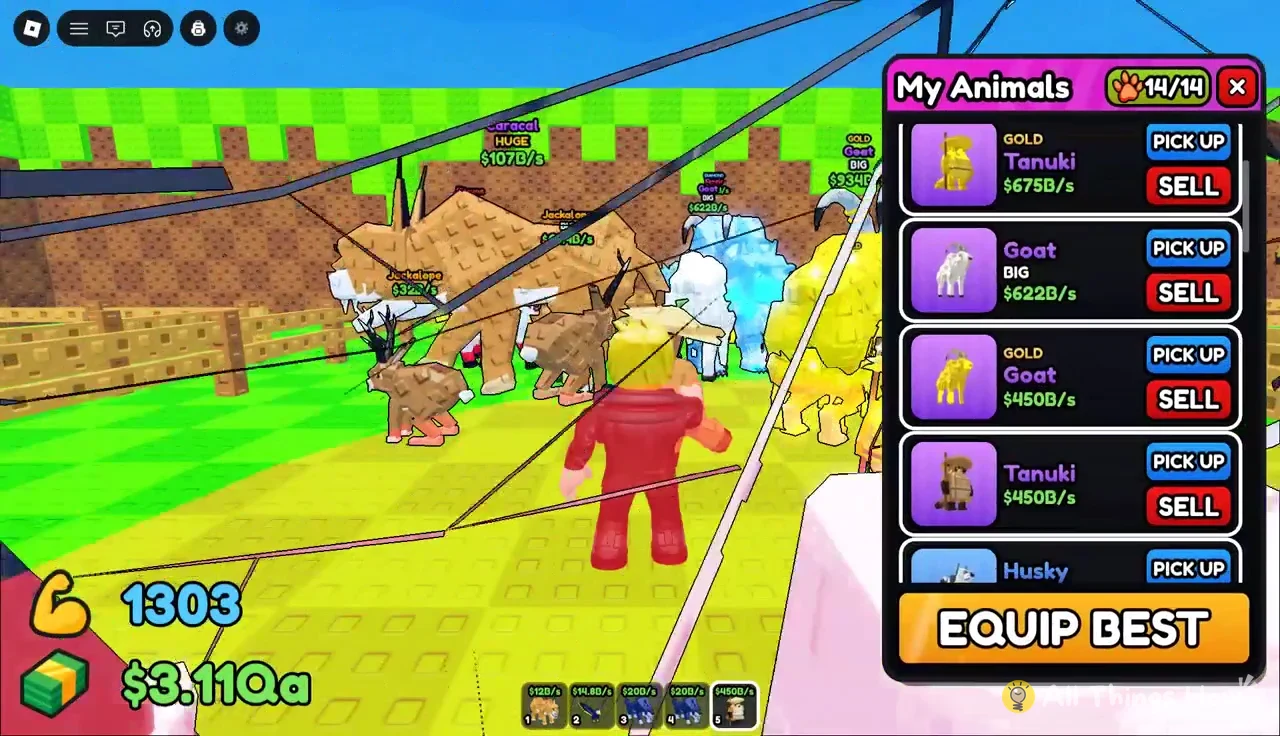
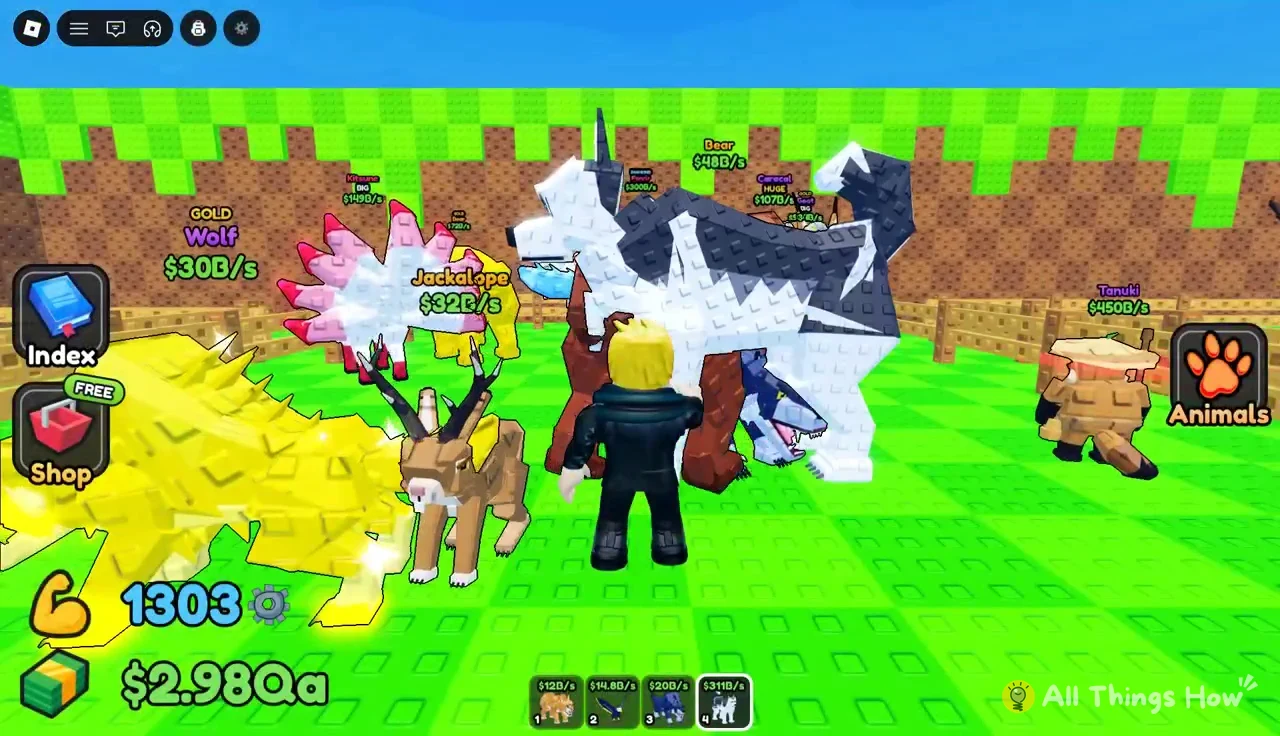
You can check that the swap worked by looking at the plot. Each animal has an income tag above it, and the new arrival should be in a pen with its rate showing.
Selling duplicates and expanding the plot
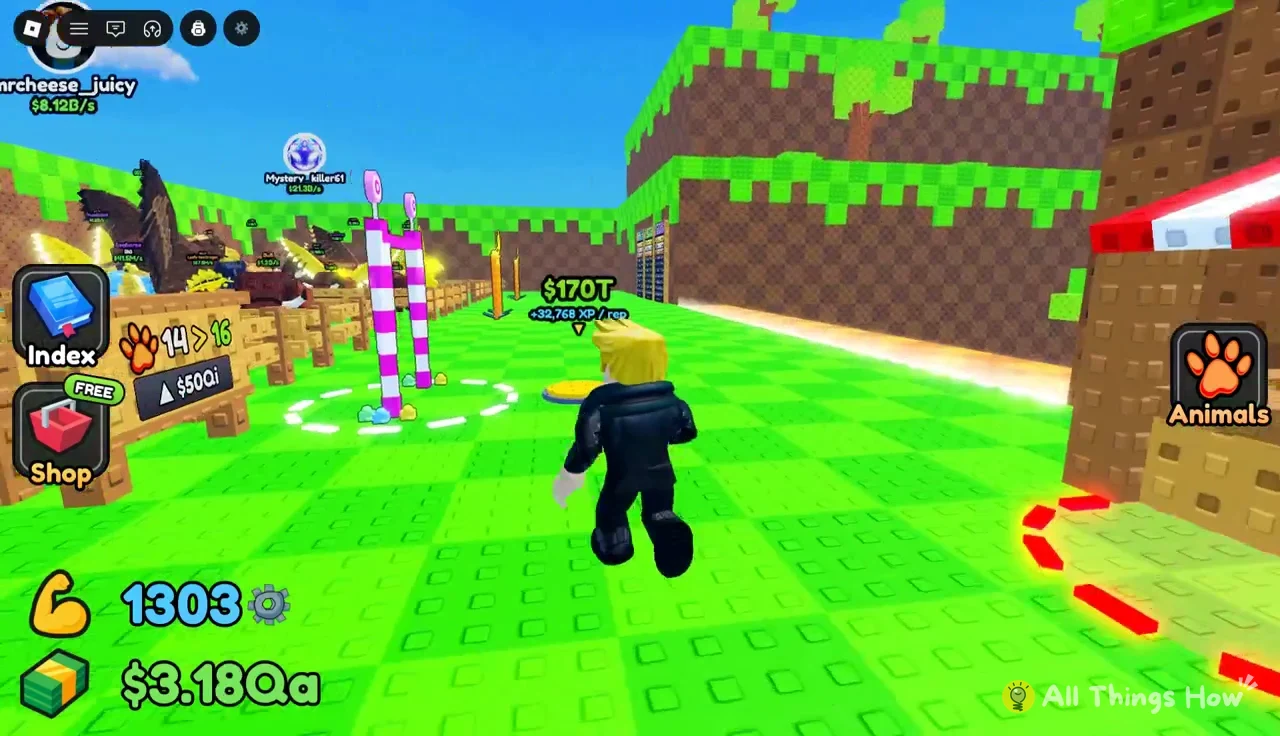
Leftover and duplicate animals in your backpack can be sold together at the red-and-white striped SELL stand, which has a pulsing red ring around it. Walk into the ring, accept the “Sell 5 animals for…” prompt, and a “Sold” message confirms the cash. Two Winter-level batches sold for $608B and $1.94T. When the backpack is empty, the stall shows “NO ANIMALS IN BACKPACK.”
The plot holds 14 animals at this stage. The expansion sign beside it, marked 14 > 16, raises that to 16 slots for $50Qi.
Animal Index, offline earnings and server check
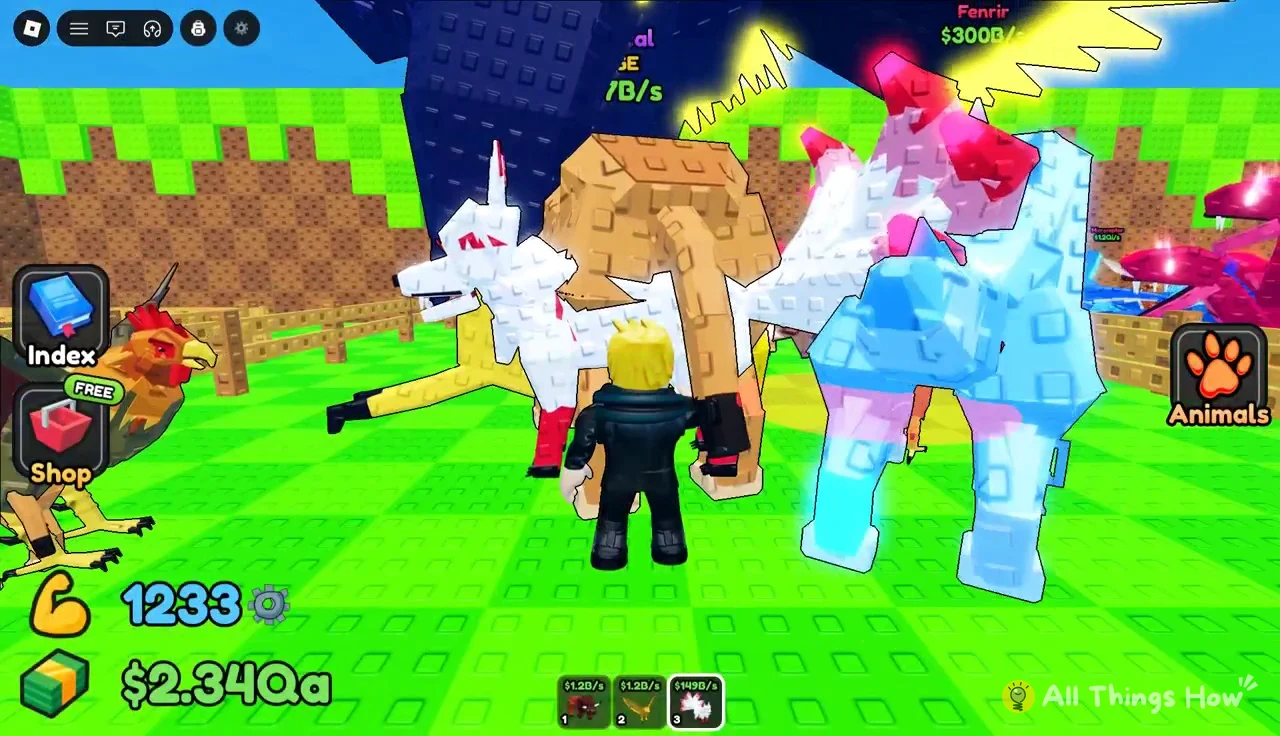
The Index button opens the Animal Index, which tracks every species you have caught out of 140. A plot built on Taiga and Winter animals sits at about 32/140, which leaves plenty to collect on a new map. Your animals also keep earning while you are offline. A plot of this size returned $1.28Qa, shown in a notification when you log back in.
Before the event starts, open the Roblox ESC menu to see who else is in your server. With a five-player cap, this tells you whether you are in a full lobby or almost alone. Then go back to your pens, put your best animals on the plot, and wait for the New Map + Admin Abuse event to go live.