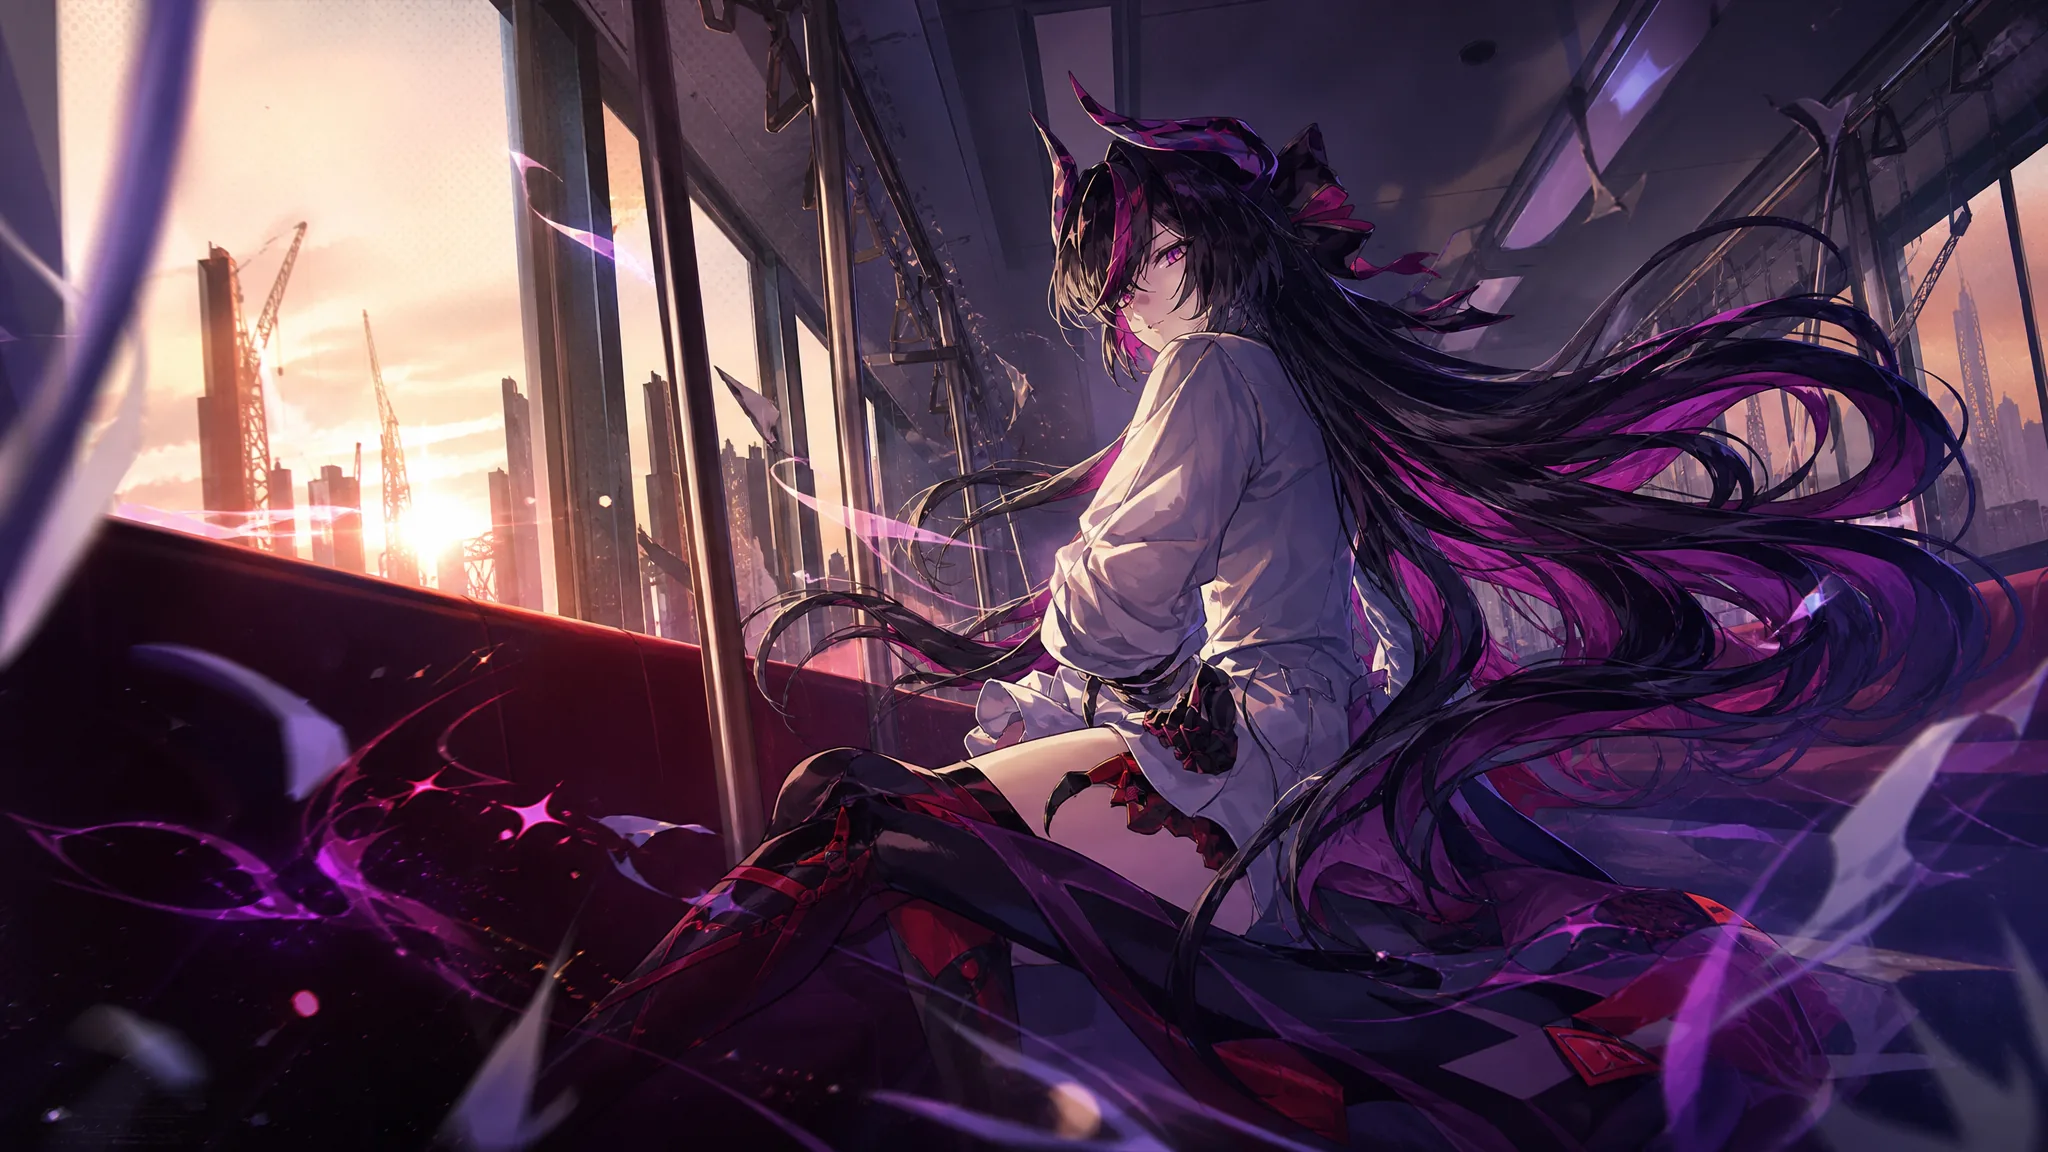
Shinku is the S-Rank Cosmos damage dealer added in Neverness to Everness Version 1.2, and her whole kit points toward one payoff window. You build up Defiant Spirit with normal combat, spend it on her Ultimate to enter the 13-second Surging Crimson state, then stack DEF ignore so her enhanced attacks hit far harder. The gear and teammates below exist to make that burst window bigger and more frequent.
Quick answer: Run Blushing Mirage as her Arc and the Lost Radiance module set, target CRIT Rate, CRIT DMG, and Cosmos DMG, and pair her with Hathor plus a Charge enabler like Zero so she can re-enter Surging Crimson quickly.
How Shinku’s damage window works
Shinku has two combat forms. In her base form she throws martial-arts strings and uses her Redirect Skill, High-Speed Breach, to build a resource called Defiant Spirit. Holding Basic Attack on the 3rd, 4th, or 5th hit, landing a Critical Riposte after a timed dodge, and using her Support Skill all feed that gauge.
Her Ultimate, Crimson Fury, spends all Defiant Spirit to enter Surging Crimson for 13 seconds. During that state her Basic Attack becomes Tidal Assault, High-Speed Breach becomes Scarlet Descent, and she gains bonus damage, movement, and interrupt resistance. The window ends early if you switch characters, so she wants to stay on field. After Surging Crimson, she chains into Crimson Judgment and the Dragonflame Verdict finisher for the biggest hits in her rotation.
She also carries the Menacing Gaze trait. If she stays on field without attacking for about two seconds, she gains stacks over time, up to eight, and each Critical Dodge adds one. Her next attack consumes the stacks for bonus damage. Her Support Skill’s Charge Enhancement then shares Ultimate Energy to off-field allies, which is why teammates that trigger reactions matter so much.
Best Arcs for Shinku
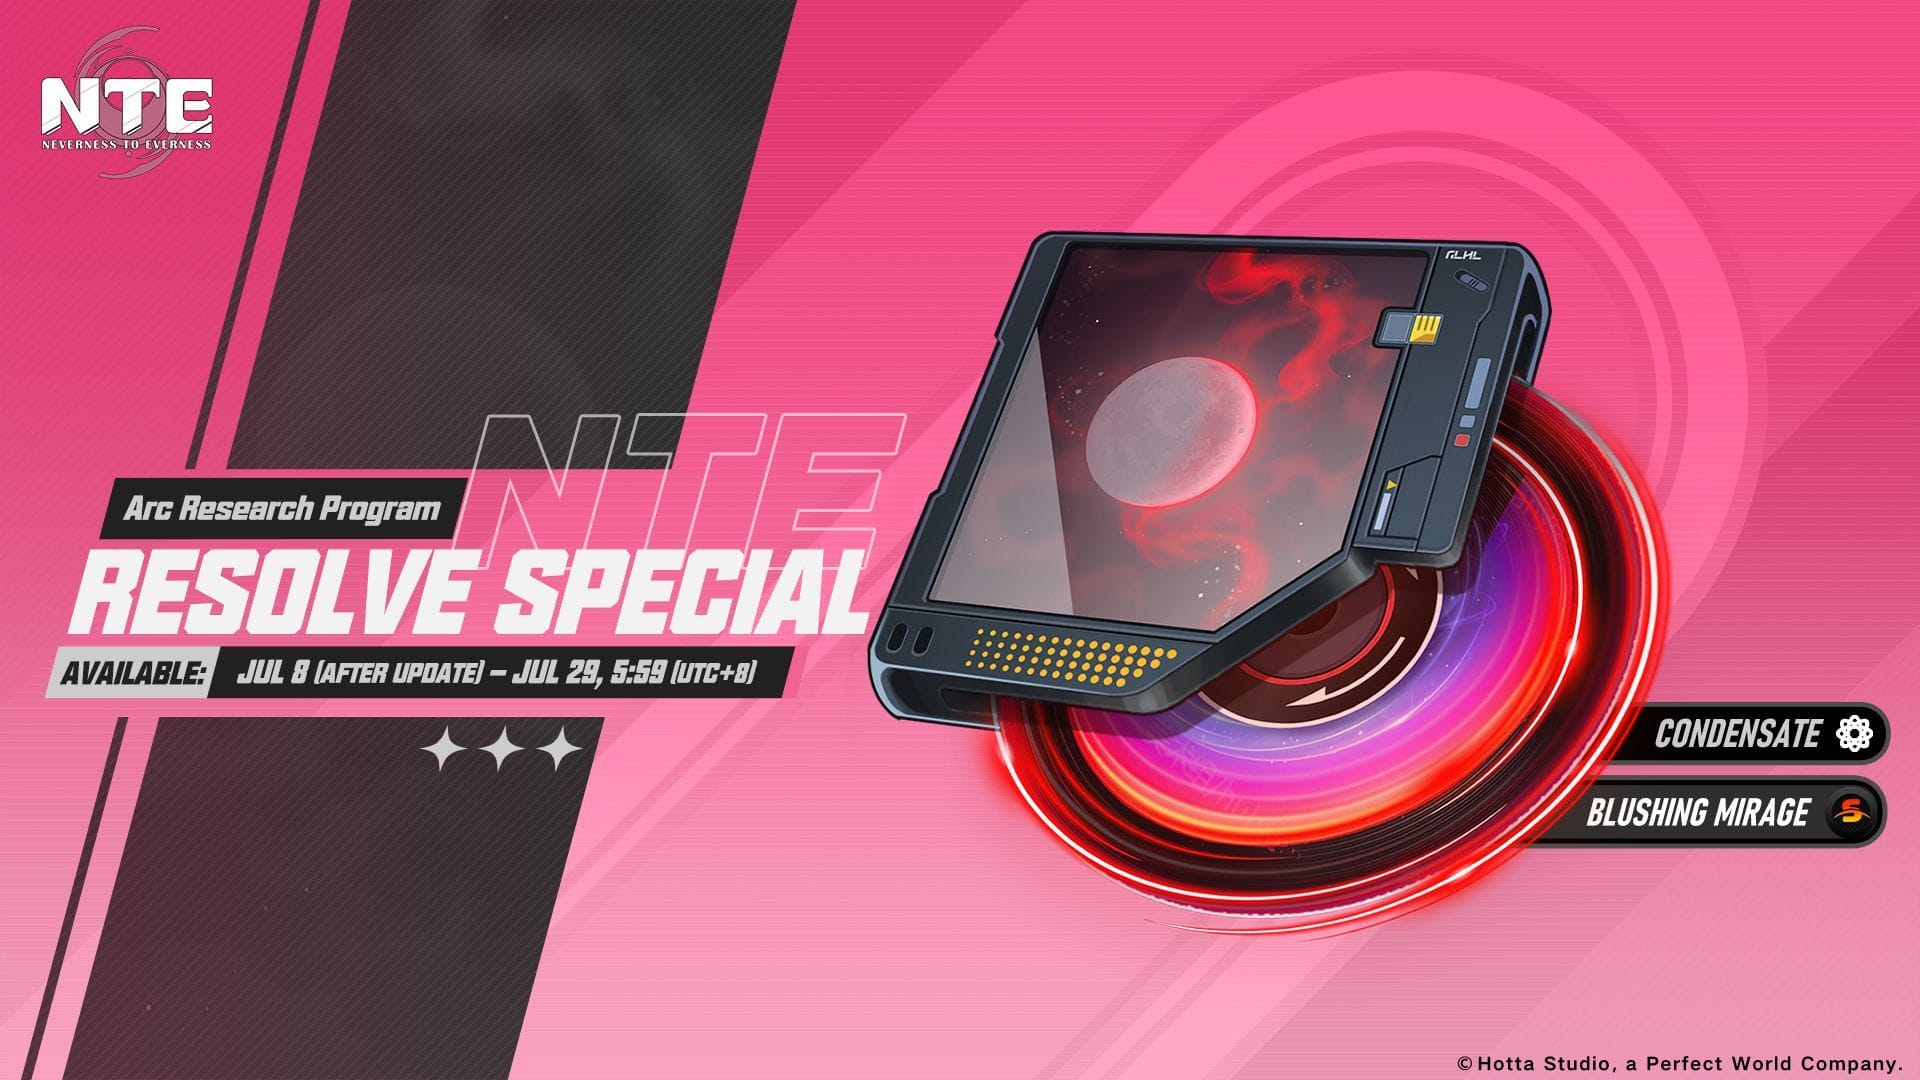
Shinku uses Condensate-type Arcs (also labeled Synthesis compatibility). Her signature Arc, Blushing Mirage, is the clear best-in-slot because its effect activates exactly when her Ultimate goes off, matching the moment her damage spikes.
| Arc | Base stats | Effect and fit |
|---|---|---|
| Blushing Mirage (signature) | ATK +570, CRIT Rate +24% | ATK +20%. After casting Ultimate, gain 32% Cosmos DMG and ignore 12% of enemy DEF for 20s; refreshes on retrigger. Best-in-slot for her burst window. |
| Fluff of Ferocity | ATK +512, ATK 27.5% | Stacks up to 40% CRIT DMG after critical hits. A strong stat stick once she already has enough CRIT Rate. Obtainable from the Battle Pass. |
| What’s Desired | ATK +570, CRIT Rate +24% | Grants 40% CRIT DMG for 20s on Redirect Skill or Ultimate, which lines up with her burst. The Lakshana bonus is wasted, but the CRIT DMG and stats still work. |
| A Time Will Come | ATK +475, CRIT Rate +20% | F2P-friendly stat stick. Adds up to 18% ATK, DEF, and HP when the team runs three different Esper types. |
Best module set and console
Lost Radiance is her core module set. The 2-piece adds flat Cosmos DMG, and the 4-piece stacks another chunk of DEF ignore on top of what her Arc and passives already provide, all triggered by her Ultimate.
| Set | Effect |
|---|---|
| Lost Radiance (2-piece) | Cosmos DMG +10%. |
| Lost Radiance (4-piece) | Ignores 25% of enemies’ DEF for 20s after the wearer casts Ultimate. Does not stack. |
Combine her Arc’s 12% DEF ignore with the set’s 25%, and she becomes very strong against high-DEF targets right after her Ultimate. On the console side, each Type III module equipped raises her CRIT DMG by 16%. You can slot up to four Type III modules total, two from Lost Radiance and two free ones, for roughly 64% extra CRIT DMG.
Stat priority
| Type | Priority |
|---|---|
| Main stats | CRIT Rate / CRIT DMG / Cosmos DMG (ATK% as fallback) |
| Substats | CRIT Rate > CRIT DMG > Universal DMG% > ATK% |
Since her console passive scales off CRIT DMG, lock in enough CRIT Rate for reliable crits first, then pour the rest into CRIT DMG and damage bonuses.
Skill upgrade priority
Her Ultimate opens the Surging Crimson window and drives Crimson Judgment and Dragonflame Verdict, so it scales the core of her burst. After her post-release adjustments, Basic Attack rose in value because it feeds her enhanced-form resources and Menacing Gaze payoff.
| Order | Skill |
|---|---|
| 1 | Basic Attack / Ultimate (both top priority) |
| 2 | Redirect Skill (High-Speed Breach) |
| 3 | Support Skill |
Best Shinku teams
Shinku sits on field as the Cosmos carry, and her ideal partners keep Charge flowing so she regains Ultimate Energy fast. Hathor is close to mandatory because she extends the Remora debuff, which keeps Shinku’s Charge Enhancement paying out. From there you add an Anima unit for Blossom and a fast Cycle enabler.
| Team | Why it works |
|---|---|
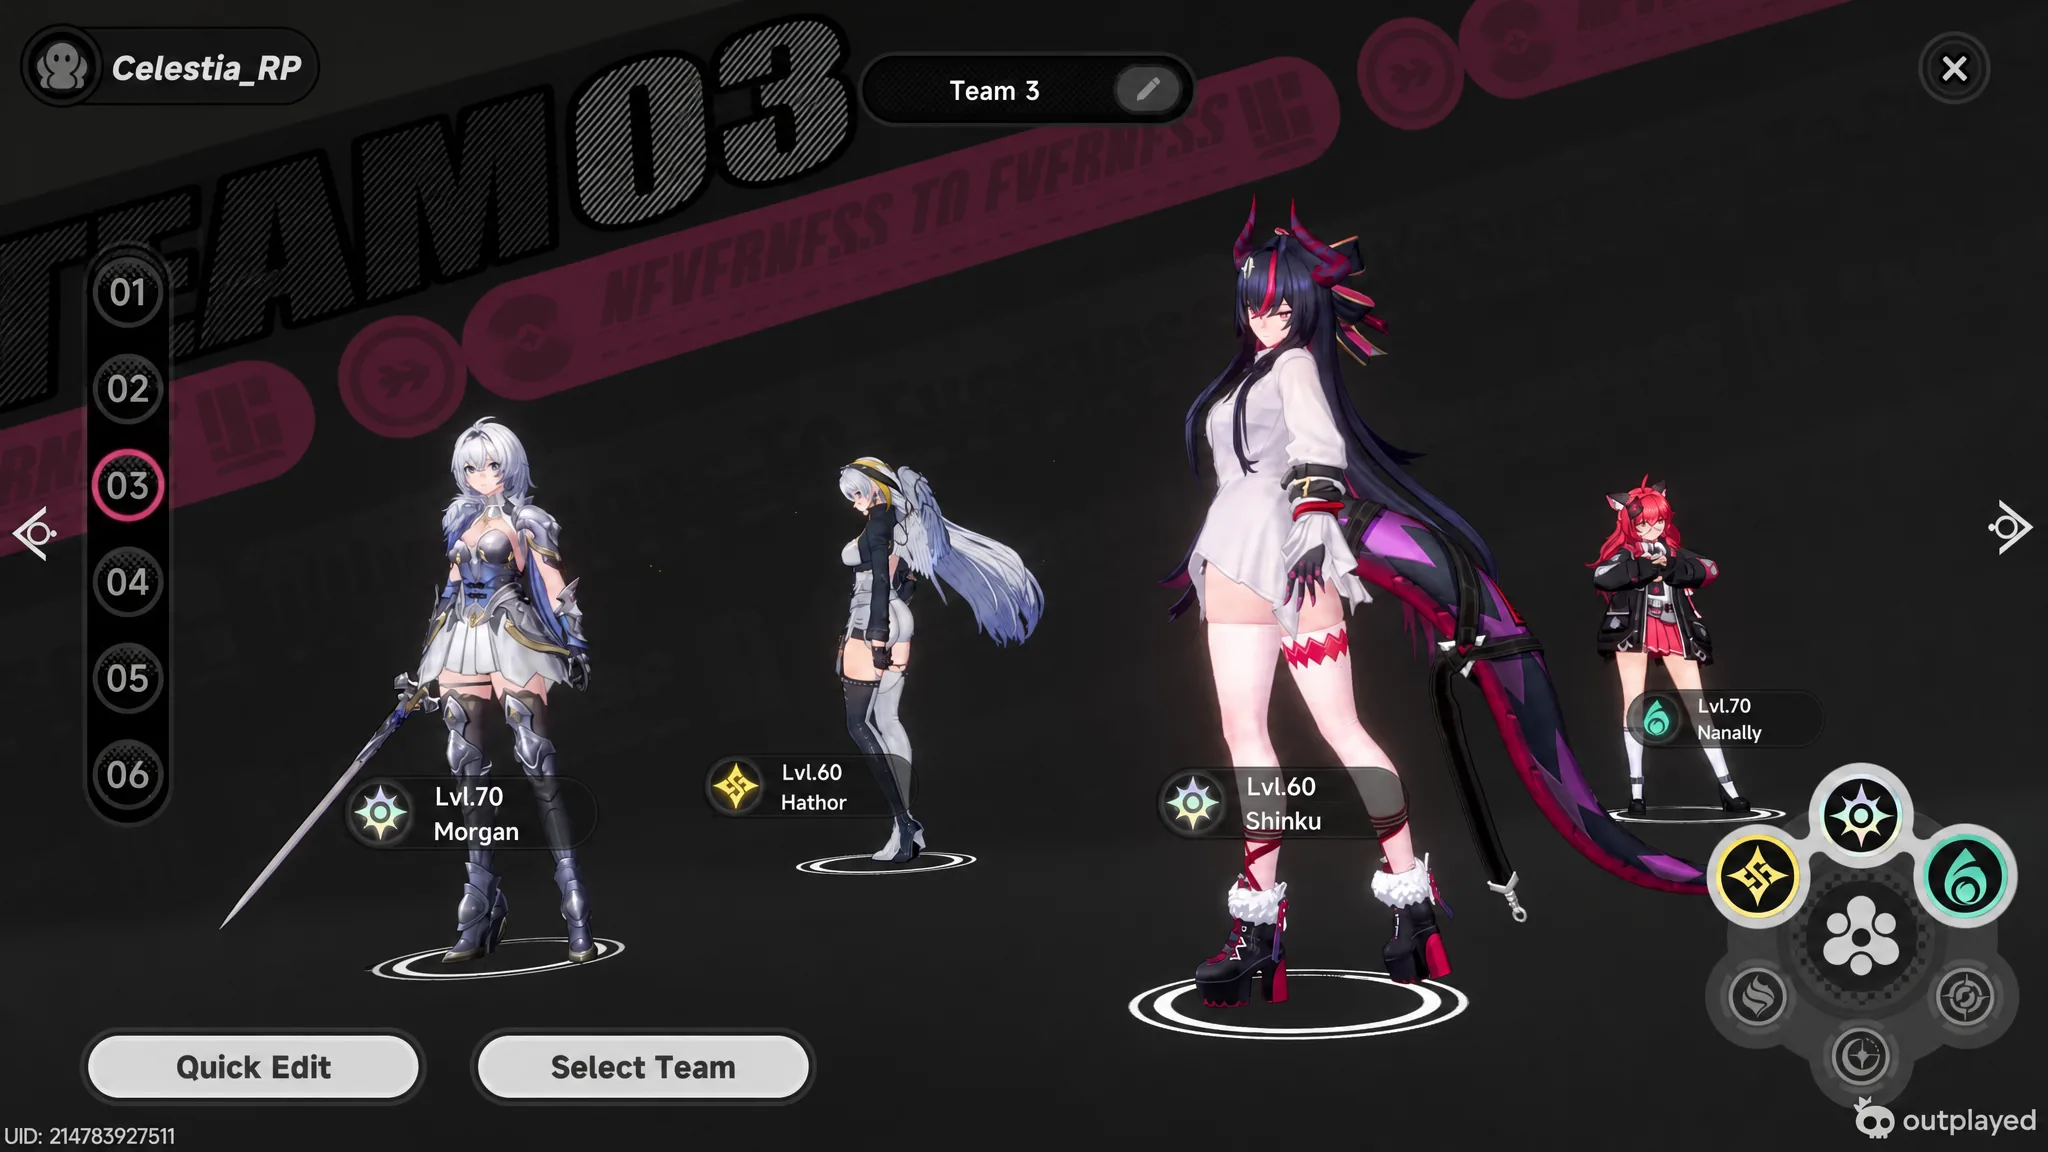
| Shinku + Hathor + Zero + Nanally | Hathor prolongs Remora, Zero instantly fills the Esper Cycle for a quick Blossom with Nanally, and both Shinku and Nanally refill team energy through Charge. Swap Nanally for Jiuyuan as an F2P version with slightly lower DPS. |
| Shinku + Hathor + Iroi + Jiuyuan | Iroi adds healing and buffs while Jiuyuan groups enemies and supplies Anima for Blossom, giving smoother, safer rotations. A strong long-term setup once Iroi is available. |
| Shinku + Hathor + Zero + Jiuyuan | Zero refills the Esper Meter quickly so Remora and Blossom trigger more often, feeding Charge back into Shinku’s next Ultimate. |
A basic rotation is to fill Shinku’s Esper Cycle, switch to Hathor for Ultimate and Skill to apply Remora, then Zero for a fast Blossom trigger, then your Anima damage dealer, and finally back to Shinku for her Ultimate and enhanced string. Note: Hathor is the hardest member to replace, since other Lakshana units let enemies drop Remora too quickly and starve Shinku’s Charge sharing.
Awakening effects and priority
Shinku’s Awakenings mostly deepen her DEF ignore, her enhanced-form damage, and her Menacing Gaze mechanic. Her first Awakening’s flat 12% DEF ignore has universal value, while A3 lets her hold and grow Menacing Gaze stacks off field, which changes how you sequence her into a rotation.
| Node | Effect |
|---|---|
| A1 | Damage ignores 12% of the target’s DEF. |
| A2 | Reduces target Cosmos Resistance by 10% for 20s after Ultimate hits. |
| A3 | Keeps Menacing Gaze active after switching and lets stacks build off field. |
| A4 | Raises Menacing Gaze cap to 16 stacks and enhances the Instant Strike at max stacks. |
| A5 | During Surging Crimson: +50% DEF and interrupt resistance, plus HP recovery after Scarlet Descent. |
| A6 | +30% damage ratios for Scarlet Descent, Crimson Judgment, and Dragonflame Verdict; those hits also pull in nearby targets. |
Resonance Lv.3 raises Basic Attack, Redirect Skill, and Ultimate by one level and adds 30% damage during Surging Crimson. Resonance Lv.6 adds 10% CRIT Rate and another 15% DEF ignore, which stacks with A1 for 27% total. The A6 and A3 nodes give the largest ceiling gains, with A4 next for Menacing Gaze focused play, then A1 and A2 as steady damage, and A5 mainly for survivability.
Built this way, Shinku plays like a burst window carry that snowballs once everything lines up. Stack Defiant Spirit, drop your Ultimate to enter Surging Crimson, layer her DEF ignore, then spend the enhanced form aggressively before finishing with Dragonflame Verdict. Keep a Charge-friendly team around her and she stays sharp in both boss fights and crowded rooms.