
Spirit City Act 3 on Hard Mode is the toughest gate on the way to farming Kenpachi, but it can be cleared solo without a single Unbound unit. The run leans on two evolved damage carries, a magical damage buffer, and a farm line that funds fast upgrades before the boss arrives on Wave 15.
Quick answer: Bring Elf Mage (Unleashed) and Cursed Student (True Love) as your damage carries, back them with Forbidden Teacher for the magical damage buff, and use Stone Alchemist and Ramen Guy purely as money farms. Split your Elf Mages into a permanent back line and a temporary front wall, set the front units to target “Last” during the boss, then sell the front wall to fund two more maxed back-line Elf Mages to finish the Berserker.

Required loadout for Spirit City Act 3
The clear depends on two evolved Mythic carries plus support and economy units. Elf Mage (Unleashed) provides scaling magical damage through its Arcane mechanic, while Cursed Student (True Love) stacks bat spirits for strong sustained output. Forbidden Teacher raises the damage of every magical unit in range, which is why the team is built around magic rather than physical hitters.
| Unit | Rarity / Level | Role |
|---|---|---|
| Elf Mage (Unleashed) | Mythic, Lvl 50 | Main magical carry |
| Cursed Student (True Love) | Mythic, Lvl 44 | Second carry, bat spirits |
| Puppet | Mythic, Lvl 28 | Support option |
| Forbidden Teacher | Legendary, Lvl 8 | Magical damage buffer |
| Ramen Guy | Legendary, Lvl 32 | Money farm |
| Stone Alchemist | Epic, Lvl 33 | Money farm |
Equipment that matters
Two pieces of equipment do the heavy lifting on your carries. Both cut attack cooldown and add damage, which compounds over long boss phases.
| Equipment | Equipped on | Effect |
|---|---|---|
| Elven Battle Staff | Elf Mage (Unleashed) | -1.16% SPA, +1.6% Damage, Arcane Spells passive |
| Promise Ring | Cursed Student (True Love) | +3.07% Damage, -1% SPA, Spirit Bats passive |
Economy and setup, Waves 1 to 14
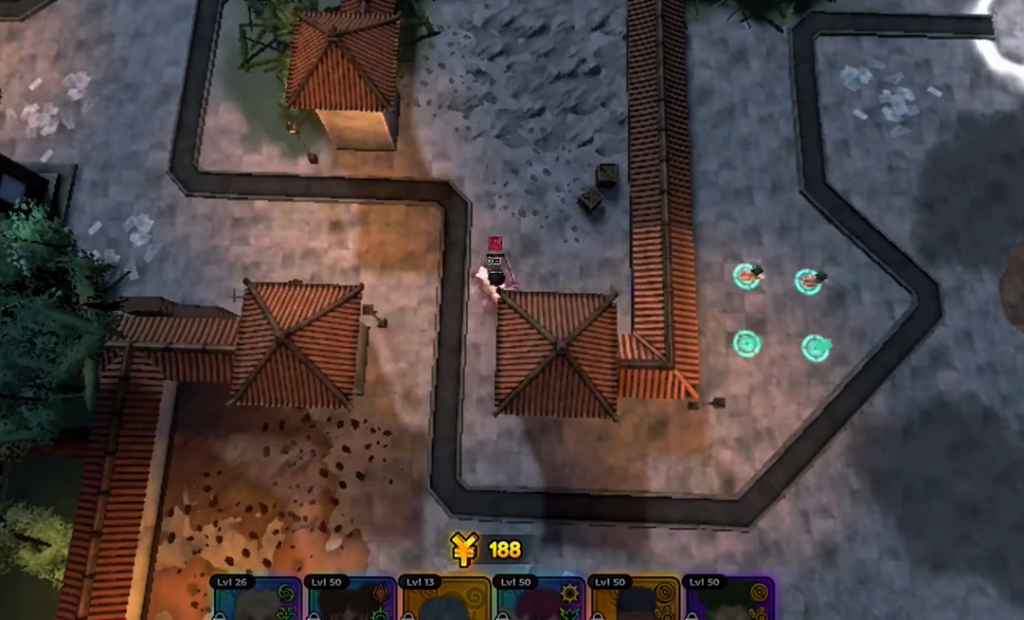
The early game is entirely about building income so your carries can be maxed before Wave 15. You start with 600 Yen, so place farm units first and defer damage until the money engine is running.
Forbidden Teacher’s Teacher Blessing applies a damage buff to all magical units in range, growing 5% per upgrade up to a total 30% at five upgrades. Keep her positioned so both Elf Mage groups sit inside that range.

Beating the Berserker boss on Wave 15
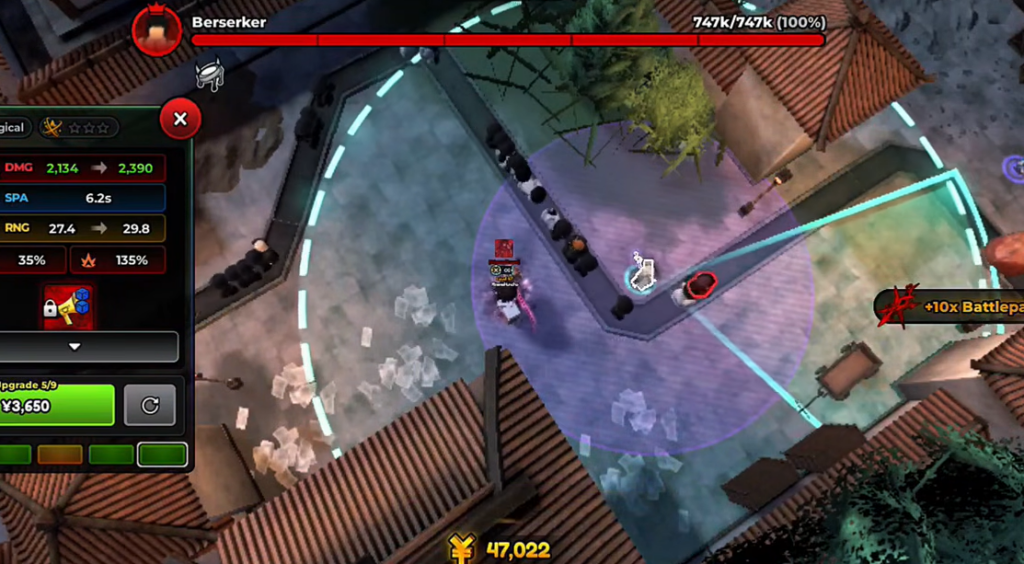
Wave 15 spawns the Berserker with 466k HP. The boss carries the Greed modifier, which steals 10% HP from all nearby enemies within 5 range every 10 seconds. If you let the boss sit next to the smaller trailing enemies, it heals off them, so targeting priority is the whole fight.
Rewards and confirming the clear
You know the run worked when the Game Won! screen appears. A successful Act 3 clear pays out the following.
| Reward | Amount |
|---|---|
| Gem | 125 |
| Raid Token | 20 |
| Spirit Token | 20 |
| Gold | 125 |

Spend Raid Tokens on Spirit City Totems
After a clear, head to the Forbidden Teacher (Raid Shop) NPC in the lobby, open the Raid Shop, and switch to the Spirit City tab. A Spirit City Totem costs 75 Raid Tokens and increases your units’ damage in the Spirit City Raid by 10%. You can own up to 10, stacking to a maximum of +100% damage.
Buying a Totem updates Act 3 to show 1/10 Raid Totems active, granting the +10% buff for every future run. Each additional Totem makes the same solo route noticeably faster, so pour your early Raid Tokens into Totems before chasing harder repeat clears.
Repeating this loop is how you build toward Kenpachi (Eight Sword Berserk), who is guaranteed at 35 pity even without an early drop. Keep your placements and upgrade order identical every attempt so any failed wave points clearly to the role that needs more investment.