The Boss Fight is the sixth and final map in Bring Back The Sun on Roblox, and it packs the most into a single location. You lay siege to a wizard castle with a crafted bow, hunt down ten scattered books, sort them across four shelves by genre, then decode a hidden magic word and cast two spells to trigger the wizard battle that ends the endless rain.
Quick answer: Shoot the castle targets in the order blue, purple, green, yellow, red. Collect all ten books before shelving any. Type Harry on the wand, grab the potion, then cast Ignis and Fulgur in the final chamber to start the boss fight.
What you need before entering the Boss Fight
The castle stays locked until your progress and inventory check out. The game does not always warn you if something is missing, and the most common softlock is starting the map without the right relics equipped.
- All prior maps cleared in order, from Wizard’s House through the Lava Temple.
- The Jail from Part 2 finished.
- All four legendary relics in your inventory, including the Burning Heart of the Earth from the Lava Temple.
If the Burning Heart of the Earth is missing, the map can block progression without flashing a warning when you fire your first arrow. Check your relic icons in the backpack UI before you start. You can confirm the game and your progress on the official Bring Back The Sun Roblox page.
Craft the bow arrows and open the castle gate
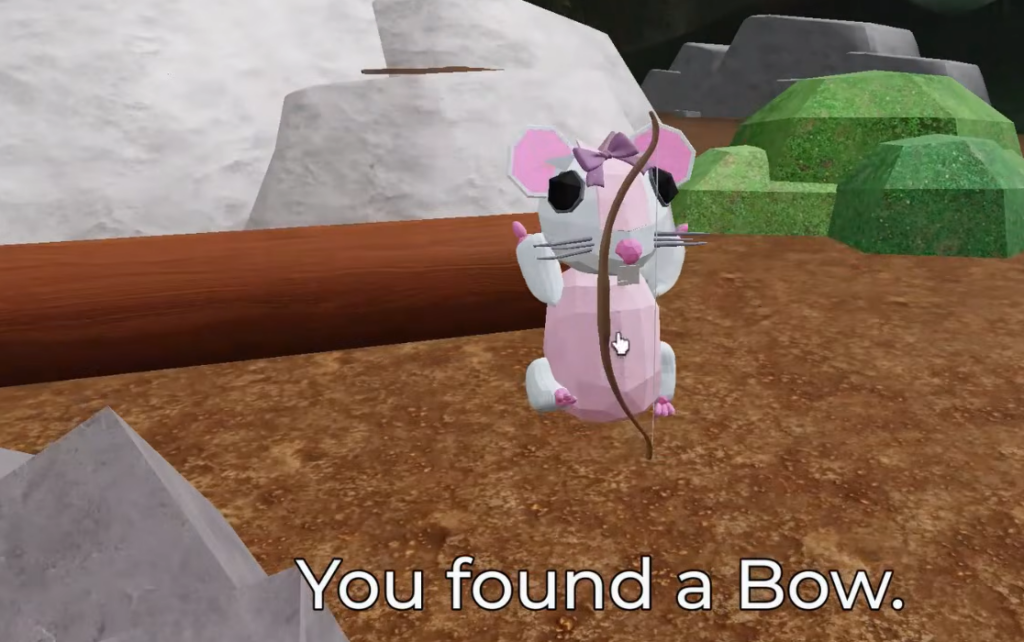
You spawn outside the castle walls in a crafting yard. The bow is nearby but has no ammo, so your first job is to gather materials and make arrows.
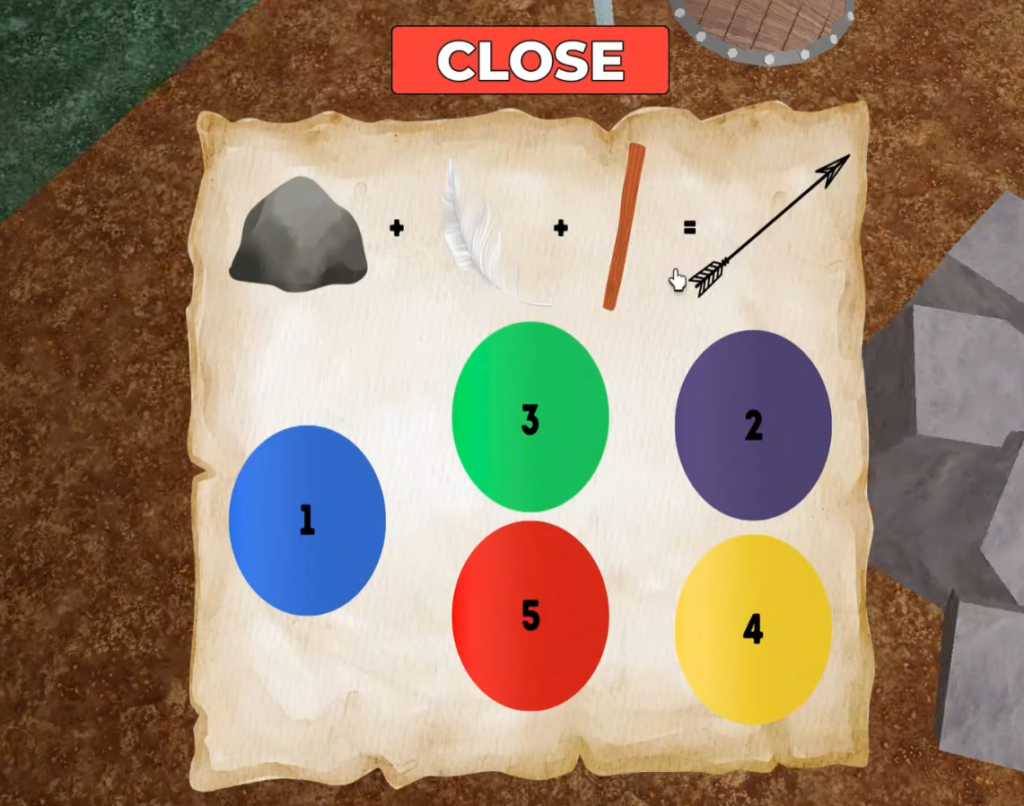
| Shot | Color |
|---|---|
| 1 | Blue |
| 2 | Purple |
| 3 | Green |
| 4 | Yellow |
| 5 | Red |
A wrong color or wrong order does not cost you progress. Only missed shots waste arrows, and any color already registered stays registered. Once all five hit correctly, the castle door opens.
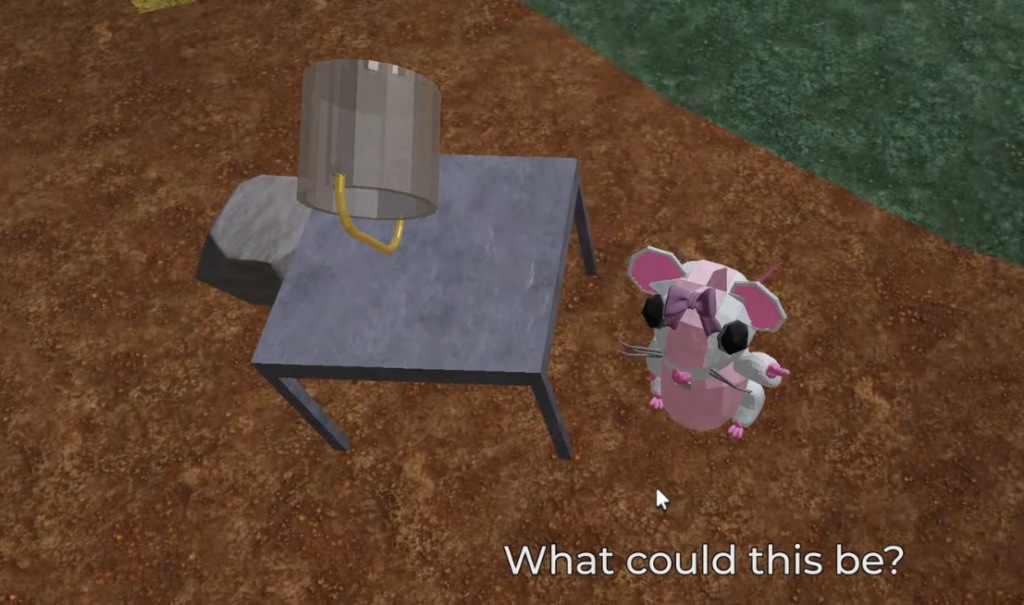
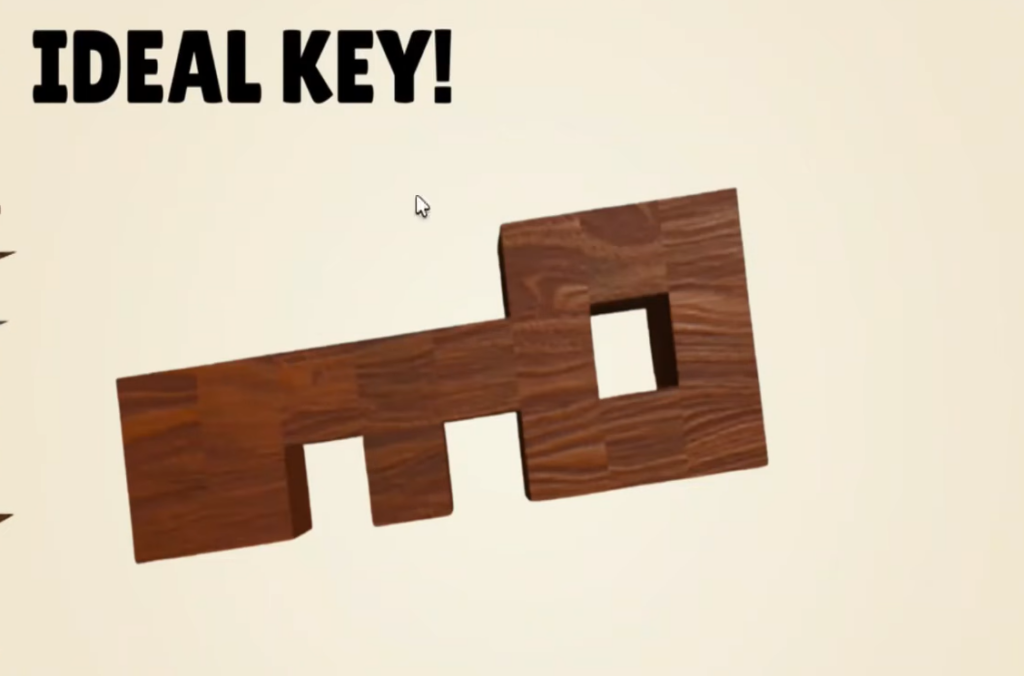
Grab the bucket, carve the idle key, and reach the platform
The interior splits into a ground floor library and an upstairs area with the wizard tower and a hidden elevator. Everything from here builds toward the book puzzle.
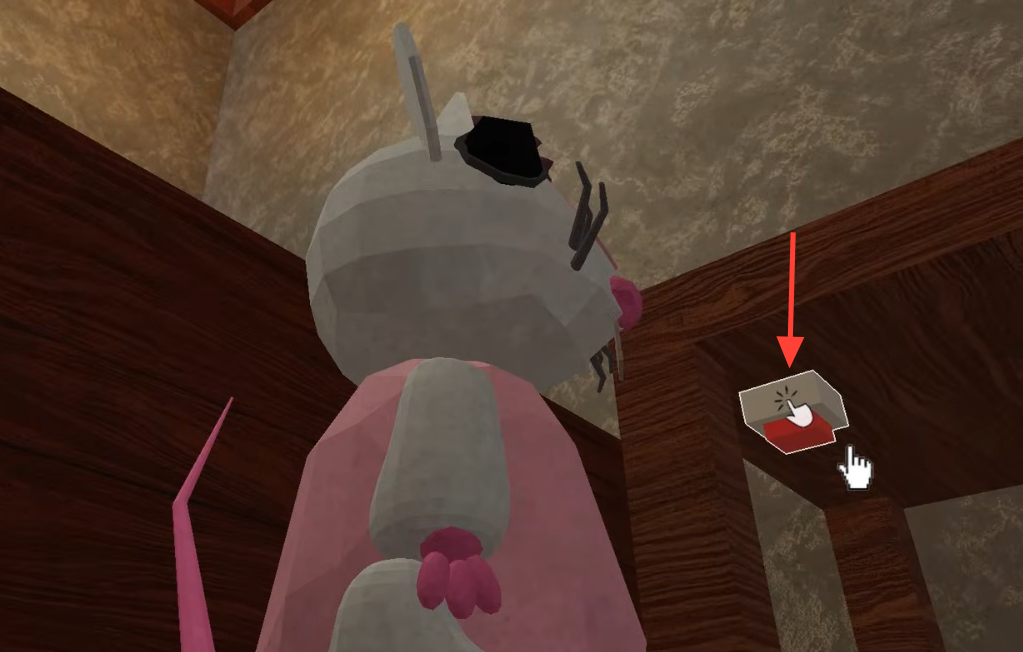
Collect all ten books before sorting anything
This is the biggest time sink in the whole map, and the puzzle fails silently if you shelve a book too early. There are ten books total. Do not place a single one until all ten sit in your inventory.
| Book | Where to look |
|---|---|
| 1 | Tower table upstairs, picked up after using the idle key |
| 2–9 | Ground floor corners, tables, and bookshelf bases |
| Common miss | Behind the statue on the ground floor |
| Common miss | Beside the main bookshelves, where it blends into the floor |
| 10 | Last hidden pickup, so sweep behind every statue and shelf |
Circle the ground floor twice. Move through the main hall, check behind the statue, then work past each bookshelf labeled A, B, and D. Count your inventory titles and stop only when you reach ten. Starting the sort with nine blocks the key reward and forces you to backtrack.
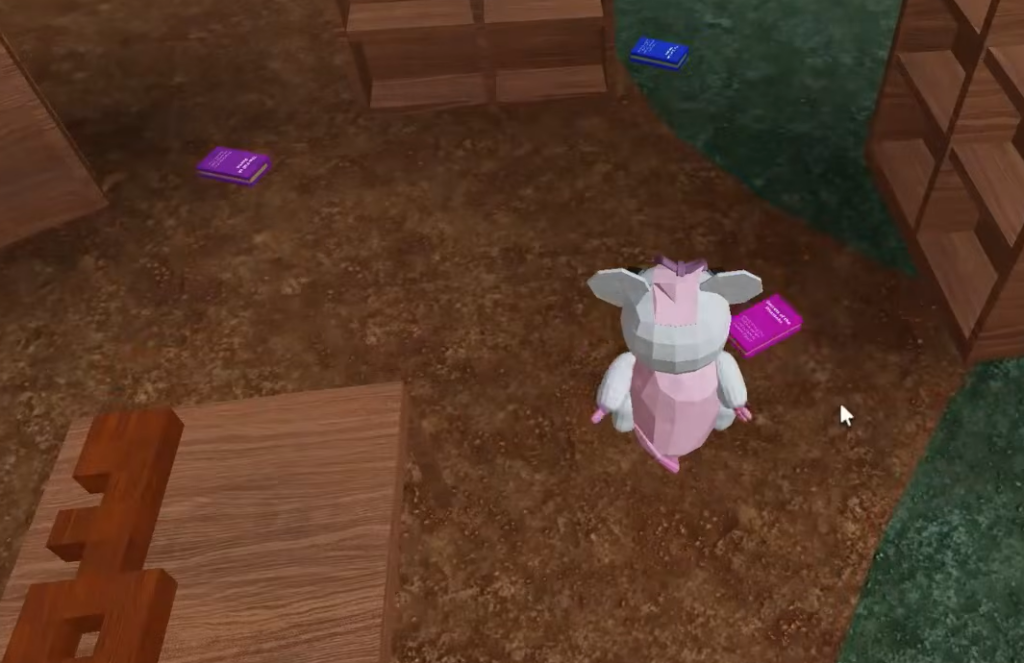
Sort the books by genre for the magic wand
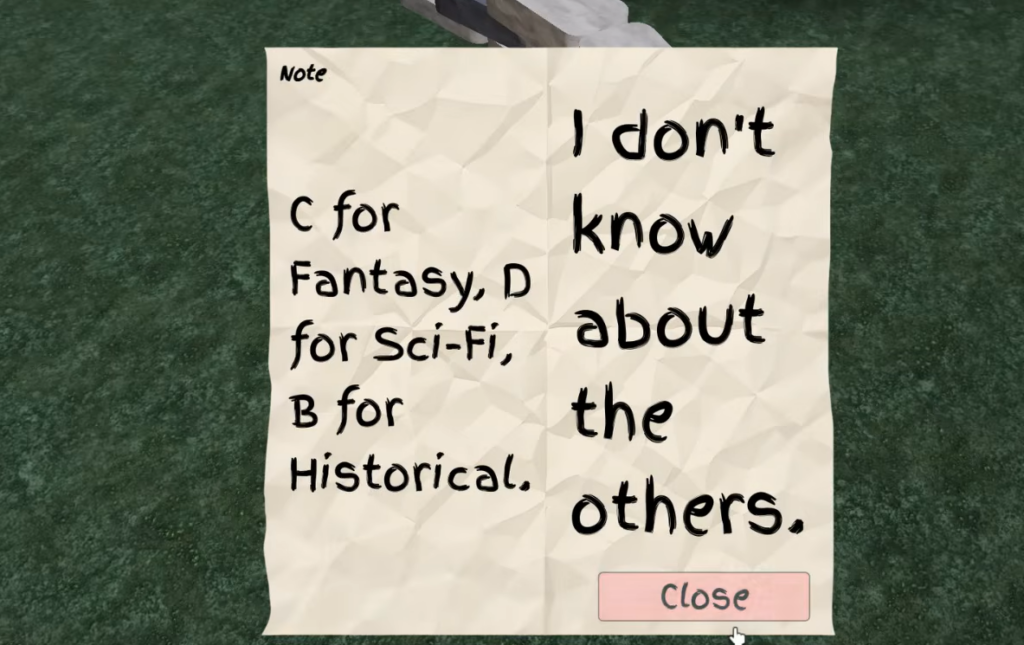
Wall clues assign a genre to each shelf. The tower note names Bookshelf A as Poetry, and the ground floor chart covers the rest. Match the exact spelling on each spine when you place a book. Capitalization matters on some clients, so copy it as shown.
| Shelf | Genre | Titles |
|---|---|---|
| A | Poetry | Verses of Midnight, Echoes of Heart |
| B | Historical | The Fall of Rome, Secrets of Pharaohs |
| D | Science Fiction | Mars Colony, Neon Horizon, Quantum Paradox |
| C | Fantasy (upstairs) | The three remaining books |
Shelves A, B, and D are all on the ground floor. Place the poetry, historical, and sci-fi titles there first. Whatever three books are left over are your fantasy titles. Ride the platform back up and insert those three on Bookshelf C.
When all ten are placed correctly, an old key spawns on the rock behind the ground-floor statue, not near the shelves. Grab it, ride the platform up, and open the chest to claim the magic wand. If no key appears, recount. A fantasy title still in your inventory or a sci-fi book on the wrong shelf blocks the reward without any error message.
Decode Harry, then cast Ignis and Fulgur
The wand needs a spell word before any platform appears. The word is hidden on the ground-floor statue plaques, which display inverted text.
Harry as the spell word, and cast it. A magic platform spawns elsewhere in the castle.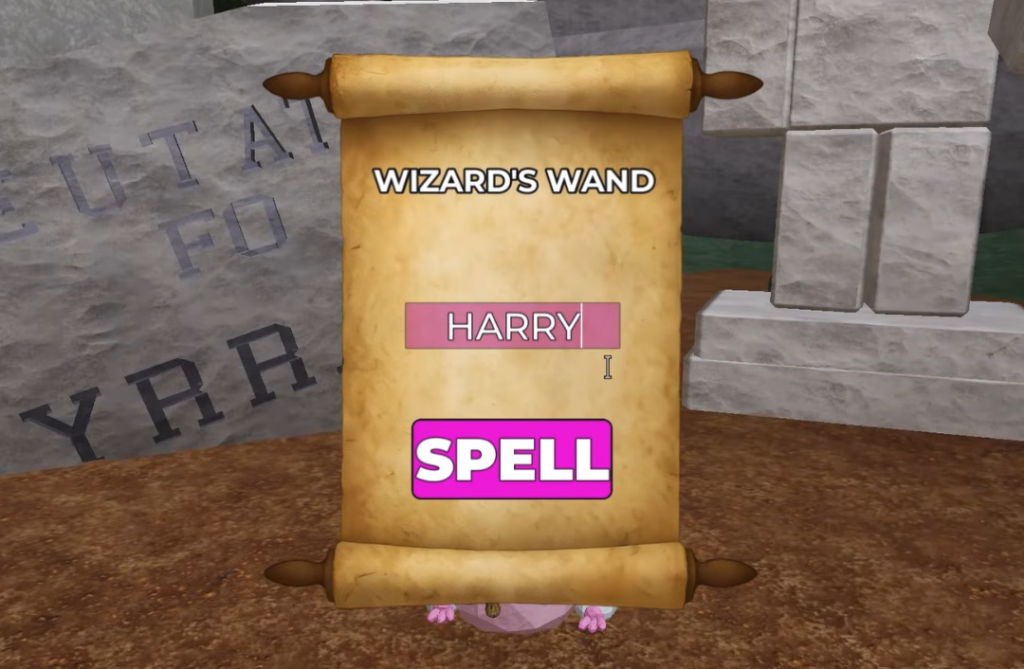
Ignis (spelled I-G-N-I-S) and then Fulgur, the lightning spell listed beside it. Enter each exactly as shown and confirm the cast. The room completes and the boss fight cutscene begins.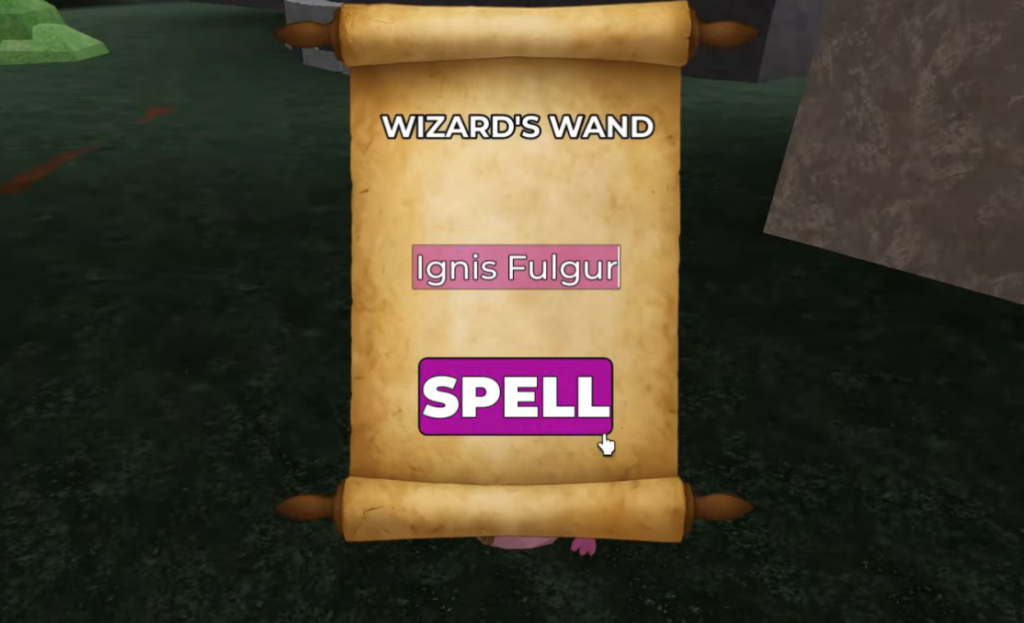
The wizard boss fight
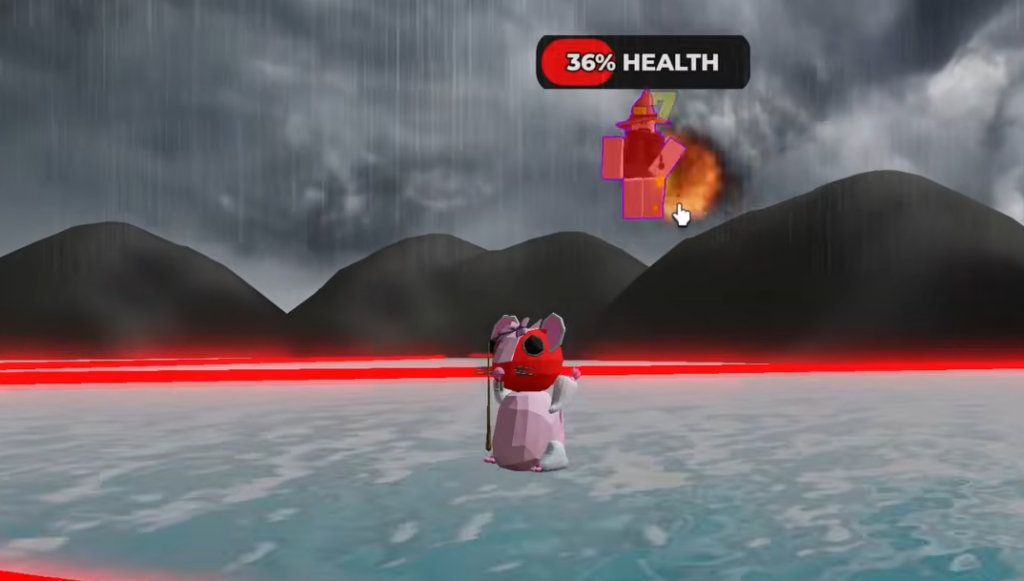
After a long cutscene, the wizard encounter starts. The fight is largely scripted, so your main job is to stay mobile. The wizard teleports and fires projectiles, so dodge sideways rather than backing off ledges. Some phases reuse the bow, so craft spare arrows at the exterior table if your quiver ran dry earlier.
There is no relic drop here and no secret extra spell beyond Ignis and Fulgur. If health bars appear, treat it as a dodge test and keep moving until the script advances. Winning stops the rain and restores the sun, which completes the campaign. Once the credits roll, you have finished the game.
If the fight never triggers, the cause is almost always upstream. Confirm all four relics are equipped and that the Lava Temple is fully cleared, since a missing relic is the usual reason the finale refuses to start.