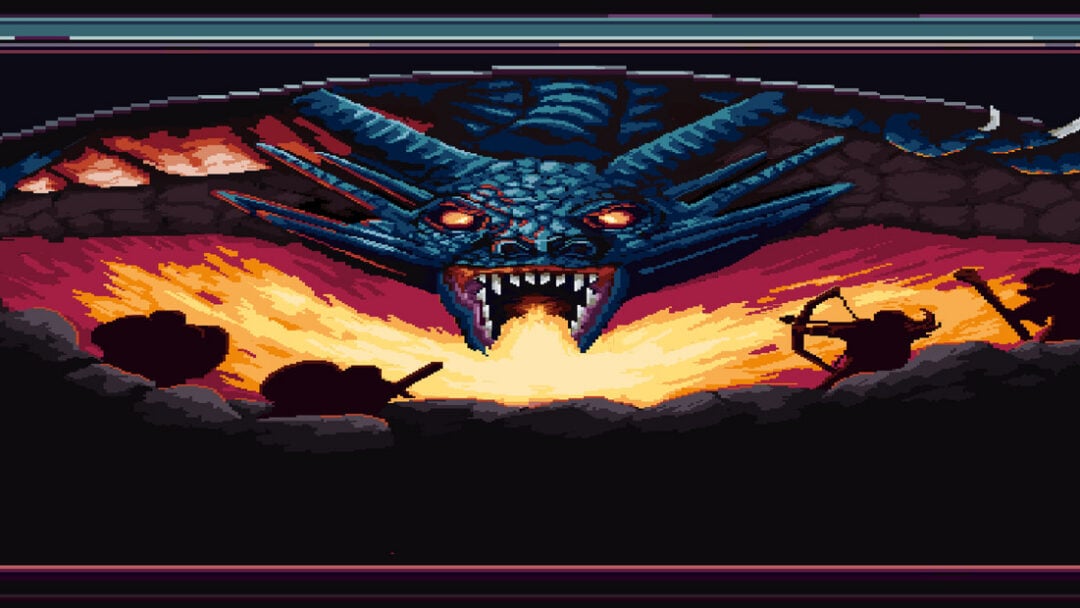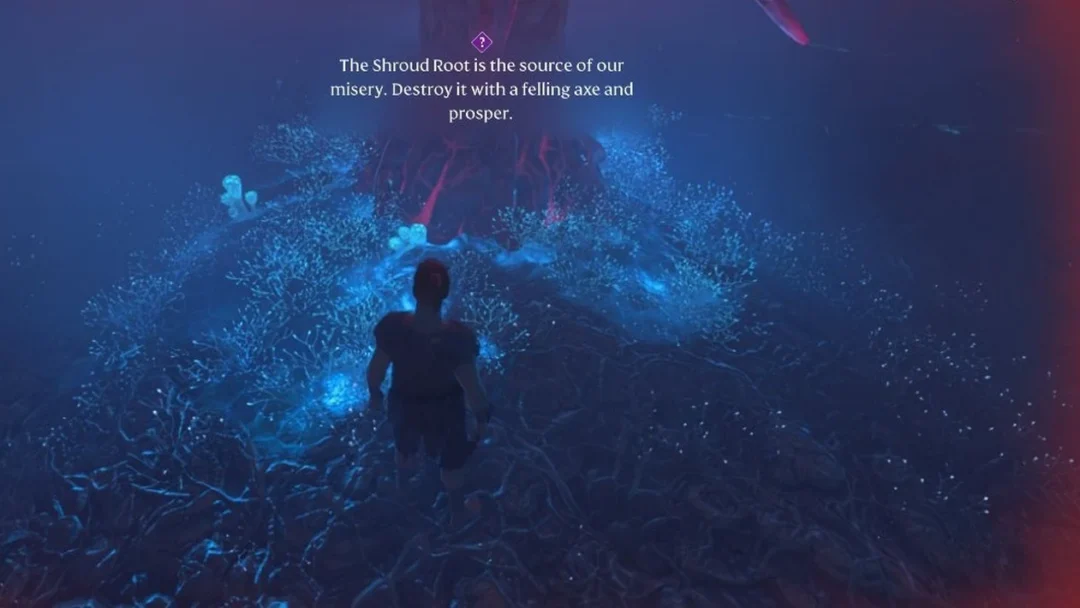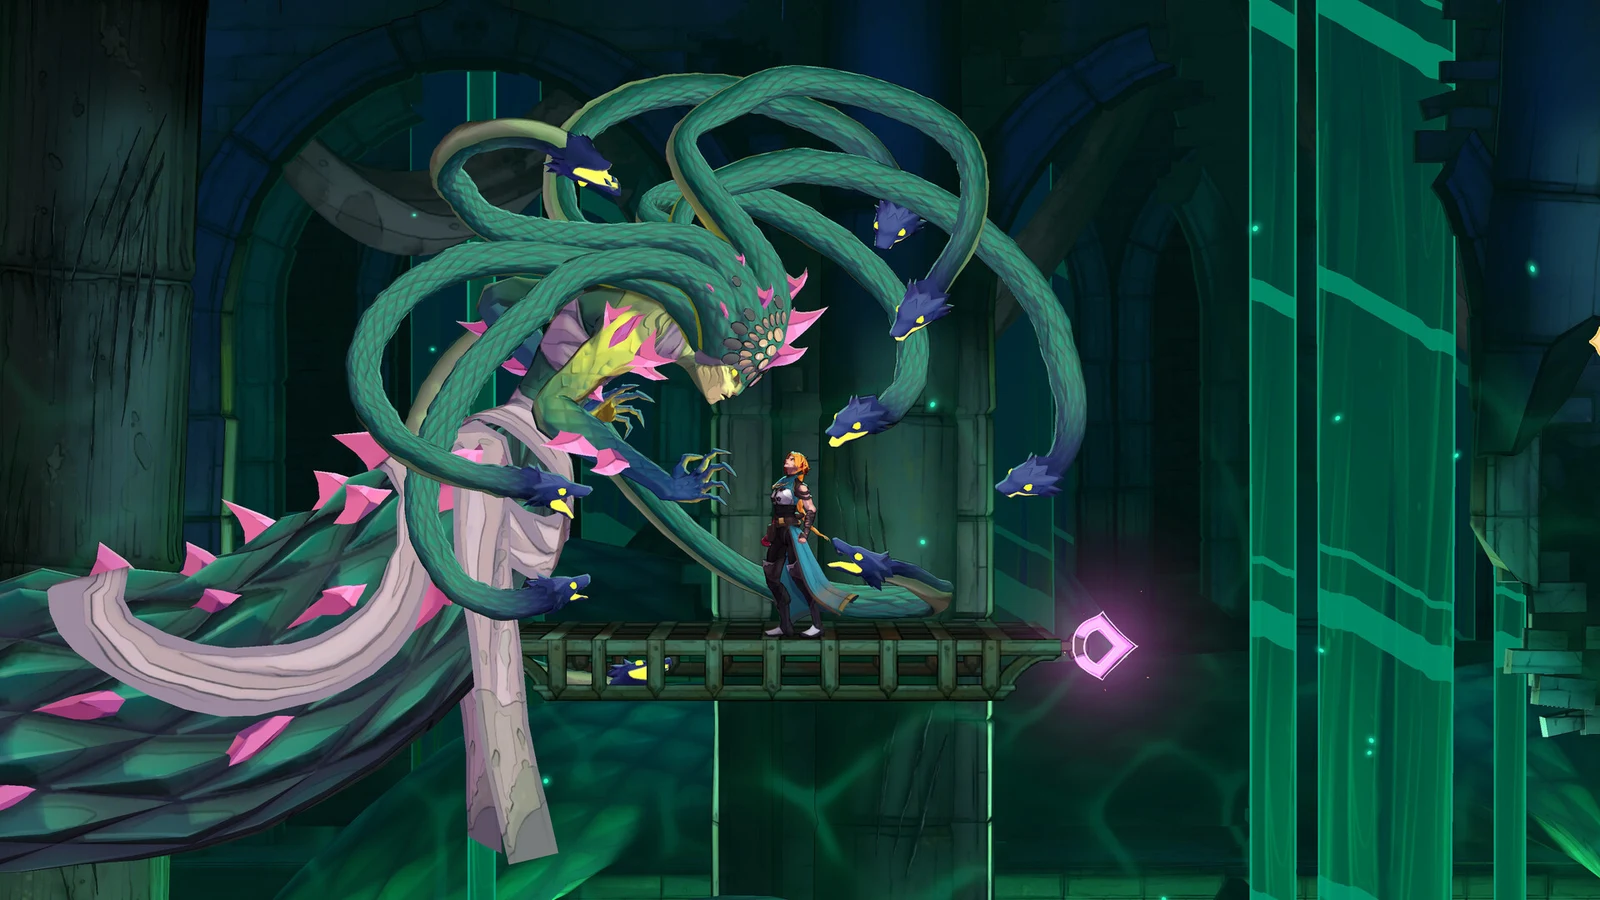
Castlevania: Belmont’s Curse has 14 bosses spread across Paris, the Catacombs, Dracula’s castle, and Notre-Dame. Four of them come back for a second fight, so a full clear means 18 encounters. You can’t finish everything on one run. Some fights are locked behind specific endings, and a few only open up after you’ve collected the right Arcana. You’ll always know a real boss fight has started because a health bar with the boss’s name appears along the bottom of the screen. Most wins then end on a reward screen that gives you an Arcana card.
Quick answer: There are 14 bosses and 18 encounters. Death, Isaac, Joan, and Dracula are each fought twice. The true ending requires defeating The Cursed (Doppelganger) and using Absolution on Dracula.
Castlevania Belmont’s Curse boss order and locations
The table lists every encounter in a typical progression path, from the sewers under Paris to the final throne room. Five encounters give no Arcana card: the first Death fight, the first Isaac fight, the second Joan fight, and both Dracula fights. Each Dracula fight gives you a trophy and nothing else.
| # | Boss | Location | Arcana card (spell) |
|---|---|---|---|
| 1 |  The Fallen (Leon) | Gate to the Catacombs, Paris Streets | The Fallen (Holy Cross) |
| 2 |  Medusa | Ossuary of the Innocents, Holy Innocents’ Cemetery | The Prophetess (Petrifying Gaze) |
| 3 |  Joan | Roof of the Tower, Paris Streets | The Warrior (Infernal Pyre) |
| 4 |  Death (first) | Stairway to Hell, Catacombs of Paris | None |
| 5 | 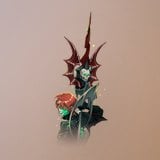 Isaac (first) | Main Hall | None |
| 6 | 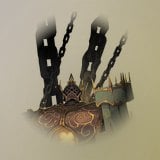 Talos | Throne of the Builder, Clock Tower | The Builder (Fist of Talos) |
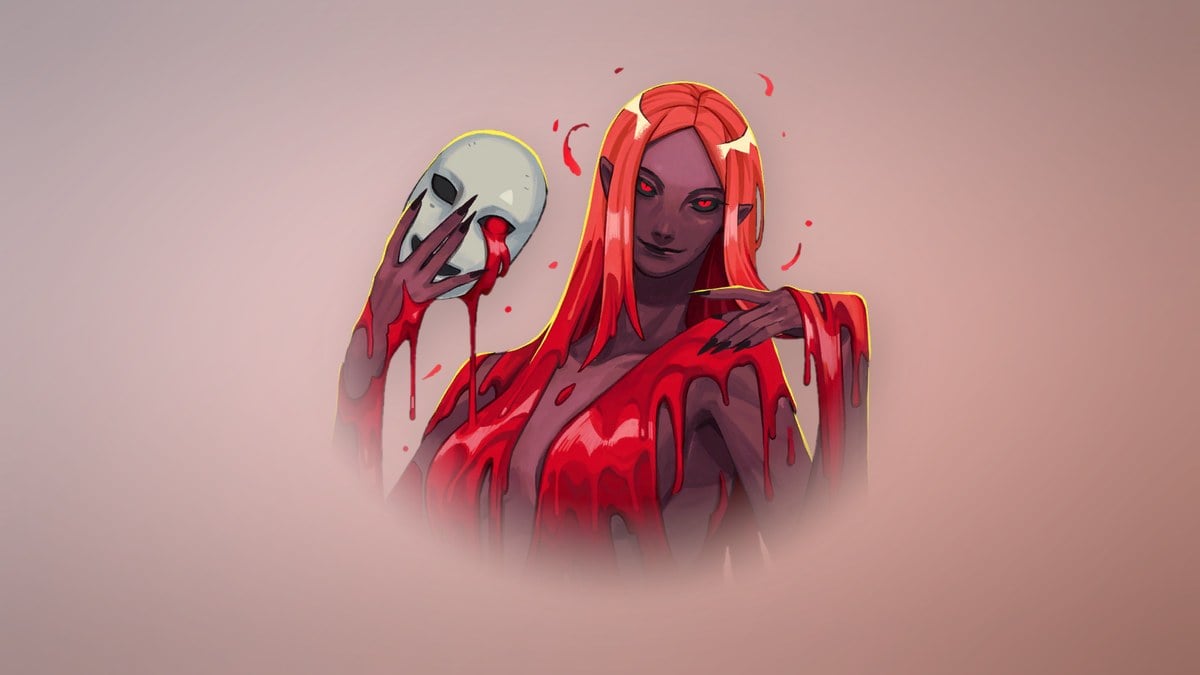
| 7 |  Carmilla | Observatory, Library | The Occultist (Blood Spikes) |
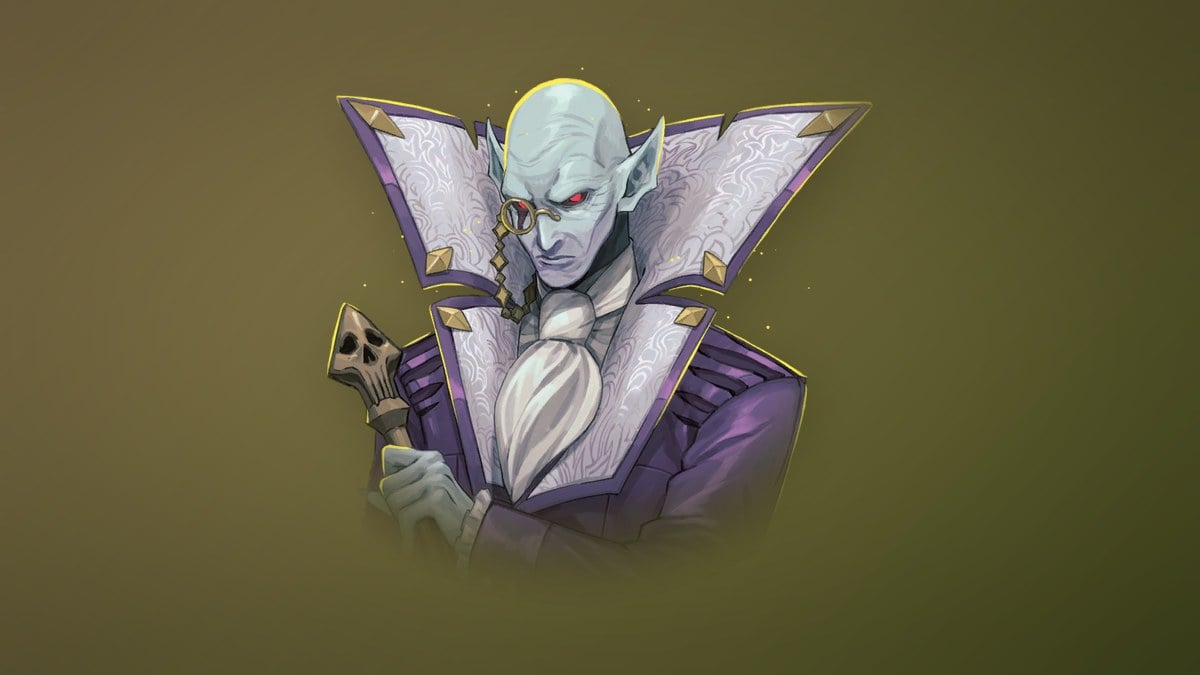
| 8 | 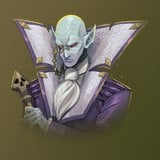 Brauner | Brauner’s Atelier, Main Hall | The Artist (Masterpiece) |
| 9 | 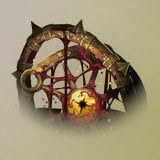 Mammon | Mammon’s Lair, Catacombs of Paris | The Miser (Wheel of Chaos) |
| 10 | Joan (second) | Courage Bell, Notre-Dame | None |
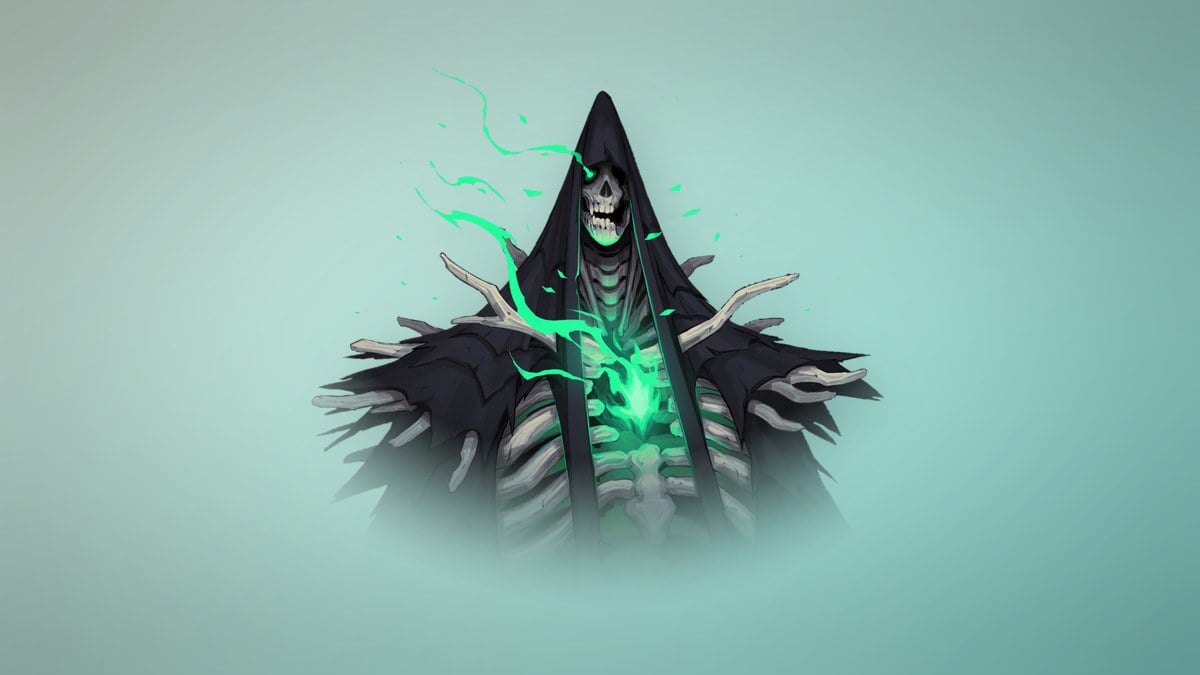
| 11 | Death (second) | Transept, Choir, Notre-Dame | The Shadow (Soul Harvest) |
| 12 | 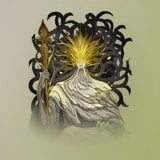 Saint Louis | Palace of Justice, Paris Streets | The Judge (Chains of Justice) |
| 13 | Isaac (second) | Heart of the Clock, Clock Tower | The Zealot (Chronomantic Dive) |
| 14 | 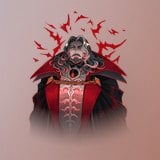 Dracula | Court of the Night, Master’s Quarters | None (trophy) |
| 15 |  Succubus | Belmont Manor, Hall of Mirrors | The Temptress (Life Drain) |
| 16 |  Doppelganger (The Cursed) | Gallery of the Four Virtues, Notre-Dame | The Self (Absolution) |
| 17 | 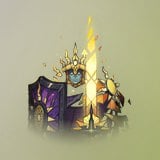 Arthur | Chapel, Notre-Dame | The Brittle King (Stained-Glass Shield) |
| 18 | Dracula (second) | Court of the Night, Master’s Quarters | None (trophy) |
Bosses get harder as you move from one area to the next. The Fallen is the gentlest of the group. The Succubus is a sharp jump in difficulty, so go into Belmont Manor fully stocked.
Stuck between bosses? Our where to go next guide lists the main route stage by stage, with the objective the map shows at each point.
Boss health, attack, and XP values
Each boss uses one stat profile, and rematches share it. Lower health doesn’t mean an easy fight, but the numbers show how long each one takes to bring down.
| Boss | Health | Attack | XP |
|---|---|---|---|
| The Fallen (Leon) | 800 | 19 | 400 |
| Medusa | 1,500 | 24 | 500 |
| Joan | 1,800 | 24 | 600 |
| Isaac | 2,500 | 50 | 1,000 |
| Brauner | 4,250 | 30 | 500 |
| Carmilla | 4,500 | 35 | 850 |
| Talos | 5,000 | 35 | 900 |
| Dracula | 7,666 | 60 | 1,200 |
| Mammon | 8,000 | 52 | 1,000 |
| Succubus | 8,000 | 50 | 1,200 |
| Death | 8,444 | 40 | 1,000 |
| Doppelganger | 8,778 | 50 | 1,000 |
| Arthur | 11,000 | 55 | 500 |
| Saint Louis | 12,000 | 30 | 500 |
Every boss ignores freeze, petrify, launch, slam-down, the Chronomantic Dive slow, the Freezing Path link, and the Infernal Pyre launch. The one exception is Saint Louis, who is immune to petrify and nothing else. Chains of Justice can still root and stun Arthur, Death, Dracula, Medusa, Talos, and Saint Louis. Every other boss shrugs the chains off. Arthur, Death, Talos, and Dracula can’t be made to bleed. Arthur, Talos, and Dracula also can’t be burned. Medusa can’t be killed by a fatal fall, and Dracula is the boss who can’t be grabbed with the whip hook.
Paris Streets and Holy Innocents’ Cemetery bosses
The Fallen (Leon) at the Gate to the Catacombs
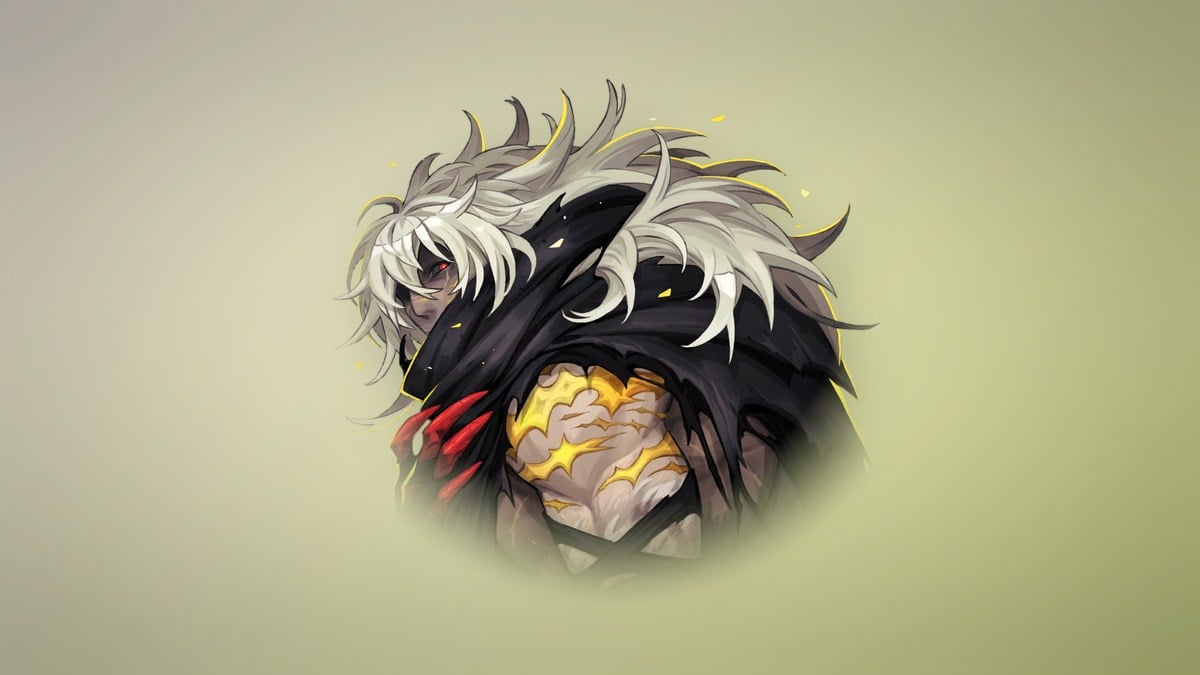
The first boss sits under Paris Streets during the objective “STOP THE MONSTER TERRORIZING THE CITY.” To get there, go through the Sewer Reservoir and the Path of the Rat, then head east from the Ancient Sewers. Beating him gives you The Fallen card with the Holy Cross spell, The Fallen’s Key, and the Arcane Whip. The Arcane Whip lets Rose swing from hooks to get around. It isn’t the whip weapon, which you find somewhere else.
Where to go next: where to go after The Fallen.
Joan on the Roof of the Tower
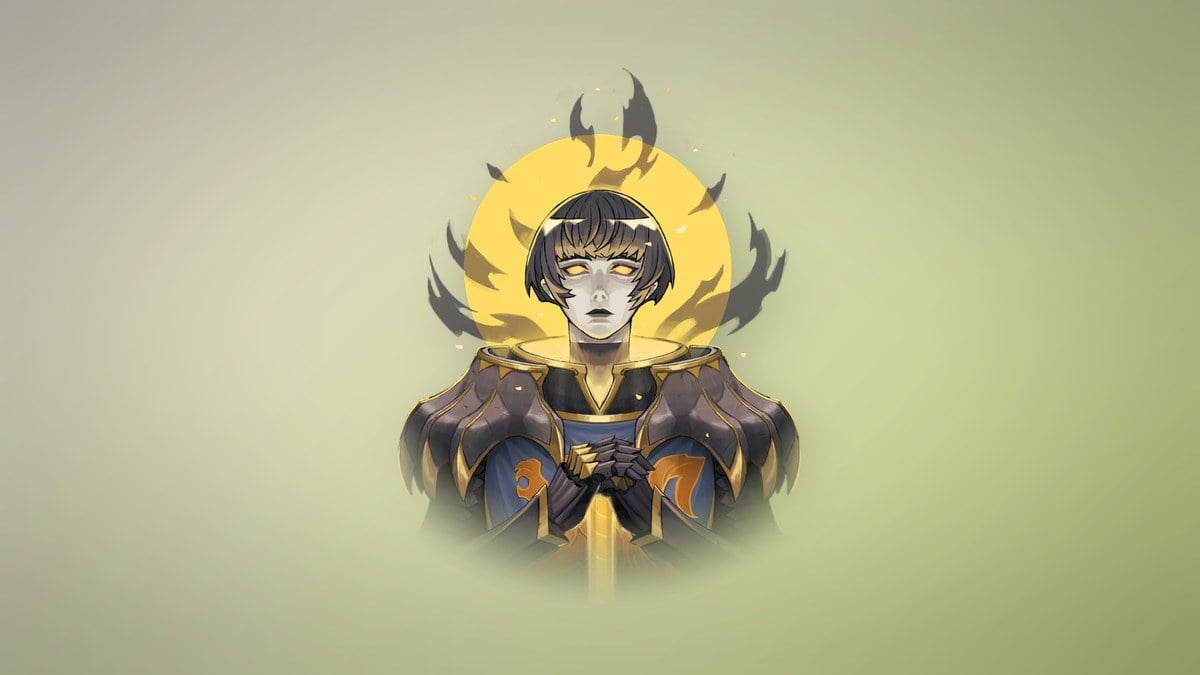
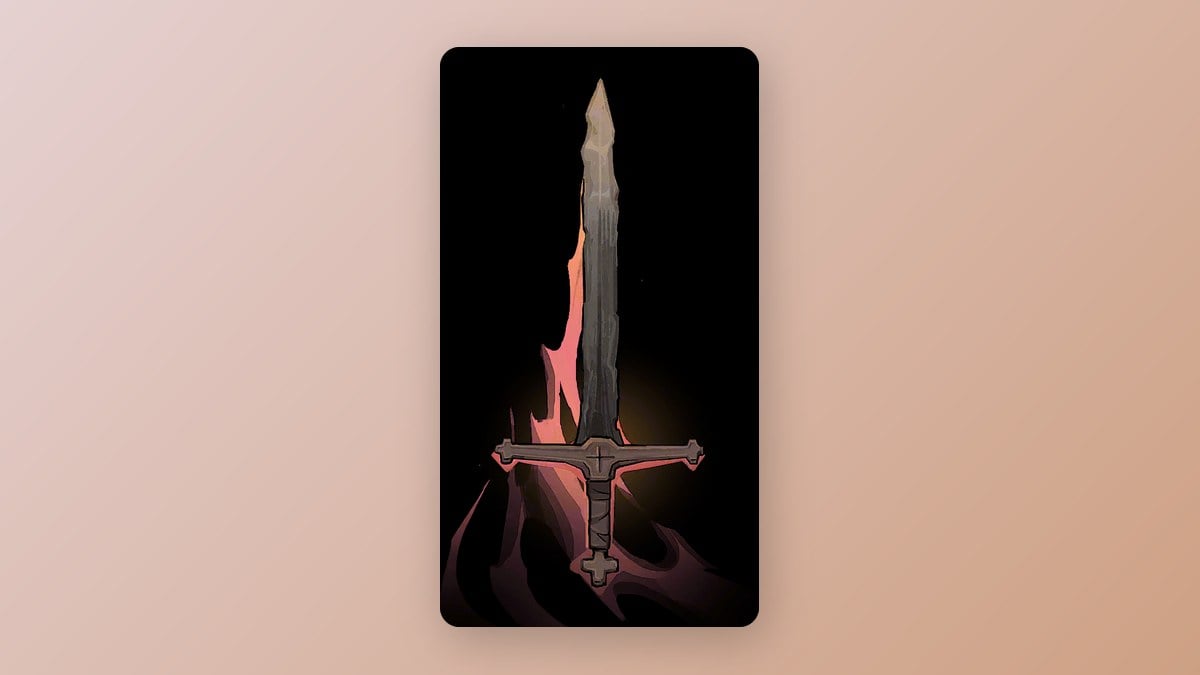
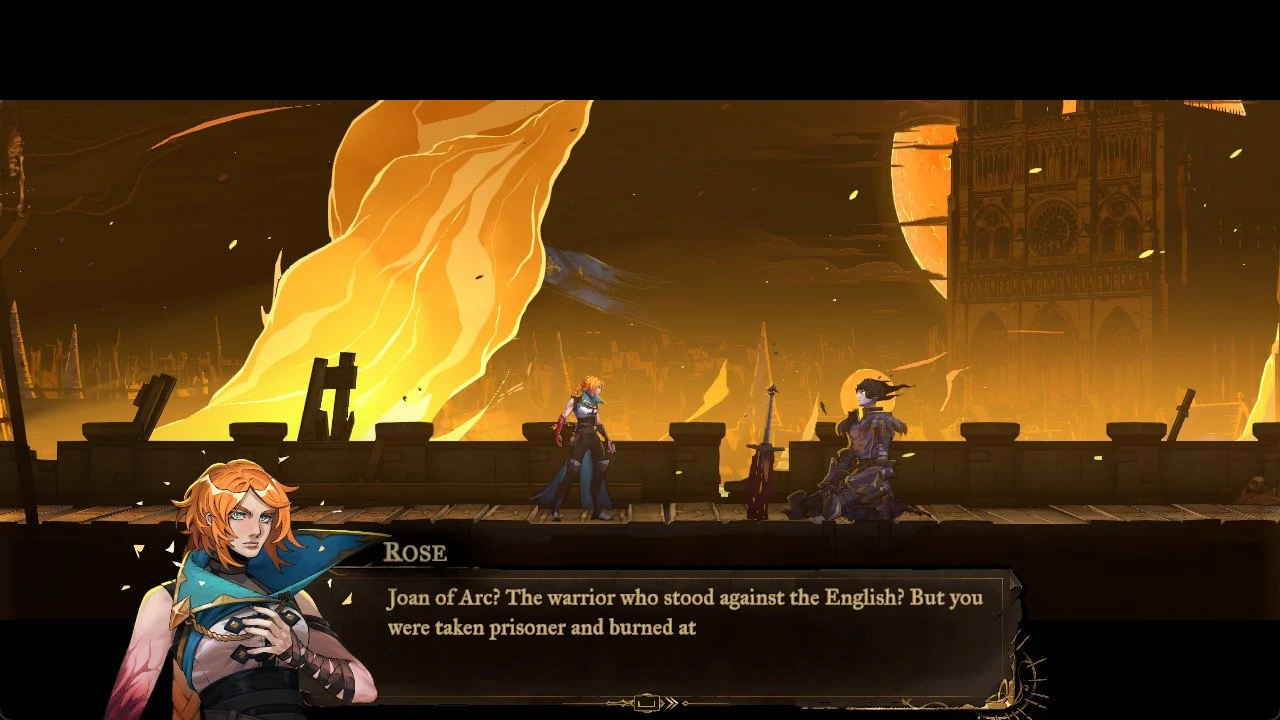
Joan of Arc, The Warrior, occupies the highest floor of the Prison Tower in Paris Streets and has several drops: the Infernal Pyre spell, The Warrior’s Key, the Burnt Sword of Fierbois, and Holy Light. The Burnt Sword of Fierbois is a two-handed sword that deals 25 attack power and 30 stagger power, with Blade Dive as its combo finisher. Holy Light is needed to unlock the Catacombs gate.
Where to go next: where to go after Joan.
Medusa in the Ossuary of the Innocents
At the southern end of Holy Innocents’ Cemetery lies Medusa’s arena, the Serpents’ Lair. Head west via the Central Sewer Drain, then continue through the Hot Springs and Roman Baths to reach her. Her drops are The Prophetess card, which has Petrifying Gaze, The Prophetess’s Key, and Rusted Harpè and Aegis. This sword-and-shield set has 20 attack power; holding attack blocks frontal hits.
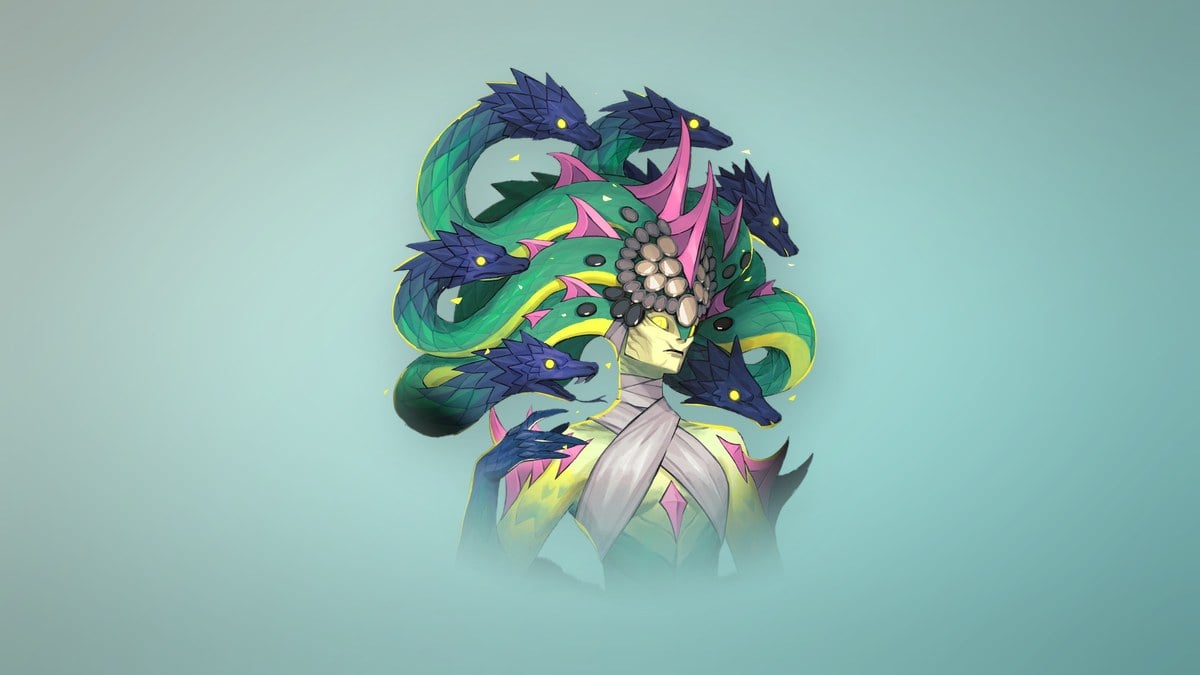
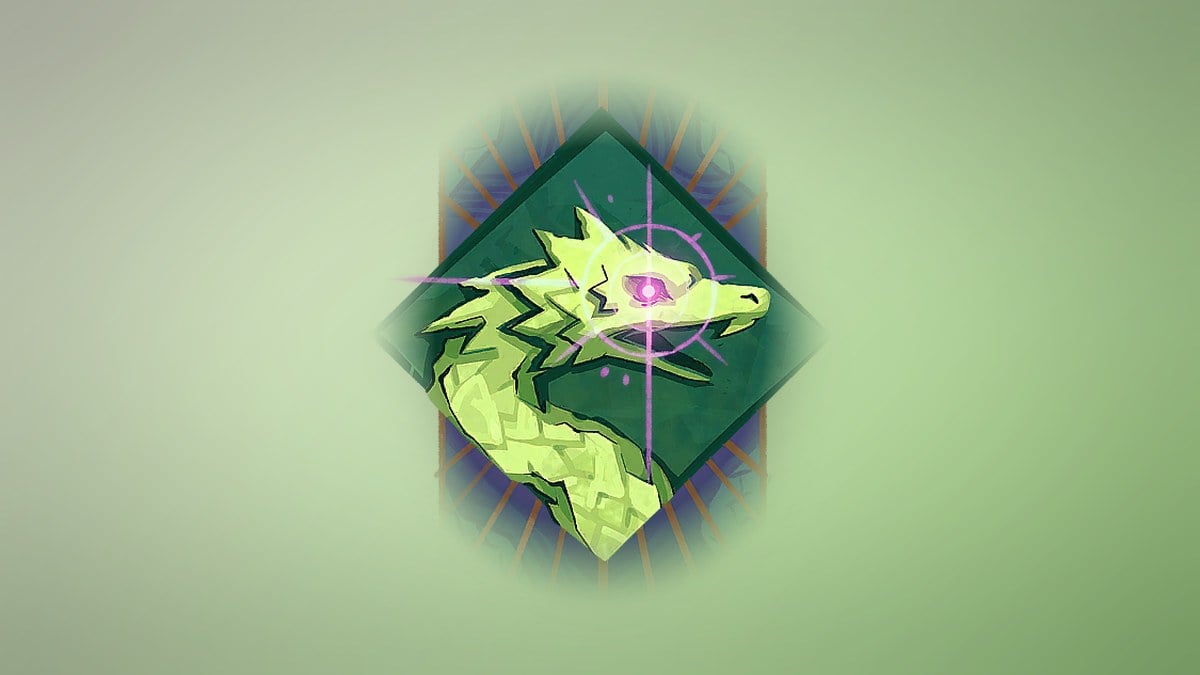
Petrifying Gaze uses 75 mana to turn foes in Rose’s forward view to stone. Killing a foe while it is petrified restores half the spell’s mana cost.
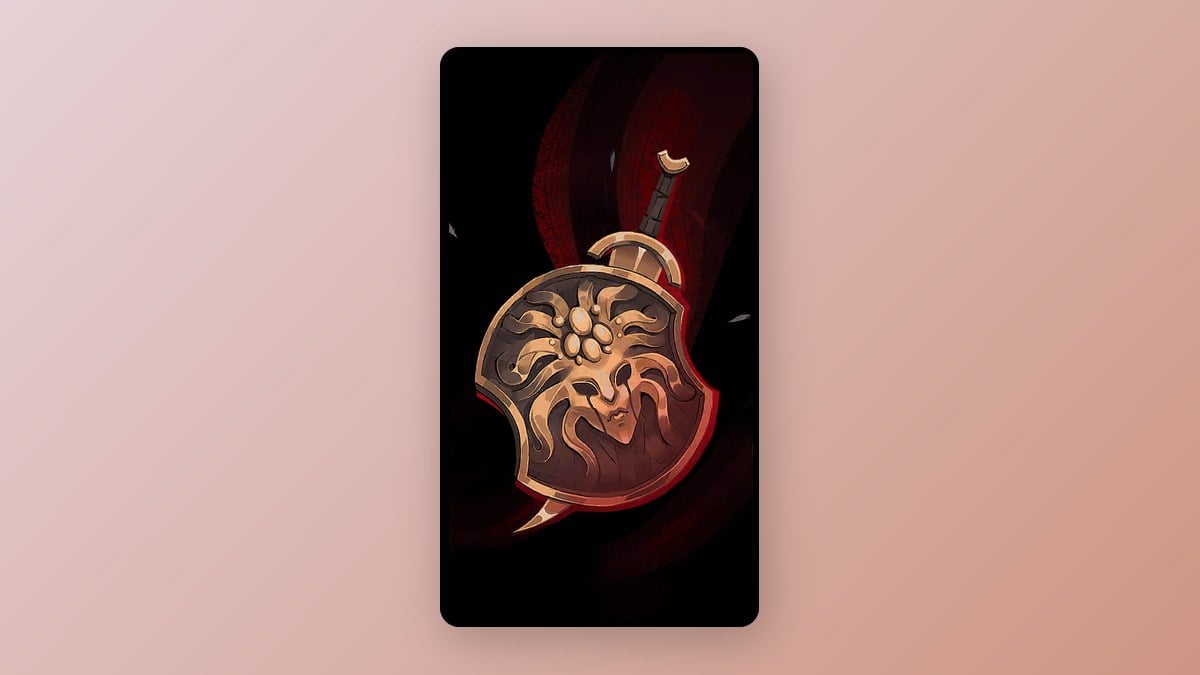
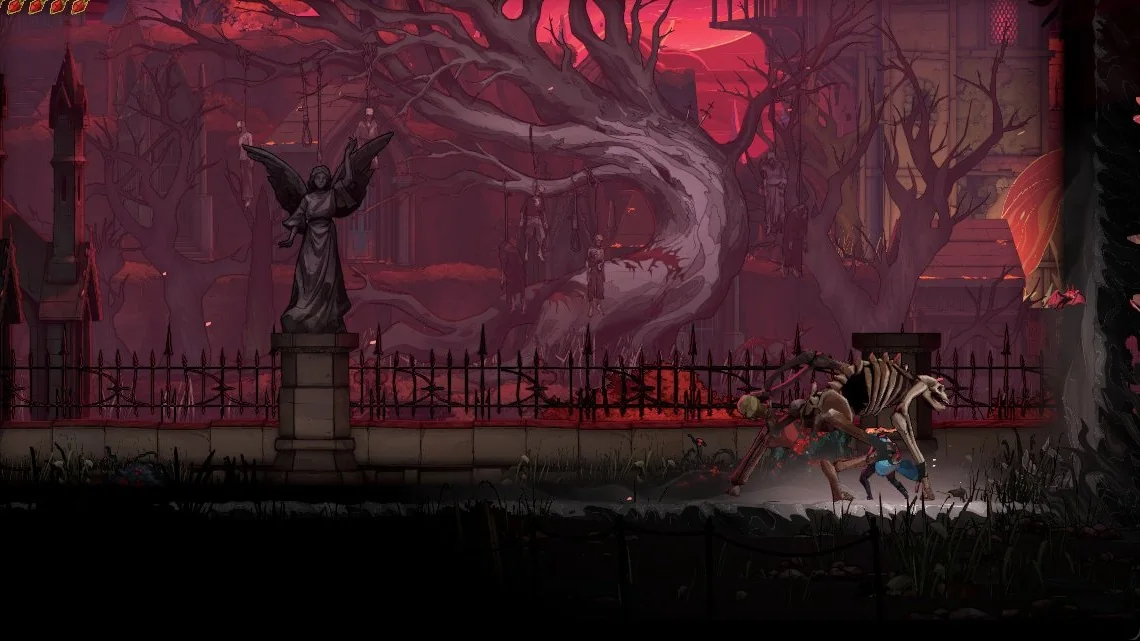
Near the Cemetery Entrance, an enormous bone creature crawls onto the bridge leading into Holy Innocents’ Cemetery and attacks. It has neither a boss health bar nor a reward screen, making it a normal enemy that does not belong on your boss list.
Where to go next: where to go after Medusa.
Saint Louis in the Palace of Justice
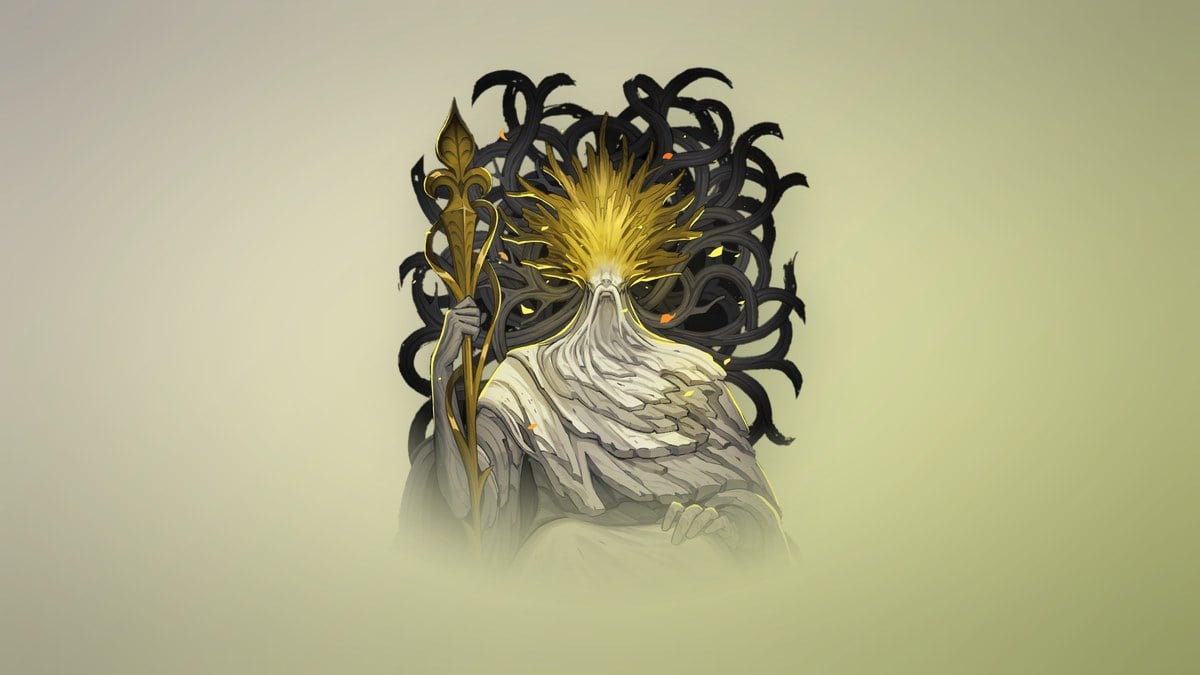
At the Tree of Justice in the Palace of Justice, set the Scales of Justice in balance to trigger the fight. Saint Louis awakens, and Leon’s trial starts. Victory rewards The Judge card, Chains of Justice, and the Valmanway weapon. For 40 mana, Chains of Justice immobilizes enemies nearby for 4 seconds. Its first strike against a bound foe deals extra damage. The Judge card is required for the true ending.
The three keys that open the Catacombs gate
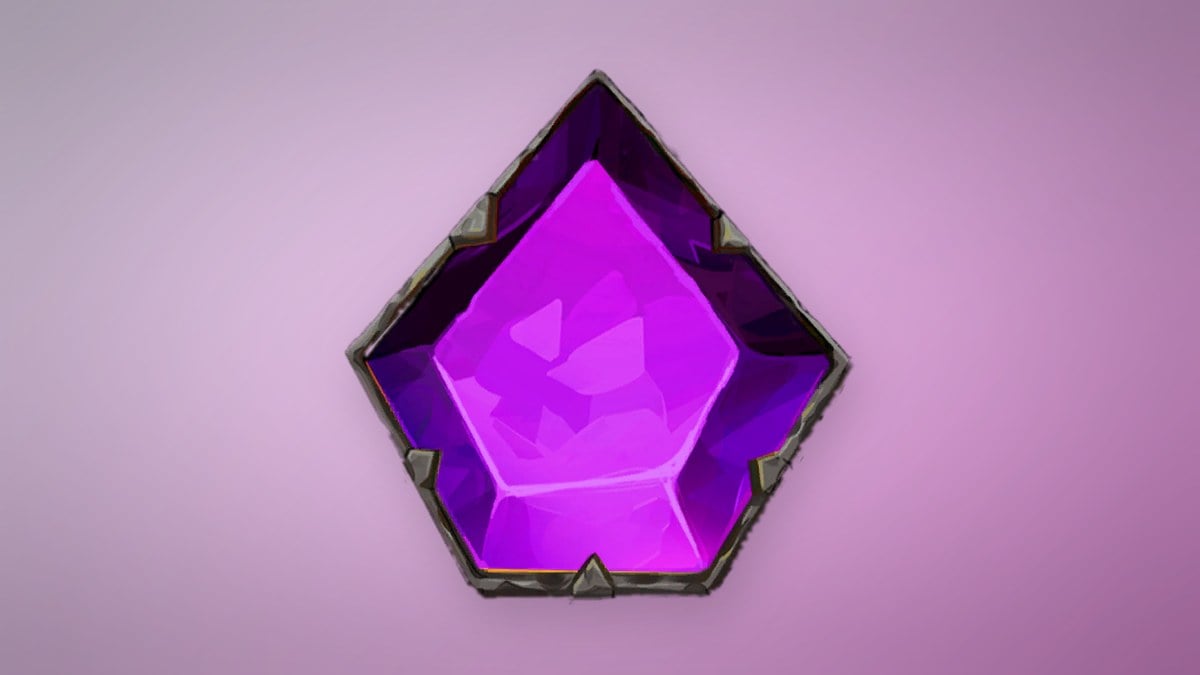
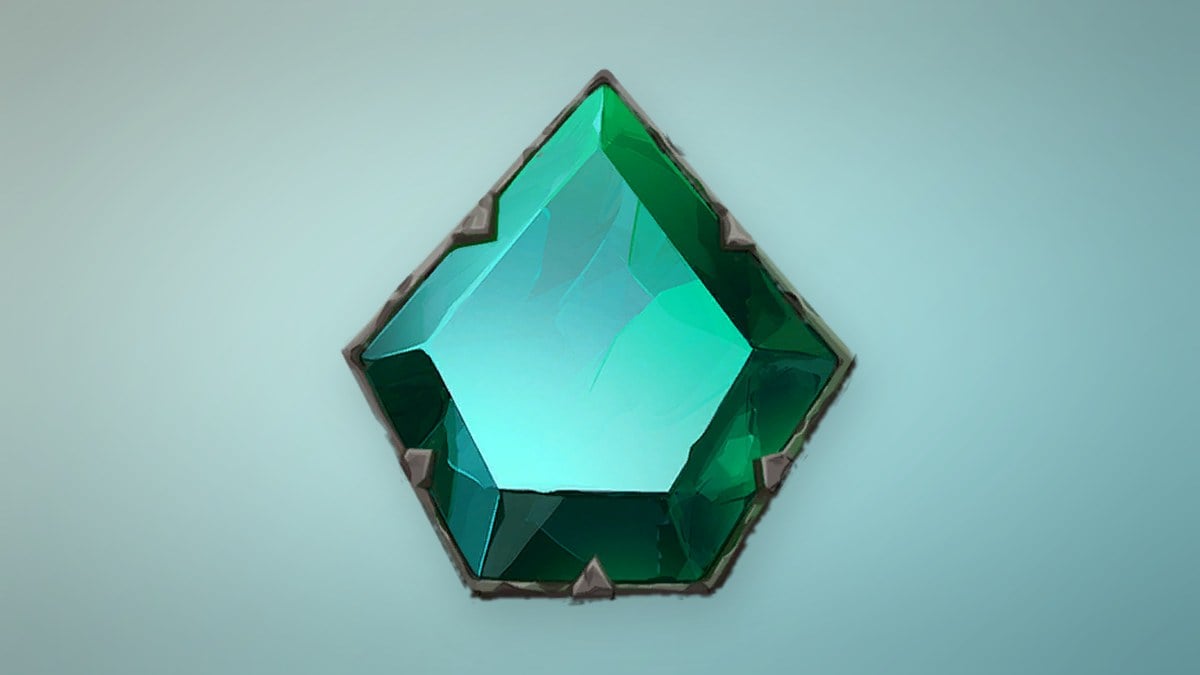
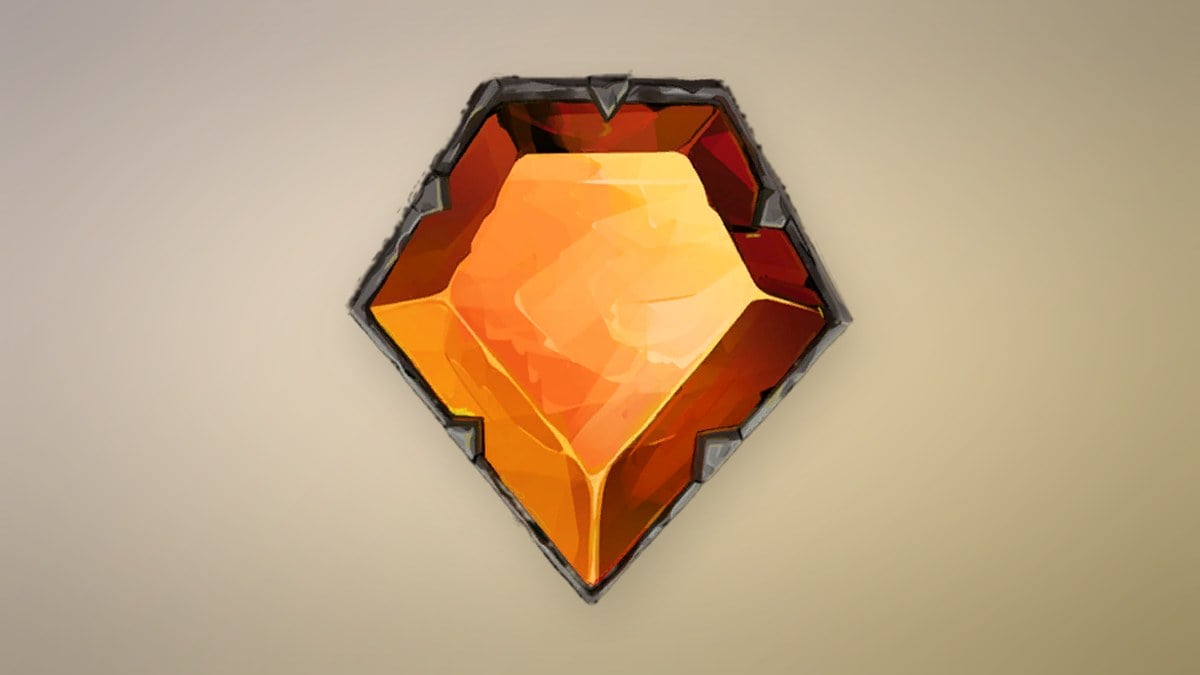
To open the locked Catacombs entrance in Paris Streets, you need these three boss keys, along with the Holy Light ability Rose gains after the Joan fight:
- The Fallen’s Key, from The Fallen at the Gate to the Catacombs
- The Prophetess’s Key, from Medusa in Holy Innocents’ Cemetery
- The Warrior’s Key, from Joan on the Roof of the Tower
Catacombs of Paris bosses: Death and Mammon
Death’s first encounter
Death first shows up in a ritual chamber off the Stairway to Hell. You can’t win this first fight: it ends on its own when his green Death Touch hits Rose at close range, or once his health drops a little and he starts a reaping chain you cannot parry or dodge. There is no game over and no card, and the real win comes later in Notre-Dame. More in can you beat Death in the Catacombs.
Where to go next: where to go after both Death fights.
Mammon in Mammon’s Lair
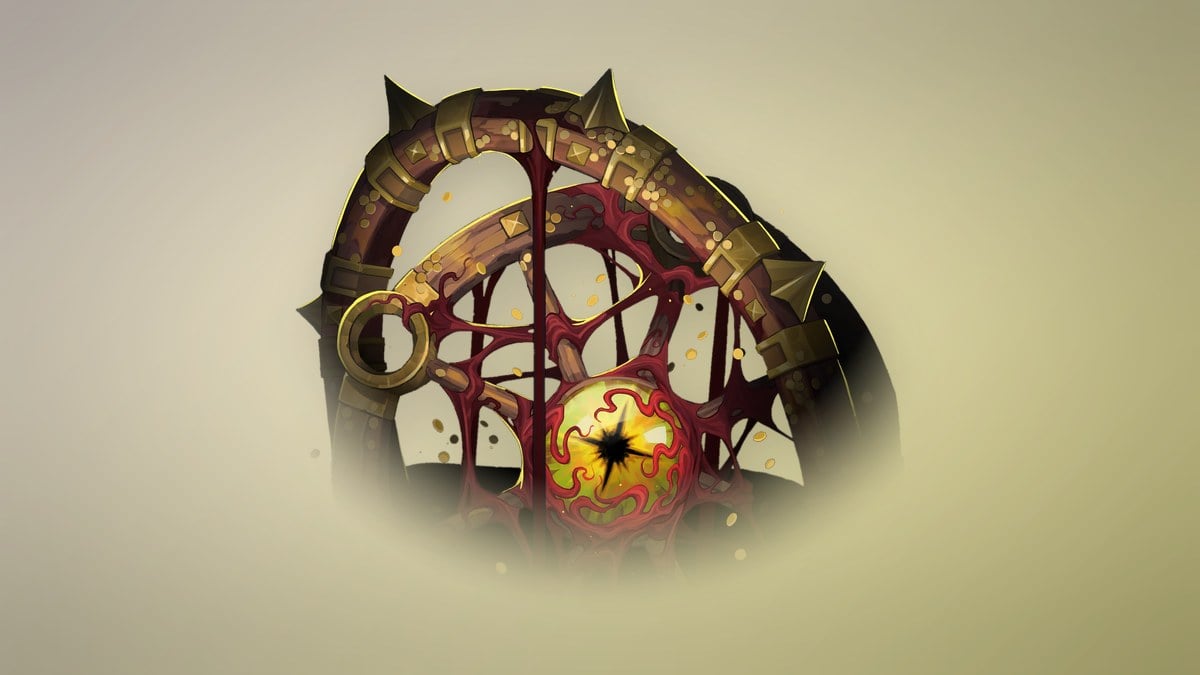
Enter Mammon’s Lair through the eye-shaped door in the Circle of Greed. Equip 3 Eyes first, then interact with the Gate of Flesh to get inside. Mammon awards The Miser card, Wheel of Chaos, and the Ferryman’s Obol.
Dracula’s castle bosses
Isaac in the Main Hall and the Heart of the Clock
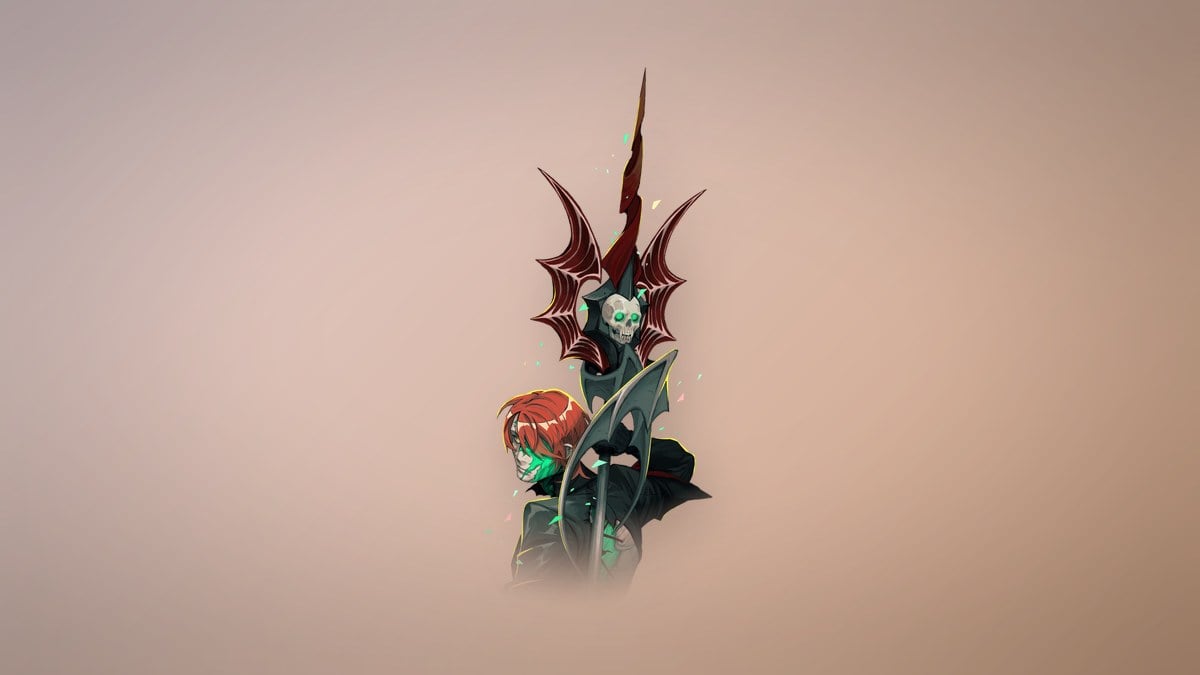
Your first fight with Isaac starts right after you head east of the Stone Bridge and cross the Castle Drawbridge into the Main Hall. That fight gives no card. For the rematch, go east from the Master Bridge into the Clock Tower. You’ll need to deactivate the Cursed Horologium’s spell to reach him at the Heart of the Clock. This time he drops The Zealot card with Chronomantic Dive. The legendary spear Chauve-Souris is lying in the arena after the fight, so pick it up before you leave.
Route to the real Isaac: how to get to Isaac in the Heart of the Clock.
Talos at the bottom of the Clock Tower
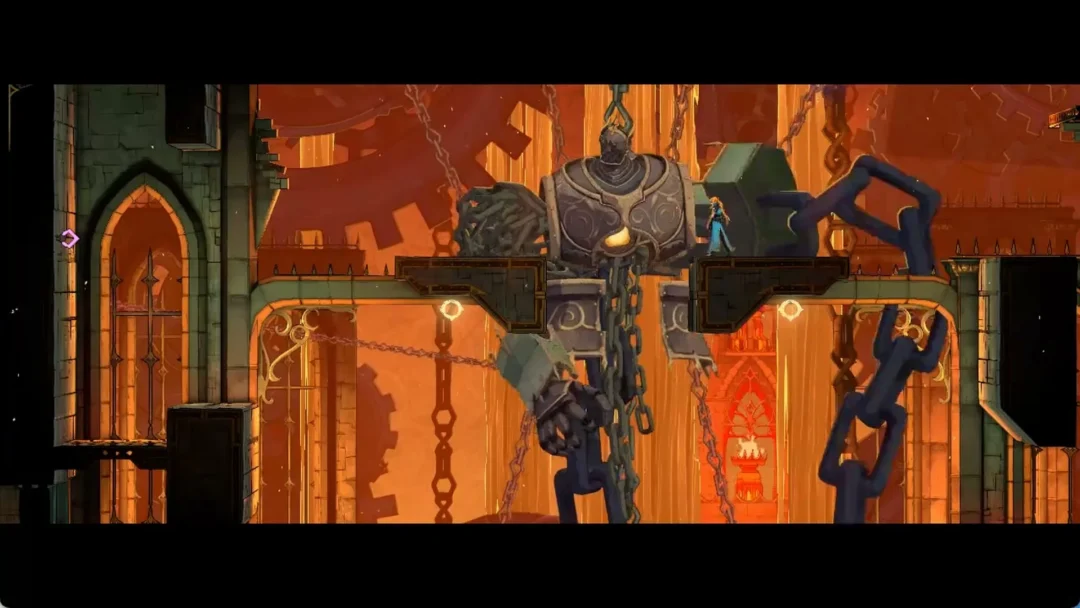
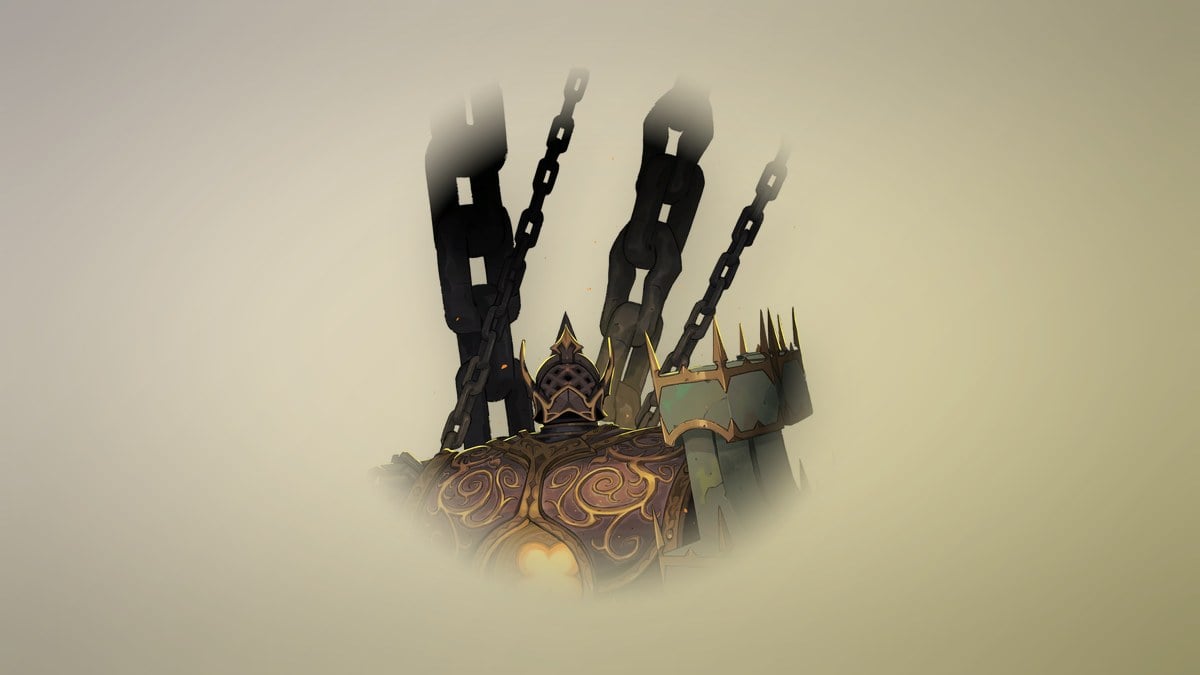
In the Throne of the Builder, at the Clock Tower’s base, Talos stands guard in a forge chamber. Reach him by taking the Builder’s Secret Elevator, then passing through the Foundry Apex and the Final Trap. He drops The Builder card with Fist of Talos and teaches Smash, the move needed to reach Brauner.
Where to go next: where to go after Talos and how to get to Carmilla.
Carmilla in the Library Observatory
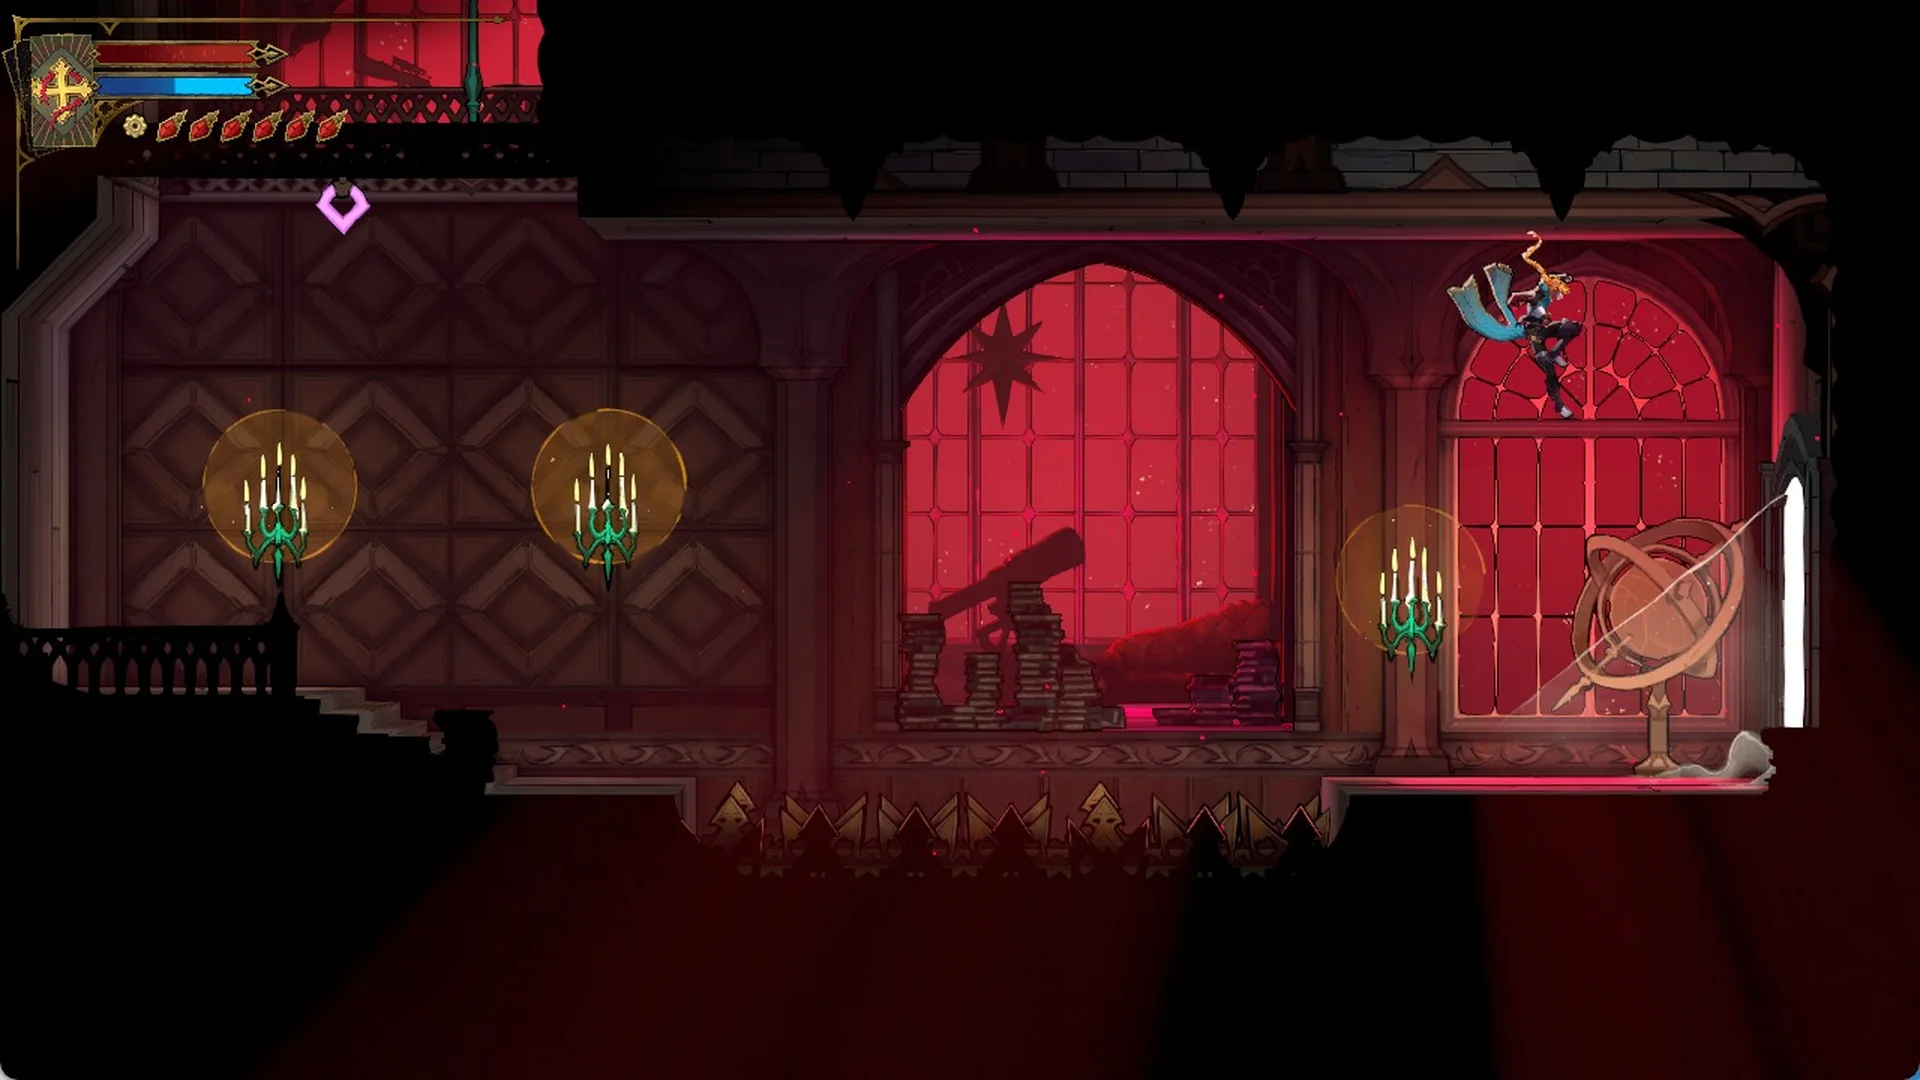
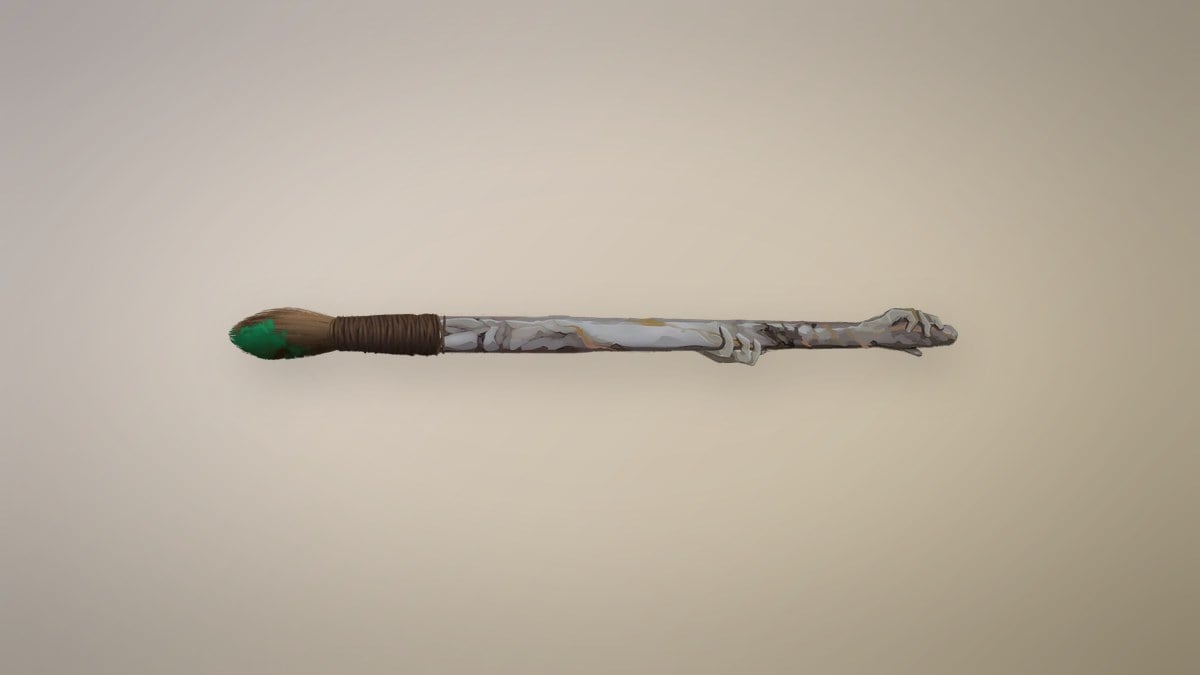
Carmilla is in the Observatory room at the top of the Library. She drops The Occultist card with Blood Spikes, and Brauner’s Paintbrush is on a desk in her hall. The paintbrush belongs to Brauner, but Carmilla took it. Aerial Rush follows in the hallway just left of her hall.
Where to go next: where to go after Carmilla.
Brauner in Brauner’s Atelier
Take the Ferryman to the Main Hall, then go up through the Grand Hall to Brauner’s Atelier, west of the Servant’s Hall. In the room’s center, chains hold up a huge stone block called Brauner’s “Masterpiece,”. Grapple to a point above it and use Smash to slam down onto the block. Destroying it triggers the fight. Brauner awards The Artist card and the Masterpiece spell.
Step by step: where to find The Artist.
Succubus in Belmont Manor
The Succubus fight comes at the end of the Descent into Memory sequence, inside Belmont Manor in the center of the Hall of Mirrors. She drops The Temptress card with Life Drain, and beating her reveals the full Hall of Mirrors map.

Notre-Dame bosses
How to reach Death in the Transept
Notre-Dame is hidden. You can only get in after defeating The Builder, The Artist, and The Occultist.
The fight is over when Death dissolves and leaves a golden spirit floating in the arena. Your rewards are The Shadow card with Soul Harvest, the Vampire Killer, and Double Jump.
Joan at the Courage Bell
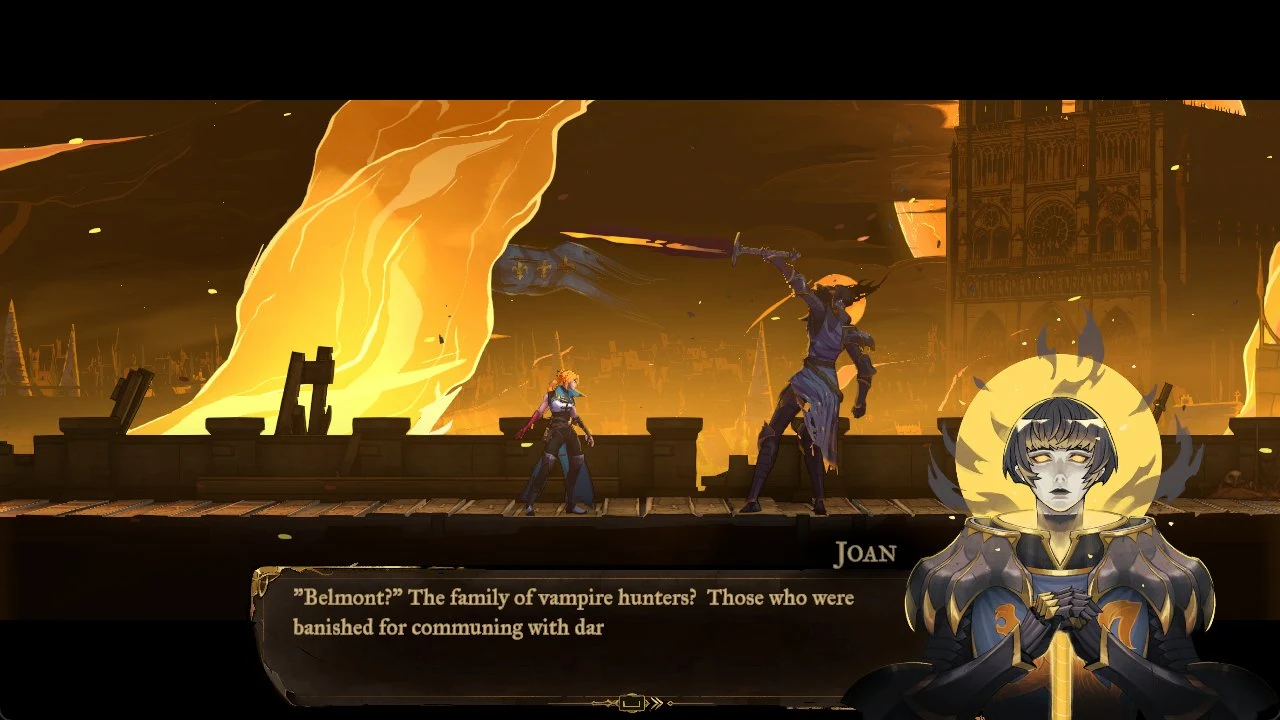
Joan’s second fight is by the Courage Bell in Notre-Dame. You don’t get a card this time. Instead, winning gives Rose the blessing of the virtue of Courage, which counts toward the four virtues the true ending requires.
Arthur in the Chapel
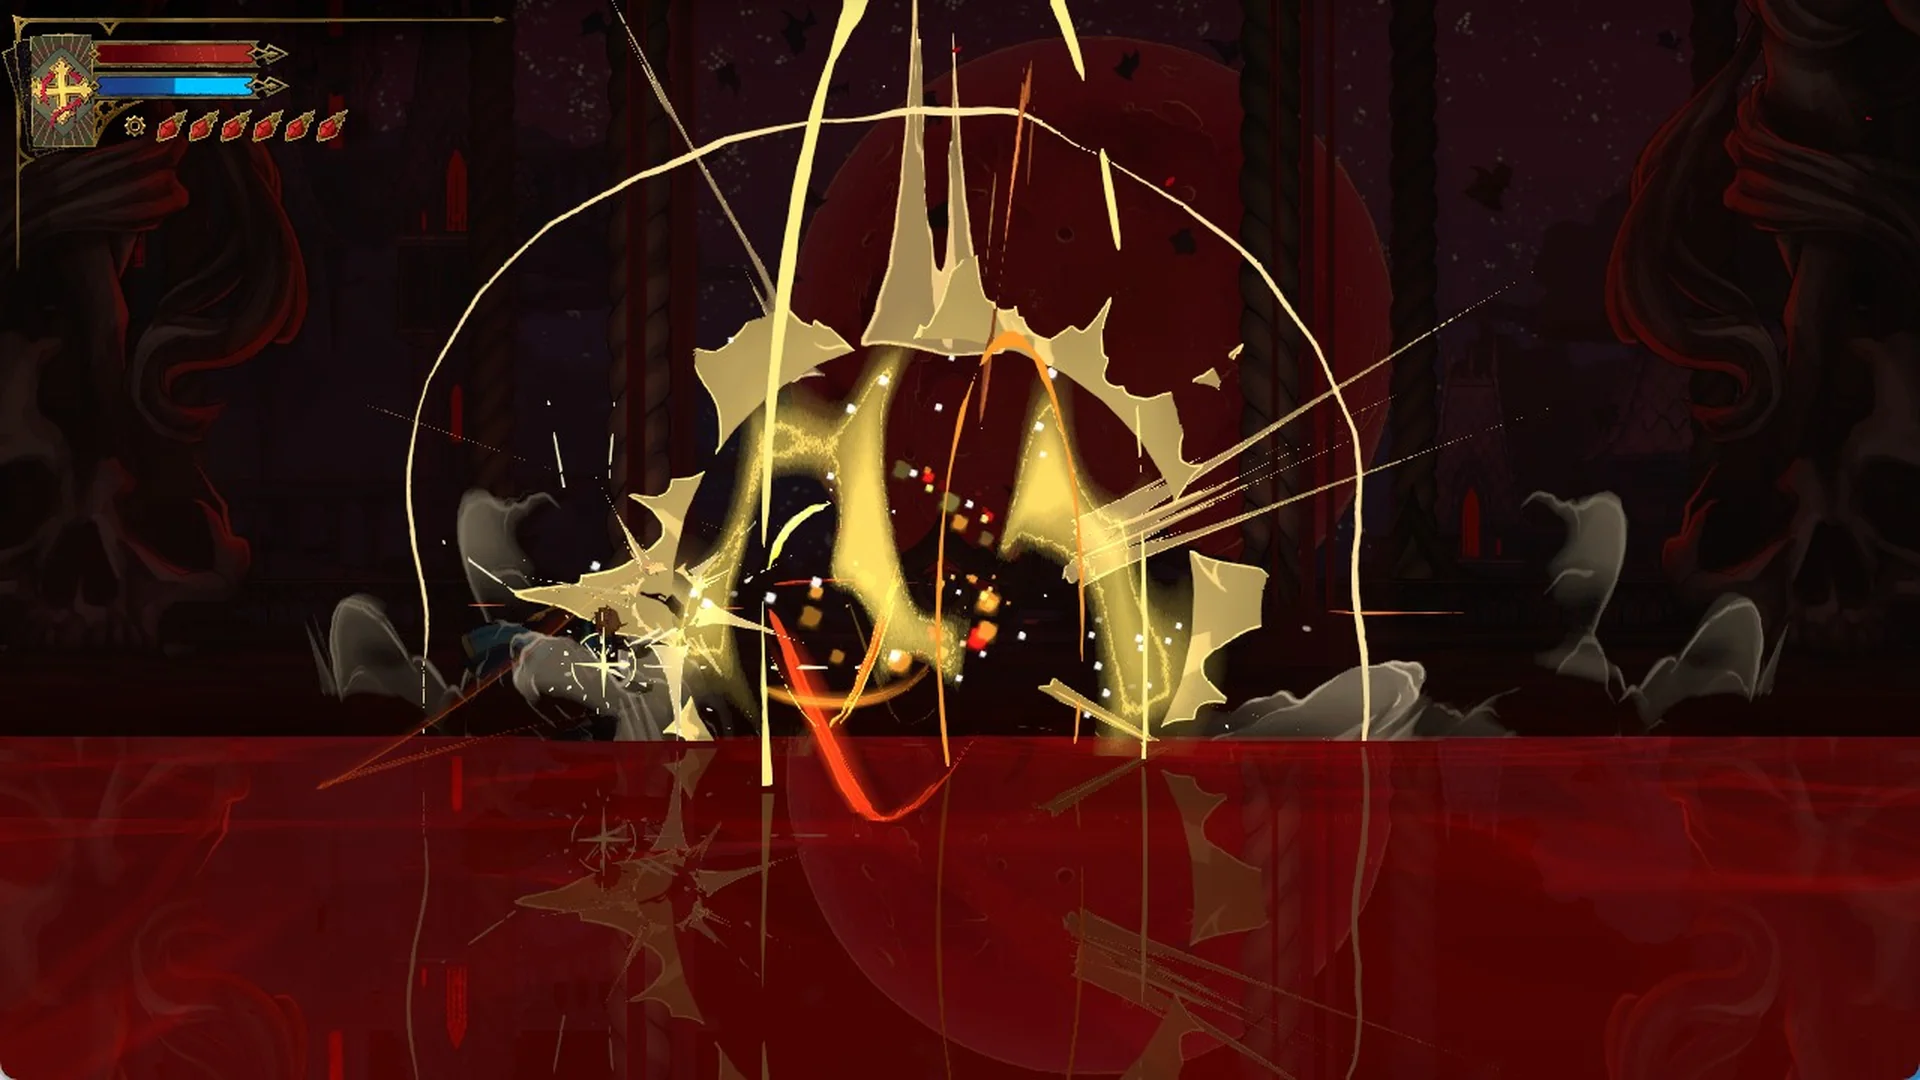
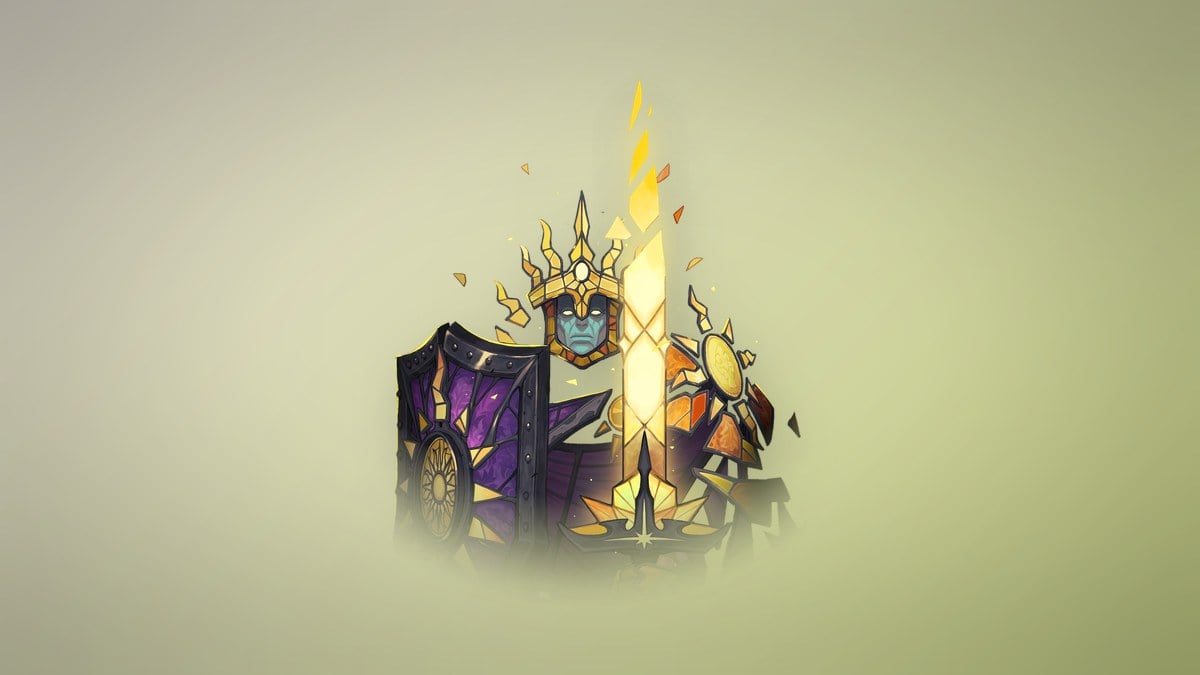
The Chapel is south of the Notre-Dame entrance that connects to the Forest. Complete the Feat of Strength before drawing the sword from the altar. When the health bar reads “Arthur,” he becomes a giant knight made of stained glass. His drops are The Brittle King card, Stained-Glass Shield, and the legendary Excalibur sword. Stained-Glass Shield costs 100 mana and forms a barrier that absorbs incoming hits; each hit it blocks sends glass shards at nearby enemies.
Doppelganger (The Cursed) at the Cathedral Altar
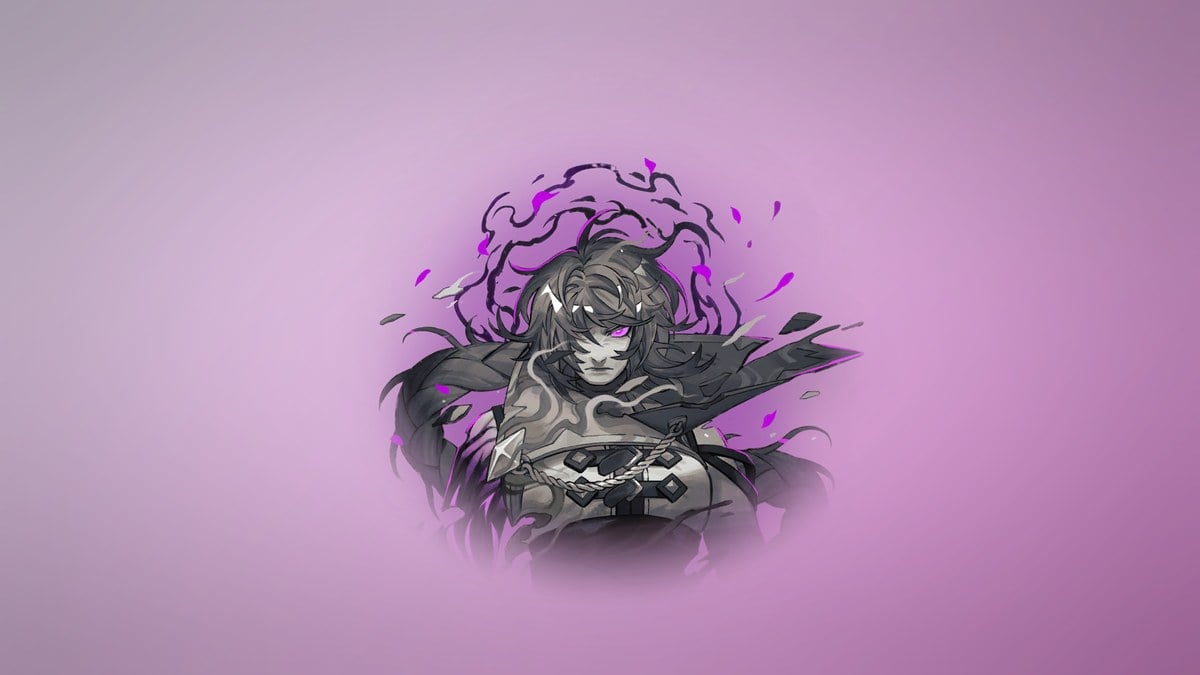
This fight only opens once Rose has been blessed with all 4 virtues through the Stained Glass Challenges. It takes place at the cathedral altar in the Gallery of the Four Virtues. The boss bar first reads “???” before showing Rose’s own shadow. Winning gives you The Self card with Absolution and the Doppelganger Style Costume.
Dracula’s fights and which ending each one unlocks
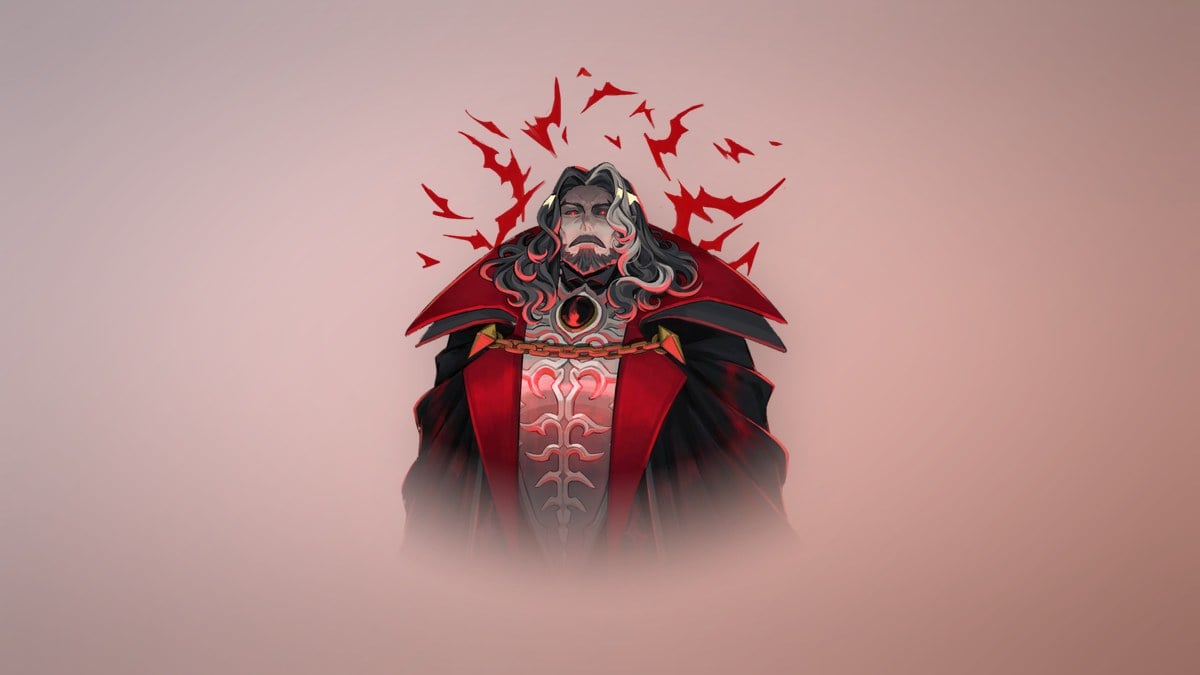
Your map objective for him is “FIND DRACULA AND DEFEAT HIM.” Every full Dracula fight has two phases. First you face him in his throne room, the Court of the Night. Then you fight his winged form on the Castle Rooftops in the Master’s Quarters, and that’s where your ending is decided. For the rematch, you reach the throne room through the Grand Staircase and the Throne Room Antechamber. Which ending you get depends on how you reach him:
- Bad ending: At the top of the Clock Tower, walk down the hallway past the Cursed Horologium. This gives you the Cursed’s Outfit.
- Normal ending: Disable the Cursed Horologium, then climb to the very top of the Clock Tower to find the Master’s Quarters.
- True ending: Complete The Warrior, The Whisperer, The Judge, and The Sage Tarot cards and bless their Arcanas. Then defeat The Cursed and use Absolution on Dracula after you beat him.
Belmont’s Curse bosses hit hard, and walking back to the arena after every death adds up. In the main menu, the Gameplay tab has damage sliders, plus an “Allow respawn in front of boss doors” option that skips the runback while keeping the fight itself unchanged.