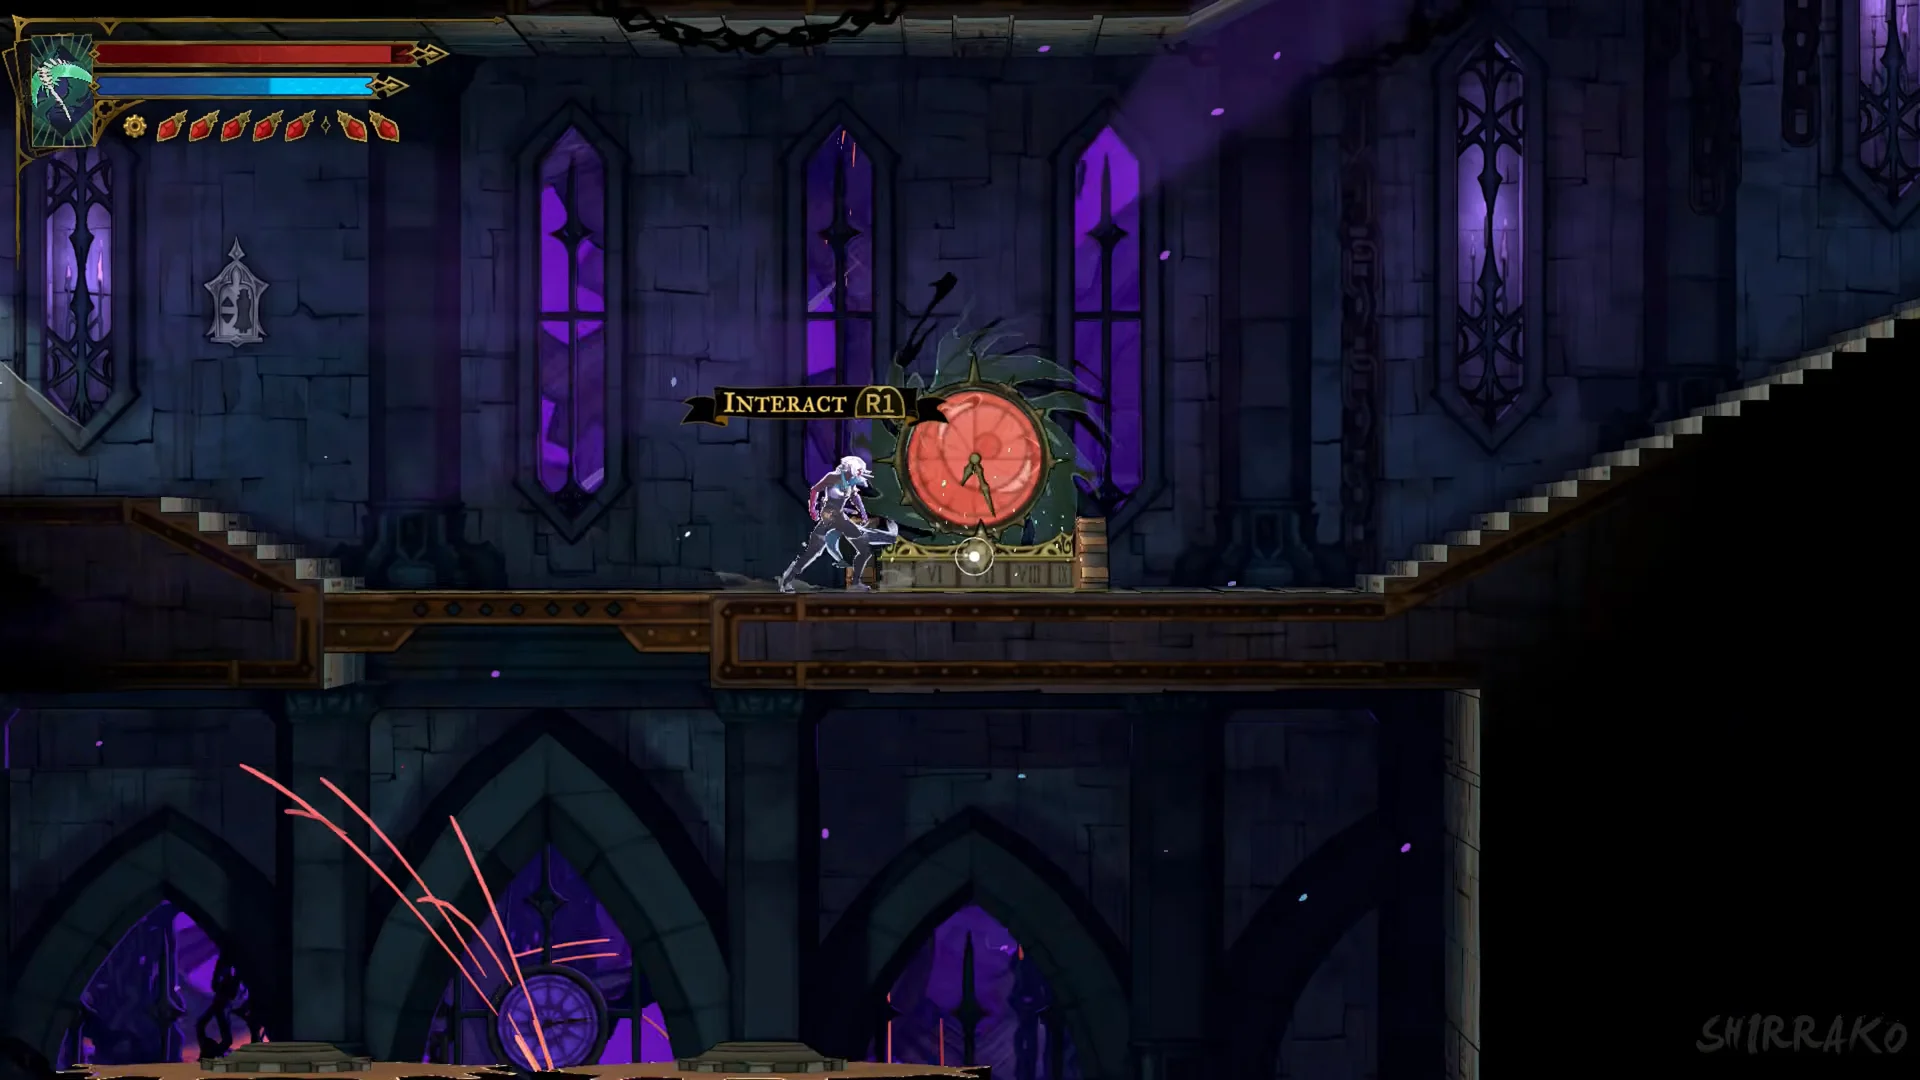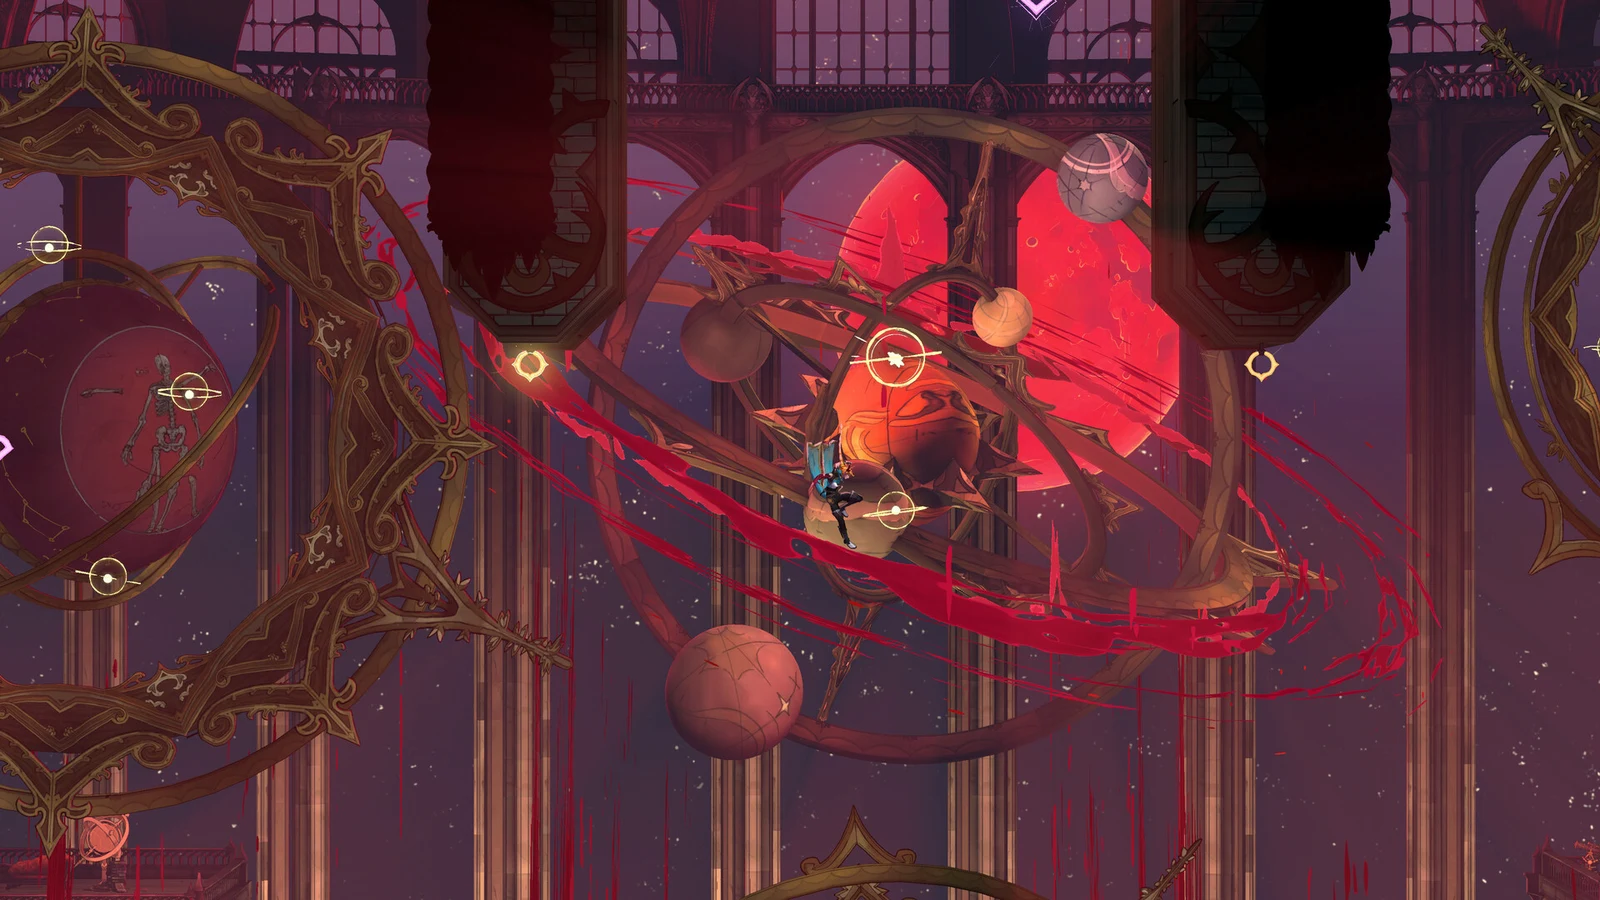
Red round clock switches sit in the Clock Tower rooms of Castlevania: Belmont’s Curse, and they are how you get past the moving machinery that fills the place. Each one slows the gears, saws, crushing blocks and collapsing stairs around it for a short window so you can run or jump through.
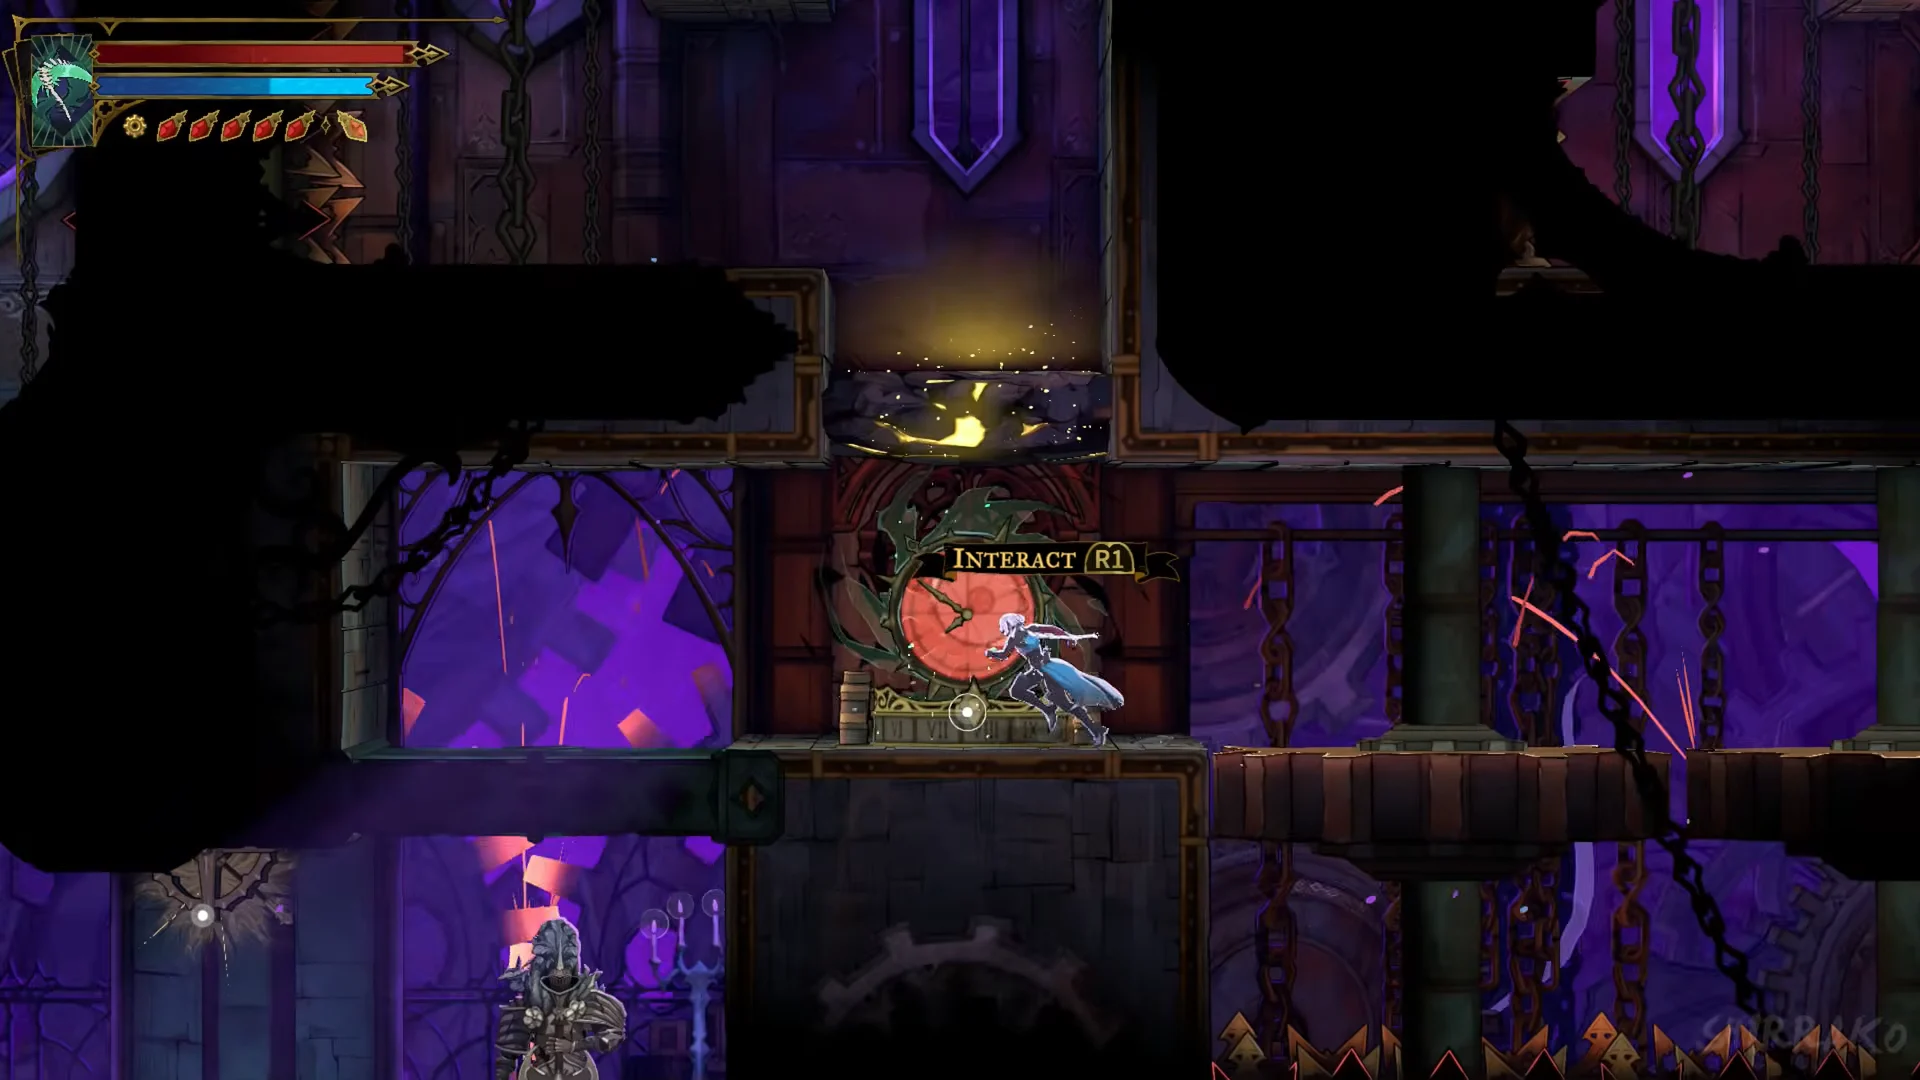
Quick answer: Walk up to a red clock switch, press R1 at the “INTERACT [R1]” prompt, and move straight away while the screen holds its green tint.
How the clock switches work
The switch is a red clock. Stand next to it and the prompt “INTERACT [R1]” appears. Press R1 and the screen takes on a green tint with a clock-face burst. That is your signal the effect is running.
The hazards are slowed, not stopped. Gears, saw blades, crushing blocks and the collapsing staircase keep moving, just slowly enough to pass. There is no timer or icon in the HUD while the effect lasts, so treat the green tint as a cue to move the moment you press.
A failed obstacle run puts you back beside the clock. Activate it and try again, with little ground to make up.
Entering the Clock Tower from the bridge
Start at Clock Tower Bridge. Use R1 on the large clock face mounted on the bridge; a green clock-shaped swirl appears. This opens the tower, so activate the face before entering.
Clock Tower rooms with clock switches
Inside the tower, the clock switches turn up in order through these rooms: Clock Keeper’s Atrium, Bridge of Haste, Eastern Runway, The Gauntlet and Steps of Time.
Clock Keeper’s Atrium
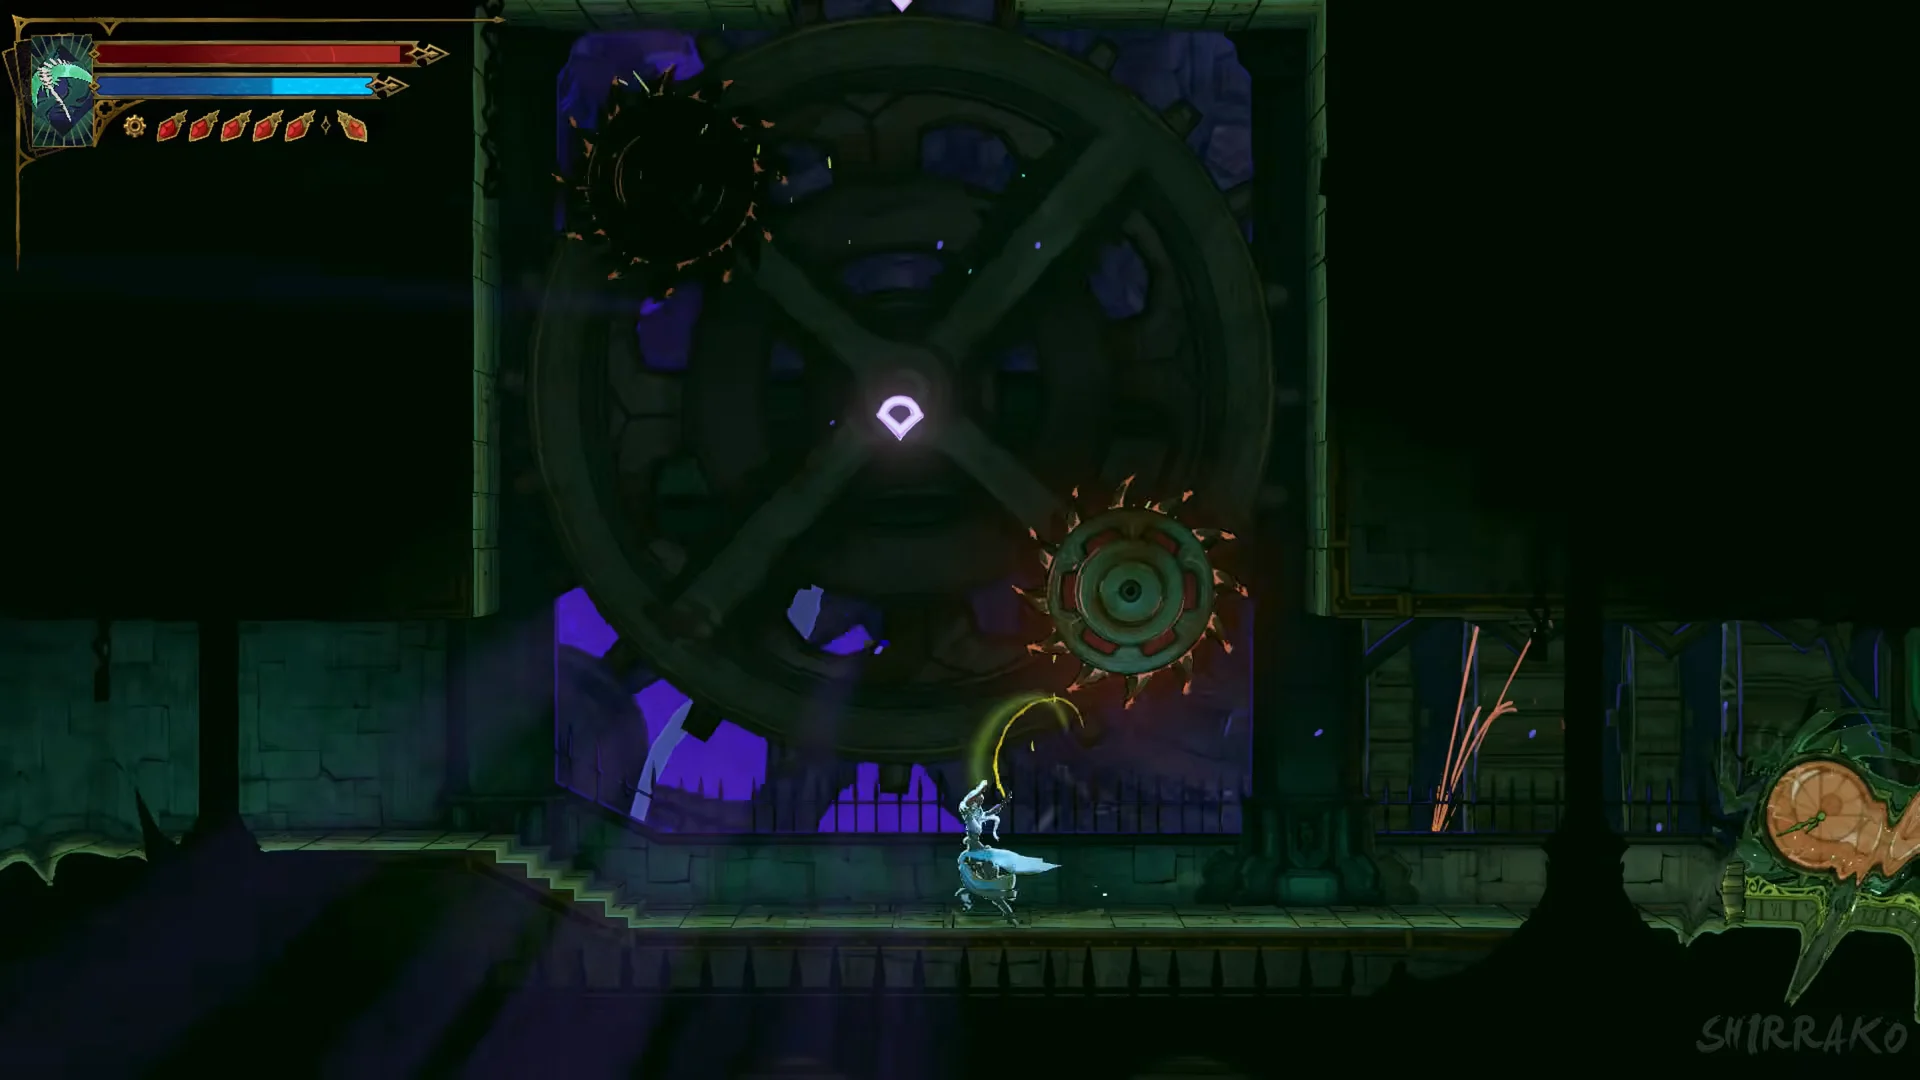
Massive gears fill the chamber, with spinning saw blades circling them. Near the entrance, use the red clock switch marked “INTERACT [R1]”. Cross once the gears slow down. The exit is high on the right; reach it with the yellow grapple anchors.
Bridge of Haste
Conveyor floors and travelling saws run through this stretch, with skeleton archers and an armoured knight in the way. Keep moving across the belts and deal with the enemies as you go.
Eastern Runway
Heavy stone blocks crush their way down a tall shaft, blocking the climb. Activate the red clock and scale the slowed blocks. At the shaft’s exit, use the second clock to slow the pillars on the floor below, then run left beneath them. Mistime the crossing and you’ll be crushed and sent back to the clock.
The Gauntlet
Spiked blocks and platforms move through this room, enclosed by spiked barriers beneath a spiked ceiling. Use the red clock switch marked “INTERACT [R1]” to slow the blocks, and stay on the platforms as you cross. Ahead, a hallway lined with spinning saw blades takes you to a pedestal on the right.
Steps of Time
The long staircase breaks apart as you climb. At its base, activate the red clock with R1; the screen turns green. Run east to the exit before the stairs give way.