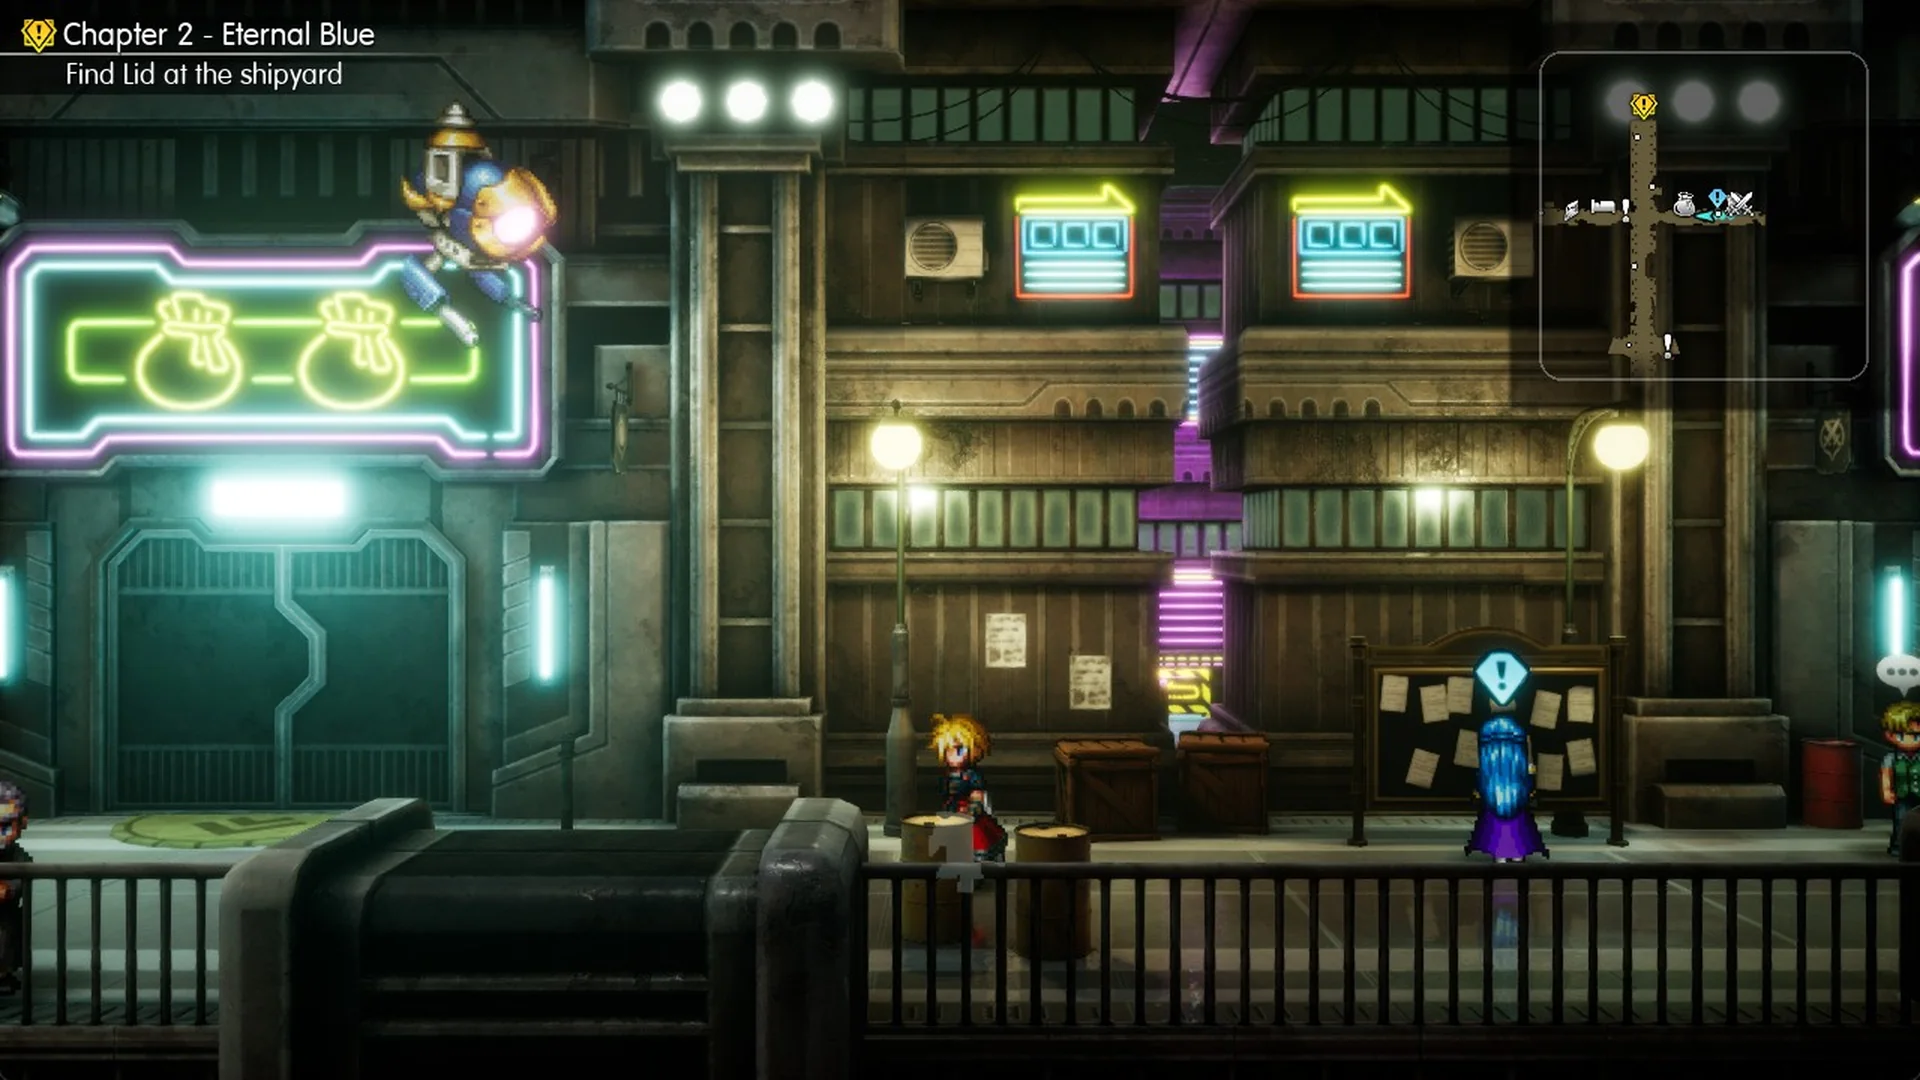
Final Fantasy Resonance’s Chapter 2, “Eternal Blue”, begins in Dirnado on the Continent of Wind. Your first task is “Go to Dilmagia, the machinopolis”. Dilmagia is laid out along a single road stretching north from the south gate. At the crossroads, one path leads west and another east; the shipyard is at the northern end. The weapon and armor shop and the item shop are both on the east branch, and there is no save point in town. Your first story task is to speak with locals around town, then meet Lid. Rain, Lasswell and Fina arrive at about Lv.14 on NORMAL, carrying around 14,500 Gil—enough for most of the stock.
Quick answer: Dilmagia’s weapon and armor shop and its item shop are both on the east branch. The armor clerk sells the Engineer’s Jacket (1,200 Gil), Iron Armor (1,080) and the White Dress (1,320); the weapon clerk sells the Knight’s Blade (1,800) for Rain, the Samurai’s Katana (2,200) for Lasswell and the Composite Bow (2,000) for Fina; the item shop has 12 items from Potion (100) to Mist Ether (2,500), including Earth Scroll I (1,000) with only 3 in stock. There is no save point in town: save on the World Map just outside the south gate. To move the story on, talk to the three marked townspeople, then find Lid at the shipyard; she joins and the objective becomes “Cross over Mt. Thunderclap”.
| Shop | Item | Price (Gil) | What it does / stats |
|---|---|---|---|
| Armor | Engineer’s Jacket | 1,200 | Light armor. Phys. Def 48, Mag. Def 41 |
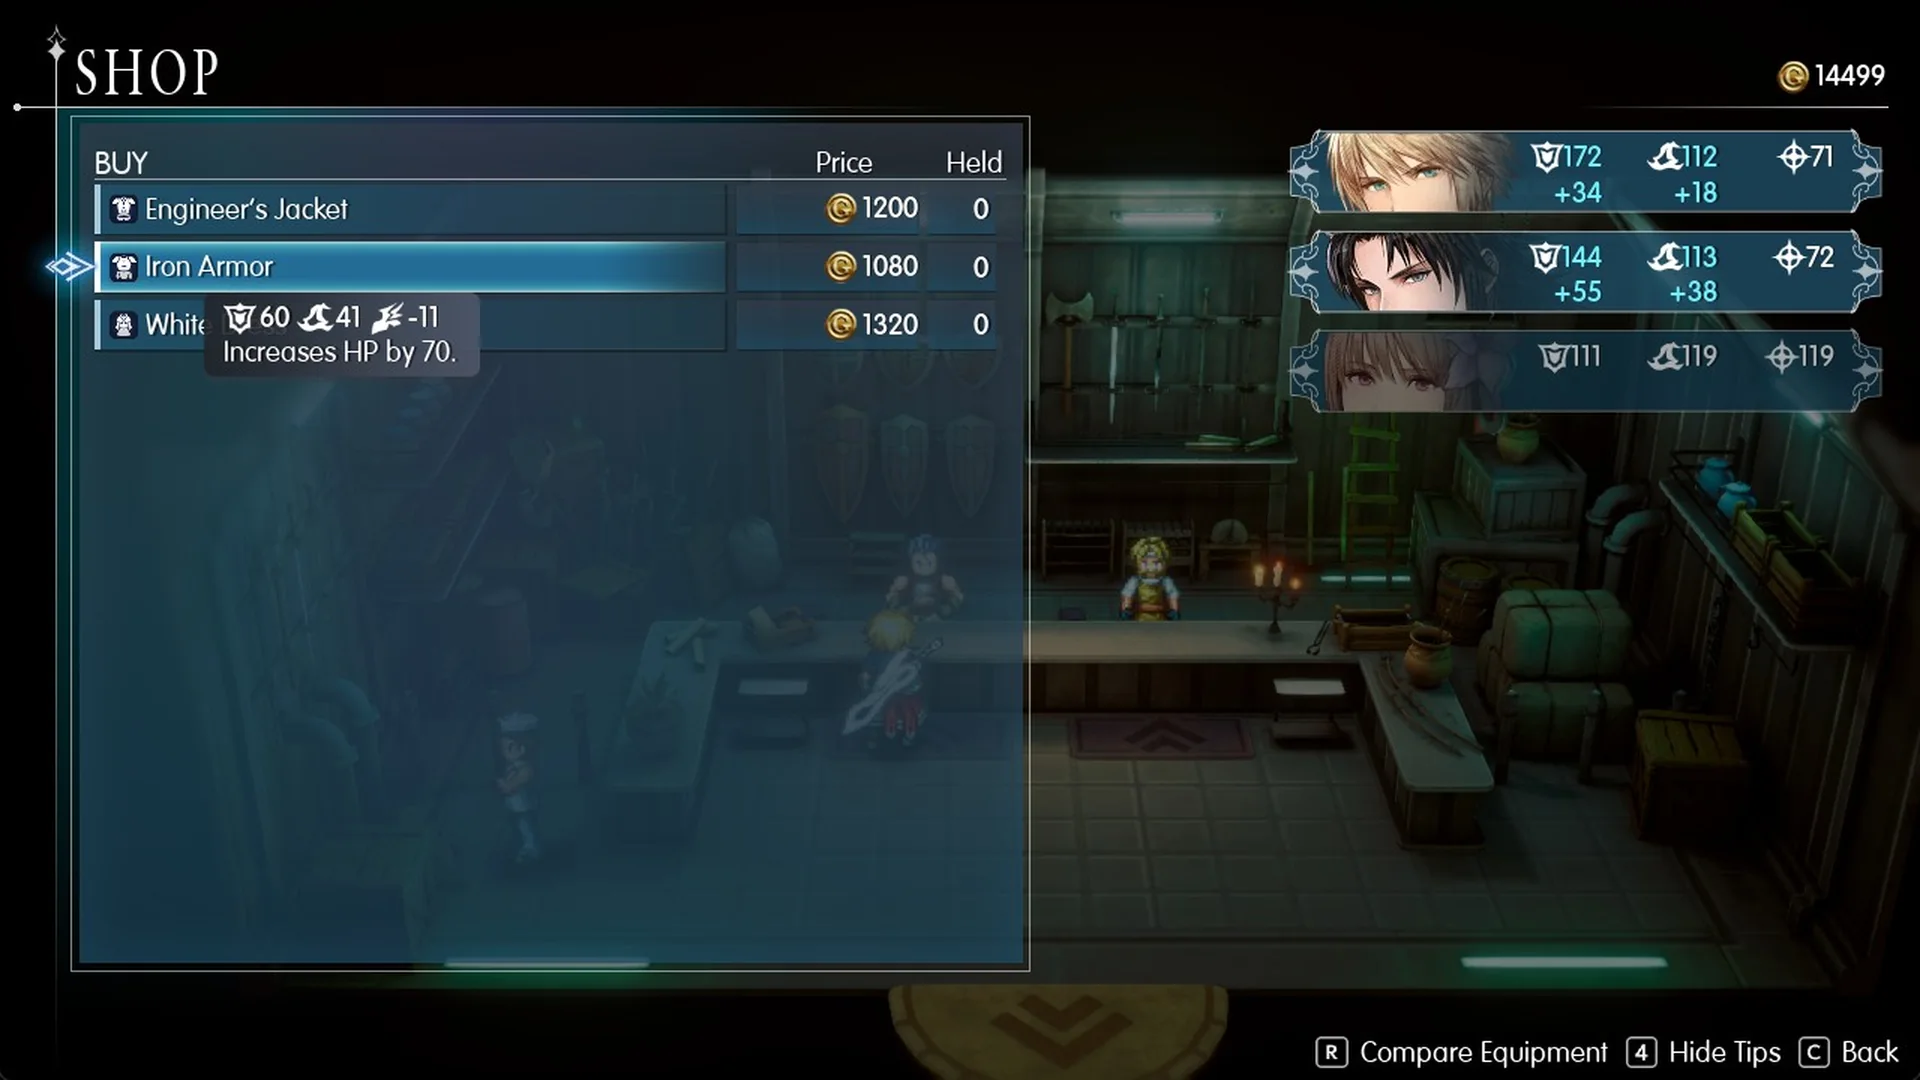
| Armor | Iron Armor | 1,080 | Heavy armor. Phys. Def 60, Mag. Def 41, Speed -11, “Increases HP by 70.” |
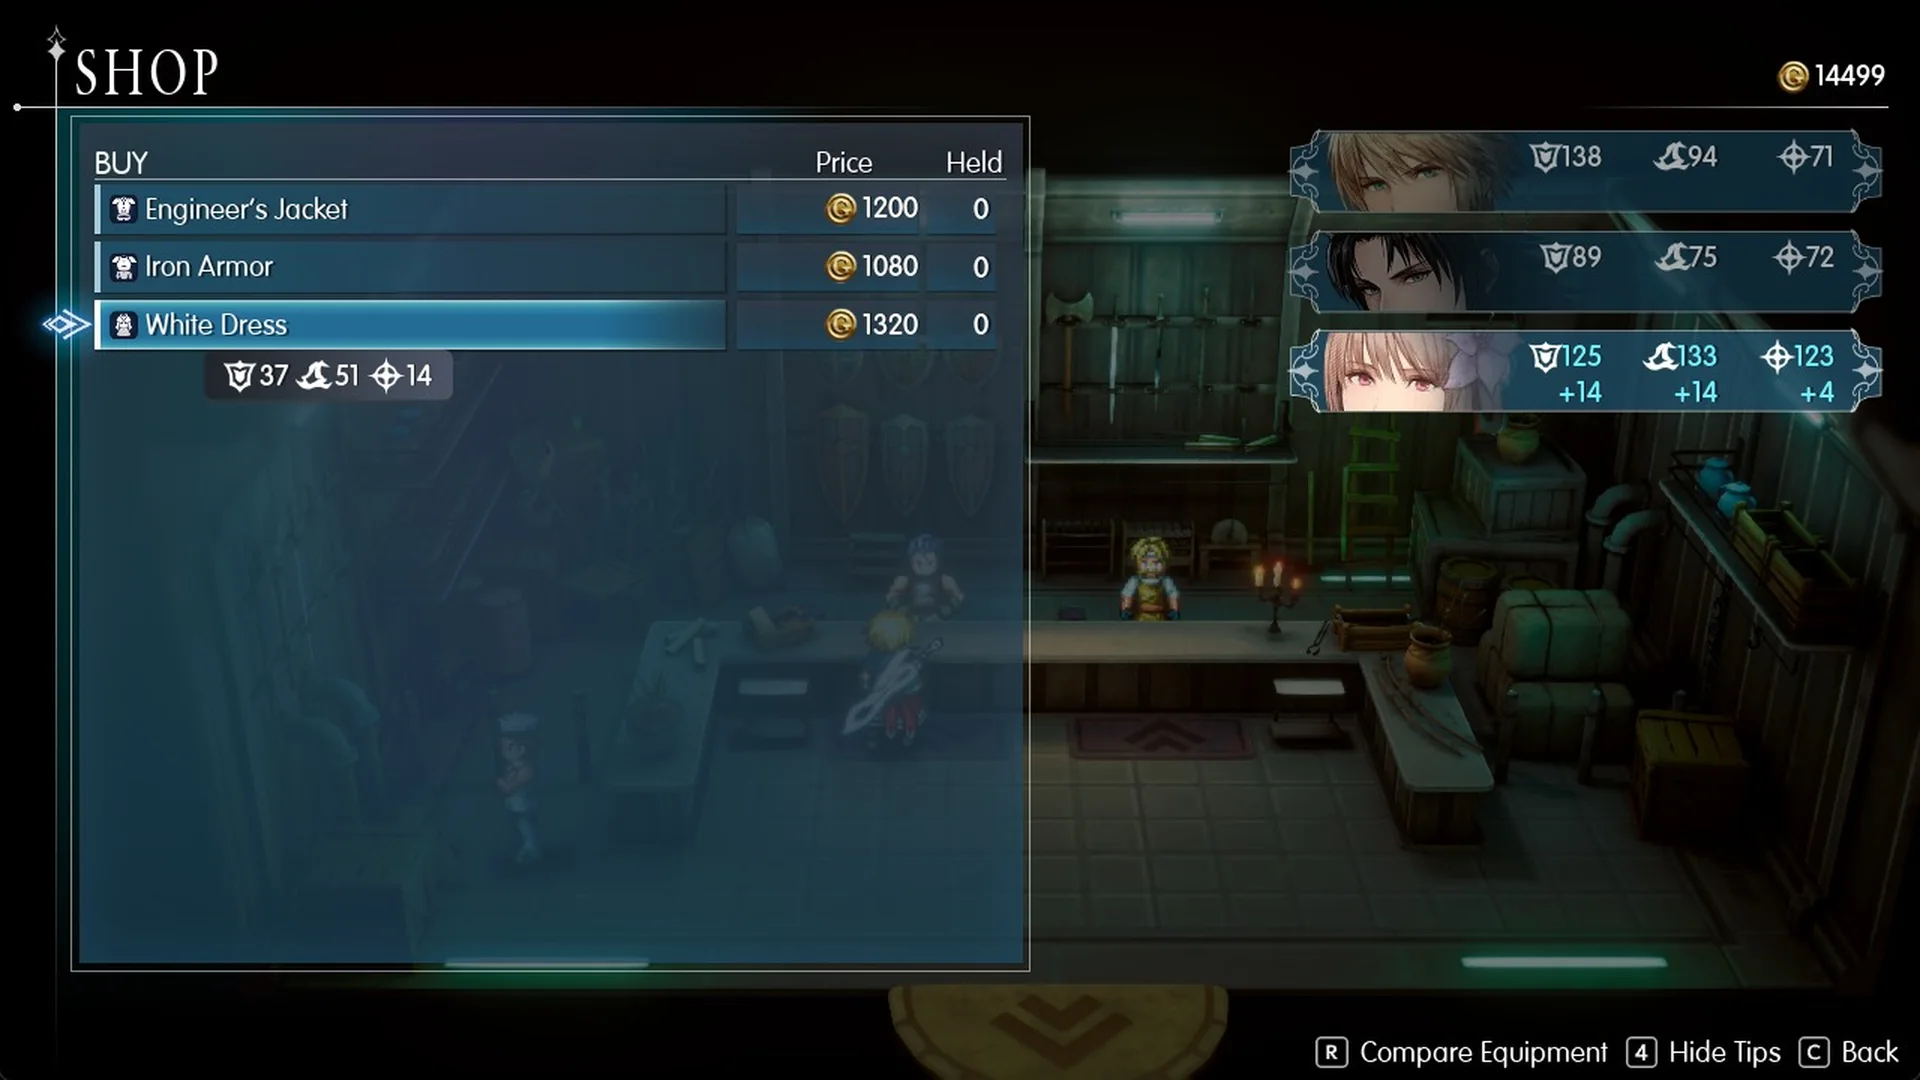
| Armor | White Dress | 1,320 | Robe. Phys. Def 37, Mag. Def 51, Sanctity 14 |
| Weapon | Knight’s Blade | 1,800 | Greatsword (Rain). Phys. Atk 43, Mag. Atk 21 |
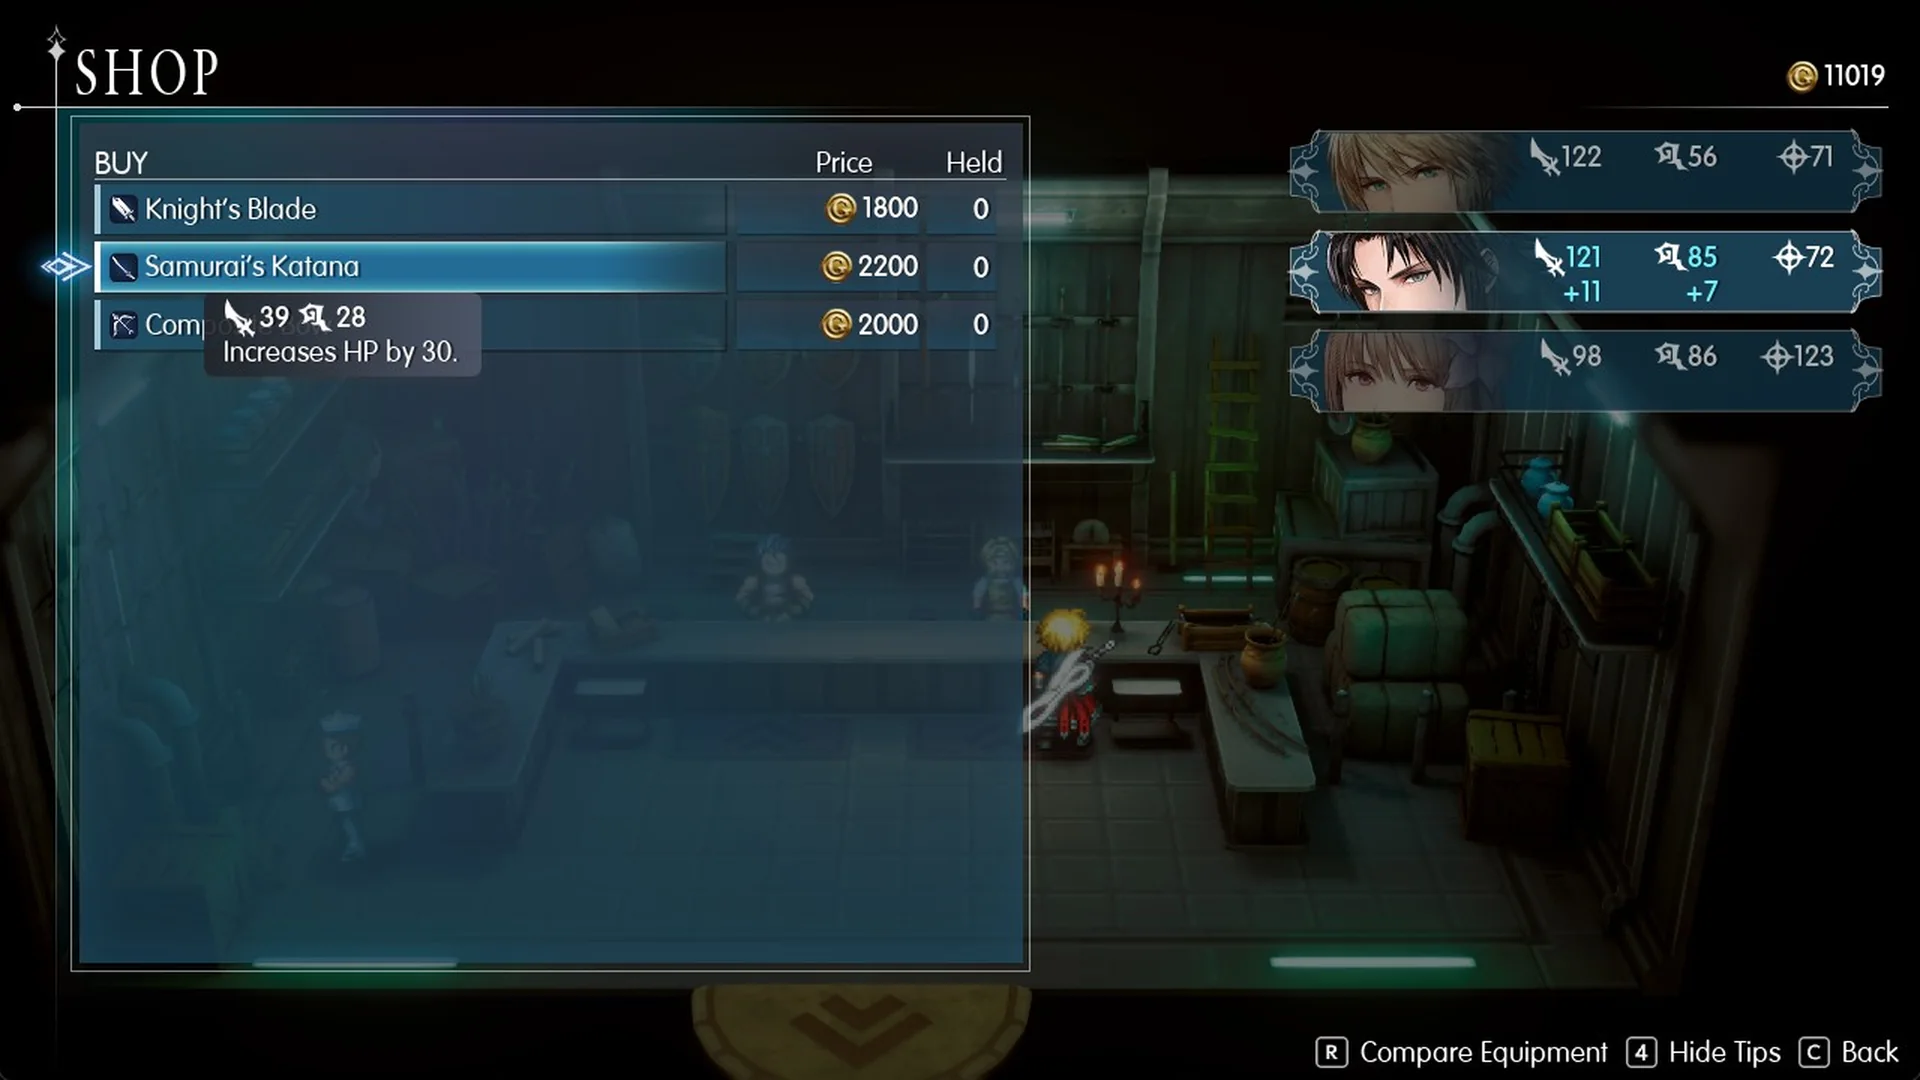
| Weapon | Samurai’s Katana | 2,200 | Katana (Lasswell). Phys. Atk 39, Mag. Atk 28, “Increases HP by 30.” |
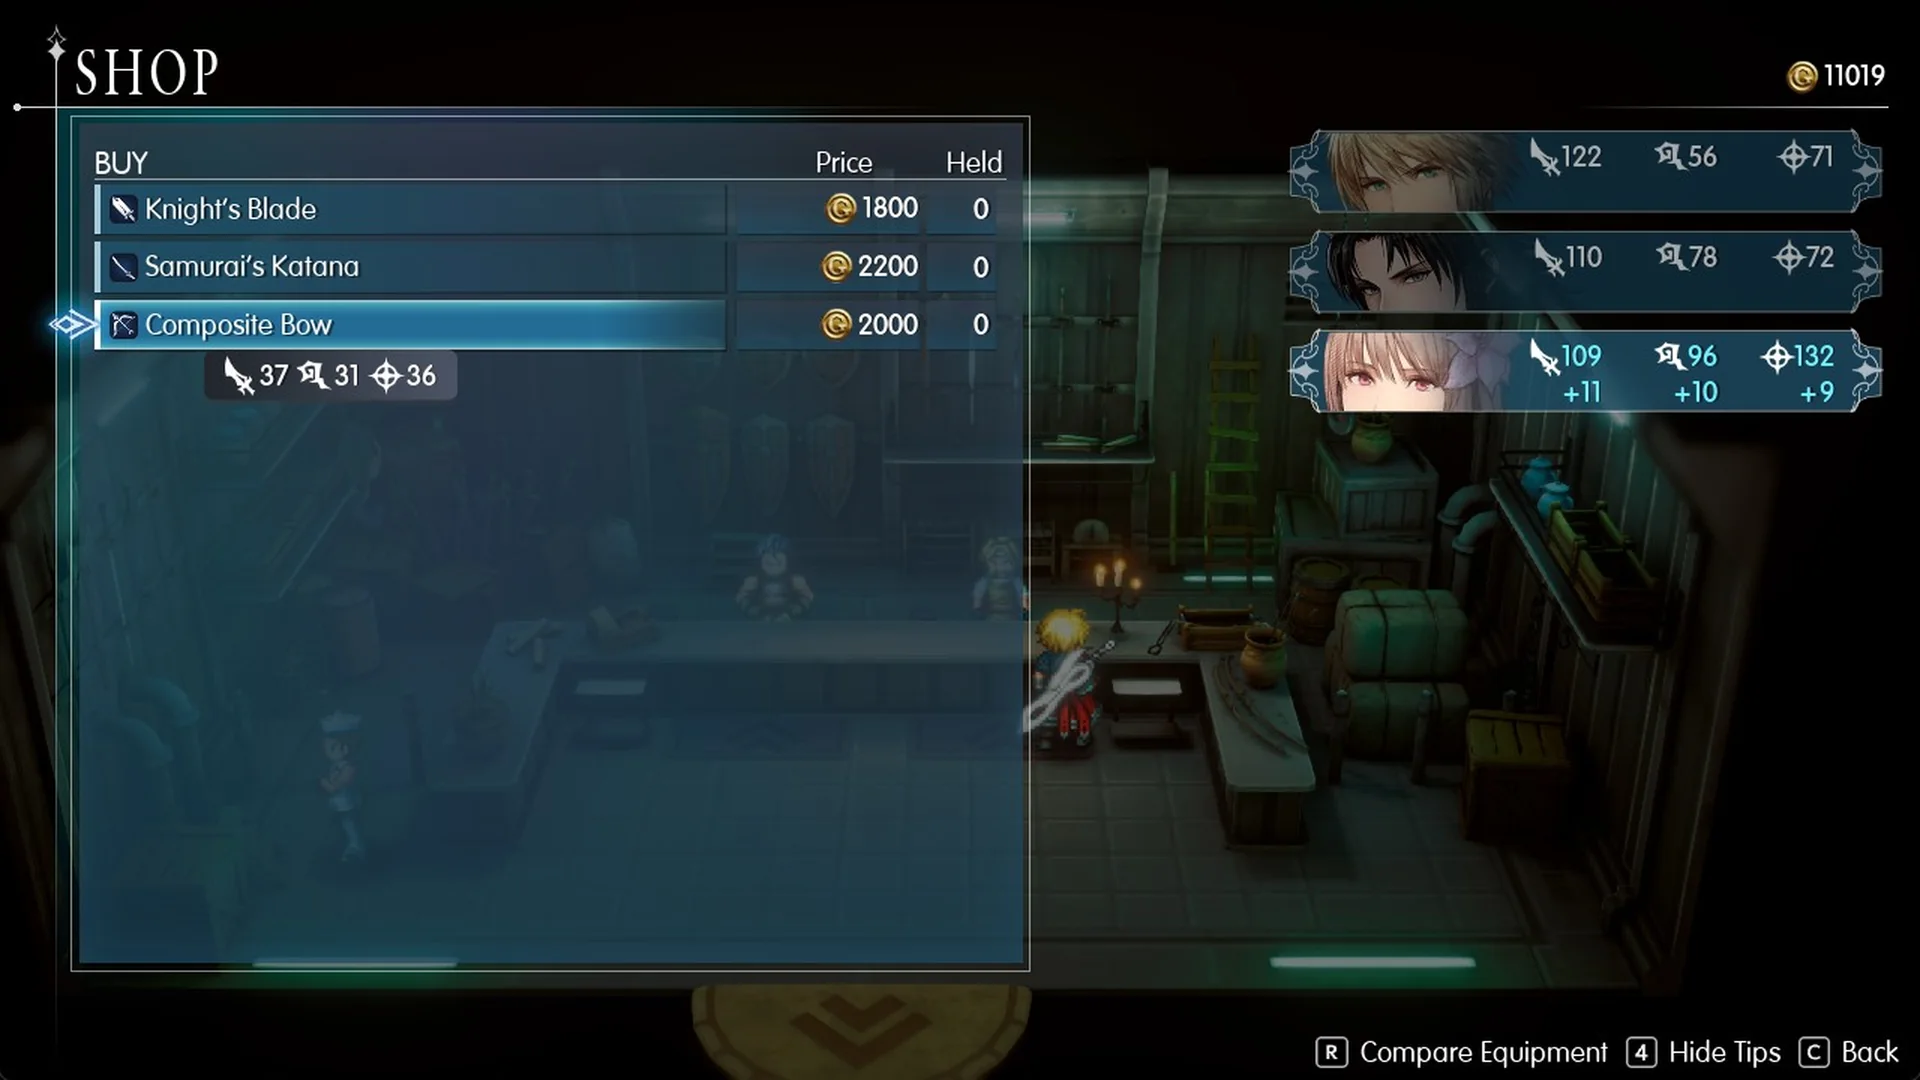
| Weapon | Composite Bow | 2,000 | Bow (Fina). Phys. Atk 37, Mag. Atk 31, Sanctity 36 |
| Item | Potion | 100 | “Restores 200 HP.” |
| Item | Mist Potion | 500 | “Restores 200 HP for all allies.” |
| Item | Ether | 500 | “Restores 50 MP.” |
| Item | Mist Ether | 2,500 | “Restores 50 MP for all allies.” |
| Item | Phoenix Down | 200 | “Revives a KO’d ally with 25% HP.” |
| Item | Antidote Herb | 100 | “Cures Poison.” |
| Item | Unicorn Horn | 500 | “Cures Paralysis.” |
| Item | Smoke Bomb | 300 | “Allows the party to flee from escapable battles.” (Remaining: 3) |
| Item | Tent | 300 | “Completely restores HP and MP when used at a save point or on the field map.” |
| Item | Knife of Blind | 1,000 | “Deals physical damage to a single enemy and inflicts Blind. Power increases when thrown.” (Remaining: 5) |
| Item | Knife of Silence | 1,000 | “Deals physical damage to a single enemy and inflicts Silence. Power increases when thrown.” (Remaining: 5) |
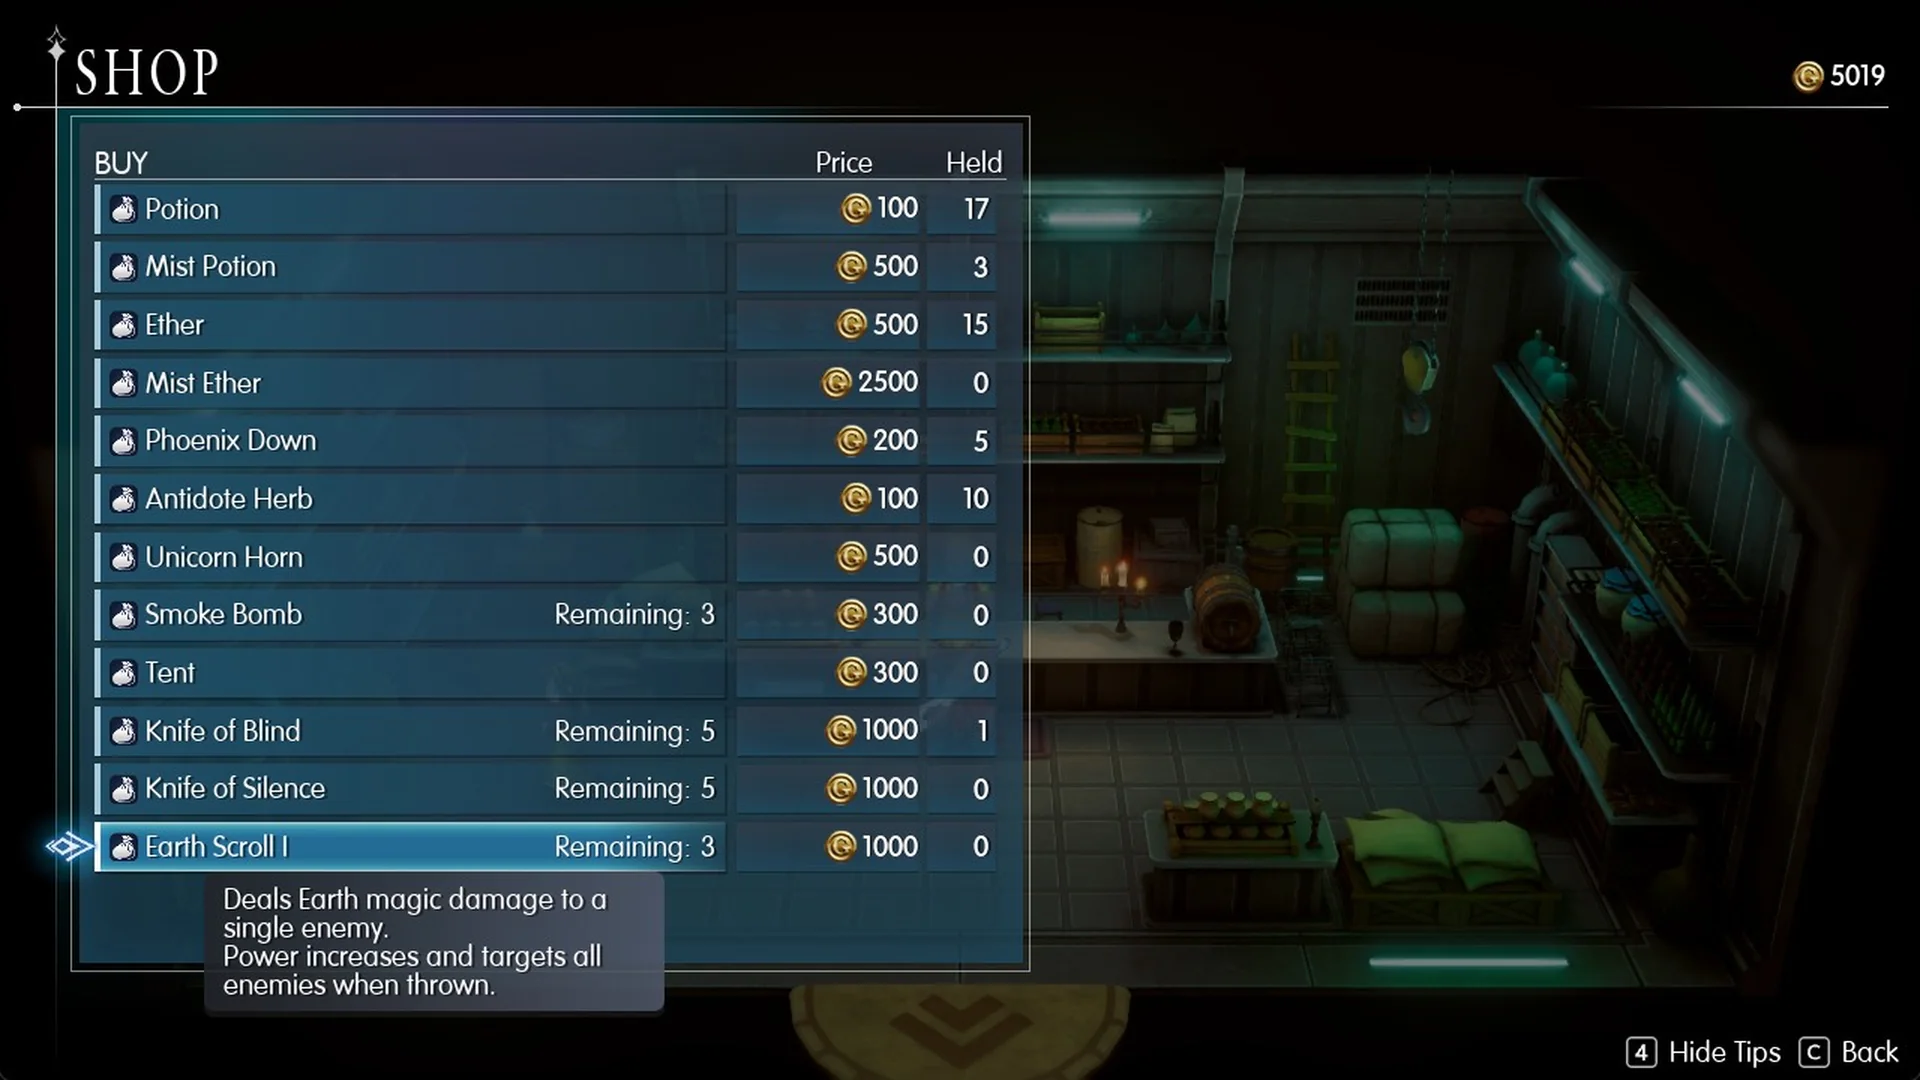
| Item | Earth Scroll I | 1,000 | “Deals Earth magic damage to a single enemy. Power increases and targets all enemies when thrown.” (Remaining: 3) |
Arriving in Dilmagia and where to save
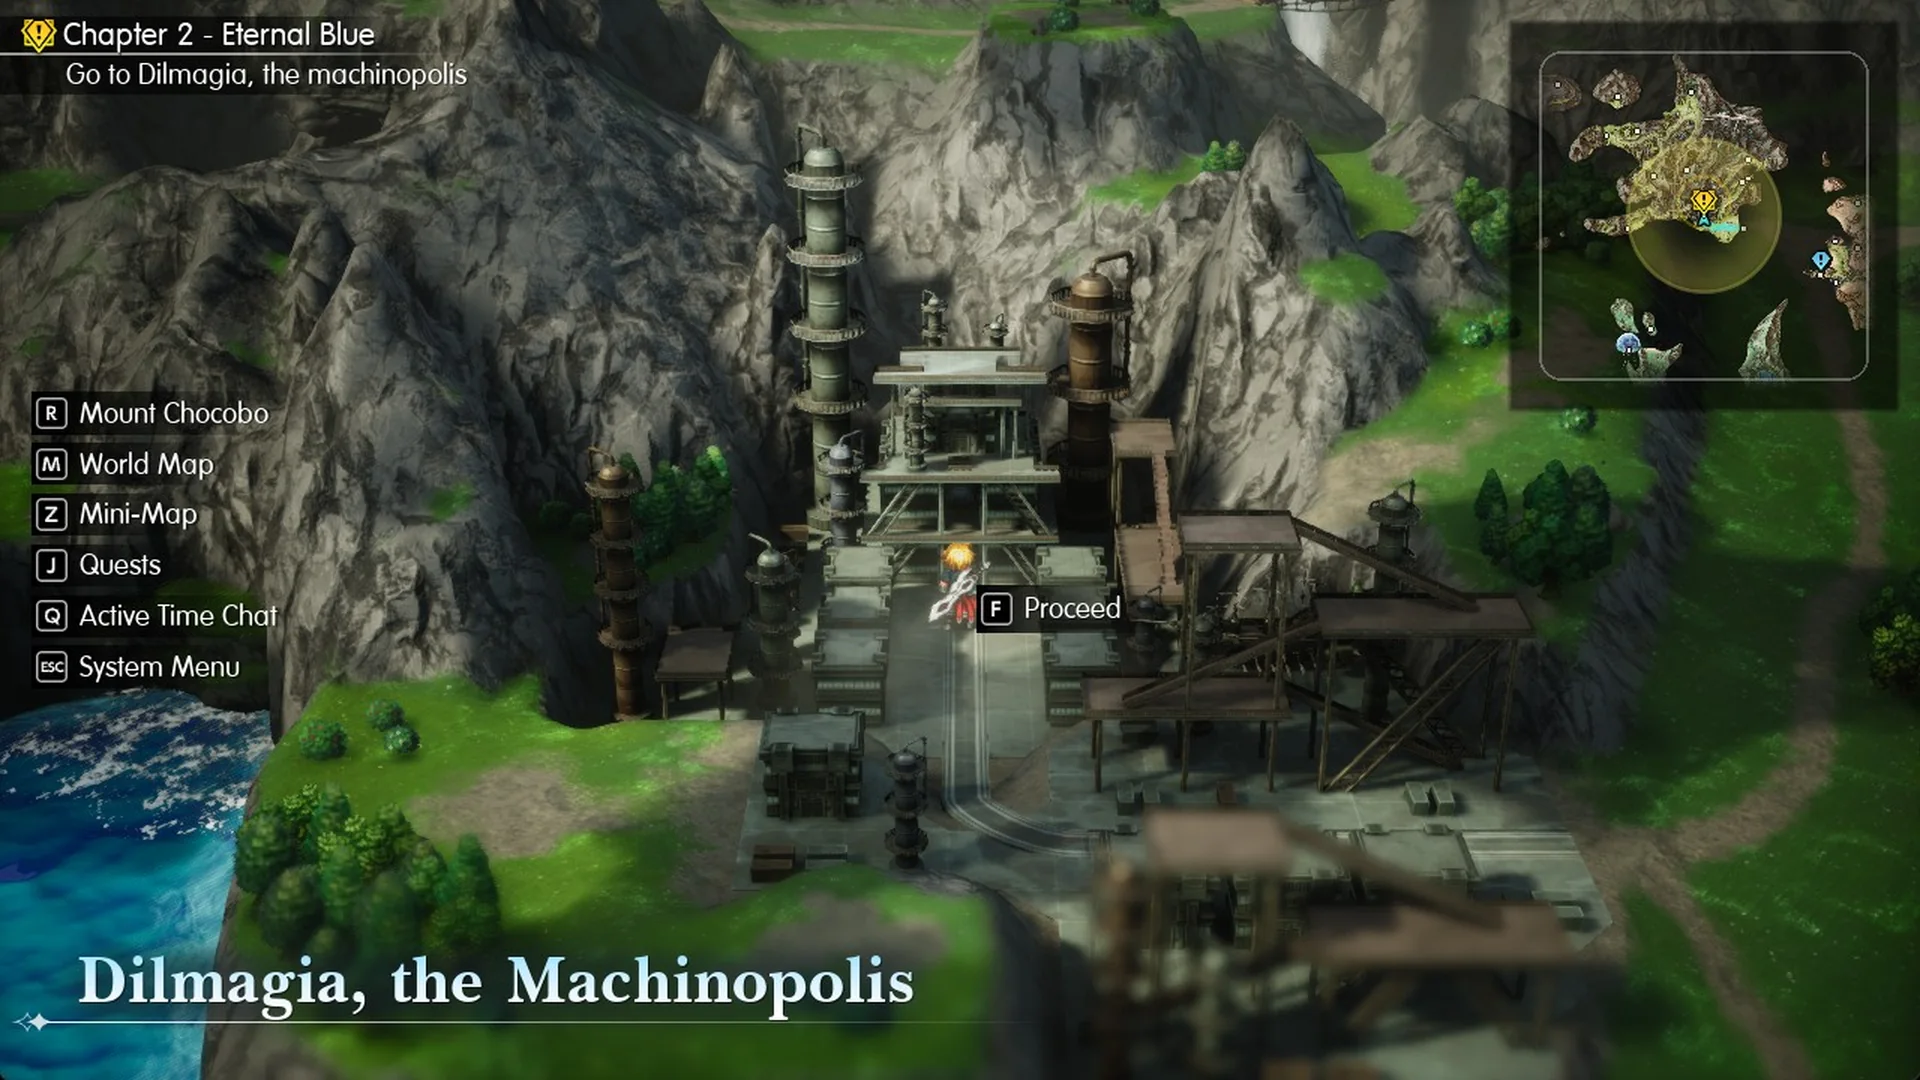
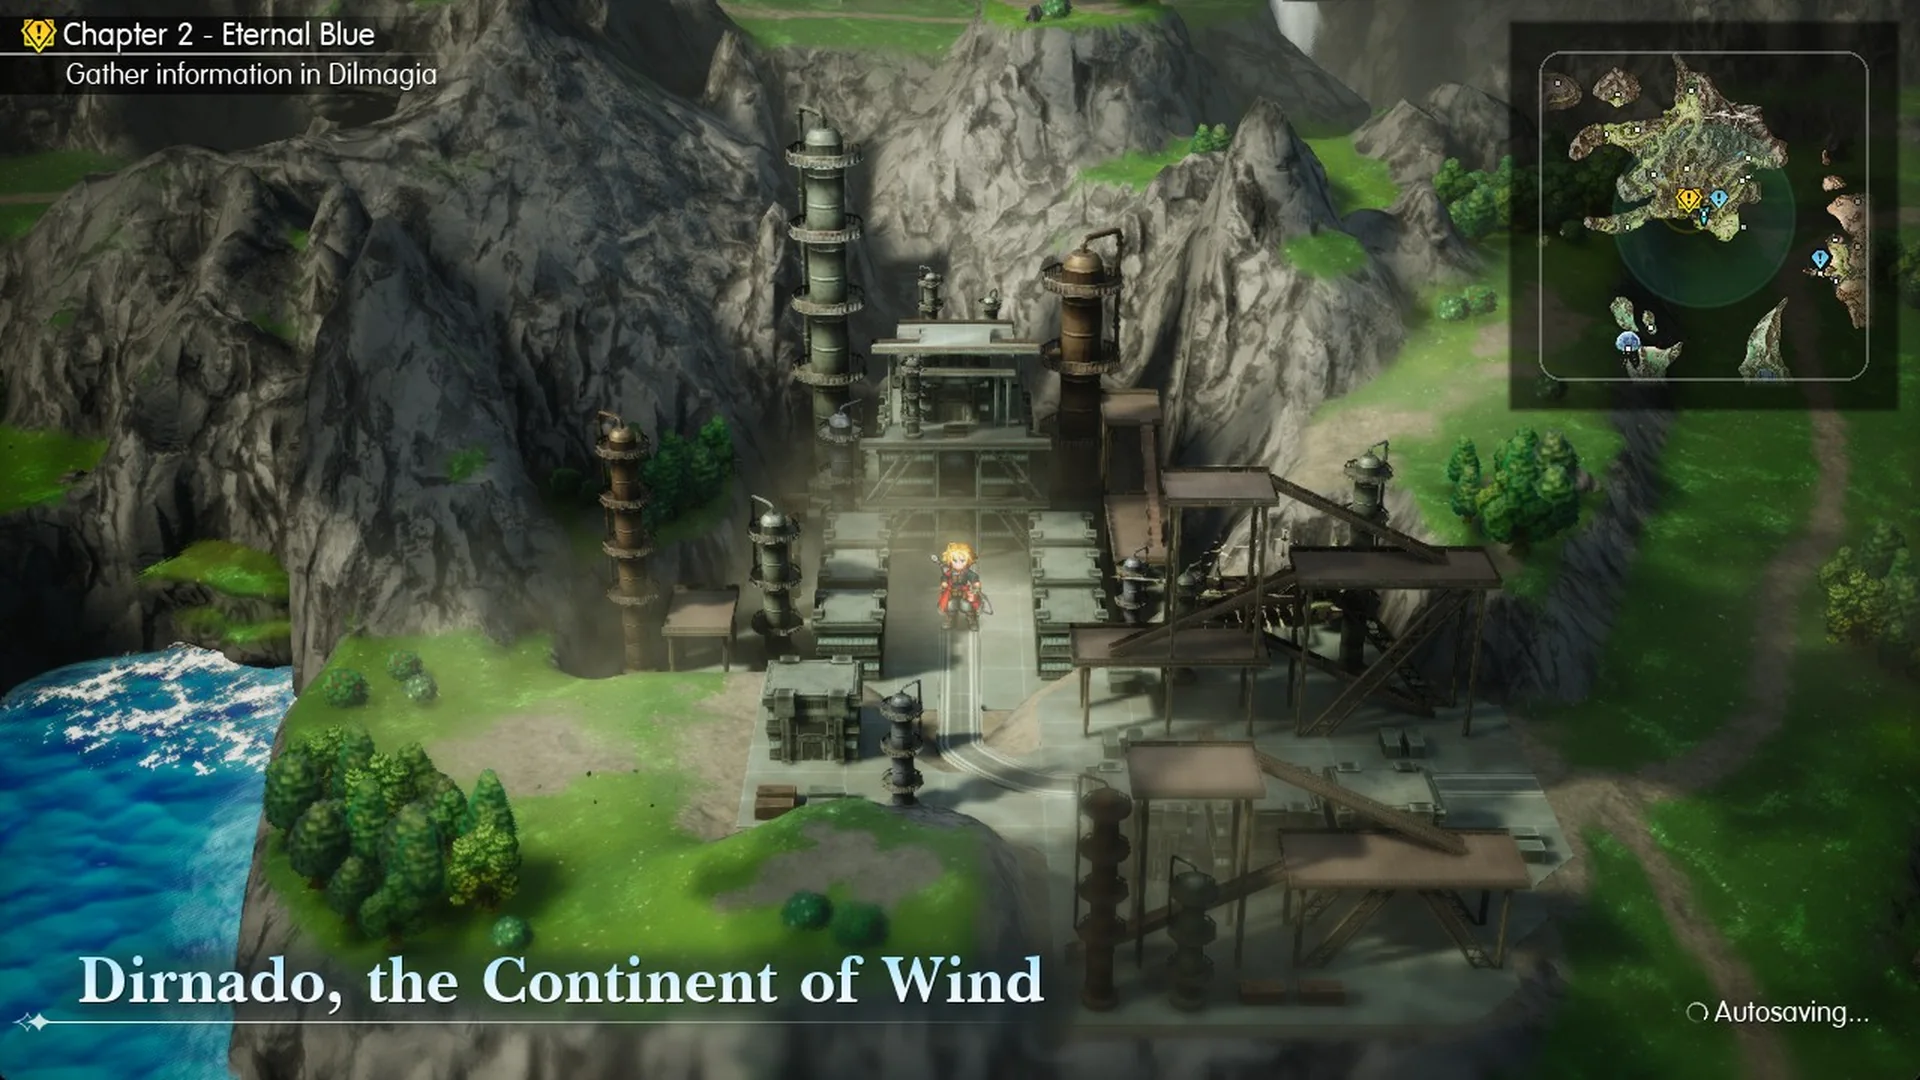
On the Dirnado World Map, walk up to the town model. The banner “Dilmagia, the Machinopolis” appears with an “F Proceed” prompt. Press F to enter.
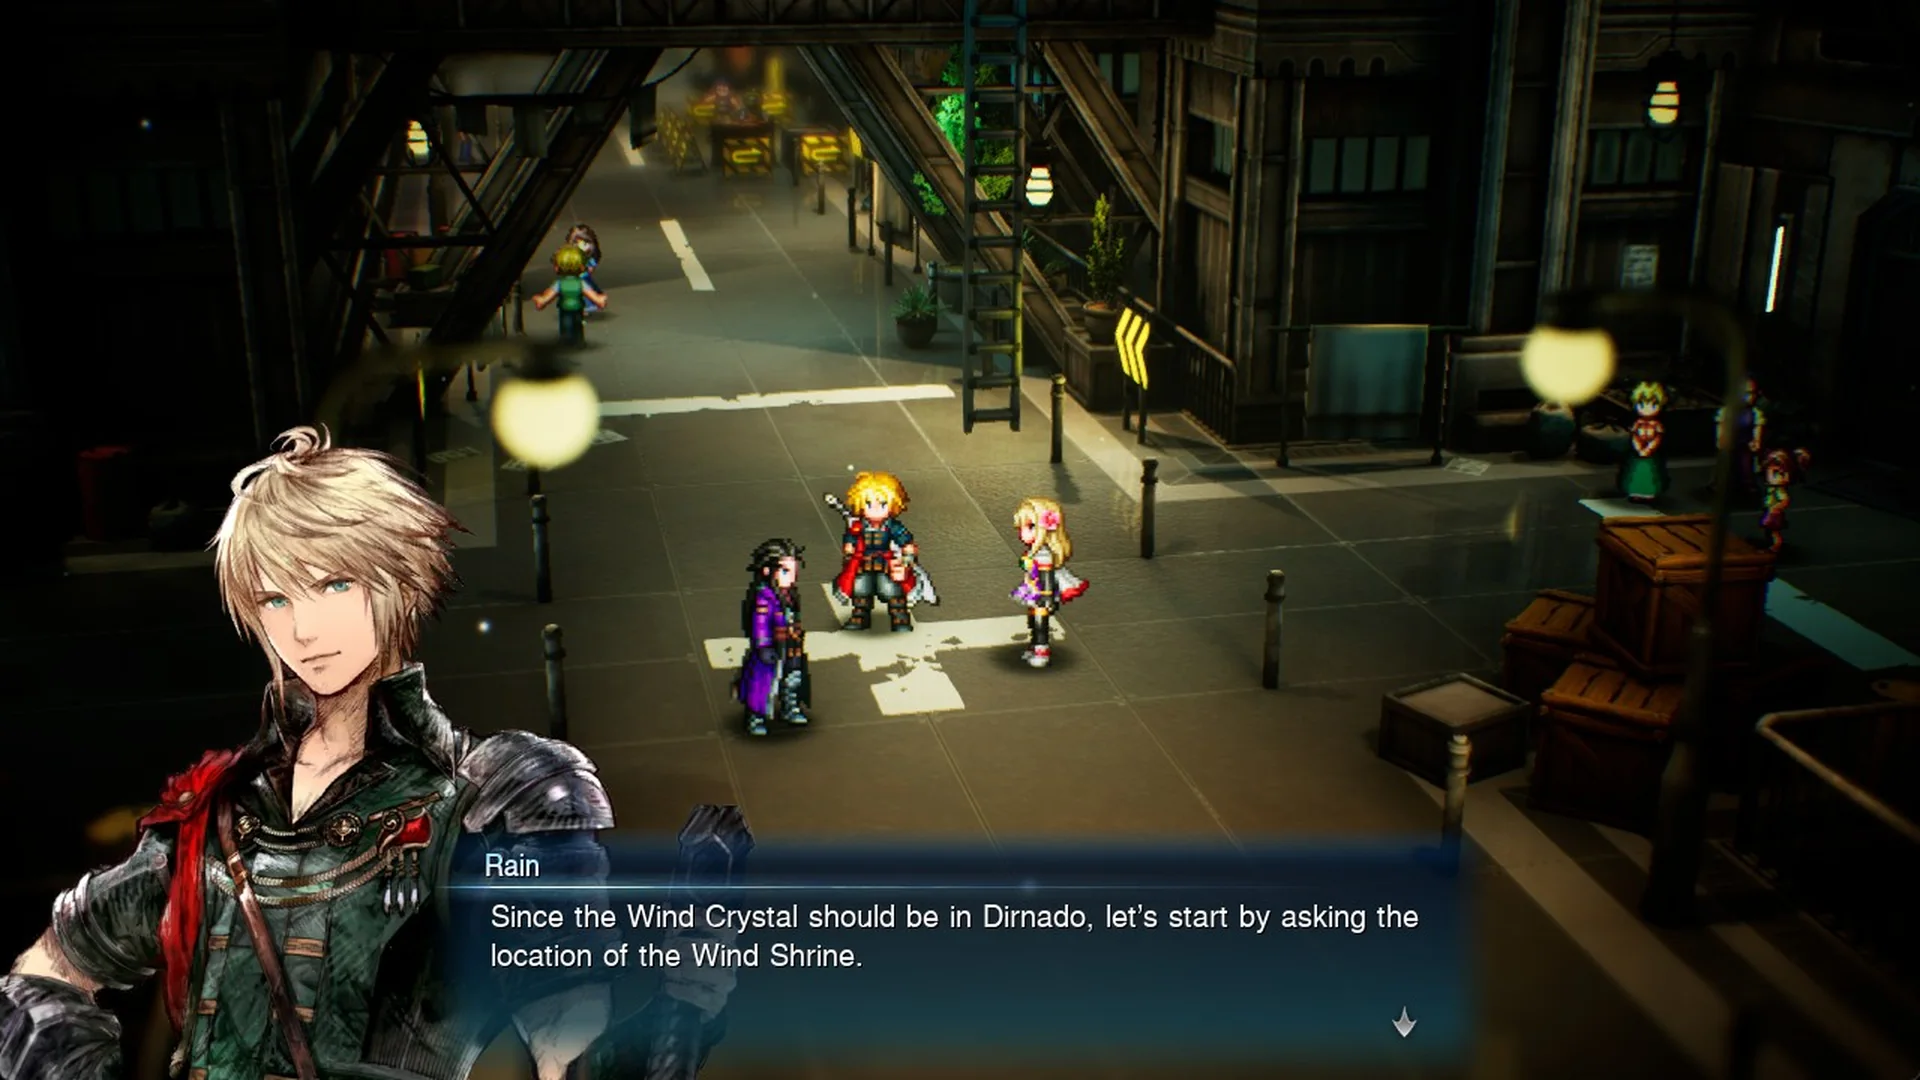
A short scene plays on arrival. Lasswell notes, “The airships and other machines are powered by crystals.” Rain follows with “Since the Wind Crystal should be in Dirnado, let’s start by asking the location of the Wind Shrine.” The party splits up, and the objective changes to “Gather information in Dilmagia”.
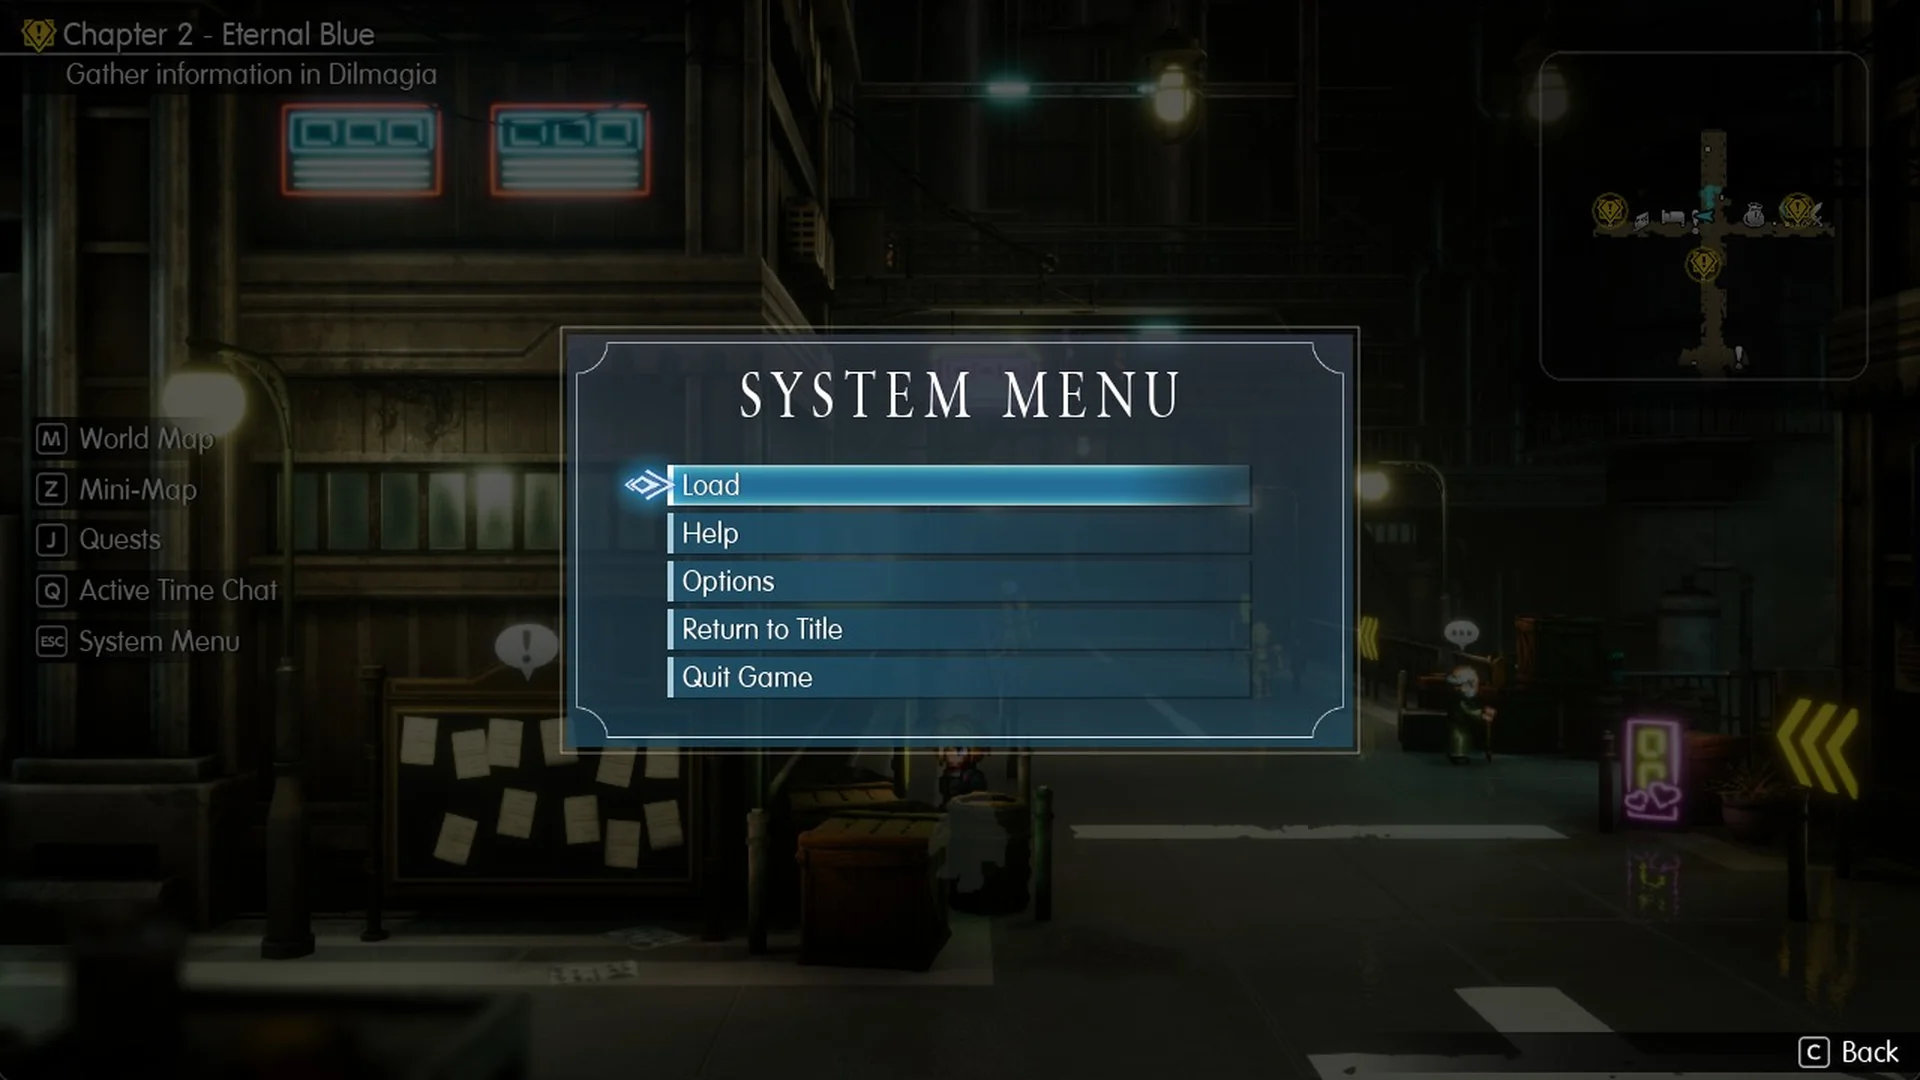
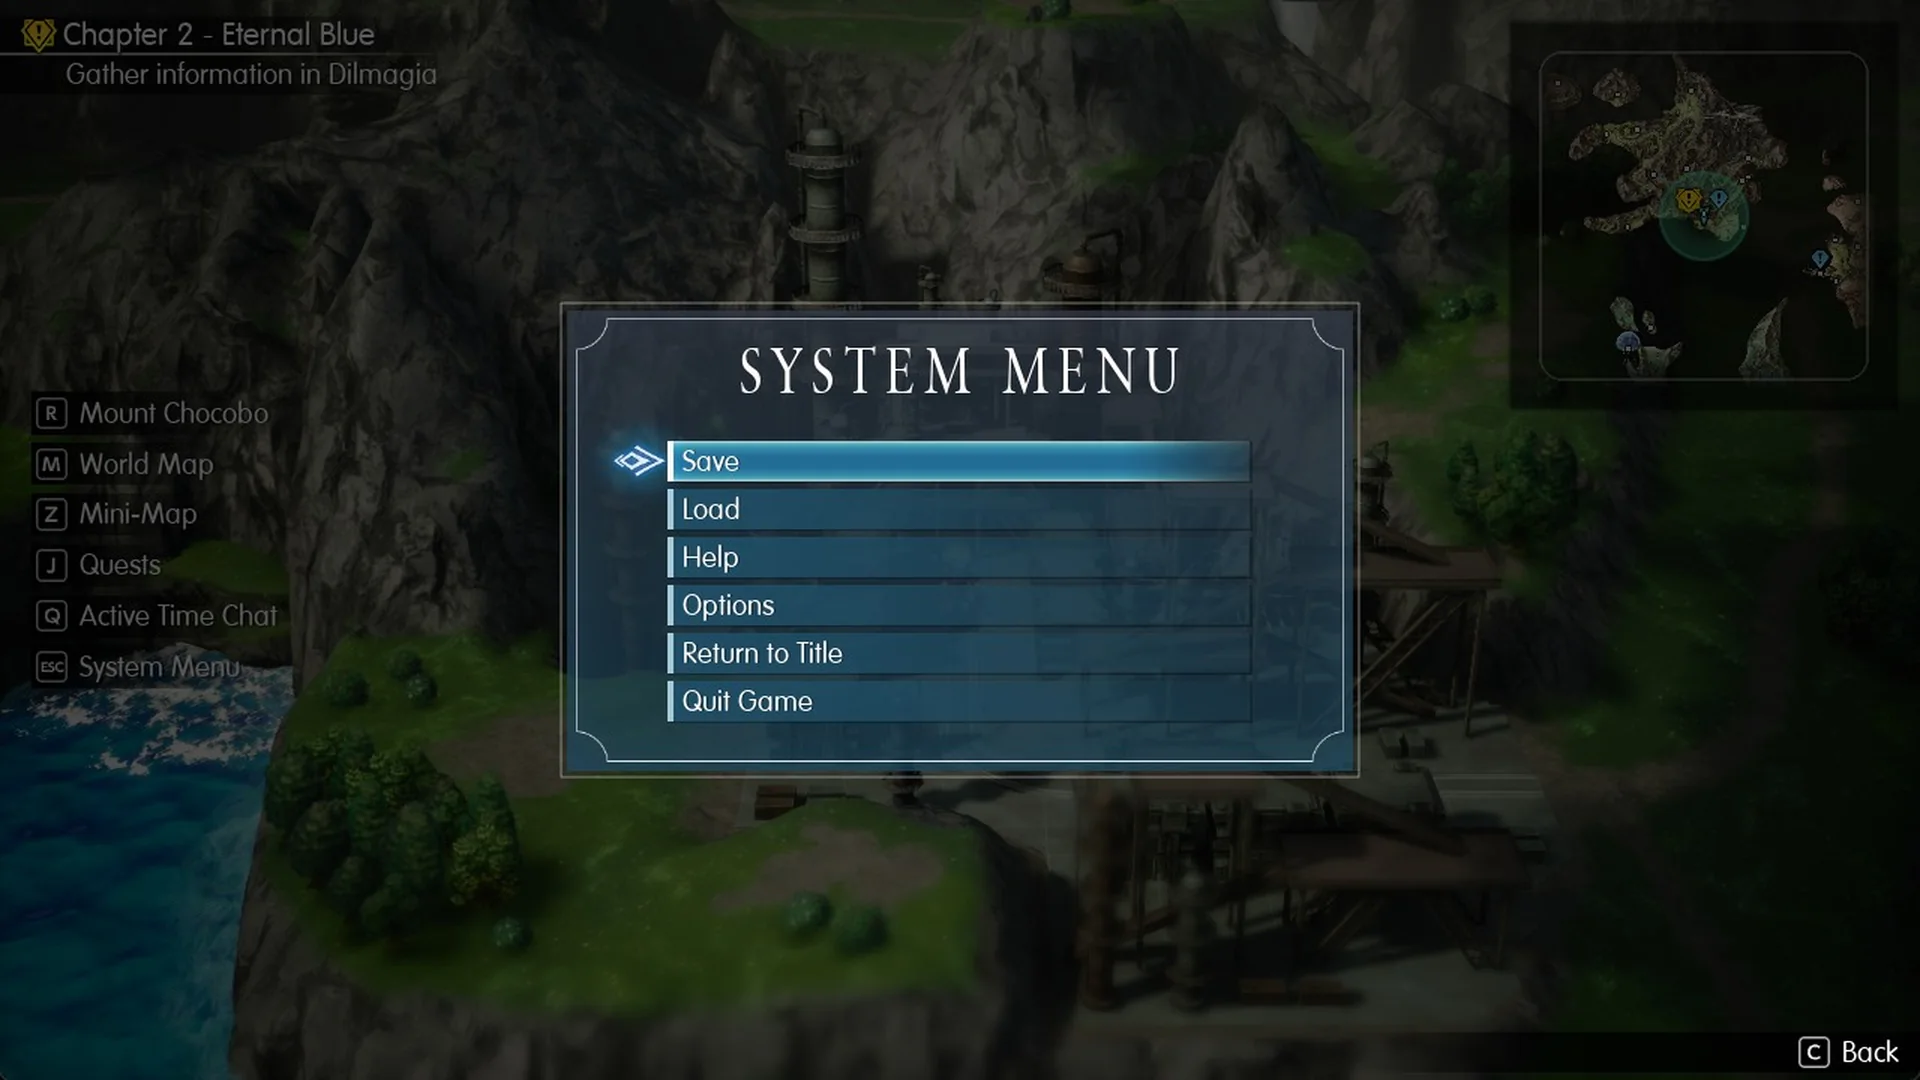
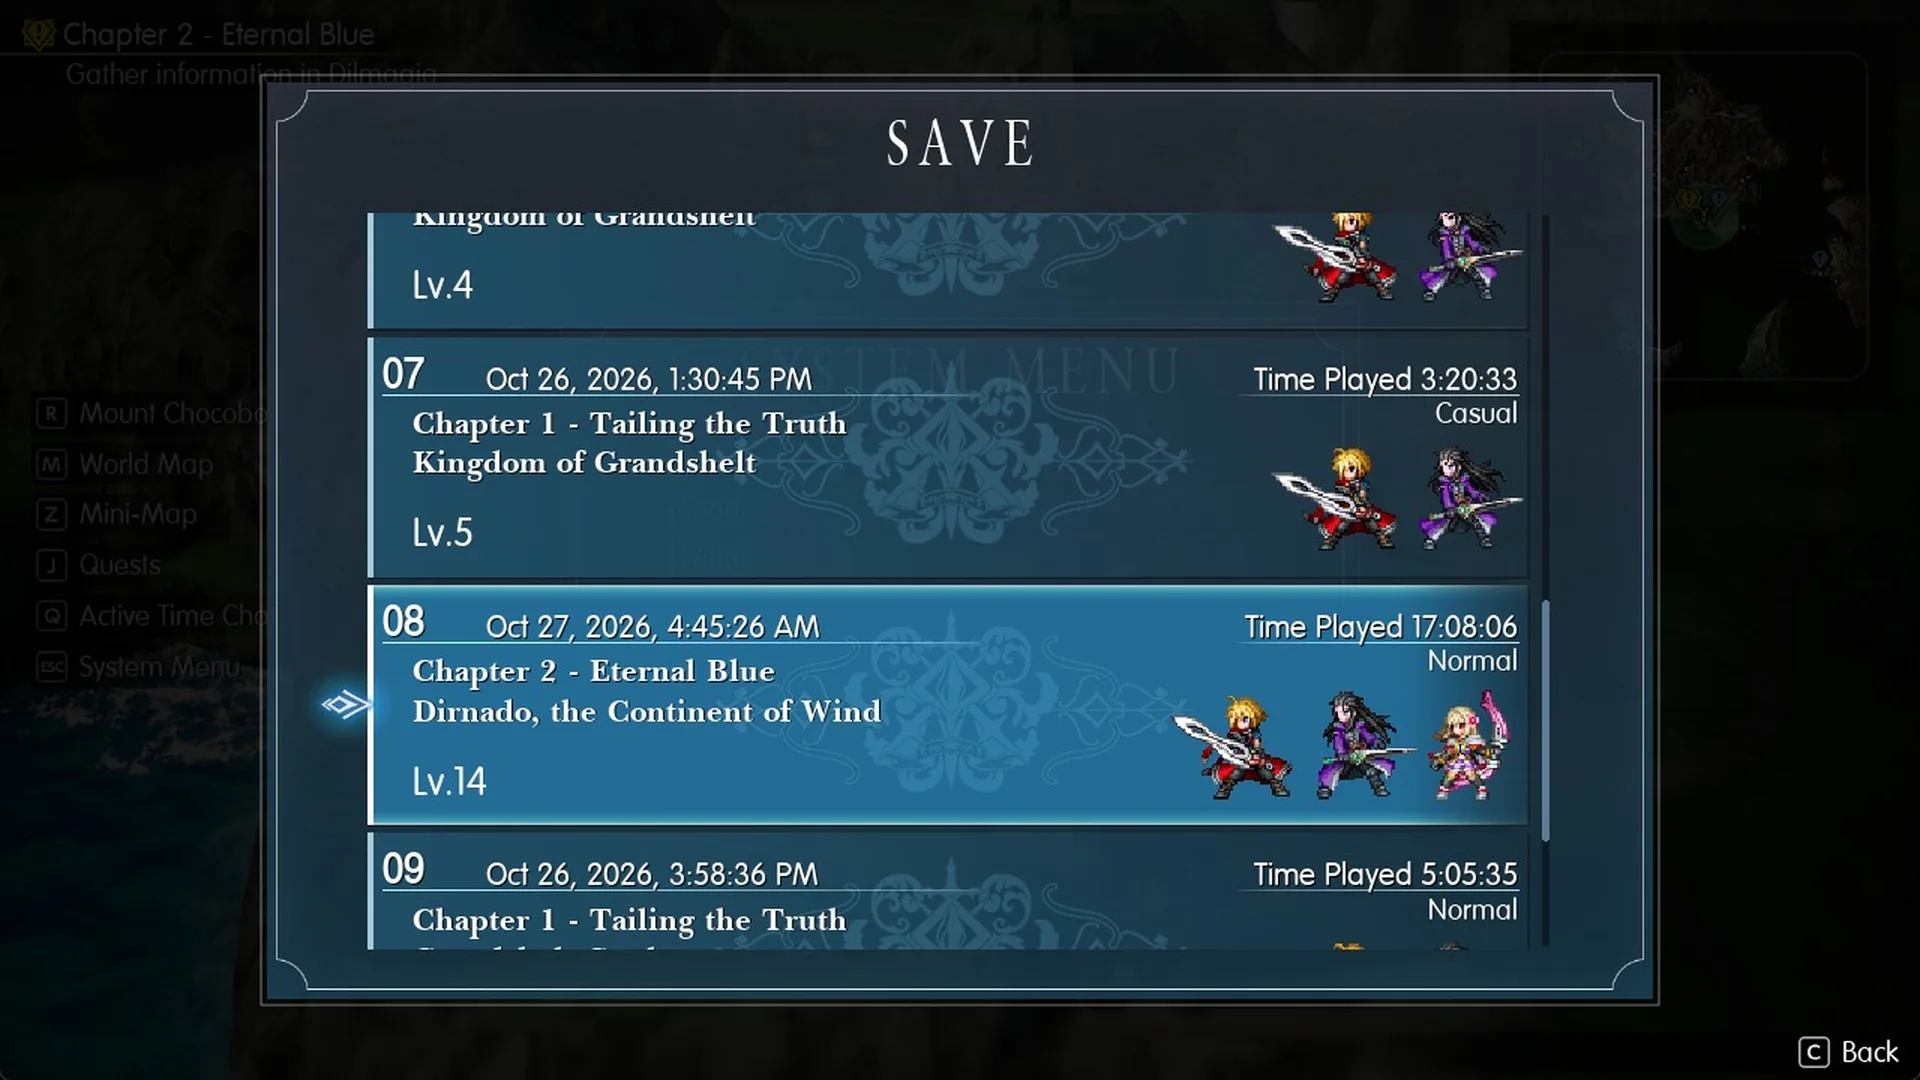
There is no save point in Dilmagia, and inside town the System Menu offers only Load, Help, Options, Return to Title and Quit Game. The broader rules are covered in how to save in Final Fantasy Resonance.
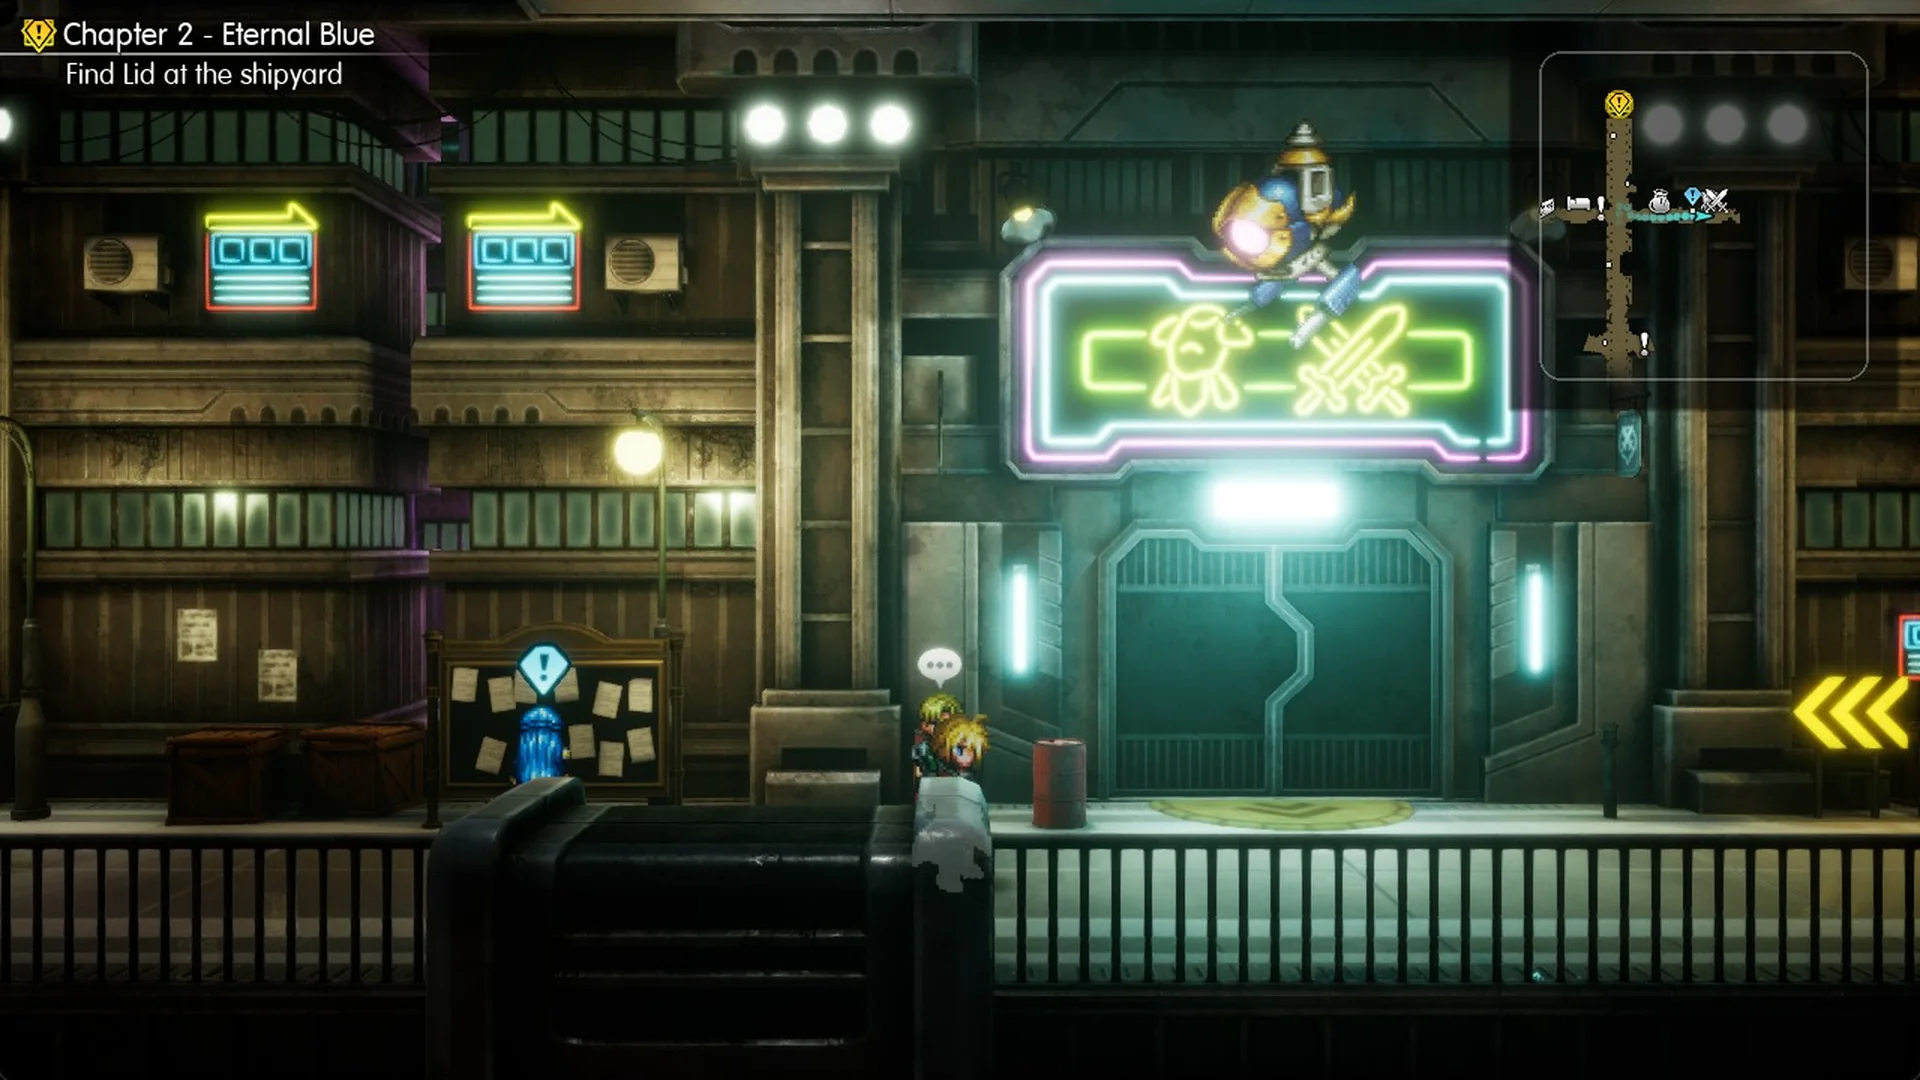
On Dilmagia’s west branch, you’ll find an inn marked by a neon bed sign.
Dilmagia weapon and armor shop
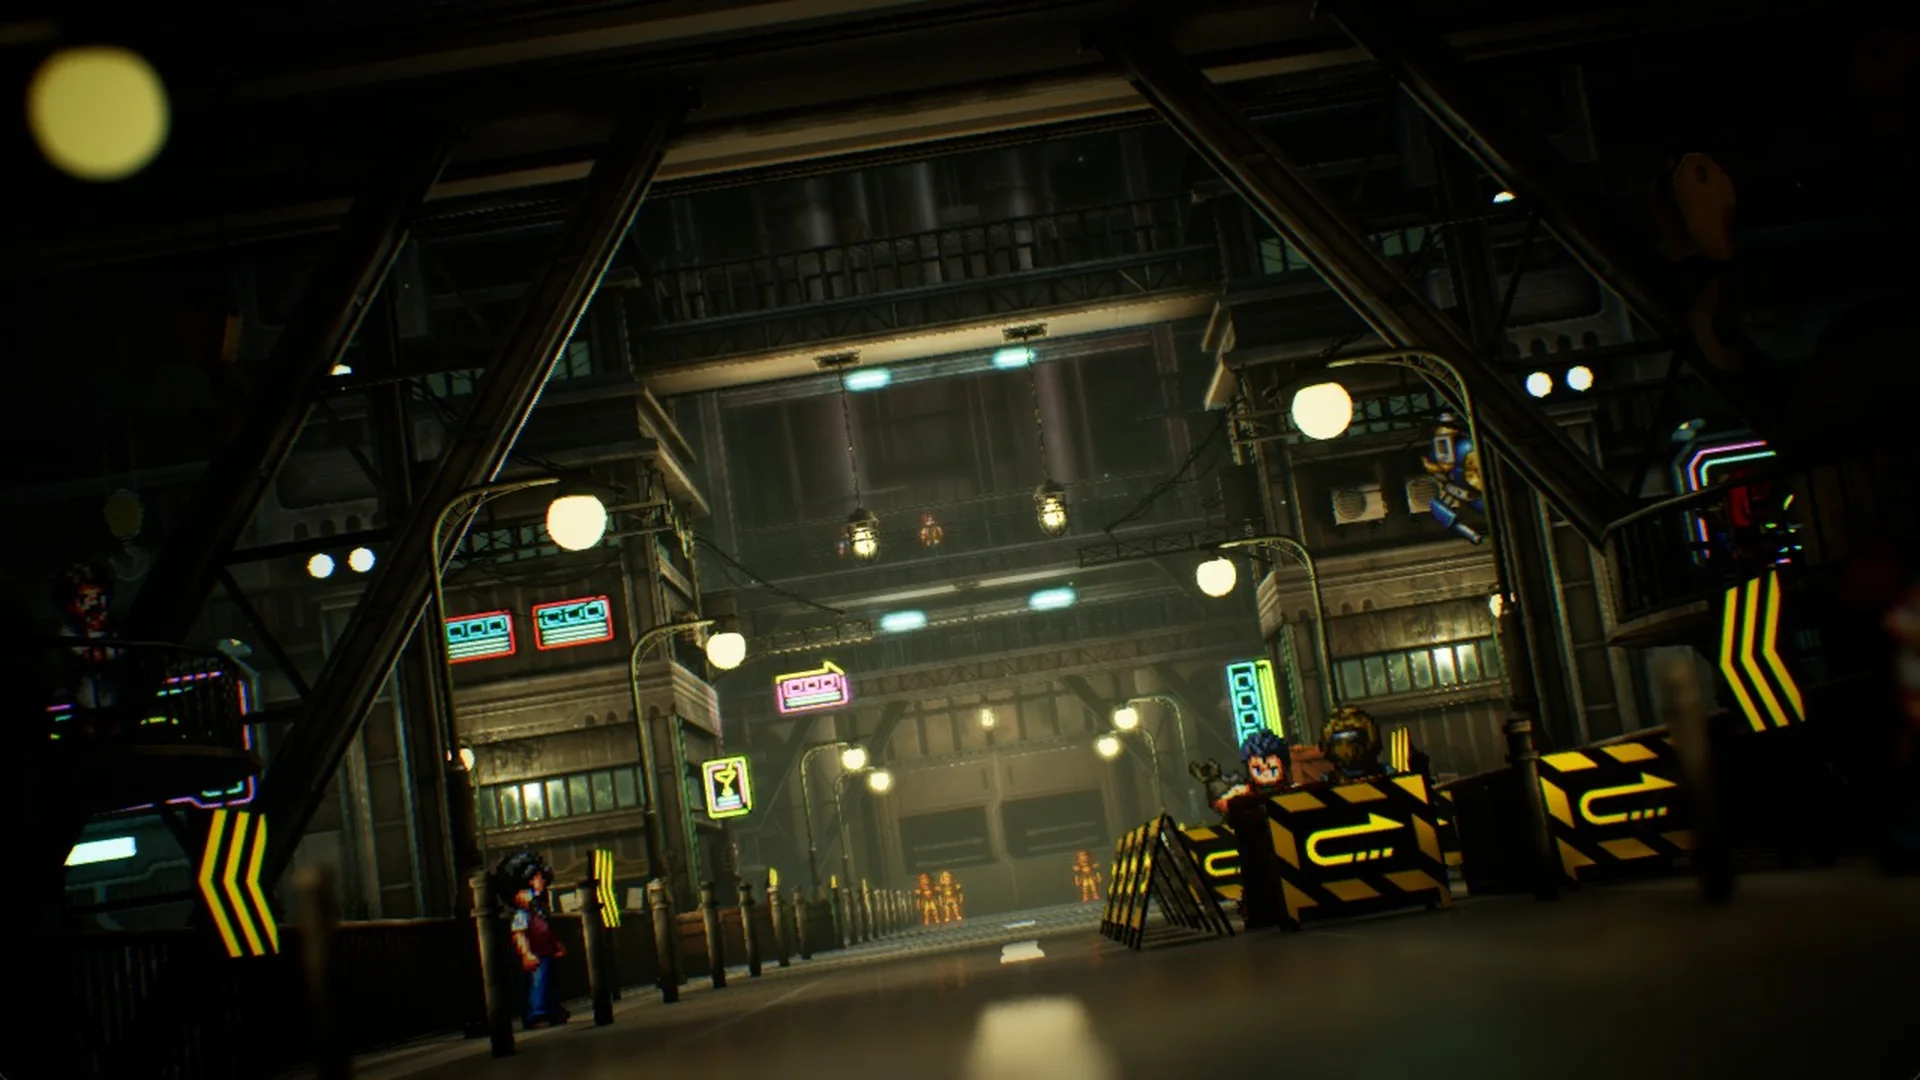
Go north along the main street until you reach the crossroads. Walls and crates obstruct the pavement at its corners, preventing a direct turn into either branch. Instead, move a short way south; yellow chevrons painted on the street show where each branch begins. Enter from there and follow the east branch to its end. Beneath a neon Moogle-and-crossed-swords sign, you’ll find the weapon and armor shop’s steel door.
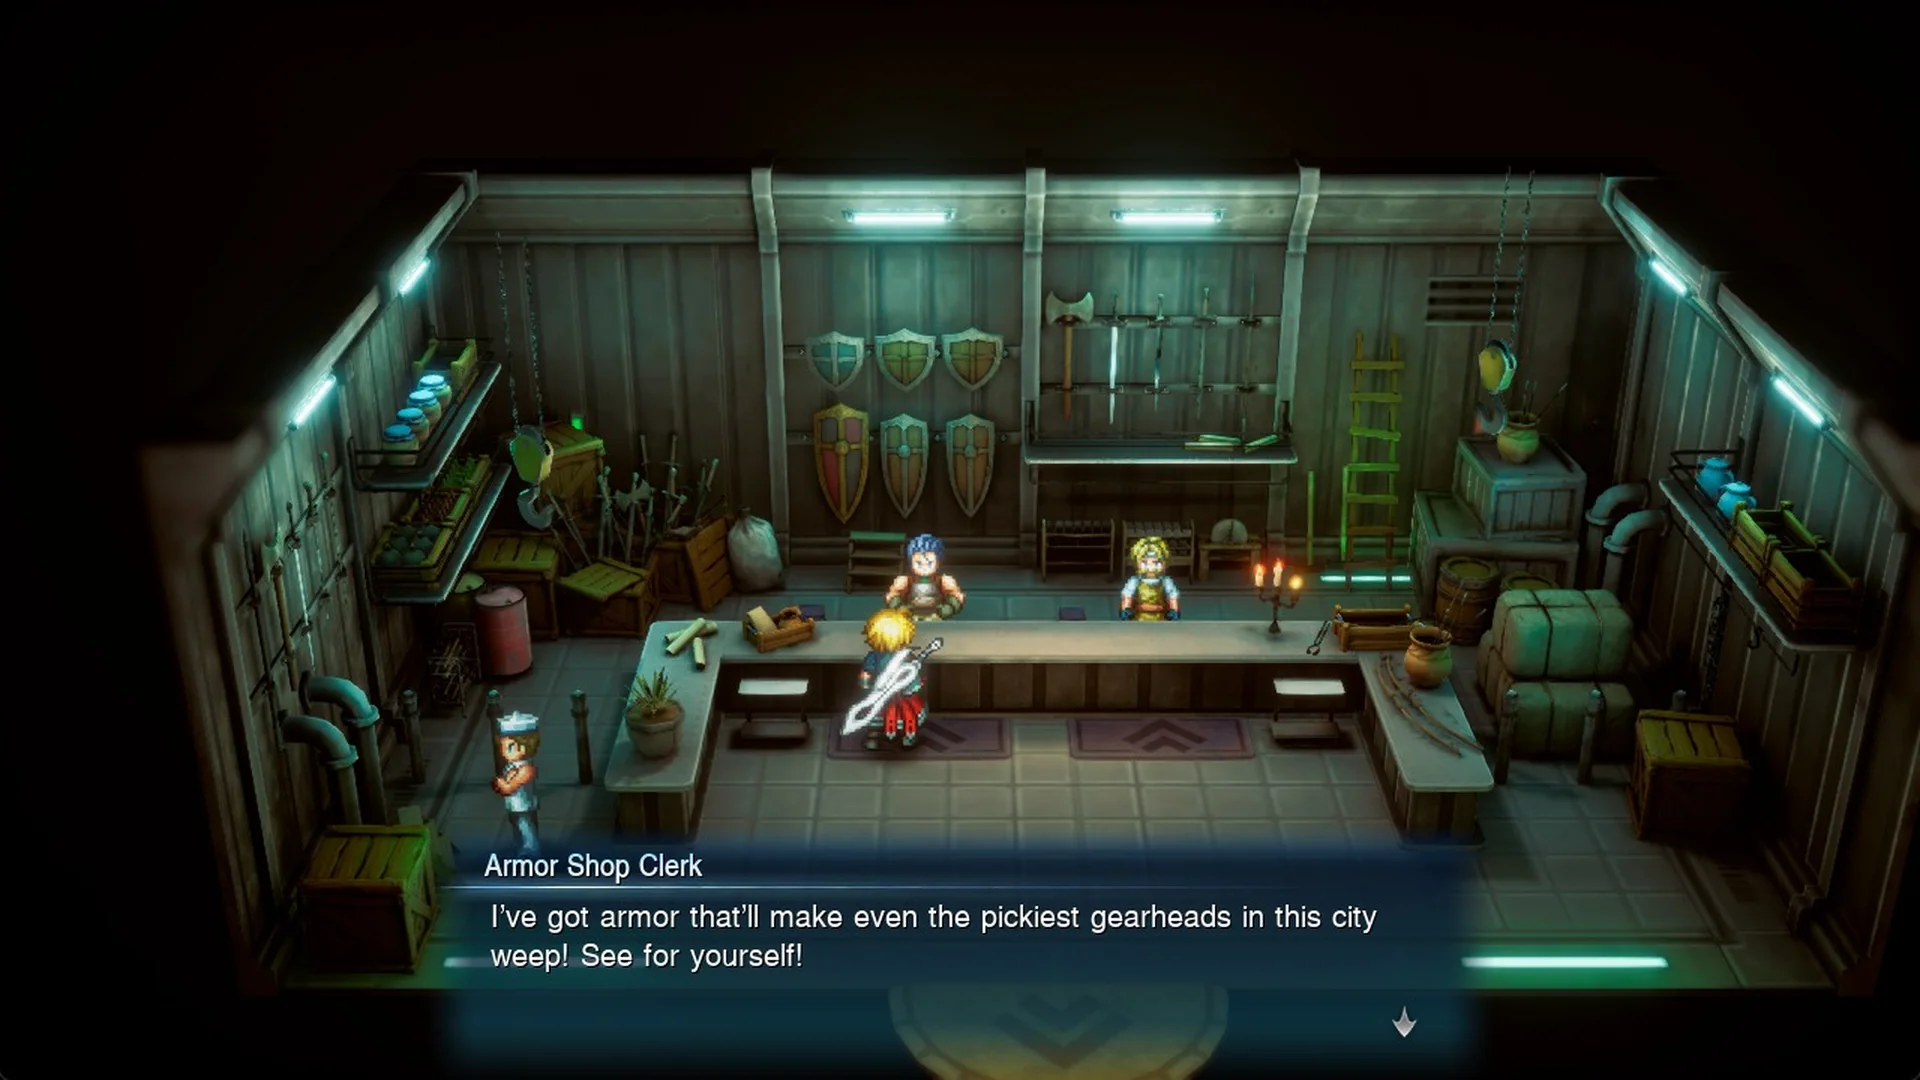
Two clerks share one counter. The Armor Shop Clerk opens with “I’ve got armor that’ll make even the pickiest gearheads in this city weep! See for yourself!”
| Armor | Buy (Gil) | Sell (Gil) | Stats |
|---|---|---|---|
| Engineer’s Jacket | 1,200 | 300 | Light armor, Phys. Def 48, Mag. Def 41 |
| Iron Armor | 1,080 | 270 | Heavy armor, Phys. Def 60, Mag. Def 41, Speed -11 |
| White Dress | 1,320 | 330 | Robe, Phys. Def 37, Mag. Def 51, Sanctity 14 |
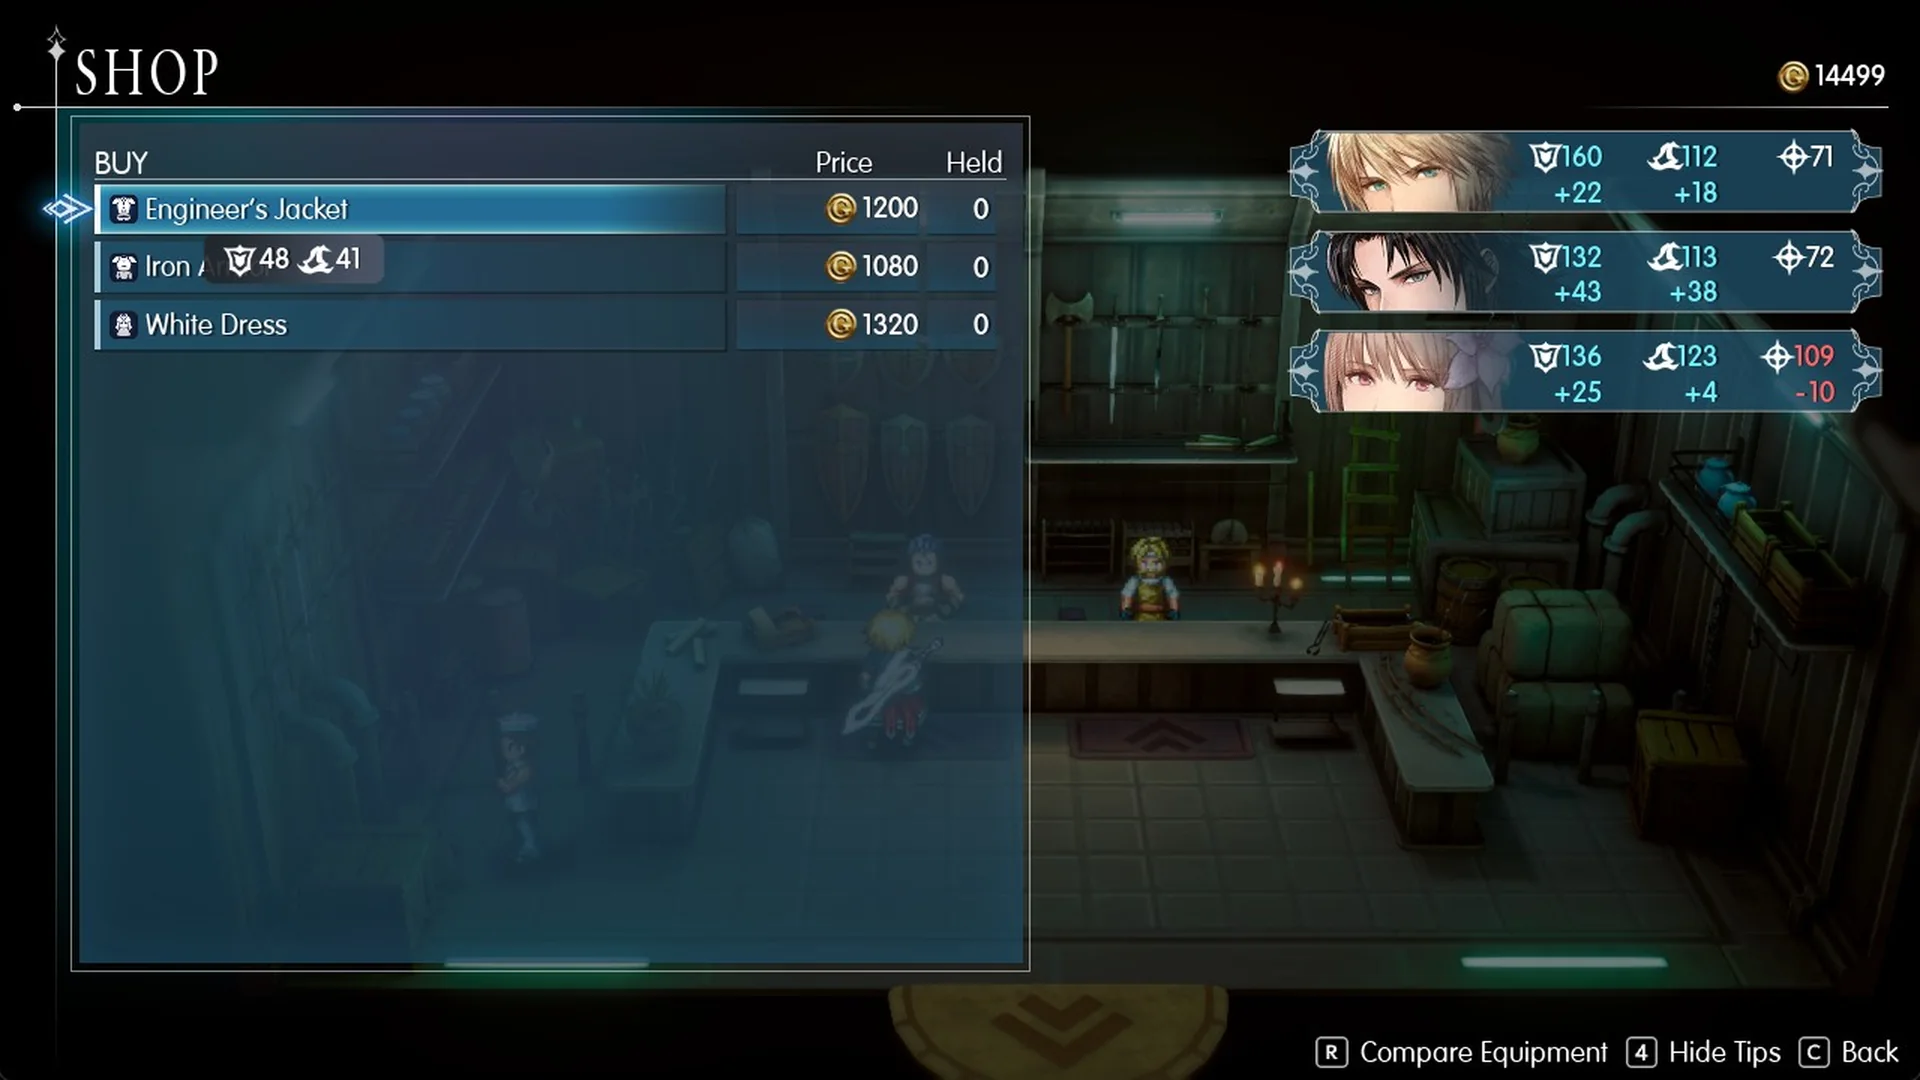
Iron Armor’s tooltip adds “Increases HP by 70.” It’s also the highest Phys. Def on sale here for Rain and Lasswell.
The White Dress is Fina’s robe upgrade, with Mag. Def 51 and Sanctity 14. The full set of armor stats is on the Final Fantasy Resonance armor list.
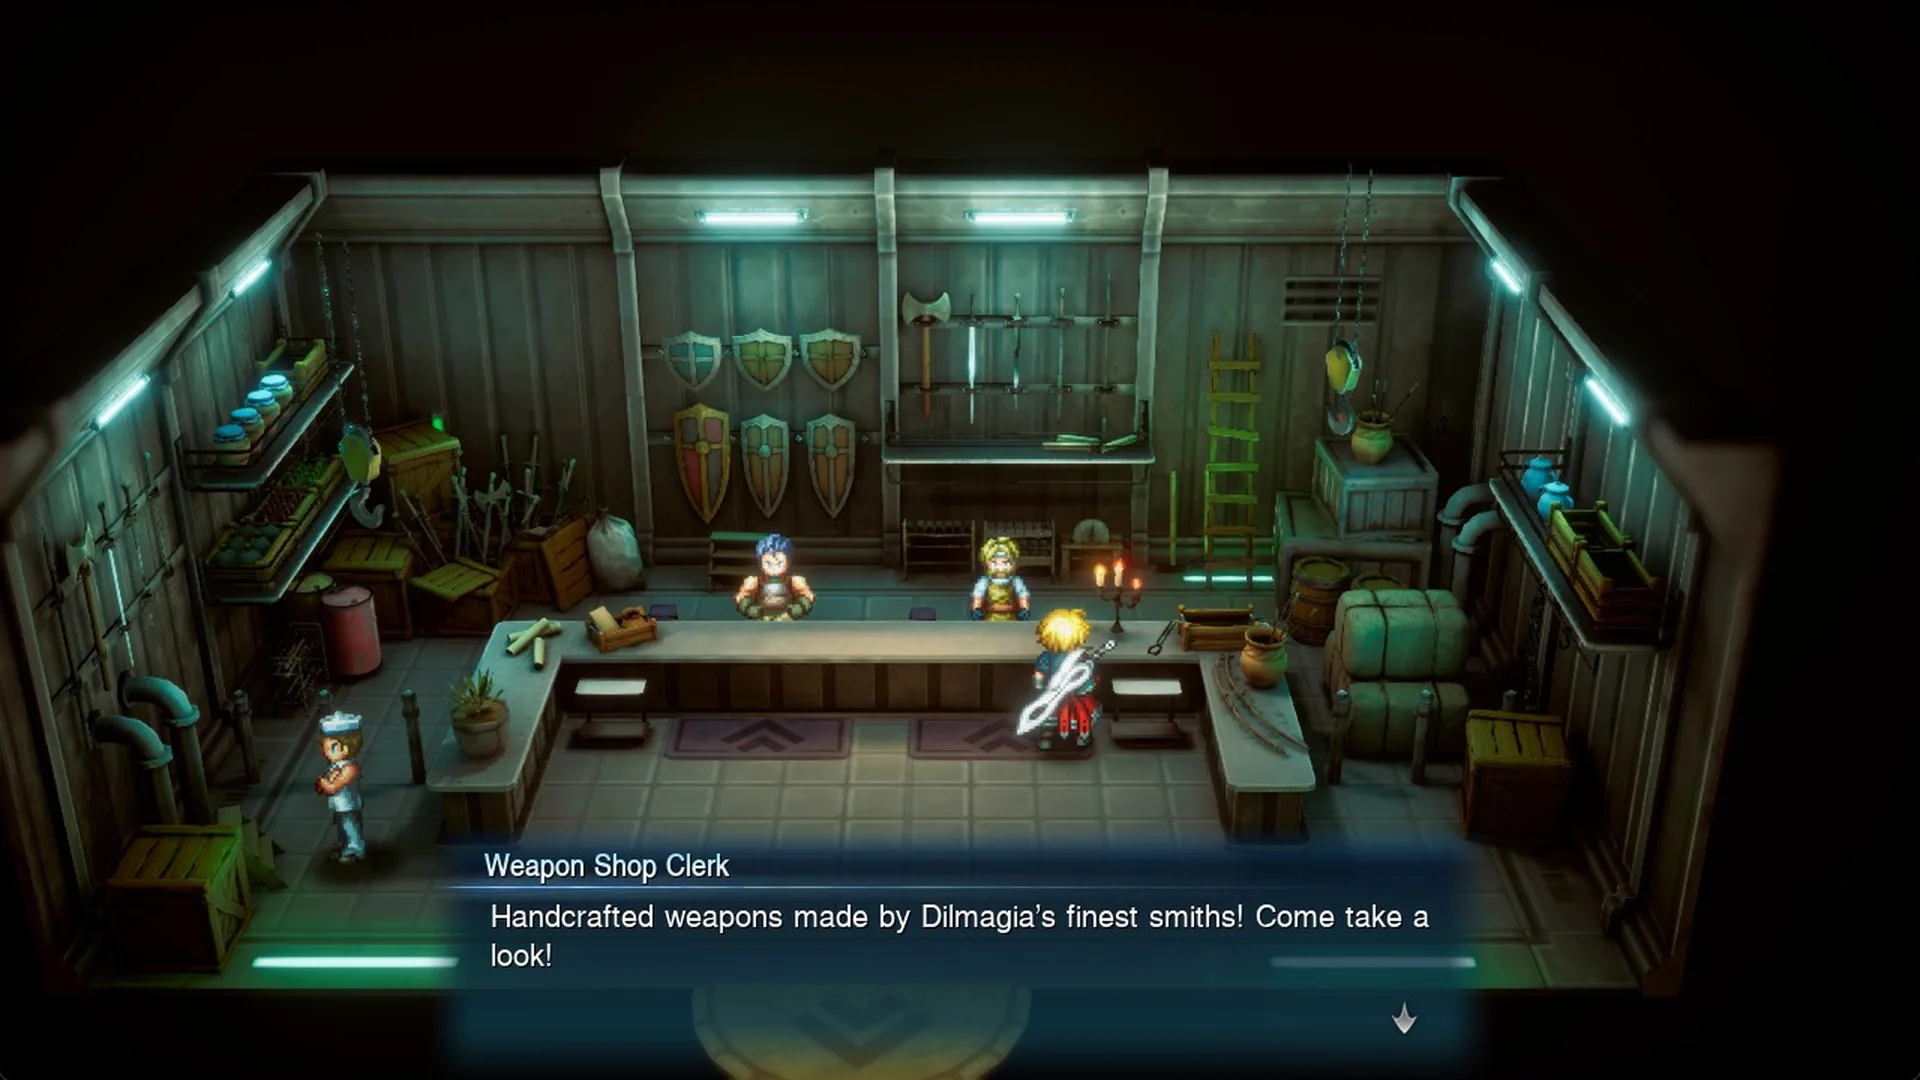
The Weapon Shop Clerk stands at the same counter: “Handcrafted weapons made by Dilmagia’s finest smiths! Come take a look!”
| Weapon | Buy (Gil) | Sell (Gil) | Stats |
|---|---|---|---|
| Knight’s Blade (Rain) | 1,800 | 450 | Greatsword, Phys. Atk 43, Mag. Atk 21 |
| Samurai’s Katana (Lasswell) | 2,200 | 550 | Katana, Phys. Atk 39, Mag. Atk 28 |
| Composite Bow (Fina) | 2,000 | 500 | Bow, Phys. Atk 37, Mag. Atk 31, Sanctity 36 |
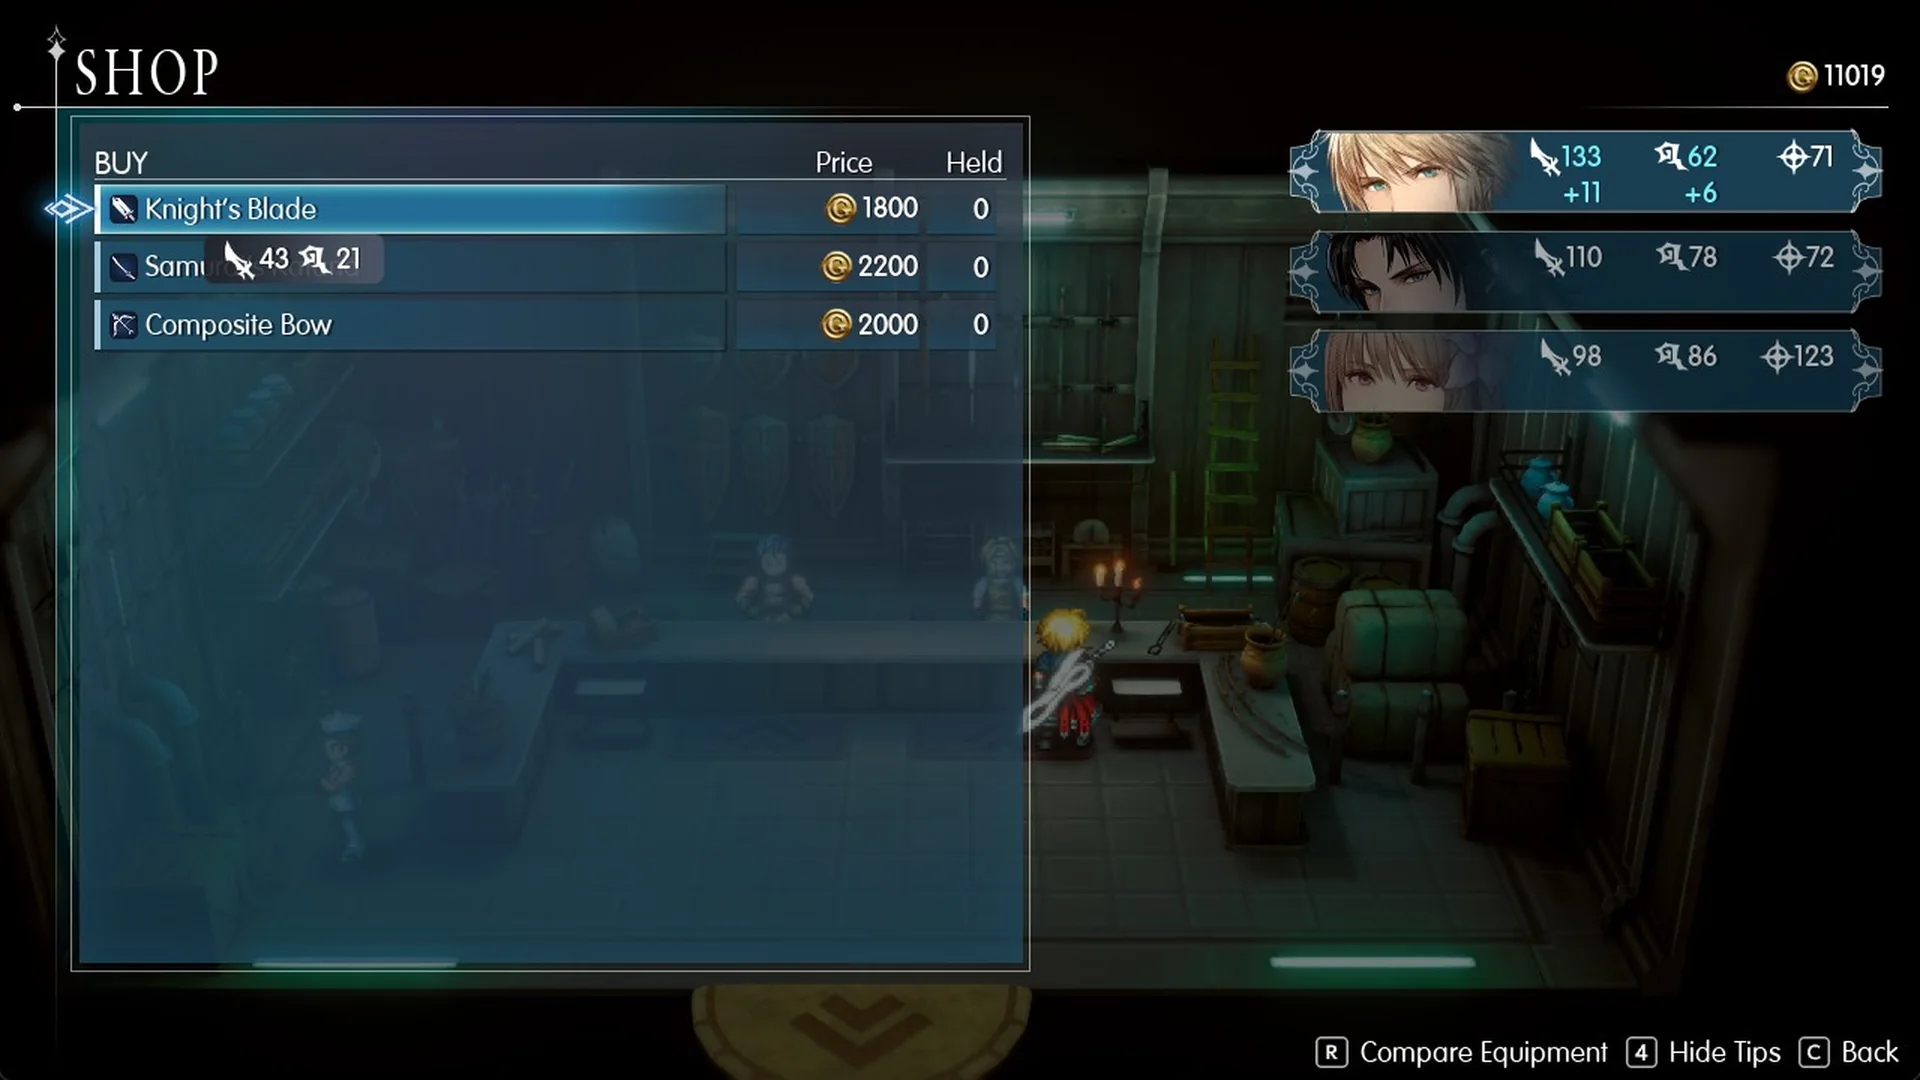
The Samurai’s Katana also carries “Increases HP by 30.” There’s no hammer for sale.
The Composite Bow is Fina’s pick, with Sanctity 36 on top of Phys. Atk 37 and Mag. Atk 31. The weapons list tracks every weapon type in the game.
Buying and equipping
Selecting an item opens “Purchase the following?” with a quantity selector and the total cost. The cursor starts on No, so move it up to Yes. The game then asks “<item> purchased. Equip now?” Picking Yes opens a character picker that pre-selects whoever can use the item and shows old versus new stats side by side.
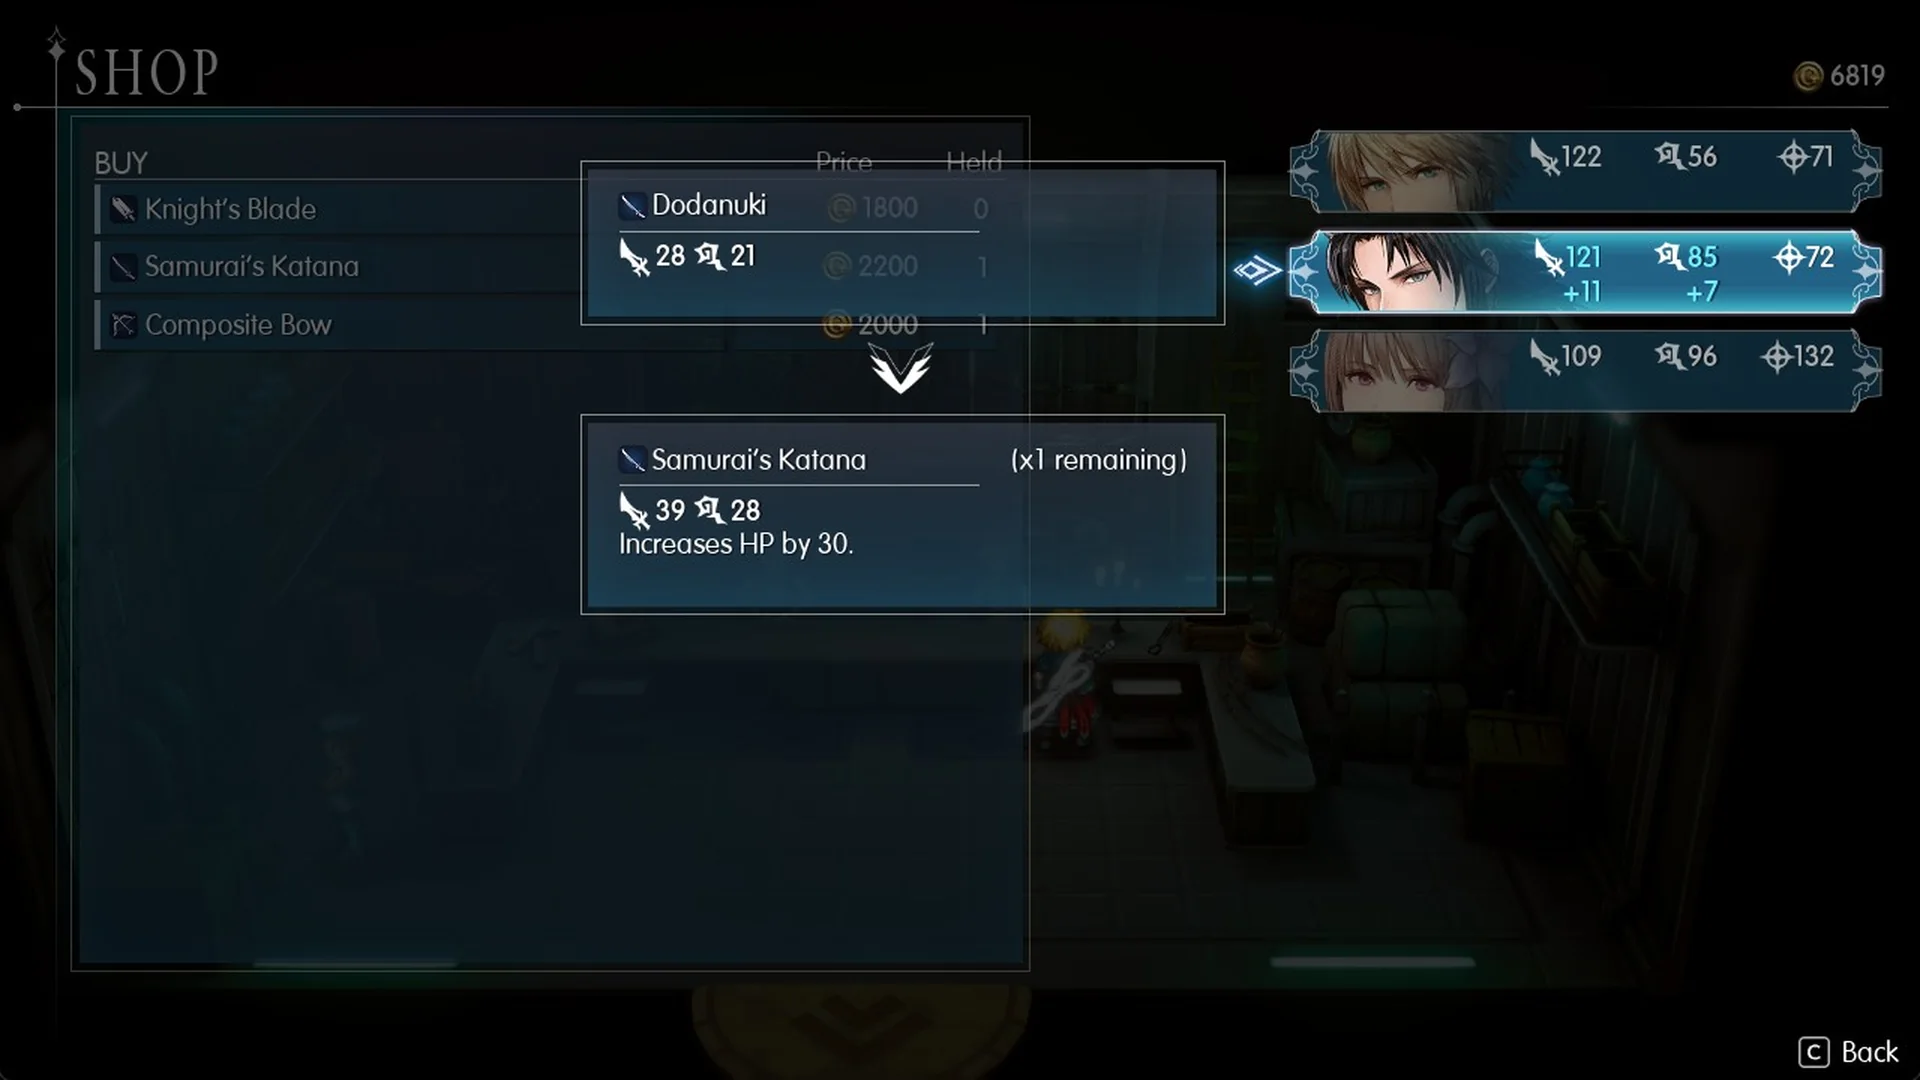
Each purchase is a straight upgrade over the gear the party brings from Chapter 1:
| Character | Old gear | New gear |
|---|---|---|
| Rain | Longsword 32/15 | Knight’s Blade 43/21 |
| Lasswell | Dodanuki 28/21 | Samurai’s Katana 39/28 |
| Fina | Shortbow 26/21, Sanctity 27 | Composite Bow 37/31, Sanctity 36 |
| Fina | Leather Robe 23/37, Sanctity 10 | White Dress 37/51, Sanctity 14 |
Dilmagia item shop
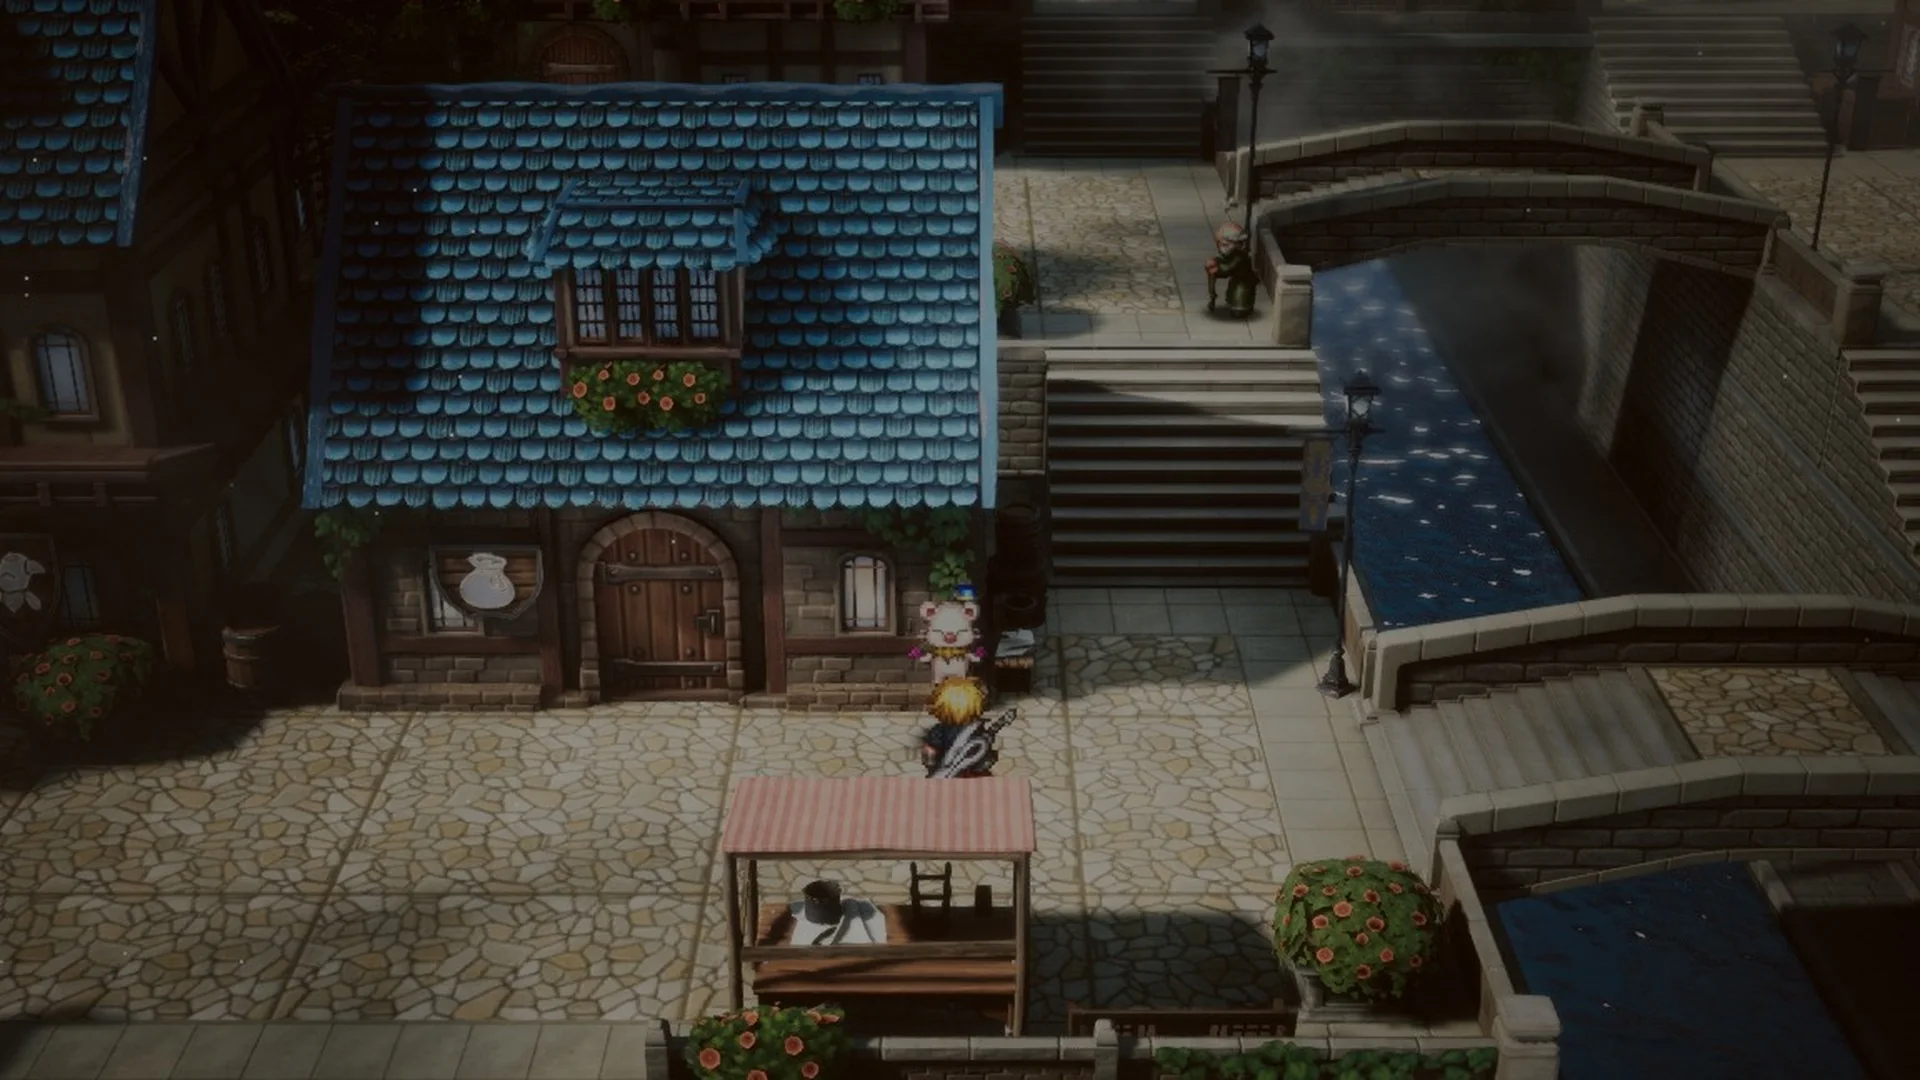
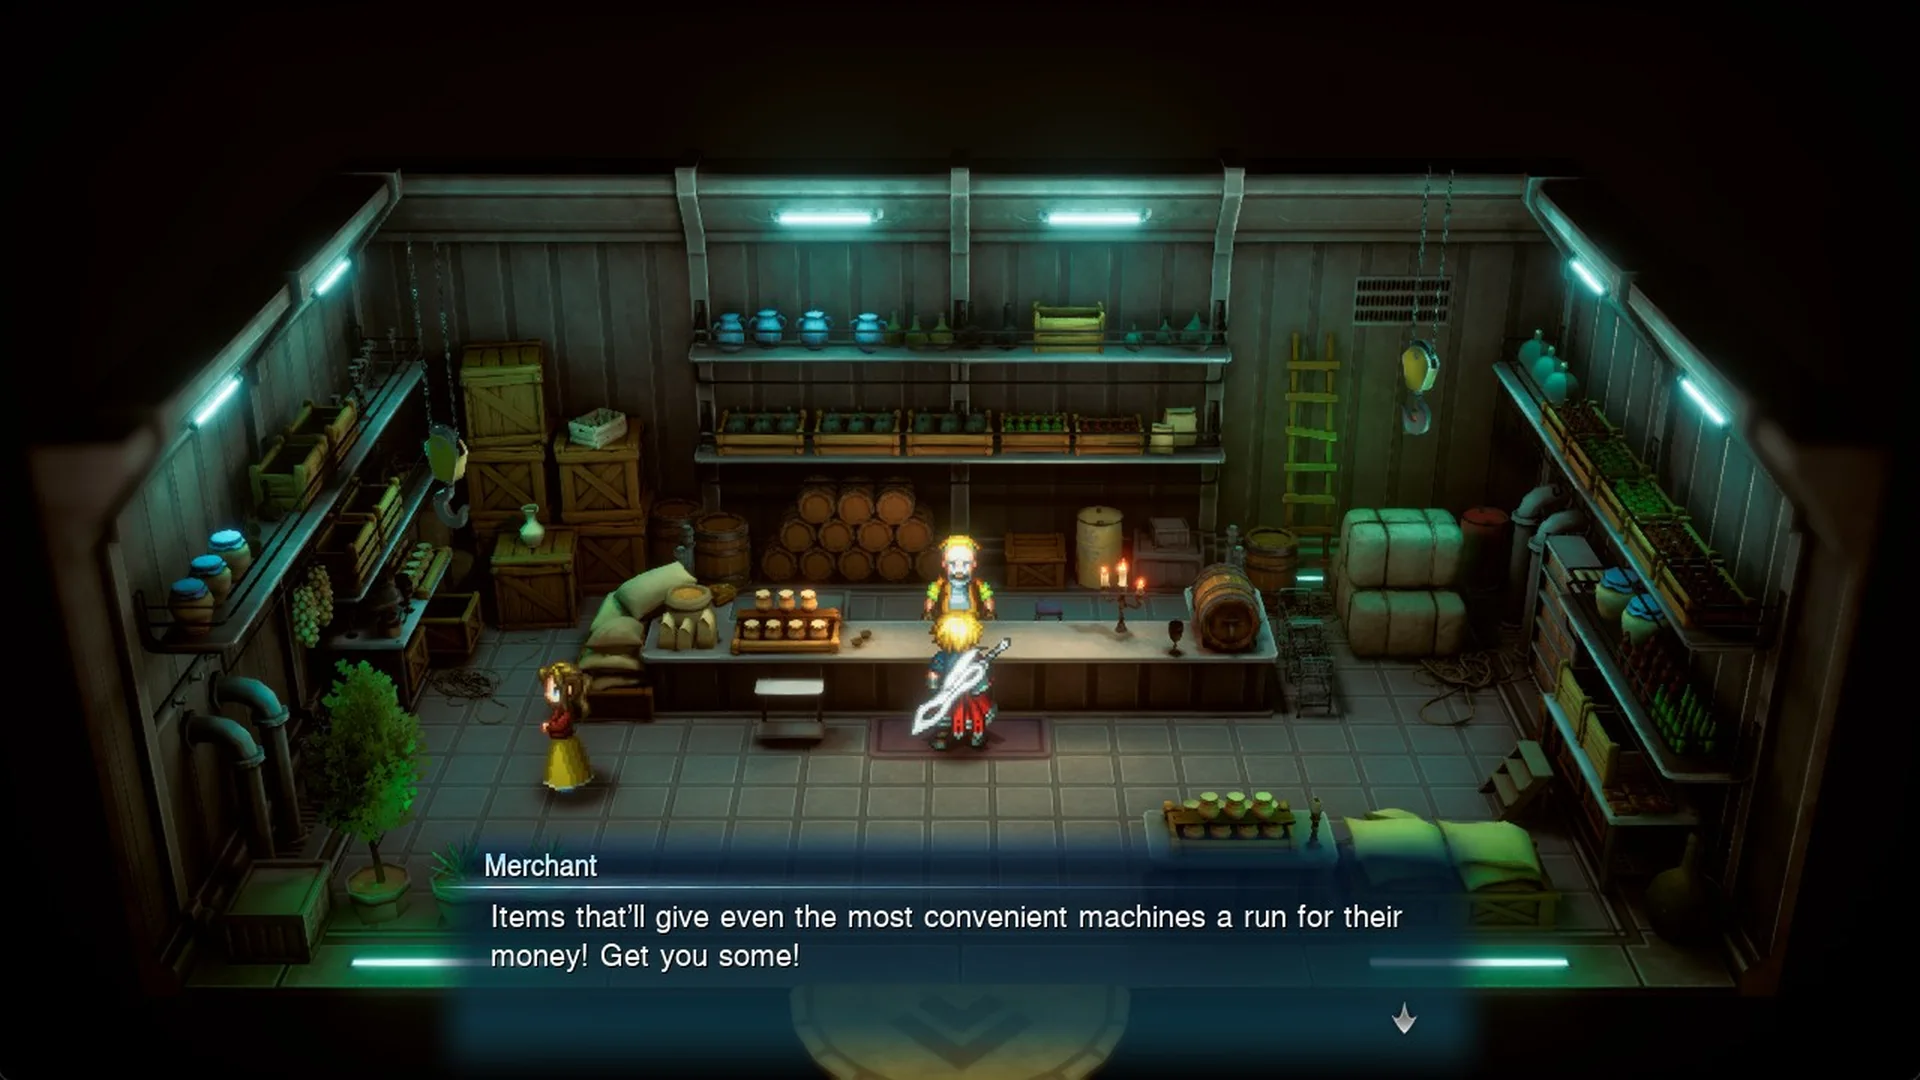
The item shop is also on the east branch, just west of the weapon and armor shop. Look for the door under the neon sign with two money bags.
The Merchant greets you with “Items that’ll give even the most convenient machines a run for their money! Get you some!”
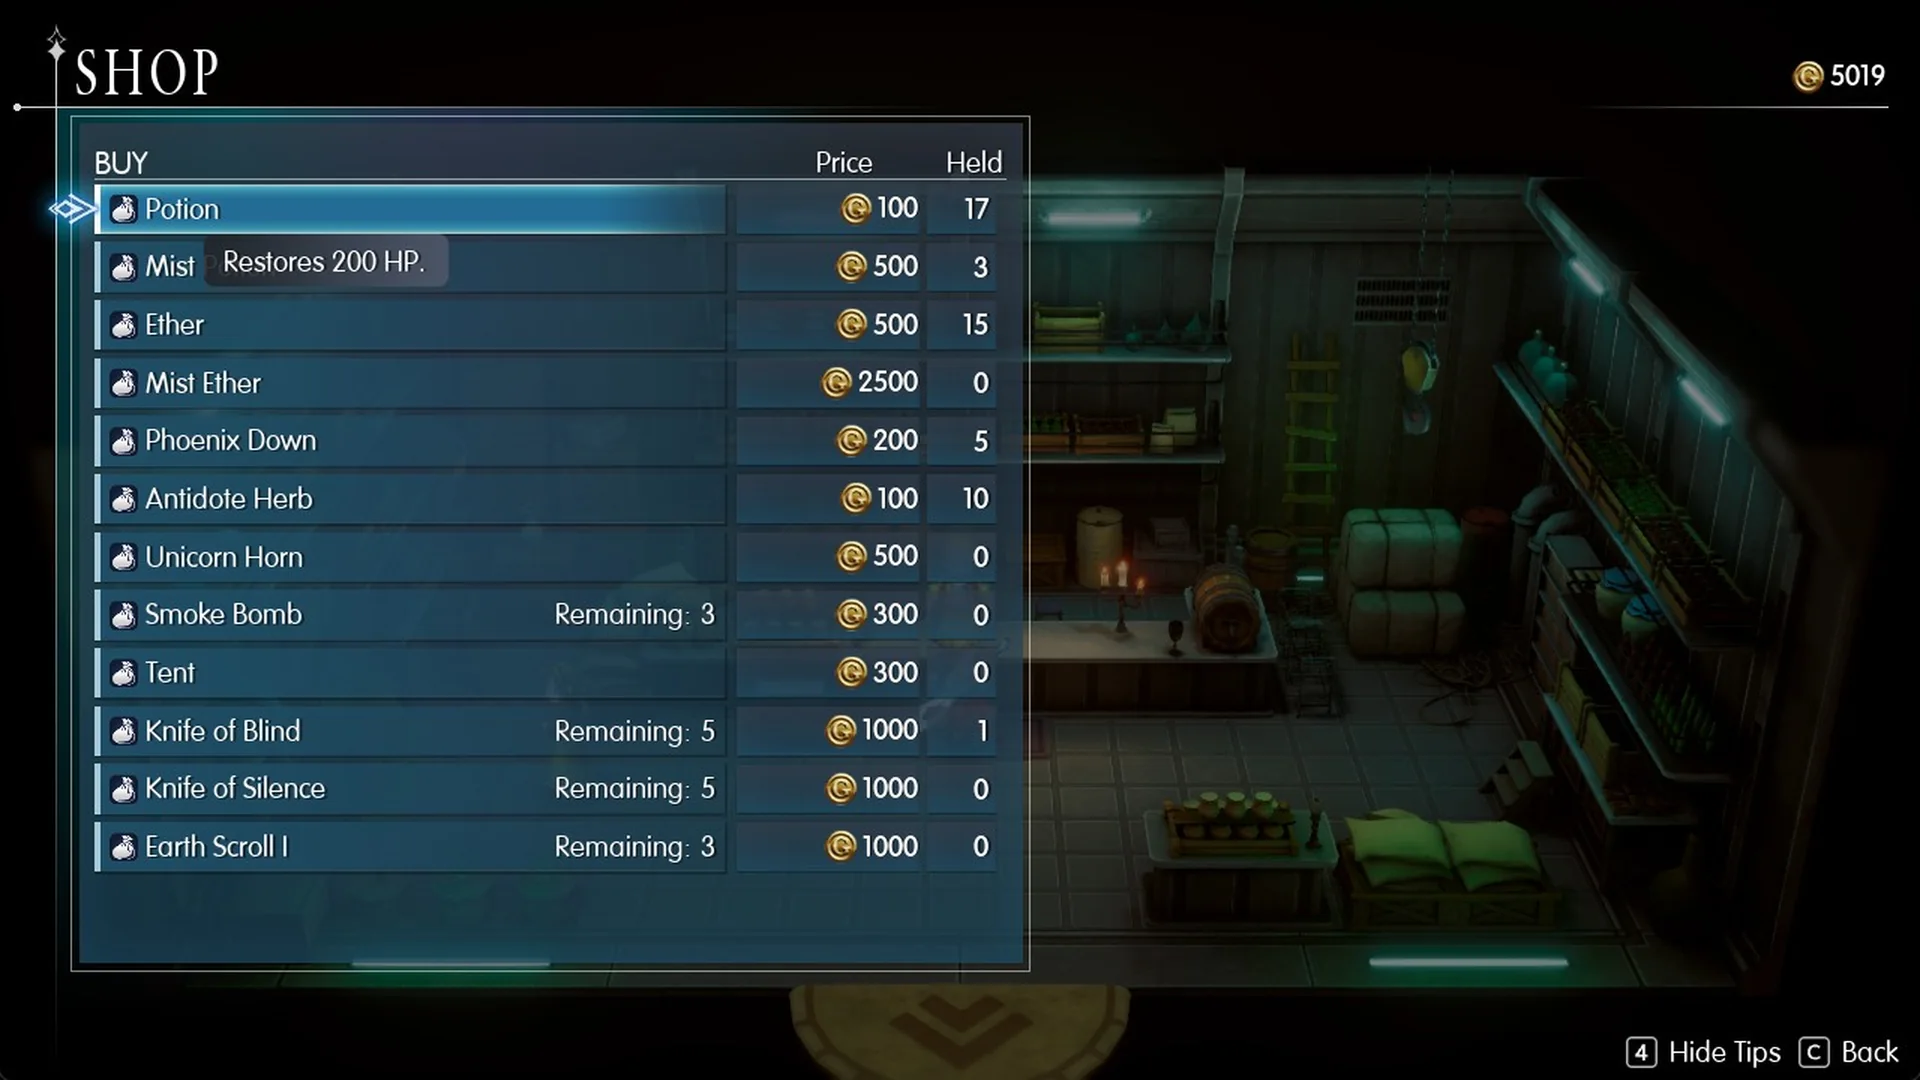
The BUY list has 12 entries, from Potion at 100 Gil up to Mist Ether at 2,500 Gil. Prices and effects are in the summary table up top. A few rows have limited stock:
- Smoke Bomb: Remaining: 3
- Knife of Blind: Remaining: 5
- Knife of Silence: Remaining: 5
- Earth Scroll I: Remaining: 3
Earth Scroll I reads “Deals Earth magic damage to a single enemy. Power increases and targets all enemies when thrown.” Only 3 are stocked, and once you buy them the row shows as sold out. Eye Drops and Smelling Salts are not sold here. Every consumable’s effect is on the items list.
What to buy in Dilmagia
Gear first, in this order: Knight’s Blade for Rain, Samurai’s Katana for Lasswell, Composite Bow and White Dress for Fina, then Iron Armor for Rain and Lasswell. All six pieces cost 9,480 Gil.
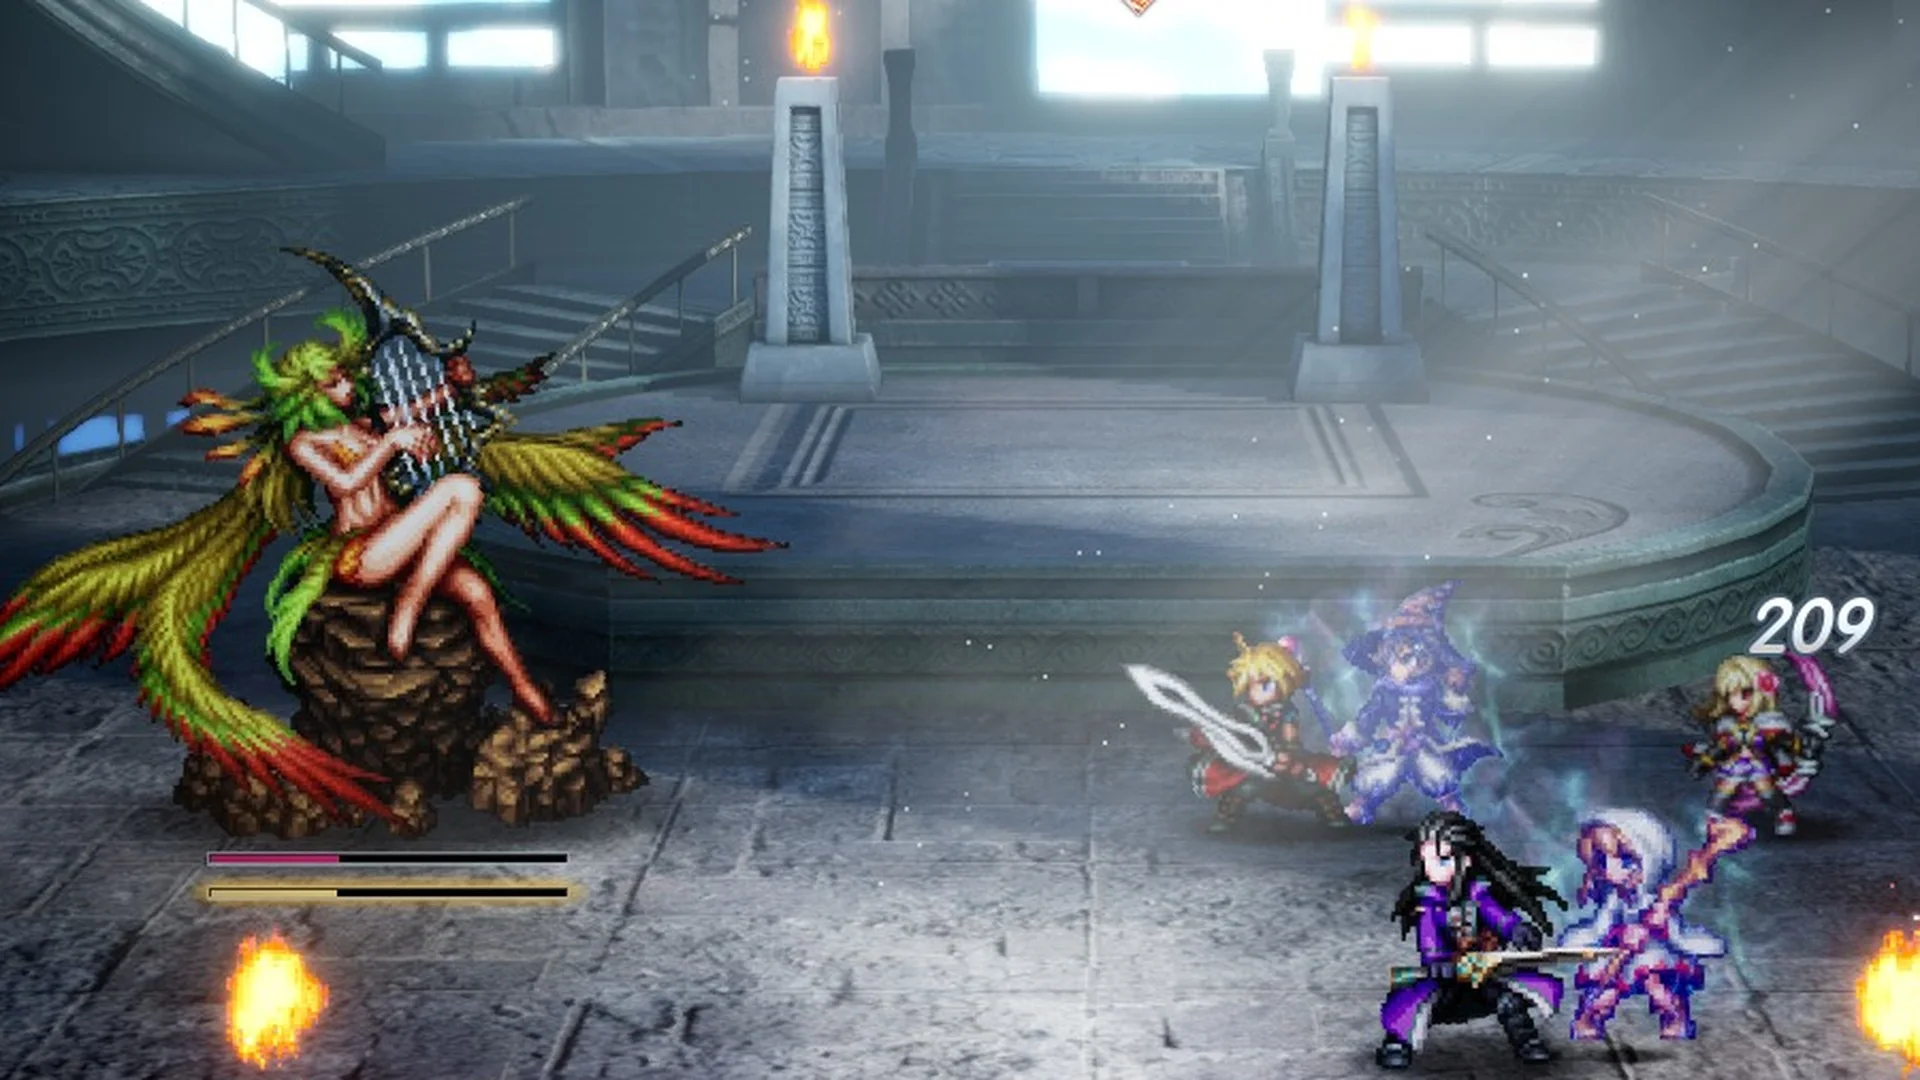
Then buy the three Earth Scroll I (3,000 Gil) for the optional Ramuh fight on Mt. Thunderclap, since Ramuh is weak to Earth. Round it out with a couple of Ethers. For longer-term gear plans, see the best builds.
Chapter 2 walkthrough: Gather information in Dilmagia
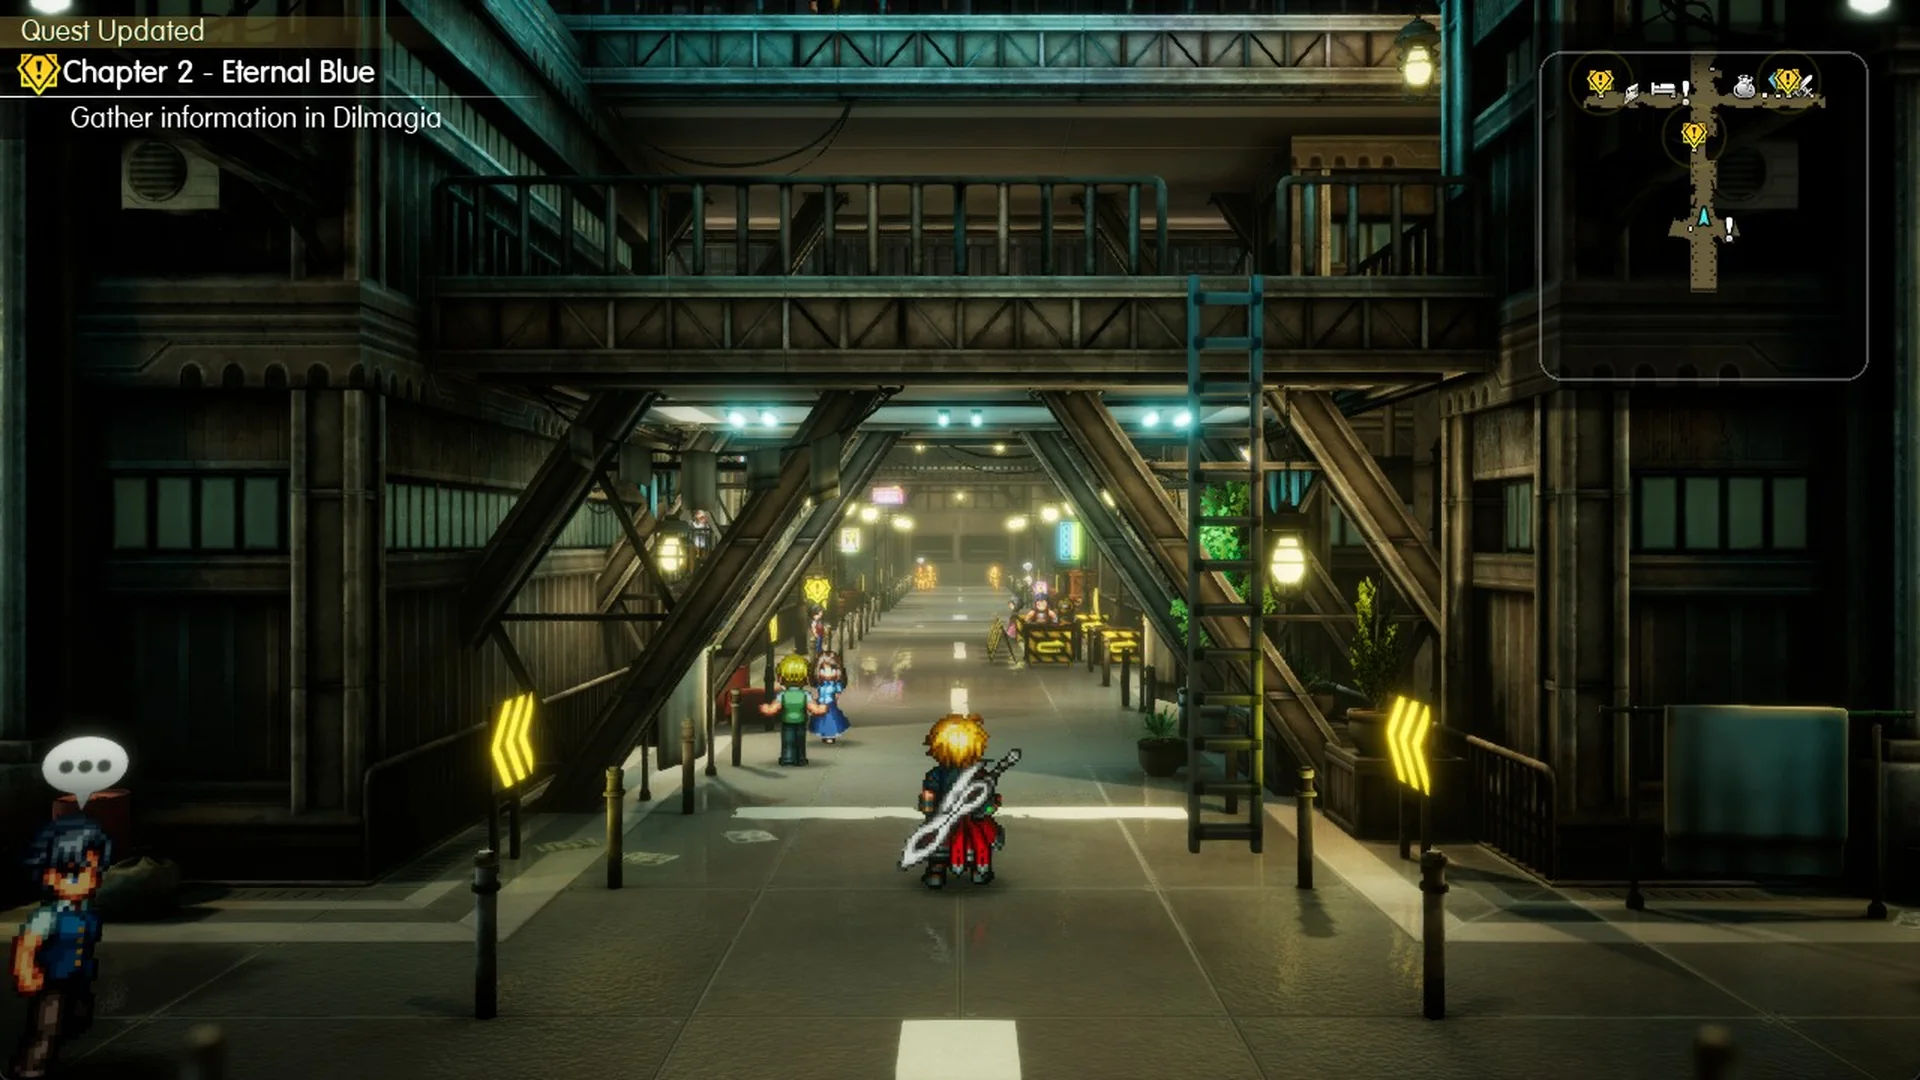
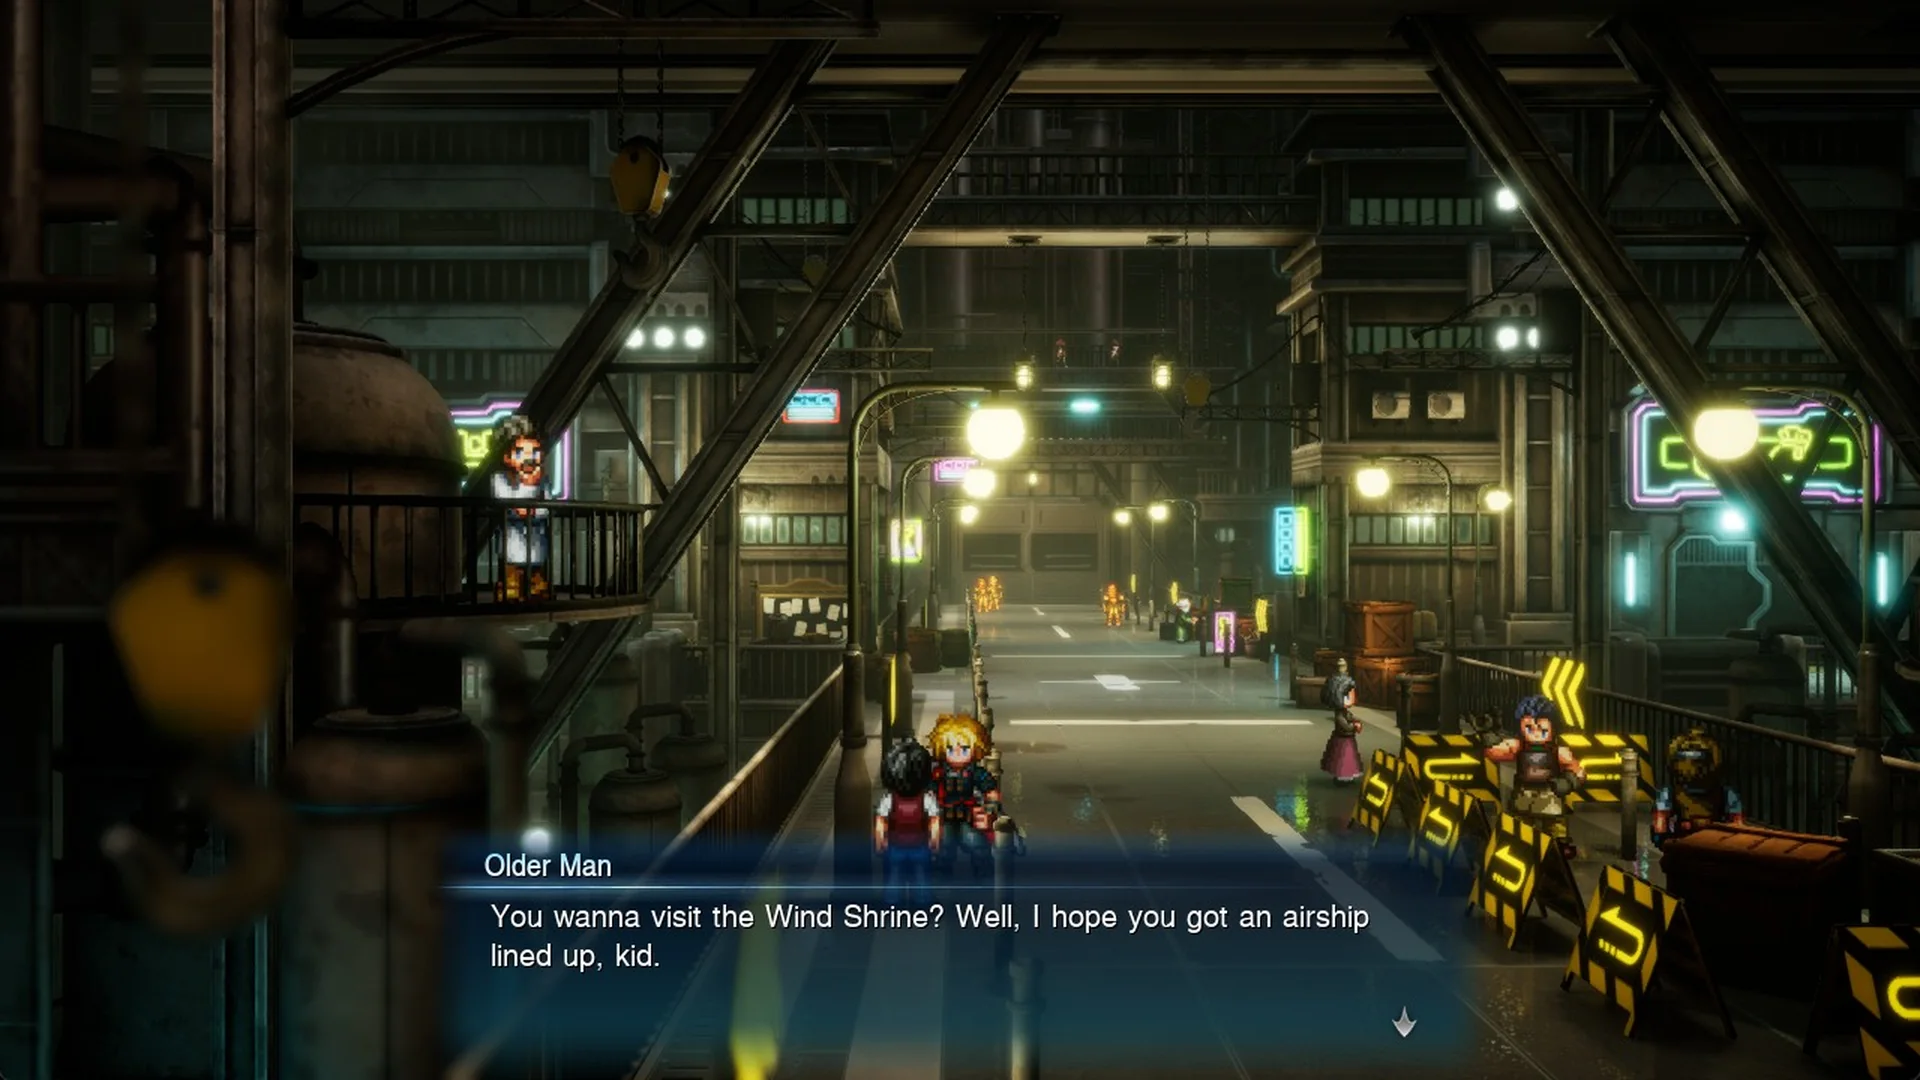
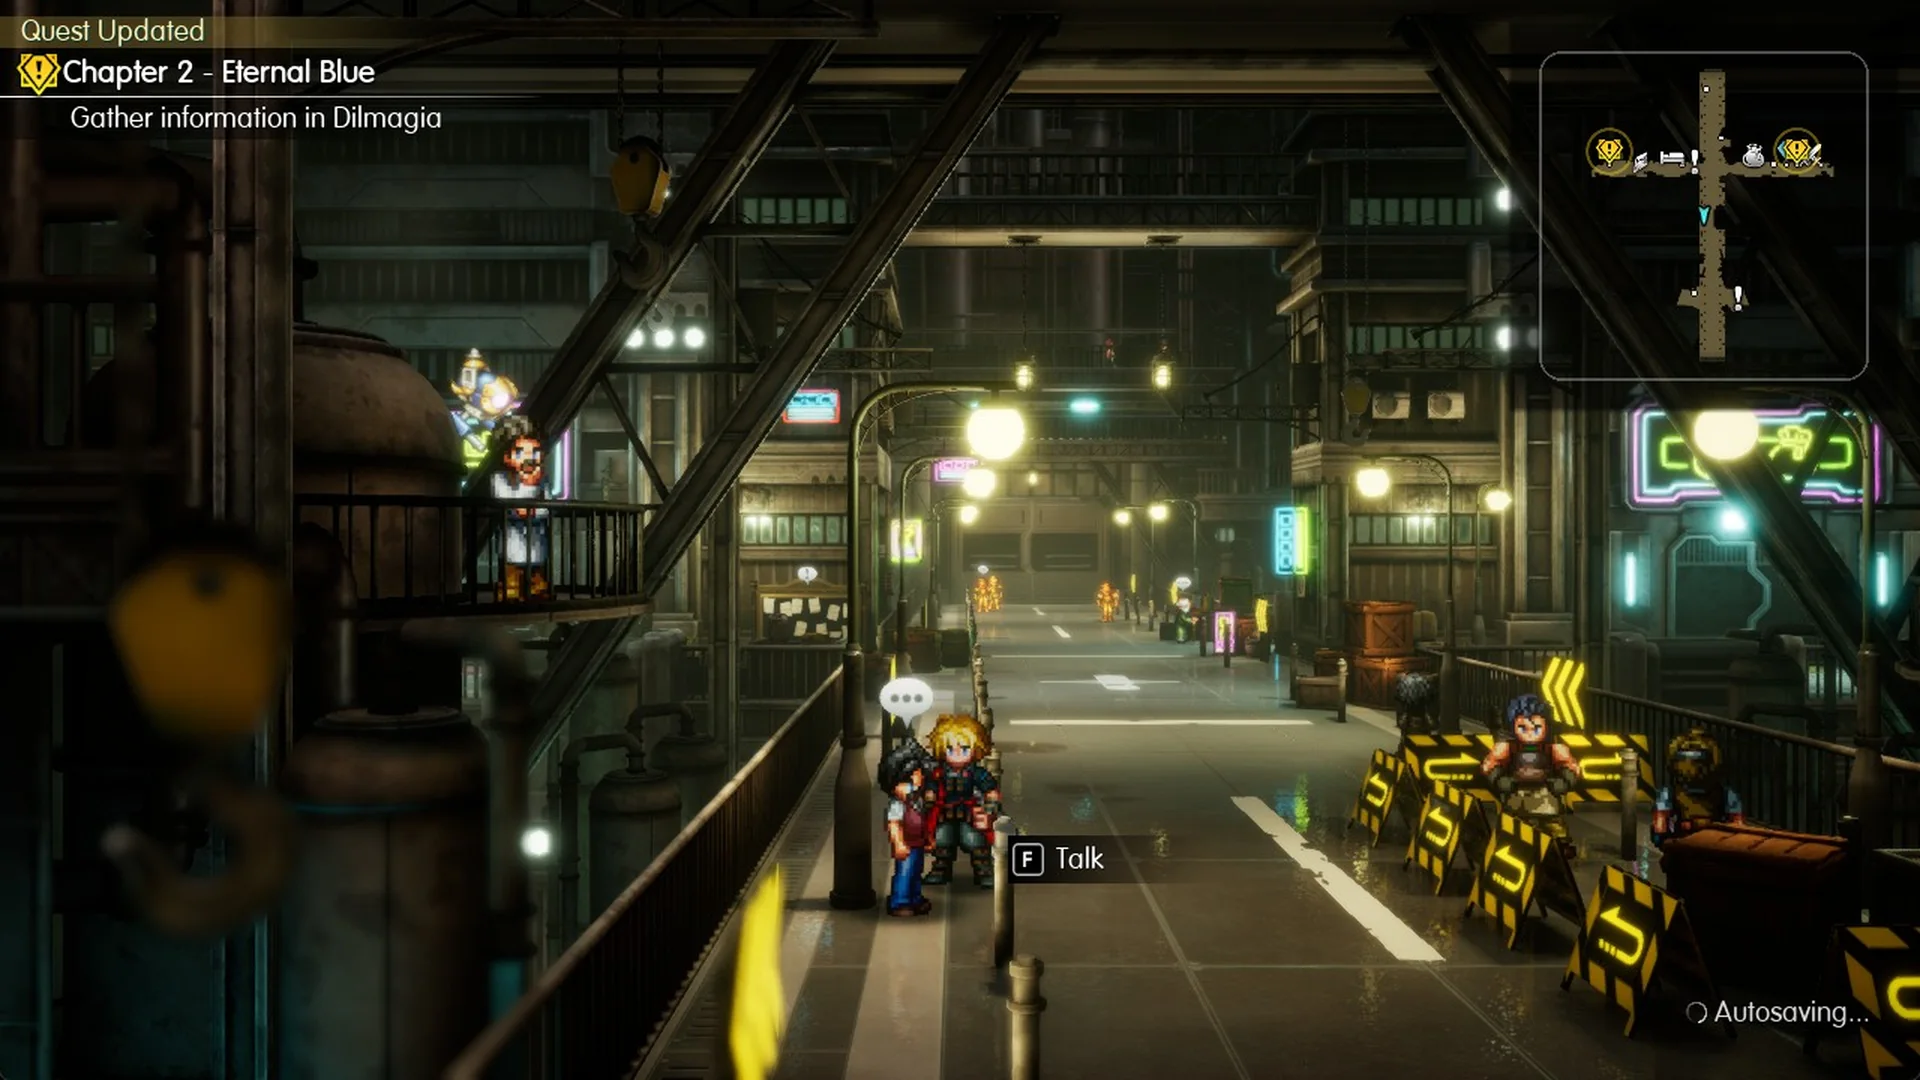
Tip: the Talk prompt only appears from his east side, so step in toward him from the street.
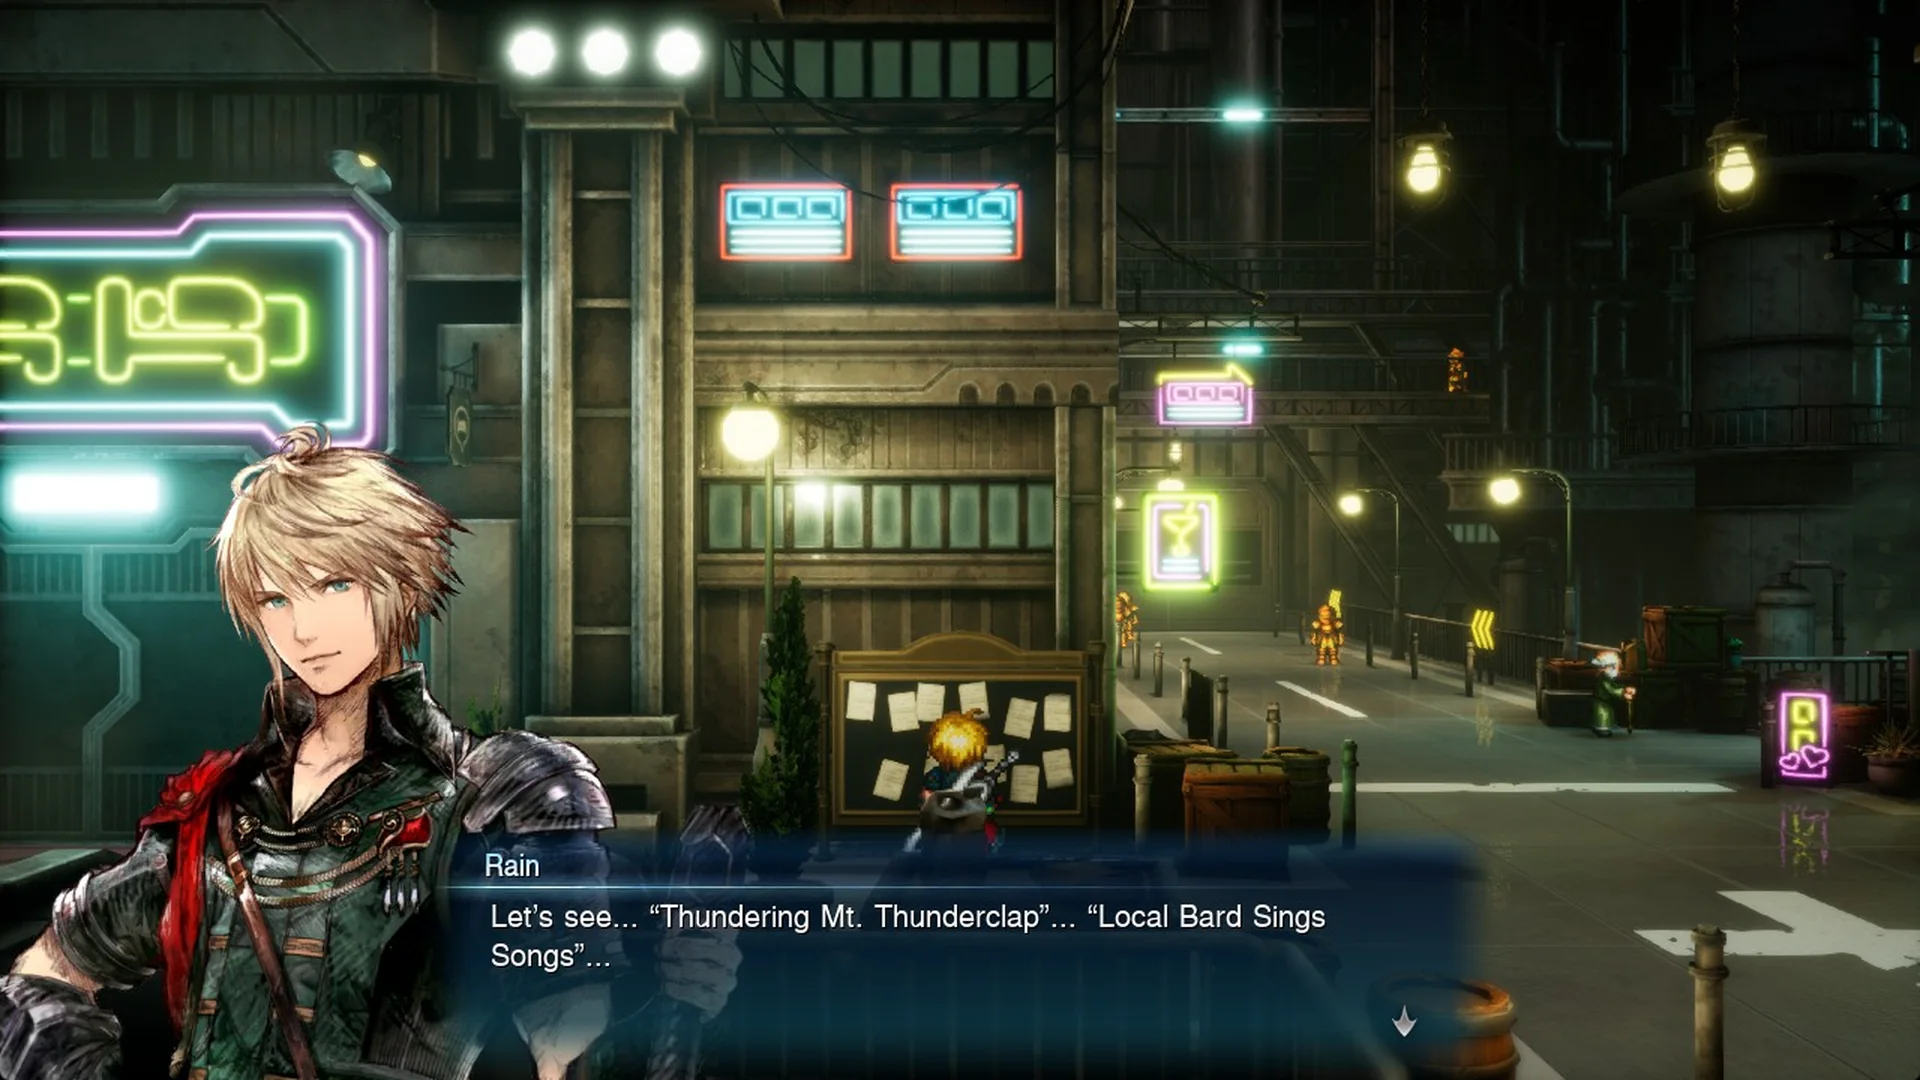
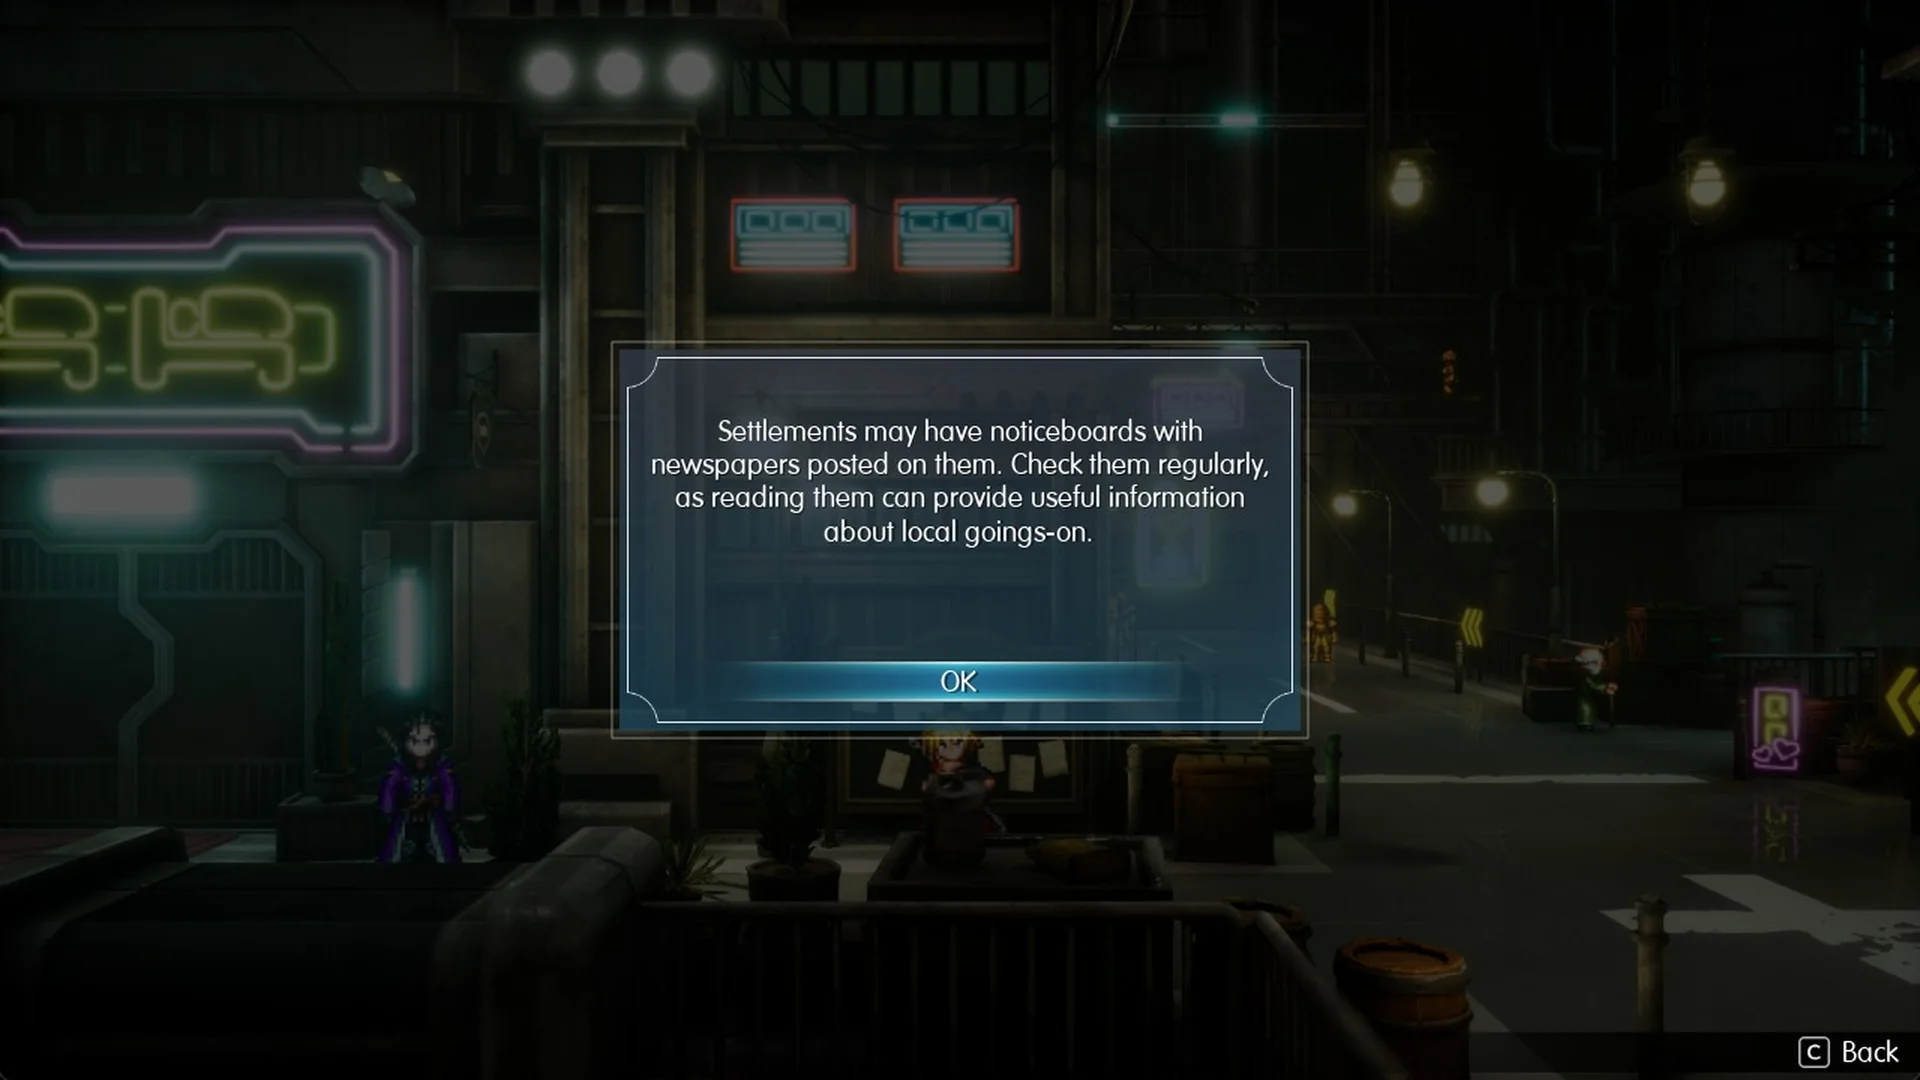
A tutorial follows: “Settlements may have noticeboards with newspapers posted on them. Check them regularly, as reading them can provide useful information about local goings-on.”
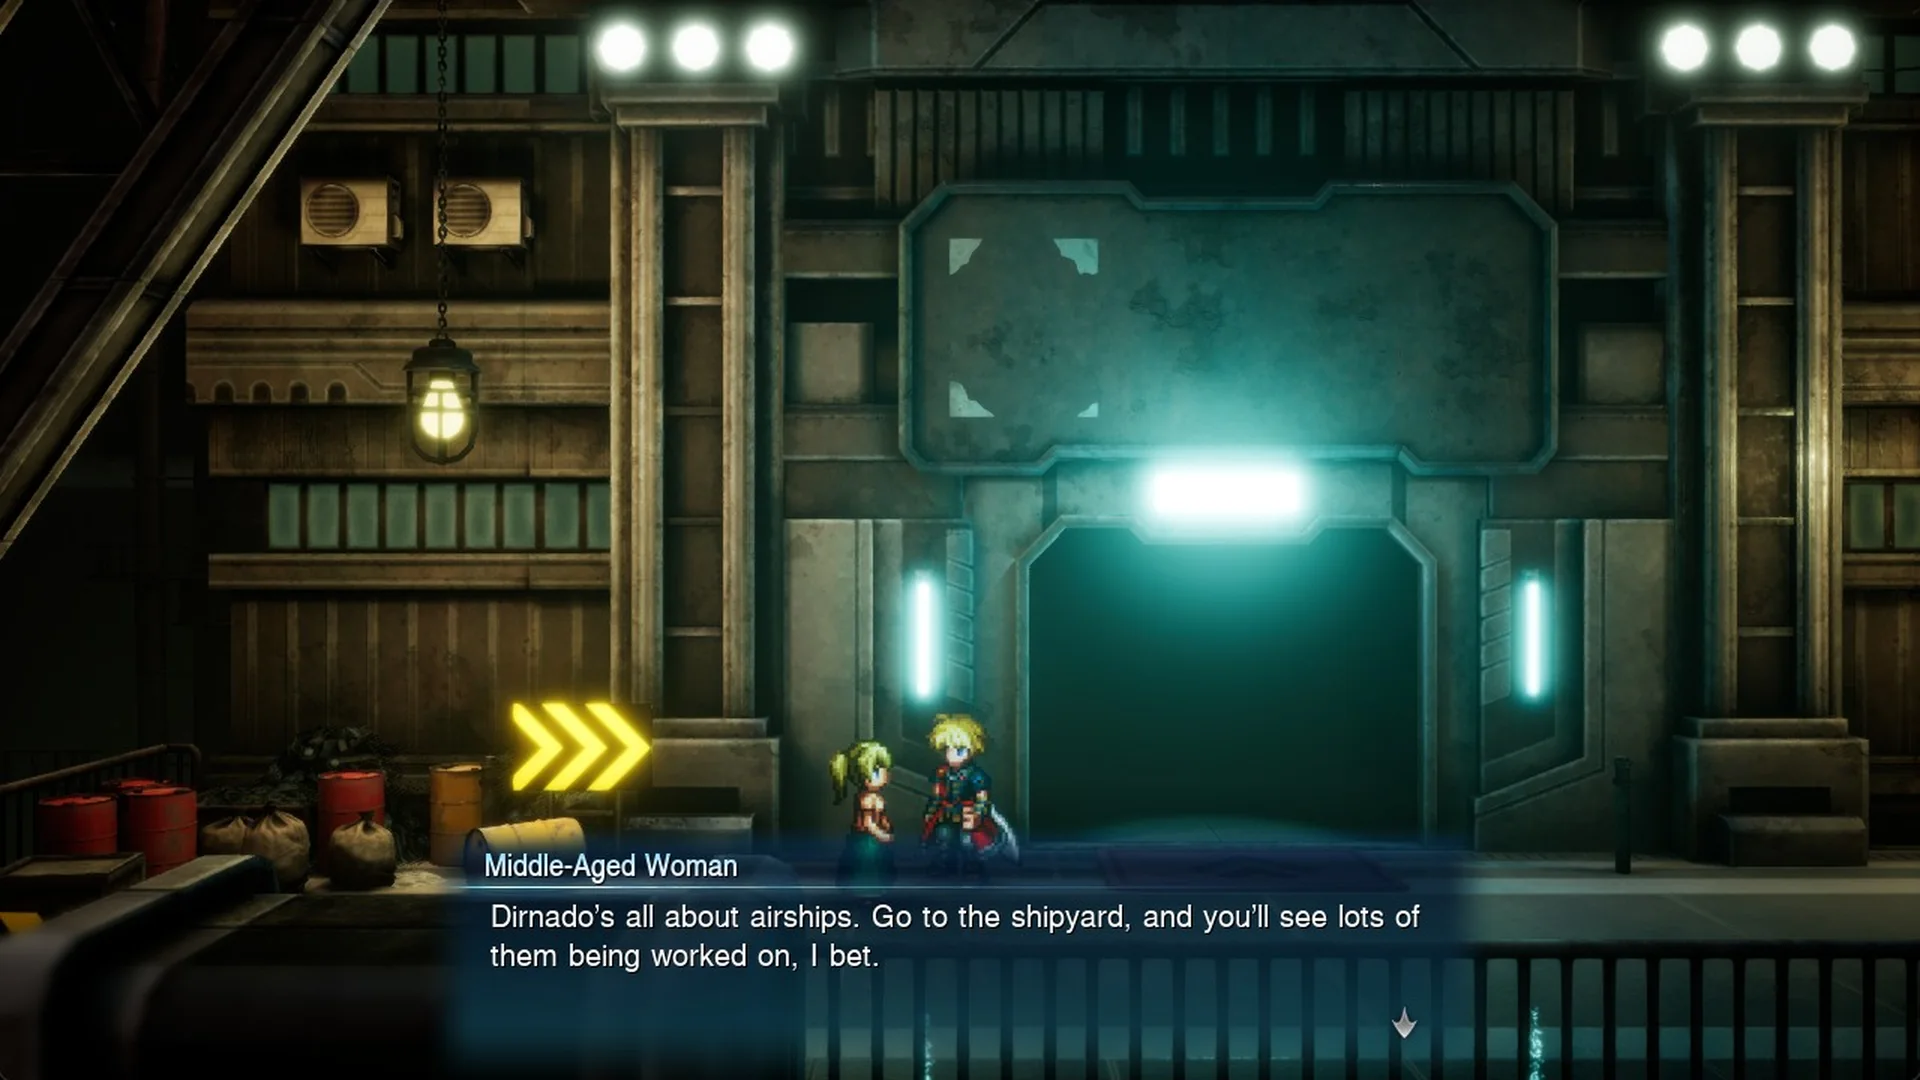
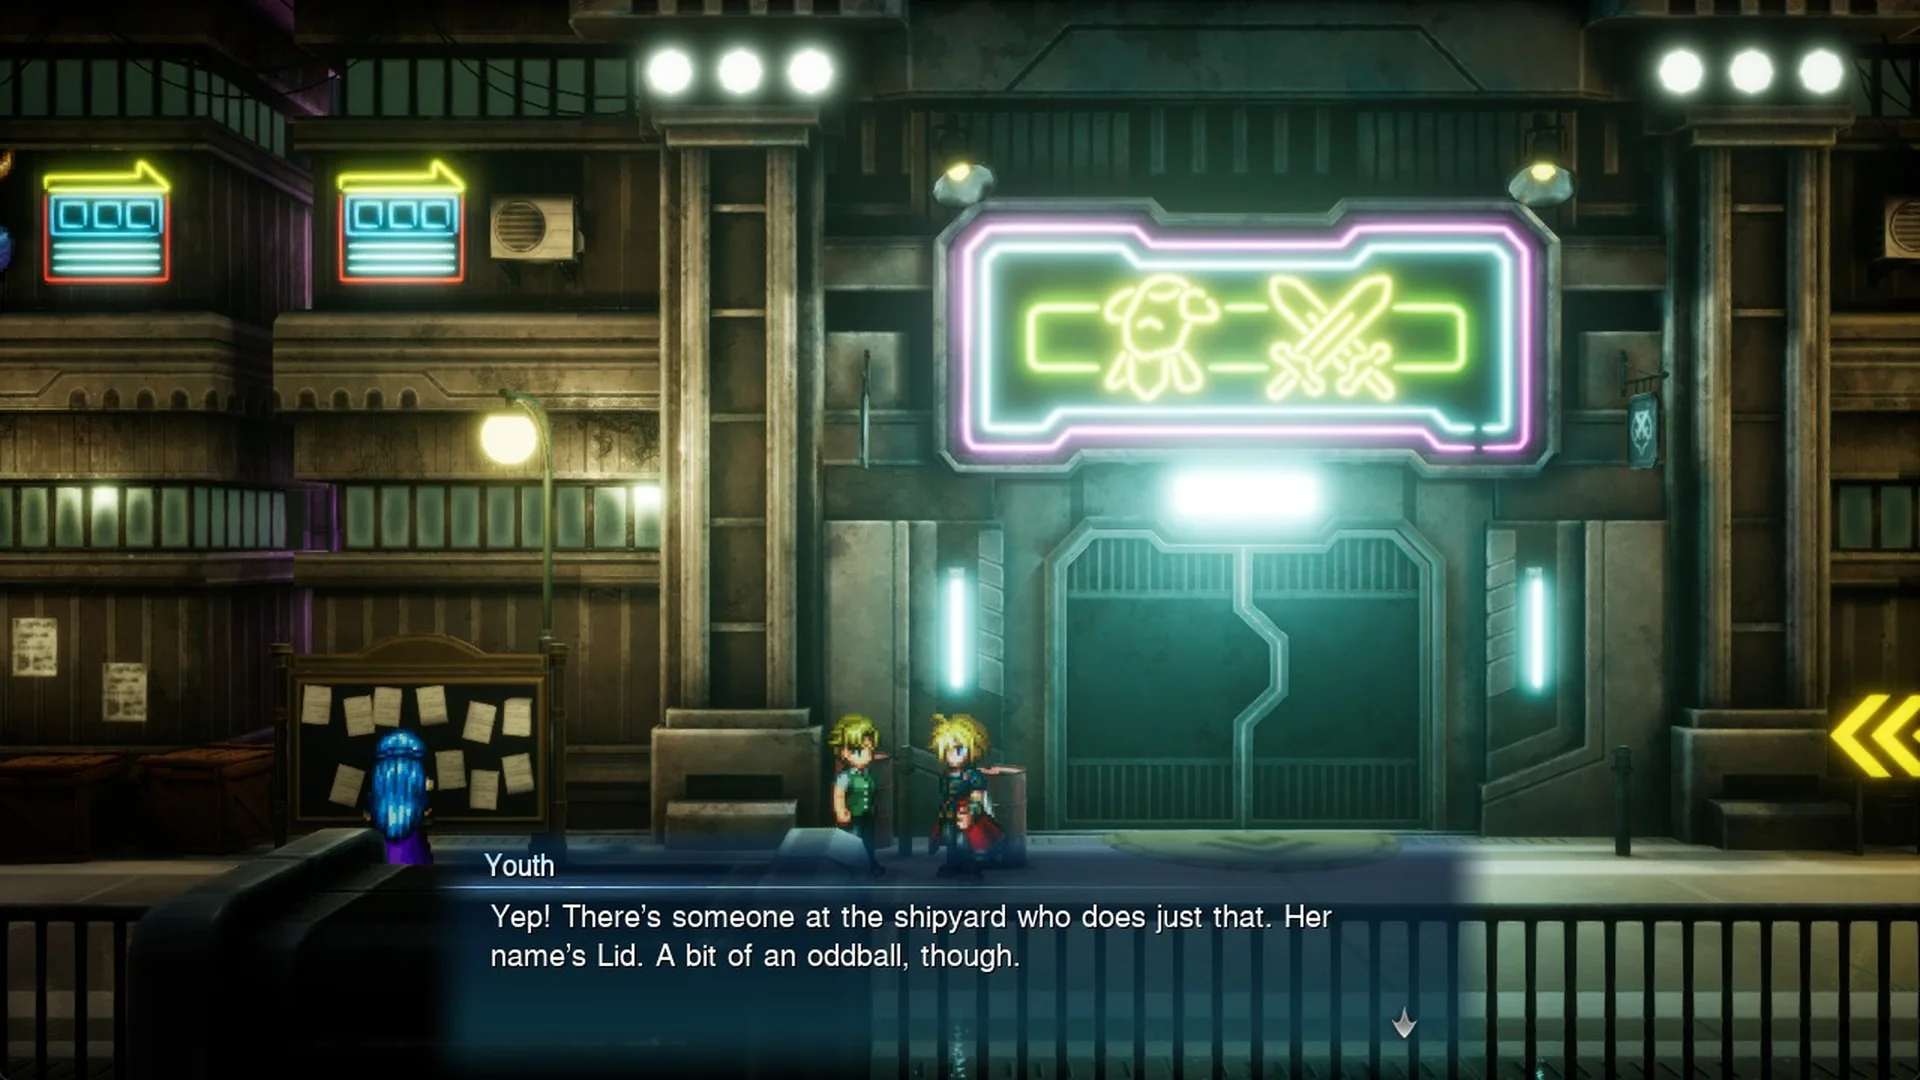
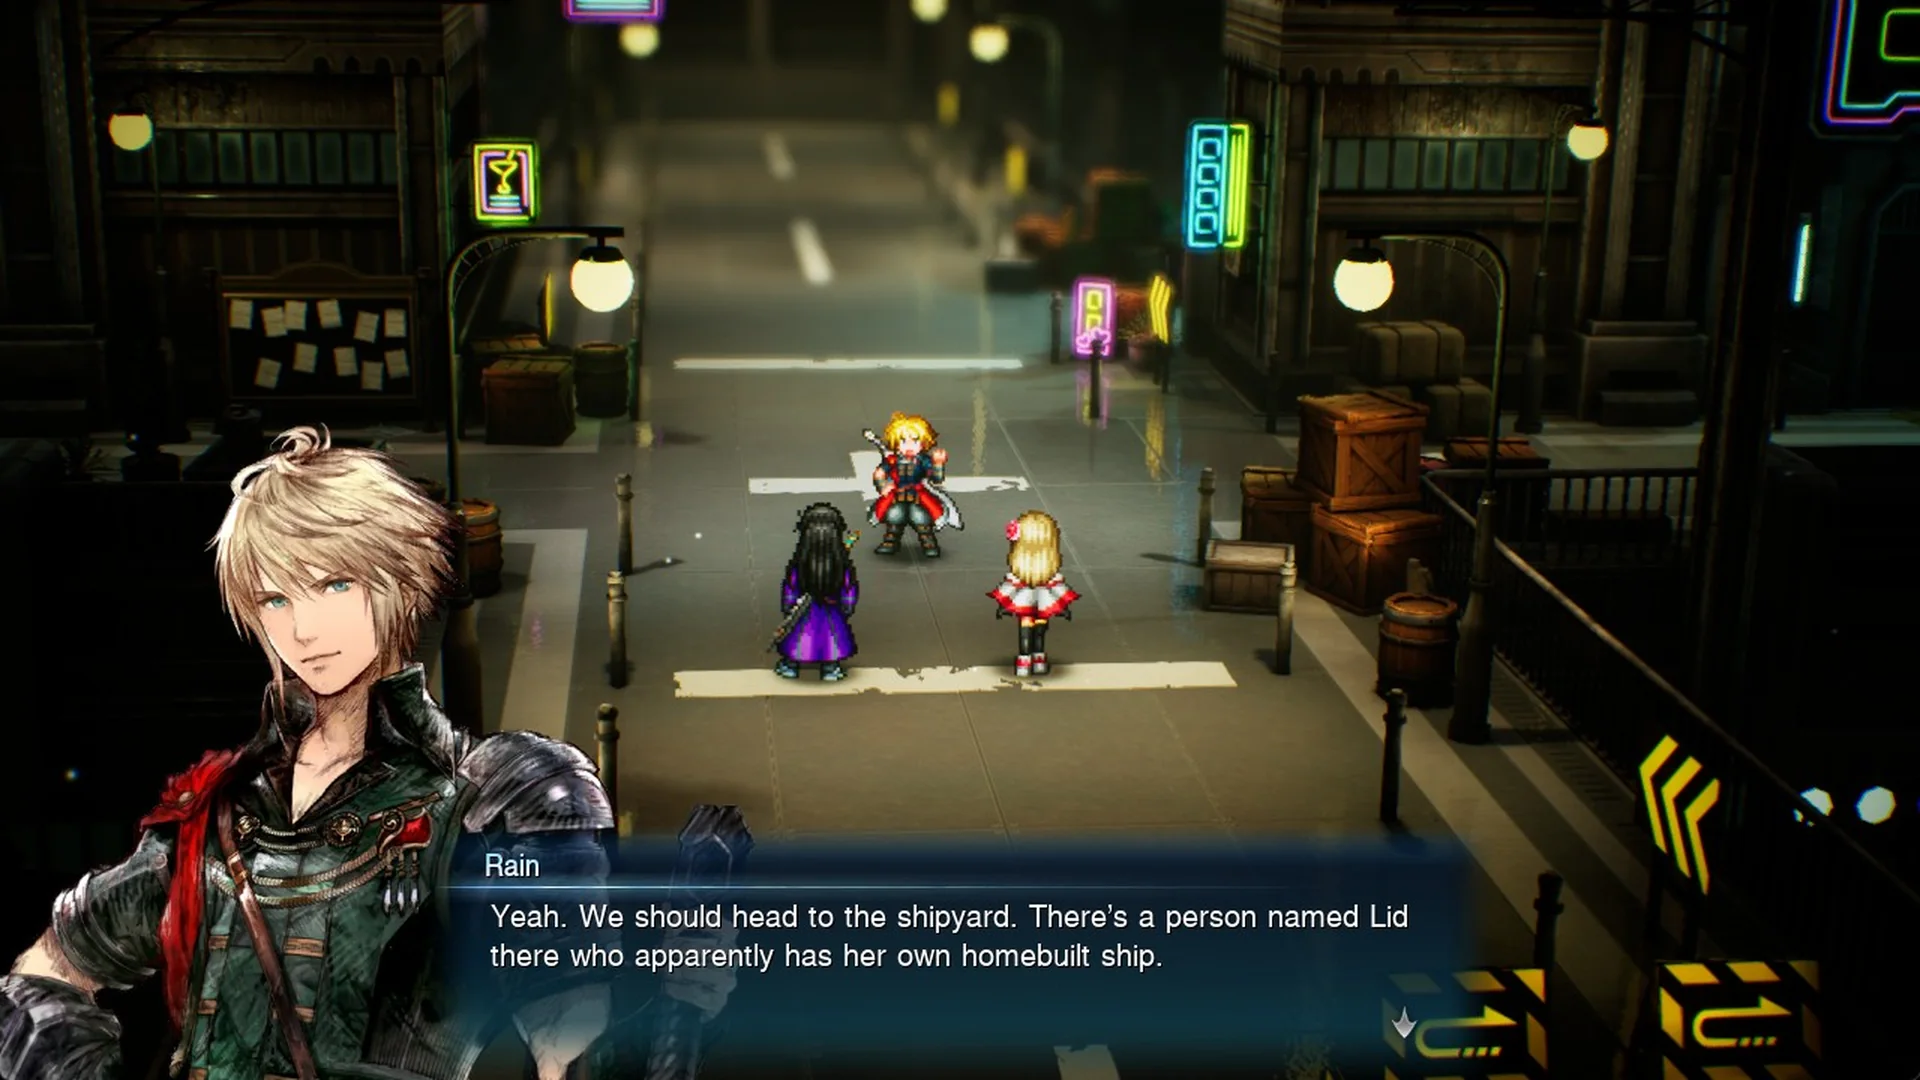
Fina adds “Woo-hoo! I can’t wait!” The objective changes to “Find Lid at the shipyard”.
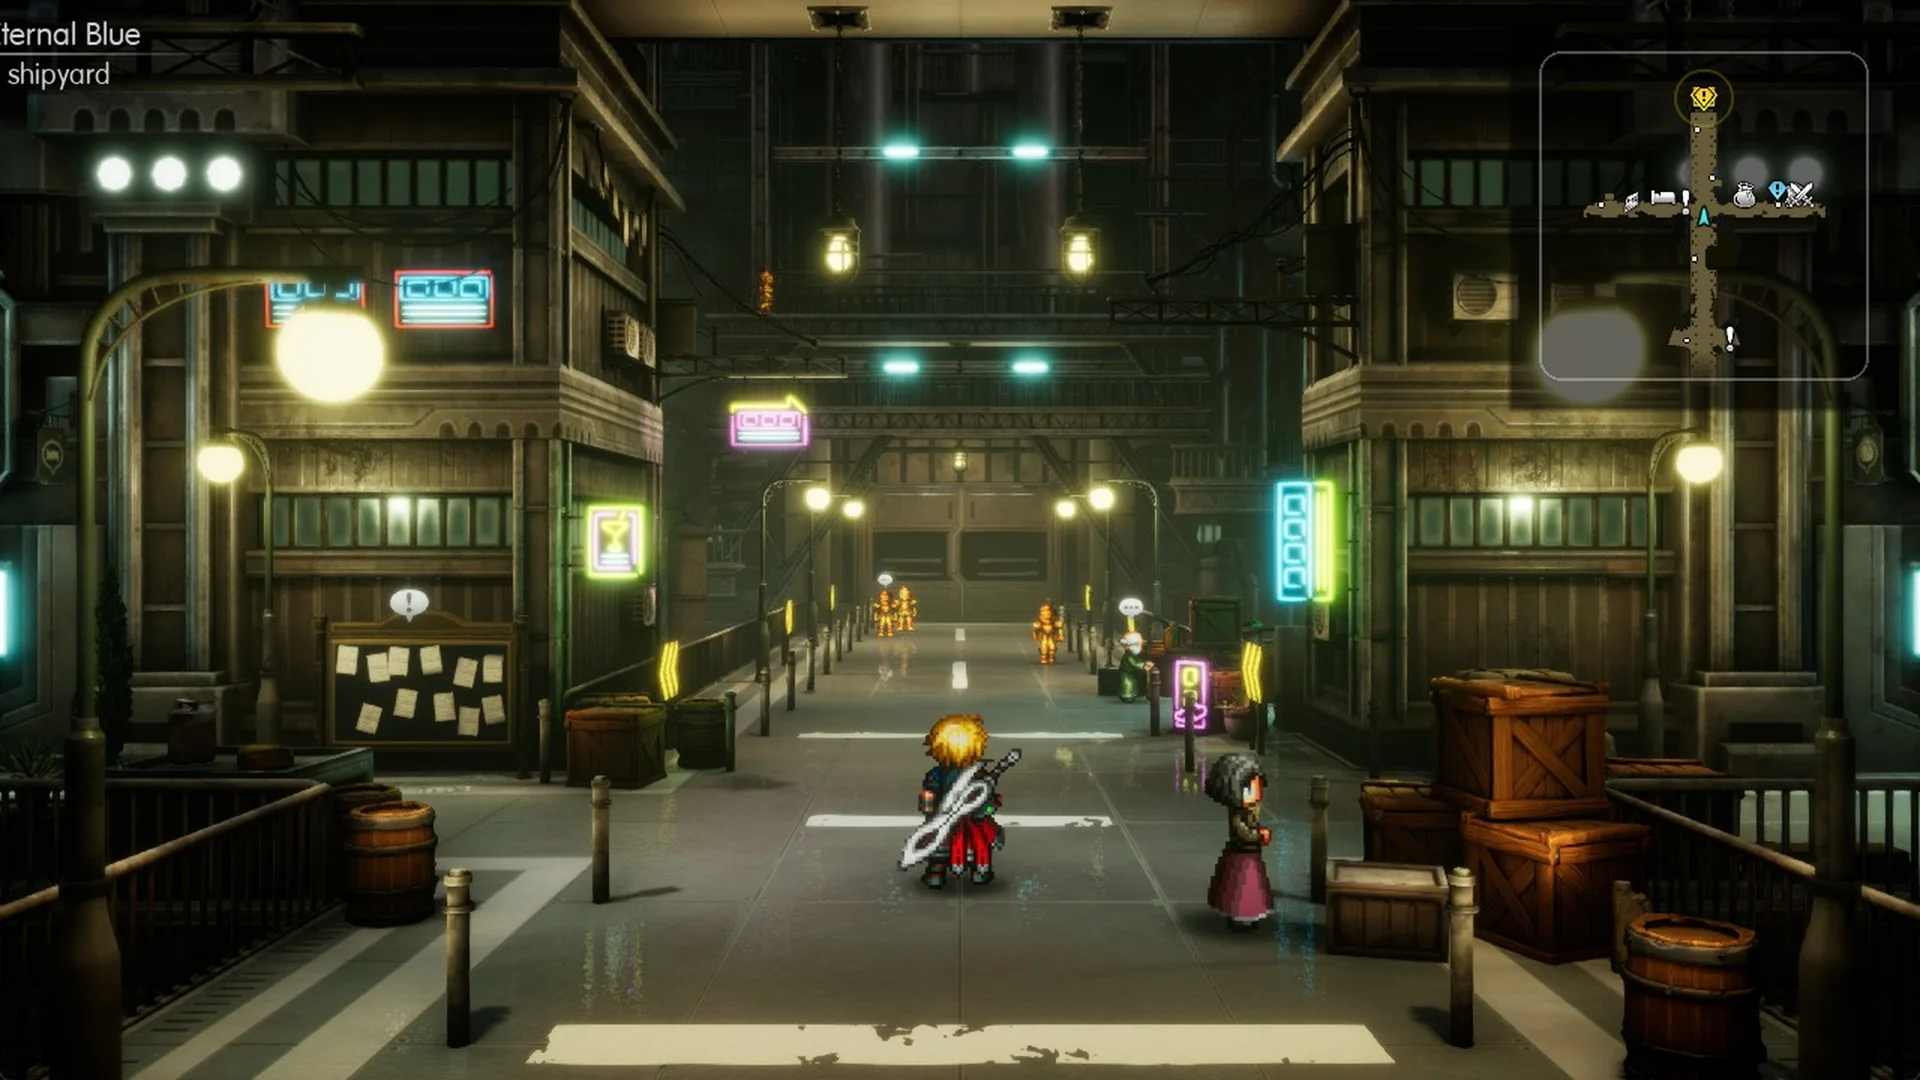
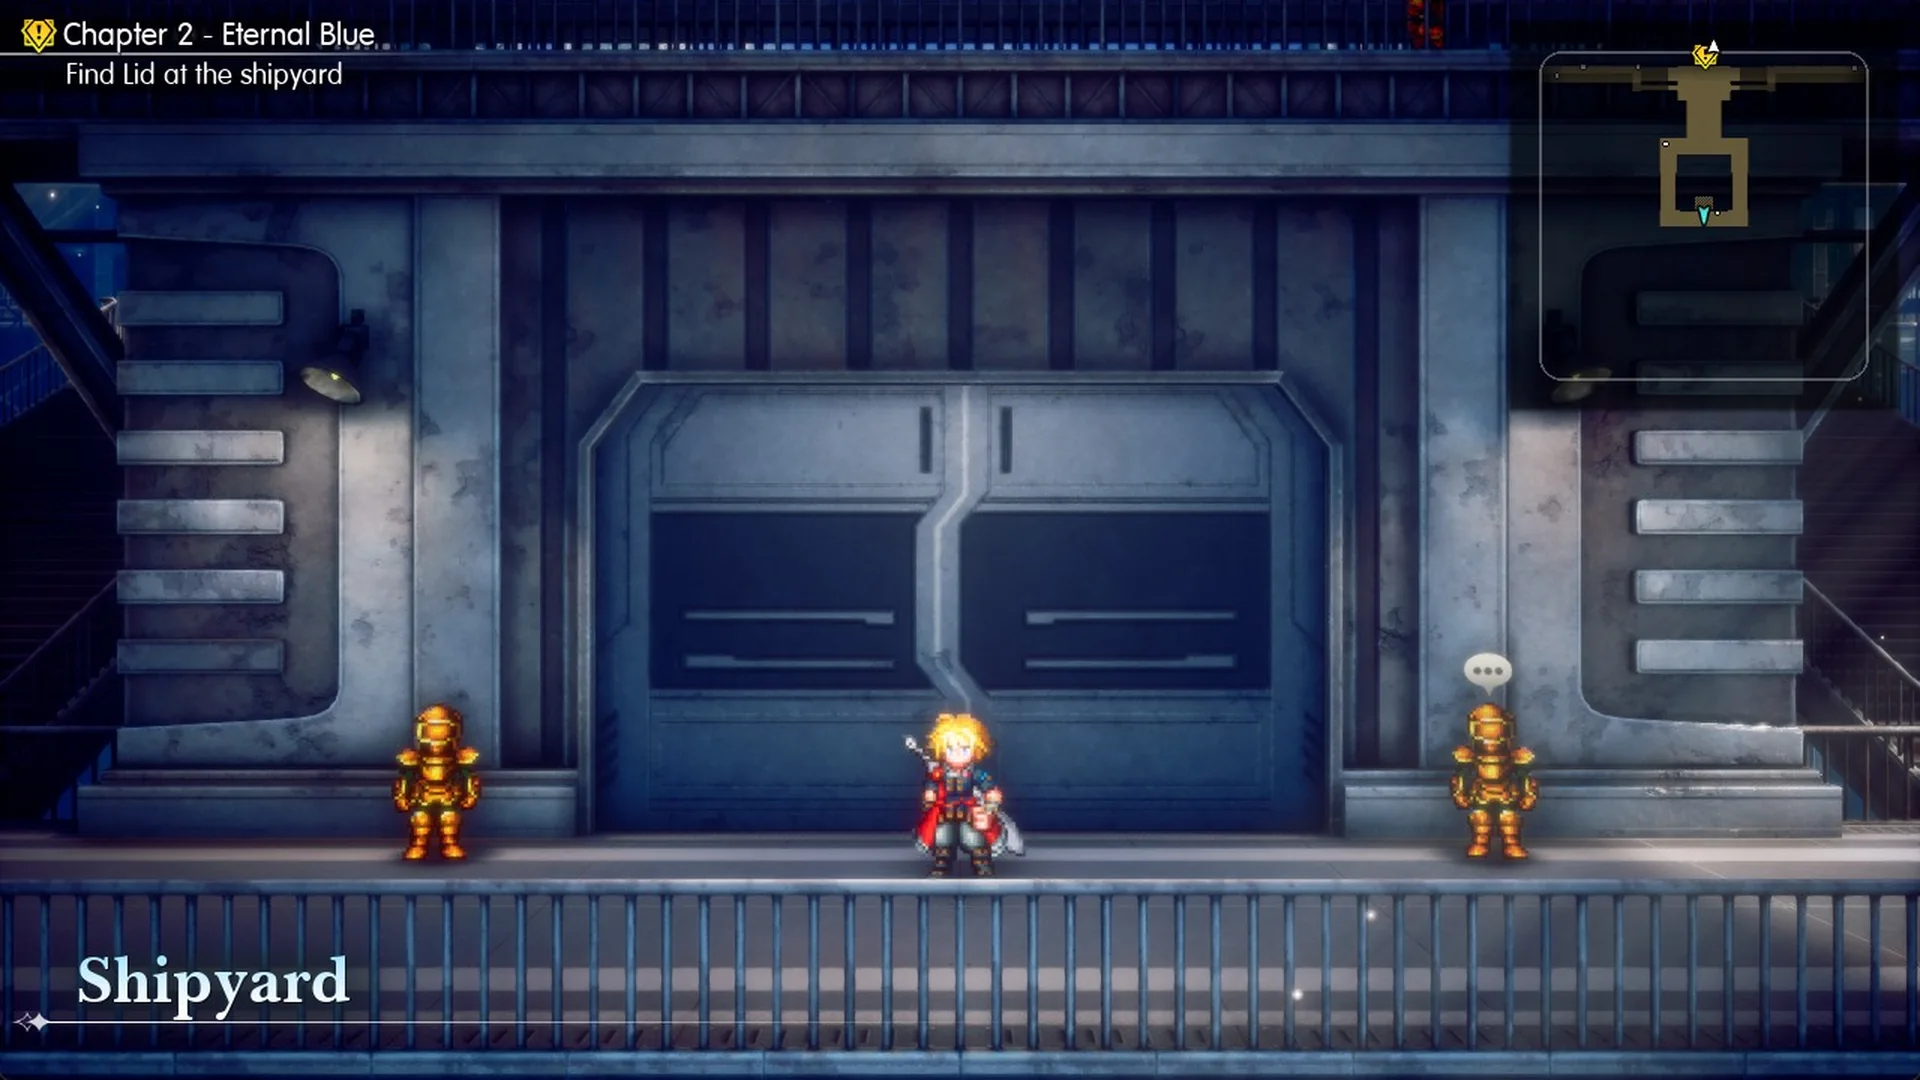
Find Lid at the shipyard
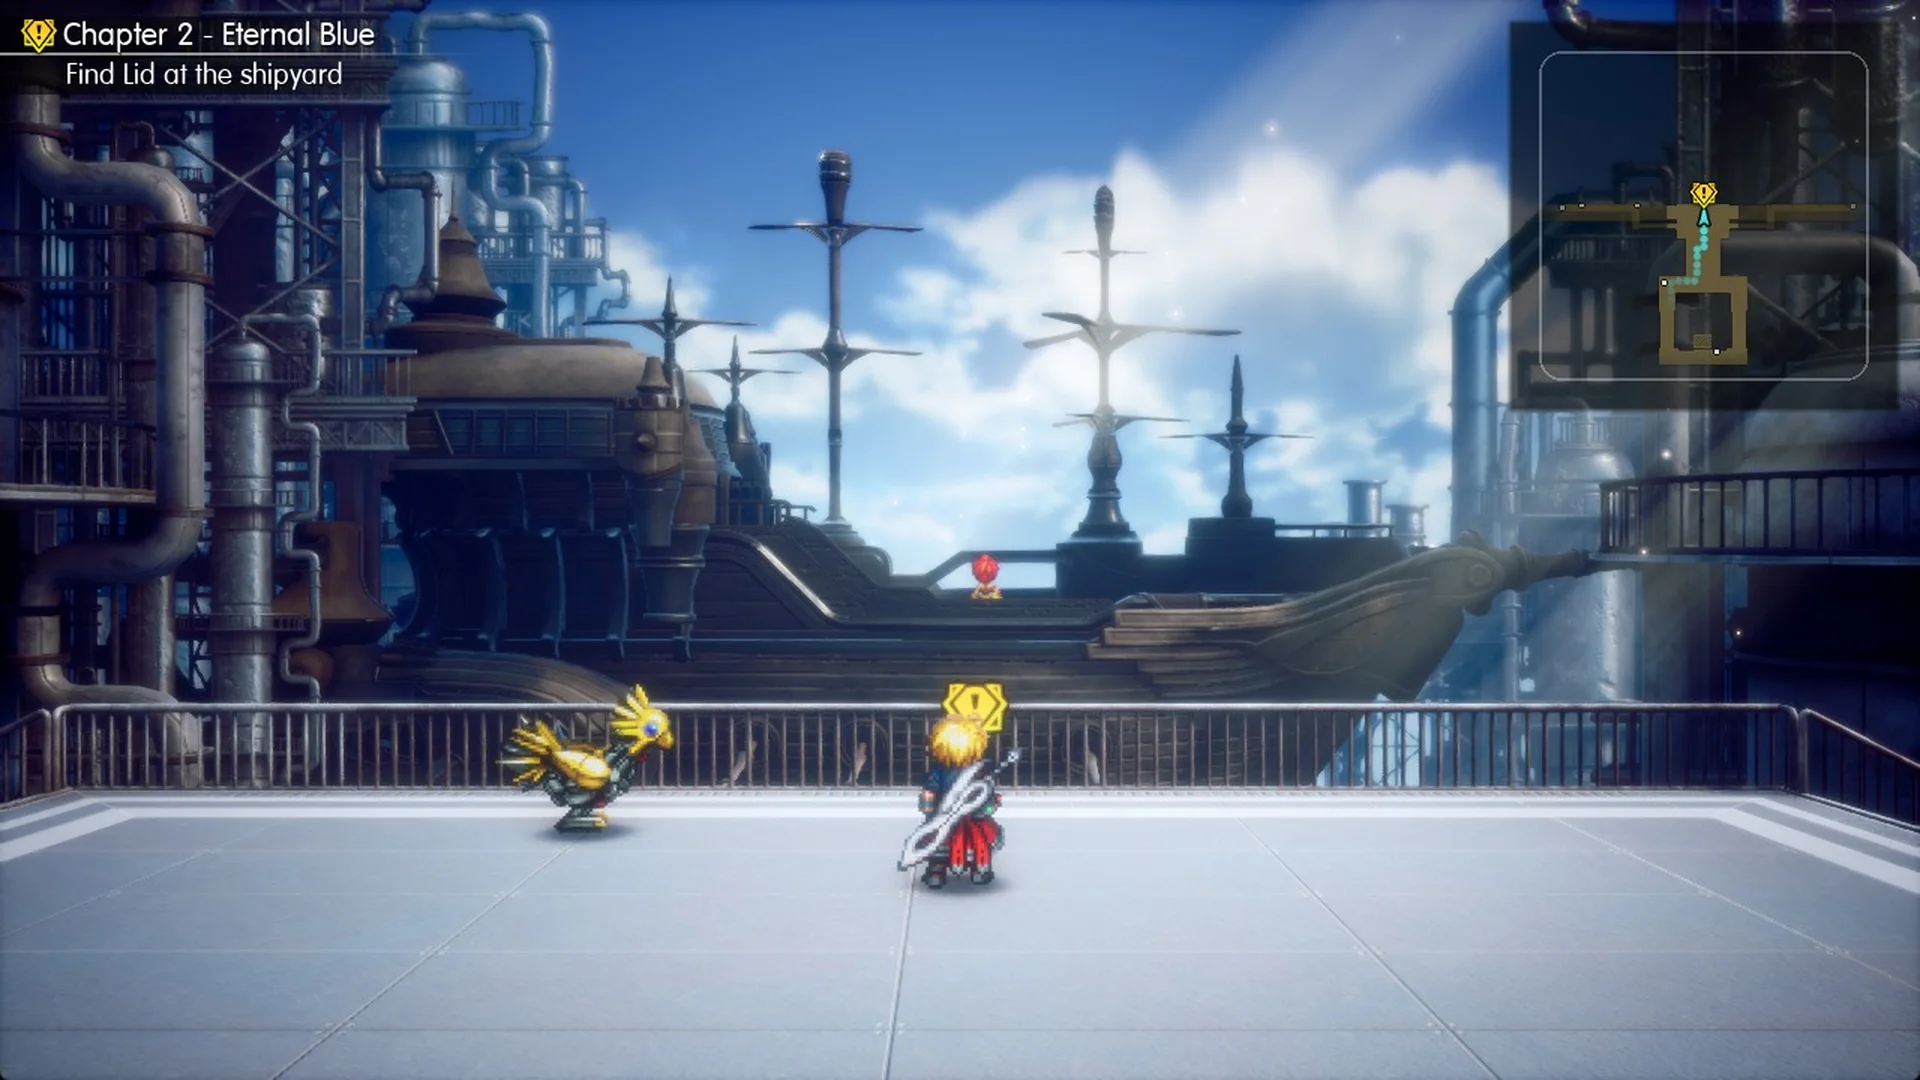
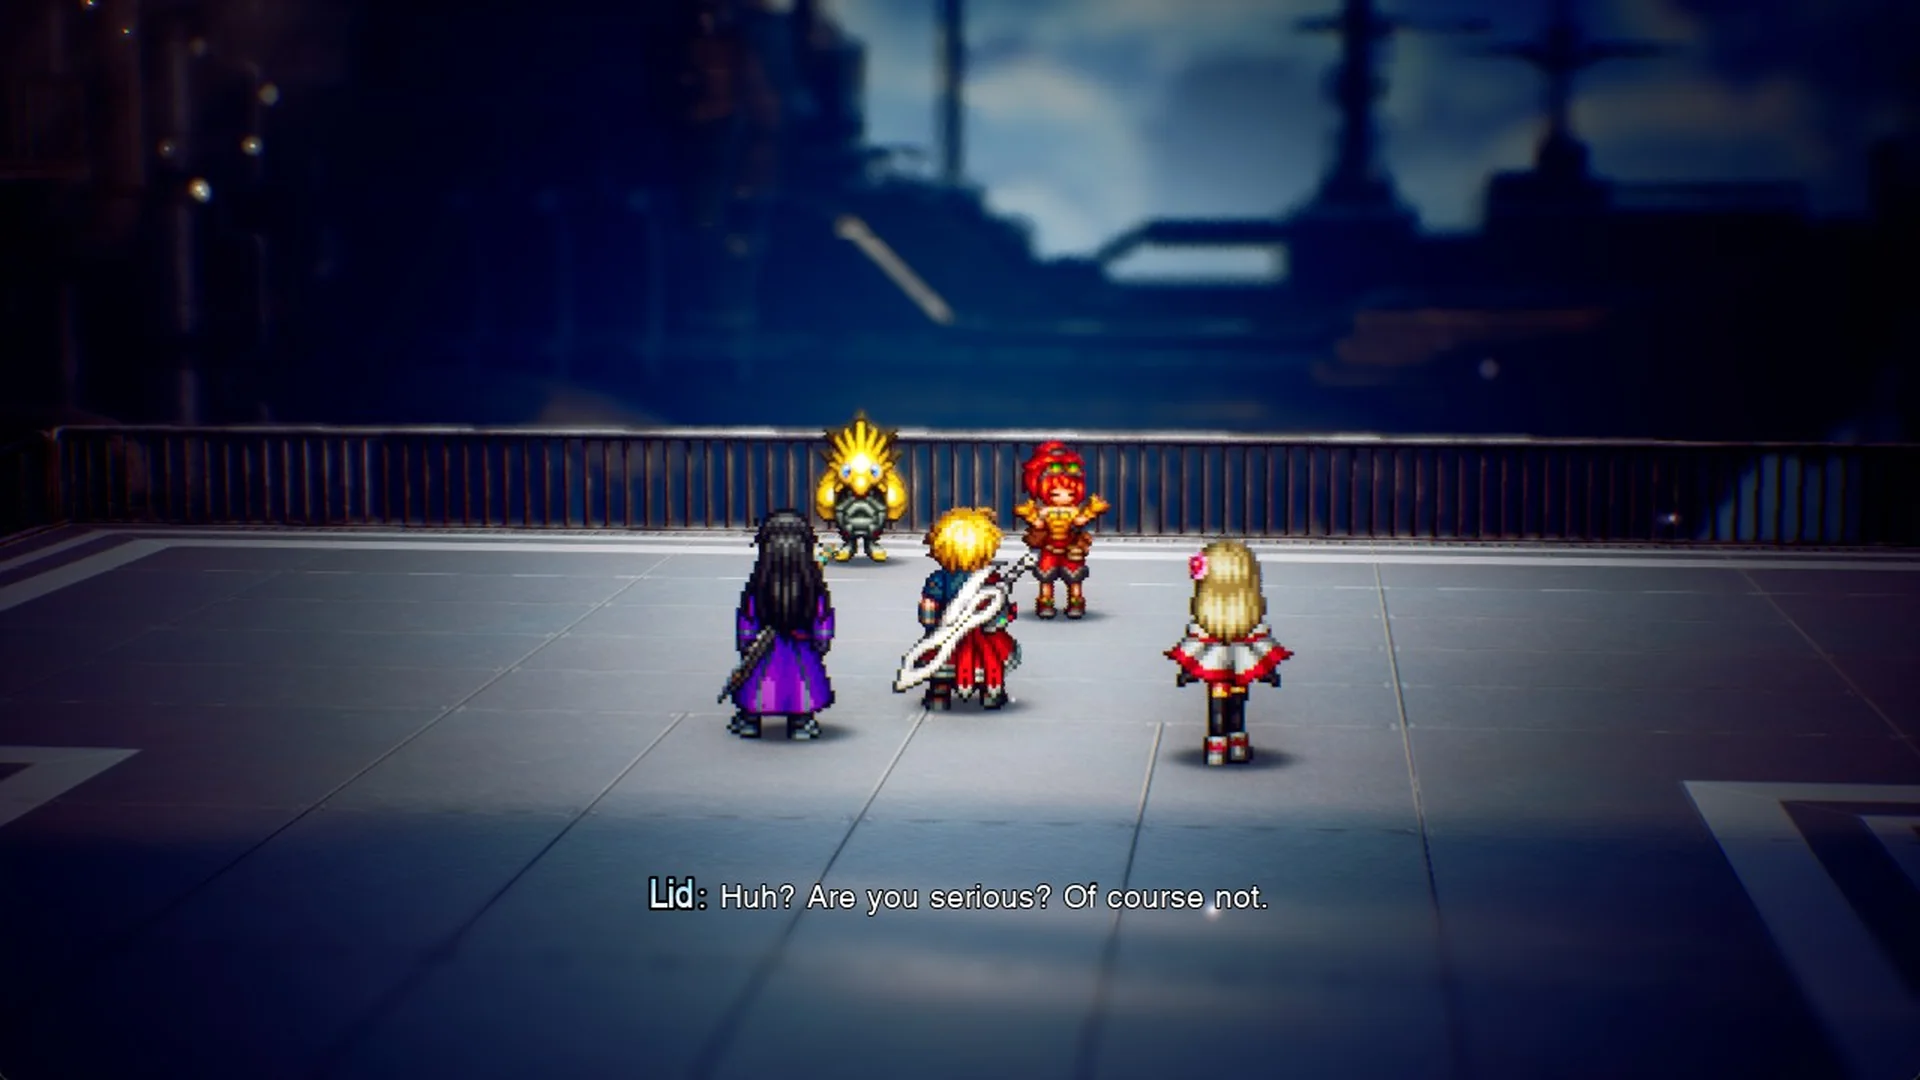
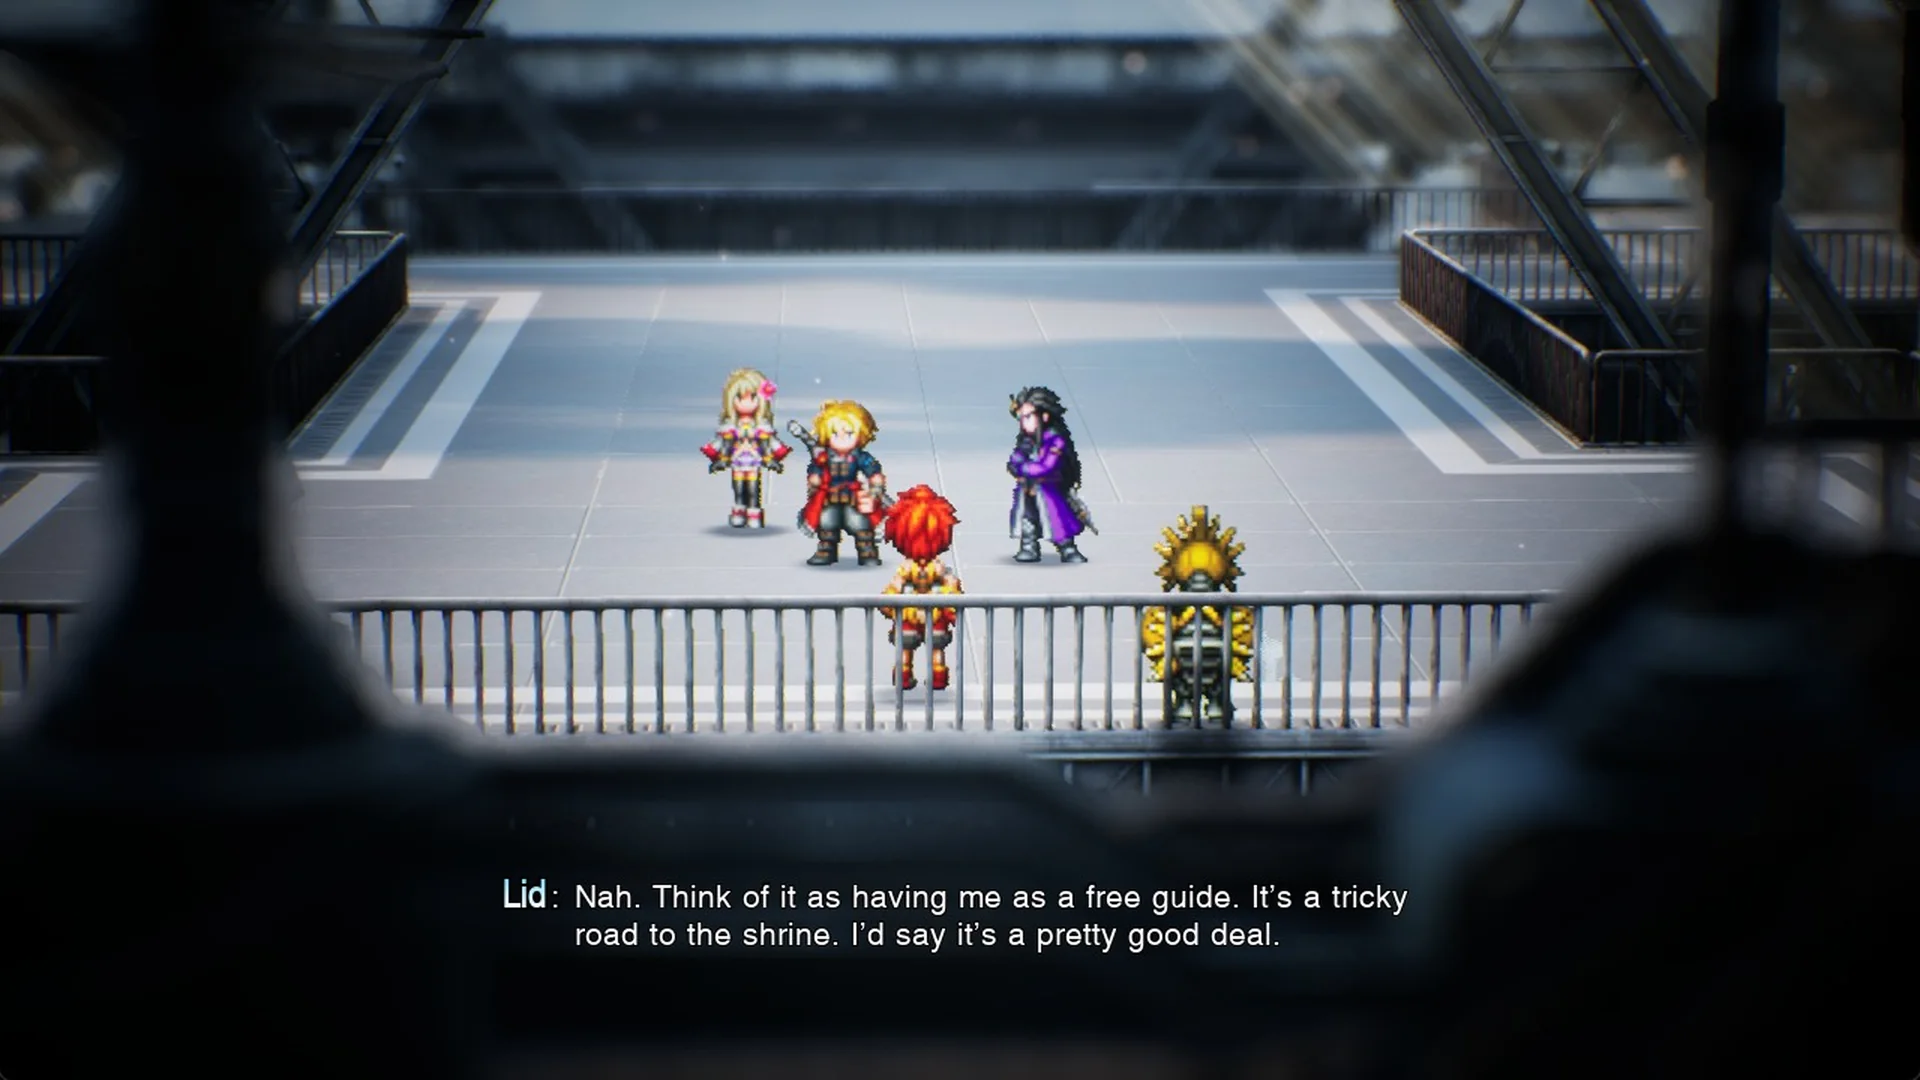
She explains that the ship is under repair and can’t fly right now, then offers to come along instead: “Nah. Think of it as having me as a free guide. It’s a tricky road to the shrine. I’d say it’s a pretty good deal.”
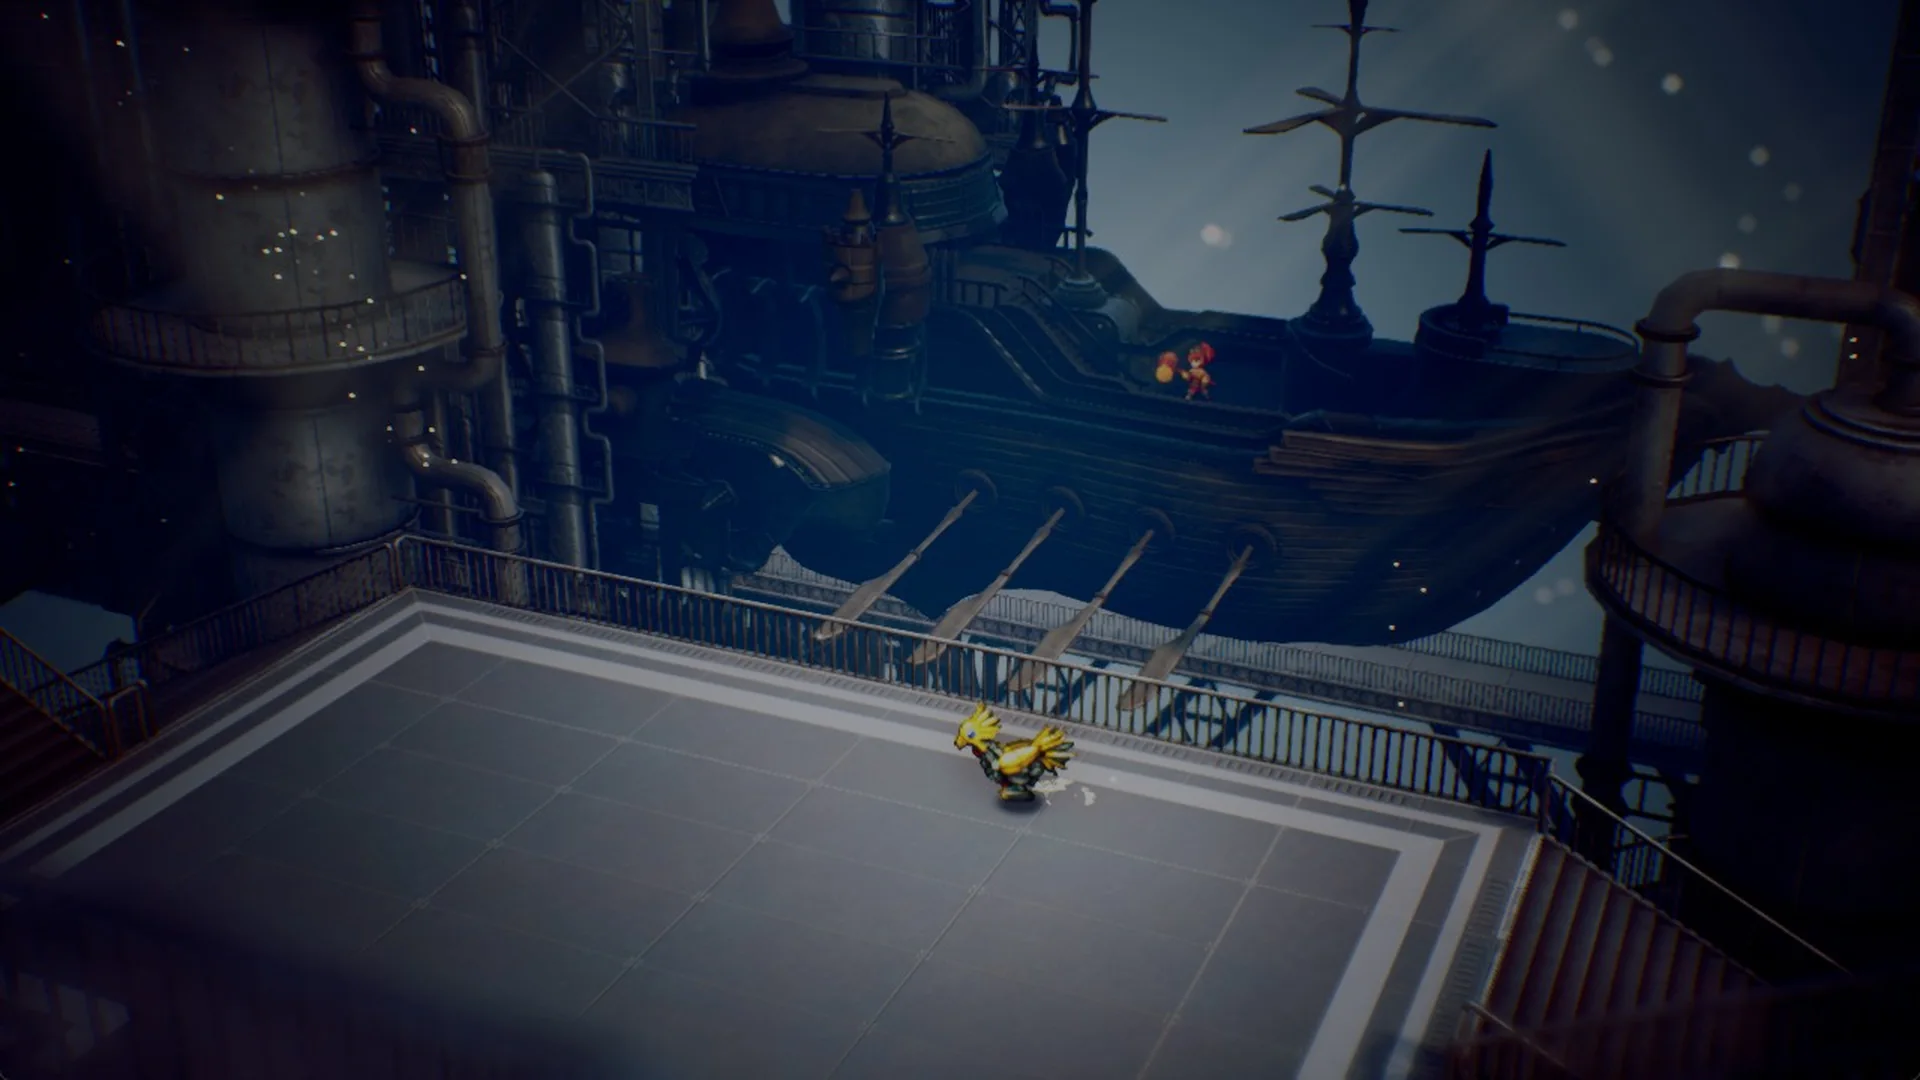
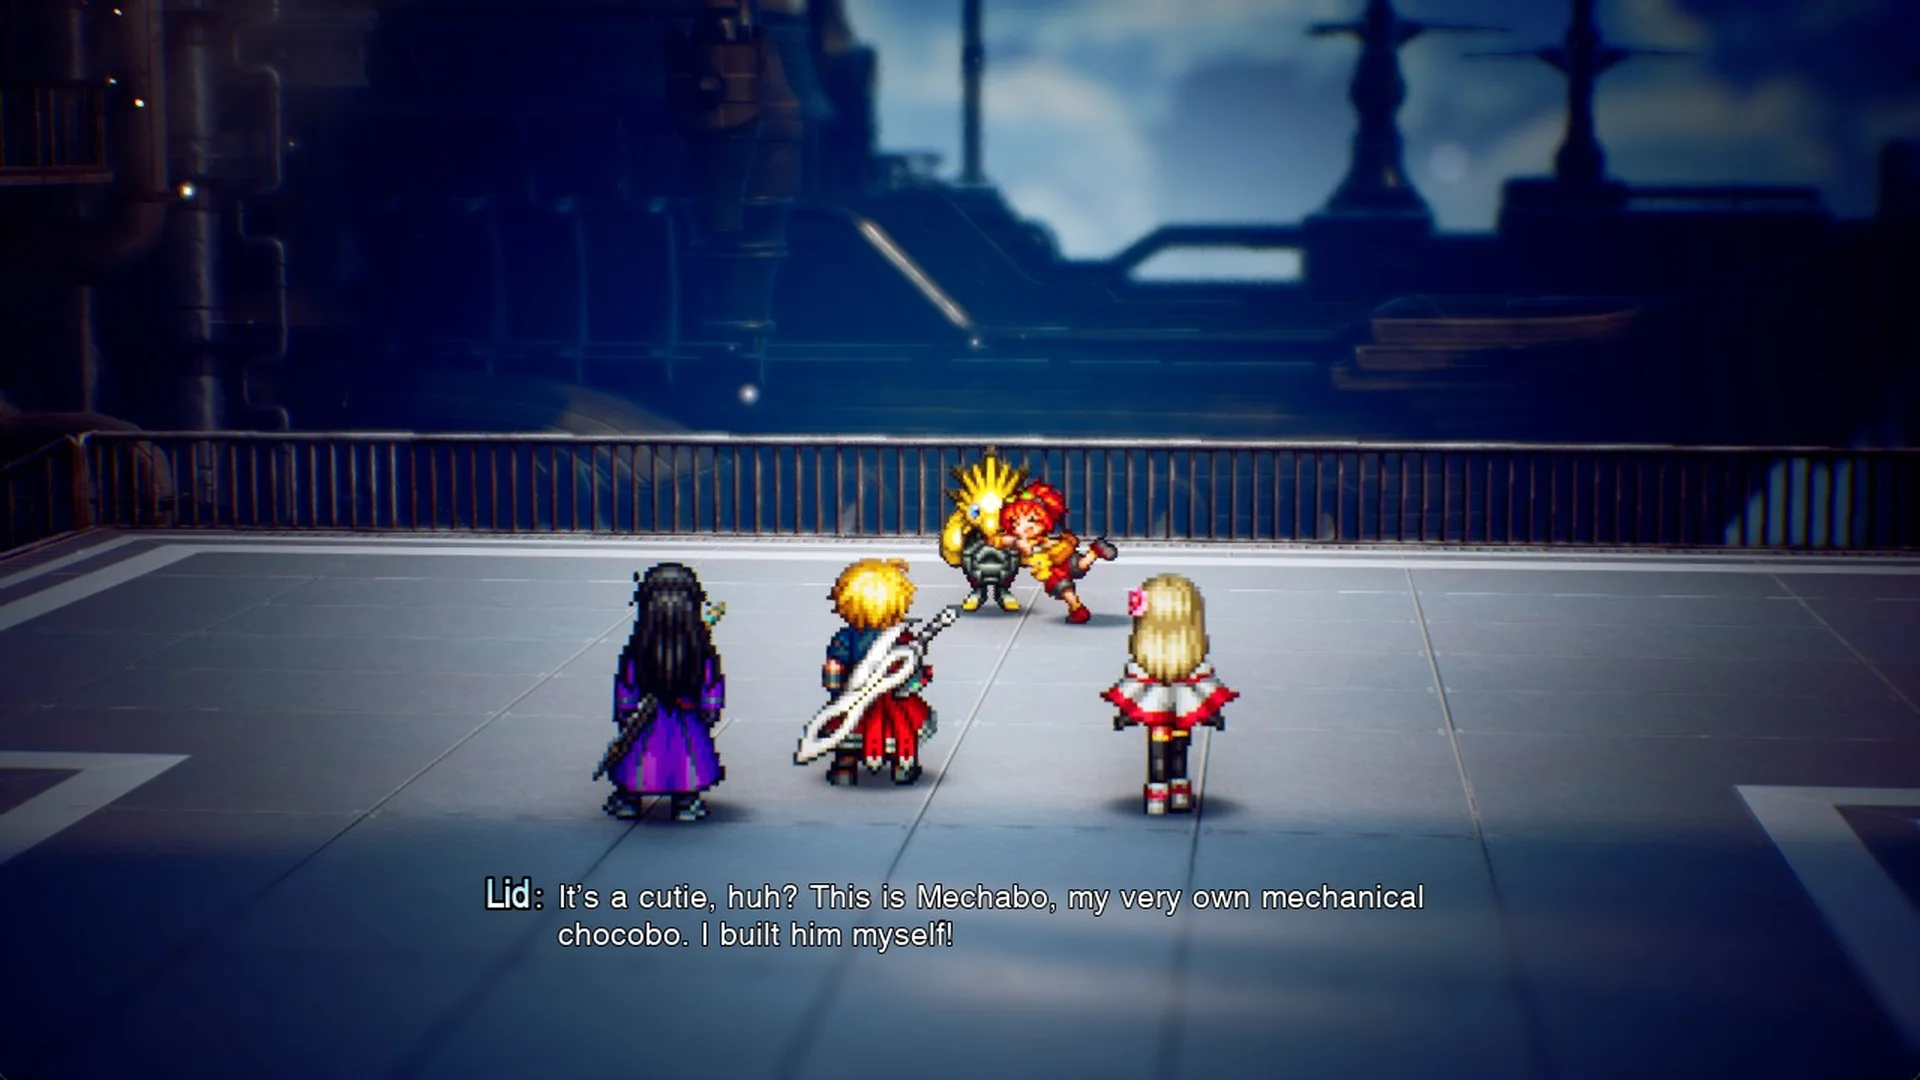
She also introduces her ride: “This is Mechabo, my very own mechanical chocobo. I built him myself!” There’s no dialogue choice to make. Her role, weapon and skills are in how Lid joins the party.
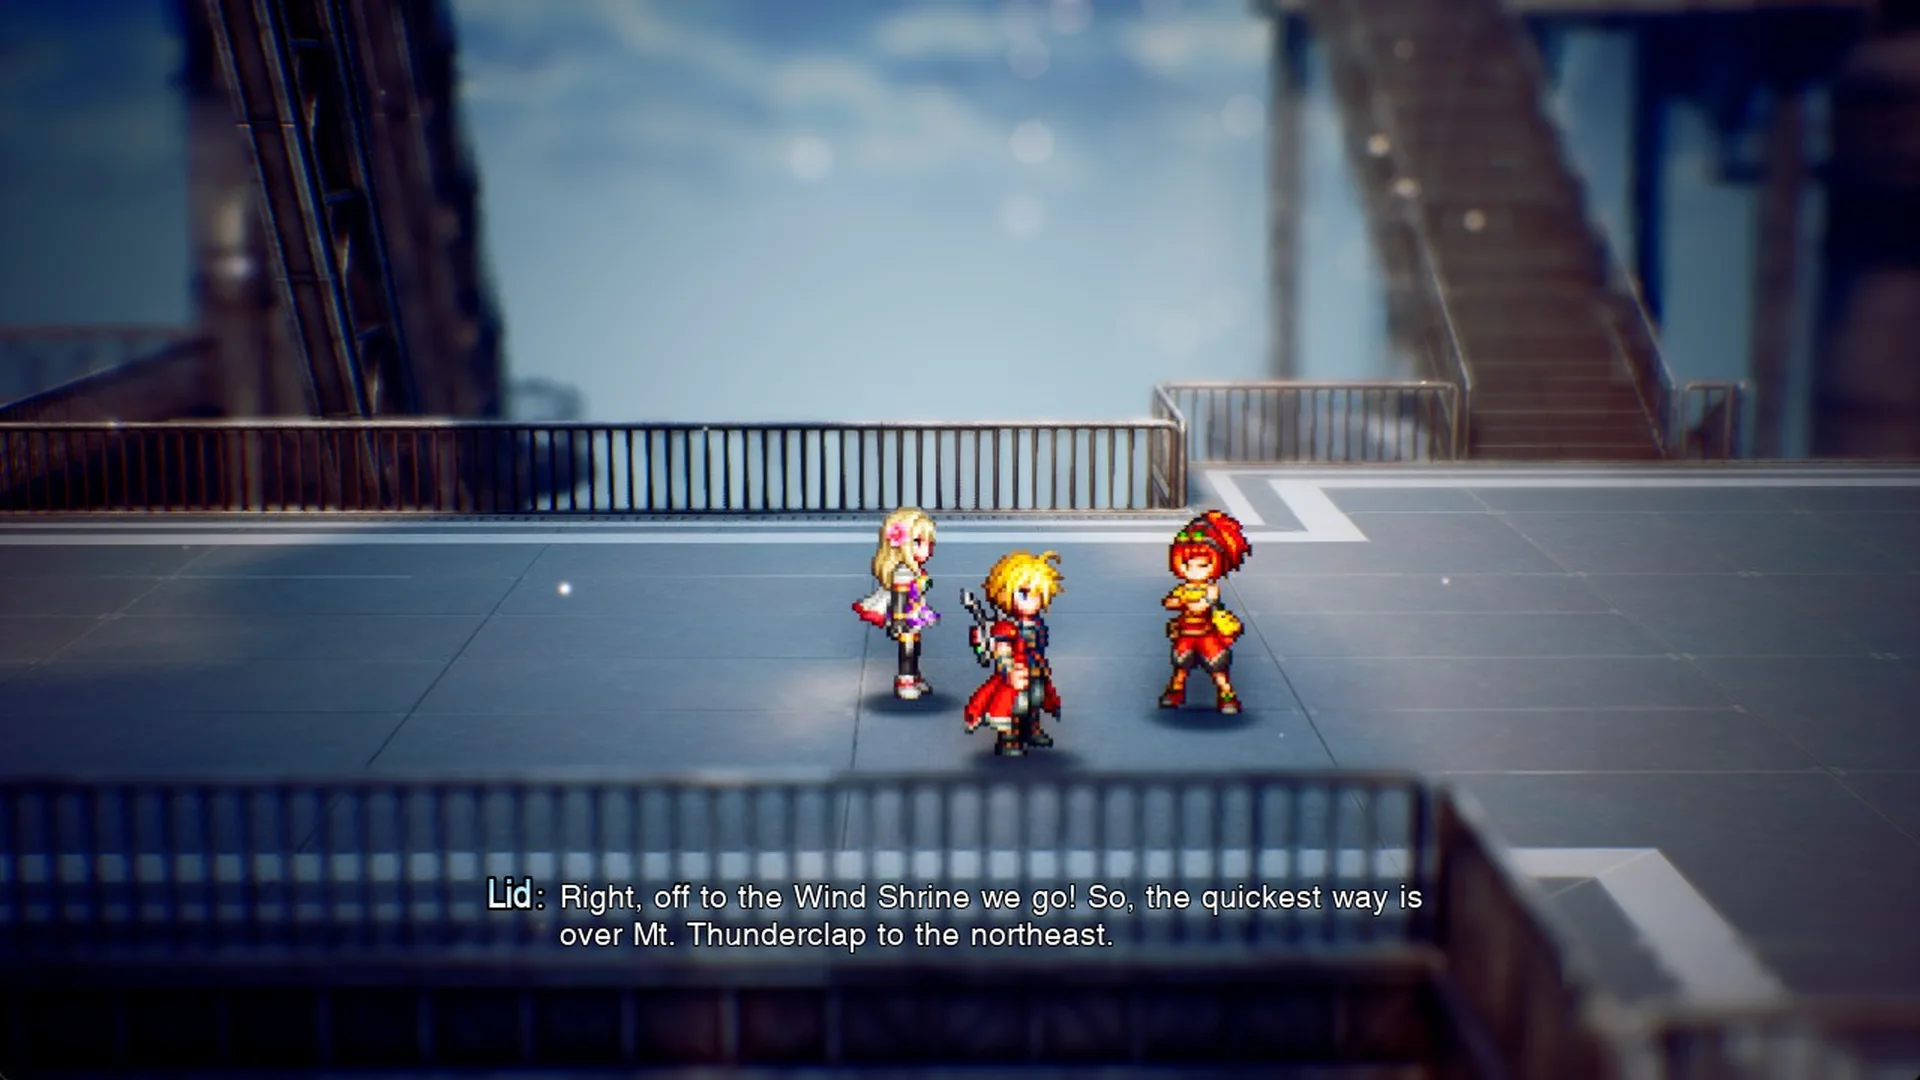
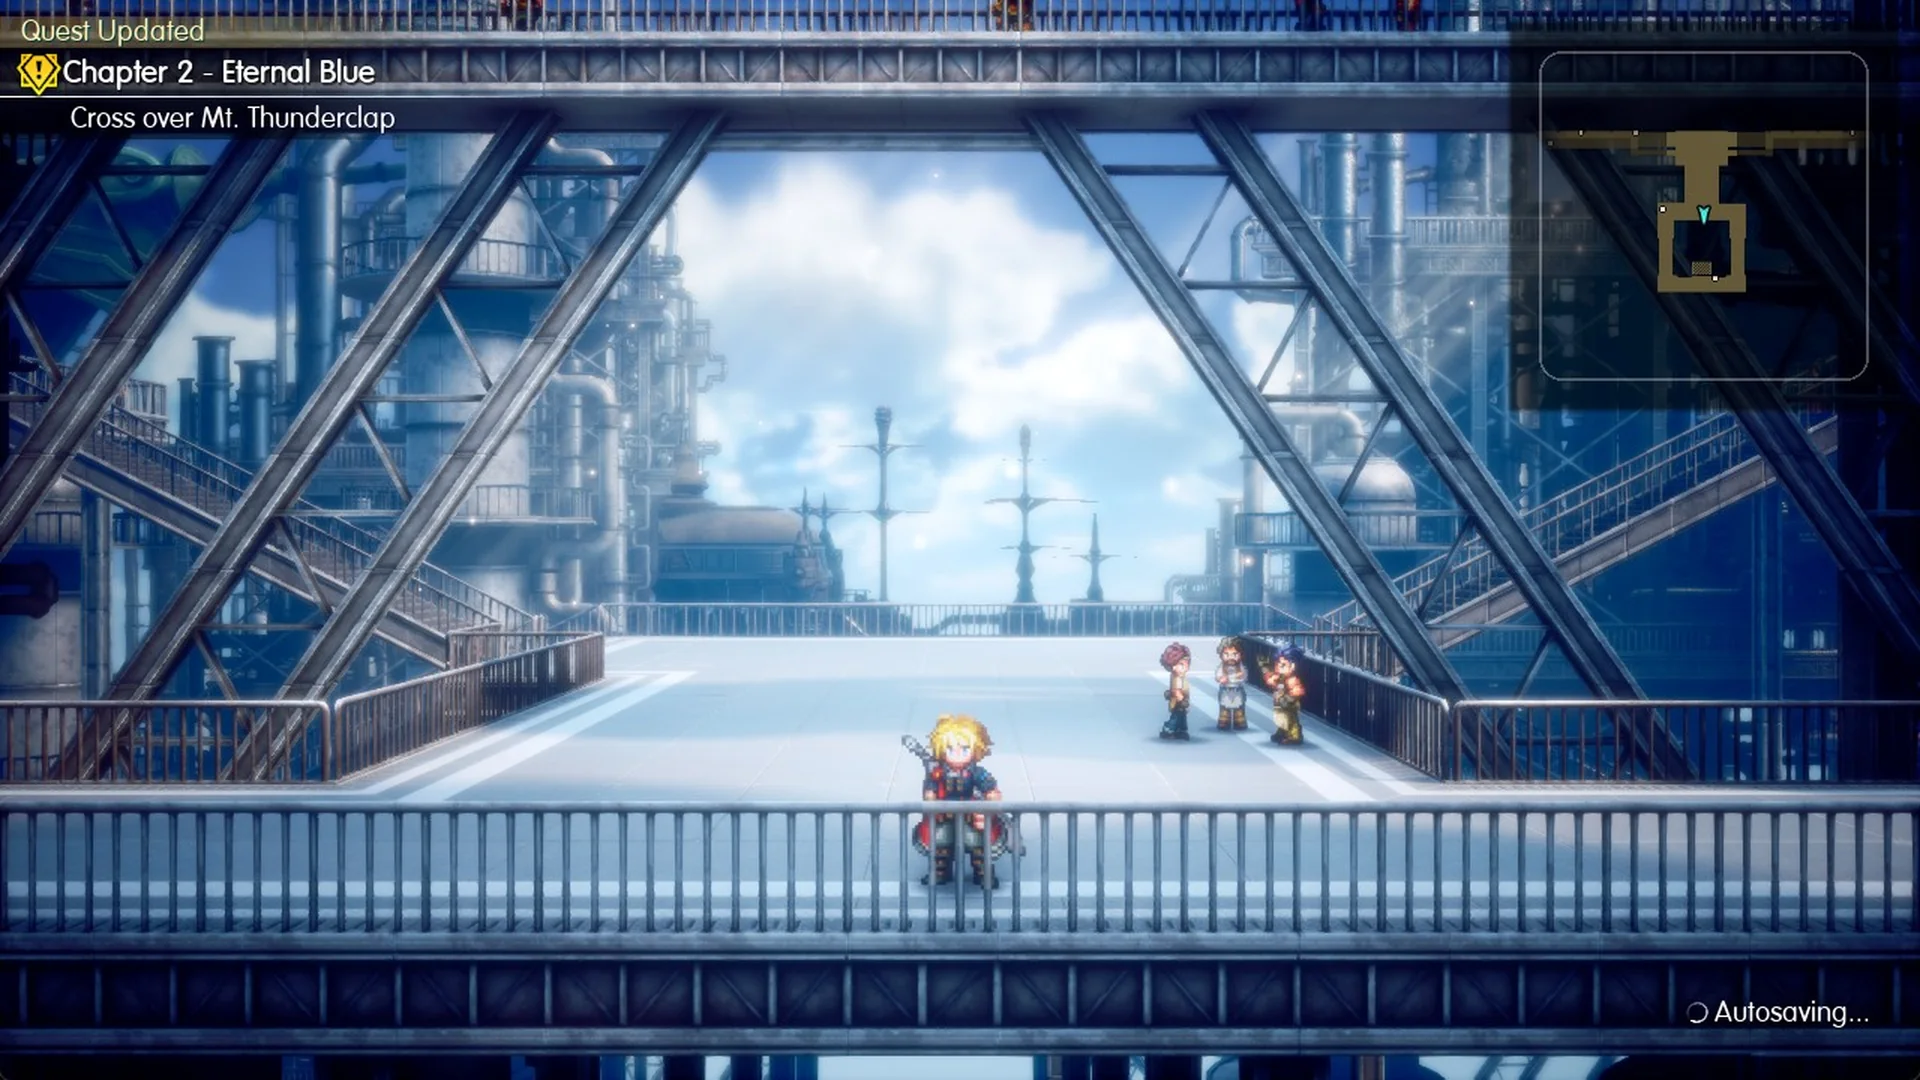
A Quest Updated banner confirms the new Chapter 2 objective, “Cross over Mt. Thunderclap”. Lid is in your party from this point.