No Spoils Get Left Behind is a Forsaken Dominion side quest in Norgan. A commission soldier named Chrona fled an ambush in Putrid Copse and dropped the spoils she was gathering for her comrades, and she wants them back. The quest has two parts. First you escort her through the fog and keep her alive. Then there is a timed detour to a cavern full of Lv. 4 gear, which most players miss if they wander off.
Quick answer: Finish The Castle in the Ice, meet Chrona at the gate by the sealed study, protect her through two straggler ambushes and a chimera, then go straight to Woodland Retreat without leaving Putrid Copse.
No Spoils Get Left Behind requirements and rewards
| Detail | Value |
|---|---|
| Quest type | Forsaken Dominion side quest |
| Prerequisite | The Castle in the Ice |
| Quest giver | Chrona |
| Area | Putrid Copse, Norgan |
| Stages | 11 |
| Gold | 50,000 G |
| Experience | 80,000 XP |
| Bonus spoils from Chrona | Spoils: Lv. 4, Bowstaff; Spoils: Lv. 4, Light Weaponry |
Chrona hands over the gold, experience, and the two Lv. 4 spoils as soon as the escort ends. The cavern detour afterward adds more loot on top of that, but it does not change the quest reward itself.
Escorting Chrona through Putrid Copse
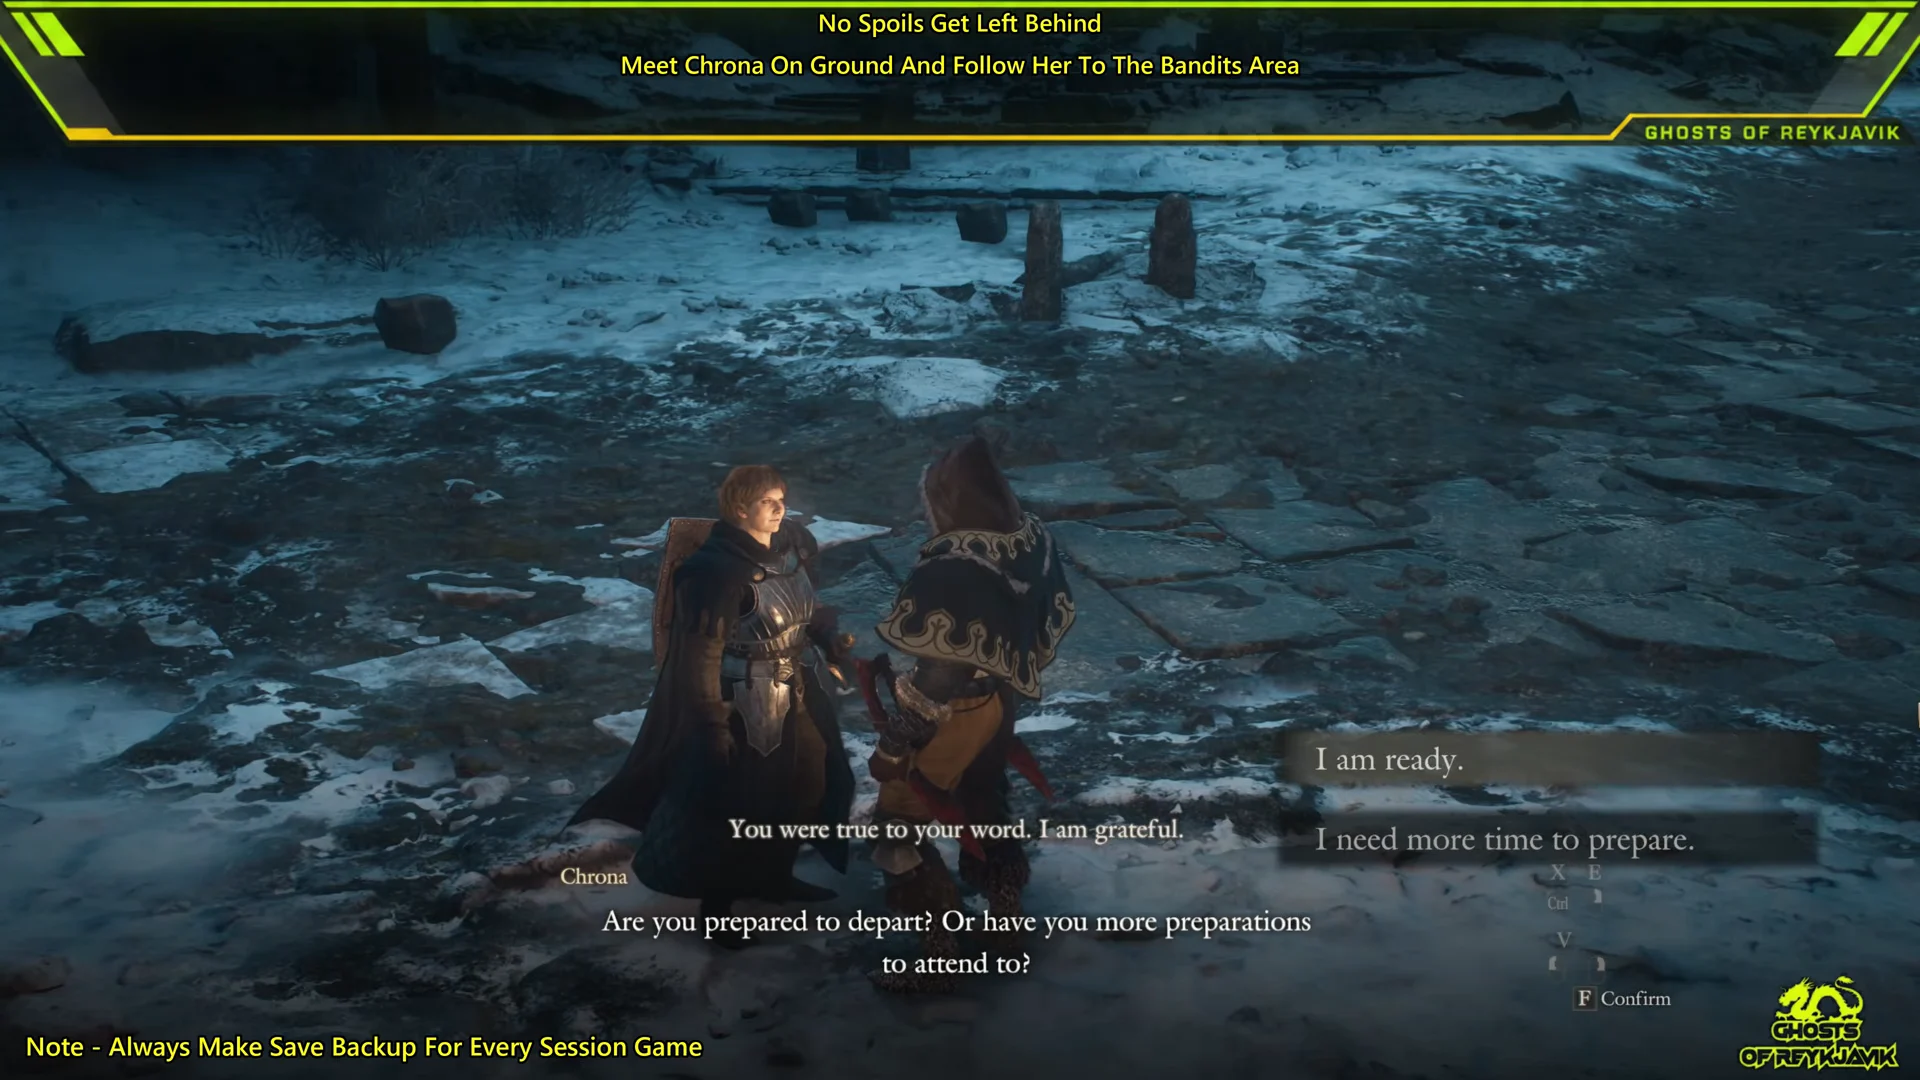
Chrona’s request opens after The Castle in the Ice. Accept it by pledging your aid, and she asks you to meet her at the gate near the sealed study, which sits on the edge of the copse below Castletown Campground. Stock up before you talk to her there. Once you confirm, the escort starts right away, and a healer in the party makes keeping her alive much easier.
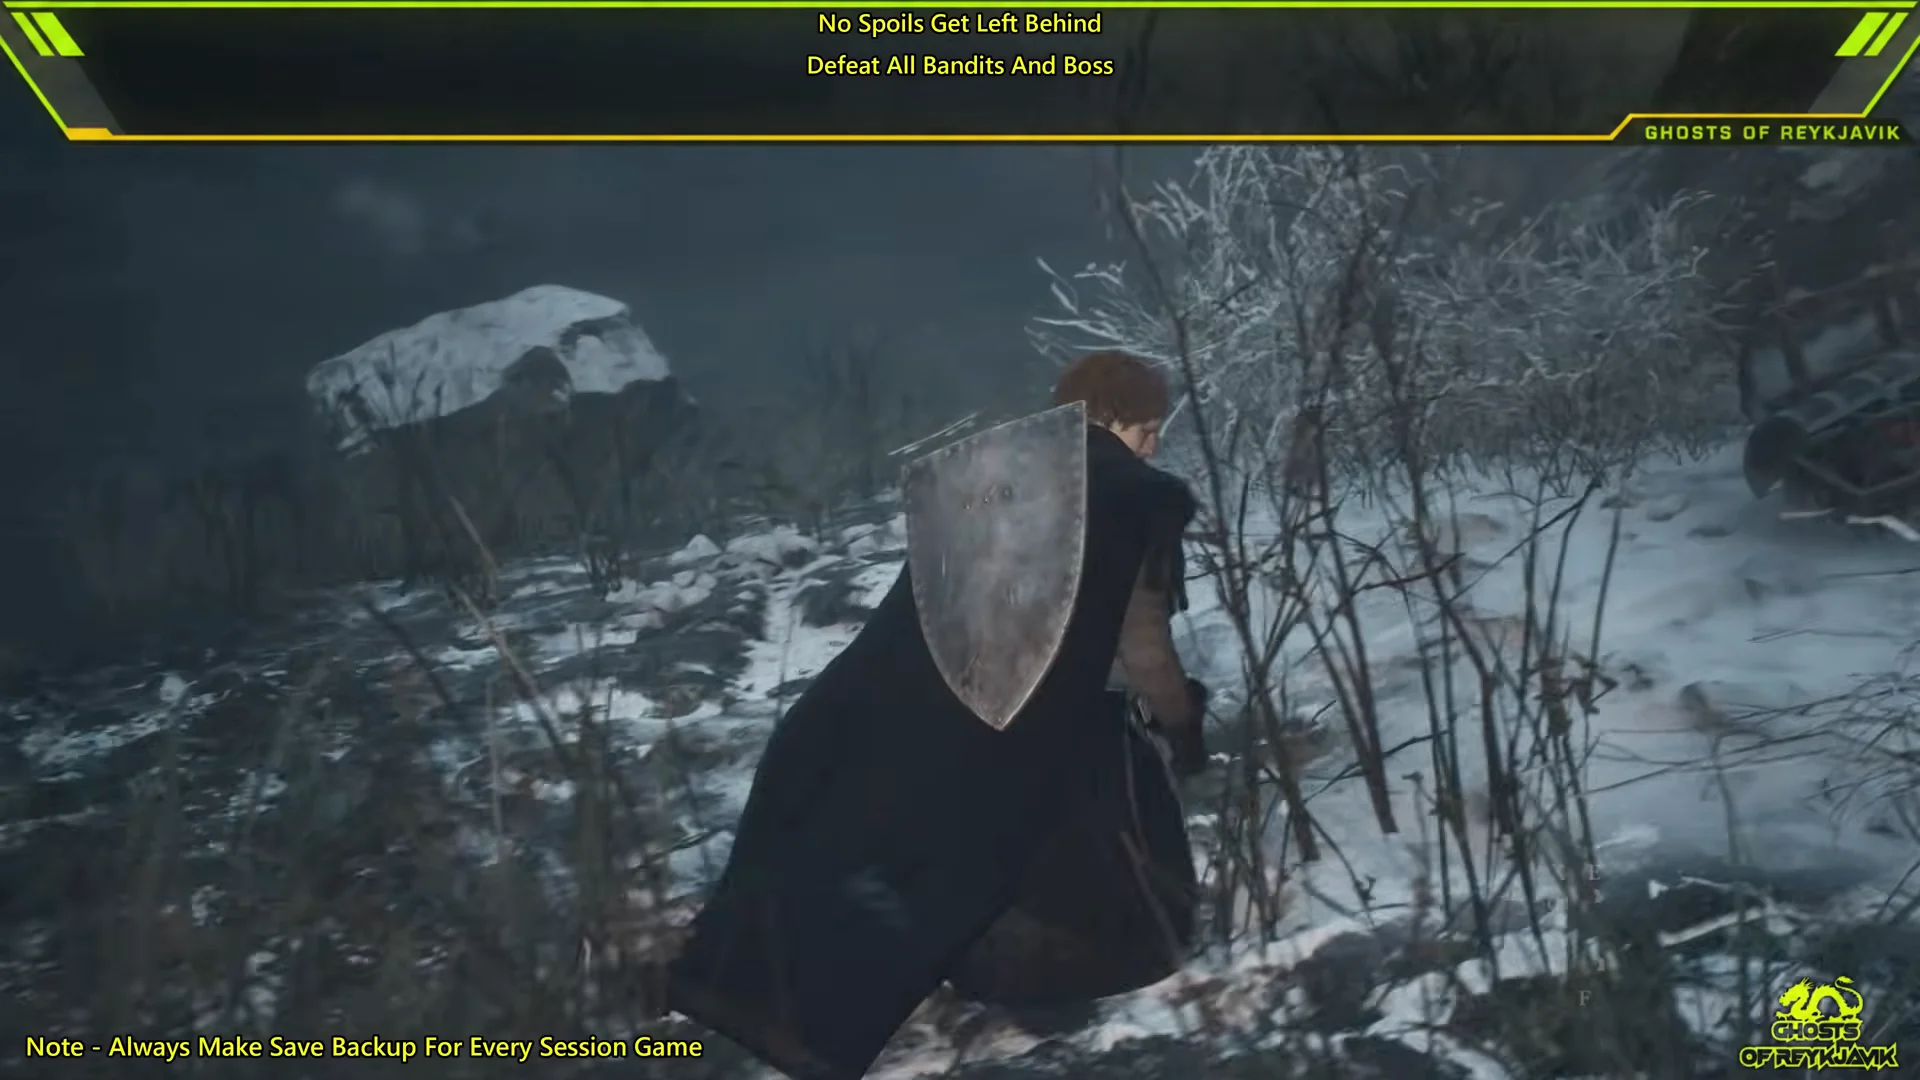
If Chrona is killed, the quest advances to a point where you can decide whether to alter her fate or keep her dead. If she is missing from the gate when you arrive, check the castletown campground.
Woodland Retreat: Claiming the trove before the snowfoot
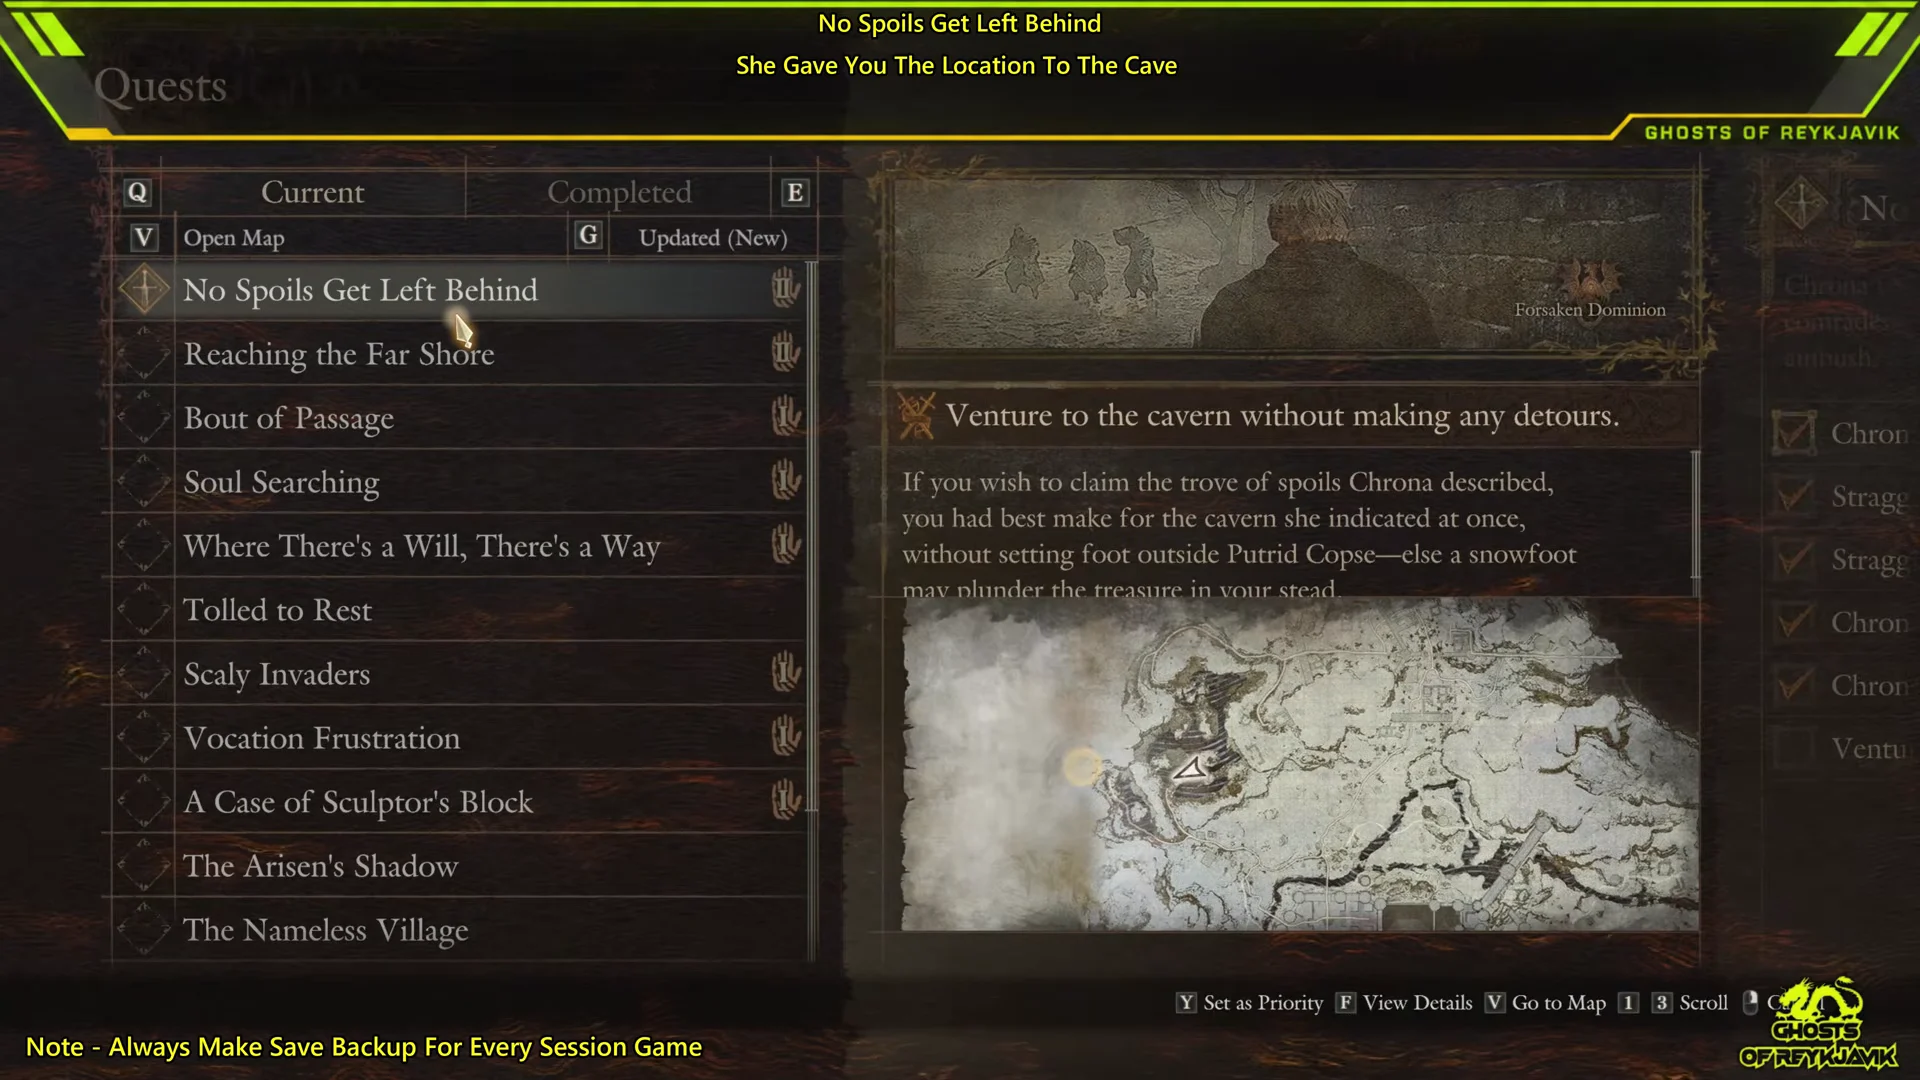
After Chrona’s tip, the objective becomes Venture to the cavern without making any detours. The cave is Woodland Retreat, a dungeon on the western side of Putrid Copse. The condition is strict. If you step outside Putrid Copse before you loot it, a snowfoot takes the treasure instead. Open the quest menu to check where the cave is before you set off.
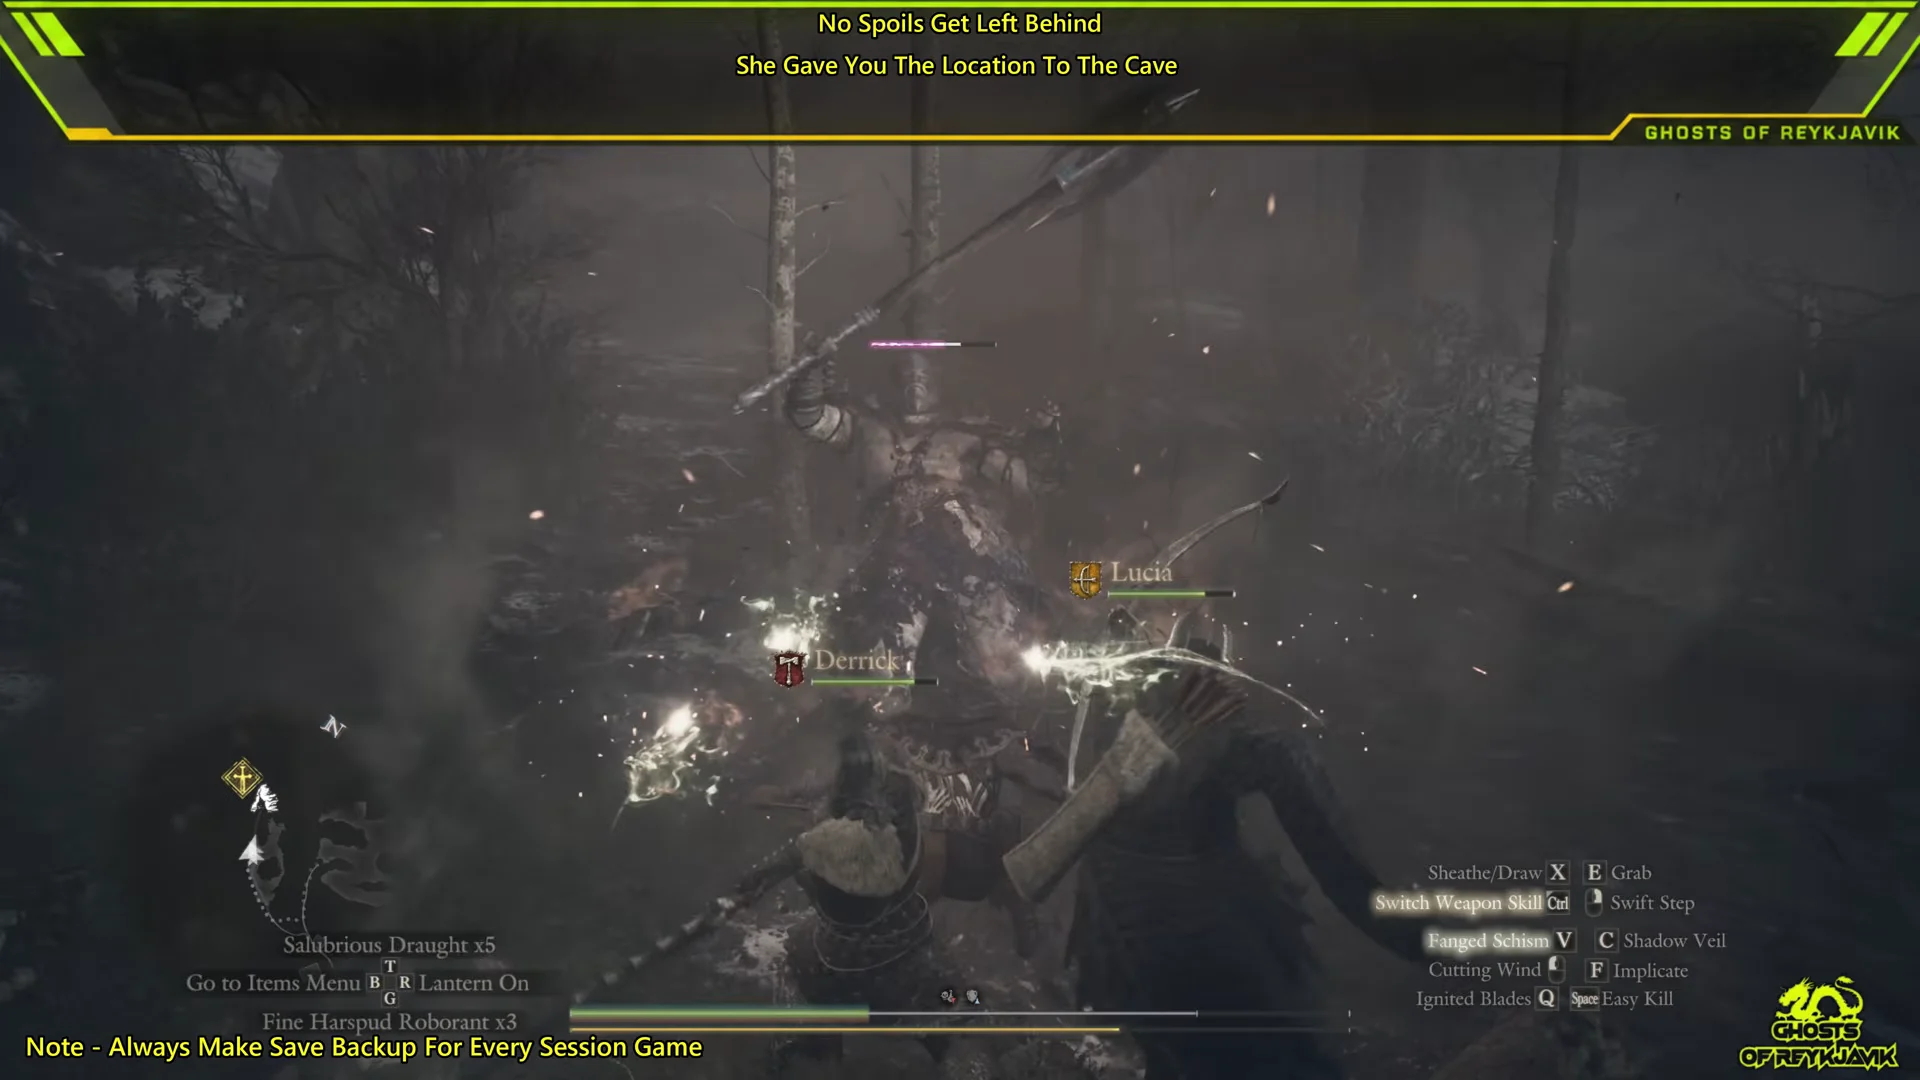
The forest path west is still foggy, and more stragglers and larger monsters can attack on the way. Fighting them is fine as long as you don’t cross the copse boundary.
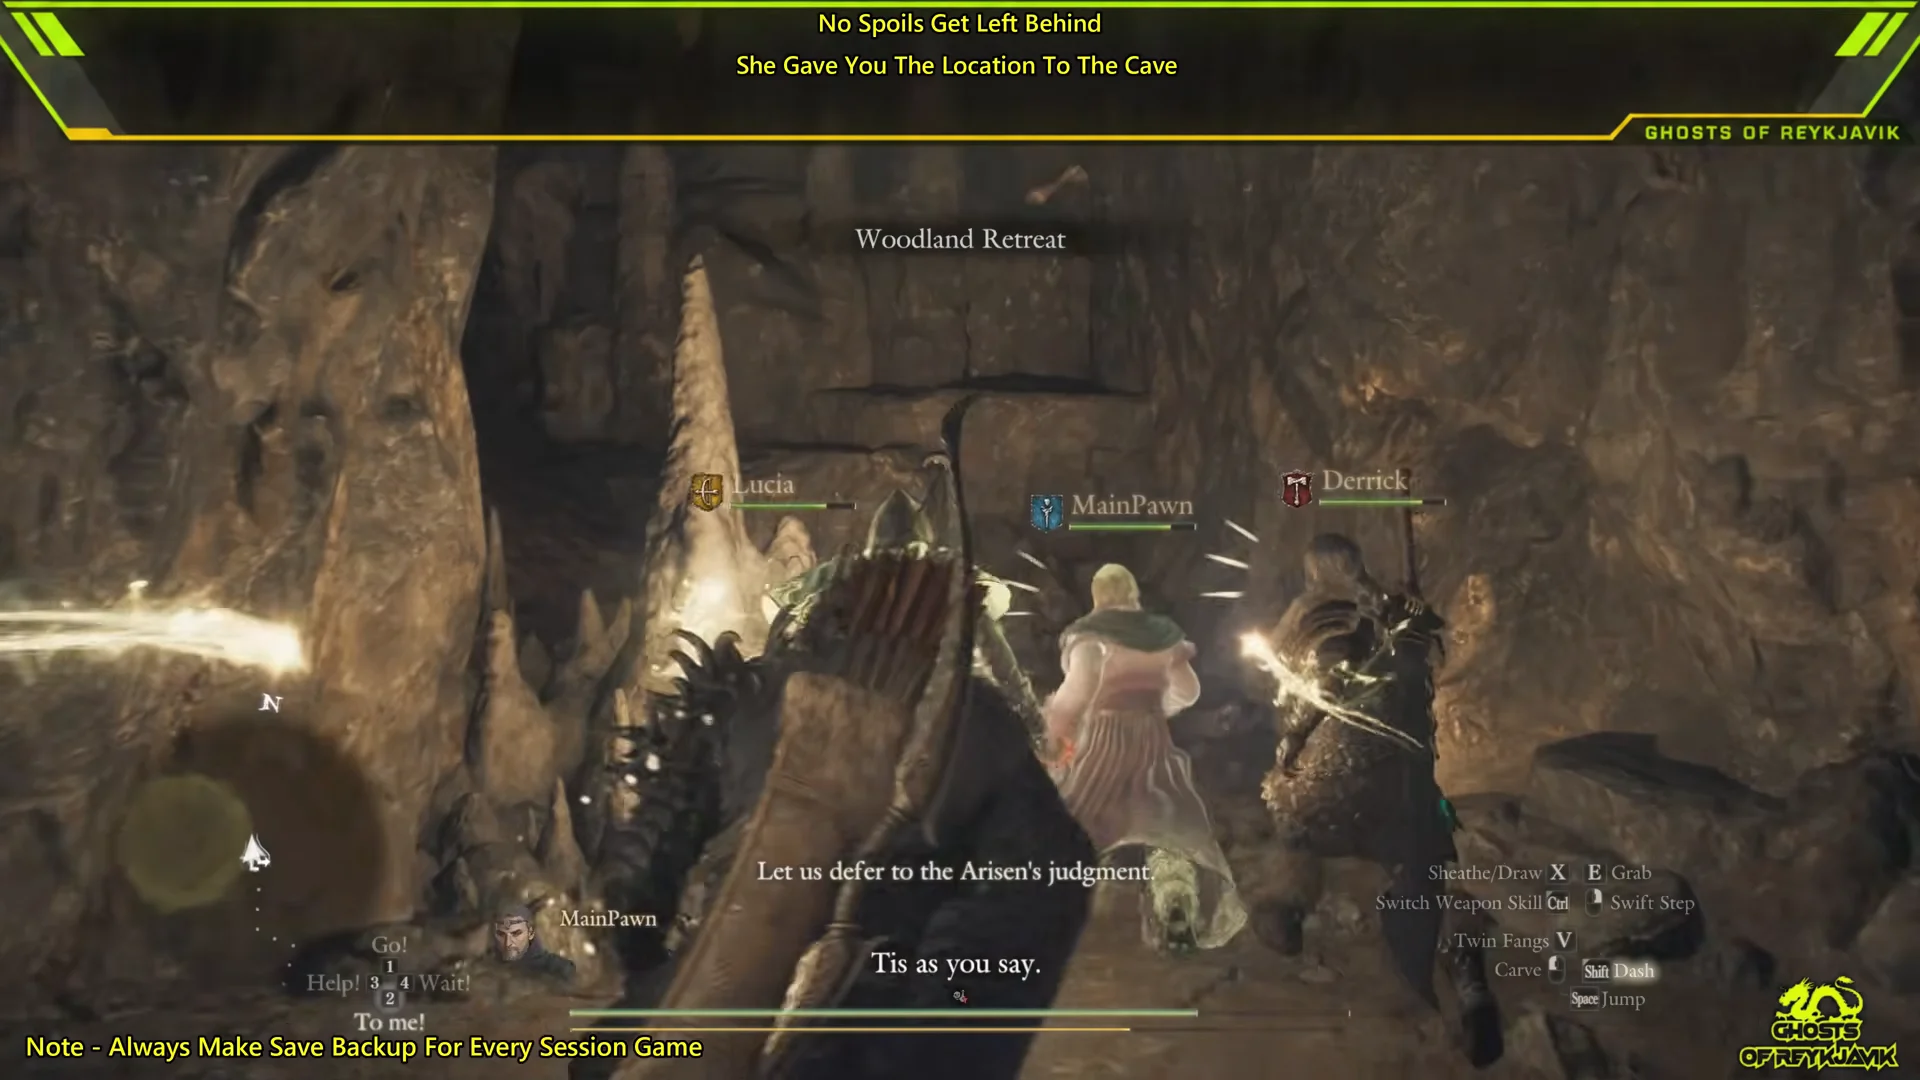
Woodland Retreat’s name appears on screen when you reach the rocky entrance. It’s dark inside, so equip a lantern.
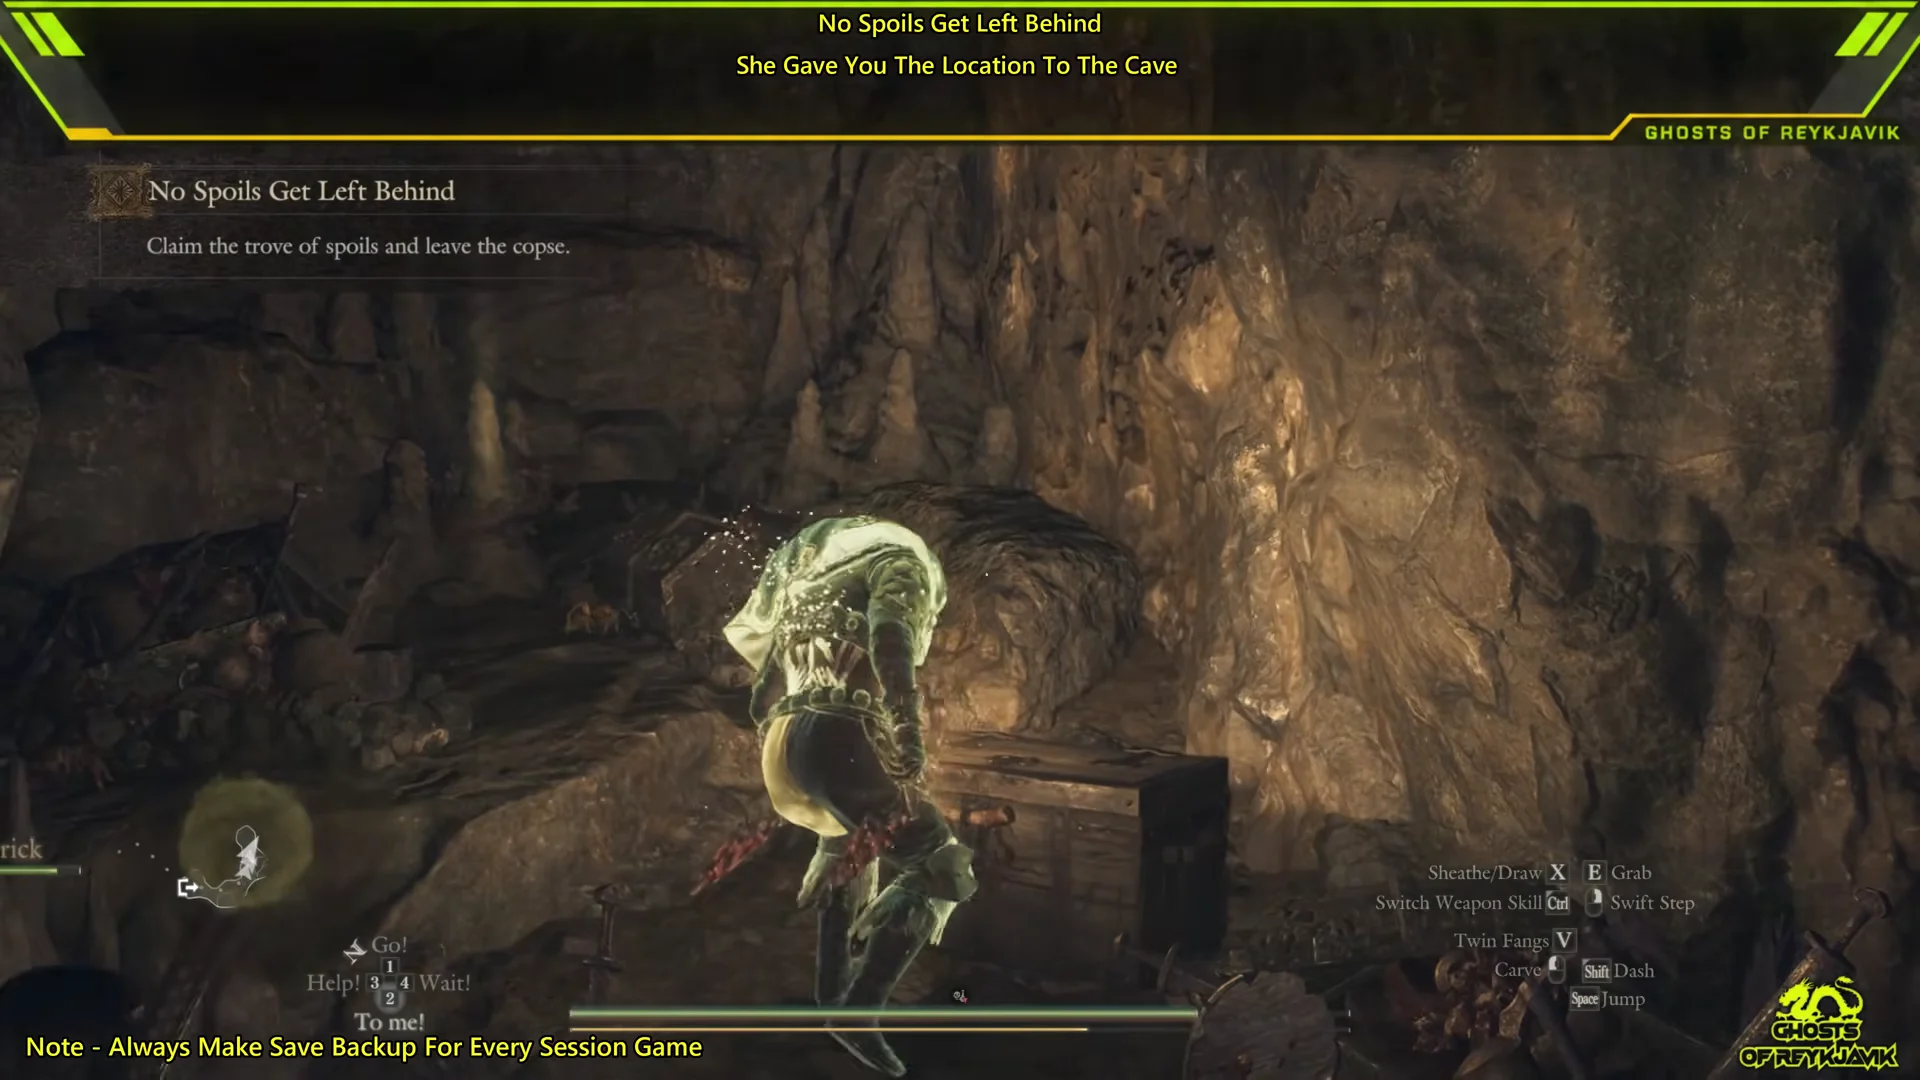
Open every chest inside. The cave holds these items:
- Spoils: Lv. 4, Greaves
- Spoils: Lv. 4, Plastron
- 20,600 G
- Climbing Hook, Panacea, and Fine Roe Roborant
- Wakestone Shard
Farther in, the traveling merchant Aymond is resting by a campfire. You can trade with him, and he talks about looking for a gagana at Gagana’s Grotto. Break the crates past his camp, then take the upper exit out of the cave. A snowfoot attacks outside. It’s weak to fire, and killing it gives back the loot it carried, including Spoils: Lv. 3, Aegis and a Snatching-Beast’s Talon.
Curatives and spoils for No Spoils Get Left Behind
These are the in-game values for the supplies that matter during the escort and the items that drop from it.
| Item | Effect | Buy / sell | Weight |
|---|---|---|---|
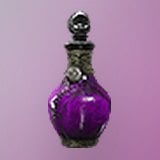 Detoxifying Decoction | Cures Blighted | 500 G / 175 G | 0.1 kg |
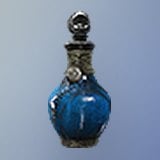 Allheal Elixir | Full Health and Stamina, cures all debilitations incl. Sleep | 10,000 G / 1,750 G | 0.2 kg |
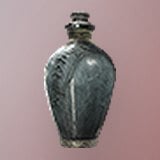 Regeneration Elixir | Restores 40 loss gauge for whole party, some Health | 10,000 G / 3,000 G | 0.2 kg |
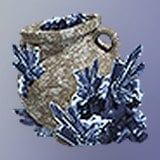 Abandoned Supplies (Rare) | Appraise for 10 RC | 200 G / 300 G | 0.01 kg |
 Spoils: Lv 4, Bowstaff | Appraise for 45 RC | 3,000 G / 600 G | 0.01 kg |
Detoxifying Decoction is made from Pitywort and Syrupwort Leaf and stacks to 99. Eldart’s Apothecary sells it, along with many other shops, including Hal and Philbert’s Sundries. Eldart restocks three every day.
Allheal Elixir covers the chimera’s sleep attack. Eldart’s Apothecary stocks one at a time and adds another every 10 days. You can also trade 5 Norgan Ducat for one, or get it by appraising Abandoned Supplies.
Regeneration Elixir heals the whole party at once, which is useful when Chrona is out of the fight. Hal and Aymond sell it for 10,000 G, so you can buy one from Aymond in Woodland Retreat.
Abandoned Supplies (Rare) are marked near Putrid Copse on the map. Stragglers and snowfoots both drop them. Appraising one gives a random rare item from a list that includes the Allheal Elixir, Regeneration Elixir, Wakestone, and Norgan Ducat.
Spoils: Lv 4, Bowstaff is one of Chrona’s rewards. Appraising it turns it into a Chicaner’s Bonestaff, Fiendsbane, or Foretoken with four special skill slots, filled from a pool that includes Critical Shot, Full Bend, and the various Counter skills.
How No Spoils Get Left Behind completes
After the cavern is looted, the last stage tells you to claim the trove and leave the copse. The objective may stay on screen even when nothing is left, so just leave. Using a Ferrystone to warp to the Castletown Campground Norgan Portcrystal works. When you arrive, the banner “Completed: No Spoils Get Left Behind” appears. Chrona is sitting by the campfire there afterward, and you can talk to her one more time for her thanks.