How to Open the HxS Gold Room in Order of the Sinking Star
Clear the Heroes Together puzzle and route a gold stone through Skipping Stones to unlock the far-north and far-south map areas.
Clear the Heroes Together puzzle and route a gold stone through Skipping Stones to unlock the far-north and far-south map areas.
by AllThingsHow Staff · Edited by Pallav Pathak
Image: Thekla, Inc.
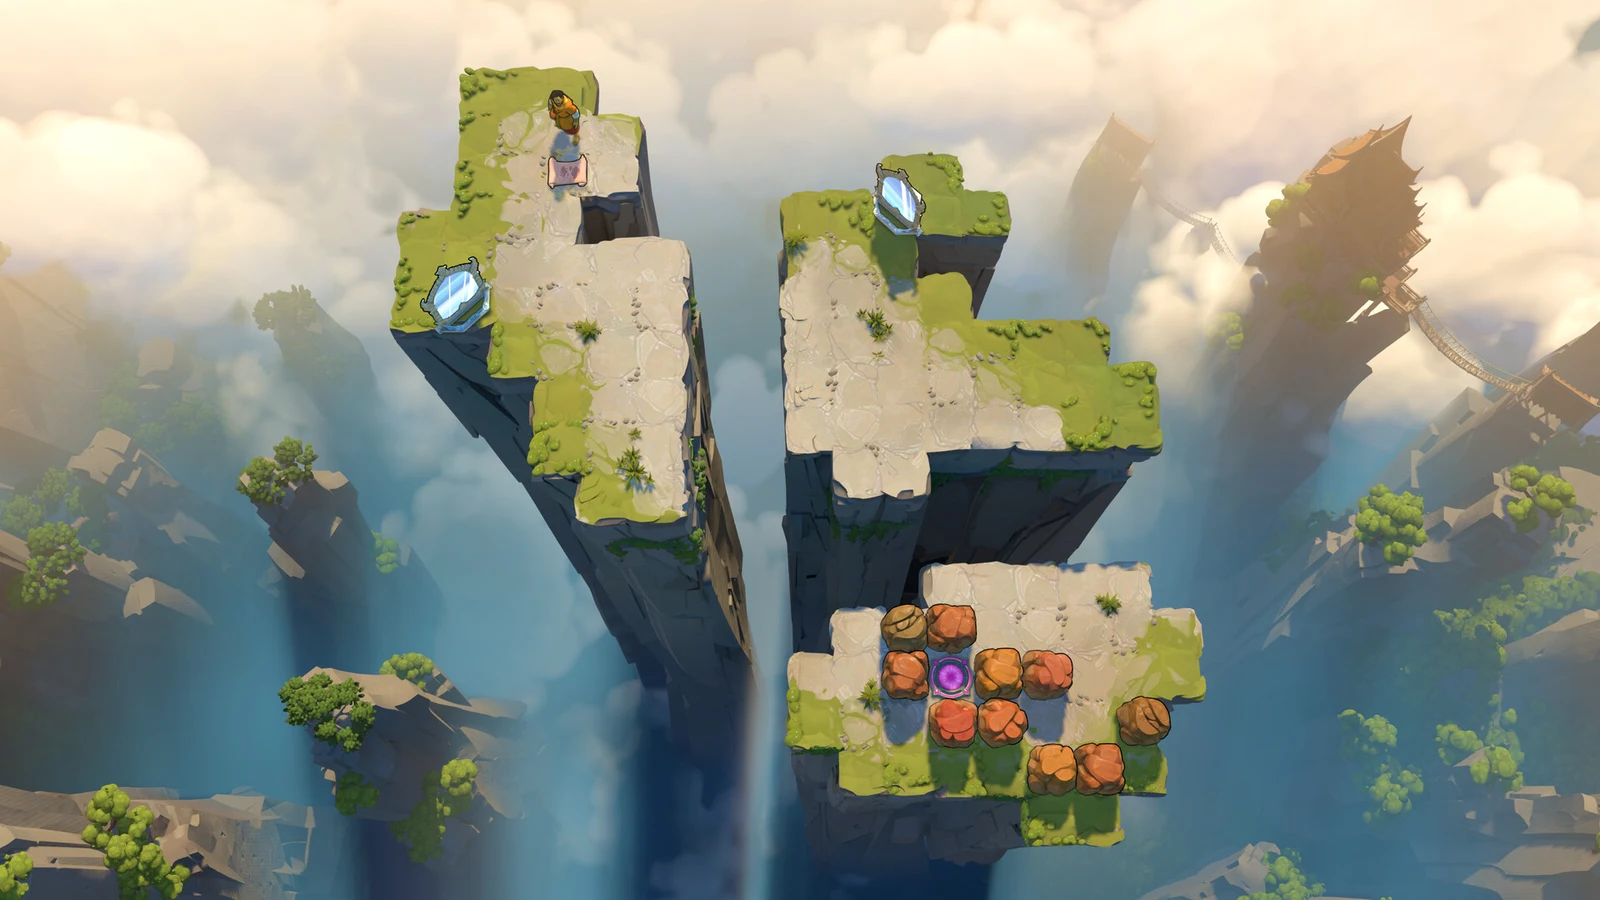
The HxS gold room sits where the moving crew of Heroes of Hauling meets the water puzzles of Skipping Stones. Opening it connects both worlds and grants access to Heroes and Stones West, Heroes and Stones East, and Heroes and Water North at the far north and south ends of the overworld. Getting there takes meaningful progress in both regions, done in a fixed order.
Quick answer: Clear the two-monster barrier in Heroes 3: Bard, Druid, complete Heroes Together to drop a barrier inside the room, push the gold stone down from Skipping Stones to block the monster, then solve the room’s stone-and-crystal puzzle to reach the teleporters.
Image credit: Arc Games via YouTube/@Postmode
What the HxS gold room unlocks
This room is one of the game’s crossover areas, where two of the four worlds combine their mechanics. Once it is open and its interior puzzle is solved, the teleporters inside route you outward to new regions.
Heroes and Stones West
Heroes and Stones East
Heroes and Water North
Because the room depends on changes made in two separate worlds, you work through Heroes of Hauling first, then route a stone down from Skipping Stones. Doing the stone step before the barrier is removed will not work.
Image credit: Arc Games via YouTube/@Postmode
How directions work in these steps
A direction with no number means move one square that way. A direction with a multiplier, such as left x3, means move that many squares. The phrase “all the way” means keep moving in that direction until a wall, barrier, or the end of the path stops you.
Clear the barrier in Heroes 3: Bard, Druid
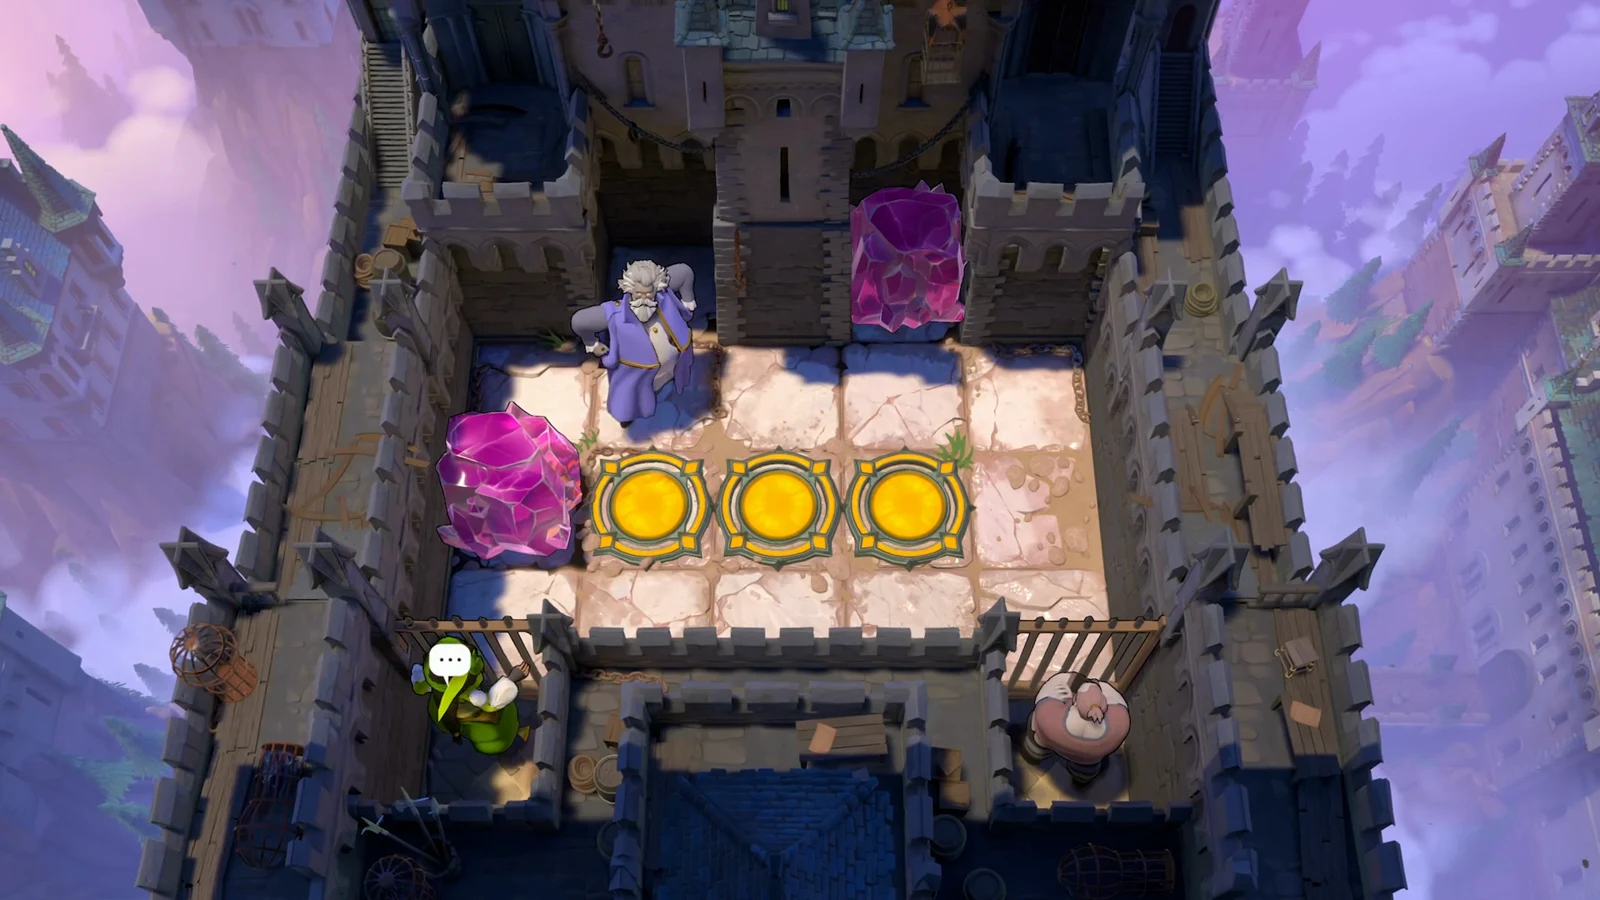
A barrier blocks the top of the Heroes 3: Bard, Druid screen in Heroes of Hauling. It lifts only when the two monsters on that screen are made to destroy each other.
Solve the screen’s puzzles to unlock the red crystal at the upper left. Use it to stop the monster in the lower right, then complete the puzzle beneath it to clear the barrier in the bottom-right corner.
Follow the newly opened path down and push the crystal down. Moving it opens the bottom-right corner of the Heroes 2: Monsters screen, creating a passage between Monsters and Bard, Druid.
Return to Bard, Druid and activate the reset tile in the upper-left corner. This resets the red crystal that had stopped the monster in the bottom right.
Travel to Monsters and take the new passage back to that bottom-right monster. With nothing in its way, push it left x5, up, left x2, then all the way up. The two monsters collide and destroy each other, and the top barrier opens.
Image credit: Arc Games via YouTube/@Postmode
Complete the Heroes Together puzzle
Heroes Together is the screen immediately above Heroes 3: Bard, Druid. Complete its puzzle to press a button that clears a barrier inside the gold room; this allows the gold stone to drop into position later.
Return wearing the purple robe. Go left, swap up x2, step up onto the button, then swap down x2. The crystal will fall onto the button and open the barrier in the right alcove.
Wearing the bard robe, go into the right alcove. Move up x2, then travel all the way right until the right melee monster is in your column and within your aura.
Push the crystal onto the second button, the one above the button you used before, with this sequence: down x3, left, down, left, down, right, down, all the way left, all the way up, all the way right, up, right, up, left, down, left x2, right, down x2, up x2, all the way right, up, left, down.
Image credit: Arc Games via YouTube/@Postmode
That button clears a barrier inside the HxS gold room, which is what allows the gold stone to pass through in the next stage.
Route the gold stone from Skipping Stones
In Skipping Stones’ bottom section, visit the screen directly below the one with the red path. You’ll find a gold skipping stone there.
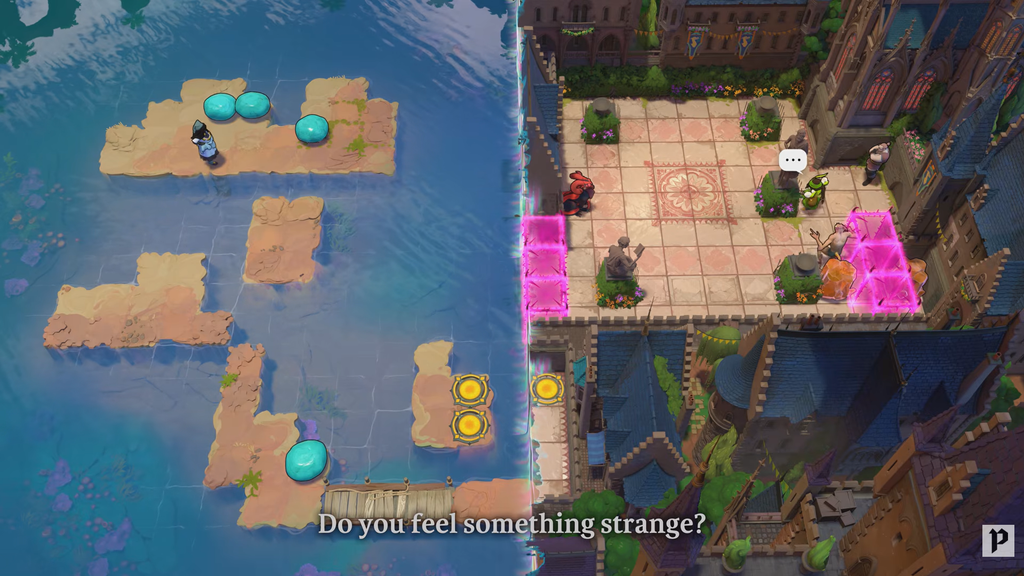
Move the gold stone fully left, then send it down through the water. Since the Heroes Together button has already cleared the inner barrier, the stone drops into the gold room, blocks its monster, and makes the room’s puzzle accessible.
Solve the HxS gold room puzzle
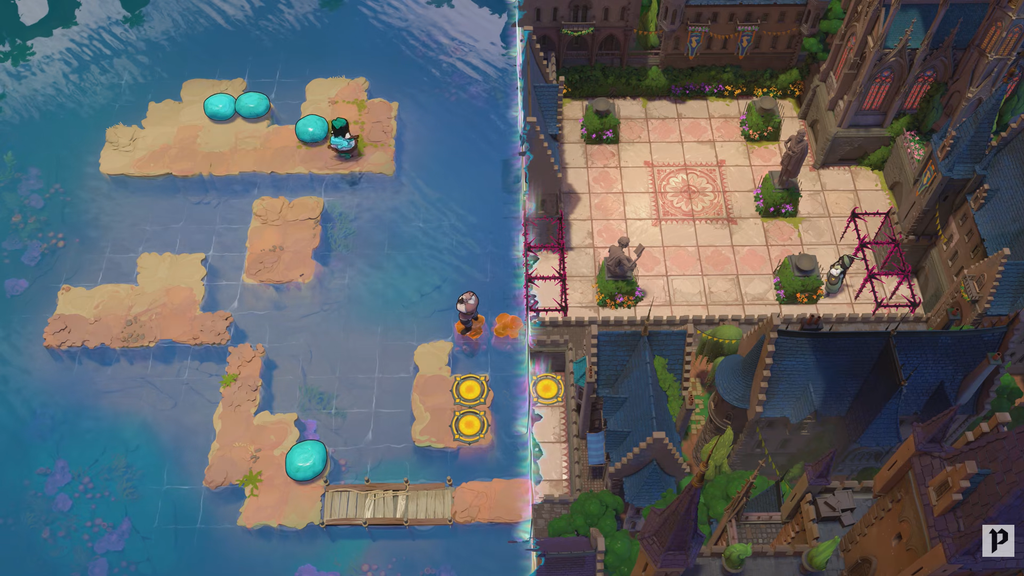
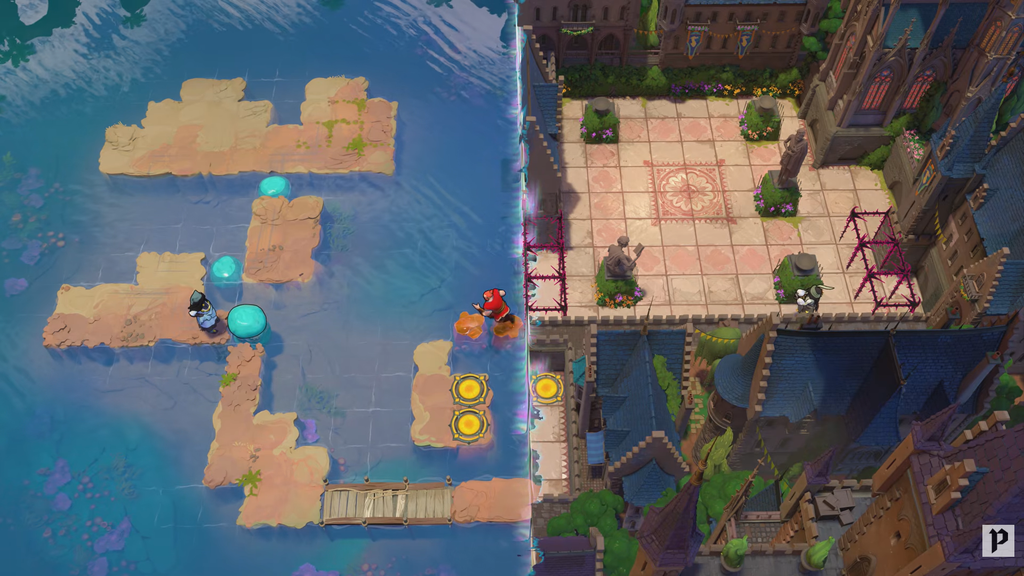
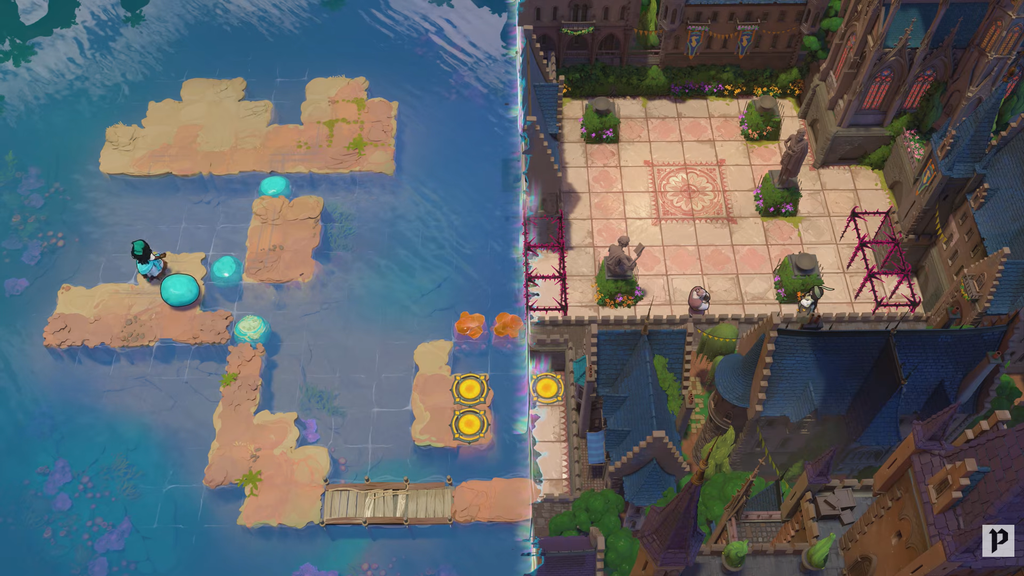
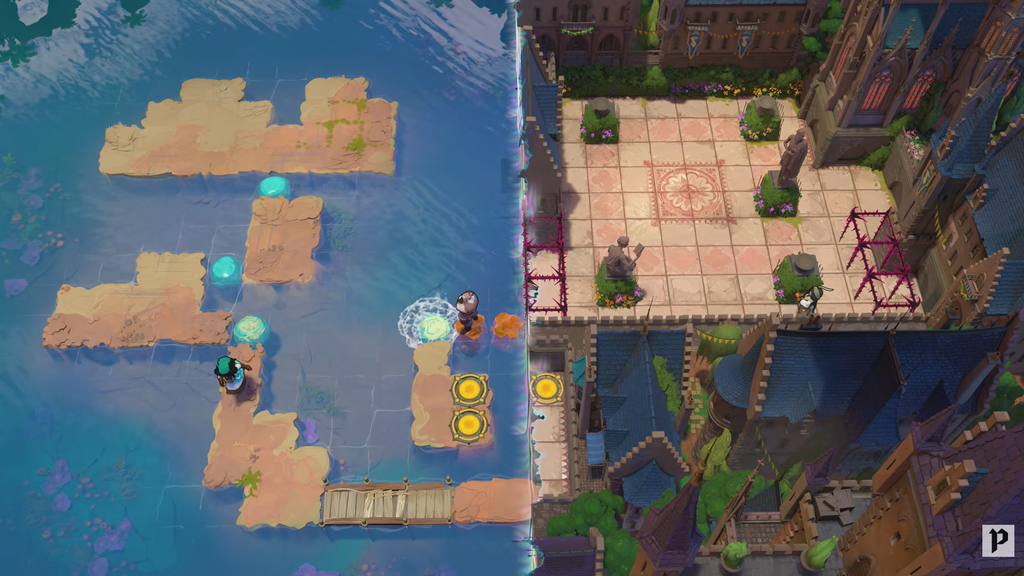
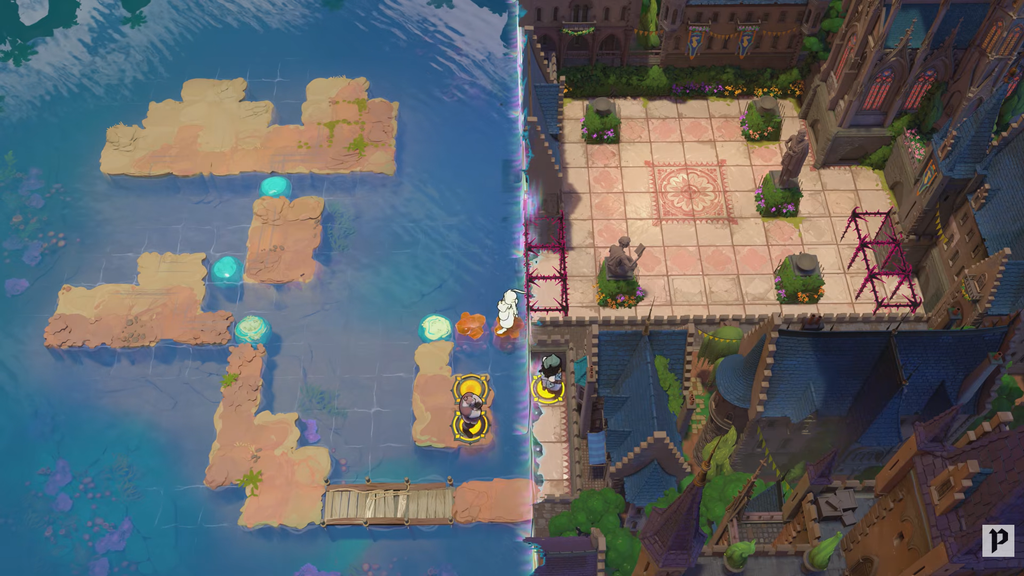
Inside, you control three characters. The thief pulls, the warrior pushes, and the sailor moves stones across water. The first half clears the monsters; the second half builds a sunken-stone path to the teleporters.
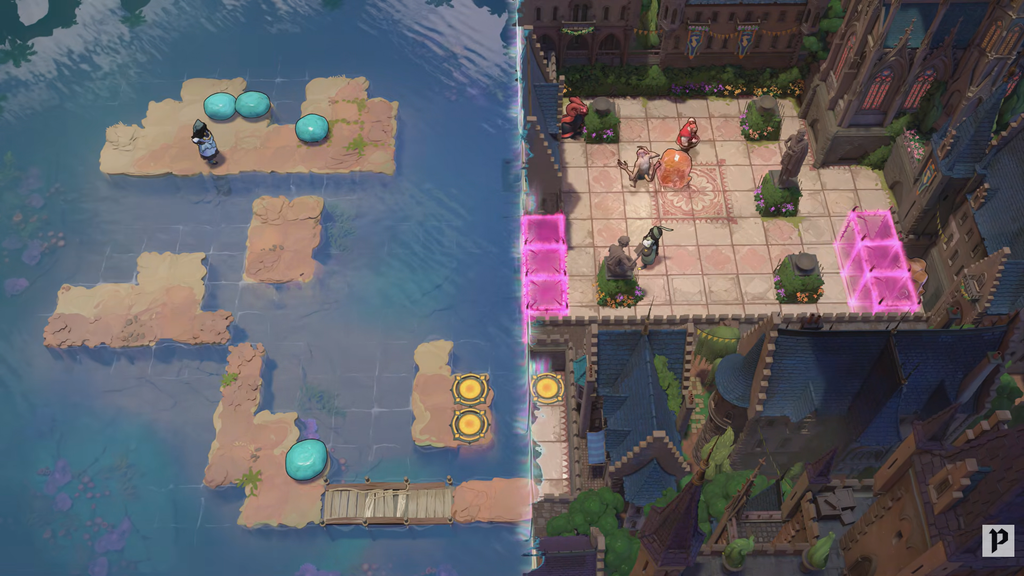
Bring the stone on the left into the same column, then send it down through the water. The stone placed earlier stops it and sinks it, making a route for the sailor.
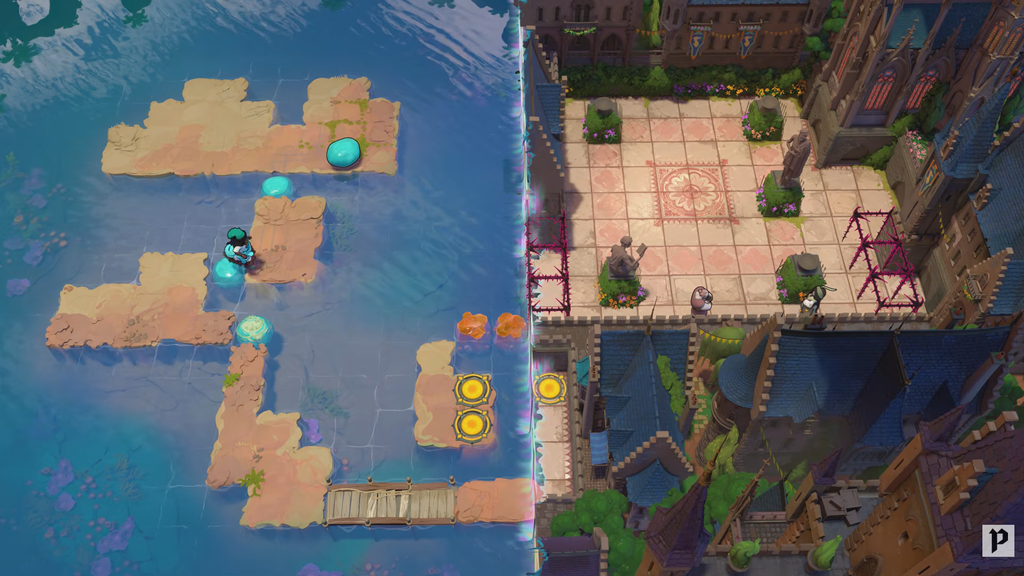
As the warrior, send the stone left over the water, then switch straight to the sailor and send her stone down across the water. Time the moves so the lower stone stops and submerges the upper one, allowing the sailor to get to the third landmass.
Image credit: Arc Games via YouTube/@Postmode
This is the one move that depends on timing. Make the warrior’s push first, then the sailor’s, without pausing between them.
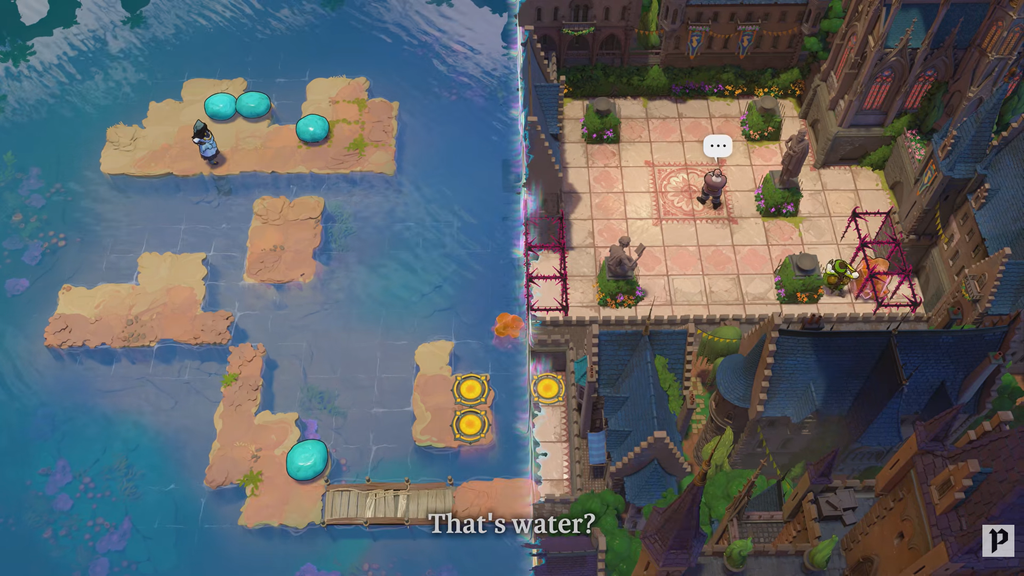
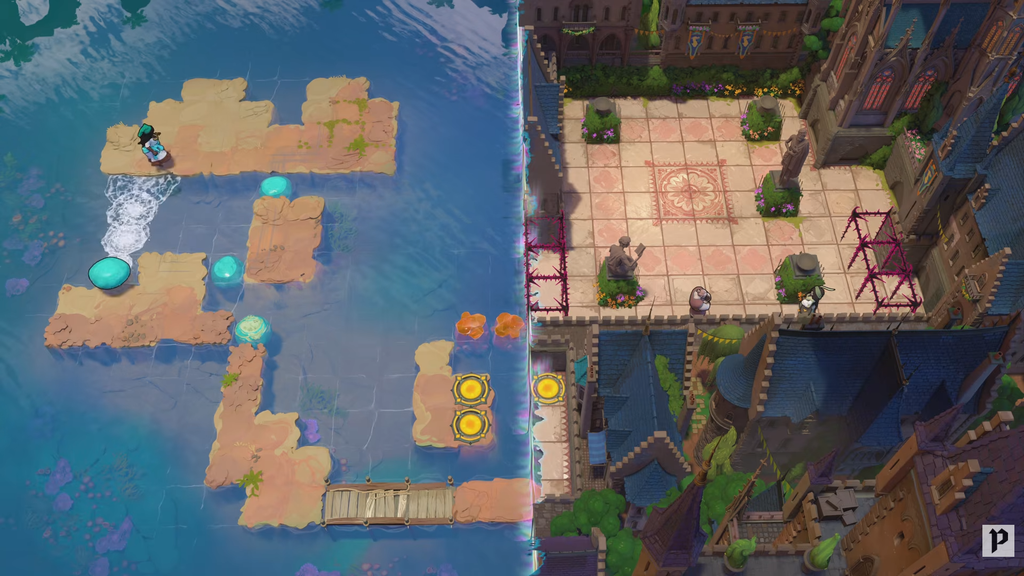
Using the thief and warrior, bring the stone now on their platform into line with the submerged crystal path, then push it left across the water with the warrior.
As the sailor, send the stone right over the water again. The warrior stops and submerges it, finishing the route to the teleporters.
Image credit: Arc Games via YouTube/@Postmode
Confirm the room is open
You know the HxS gold room is fully solved once the final submerged-stone path reaches the teleporters and you can stand on them. From there you can begin working toward Heroes and Stones West or Heroes and Water North, with Heroes and Stones East also now reachable through this crossover point.