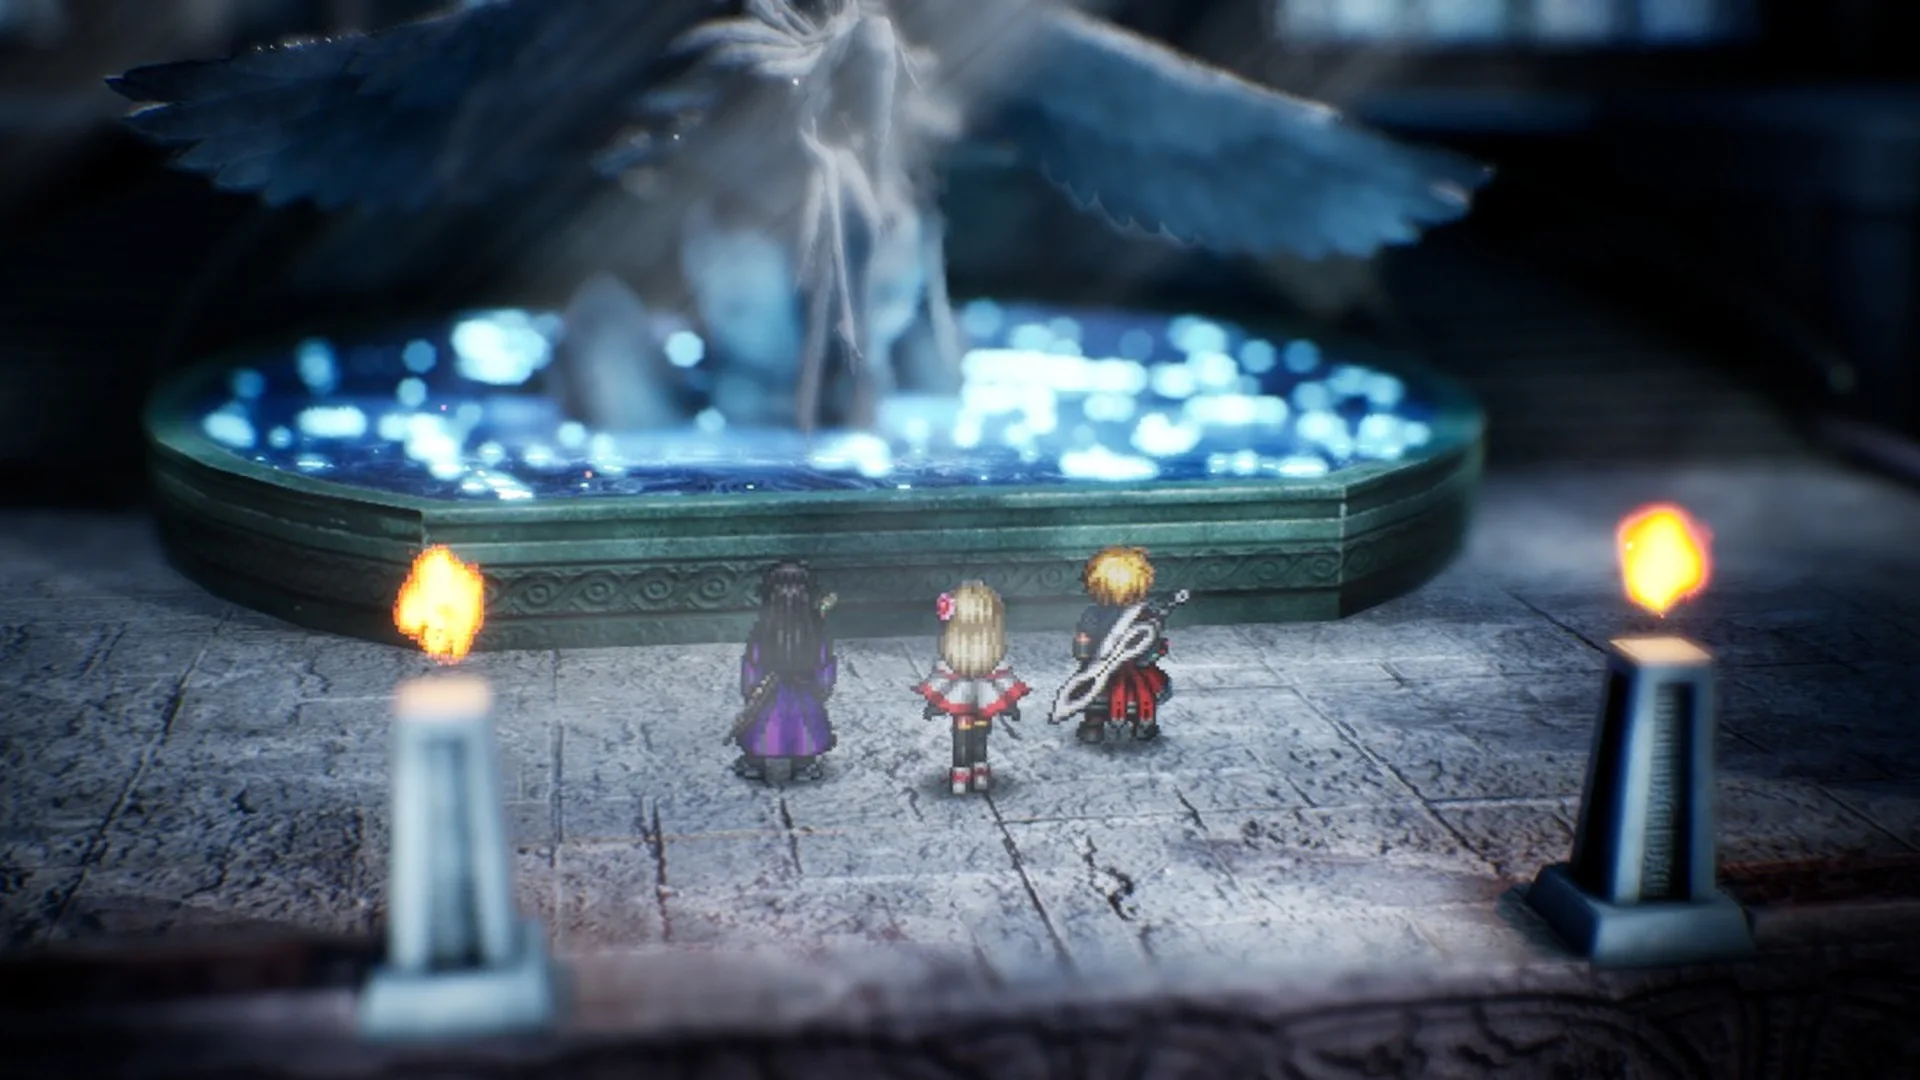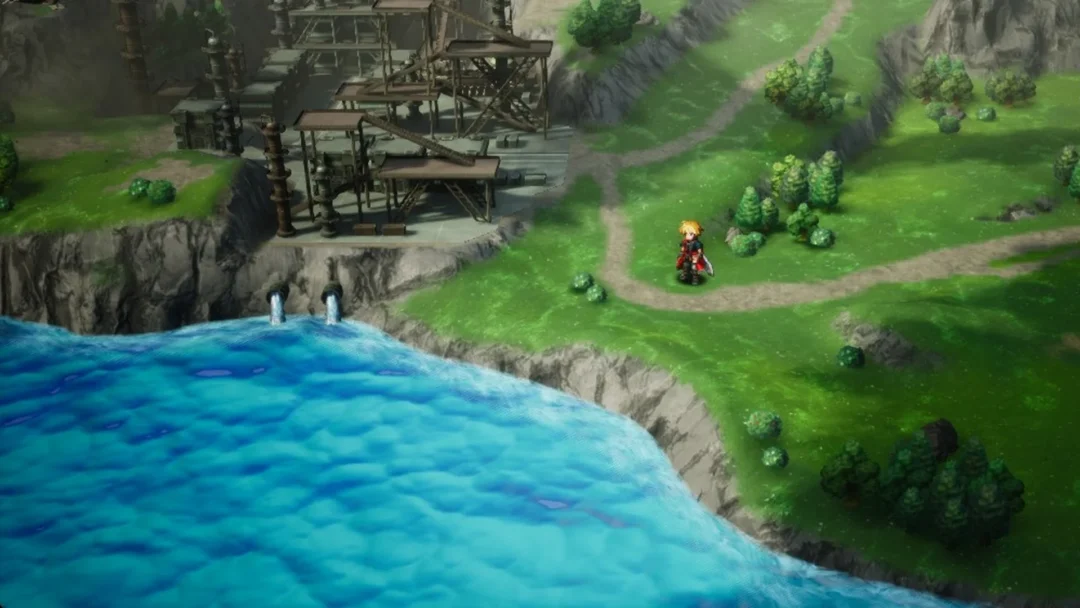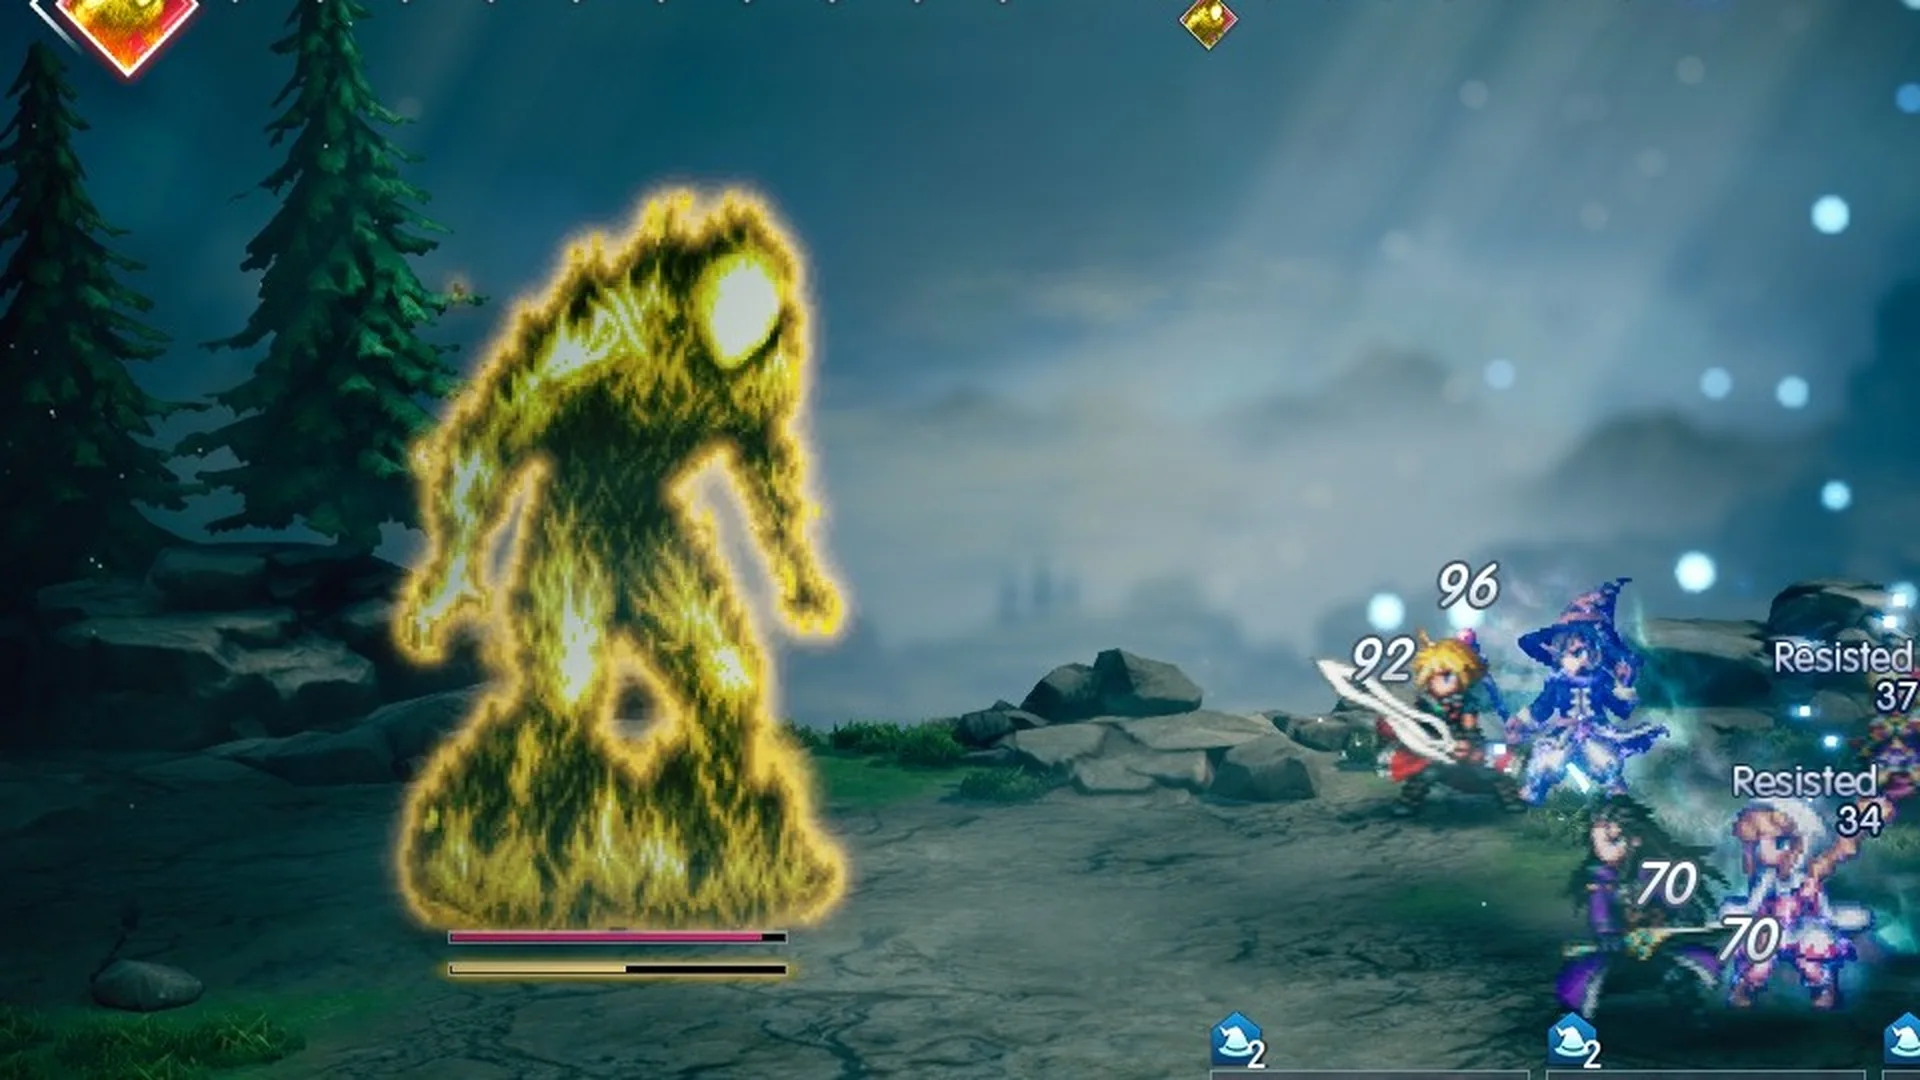
Liquid Thunder is the mid-boss of Mt. Thunderclap in Chapter 2 (“Eternal Blue”) of Final Fantasy Resonance. It stands between your party and the Dwarven Forge while the objective reads “Cross over Mt. Thunderclap”. It hits the whole party with Lightning every few turns and can wipe you right at the end if your healer runs out of MP.
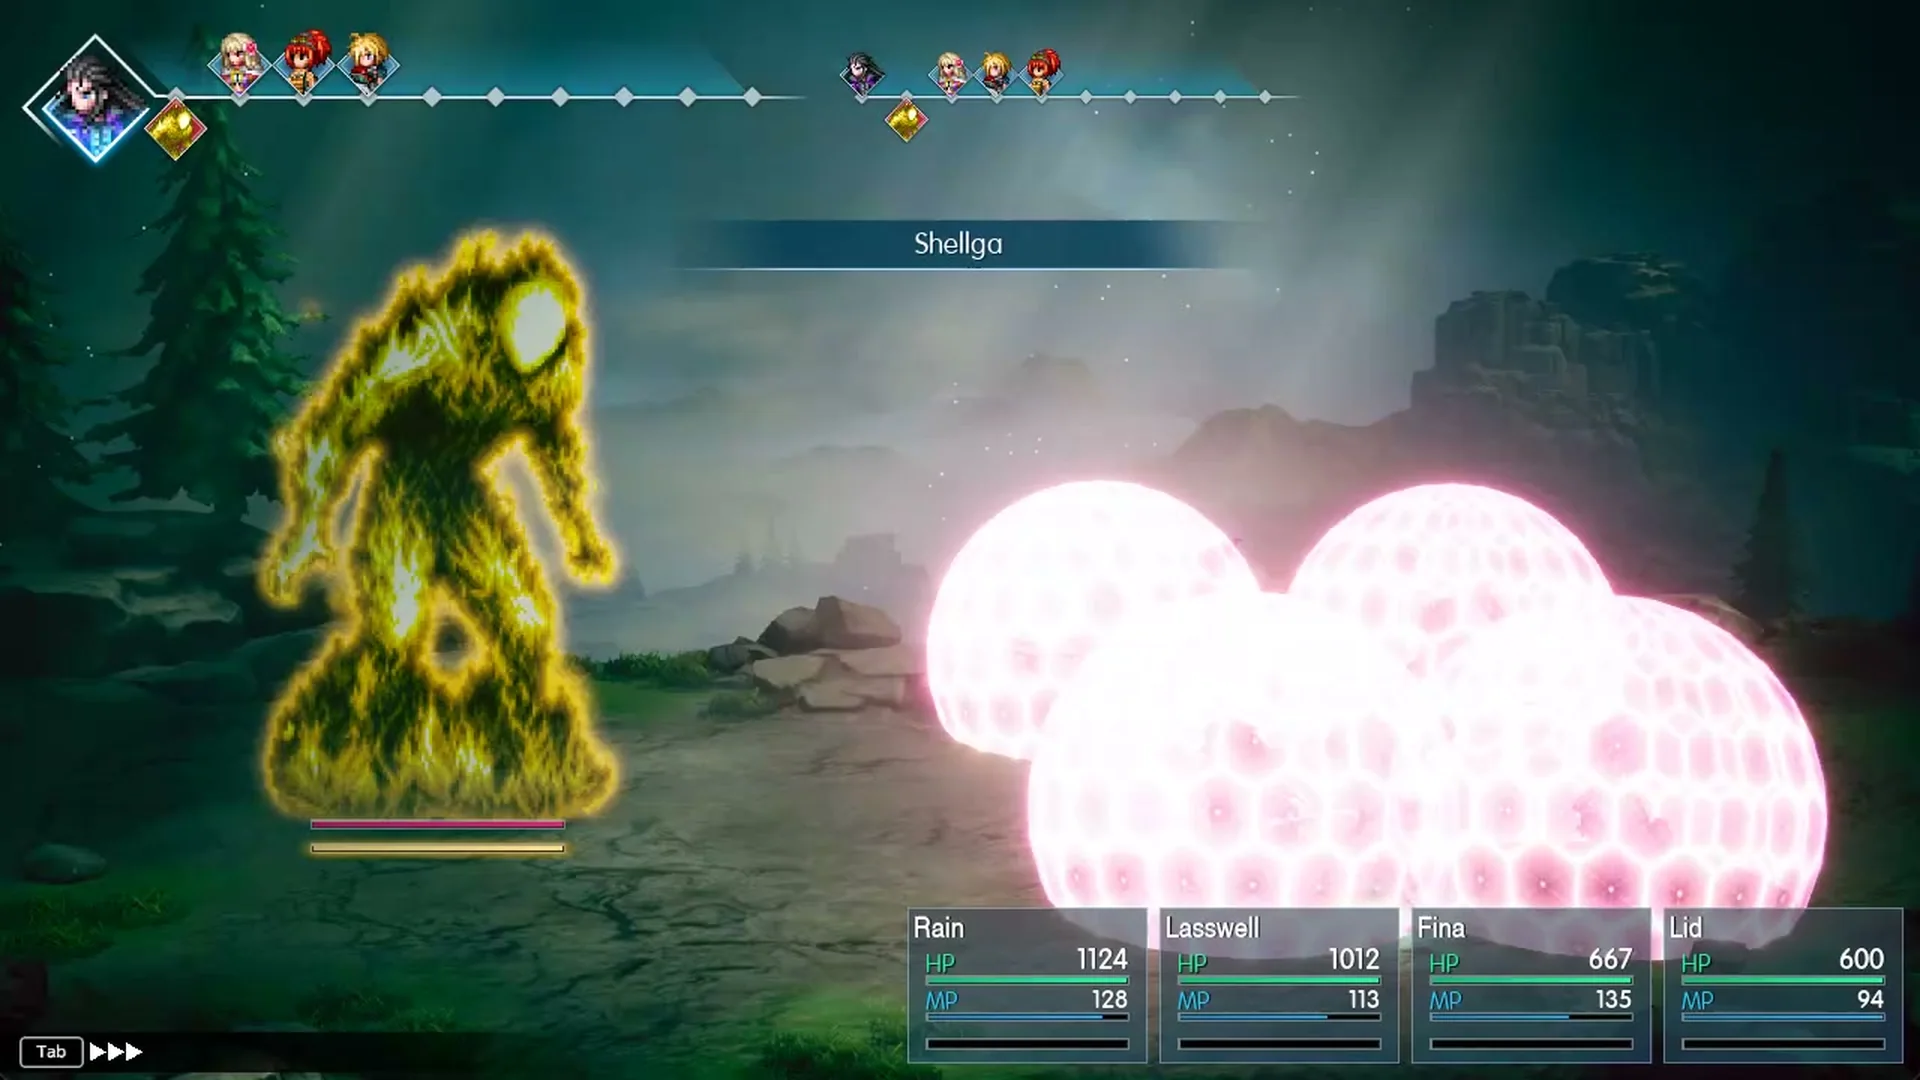
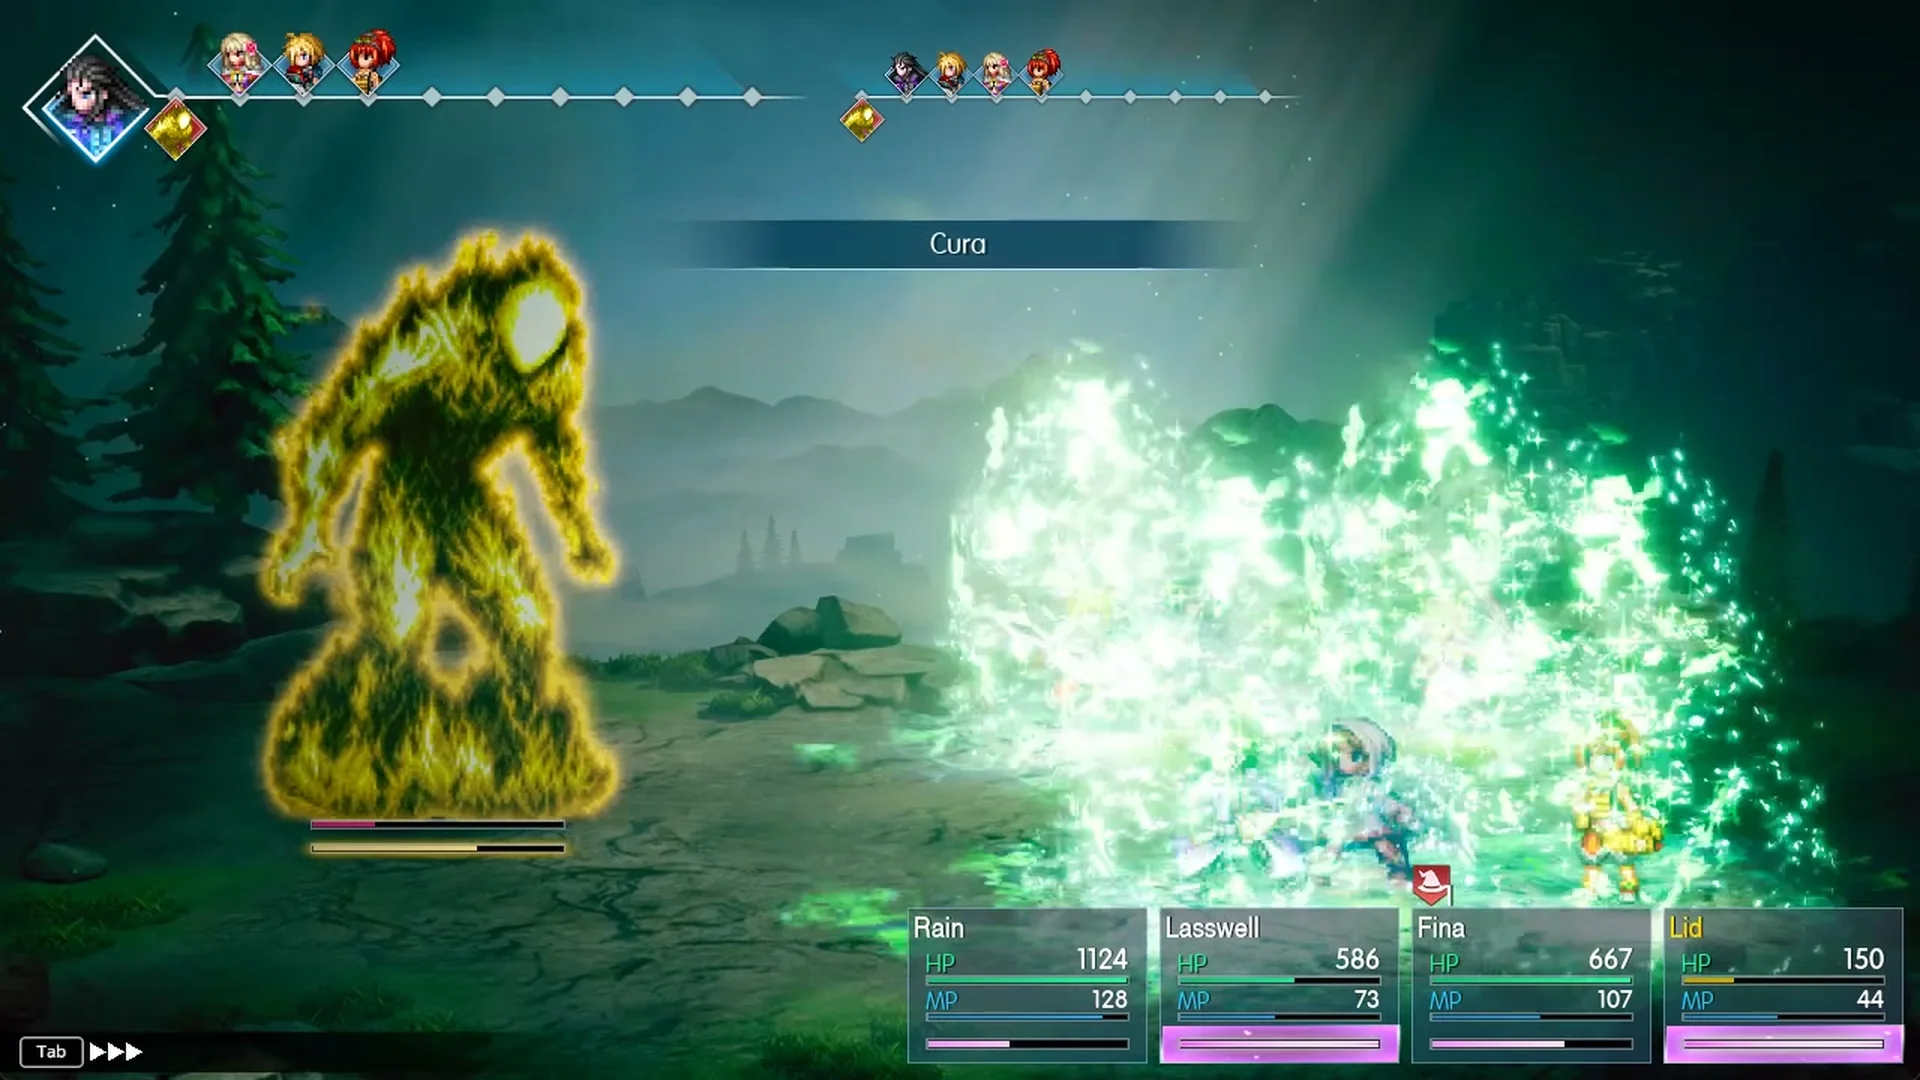
Quick answer: Liquid Thunder is level 13 with 10,000 HP, weak to Earth and immune to Thunder (Lightning) damage. Put the Cape of the Raiju on Fina, cast Shellga on the first turn, hit it with Earth (Lid’s Mechabo Kick and Stone, Earth Scroll I), heal the whole party with Cura when everyone drops below about 70 percent, and spend both Limit Bursts in the break turn after each stagger. When the banner says “Charging electricity!”, its biggest hit, Gigavolt, is coming. Winning gives 1,350 EXP, 1,500 Gil and a Lightning Scroll I.
| Stat | Liquid Thunder |
|---|---|
| Level | 13 |
| HP | 10,000 |
| Type | Fairy |
| Weakness | Earth |
| Nullifies | Thunder (Lightning) |
| Drop | Lightning Scroll I |
| Steal | Nothing |
| Rewards | 1,350 EXP, 1,500 Gil |
When the banner reads “Charging electricity!”, Gigavolt is on its way. That one warning decides most of the fight.
Where to fight Liquid Thunder
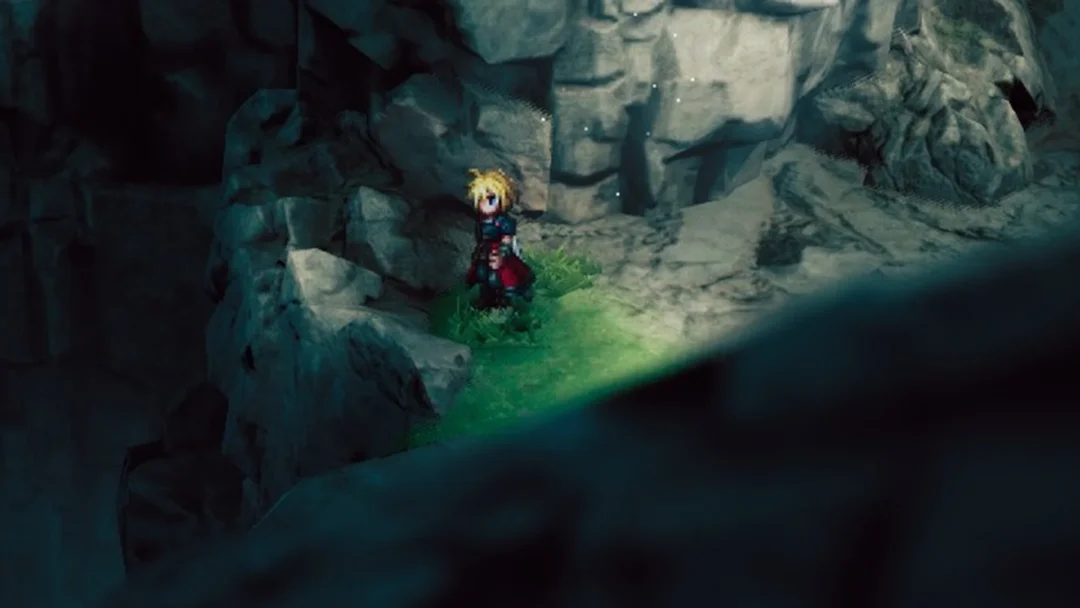
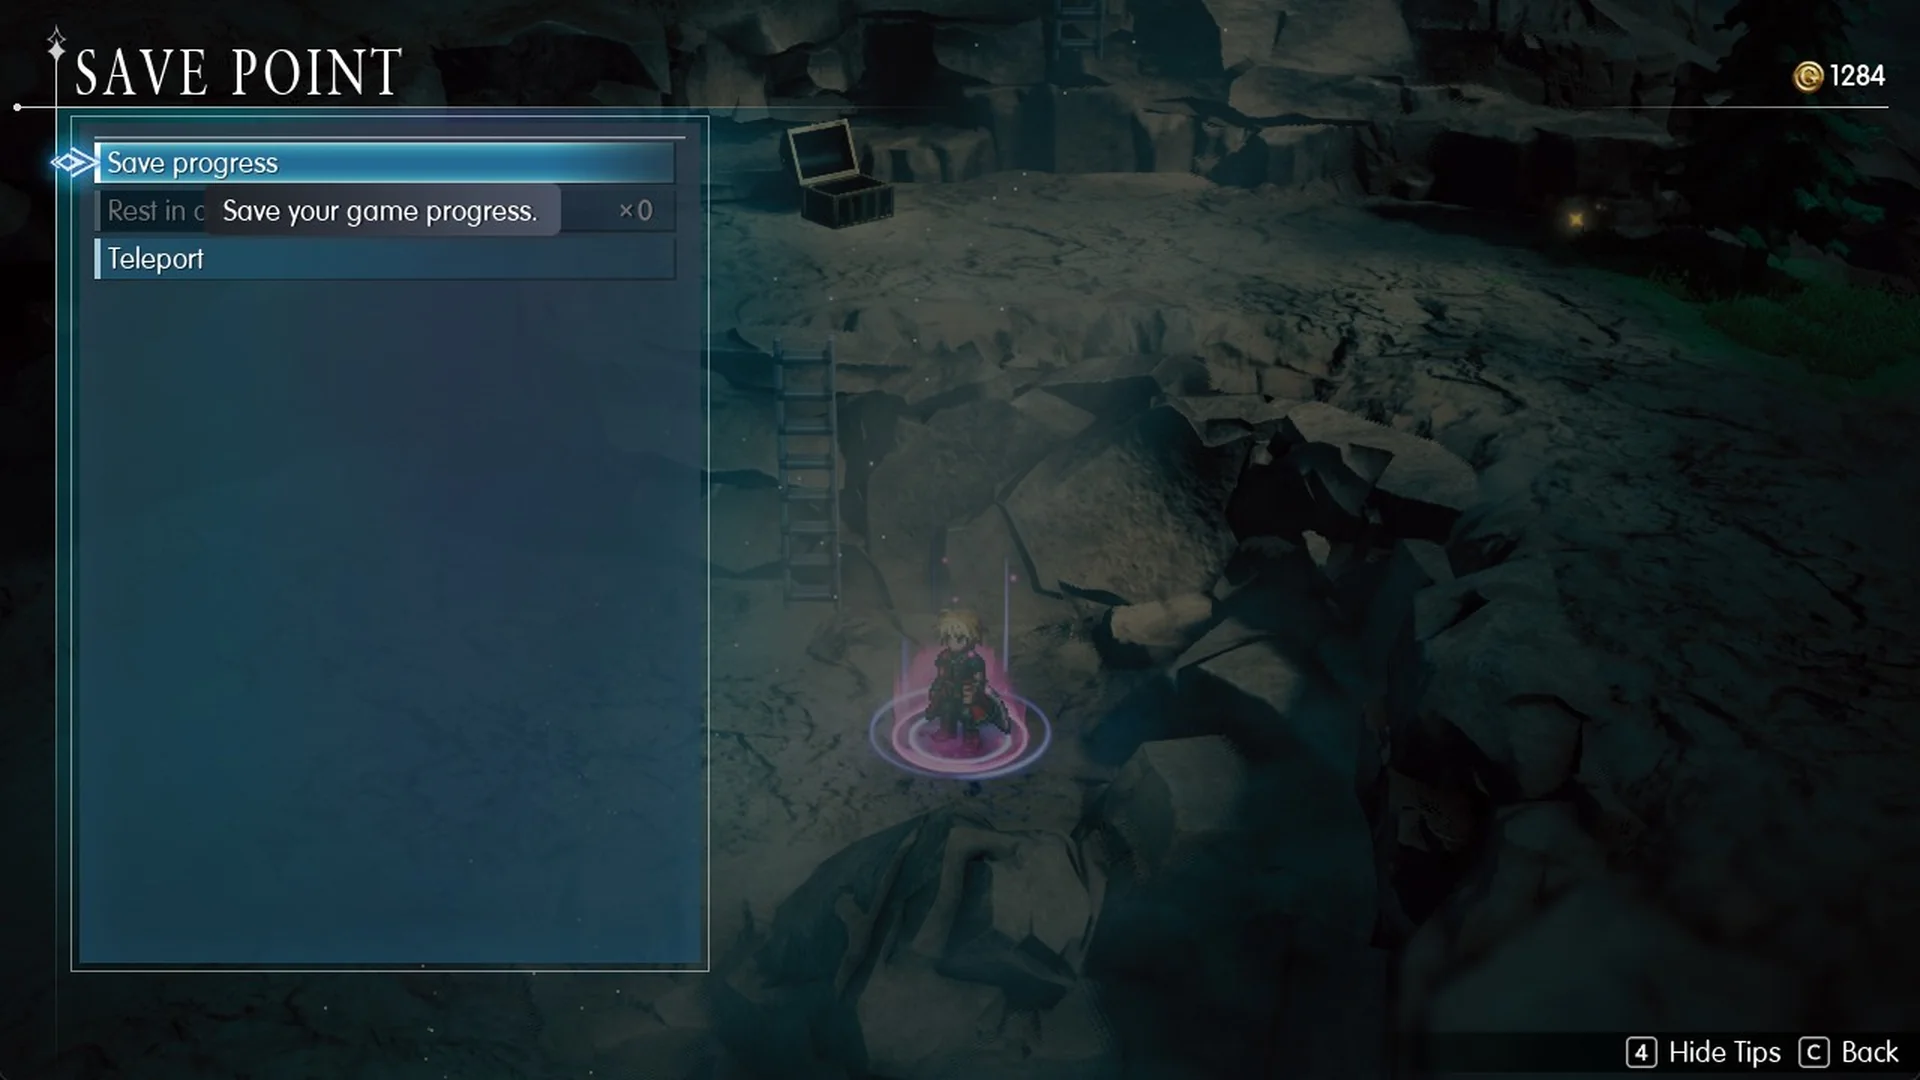
Liquid Thunder waits on the top path of Mt. Thunderclap, just past the Boss save point. Keep following the trail along the top of the mountain and walk into it to start the battle. Lid’s paid easy-peasy route is the fastest way to reach the Boss save; the full route is in the Mt. Thunderclap walkthrough.
The Boss save menu offers Save progress, Rest in a tent and Teleport. Save before you go on. If the party loses, the game shows “The party has fallen…” with Retry, Load and Return to Title. Retry restarts the battle with full HP, MP and items, so a loss costs you nothing but time.
Prepare before the Liquid Thunder fight
Mt. Thunderclap’s suggested level is 13, though that leaves little room for error. Even at level 14, the party can be wiped out when the boss is nearly defeated. Six random battles near the Boss save raise Rain and Lasswell to level 15; with Rain and Lasswell at 15, Fina at 14 and Lid at 11, the party wins on Normal. Earth also exploits the weakness of foes near the Boss save, making the grind quick.
Gear and items to bring:
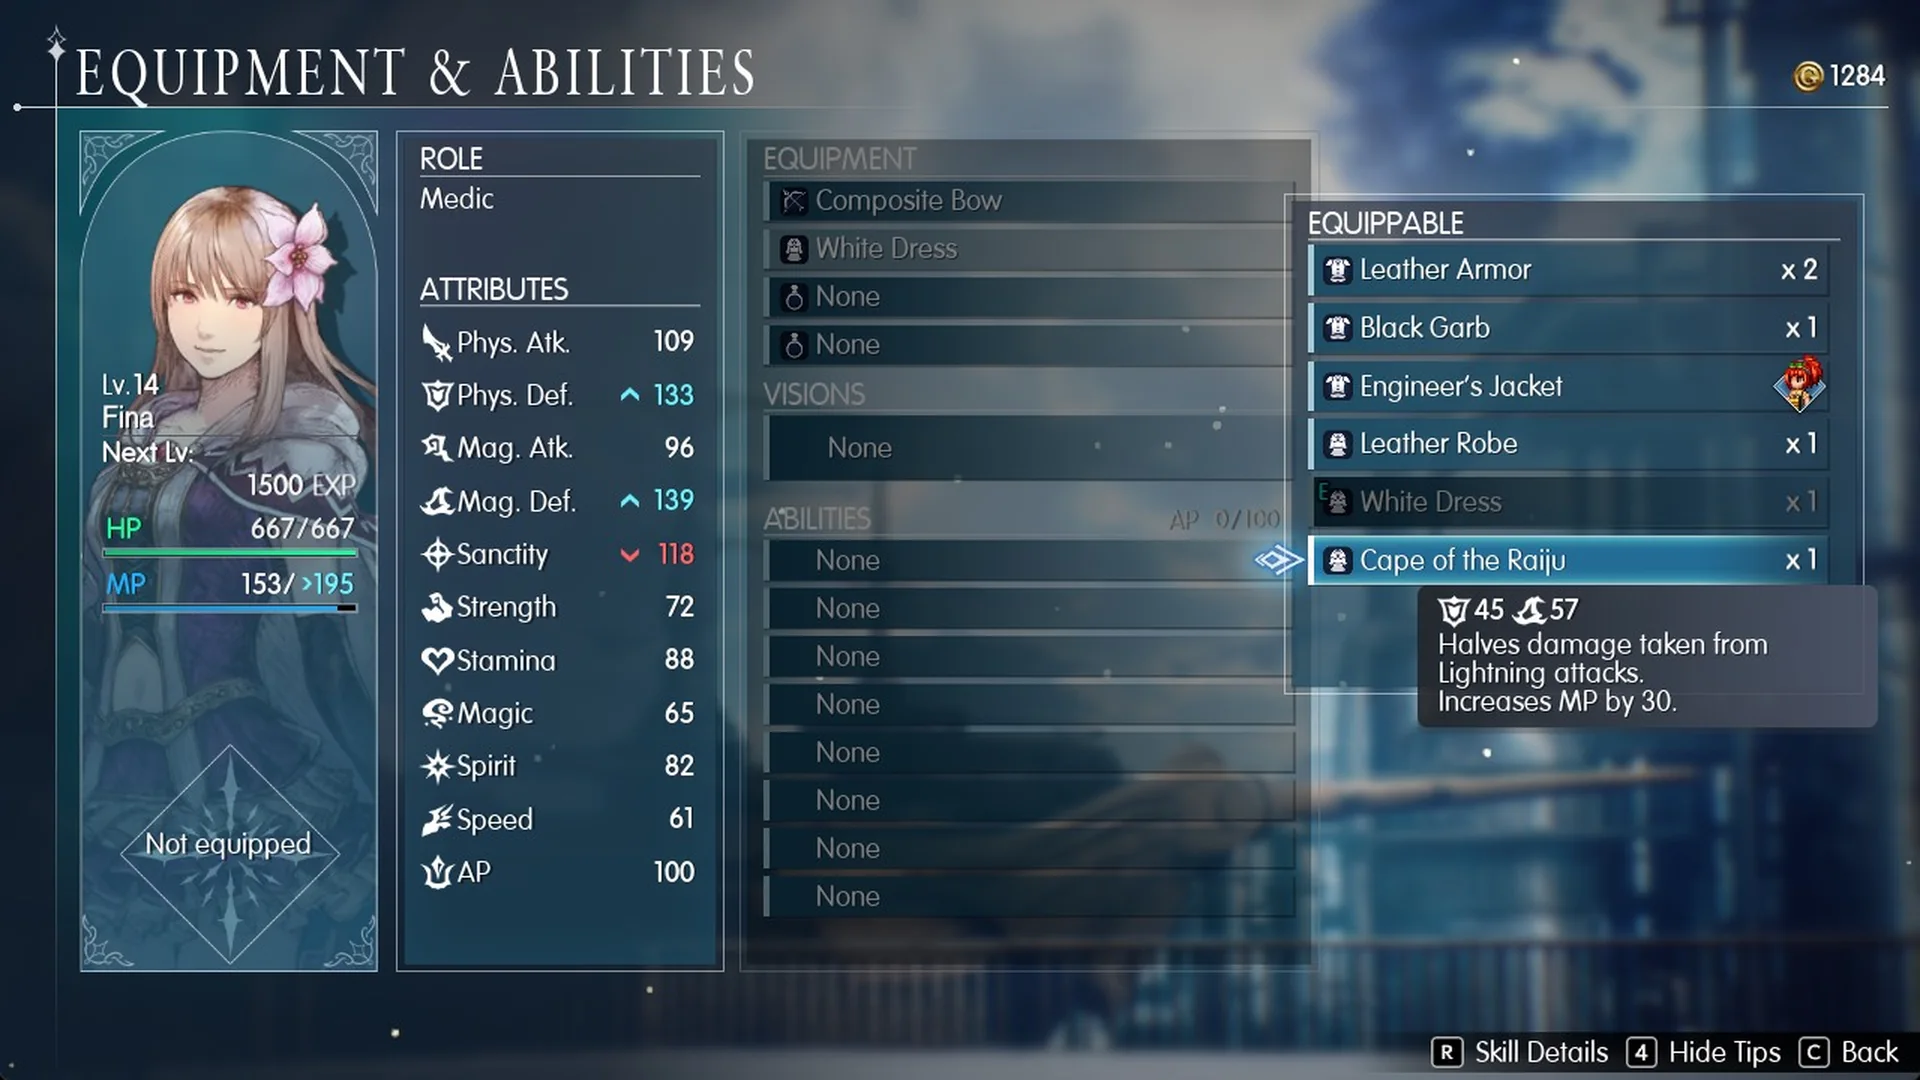
- Cape of the Raiju on Fina. This robe comes from the chest on Lid’s paid route and reads “Halves damage taken from Lightning attacks. Increases MP by 30.” Only Fina can wear robes in this party.
- Earth damage: Lid’s Mechabo Kick and Stone, plus Earth Scroll I.
- Ethers (“Restores 50 MP.”) for Lasswell, who burns MP on Shellga and Cura.
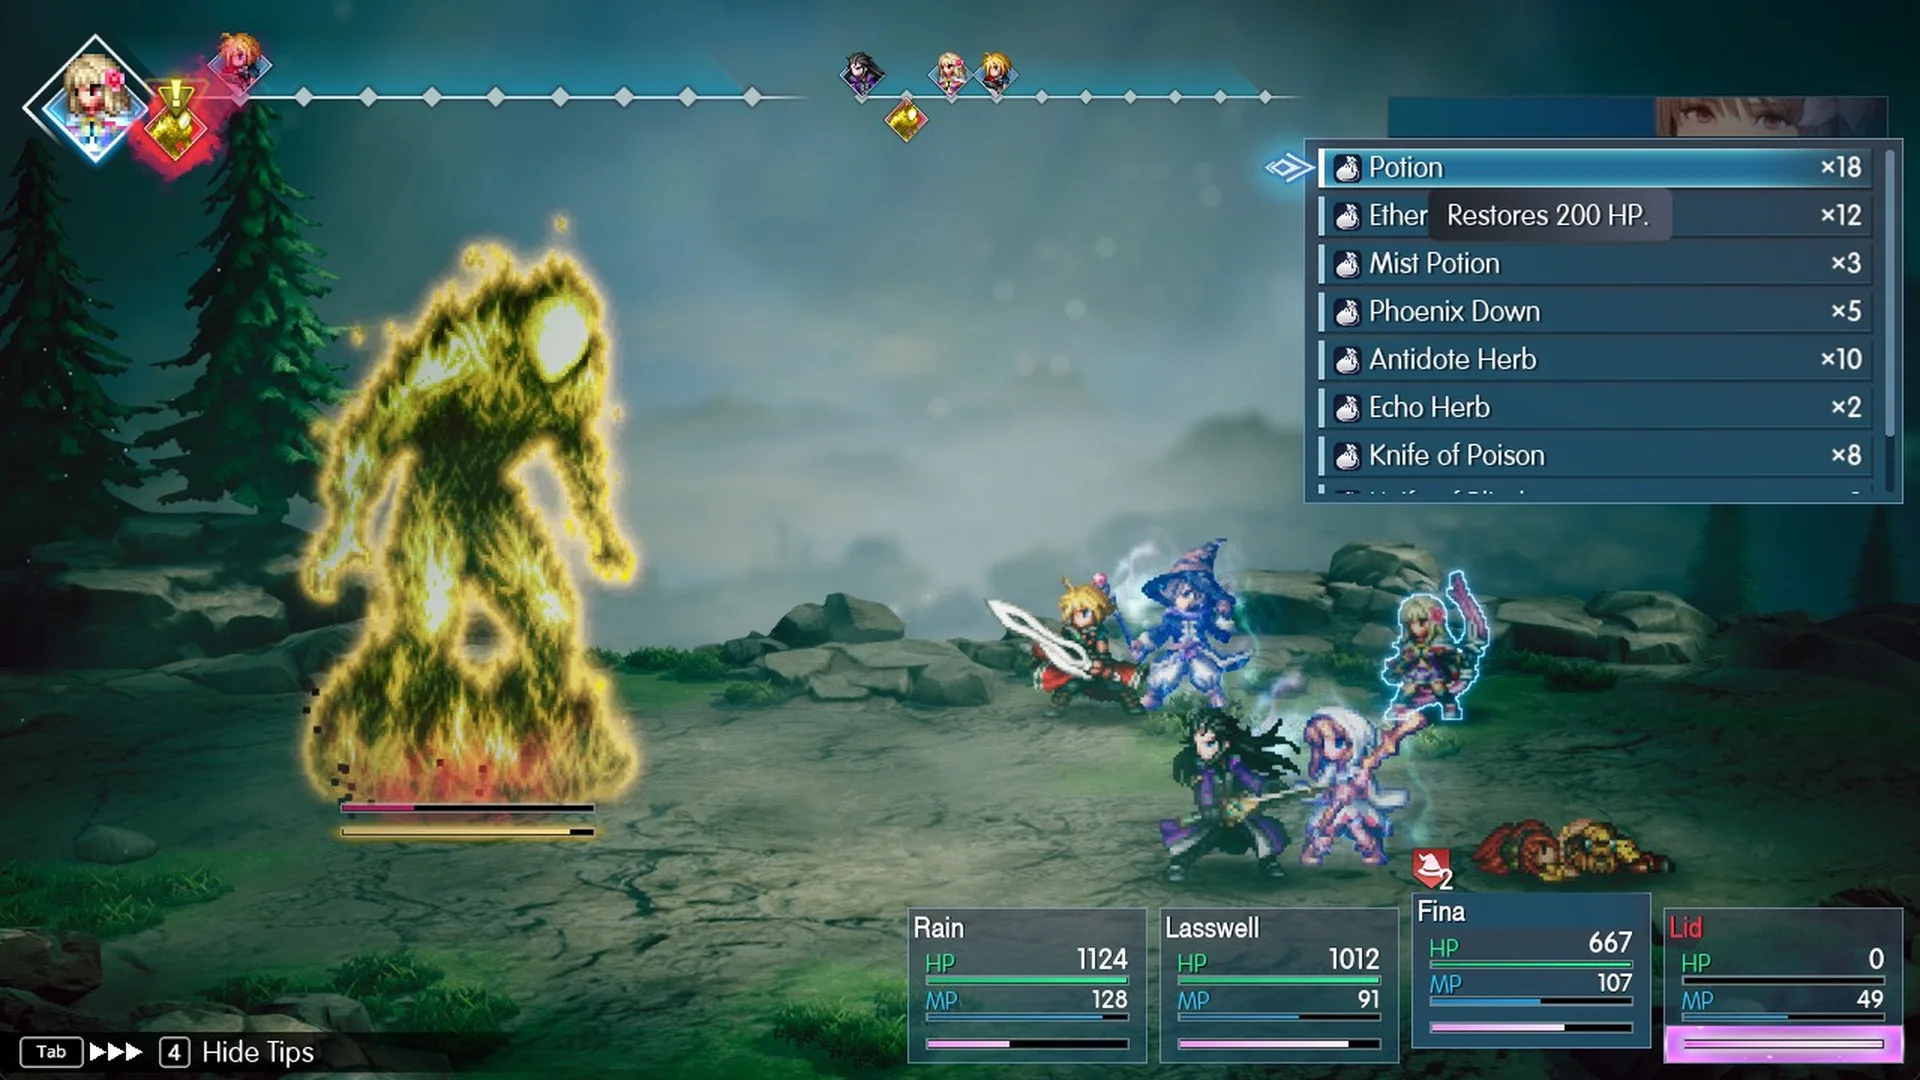
- Phoenix Downs (“Revives a KO’d ally with 25% HP.”). Lid tends to go down more than once.
- Avoid Lightning attacks. Thunder, Thundara and Lightning Scroll are ineffective against this foe.
Equip the Cape of the Raiju on Fina. With it on, she takes far less from every Lightning hit than the rest of the party.
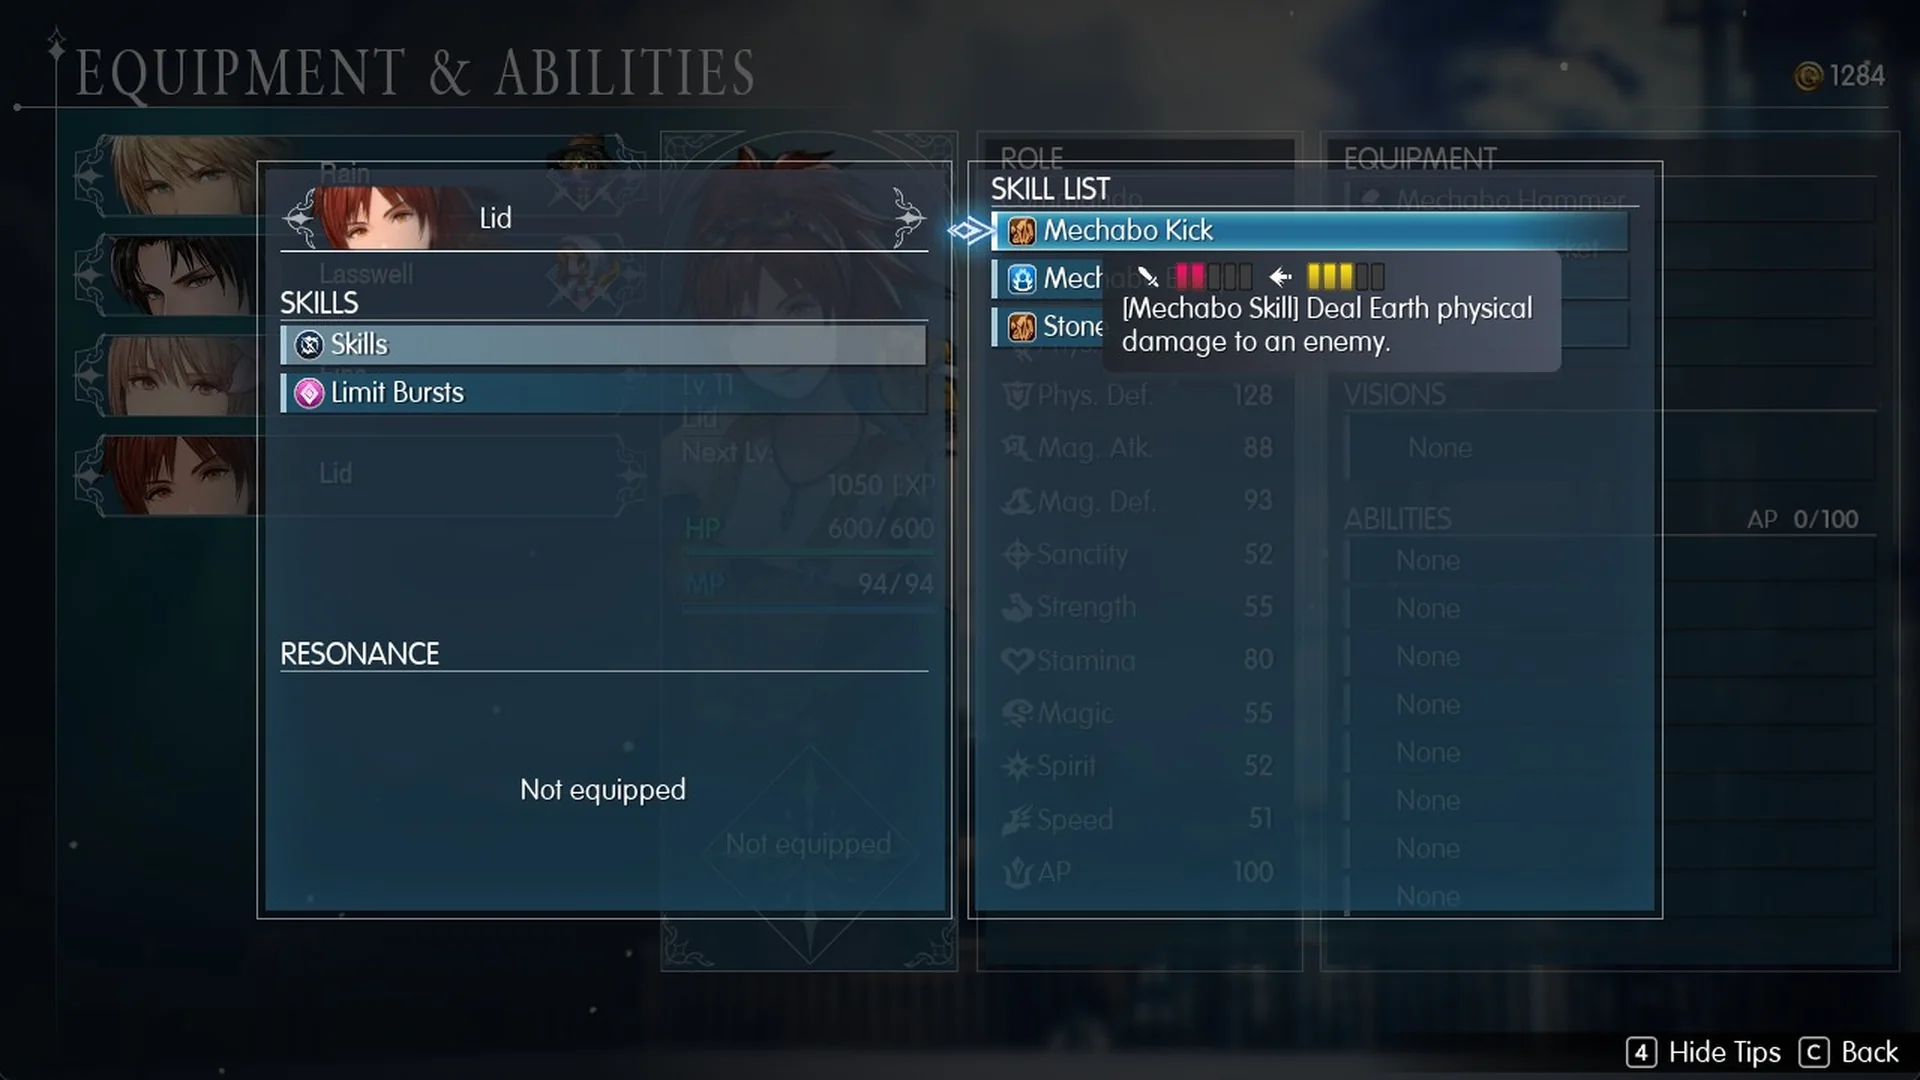
Mechabo Kick reads “[Mechabo Skill] Deal Earth physical damage to an enemy.” and Stone reads “[Black Magic] Deal Earth magic damage.” If you need a refresher on her kit, see how Lid joins the party. Earth Scroll I (“Deals Earth magic damage to a single enemy.”) costs 1,000 Gil at the Dilmagia item shop, listed with the other Dilmagia shops. Fina threw three of them in our winning fight.
Shellga costs 25 MP and Cura costs 18 MP. Without Ethers, Lasswell runs dry before the boss does.
Liquid Thunder stats and weakness
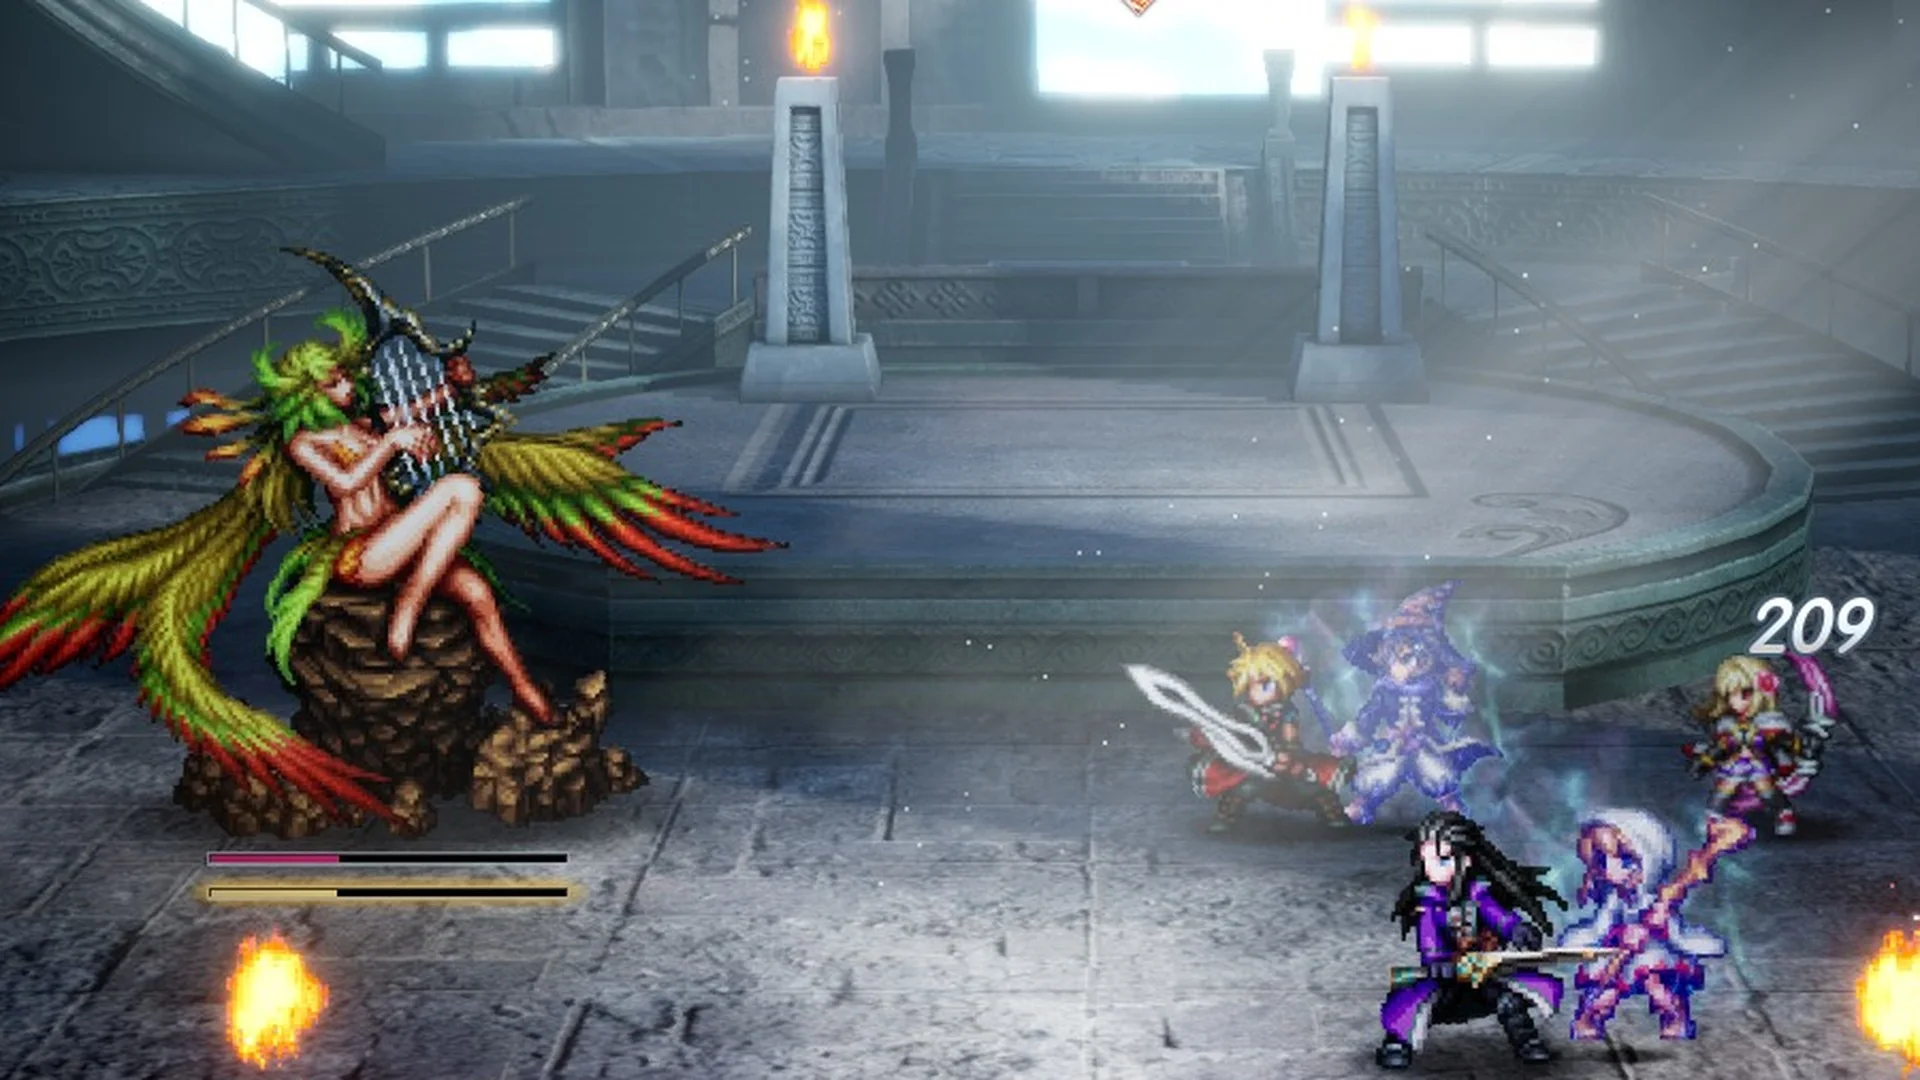
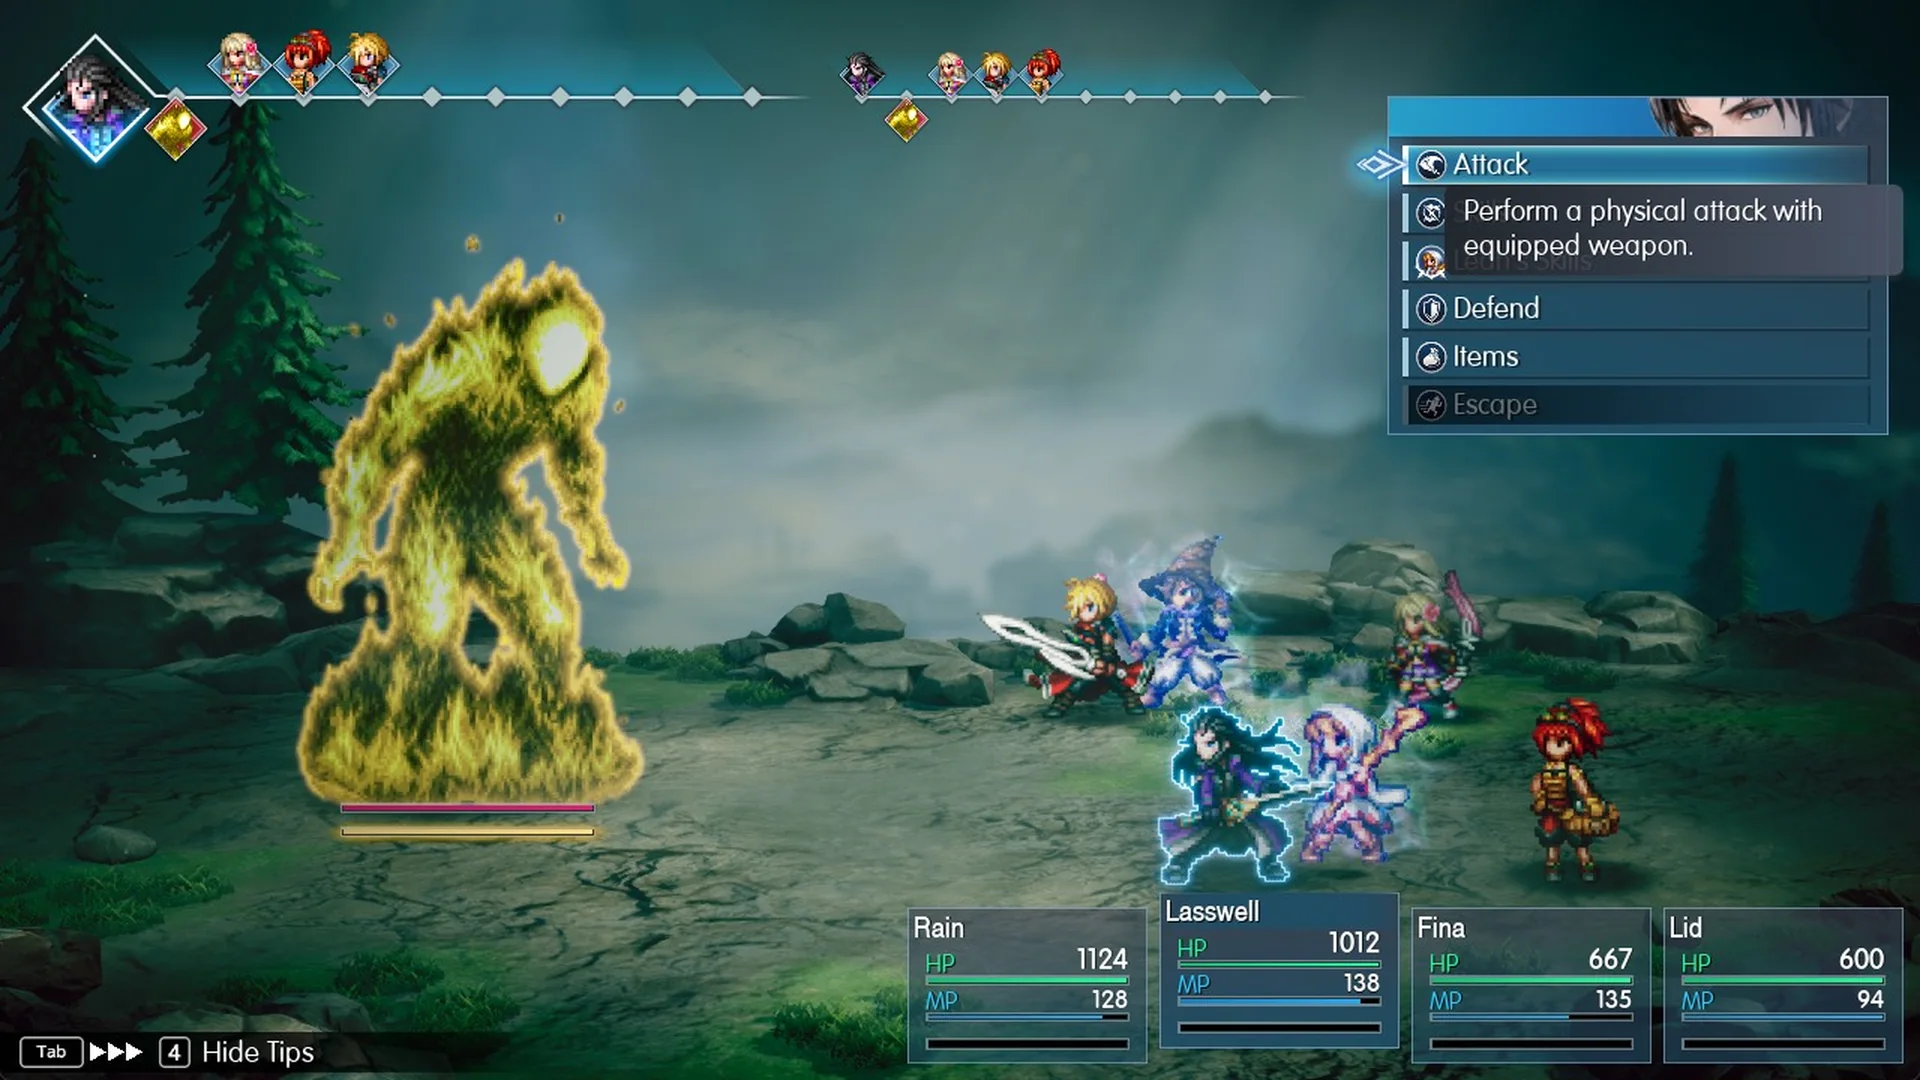
Walk into Liquid Thunder and the battle starts.
Libra shows a Level 13 Fairy with 10,000 HP, the trait “Uses a special skill after charging electricity.”, a Lightning Scroll I drop and nothing to steal.
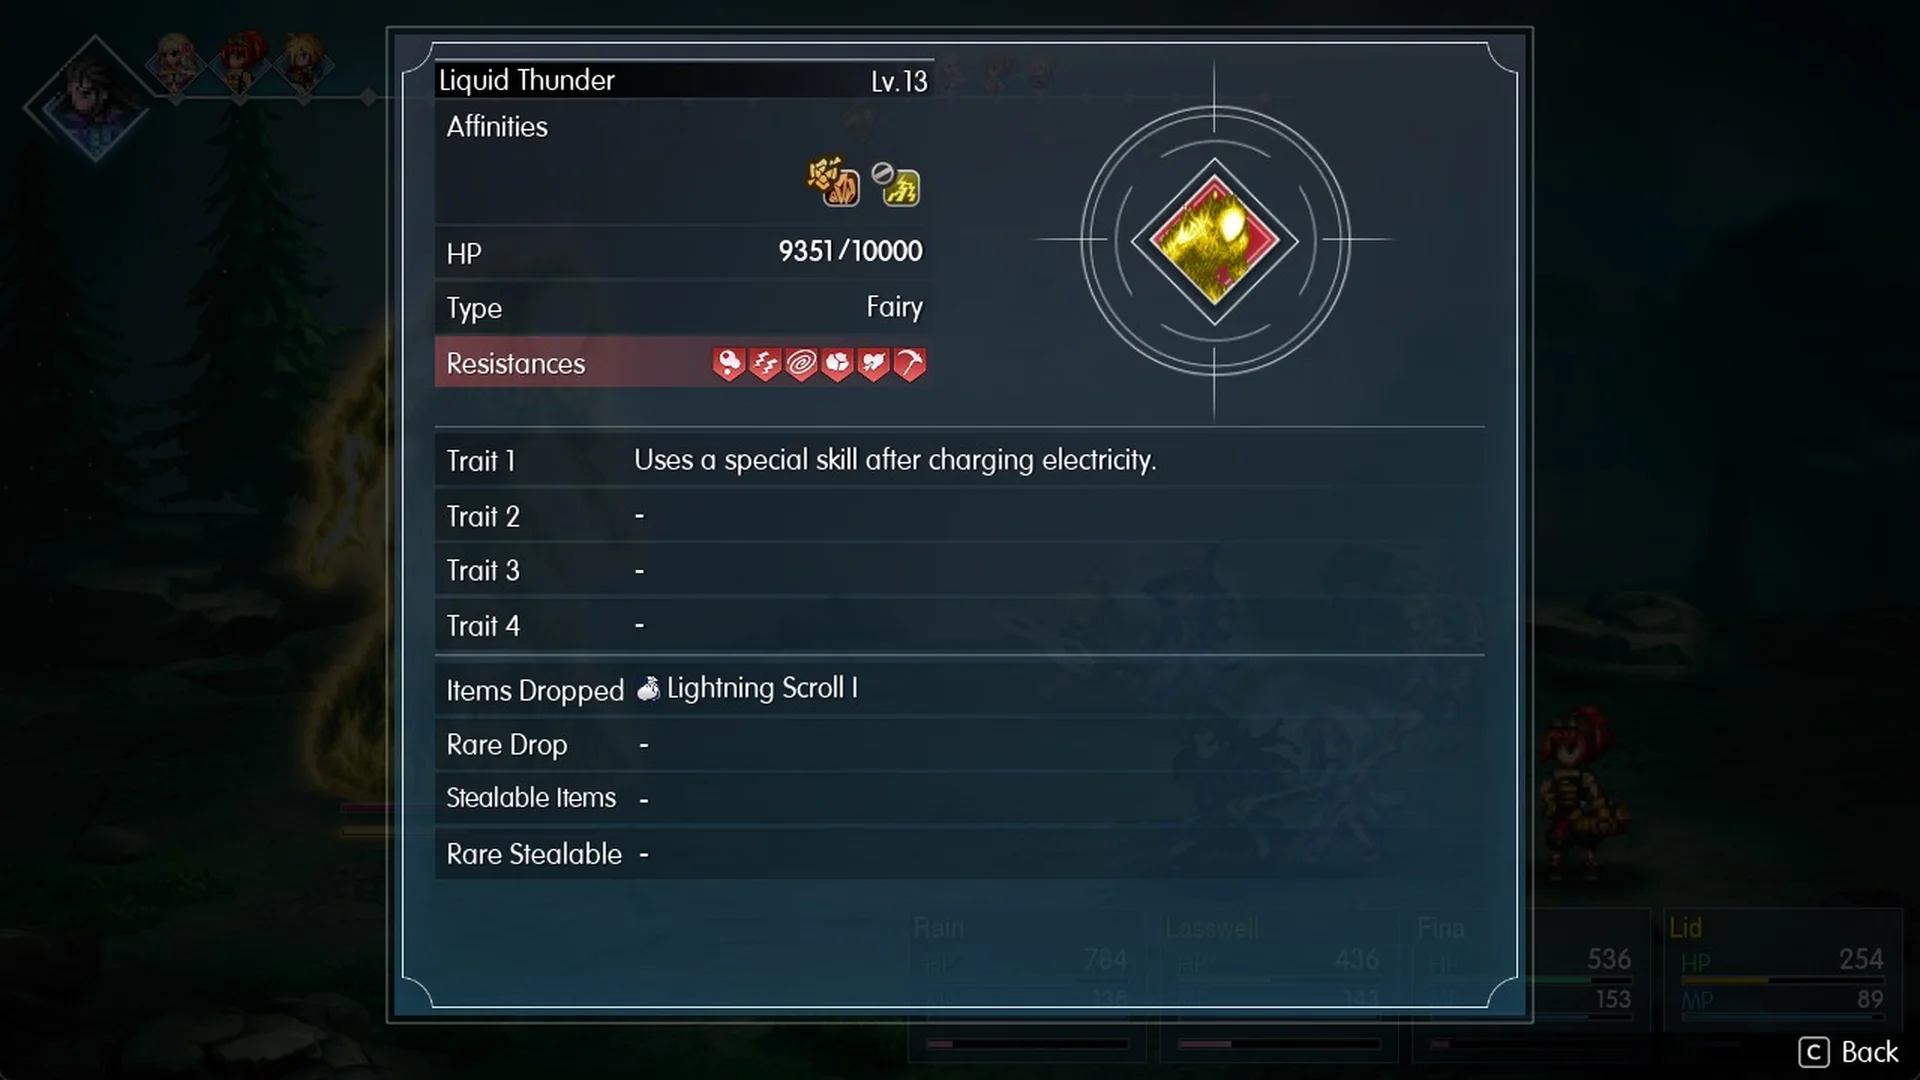
It nullifies Thunder (Lightning) and is weak to Earth. Mechabo Kick lands with a “Weak” tag every time.
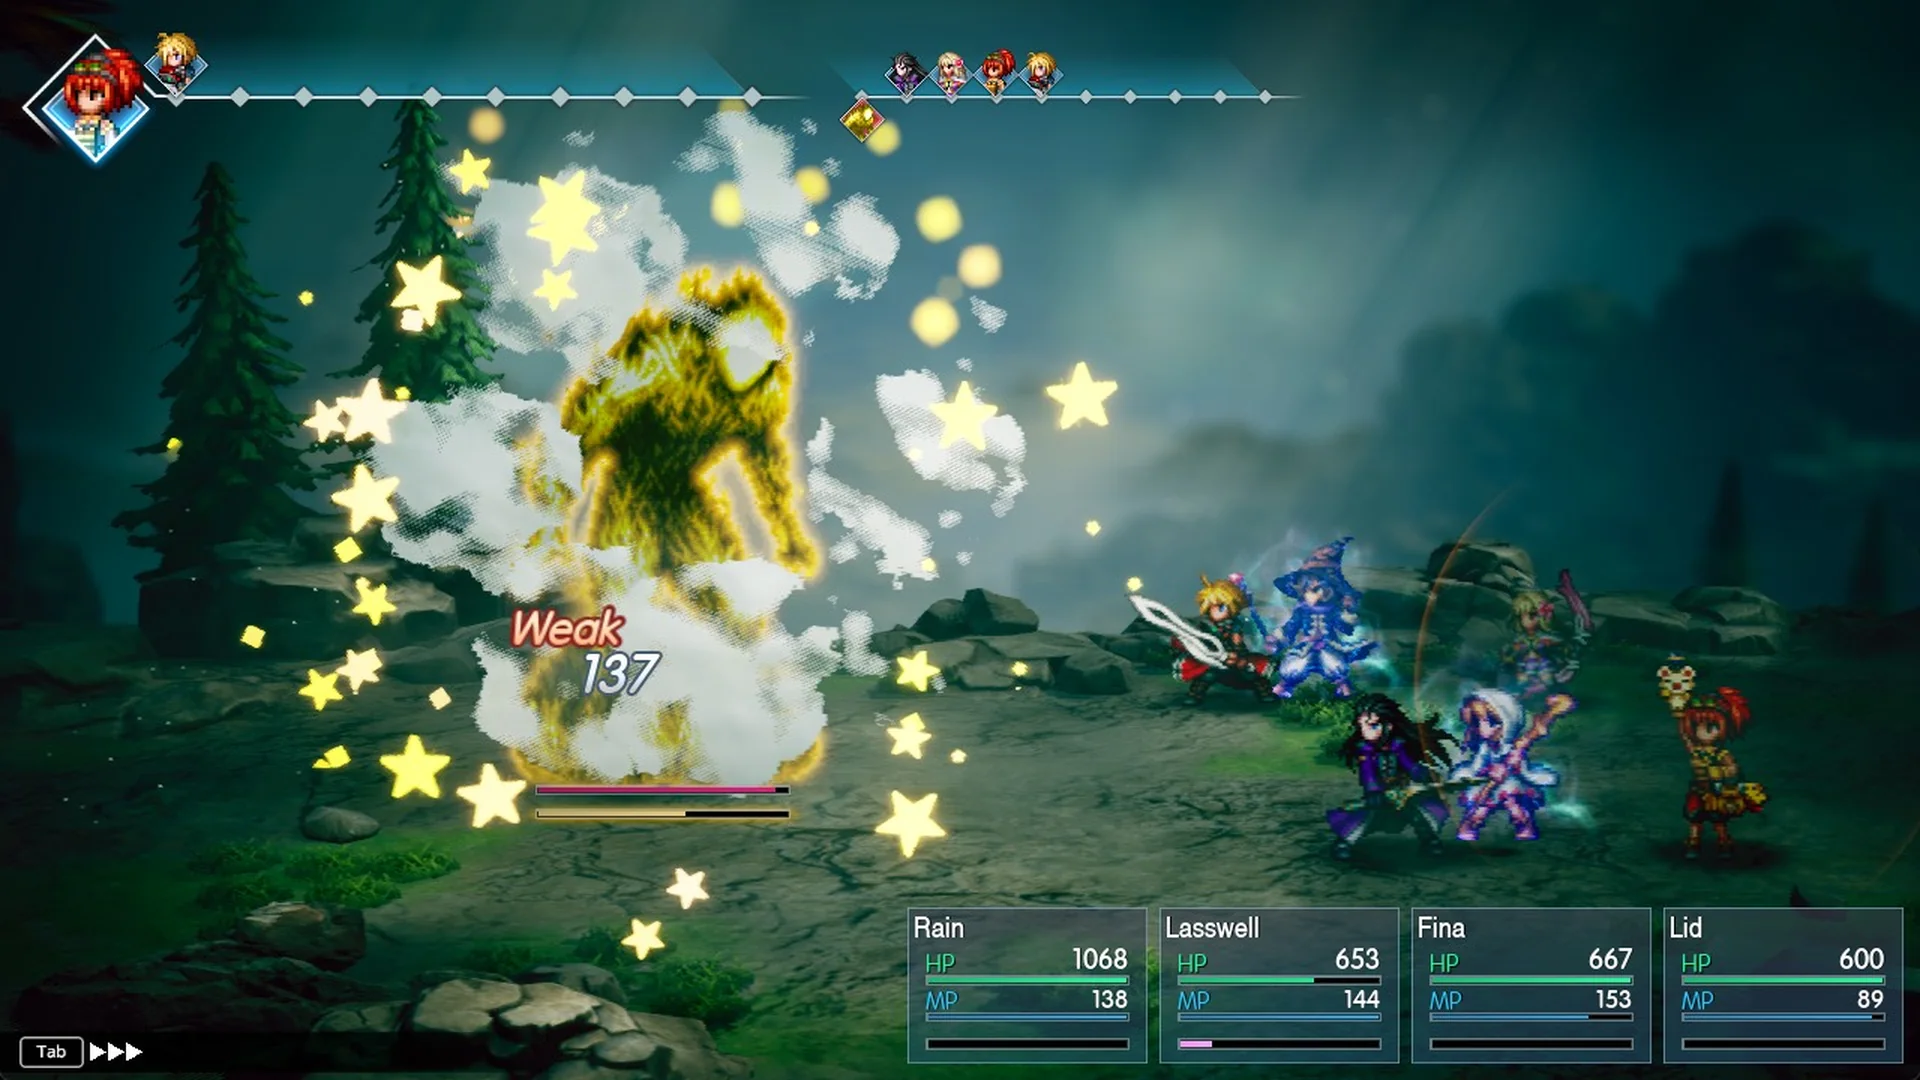
That trait is what you play around. The charge sets up Gigavolt, its hardest single-target hit. Ramuh, the optional thunder fight on the same mountain, is also weak to Earth, so the same setup carries over to the Ramuh encounter.
Liquid Thunder attacks and damage
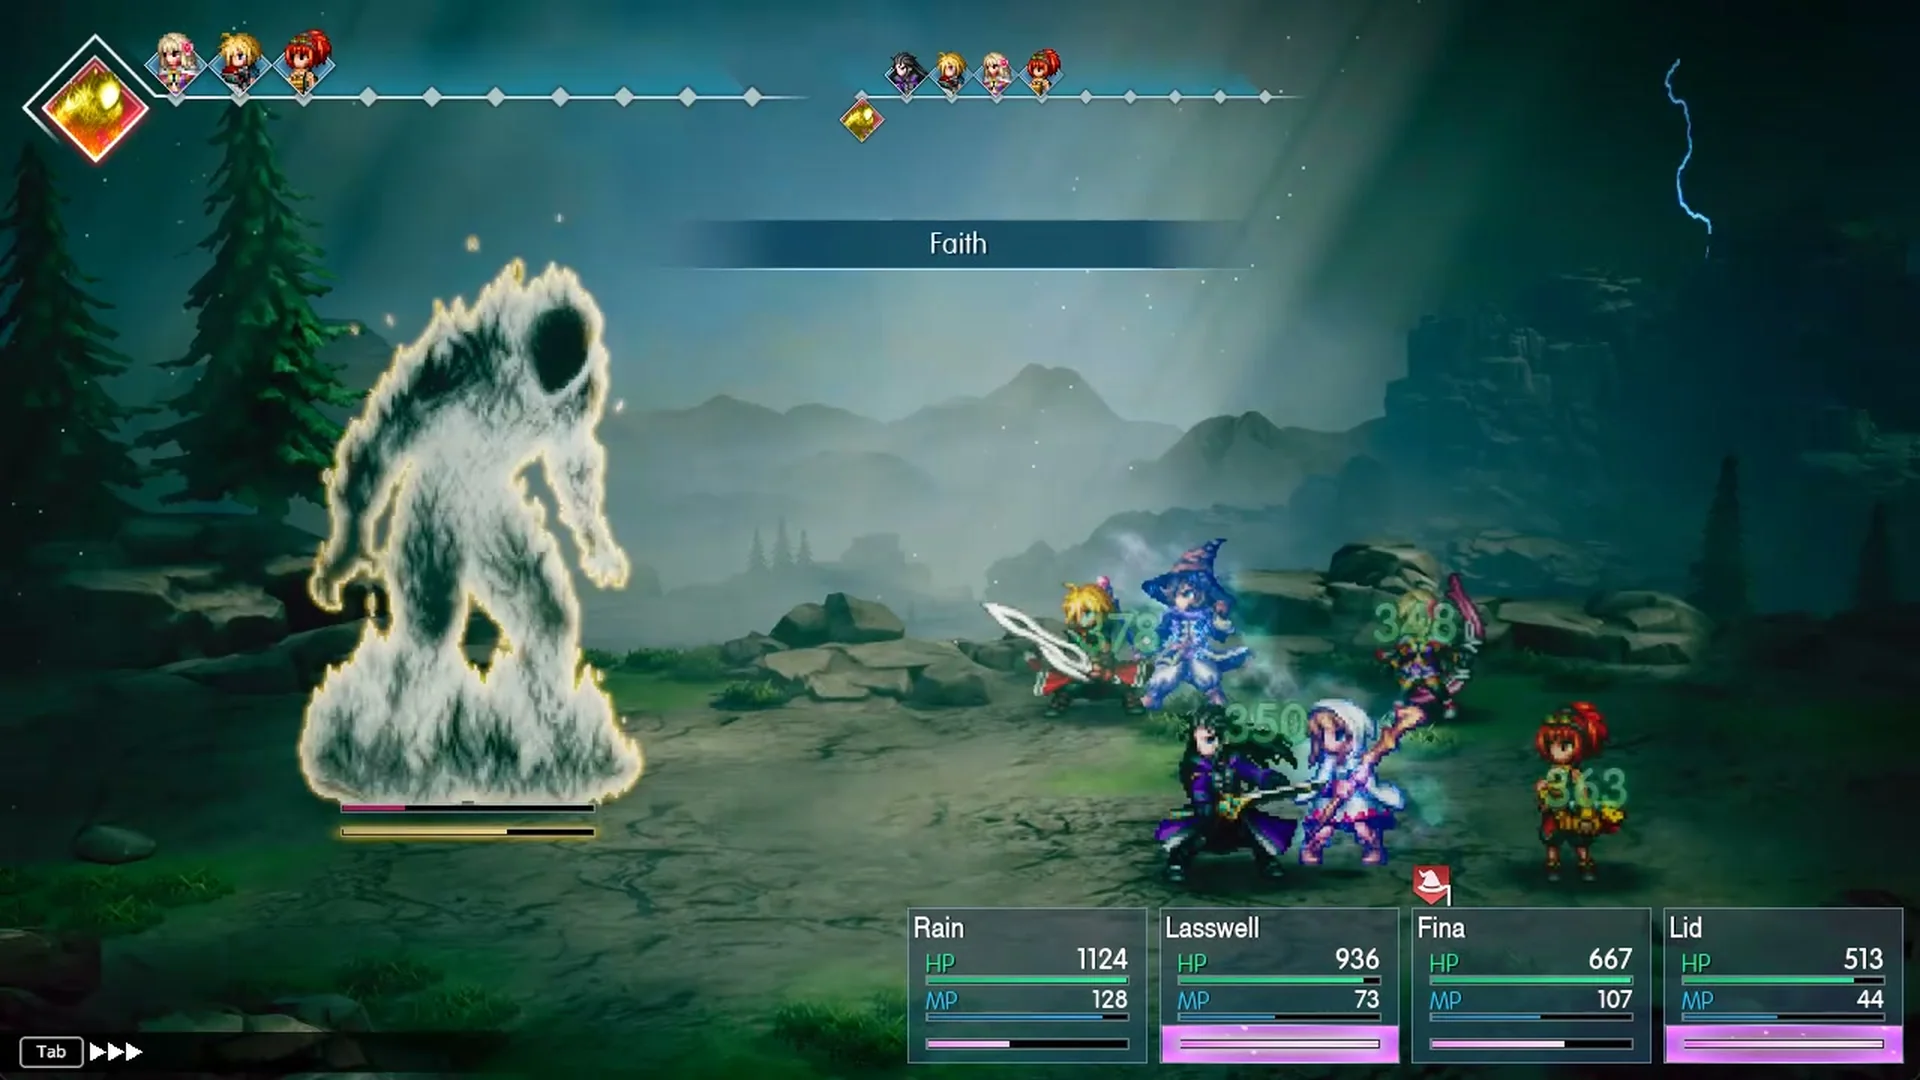
The boss’s whole sprite flashes white right before every move, so you always get a beat of warning. Damage figures below are on Normal against a party at levels 11 to 15.
| Attack | What it does | Damage seen |
|---|---|---|
| Lightning | Hits the whole party | About 70–240 each with Shellga; 155–520 without |
| Megavolt | One target, can paralyze | About 200–250 |
| Thundara | One target, two strikes | 616 on Lid (a KO) |
| “Charging electricity!” | Charges up for Gigavolt | None |
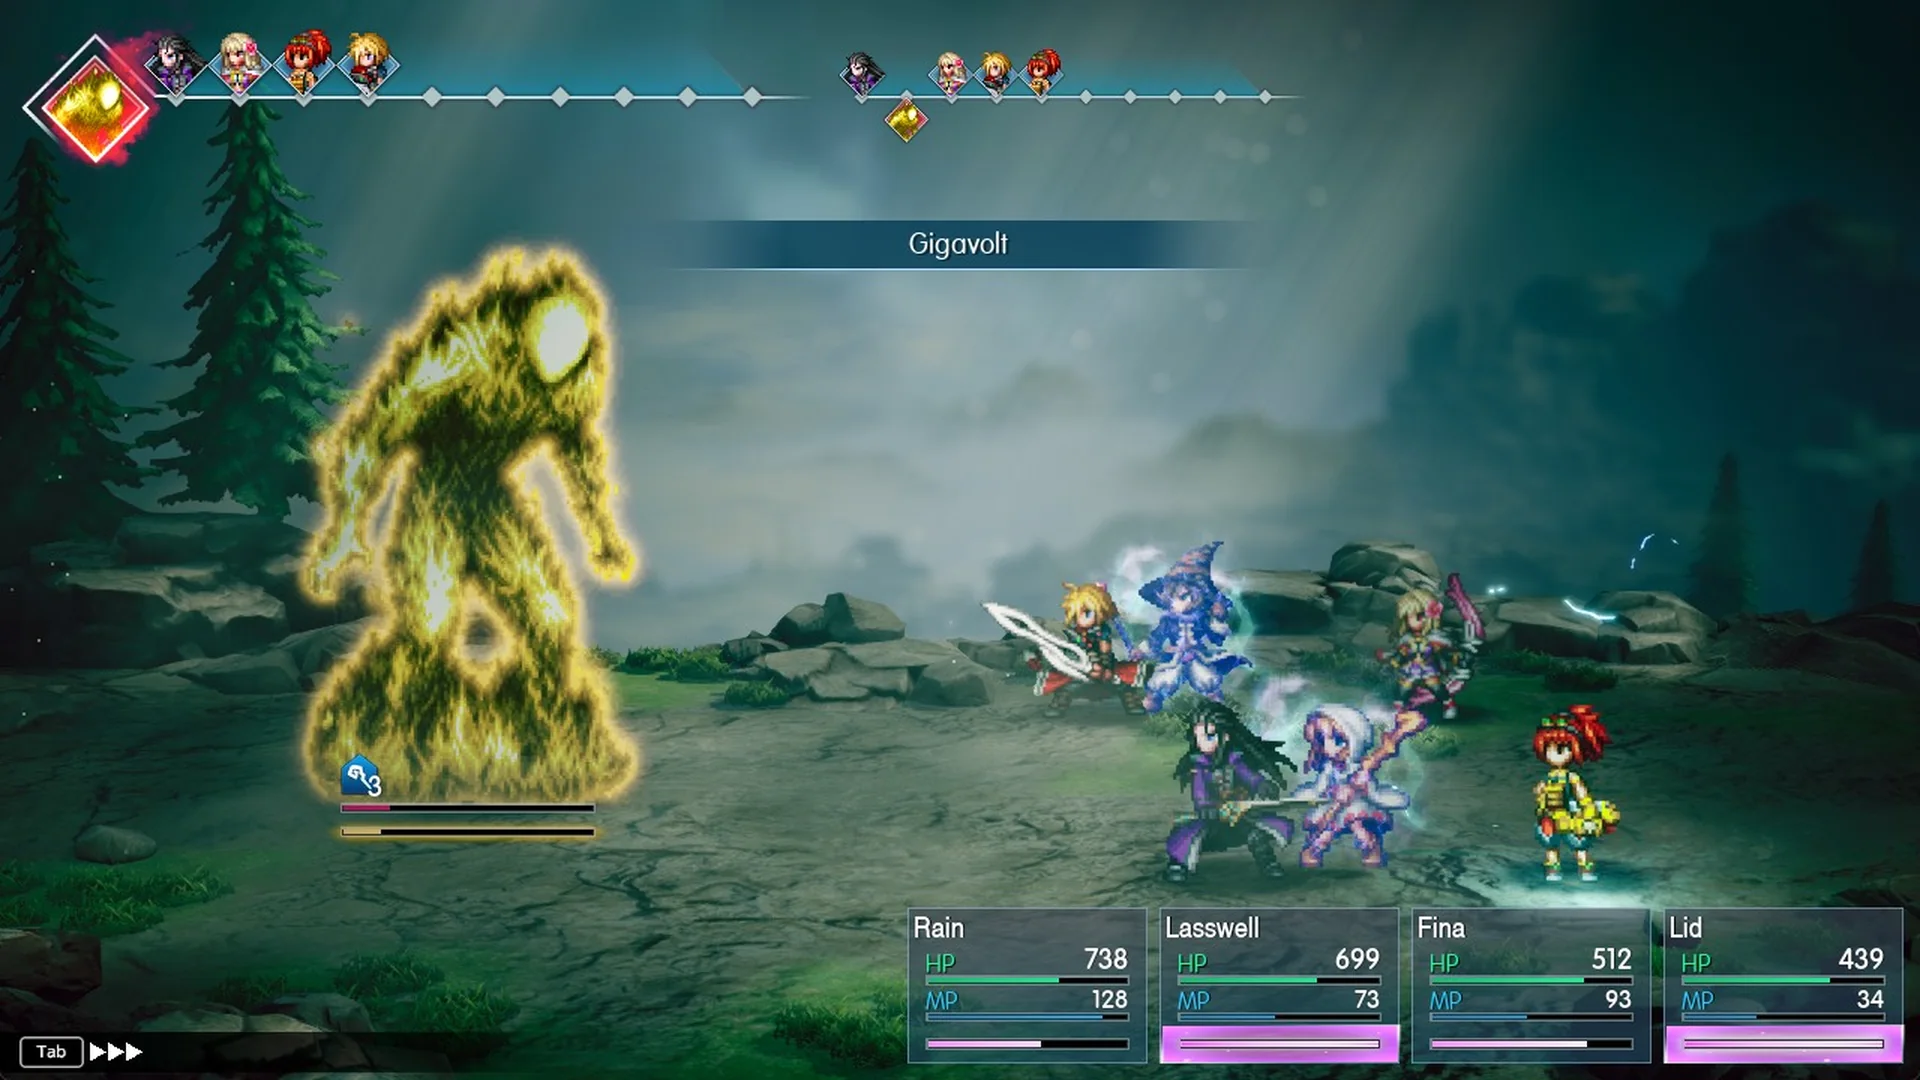
| Gigavolt | One target, two big strikes | 426 on Lasswell, 997 on Lid |
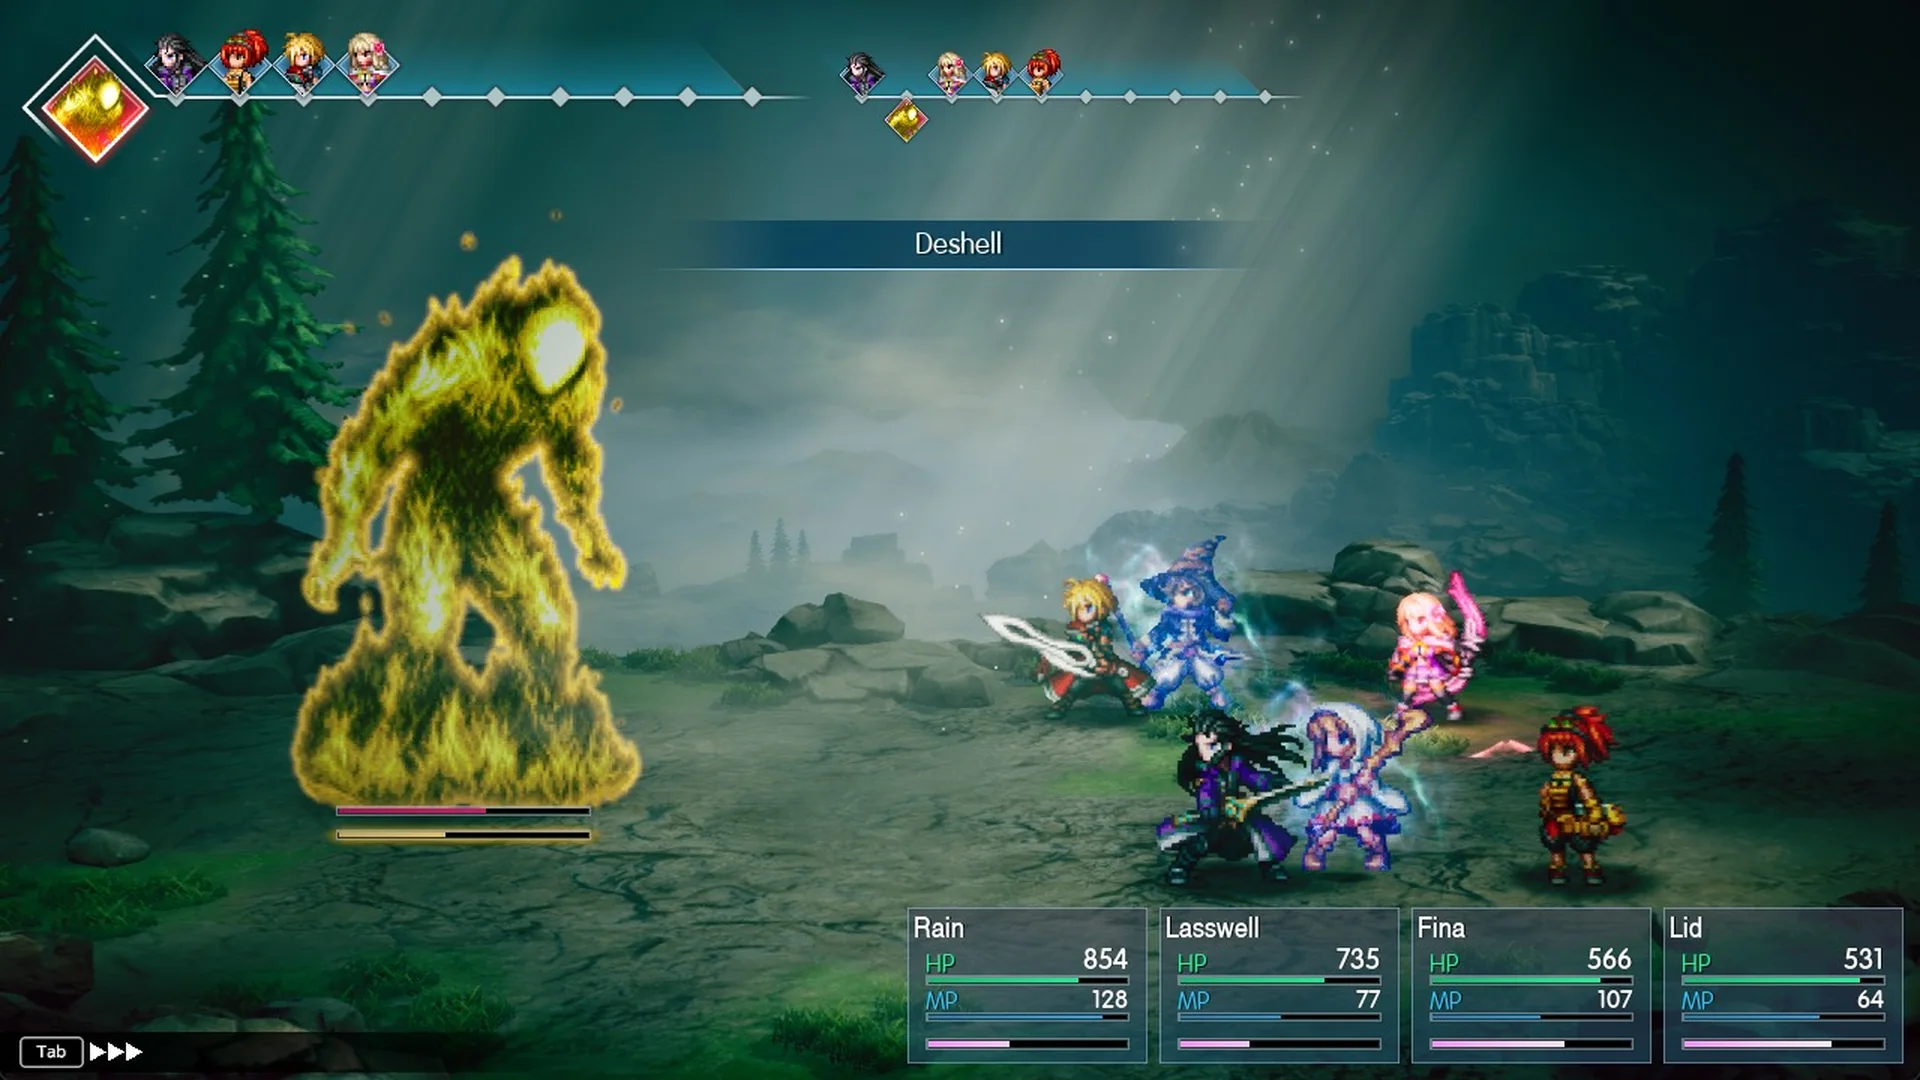
| Deshell | Lowers one member’s magic defense | None |
| Faith | Raises its own magic attack | None |
Lightning hits all four party members at once. The low end of the range is Fina in the Cape of the Raiju.
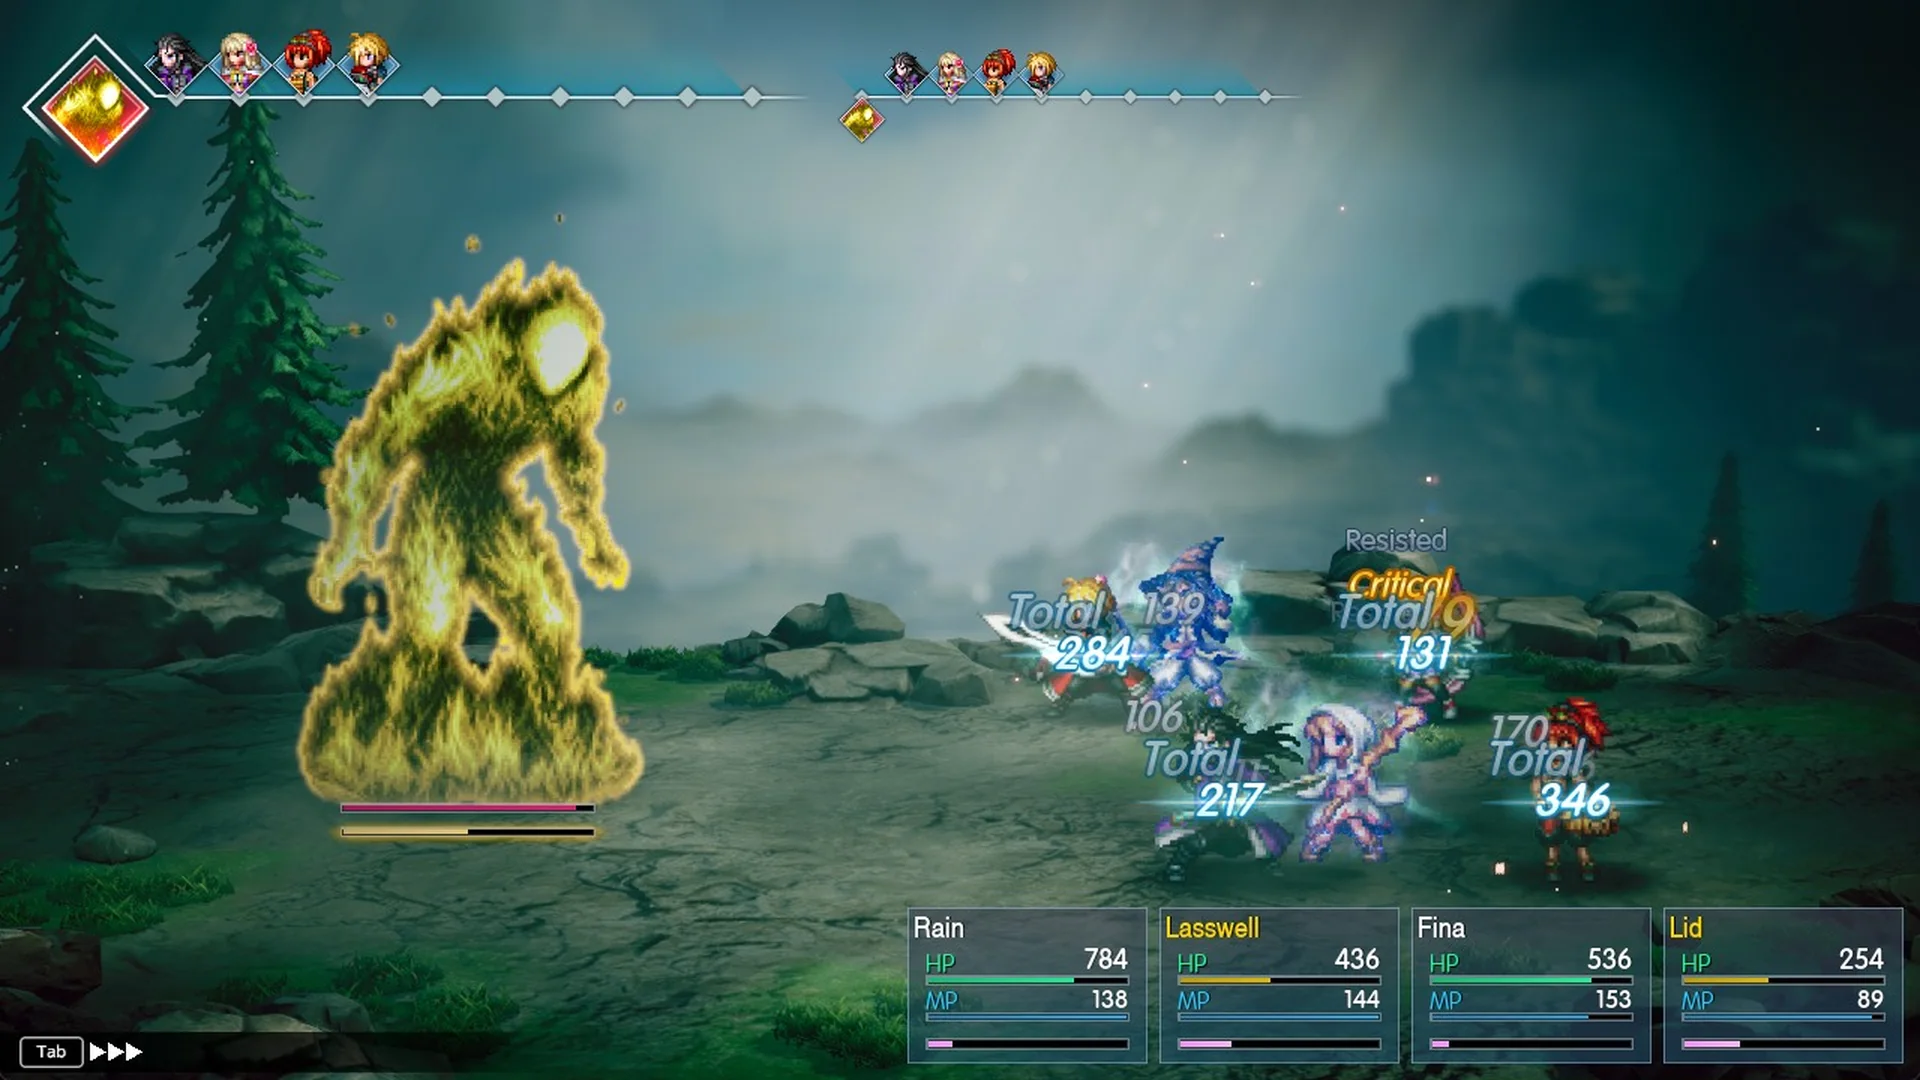
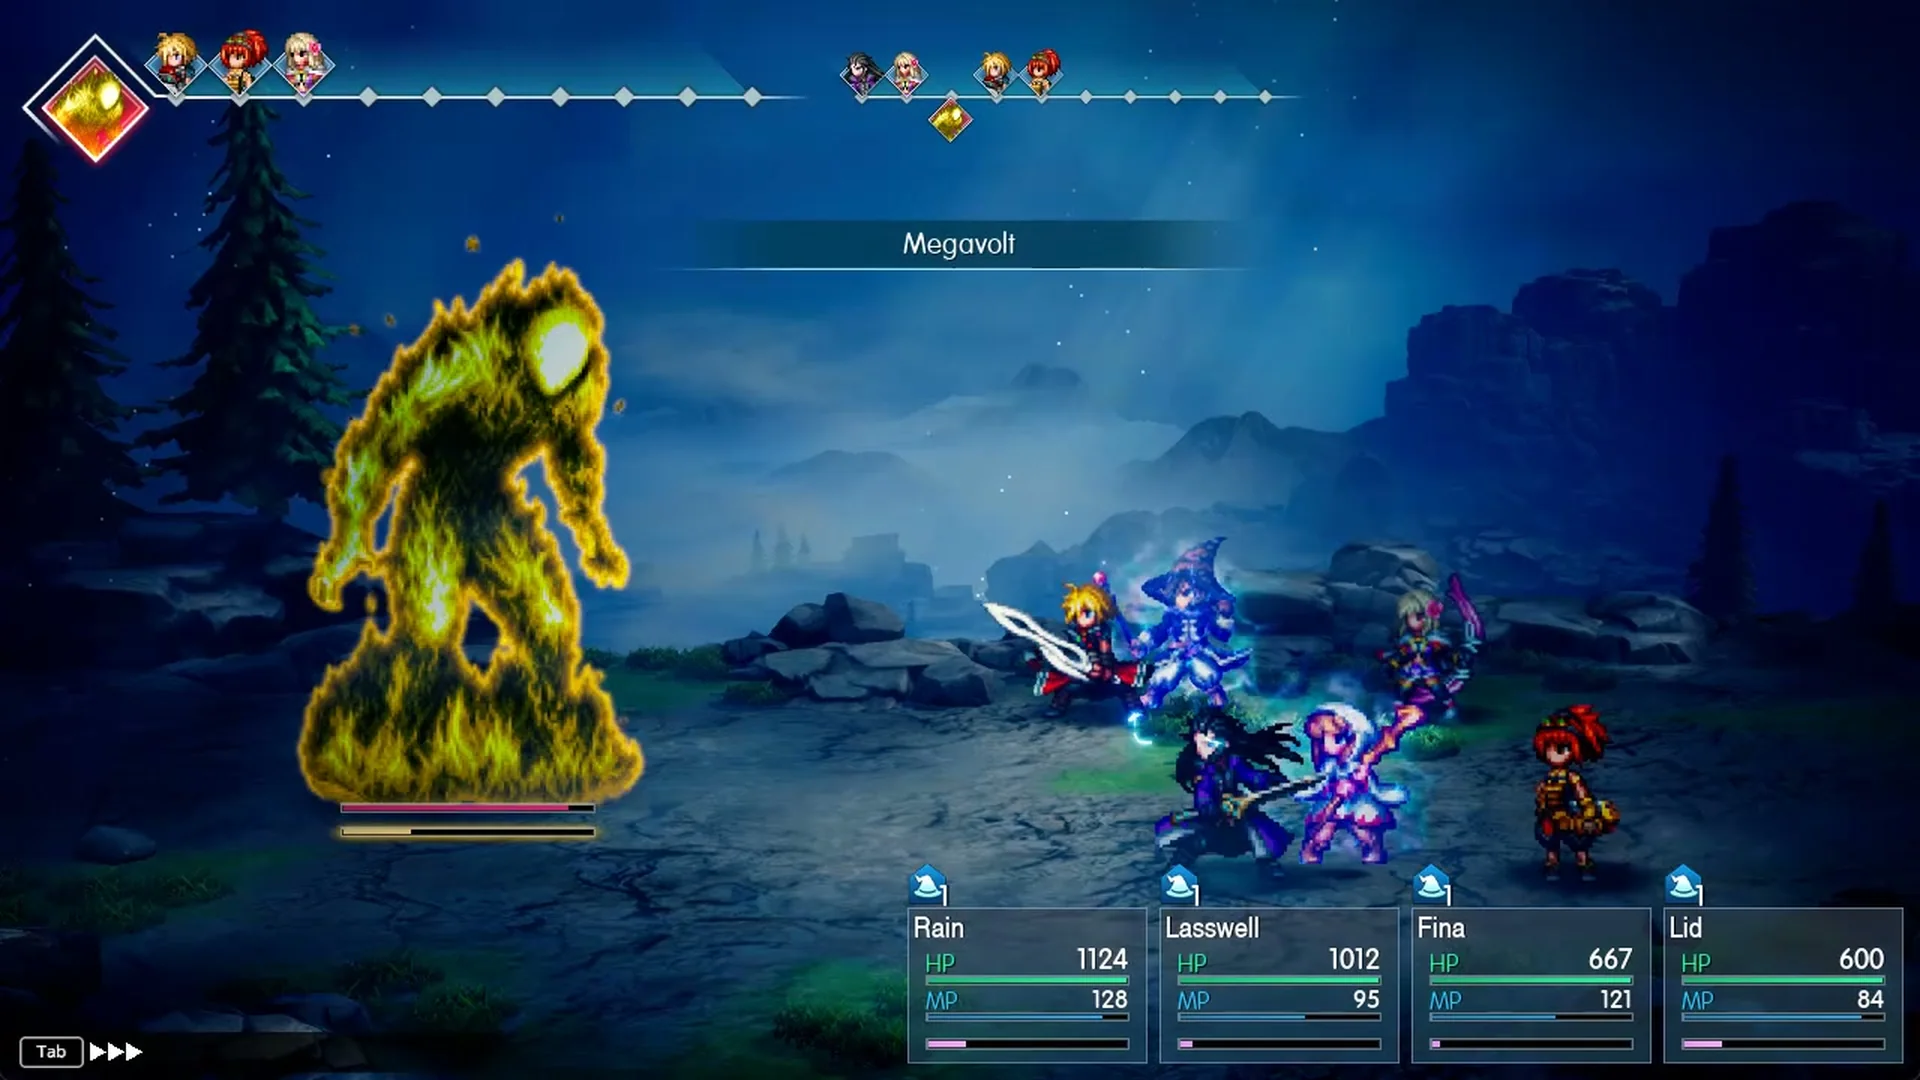
Megavolt hits one member and can paralyze them; it landed on Rain, Lasswell and Fina across our attempts.
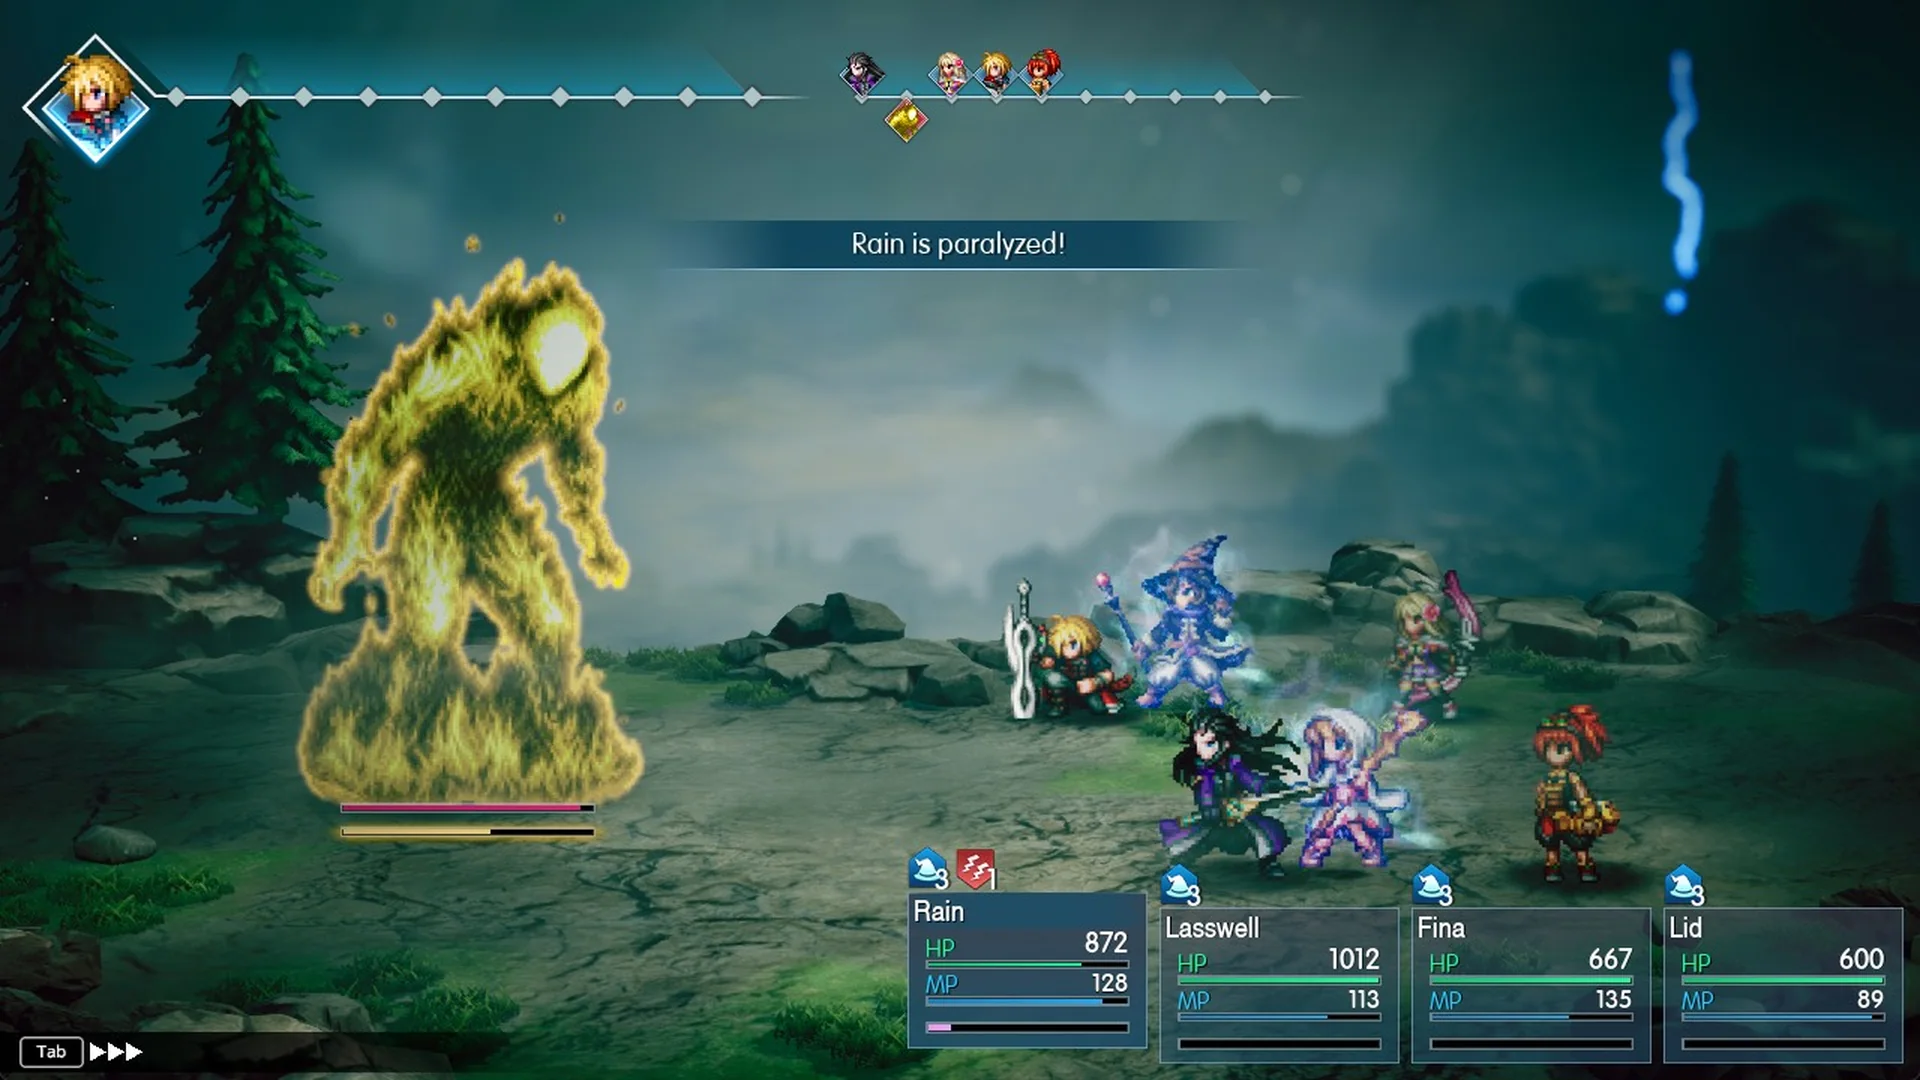
A paralyzed member loses the turn, and the game prints “Rain is paralyzed!” (or the matching name).
Thundara strikes one member twice. Its two strikes knock out Lid, who has 600 max HP, in one go.
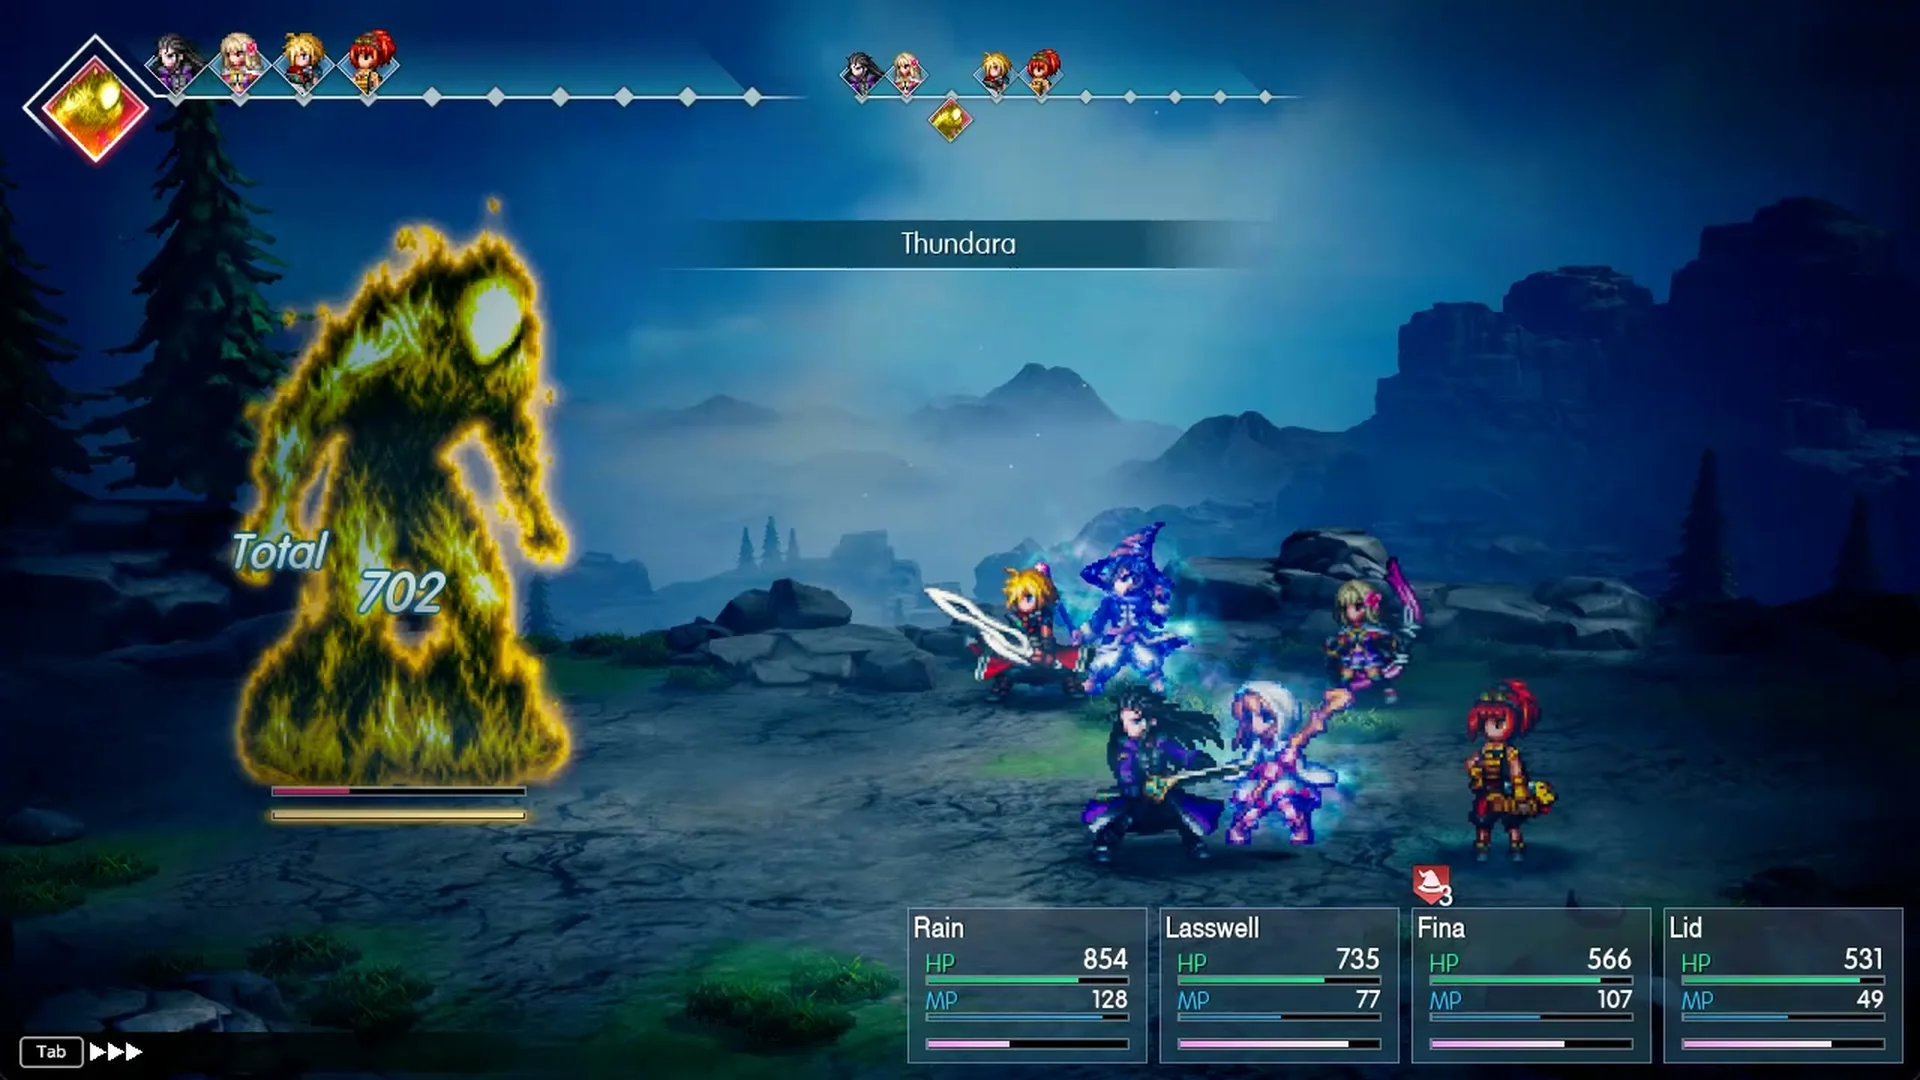
The “Charging electricity!” banner is its trait at work: Gigavolt follows on a later turn.
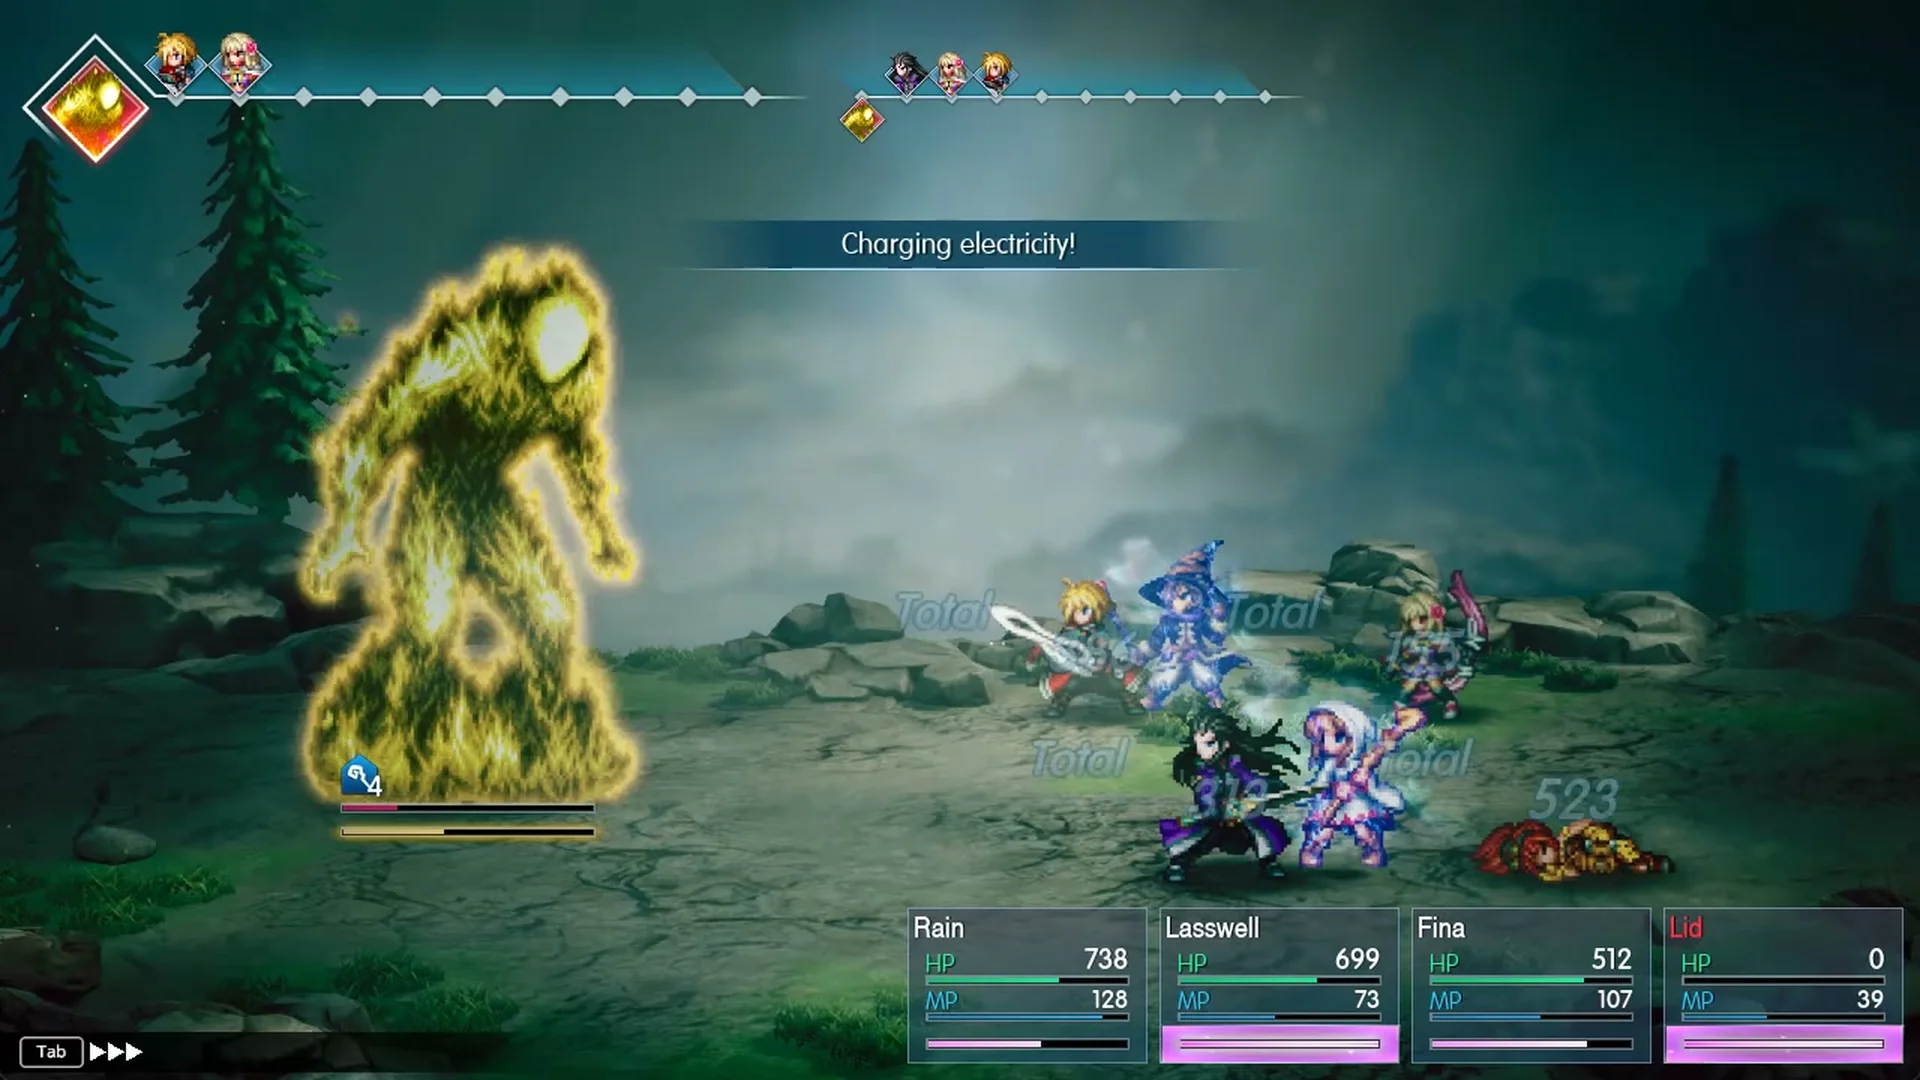
Gigavolt is two big strikes on one member: 426 on Lasswell, and 997 on Lid, another clean KO.
Deshell (“Decrease magic defense of an enemy.” in the spell’s own description) deals no damage but leaves that member open to bigger magic hits.
Faith (“Increase magic attack of an ally.”) is cast on itself and raises its magic attack.
Strategy that beats Liquid Thunder on Normal
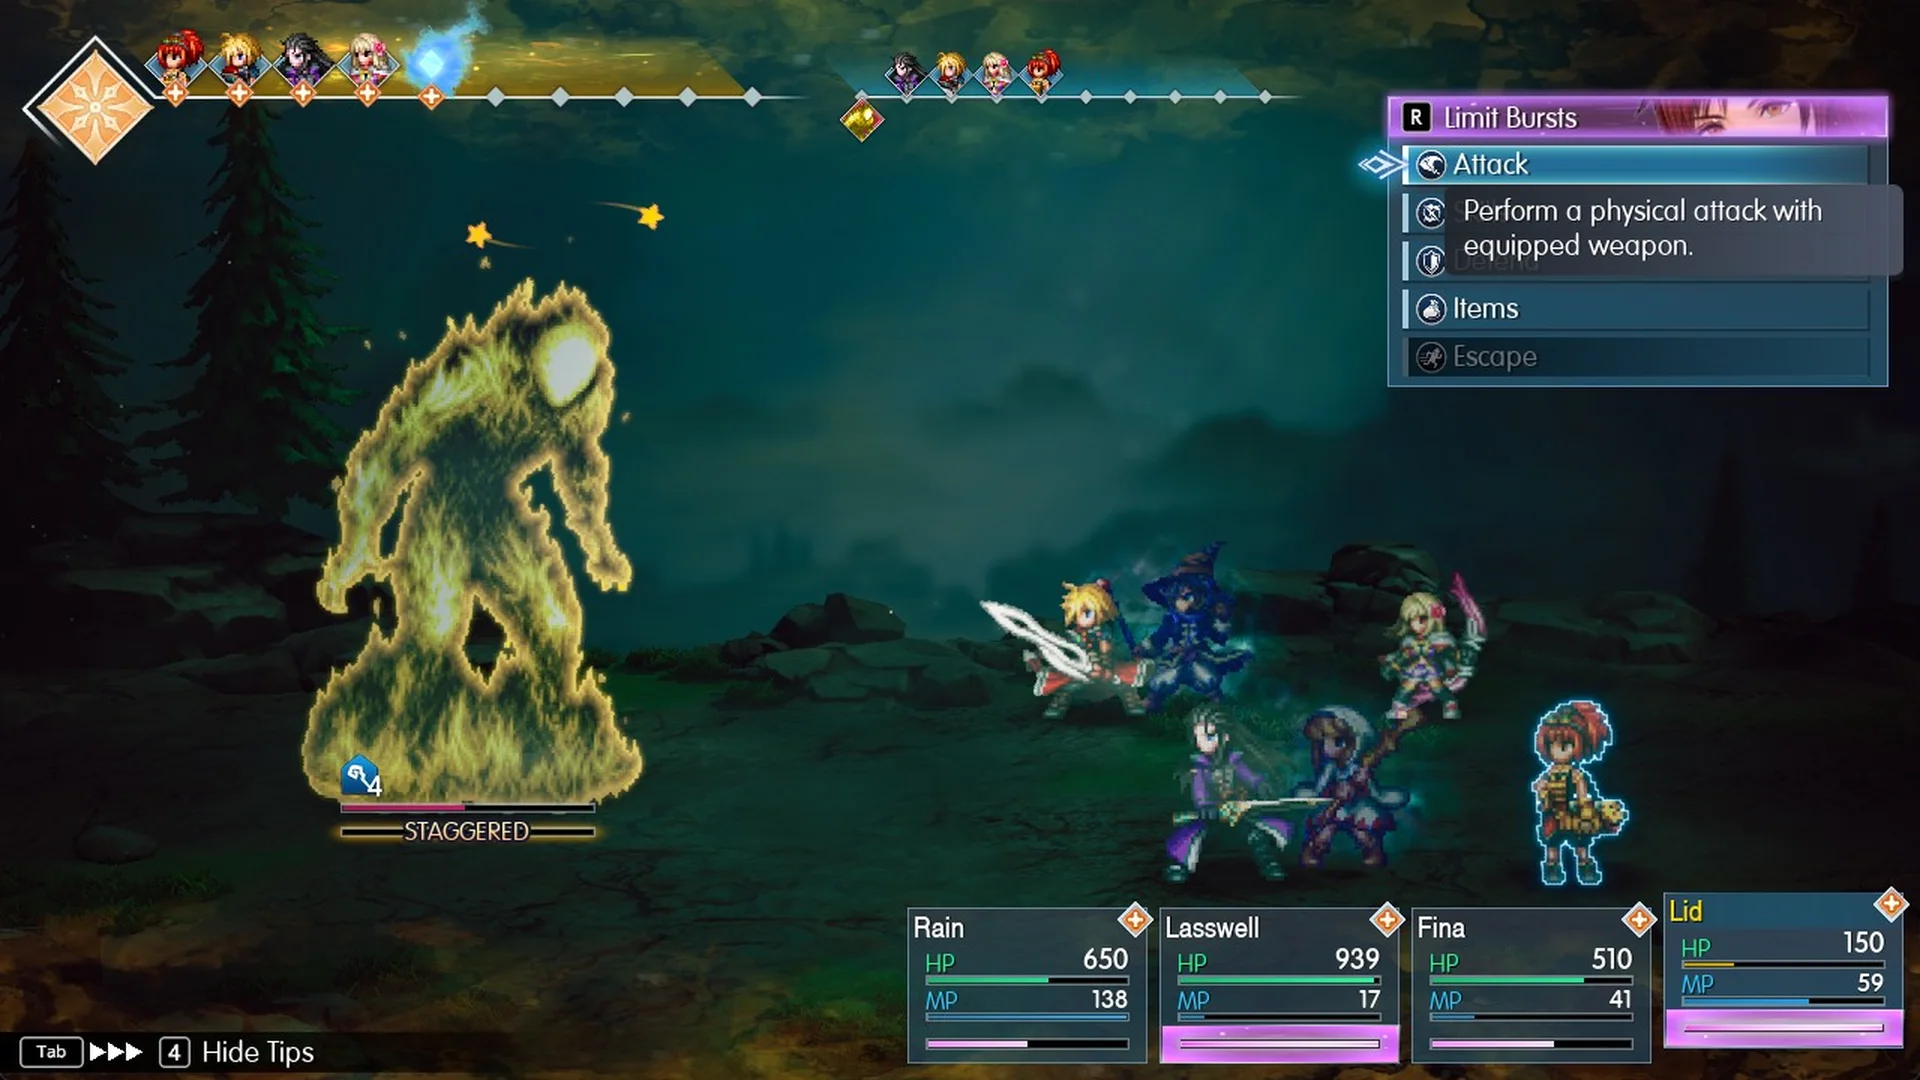
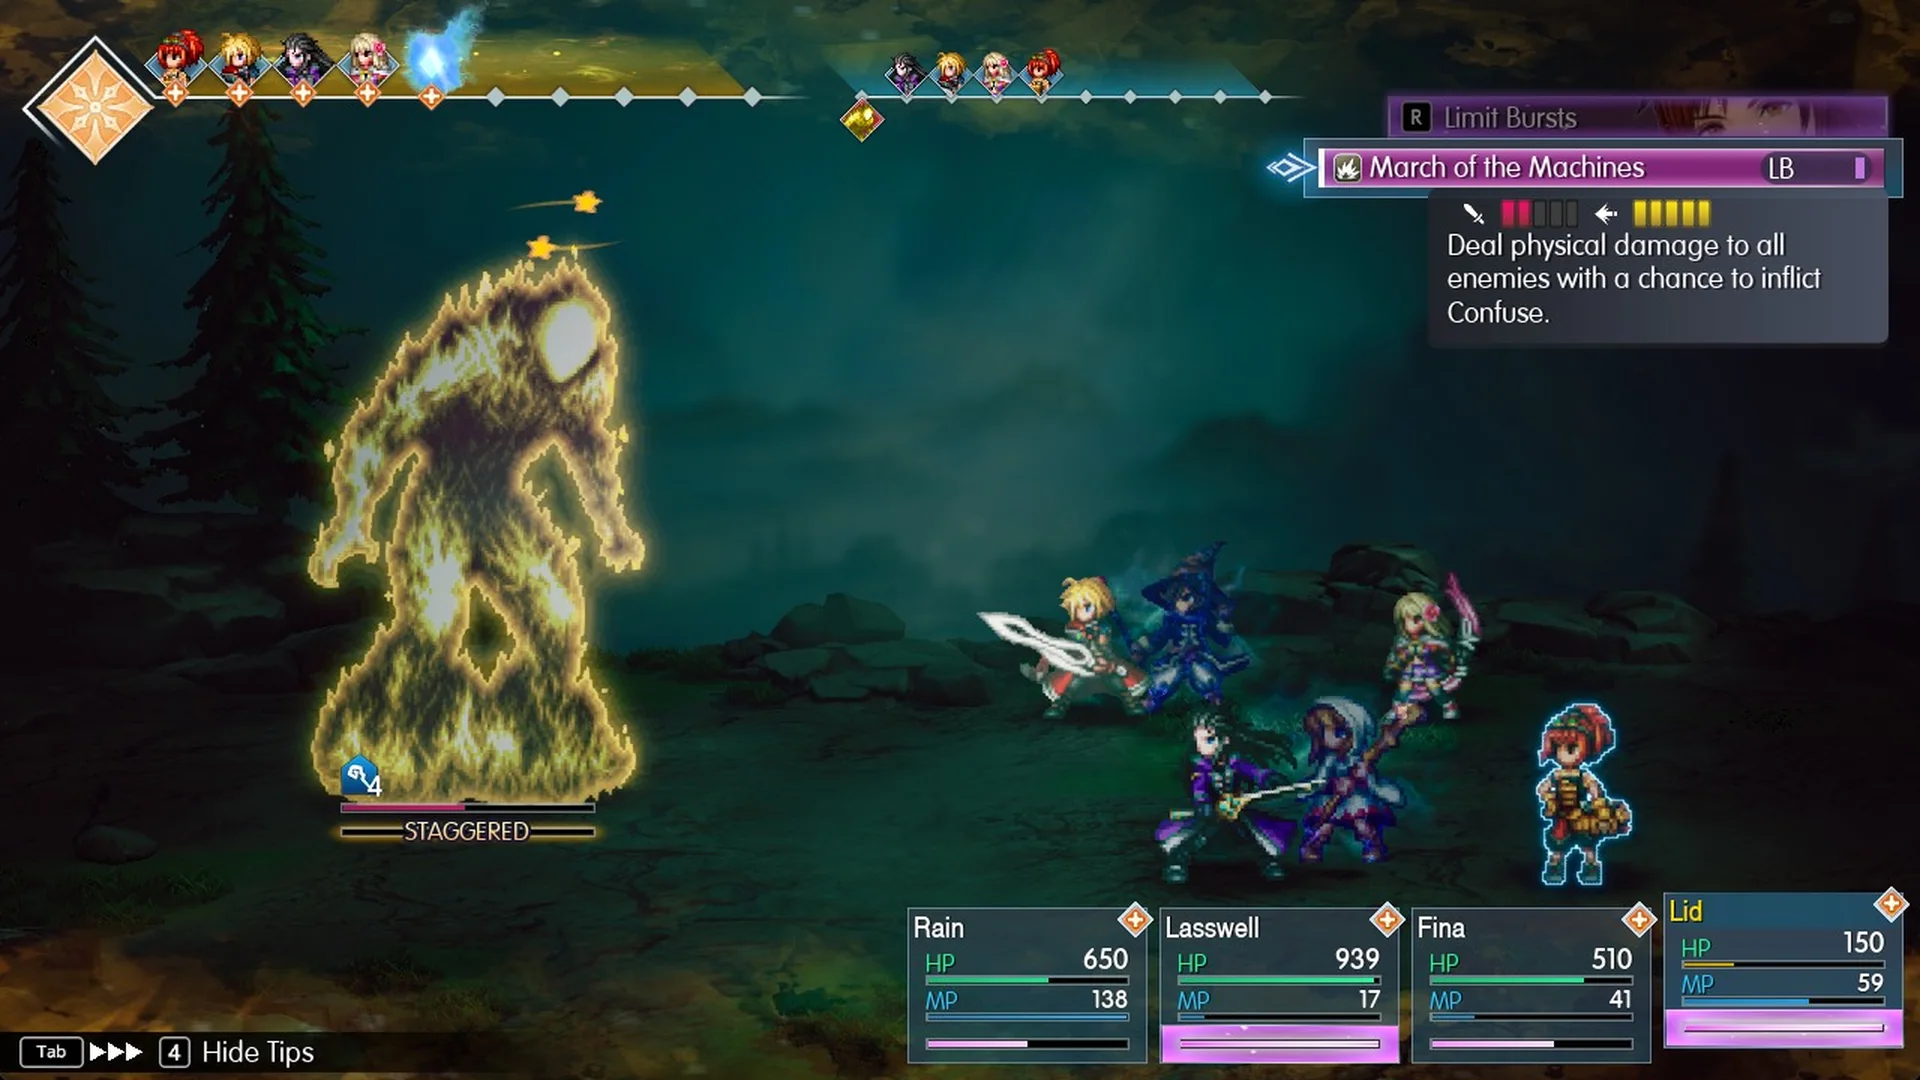
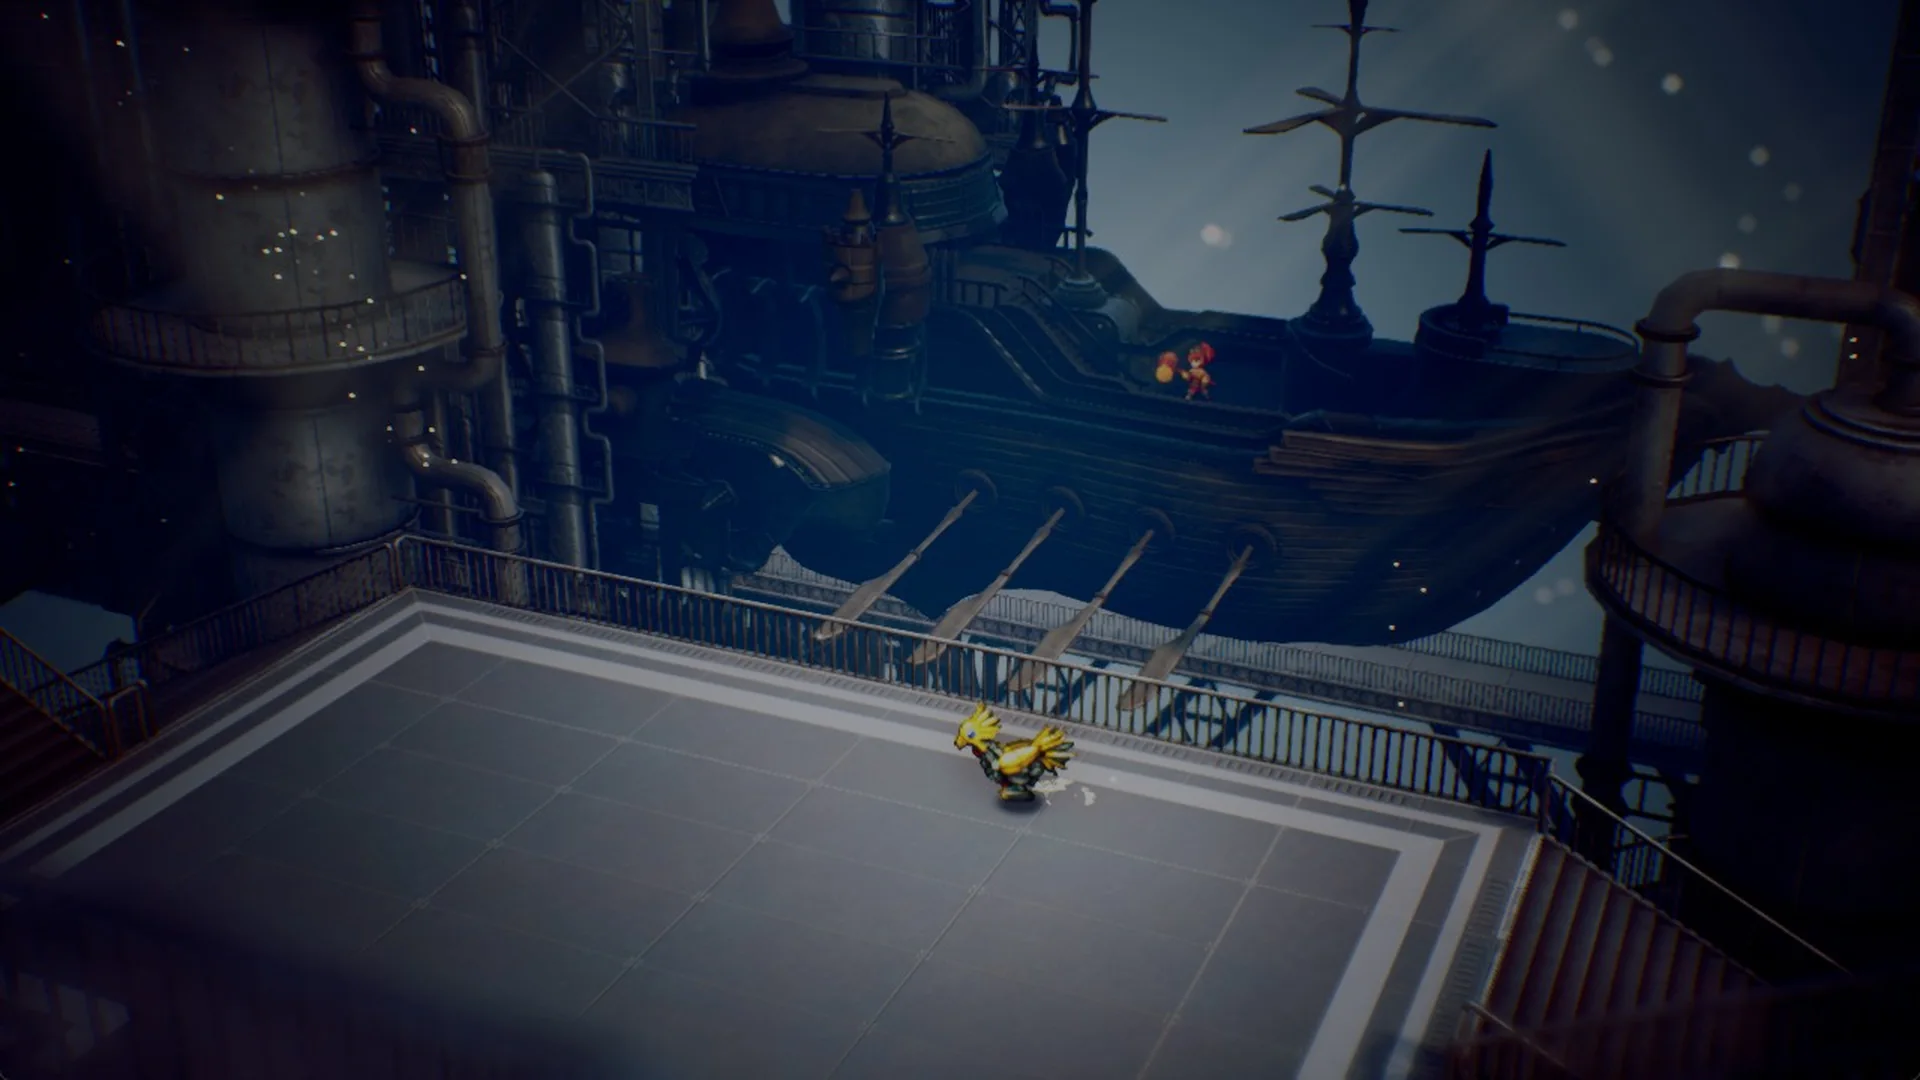
Her Limit Burst sends a giant mechanical chocobo charging over the boss.

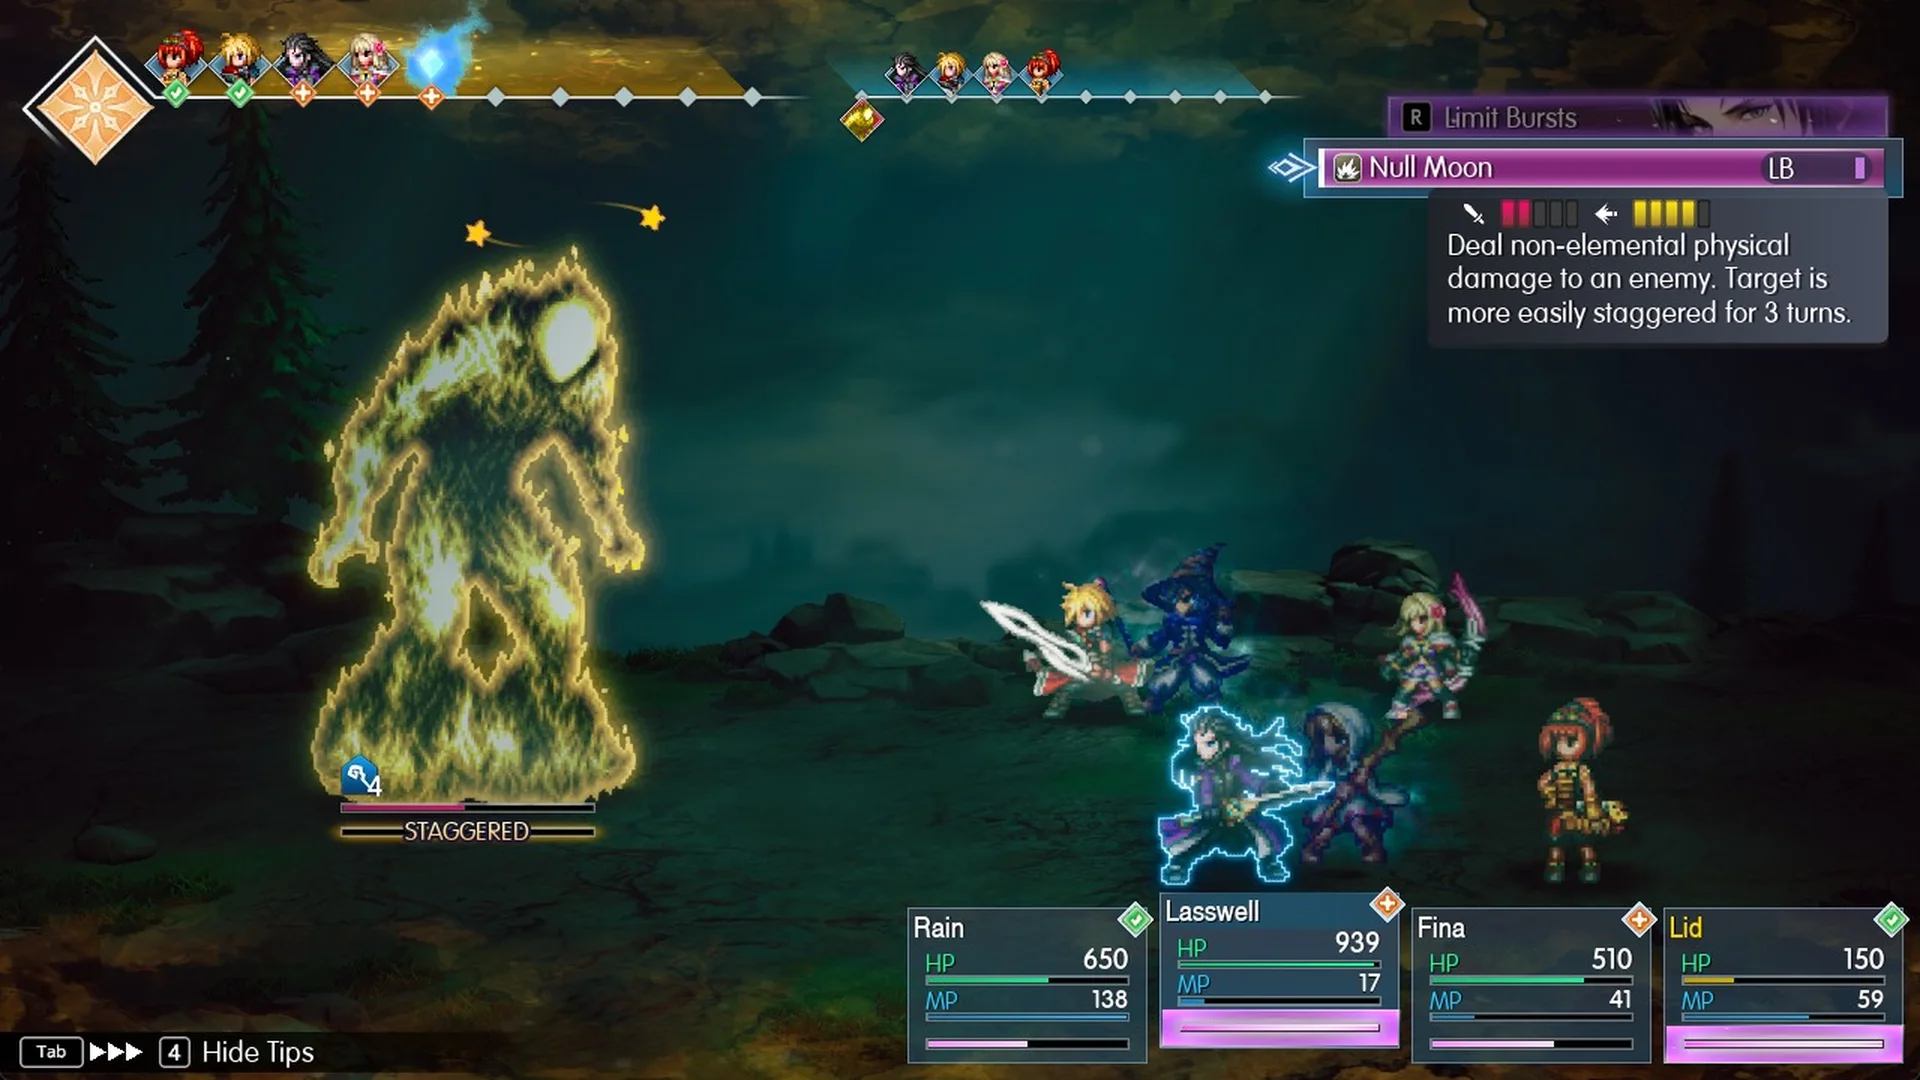
Lasswell’s Null Moon reads “Deal non-elemental physical damage to an enemy. Target is more easily staggered for 3 turns.” Our winning fight had two staggers.
Why the Liquid Thunder fight can wipe near the end
An under-prepared party drags the fight out, and long fights against Liquid Thunder fall apart late. At level 14, the party can wipe with the boss bar almost empty.
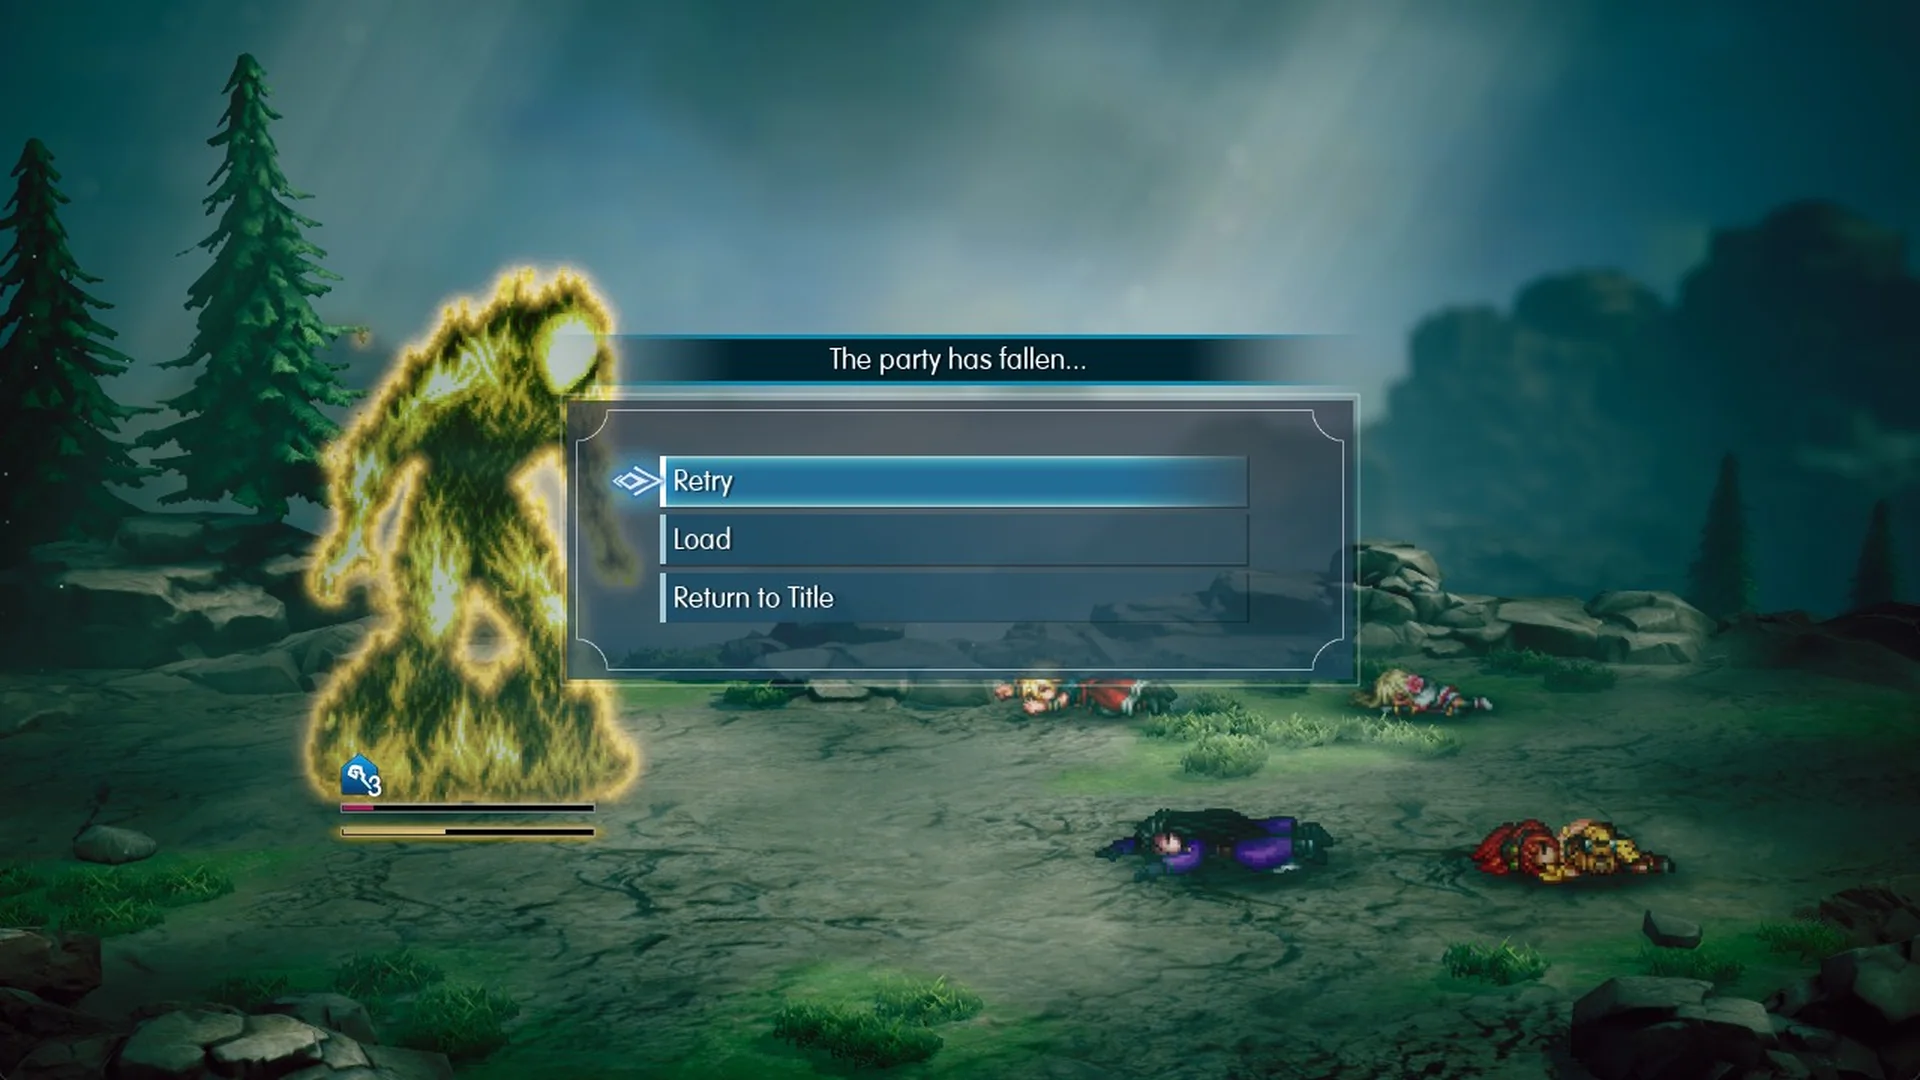
Those late wipes come from the same few mistakes. Lasswell runs out of MP for Cura because no Ether goes in. Pray lands on the wrong member. Phoenix Downs get used on someone who is low but still standing. And paralysis plus a Gigavolt on top of a Lightning takes out two members at once.
The solution is straightforward: monitor Lasswell’s MP, use Phoenix Downs only for actual knockouts, restore the party after each charge warning, and level up if they’re still at 14.
Liquid Thunder rewards
The Battle Result: 1,350 EXP, 1,500 Gil, 49 MRP with a Stagger Finish Bonus, and Lightning Scroll I x1.
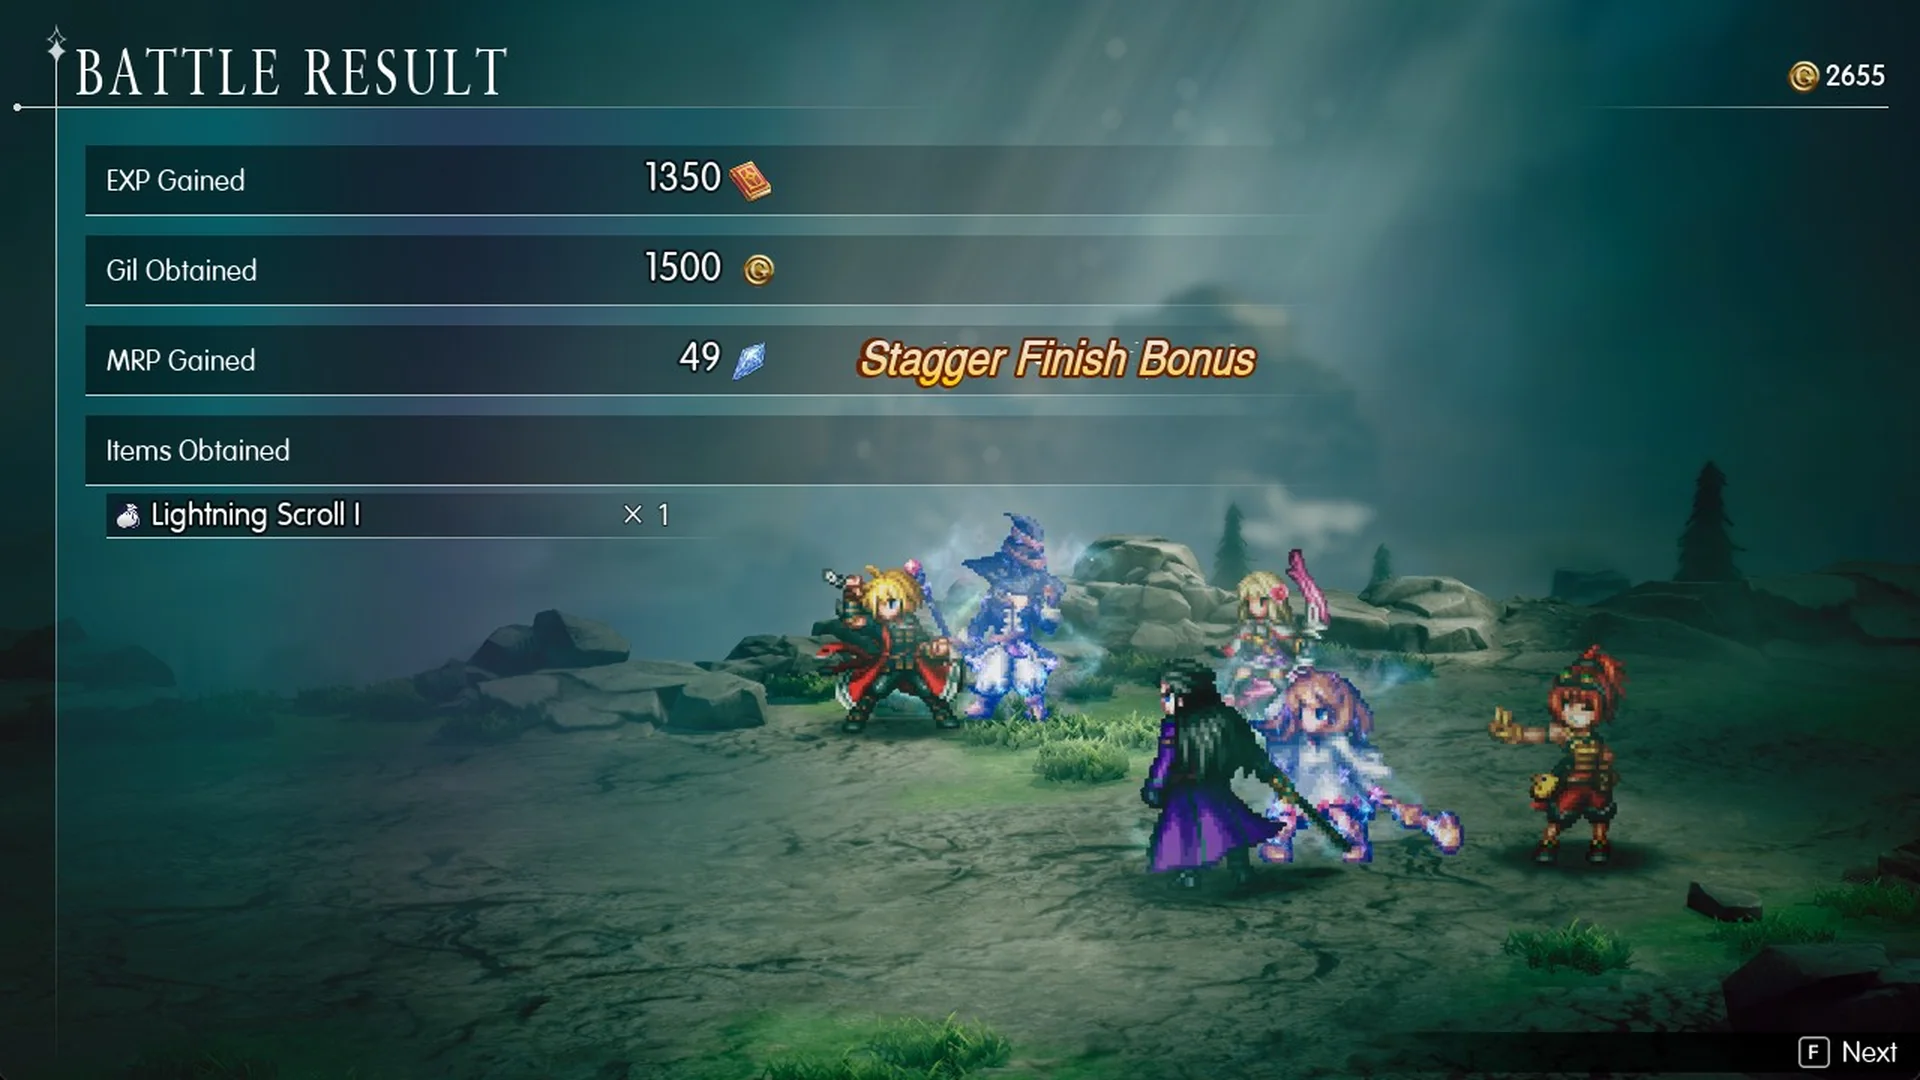
The scroll reads “Deals Lightning magic damage to a single enemy. Power increases and targets all enemies when thrown.” It is useless against this boss but fine elsewhere.
Lid’s post-battle line is “Not too shabby! We’ve got a path straight to the Wind Shrine now!”
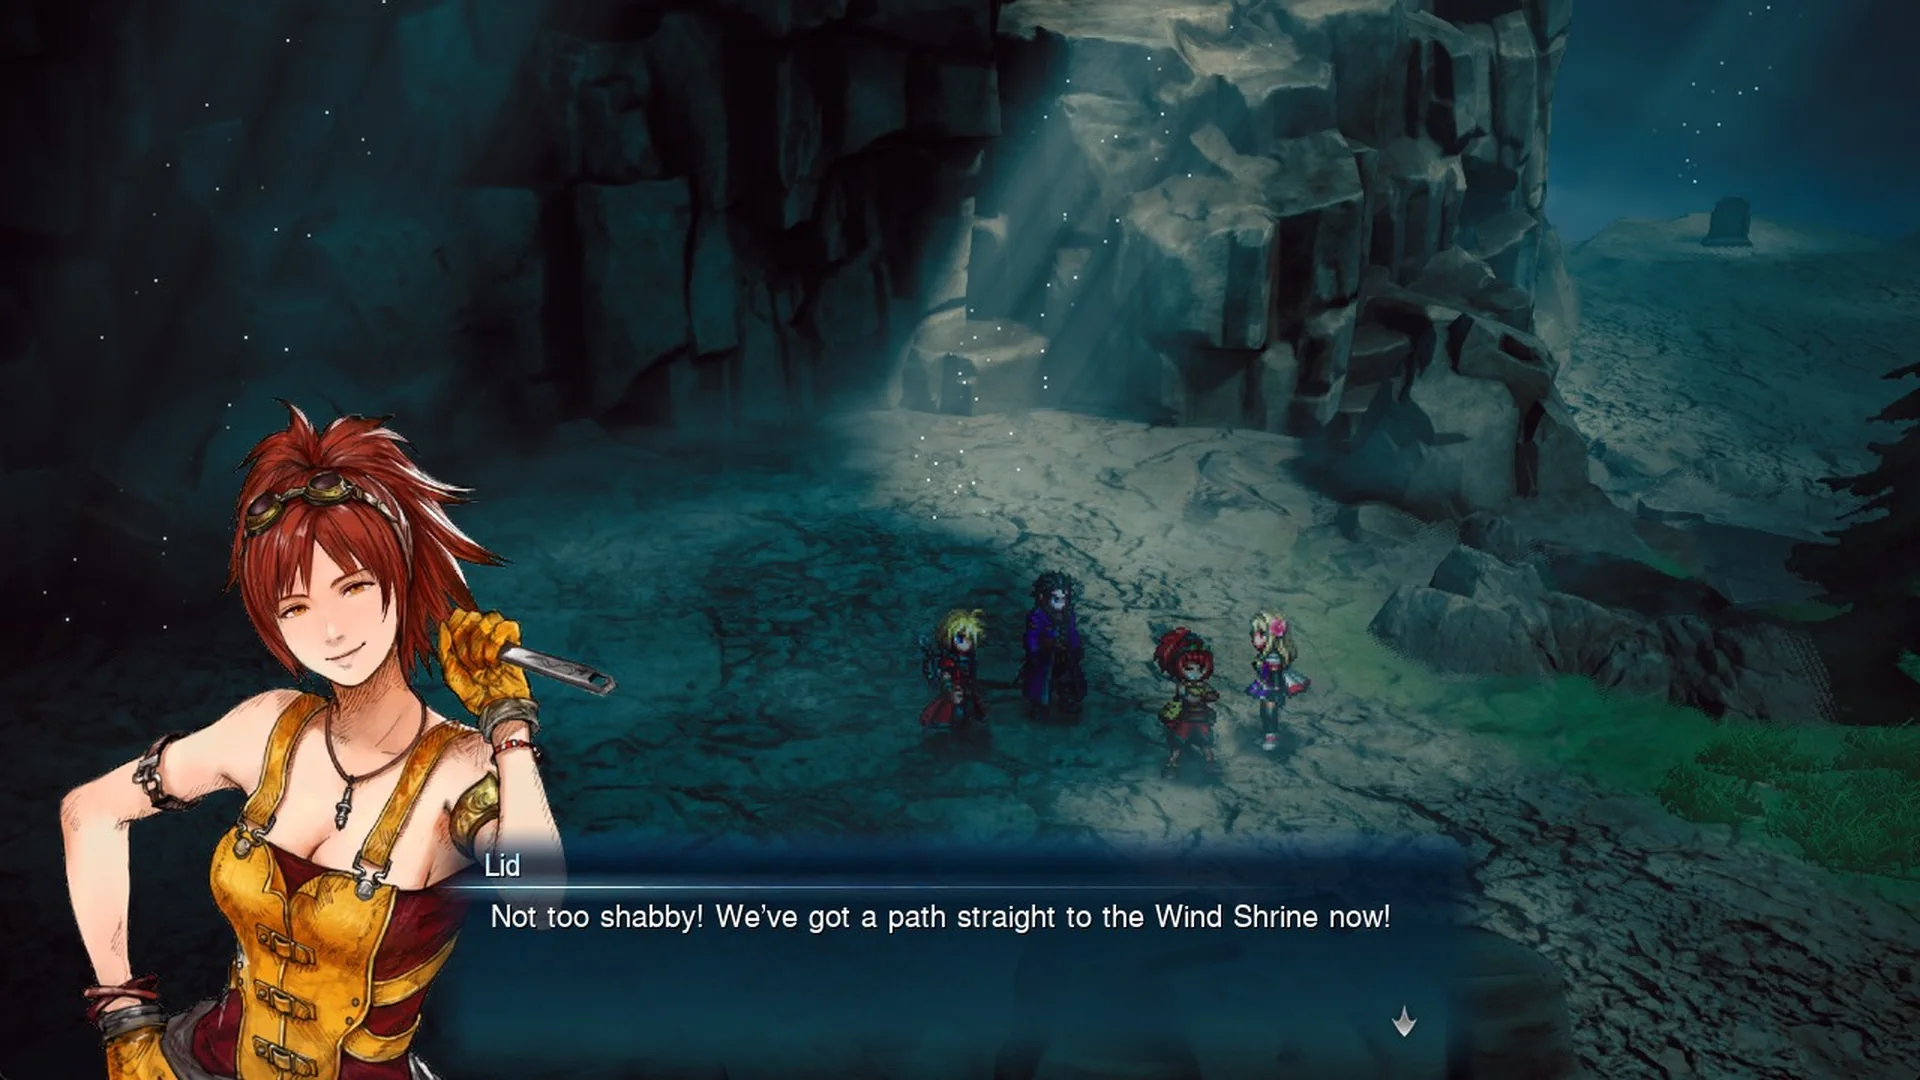
The far exit lies a few steps west of the battle site and opens onto the World Map. Your objective then changes to “Visit Borin at the Dwarven Forge”, confirming the mountain is complete. Find the upcoming fights on the bosses list, and follow the rest of the story in the walkthrough.