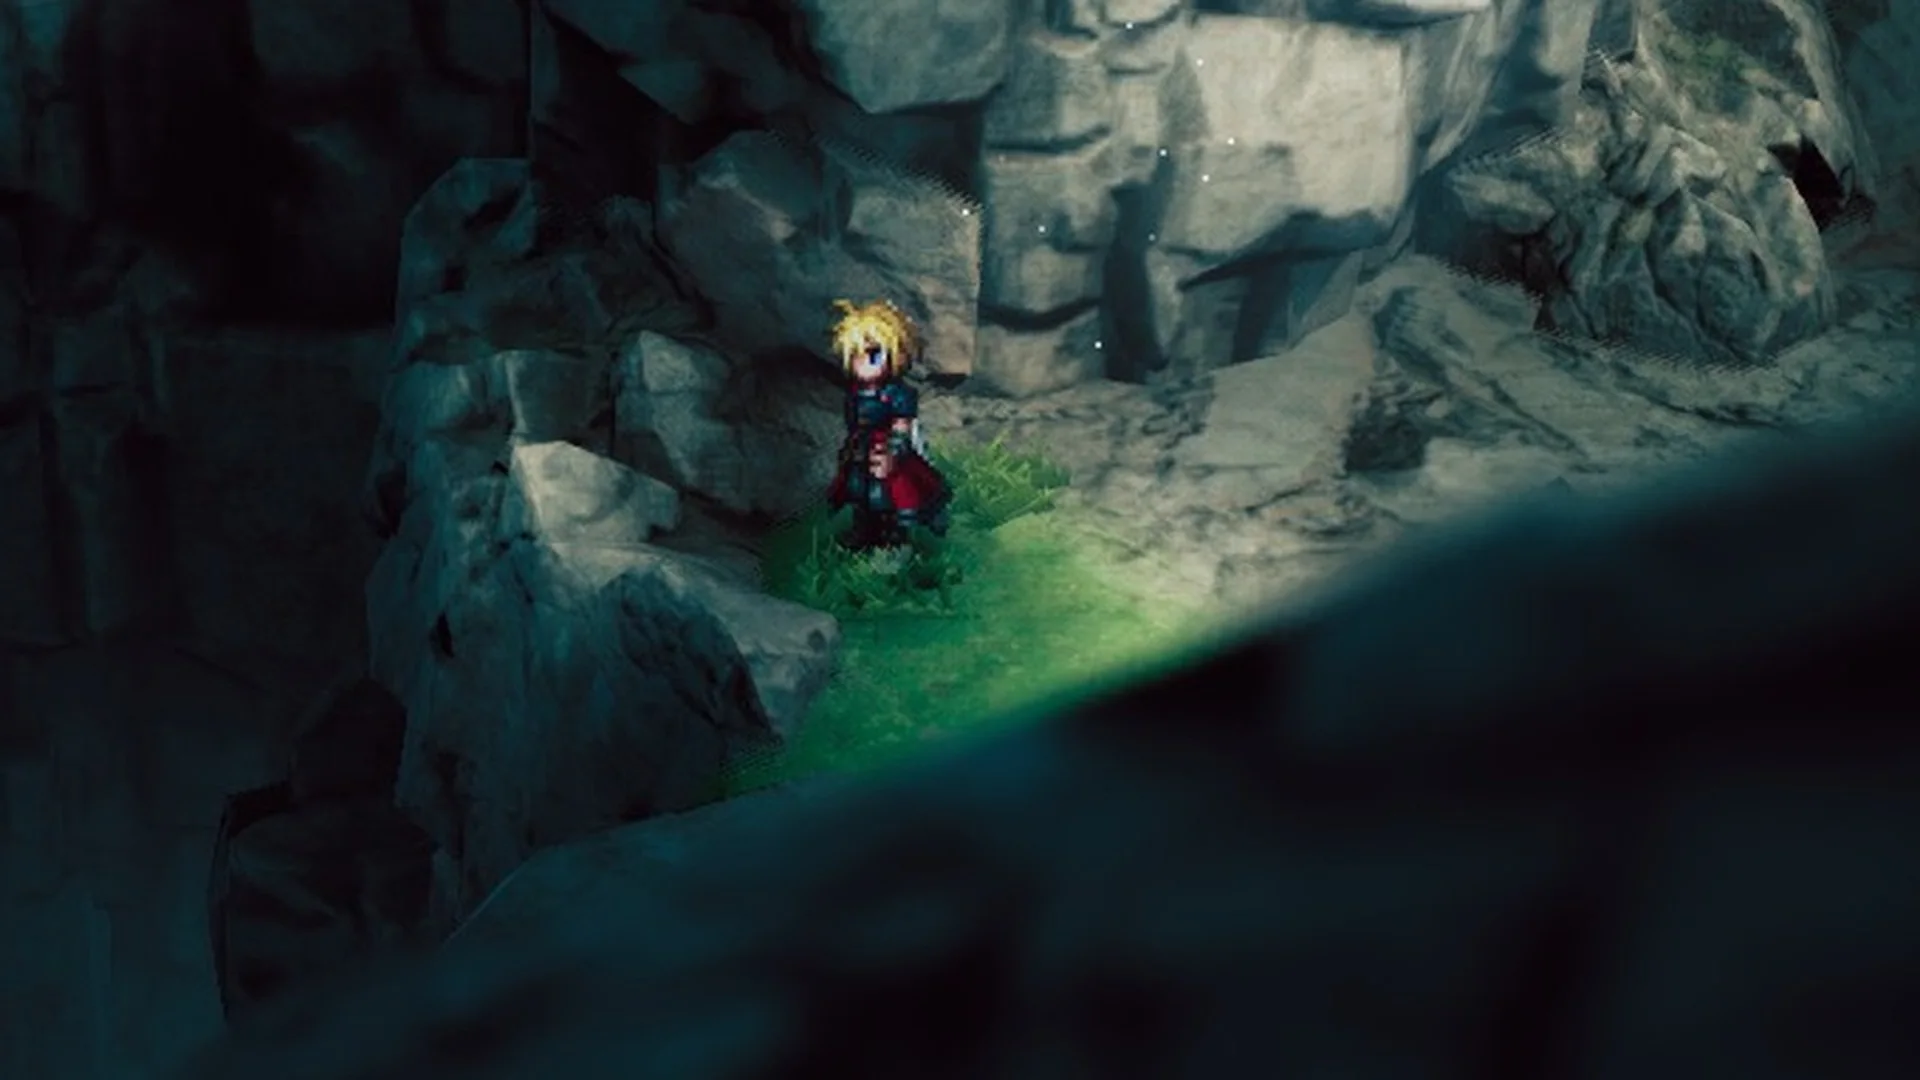
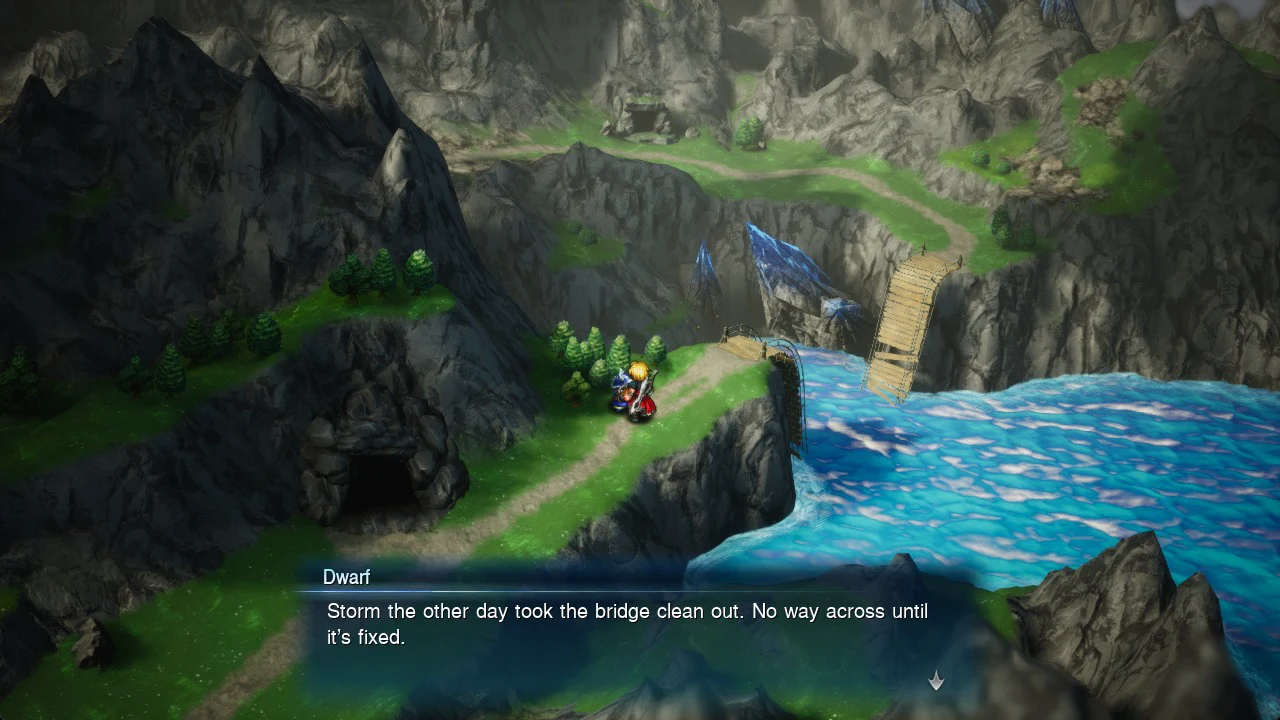
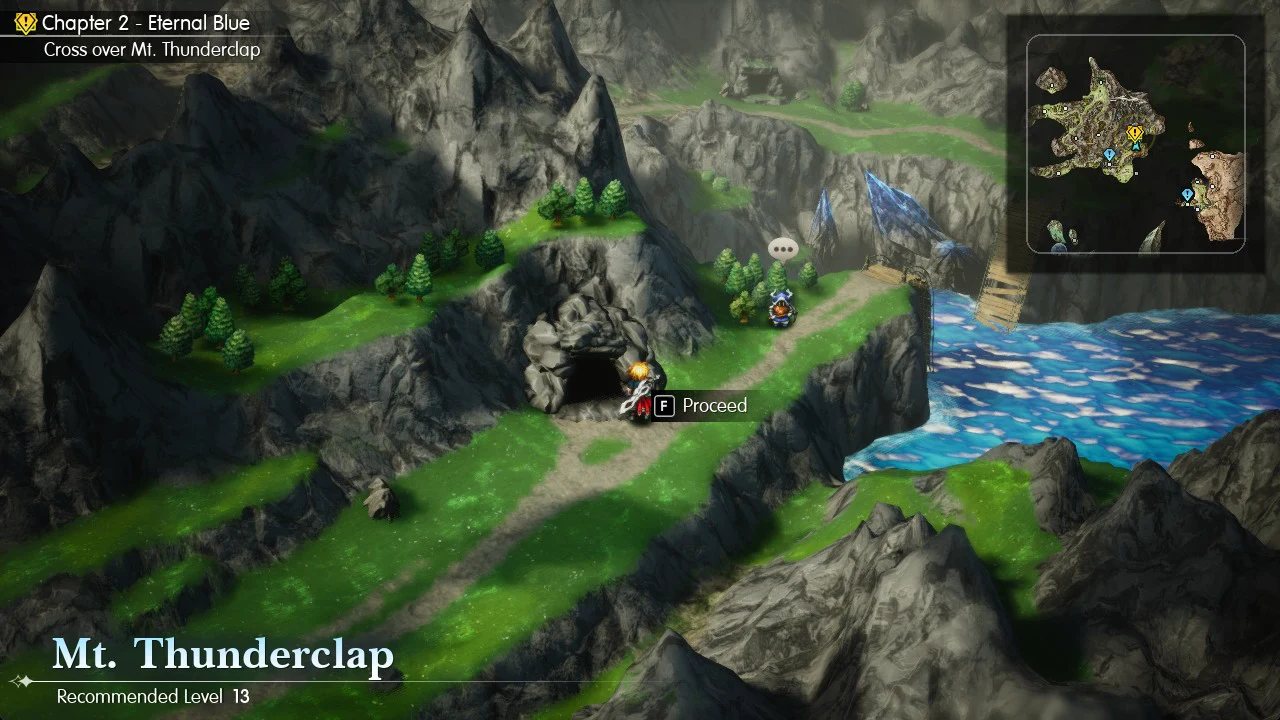
Mt. Thunderclap is the mountain dungeon of Chapter 2, “Eternal Blue”, in Final Fantasy Resonance. You reach it from Dilmagia on the continent of Dirnado, and your objective is “Cross over Mt. Thunderclap”. Just inside the entrance, Lid offers a shortcut for a fee. It’s worth paying, because the shortcut leads past a chest holding a lightning-resistant robe and ends at the save point before the mid-boss.
Interactive map: Mt. Thunderclap map
Quick answer: Leave Dilmagia by the south gate and follow the road north-east to the cave beside a broken bridge (Recommended Level 13). Inside, beat Liquid Thunder on the top path and take the far exit just past the fight.
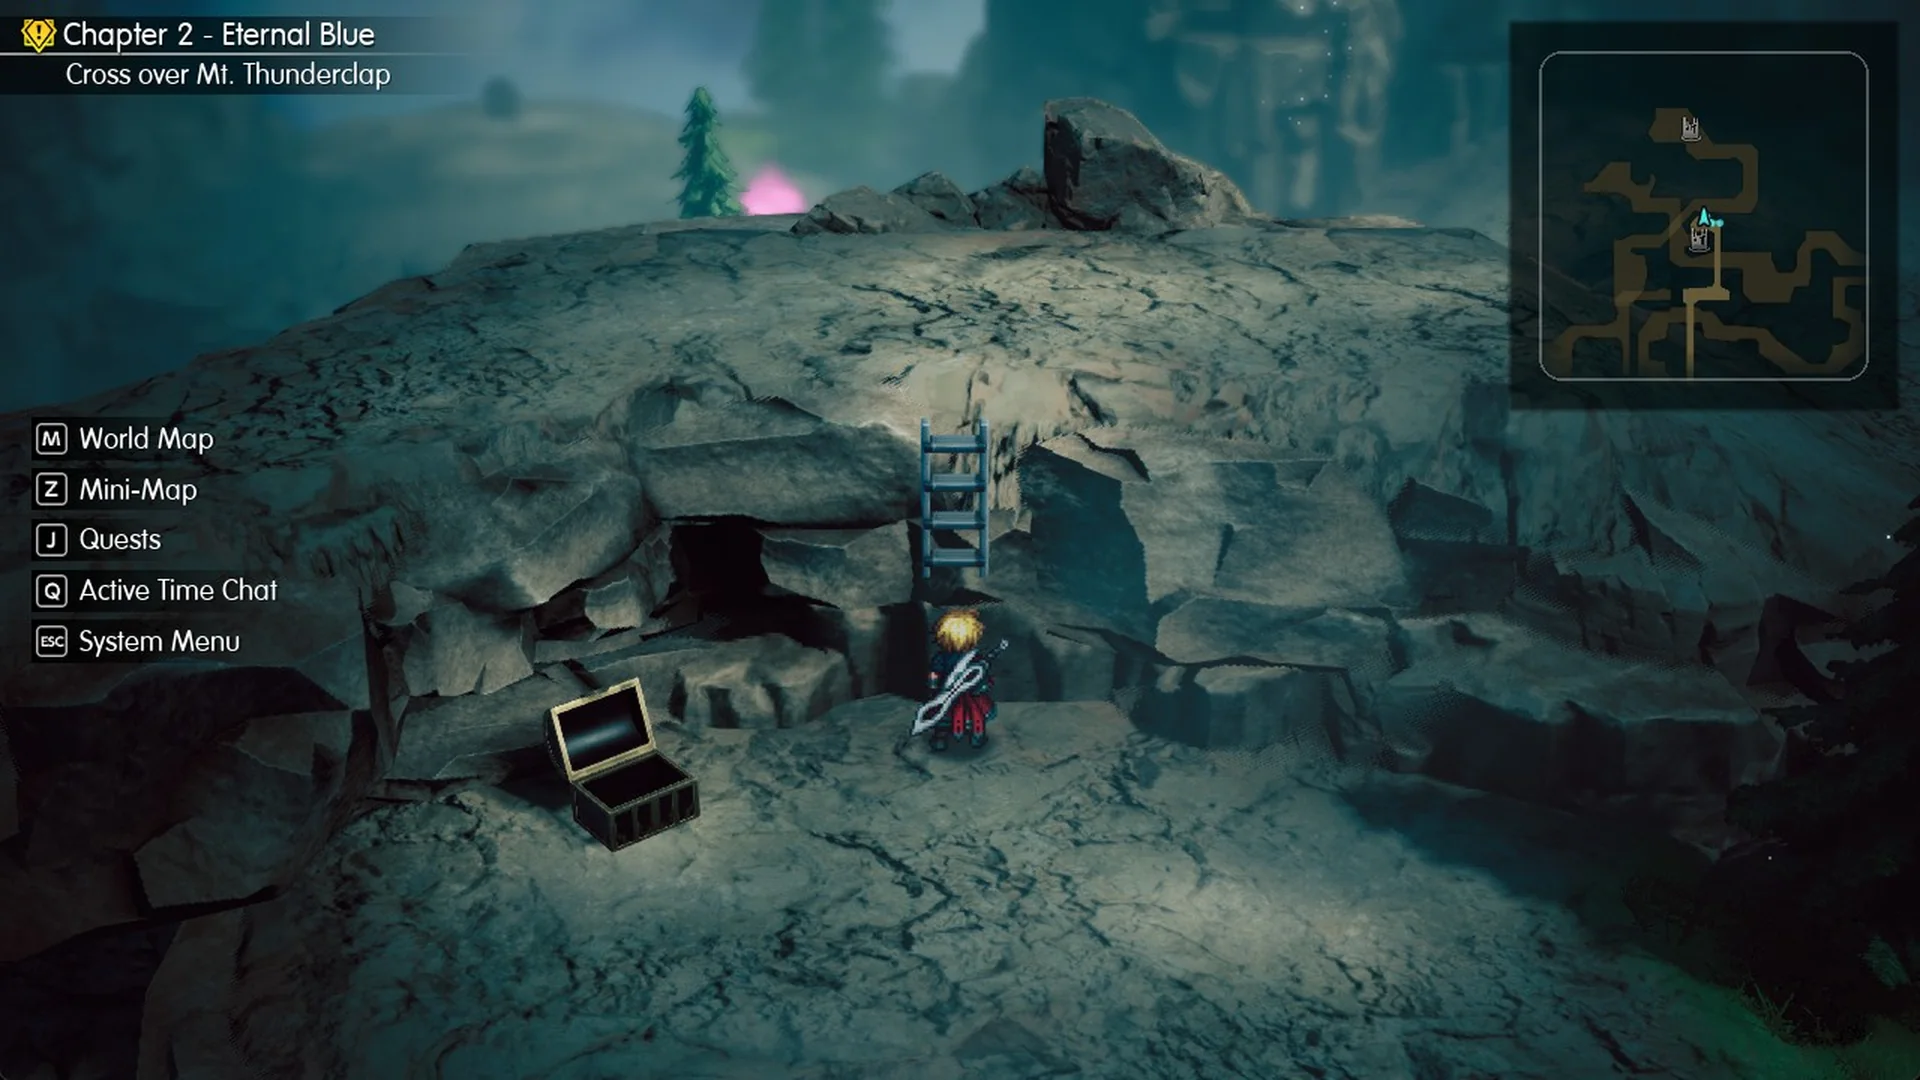
The cave mouth just west of the Dwarf is the Mt. Thunderclap entrance. Inside, Lid offers an “easy-peasy route” for 1,000 gil. Paying drops a rope ladder up to a quiet upper corridor that leads to a ledge with the Cape of the Raiju chest, and a second ladder from that ledge takes you straight down to the save point before the mid-boss. If you say no, you take the long normal route, and you can still pay later at a spot near the entrance save. Past that save, Liquid Thunder (Lv 13, 10,000 HP, weak to Earth) guards the top path; beating it gives 1,350 EXP, 1,500 gil and a Lightning Scroll I. The far exit puts you back on the World Map by the cave mouth with the objective “Visit Borin at the Dwarven Forge”, and two Earth Scroll I wait at the foot of the blue crystal below it.
| Detail | Mt. Thunderclap |
|---|---|
| Chapter / objective | Chapter 2, “Cross over Mt. Thunderclap” |
| Entrance | Cave mouth west of the Dwarf at the broken bridge, north-east of Dilmagia |
| Recommended level | 13 |
| Lid’s easy-peasy route | 1,000 gil (“Pay 1,000 gil” / “Don’t pay”; you can ask again later) |
| Chest on the paid route | Cape of the Raiju (robe) |
| Save points | Entrance (save, tent) and the Boss save before Liquid Thunder (save, tent, Teleport) |
| Mid-boss | Liquid Thunder: 10,000 HP, Lv 13, Lightning nullified, weak to Earth |
| Tablet Shard on the paid route | On the Cape of the Raiju ledge, at the west foot of the pine |
| Exit | Far exit past Liquid Thunder: back on the World Map by the cave, objective “Visit Borin at the Dwarven Forge” |
| Pickup outside the exit | Earth Scroll I x2 at the foot of the blue crystal below the cave |
| Best element for most enemies | Earth |
How to get to Mt. Thunderclap from Dilmagia
Once Lid joins at the Dilmagia shipyard, your task is “Cross over Mt. Thunderclap”. Its World Map marker sits north-east of Dilmagia. The recommended level is 13; our party of Rain, Lasswell, Fina and Lid was Lv.14 on NORMAL difficulty.
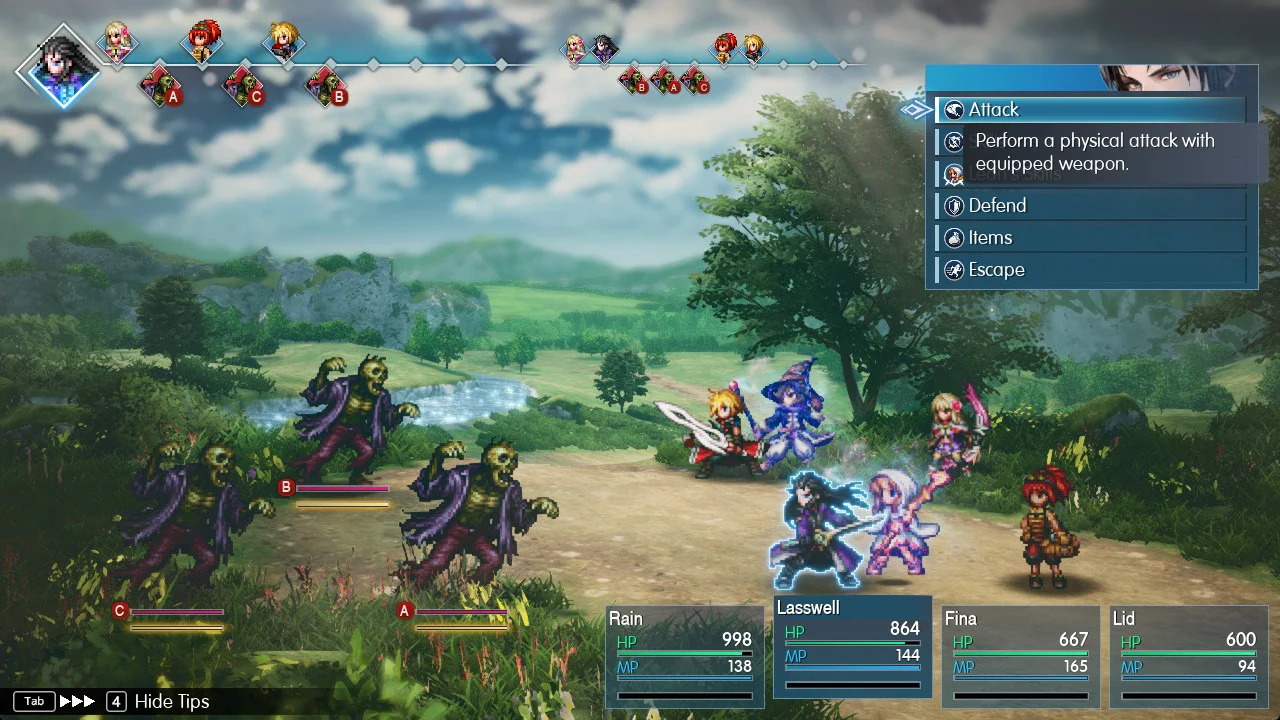
You’ll run into random battles on the Dirnado field along the way. North-east of Dilmagia, a group of three Zombies (Lv.12) can show up. Each has 260 HP, is weak to Fire and Light, resists Dark, and “Uses Confuse attacks.”
Stagger the enemies and the SELECT RESONANCE screen can appear. Press W for Hibernal Fury (“Deal Ice magic damage to random enemies 5 times.”), press A for Healing Wind, or press C to cancel.
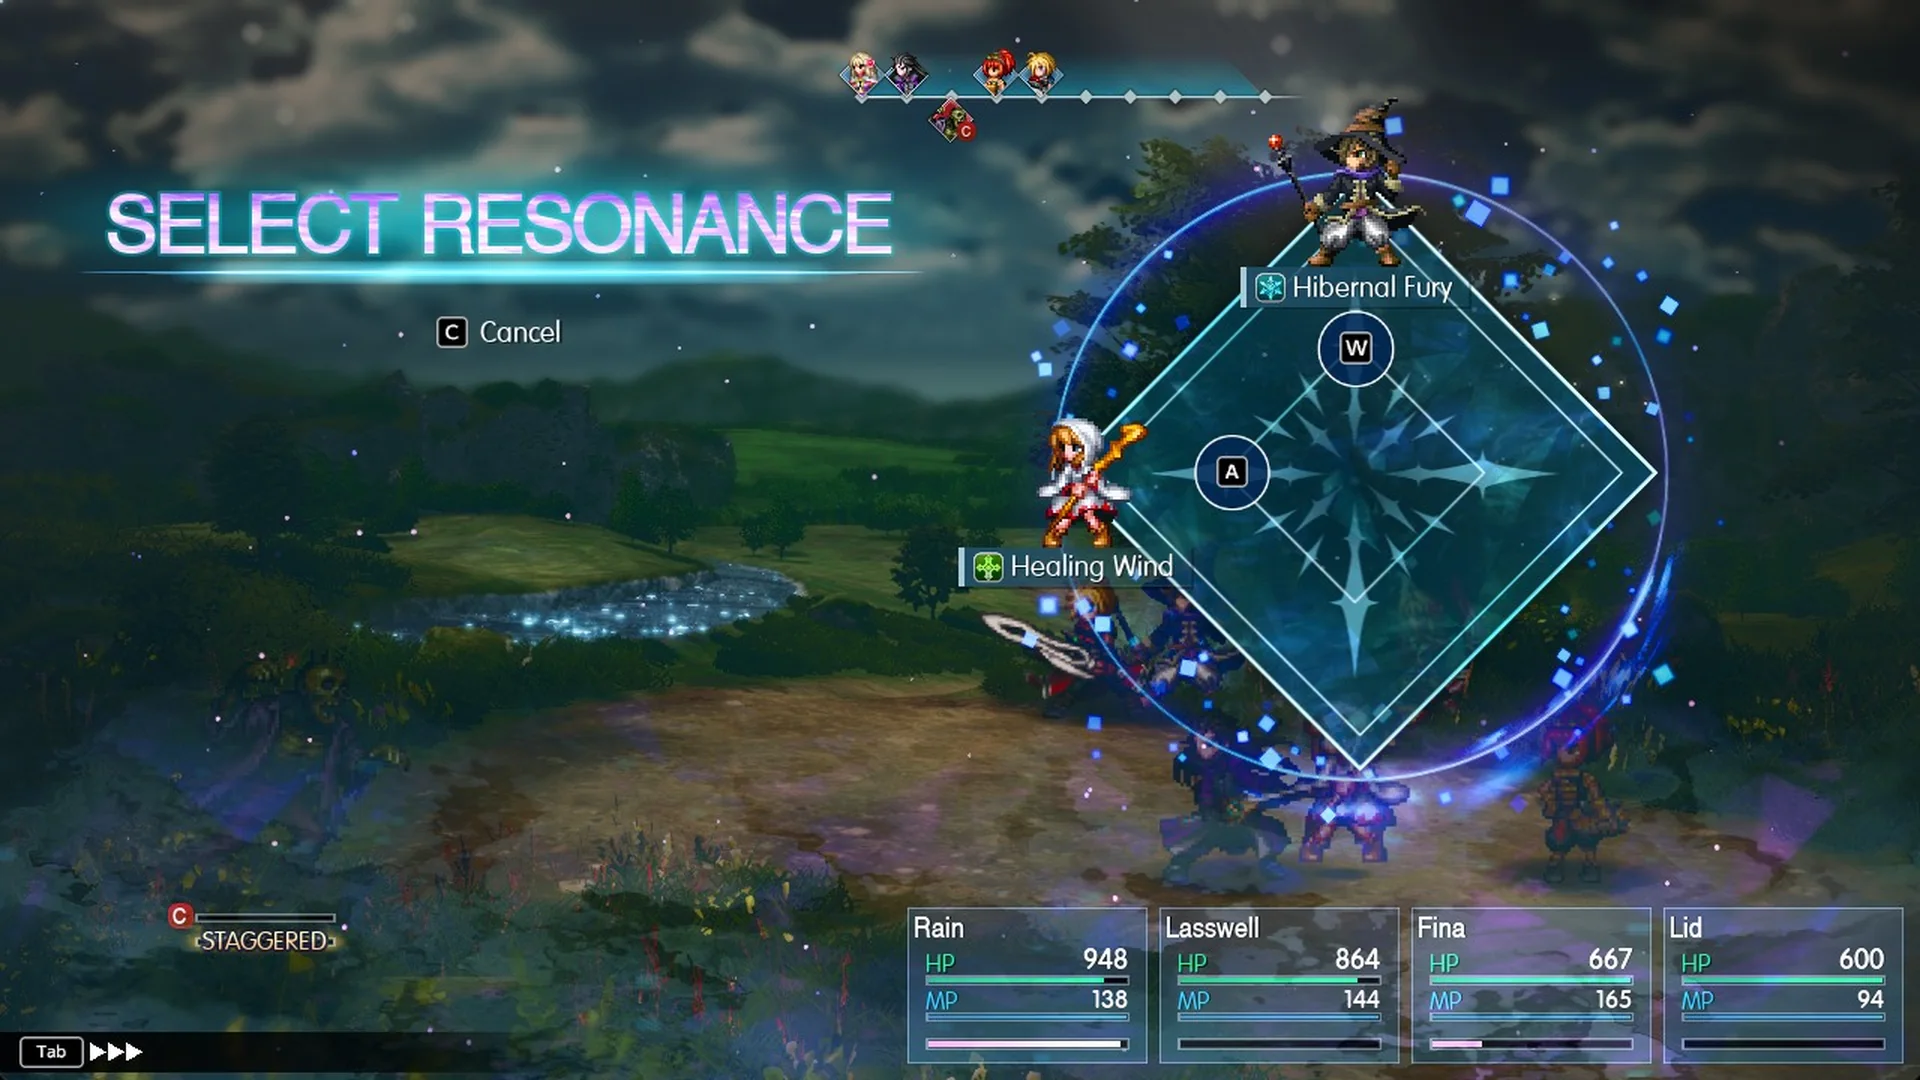
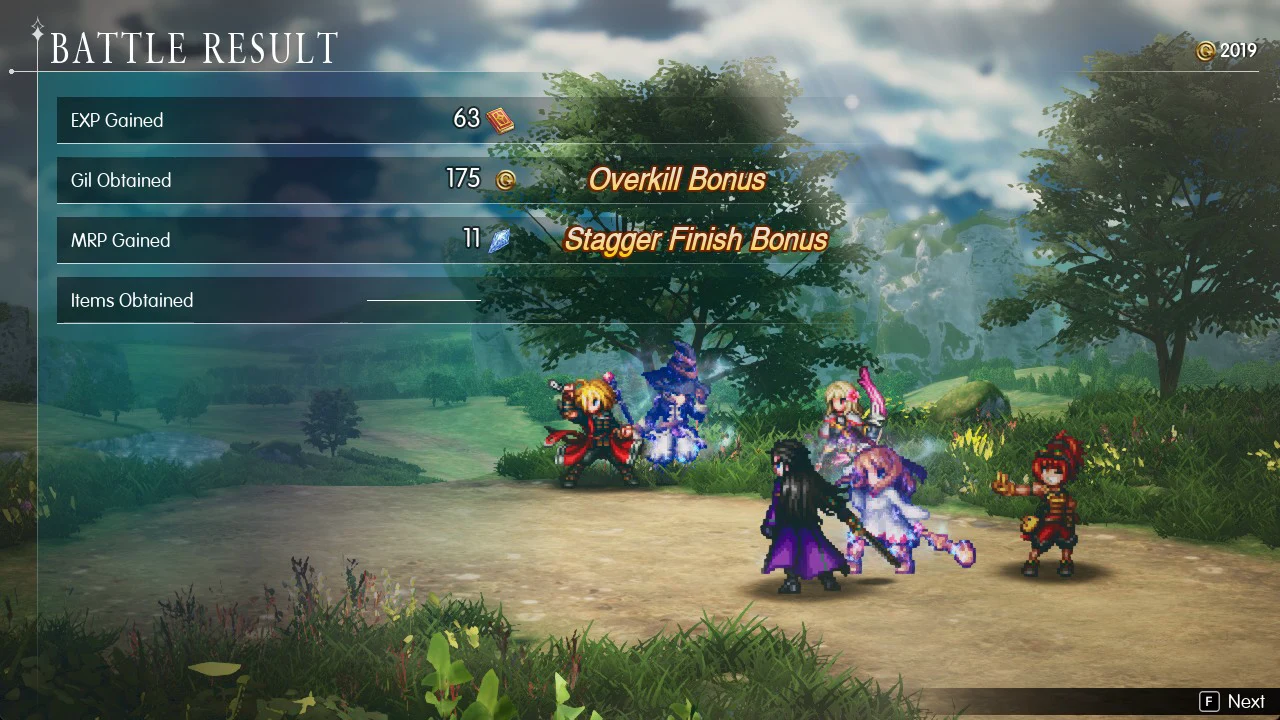
The stagger explainer covers how Select Resonance works. Finishing the Zombies with Hibernal Fury pays 63 EXP, 175 Gil and 11 MRP, plus an Overkill Bonus and a Stagger Finish Bonus.
Lid’s easy-peasy route: pay 1,000 gil or not
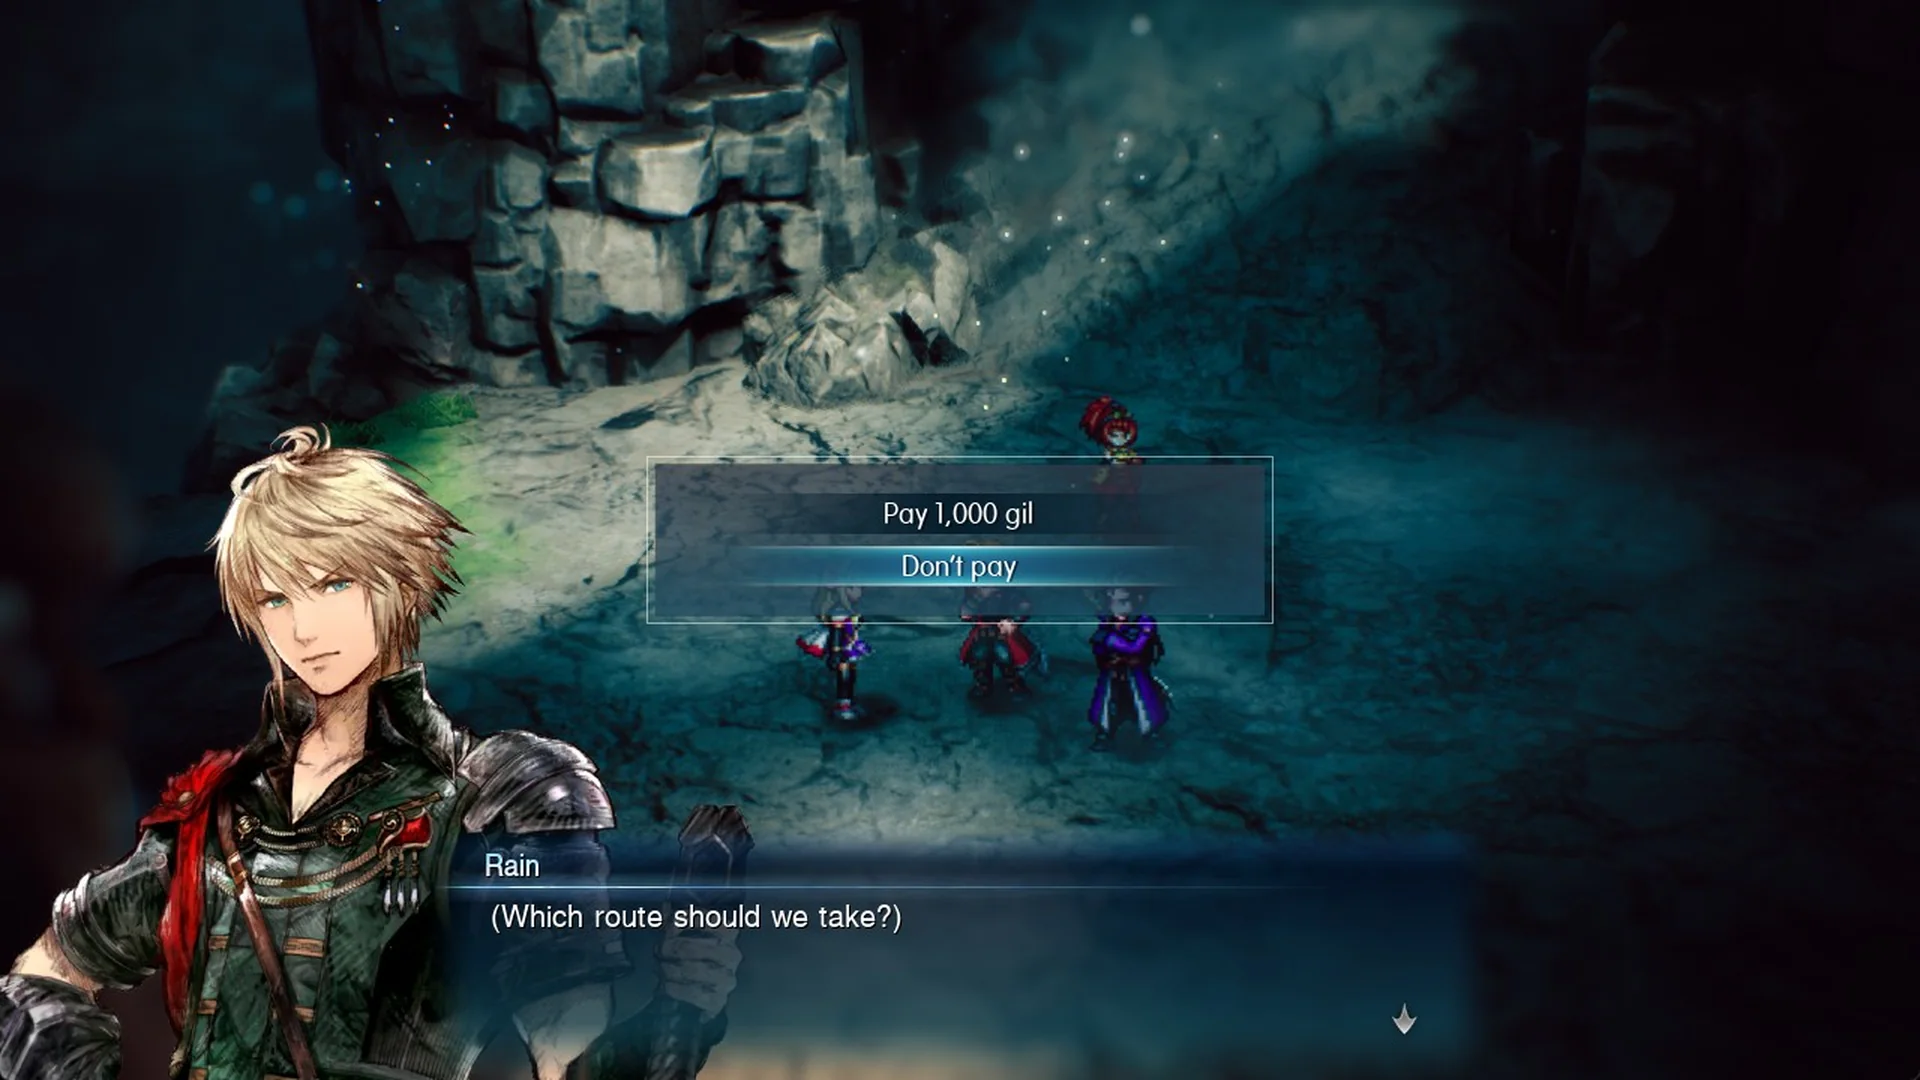
A scene plays as soon as you enter. Lid explains that one route through the mountain is “super easy. Hardly any monsters at all”, but it’s “an optional extra” with a price attached. As she puts it, “I don’t just like money. I LOVE money.” She then asks: “So what’ll it be? Pay 1,000 gil to be shown the easy-peasy route practically free of treacherous creatures?” followed by “Or would you prefer the normal route, chock-full of vicious, slavering monsters?”
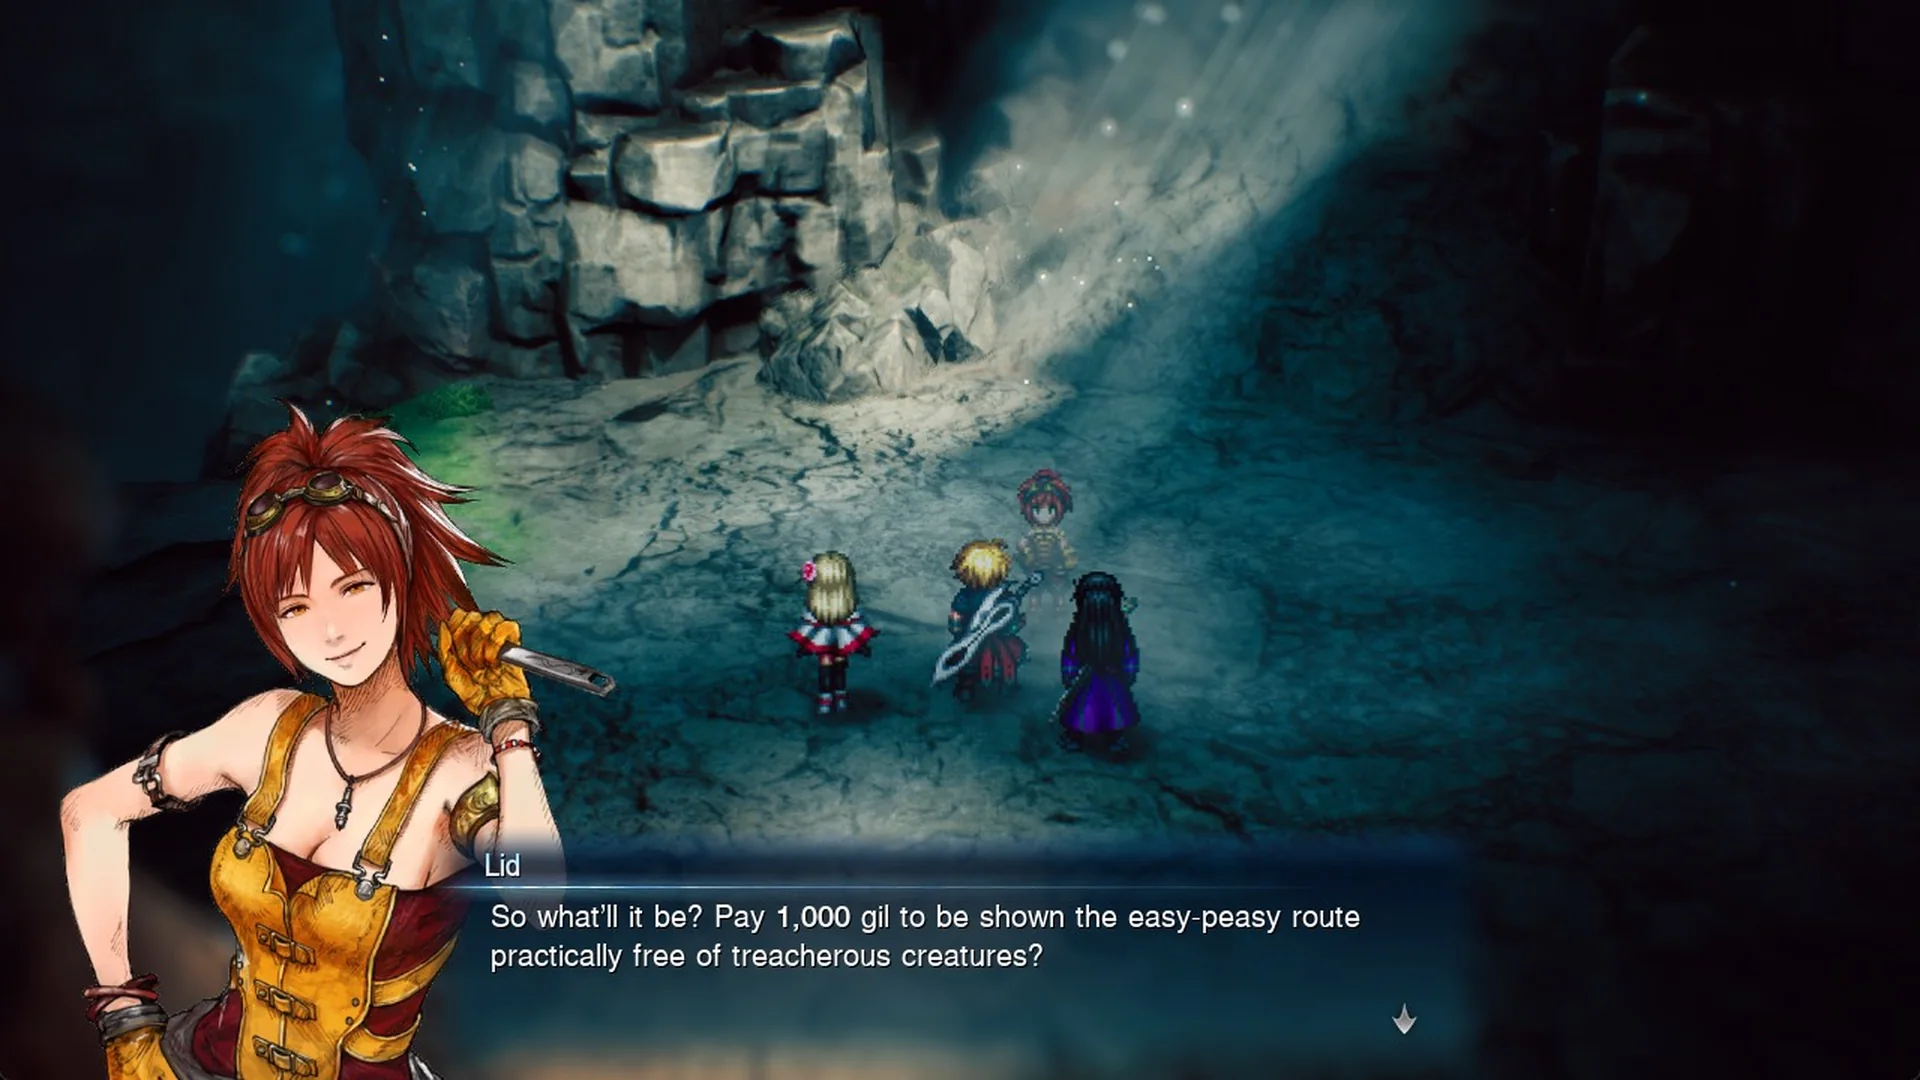
Your two options are “Pay 1,000 gil” and “Don’t pay”.
The selection begins on “Don’t pay”. To take the shortcut, avoid pressing F automatically.
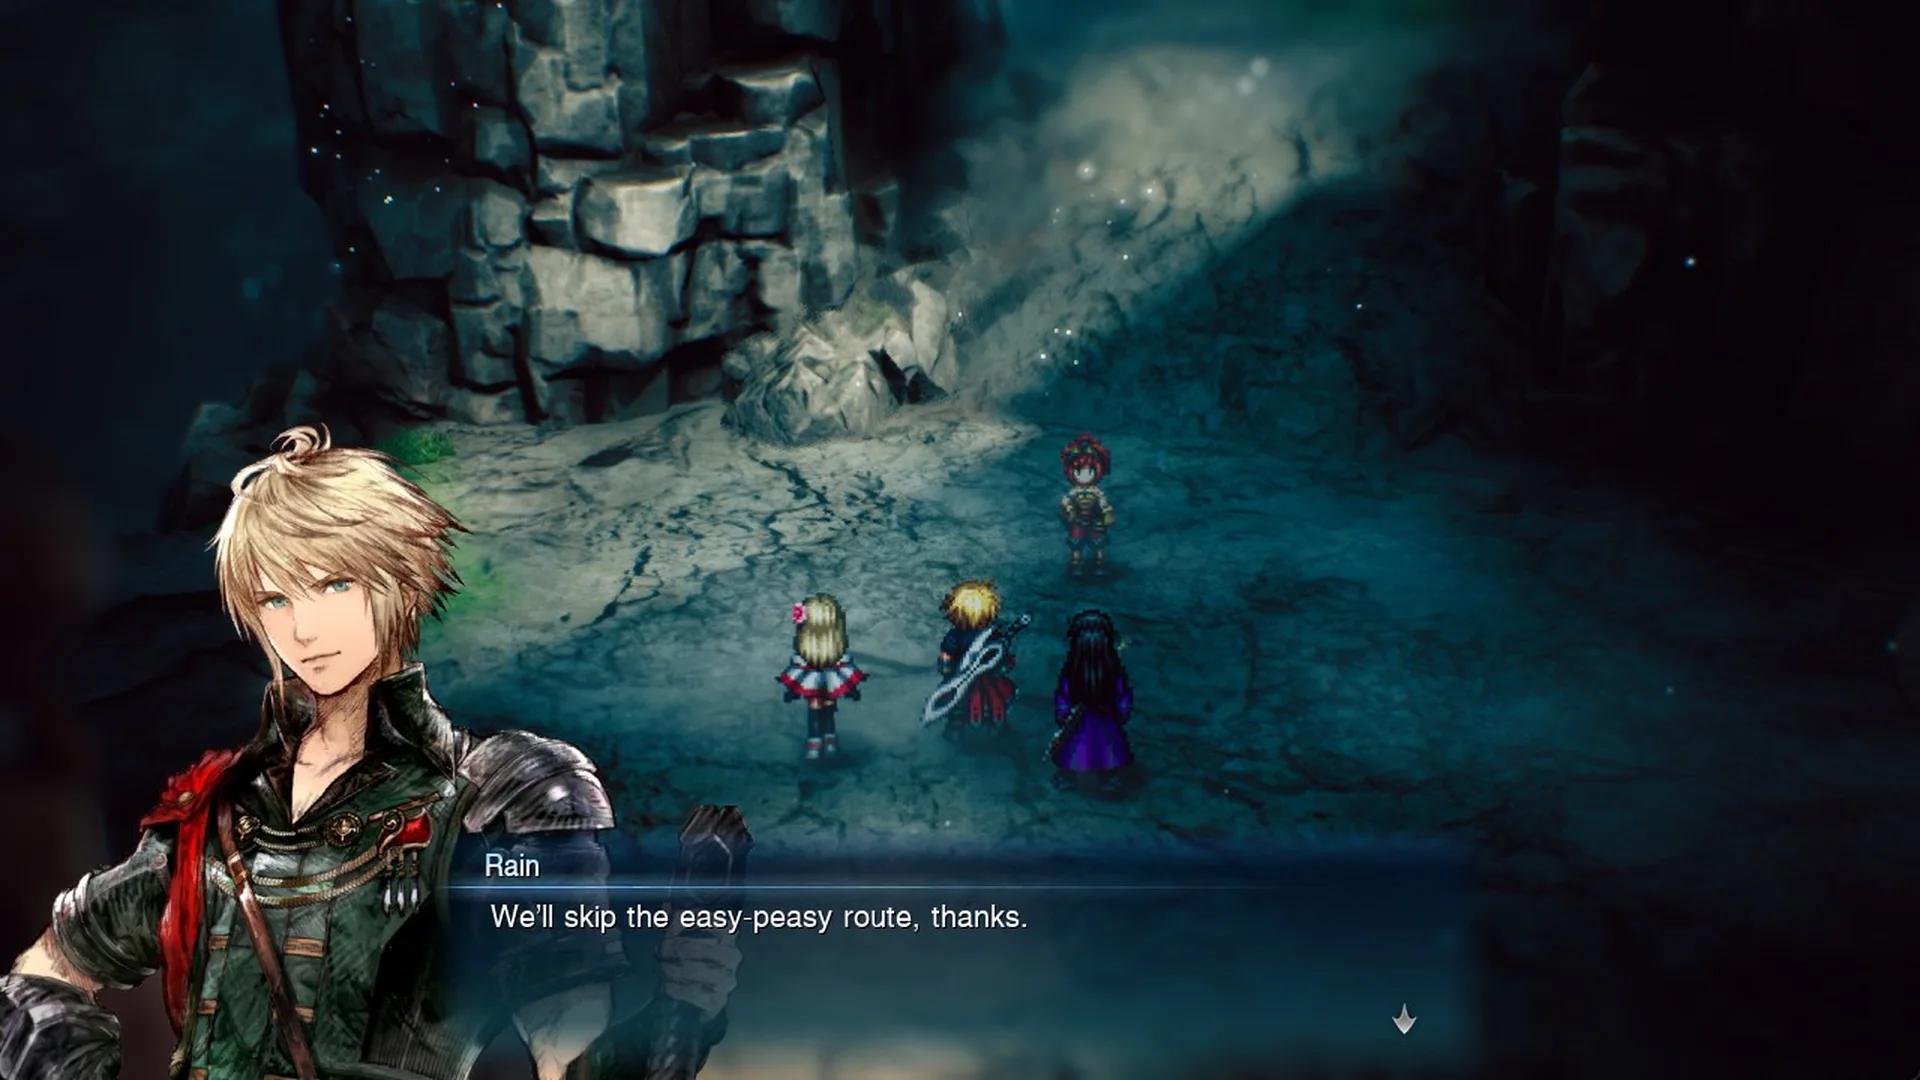
If you pick “Don’t pay”, Rain says “We’ll skip the easy-peasy route, thanks.” Lasswell agrees that you’ll “need to be careful with our funds”, and Lid tells you “if you change your mind at any point, don’t be too proud to ask, all right?” From there, you continue on the normal route.
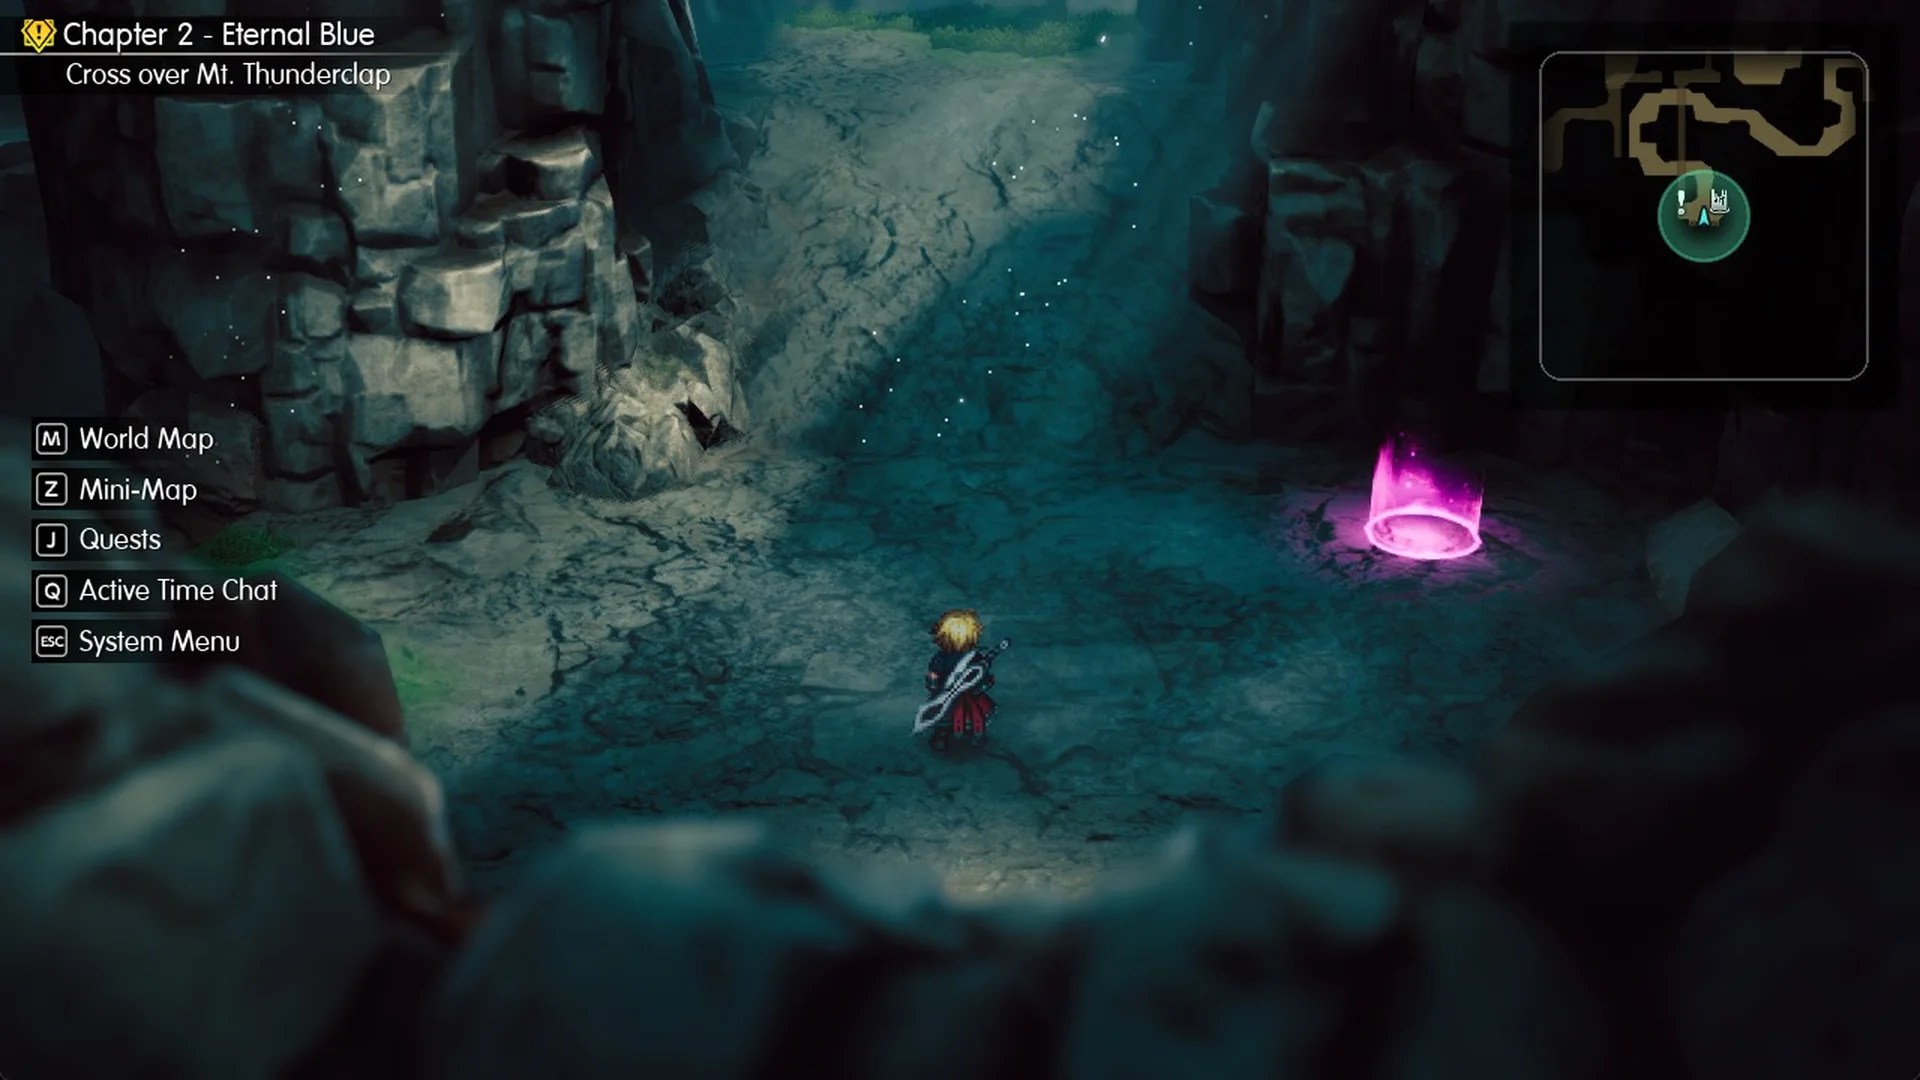
Just east of your arrival point, a pink circle marks the save point inside the cave. Its menu lets you Save progress or Rest in a tent; use it before proceeding. For more on saving, see how to save in Final Fantasy Resonance.
How to ask Lid again
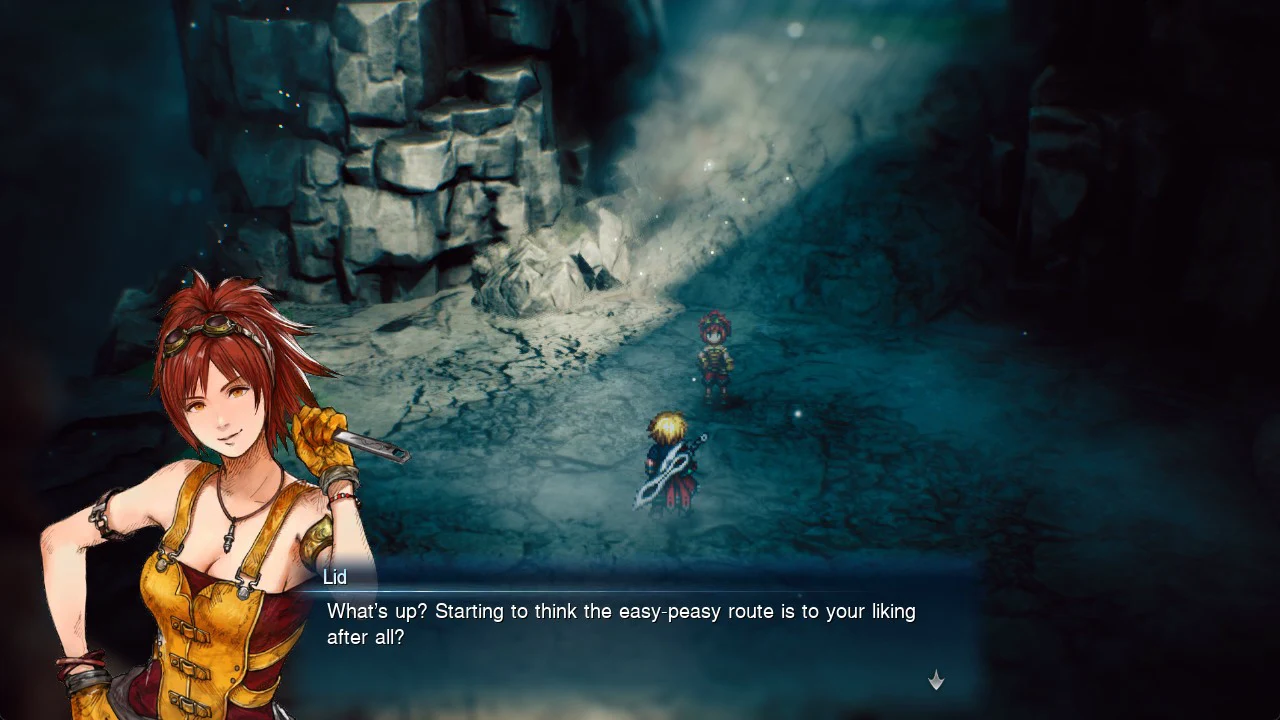
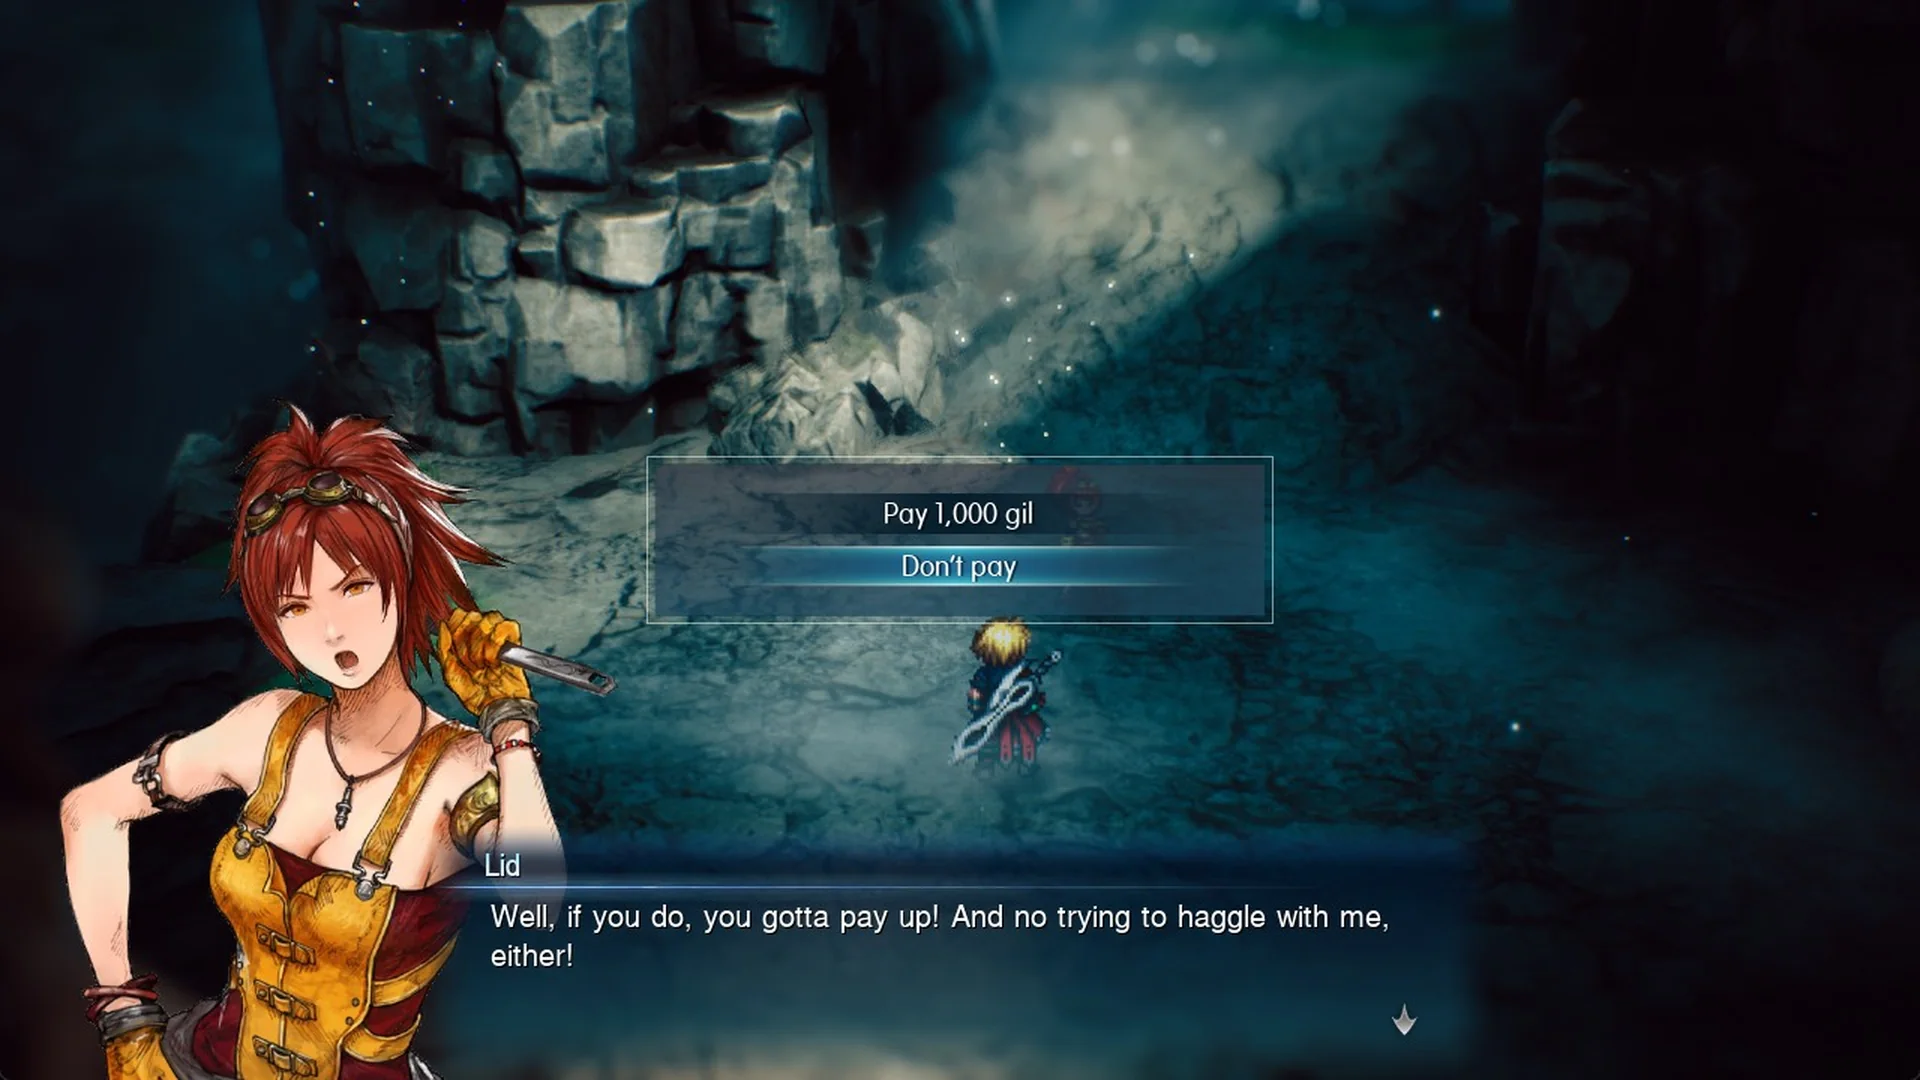
Move it up to “Pay 1,000 gil” and confirm.
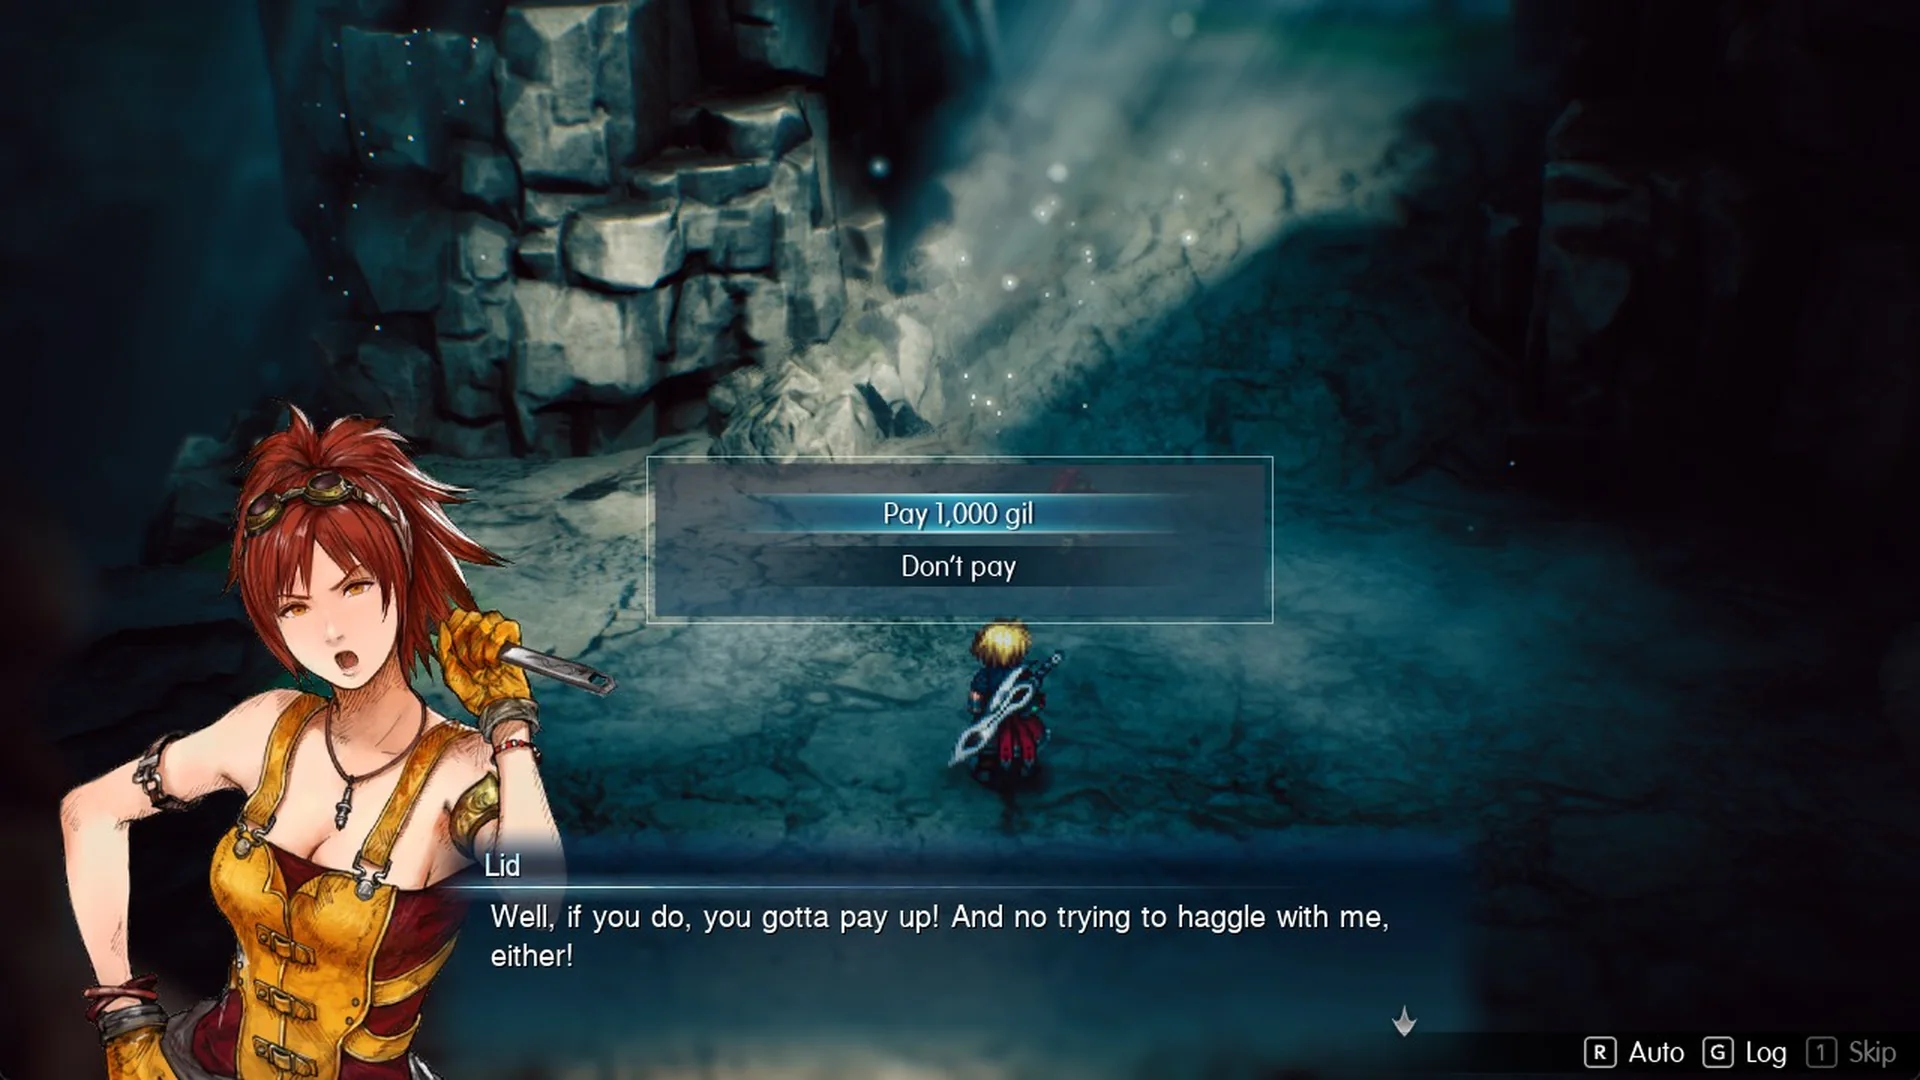
The payment is confirmed by Lid’s line: “Hehe… Glad to do business with you! Let’s head down the easy-peasy trail!” You need 1,000 gil on hand; the fee is taken at once.
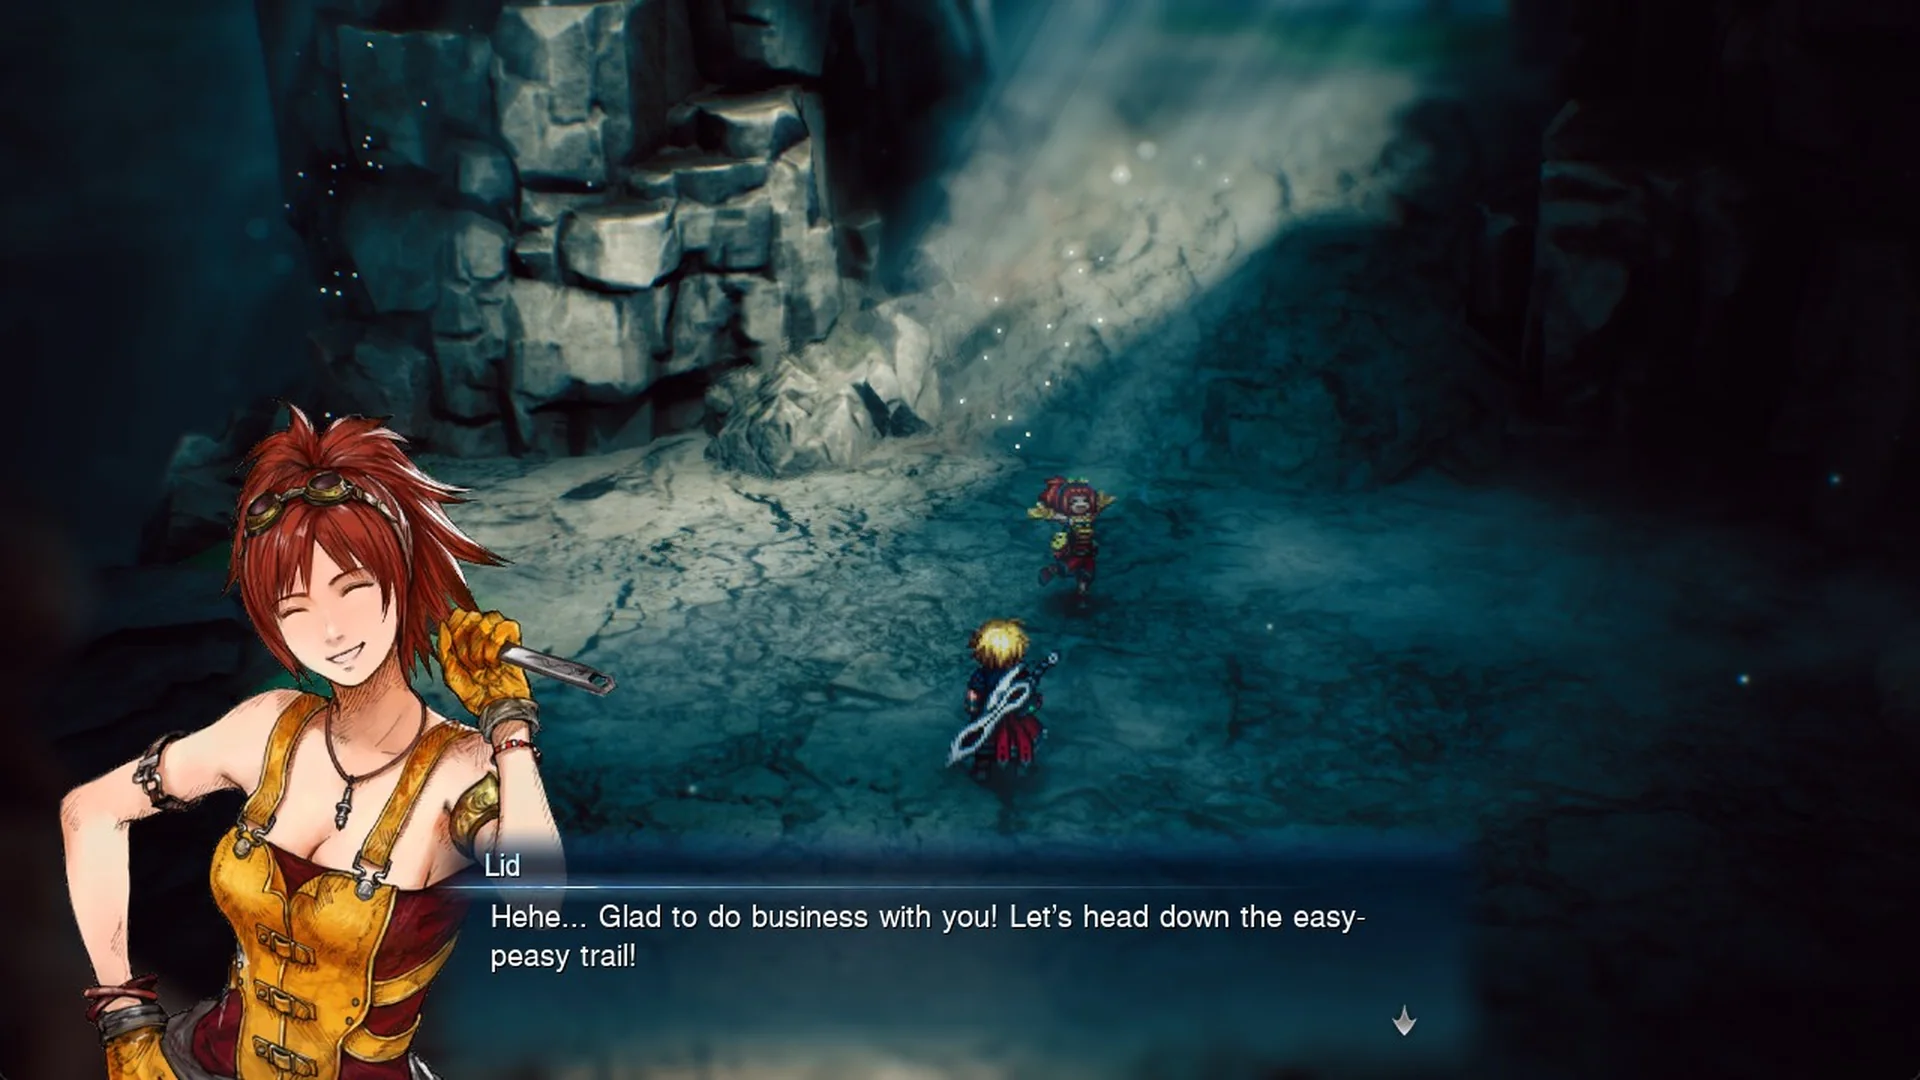
The paid route: rope ladder, Cape of the Raiju and the shortcut to the Boss save
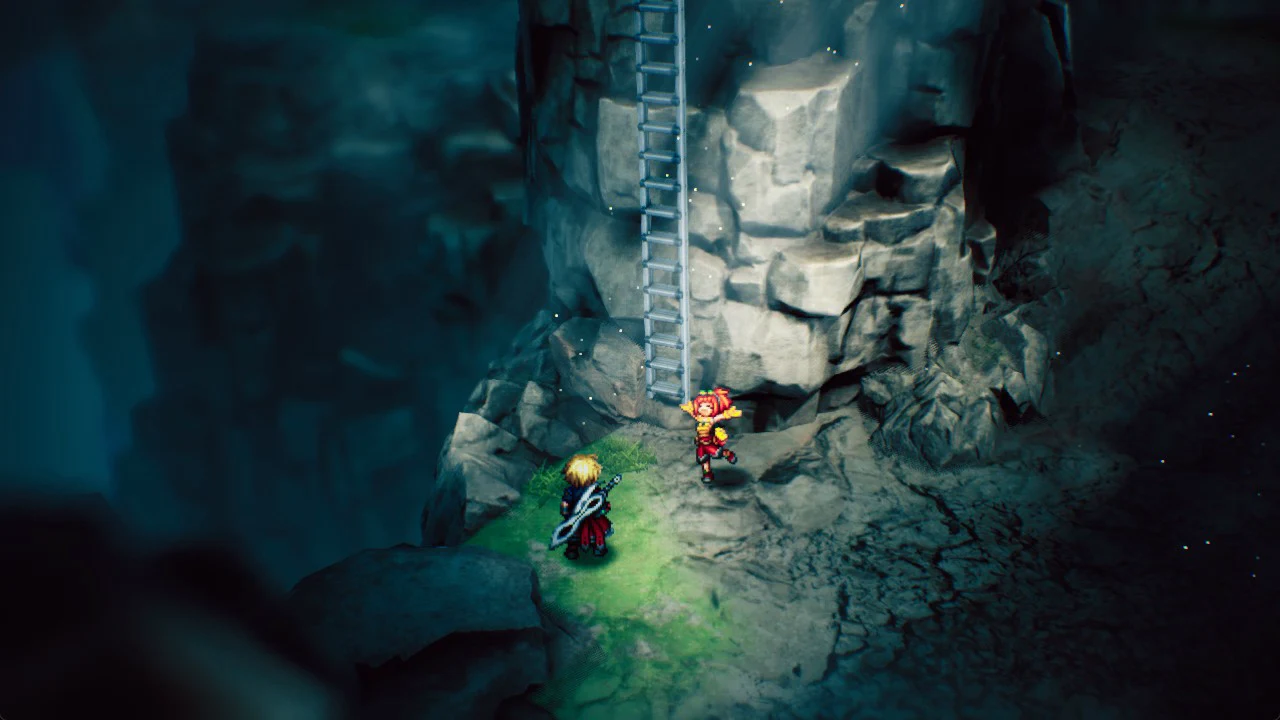
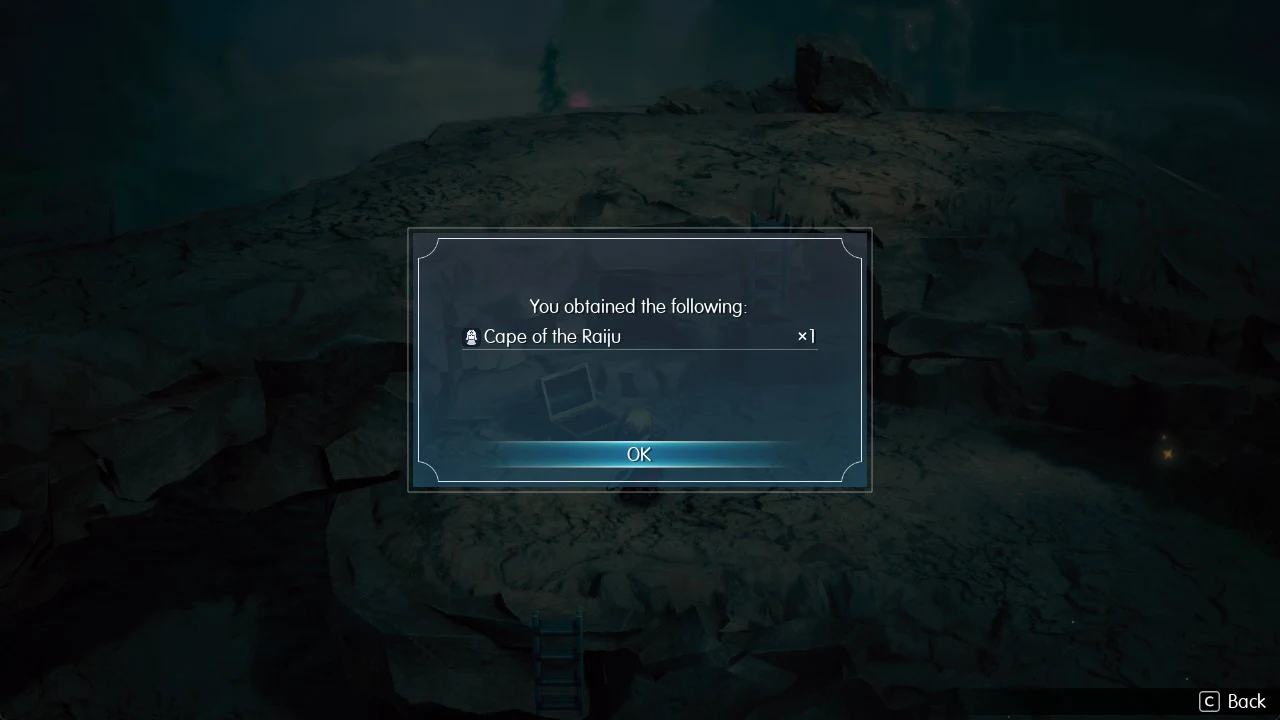
With 45 Phys. Def and 57 Mag. Def, the Cape of the Raiju robe has the effect “Halves damage taken from Lightning attacks. Increases MP by 30.” It sells for 500 gil. Compare it with other robes in the armor list.
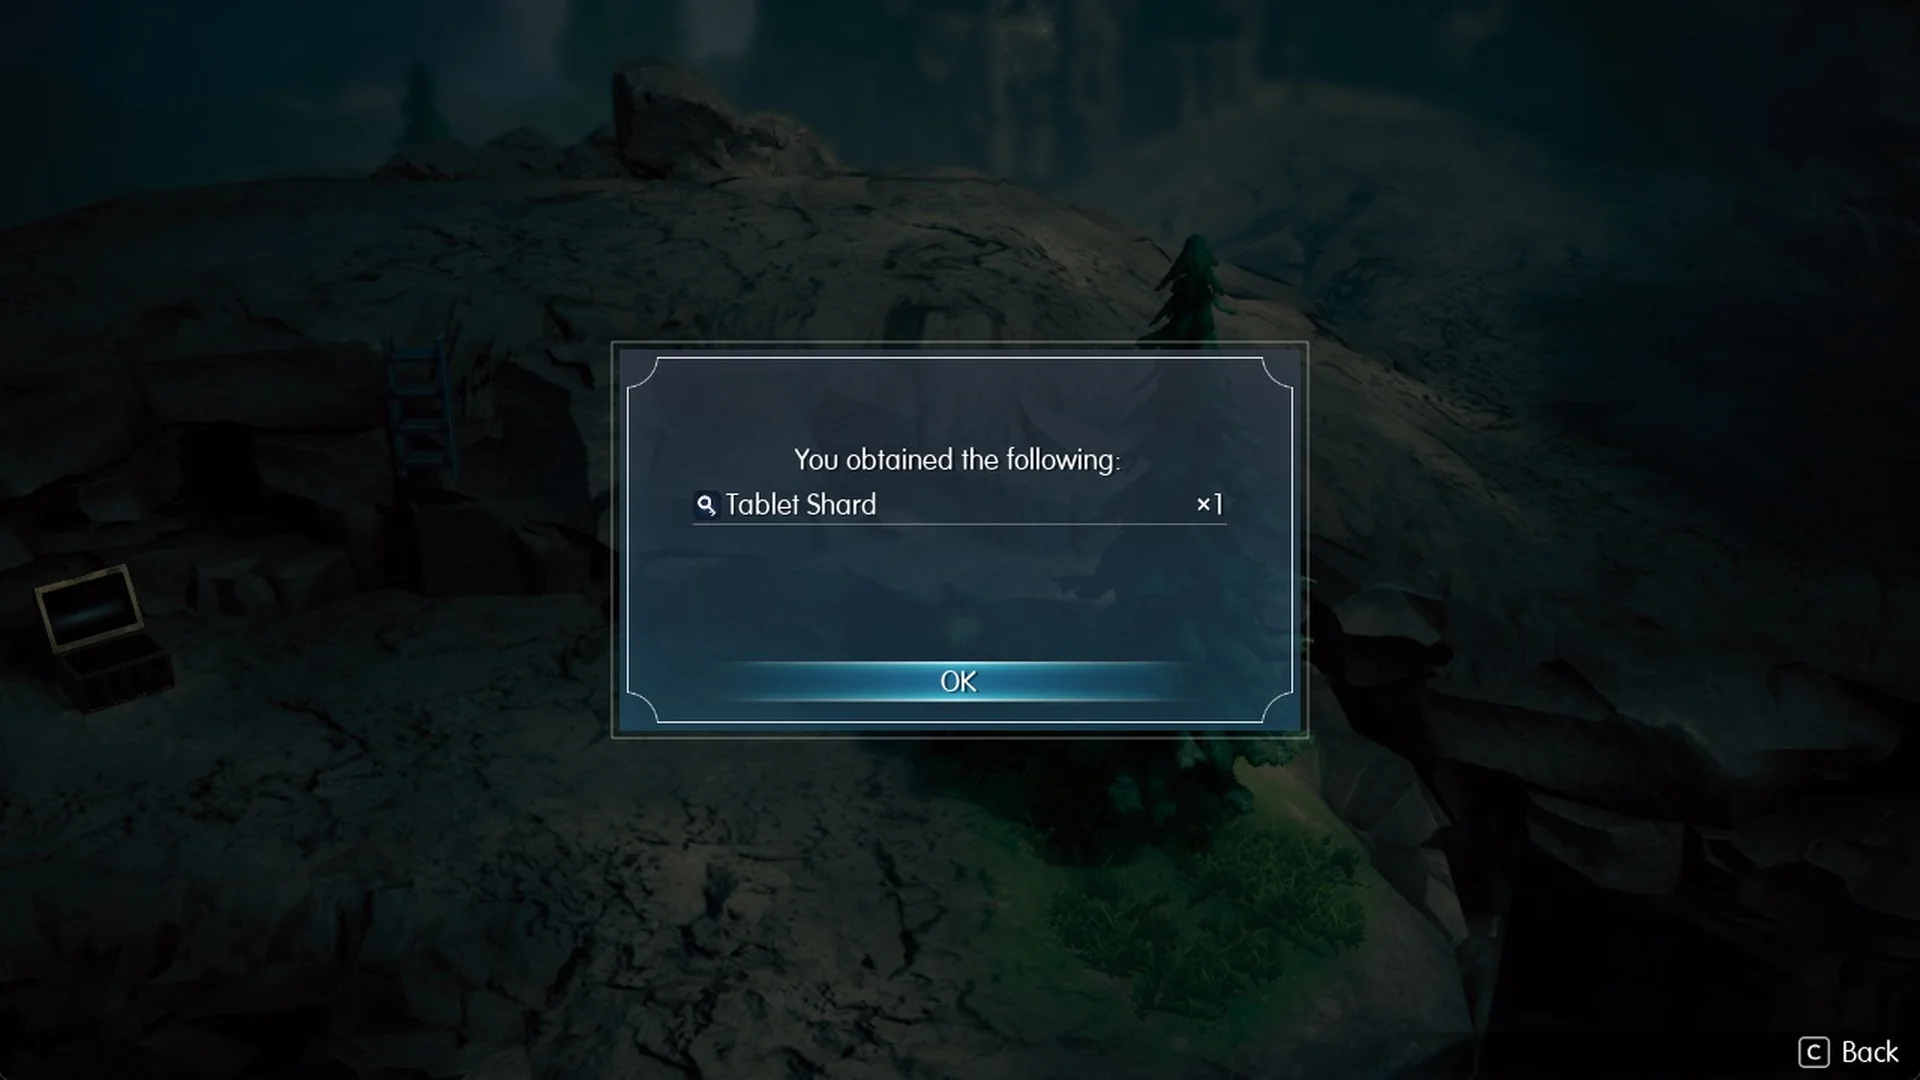
Before you leave the ledge, take its Tablet Shard. Walk east past the chest to the pine tree; the shard glints at the west foot of the pine. Pressing F next to the glint does nothing, so step right onto it, then press F: “You obtained the following. Tablet Shard x1”.
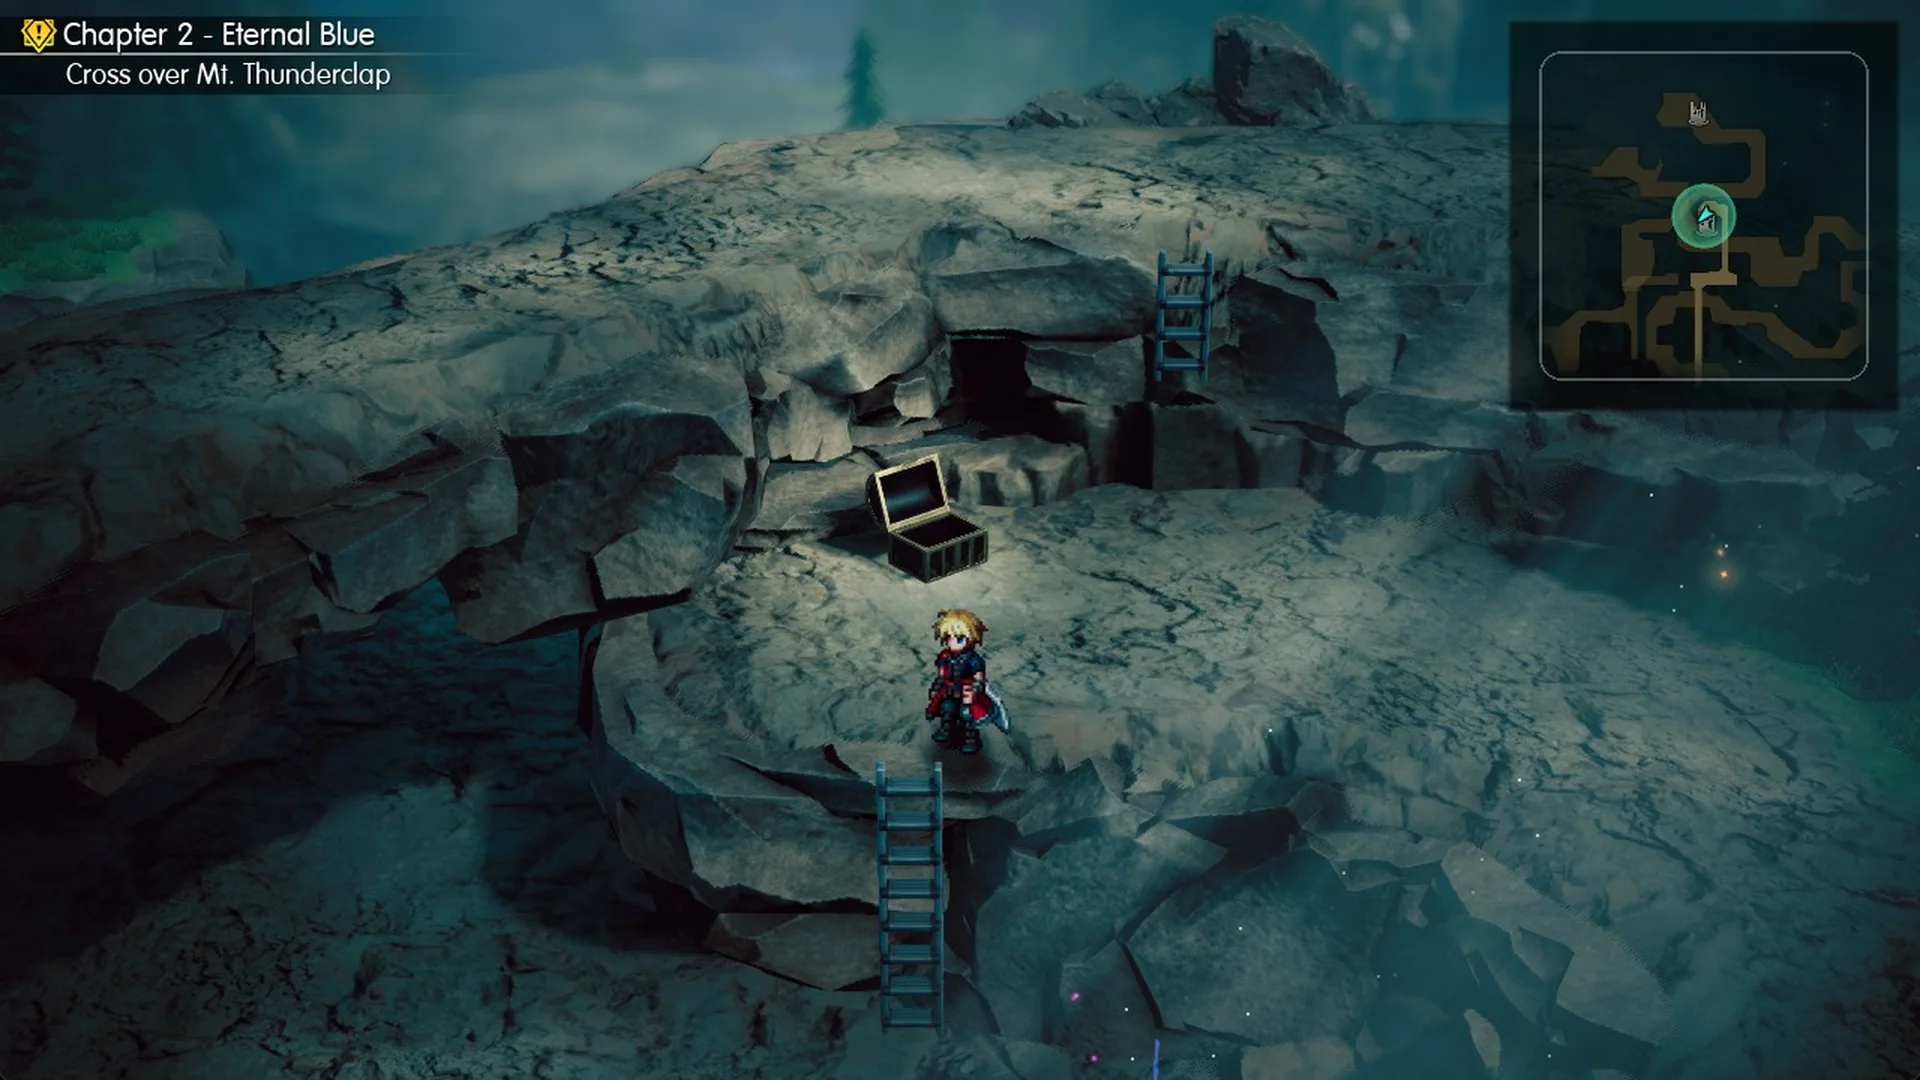
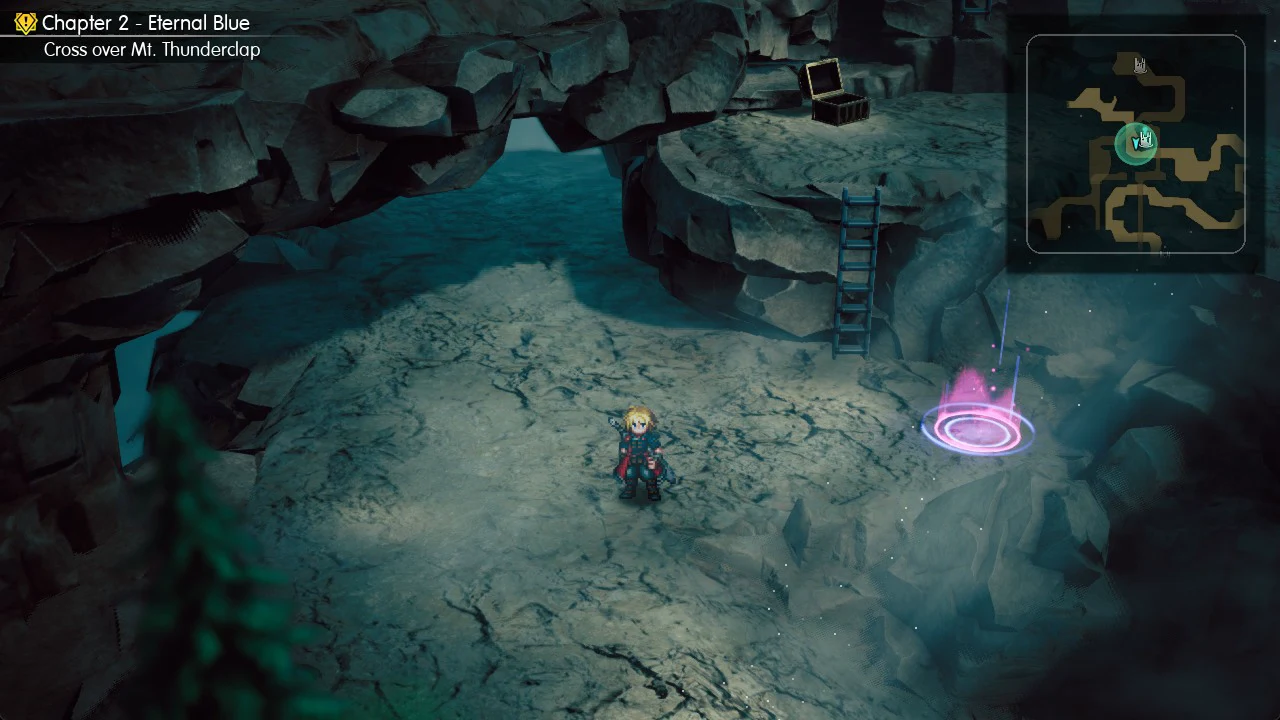
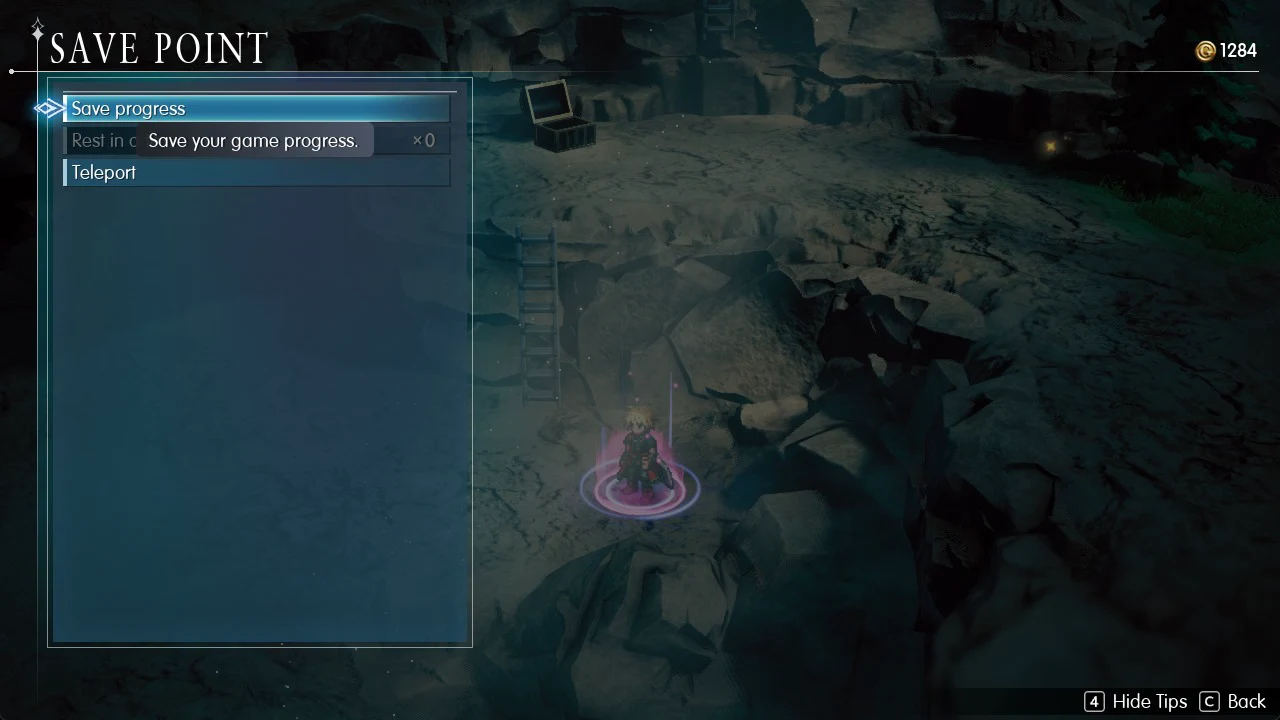
Another rope ladder hangs at the ledge’s northern tip, but it is rolled up from above, and pressing F or walking at its foot does nothing. You can’t climb it from the ledge, so this is not the way onto the hidden path to Ramuh; that path has its own entrance on the World Map. Details on the optional battle are in the Ramuh question answer post.
Should you pay Lid 1,000 gil?
Yes, if you have the gil. You’re climbing a mountain named for thunder, the mid-boss is a lightning creature whose trait is “Uses a special skill after charging electricity.” and Ramuh, the master of lightning, is nearby. On the paid route, you’ll find a robe that halves Lightning damage, adds 30 MP and has Mag. Def 57.
Taking the shortcut means just one corridor and a ladder between the entrance and the Boss save. By contrast, the normal path takes much longer through the 2F caves and exposes you to random battles throughout. The mountain’s rewards also make the small fee worthwhile: Liquid Thunder alone drops 1,500 gil.
There are two good reasons to say no:
- You need the gil for upgrades at Dilmagia’s shops.
- The Lv 13 Captain awards 500 EXP on its own, making it worth fighting for EXP if your party is below the recommended Lv 13.
You can change your mind later; the pillar near the entrance save point still lets you pay.
Mt. Thunderclap enemies and weaknesses
These enemies all appear on Mt. Thunderclap. Earth hits every one of them except the Sprinter (weak to Wind) and the Bomb (weak to Water).
| Enemy | Lv / HP | Weak to (resists) | Drop |
|---|---|---|---|
 Footpad | 12 / 230 | Earth | Potion (rare: Ether) |
 Thief Boss | 13 / 260 | Earth | – |
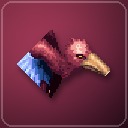 Sprinter | 13 / 260 | Wind | Ether |
 Wolf | 11 / 240 | Earth | Potion |
 Damia | 12 / 260 | Earth (resists Thunder) | Phoenix Down |
 Warlock | 12 / 1,000 | Earth | Phoenix Down (rare: Ether) |
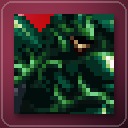 Captain | 13 / 2,835 | Earth, Water | Mist Potion (rare: Knife of Silence) |
 Bomb | 12 / 1,000 | Water (resists Fire) | Flame Scroll I |
Each enemy’s in-game traits tell you how to handle it:
- Footpad: “Steals gil.”
- Thief Boss: “Easily staggered.” “Steals gil.”
- Sprinter and Wolf: “Easily staggered.”
- Damia: “Counterattacks when hit with magic.”
- Captain: “Powerful and difficult to stagger, but rewards handsomely when defeated.” “Uses Paralysis attacks.” Worth 500 EXP.
- Bomb: “Self-destructs when HP is lowered.”
Lid brings Earth with her from the start, with Mechabo Kick (Lv.1) and Stone (Lv.3). The Dilmagia item shop sells Earth Scroll I for 1,000 gil, with only 3 in stock (see the Dilmagia shops). Kill Footpads and Thief Bosses first, before they can take your gil. Use physical attacks on the Damia, since it counters magic. The full enemies list covers foes beyond this mountain.
After the Boss save: Liquid Thunder
From the Boss save, the path carries on along the top of the mountain to Liquid Thunder, and walking into it starts the fight. Save first: a loss gives you “The party has fallen…” with Retry, Load and Return to Title, and Retry restarts the battle with full HP, MP and items.
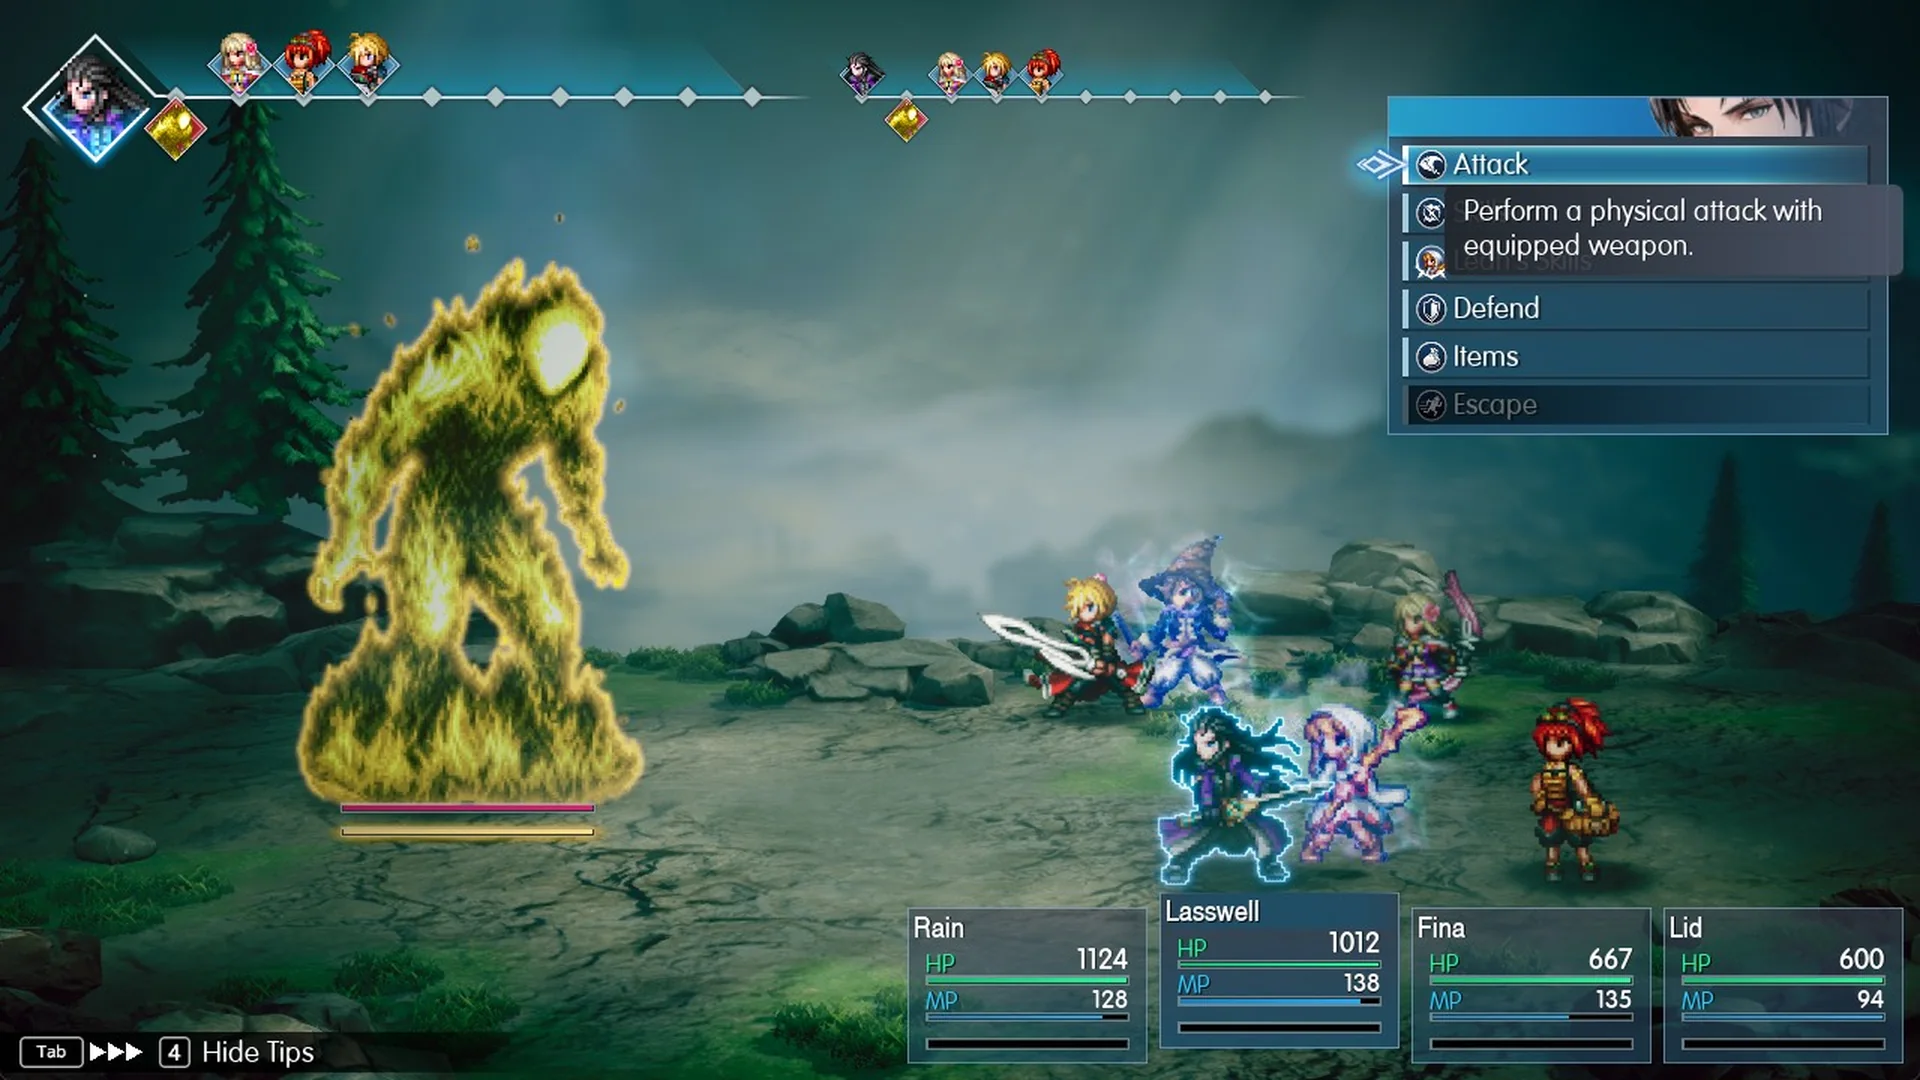
Liquid Thunder is Lv 13 with 10,000 HP, weak to Earth and immune to Thunder damage. Its trait reads “Uses a special skill after charging electricity.” It hits the whole party with Lightning, can paralyze with Megavolt, strikes one member twice with Thundara, and after the “Charging electricity!” banner it follows up with Gigavolt, a heavy double strike on one member that can knock out Lid in one go. It also casts Deshell and Faith.
We won on NORMAL with Rain and Lasswell at Lv 15, Fina at Lv 14 and Lid at Lv 11: Cape of the Raiju on Fina, Shellga on the first turn, Cura on the whole party whenever everyone dropped below about 70%, Earth from Lid’s Mechabo Kick and Earth Scroll I, both Limit Bursts in the break turn after each stagger, Ethers for Lasswell’s MP, and Phoenix Downs only on real KOs. Two earlier tries at Lv 14 wiped with the boss almost beaten. The full plan, every attack and what to watch for are in how to beat Liquid Thunder.
The win pays 1,350 EXP, 1,500 gil and a Lightning Scroll I, and Lid says “Not too shabby! We’ve got a path straight to the Wind Shrine now!” Other major fights are in the bosses list.
The far exit and the Earth Scroll pickup
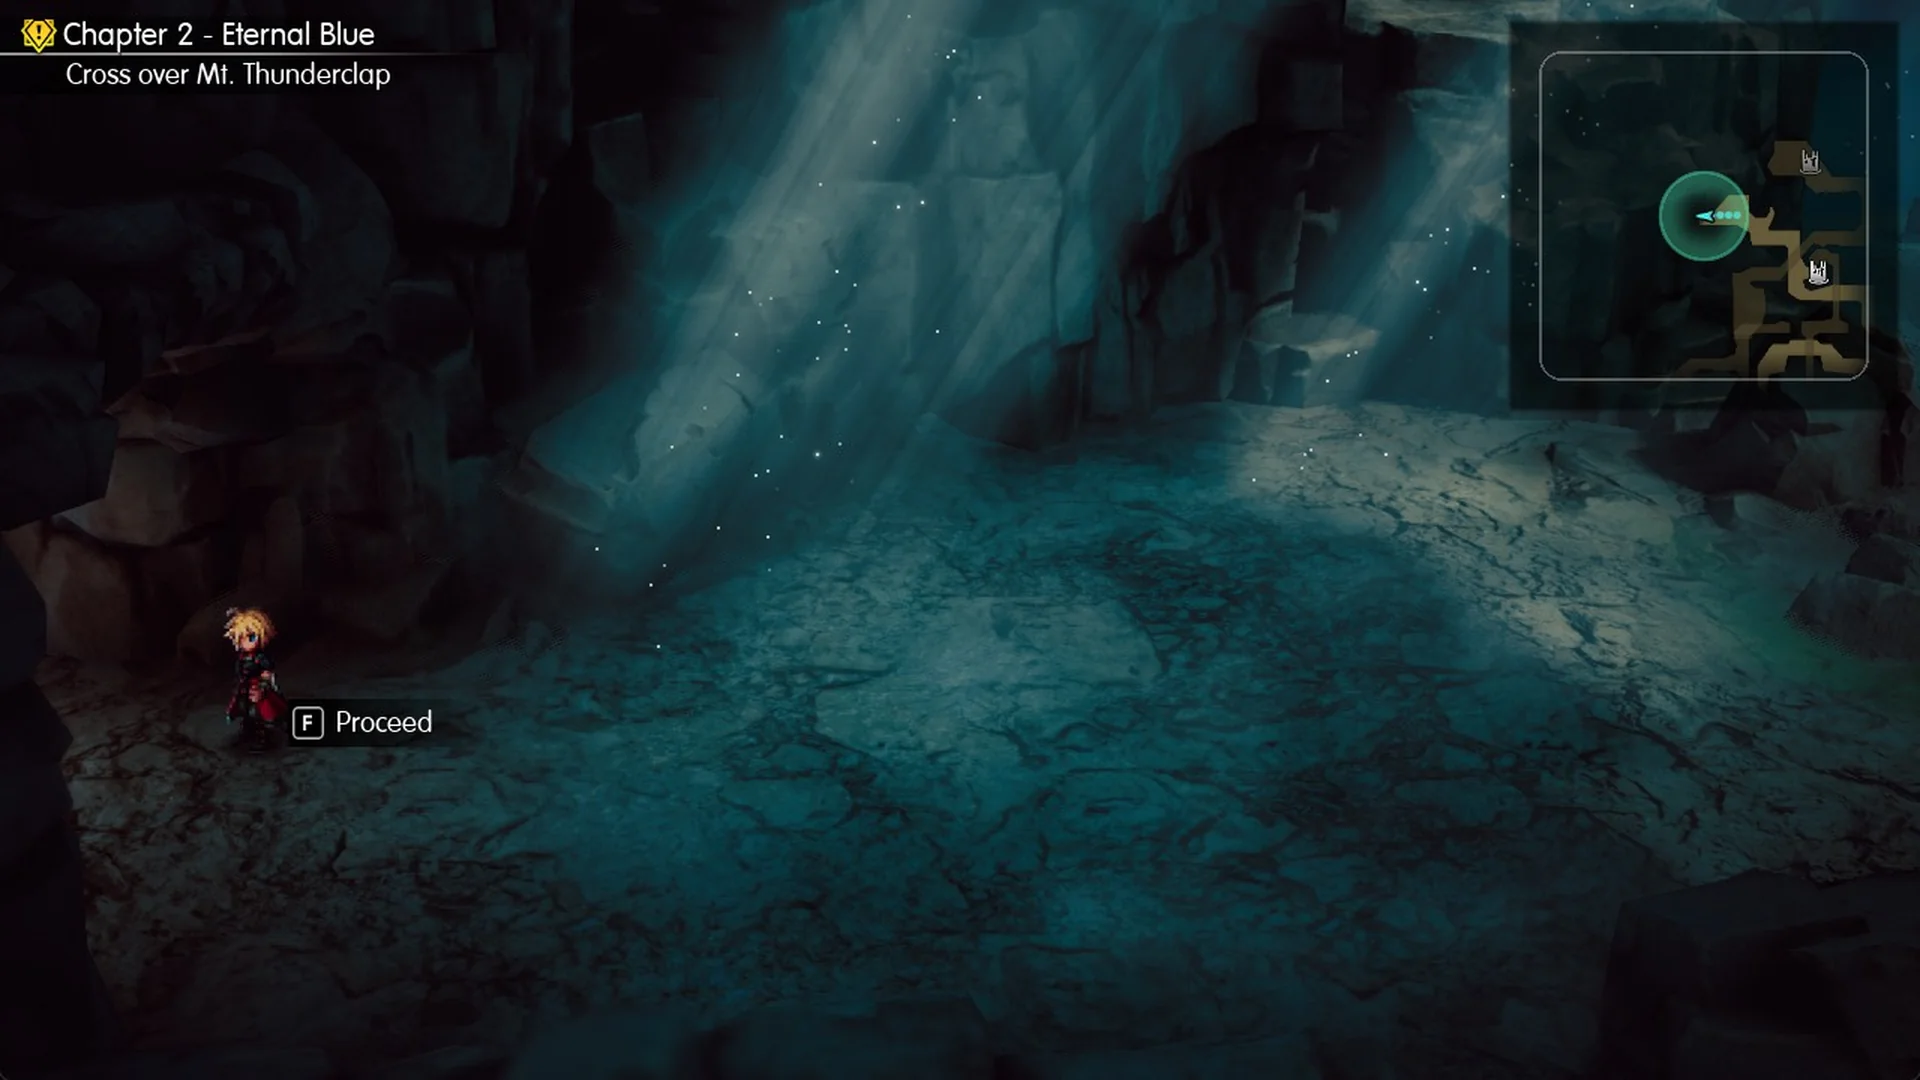
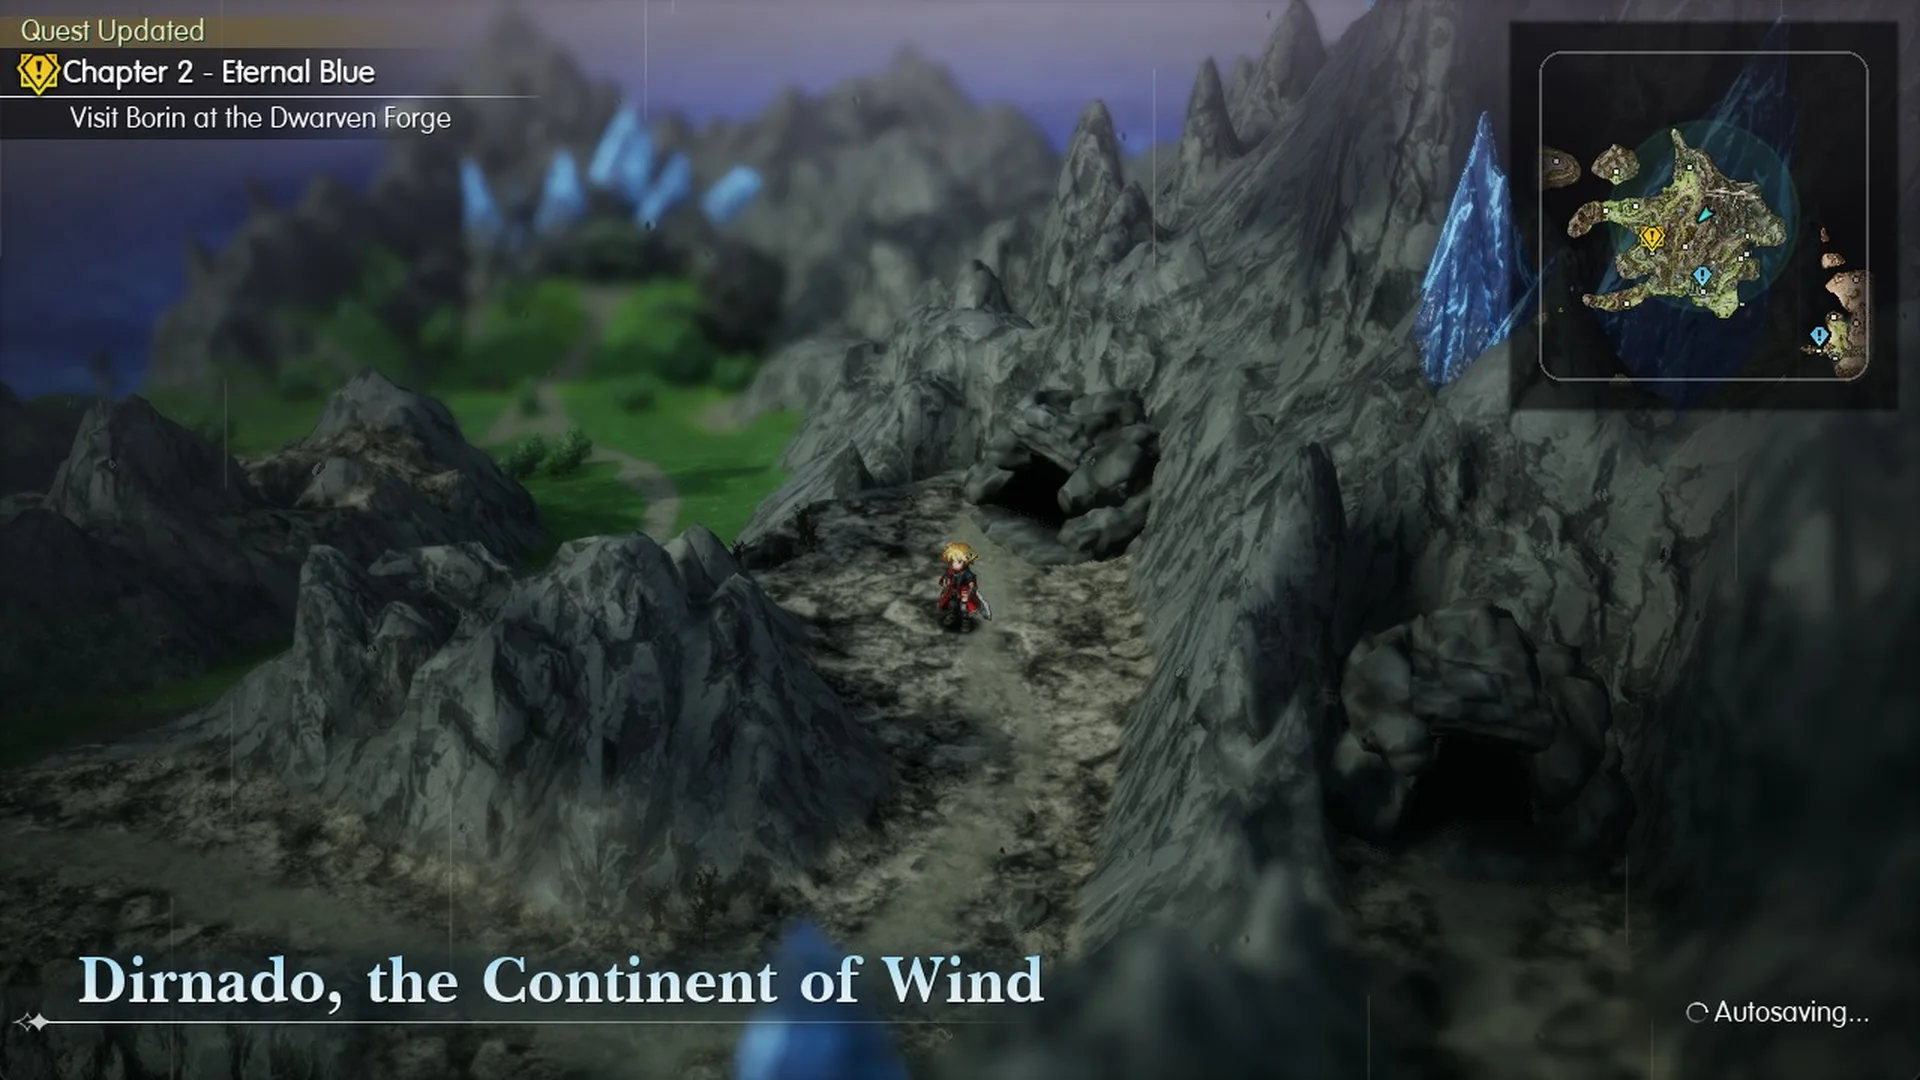
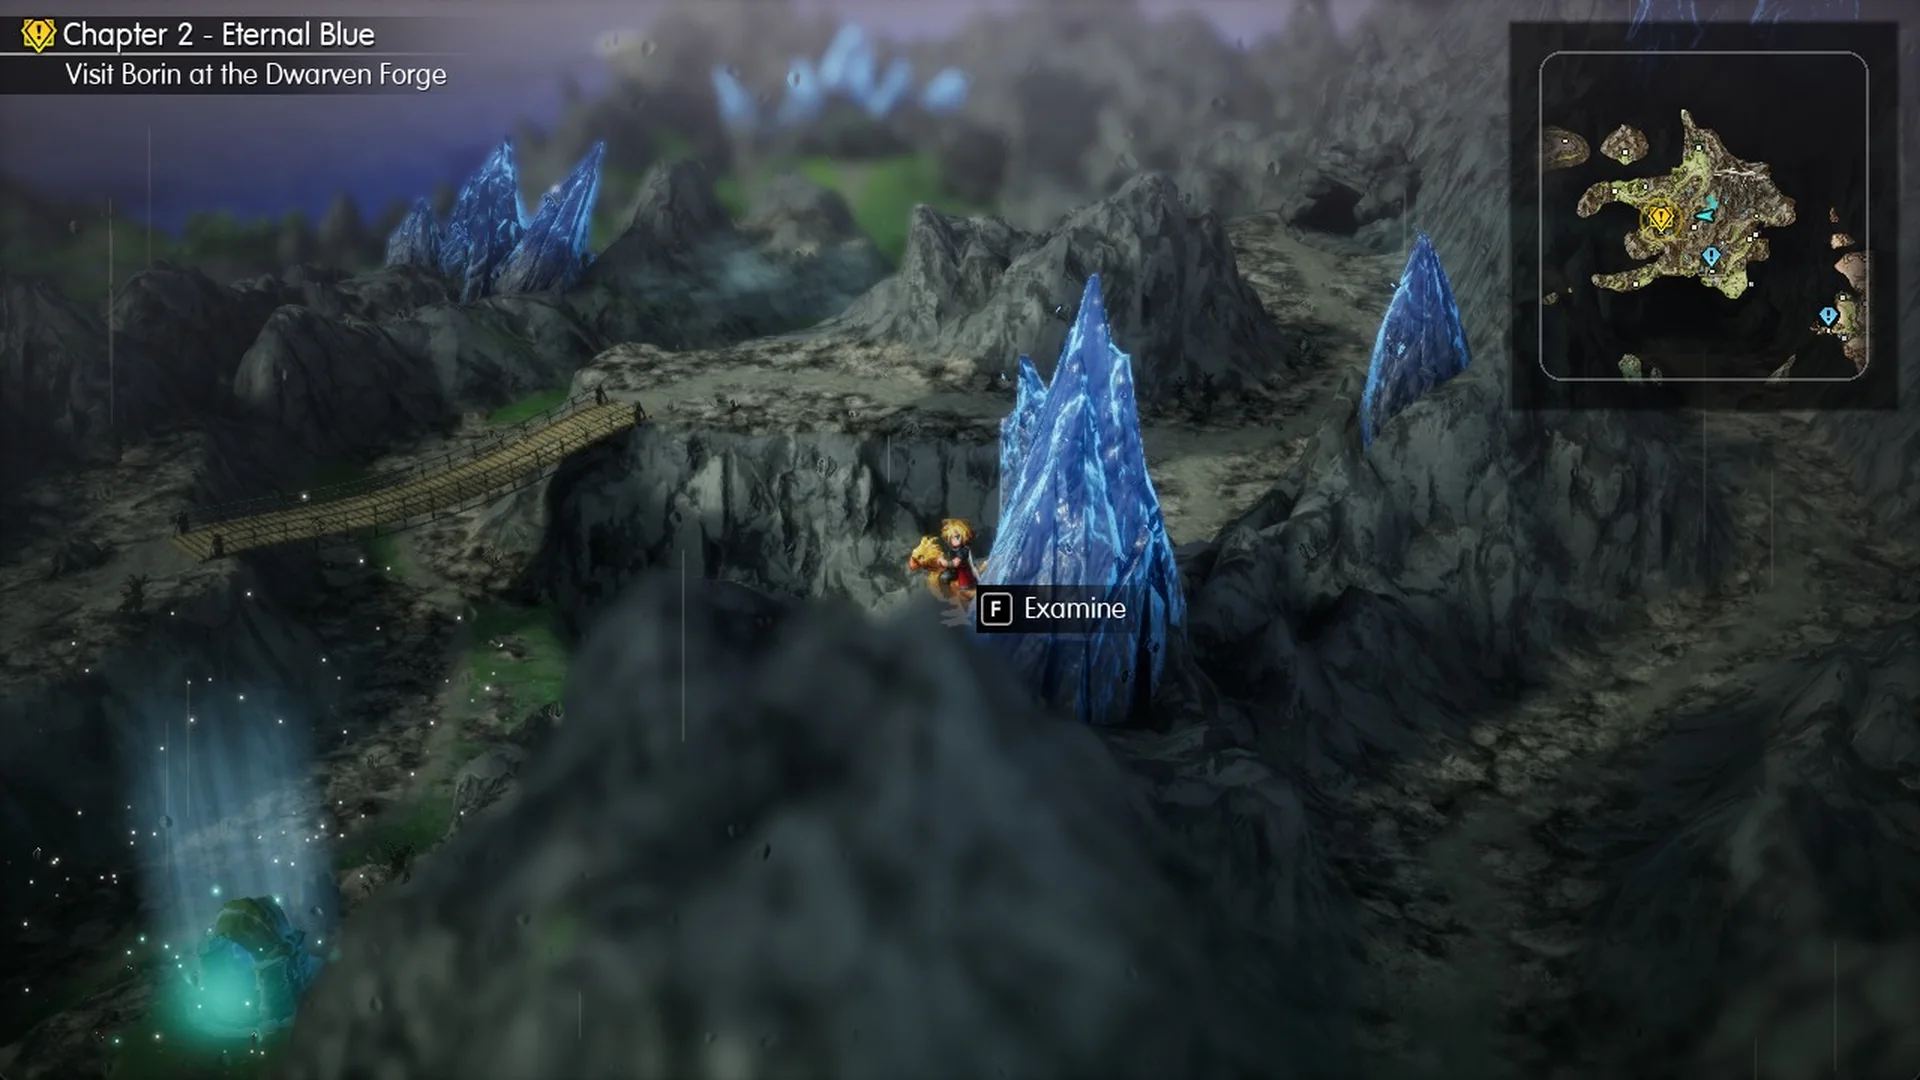
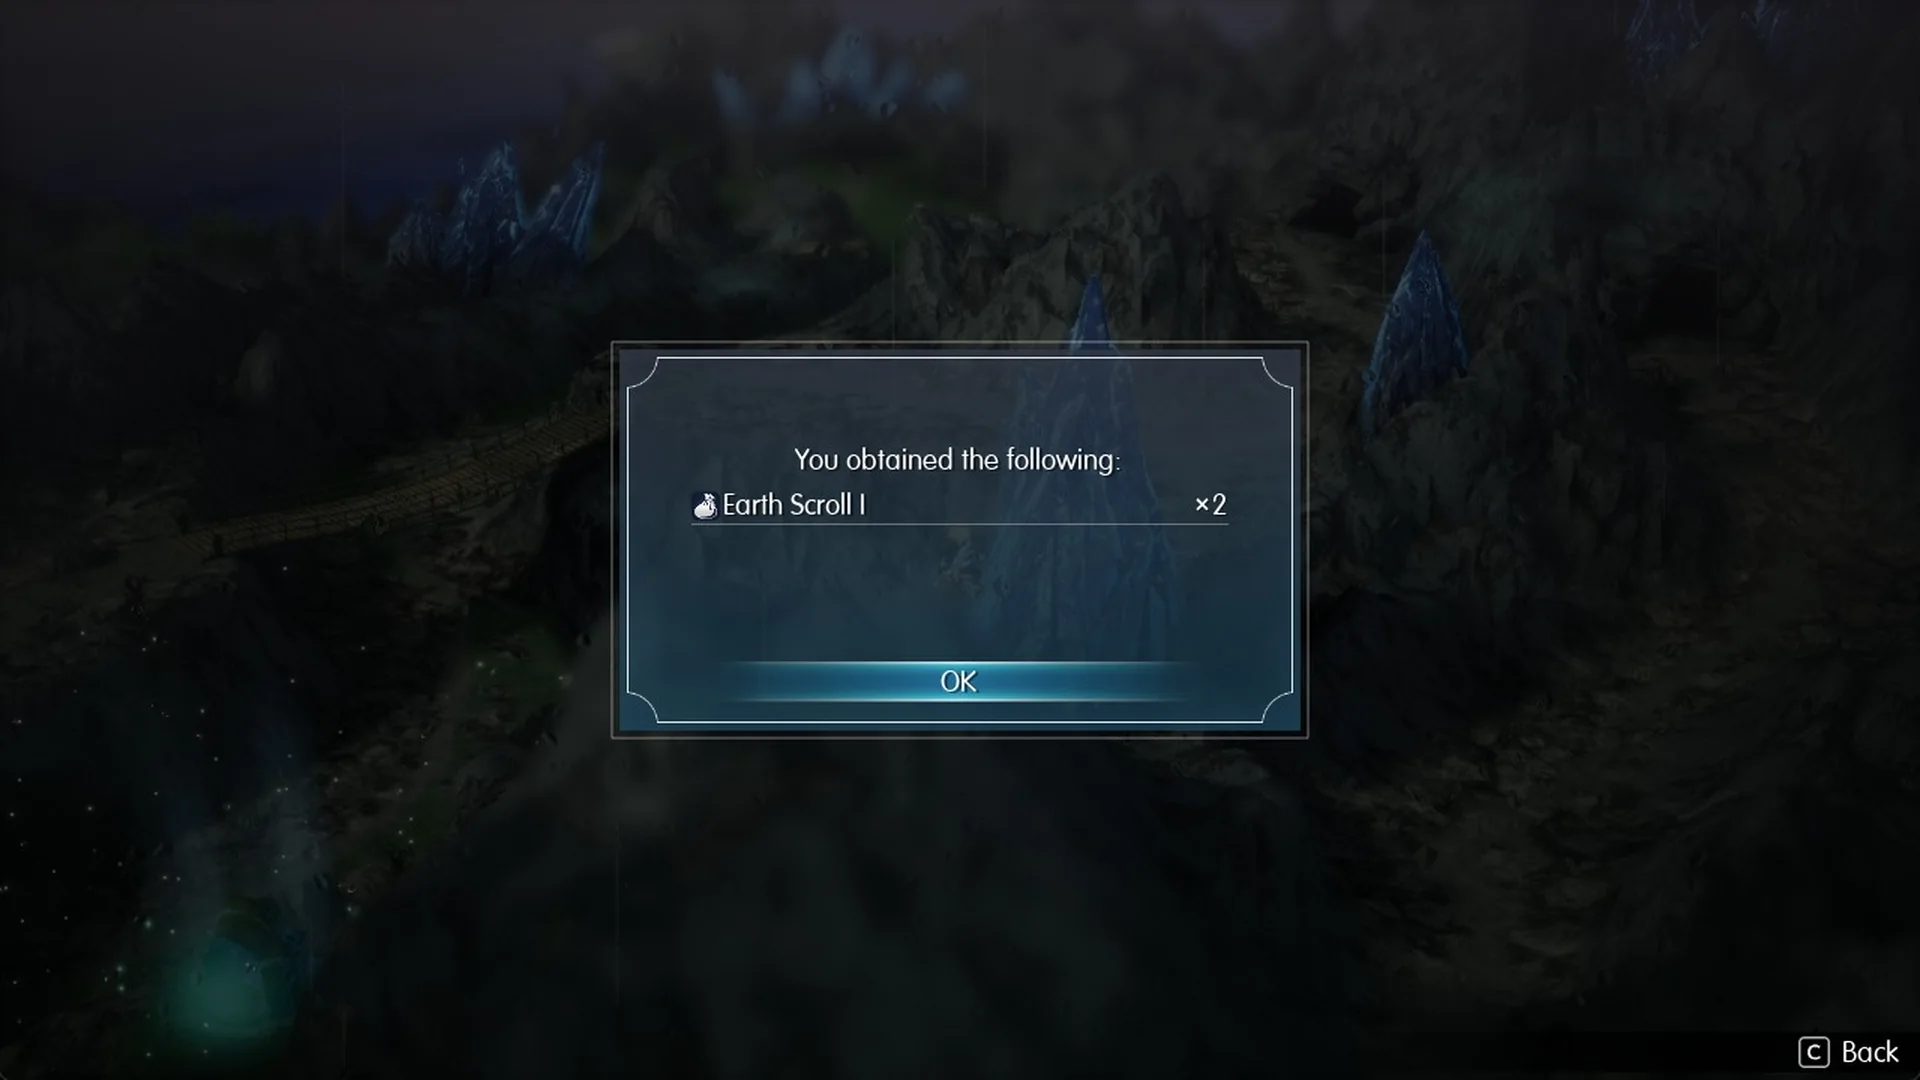
You get “You obtained the following. Earth Scroll I x2”, handy for the Earth-weak enemies of this chapter.
The Dwarven Forge has a yellow “!” on the World Map, to the west and south-west of where you come out. If you need to come back later, the dungeons tab of the World Map’s Destination List takes you to the Mt. Thunderclap entrance save point.
From the far exit to the Dwarven Forge
The Forge is a short walk from the far exit, but walking straight south-west off the arrival spot only leads down to the crystal ledge, which has a cliff on its west side. Take the Earth Scrolls, go back up to the road and follow it instead.
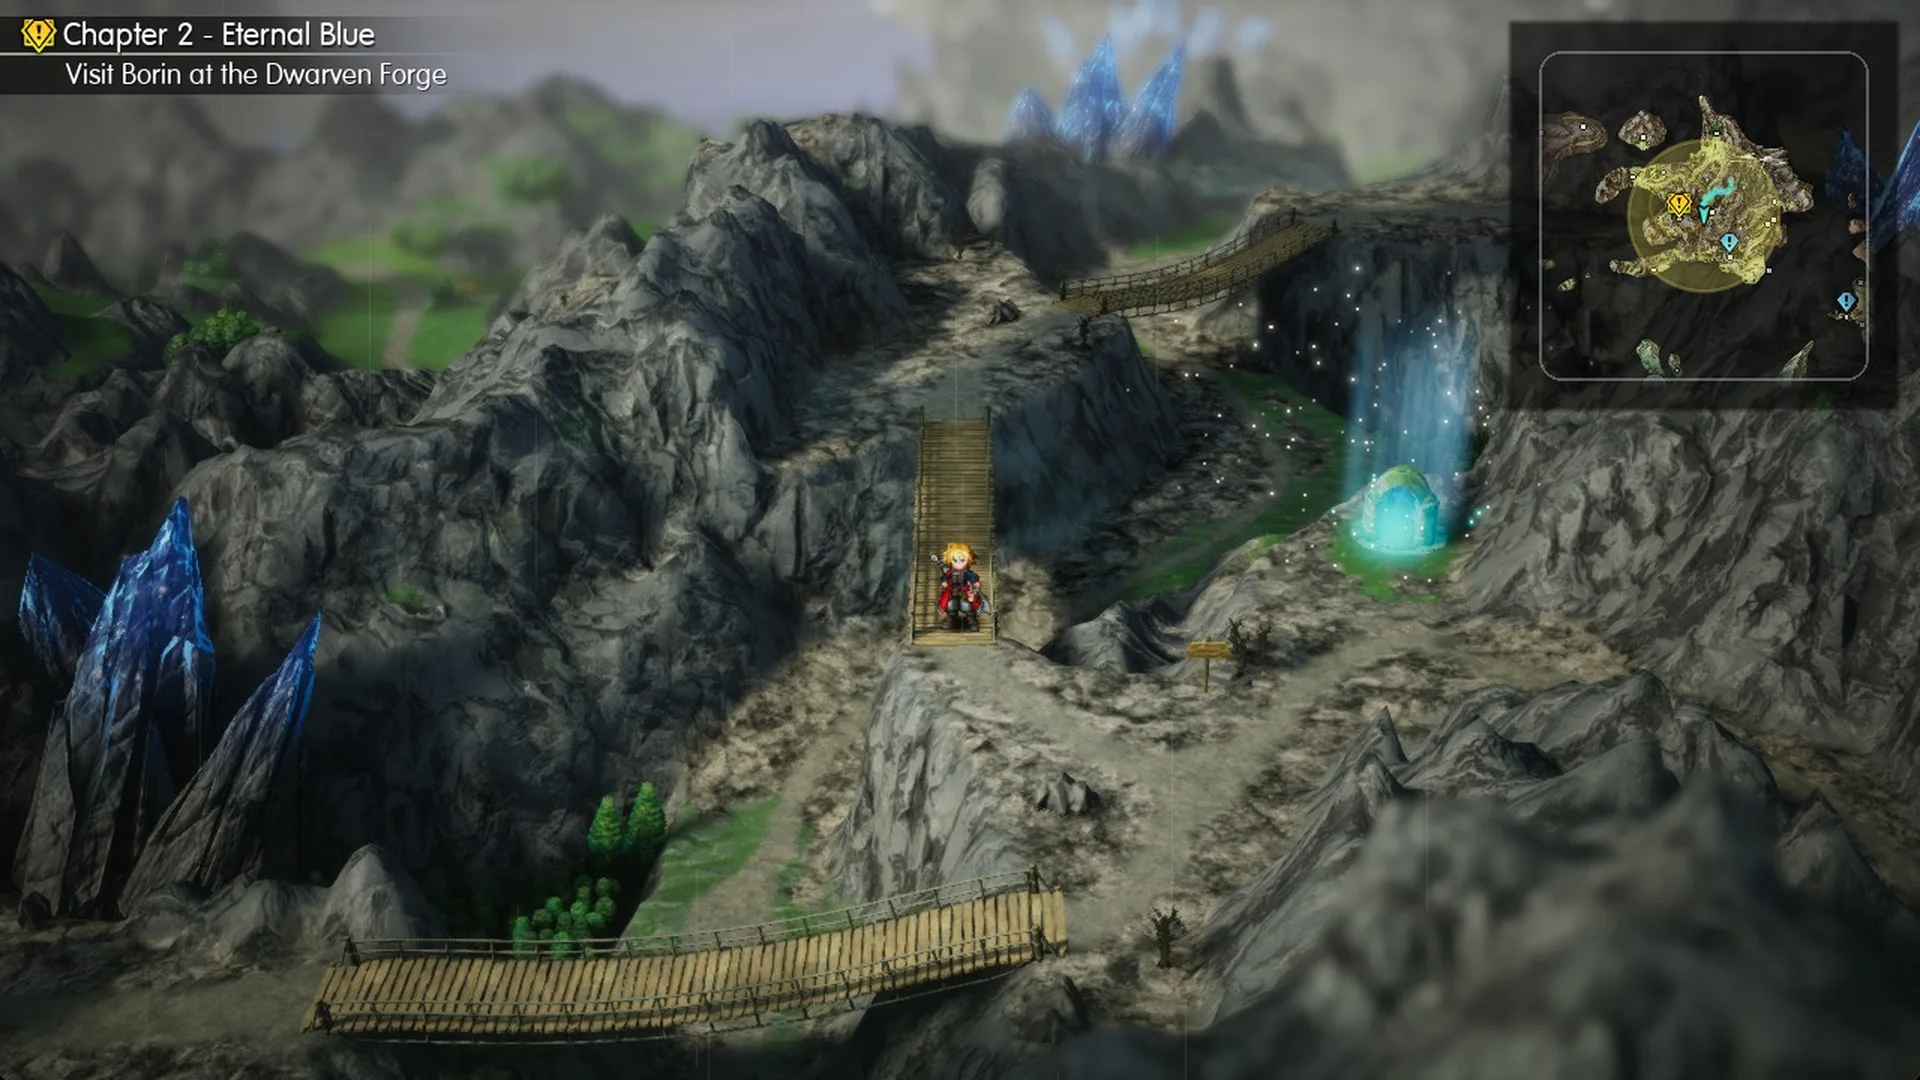
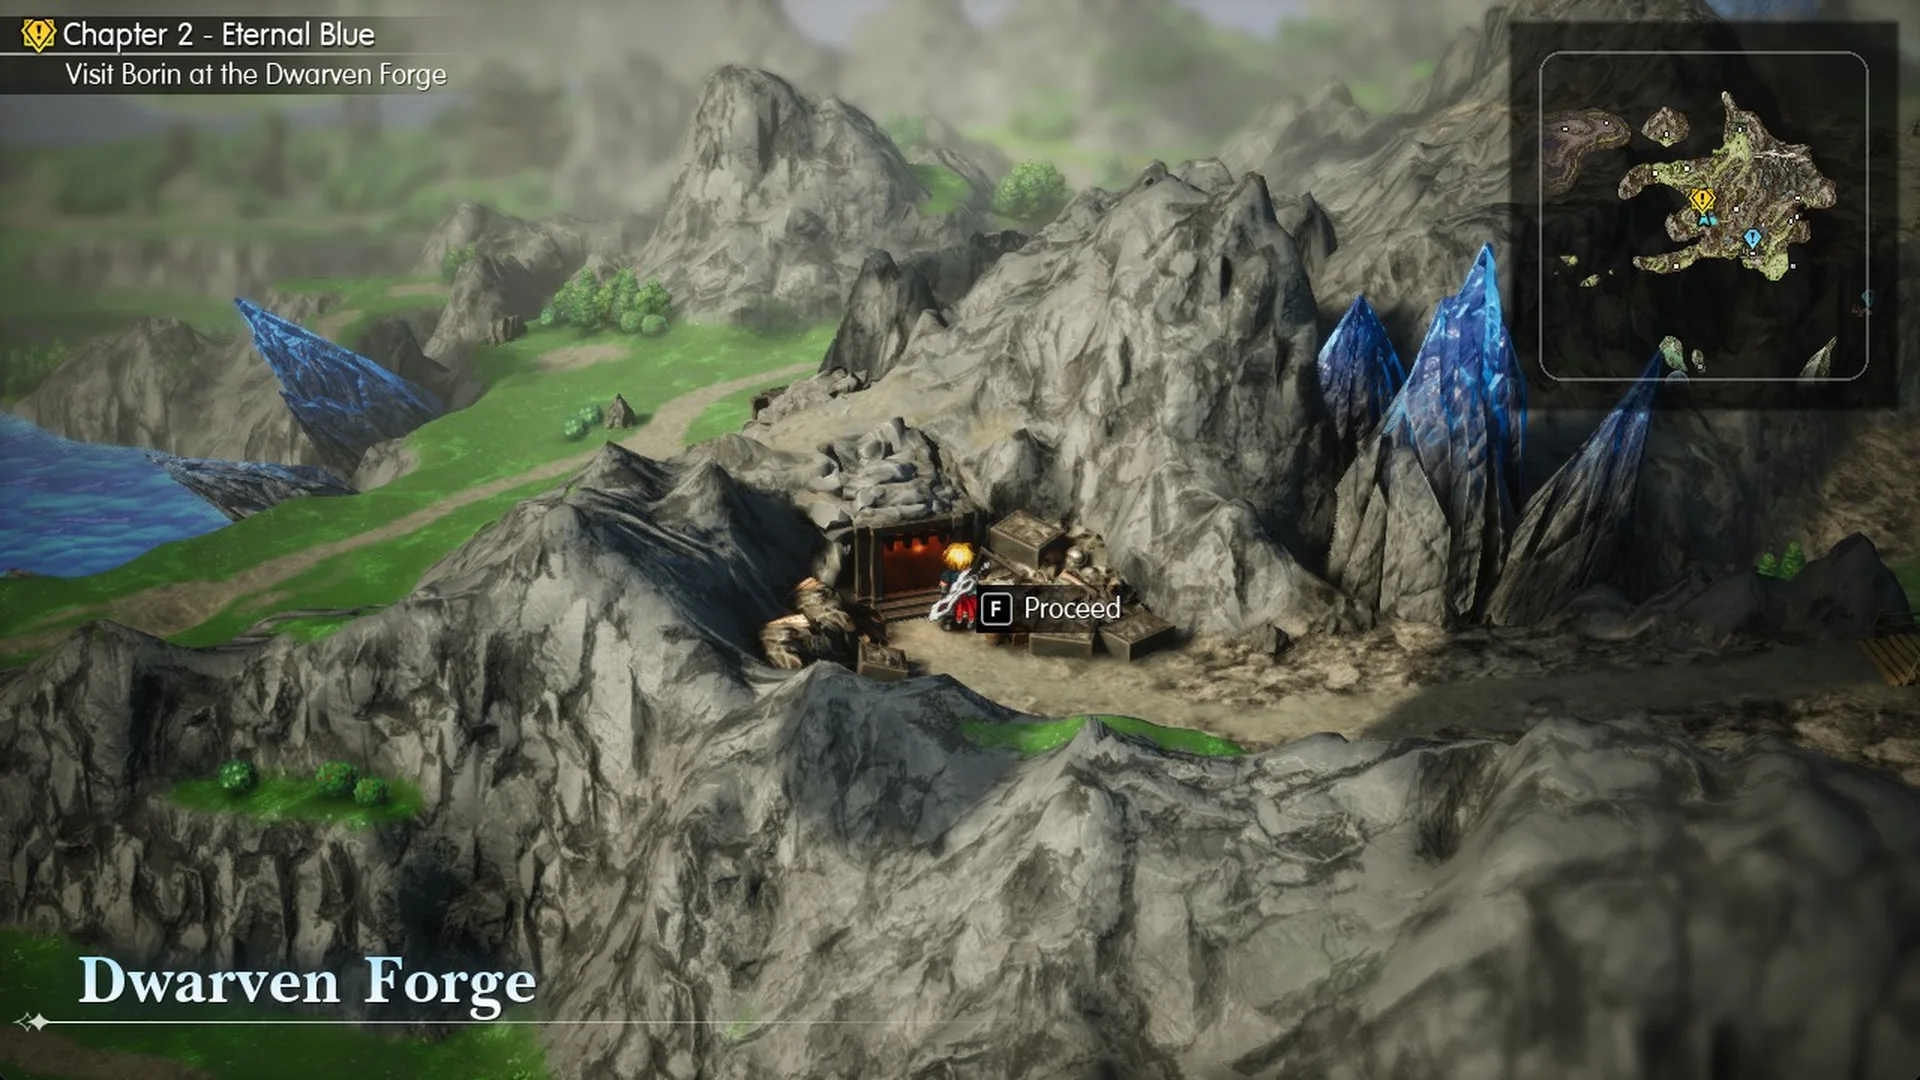
A group of four Bombs can turn up on this road. Everything inside the Forge, from the lift and the shops to Borin and the boss, is in the Dwarven Forge walkthrough, and the boss fight itself in how to beat Mom Bomb.
Other things on Mt. Thunderclap
A hidden trail in this area leads to the optional Ramuh encounter. He is Lv 20, has 24,000 HP and is weak to Earth. The linked Ramuh post above gives the answer to his question. Tablet Shards are also found on the mountain; their locations appear under tablet shard locations.
The next Chapter 2 destination is the Dwarven Forge. Continue the story in order with the Final Fantasy Resonance walkthrough.