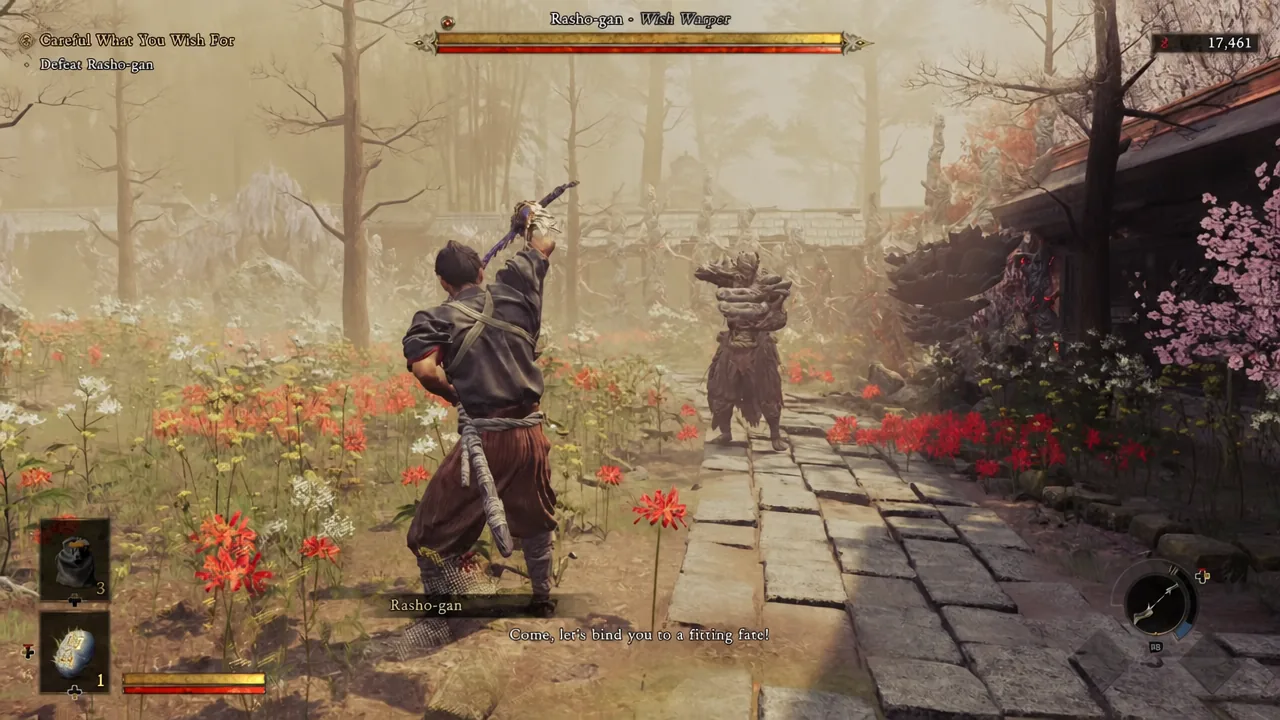
Rasho-gan is the boss that ends the Careful What You Wish For quest, and it is the point where Onimusha: Way of the Sword stops letting you swing first and ask questions later. The Genma poses as a matchmaking deity at the Yasui Konpiragu Shrine, feeds on the insecurities of Kyoto’s residents, and grants their wishes in a twisted form. Mechanically, it is a two-phase fight built around multi-limb pressure, a grab that removes a huge chunk of health, and tendrils that turn the arena’s trees and stones into projectiles.
Quick answer: Fight defensively. Parry the three-hit blade combo (the third swing is delayed), Reflex Dodge the unparryable ground slam and the grab, and shoot the tendrils with the Oni Bow whenever they lift an object. At roughly 60 percent health remaining, the boss enters its enhanced phase, so hold your healing items until then.
Rasho-gan attack patterns and counters
Every move Rasho-gan has falls into one of two buckets: things you parry, and things you must move away from. Confusing the two is what kills most players, because the slam and the grab both look like they should be blockable and neither is. Learn which is which before worrying about damage output.
| Attack | Tell | Correct response |
|---|---|---|
| Basic blade combo | Three sword strikes, third one delayed | Parry all three, then punish with your own three hits |
| Follow-up strike | Added below ~60 percent health; hits immediately after your first parry | Counter the follow-up as well, do not attack early |
| Slam | Arms raised above the head | Reflex Dodge — this one cannot be parried |
| Grab | Lunges to lift Musashi, then punches and throws him at a wall | Reflex Dodge out of the grab window |
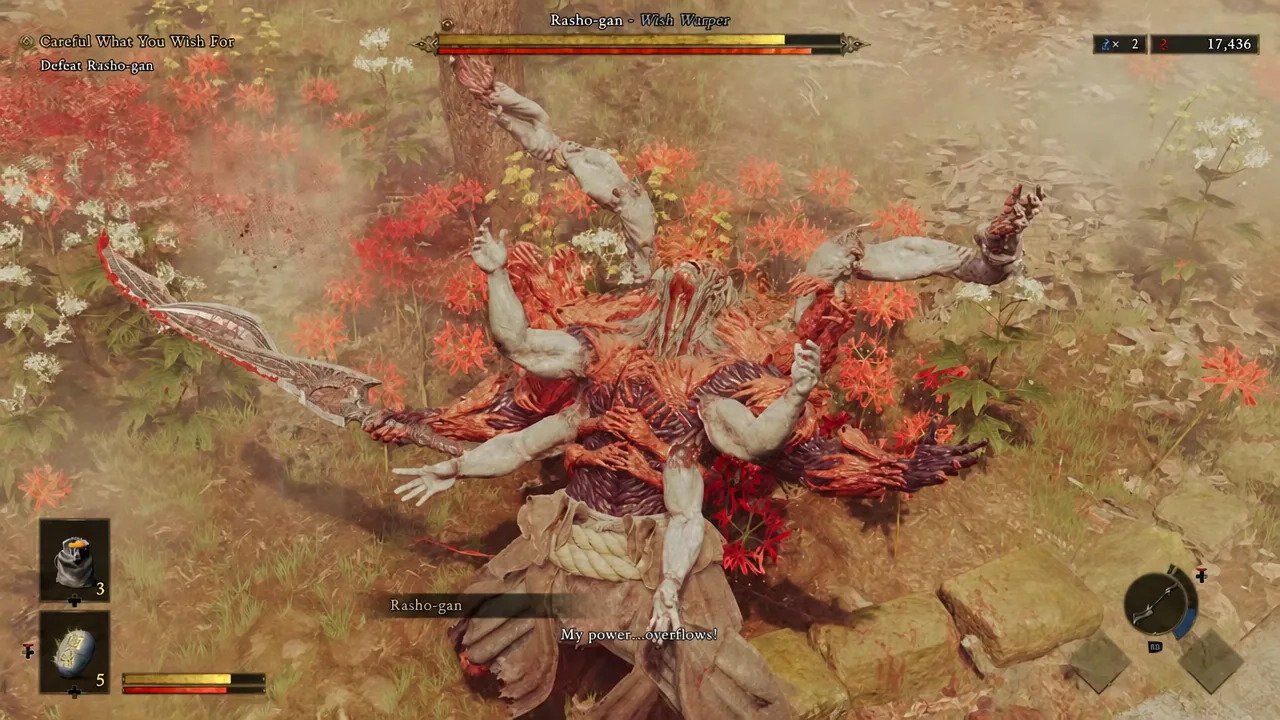
| Tendrils | Limbs reach for you or for scenery | Counter instantly if grabbed; shoot the tendrils with the Oni Bow if they pick up trees, buildings, or stones |
| Spin attack | Second phase only, stuns on contact | Move out of the way; the parry window is very tight |
| Projectiles | Fired at range, including a large blob | Dodge or counter, or shoot the blob down before it lands |
The grab deserves special attention because it is the single biggest source of unrecoverable damage in the fight. If it connects, you eat a barrage of punches and get slammed into a wall, which is easily enough to end a run that was otherwise going well.
Phase 1: Bait the combo, punish the recovery
Aggression loses this fight quickly. Rasho-gan is fast, attacks with several limbs at once, and will interrupt your combo with a limb you were not watching. The reliable loop is to hold ground, read the opening blade swing, and take your damage only after the boss has committed.
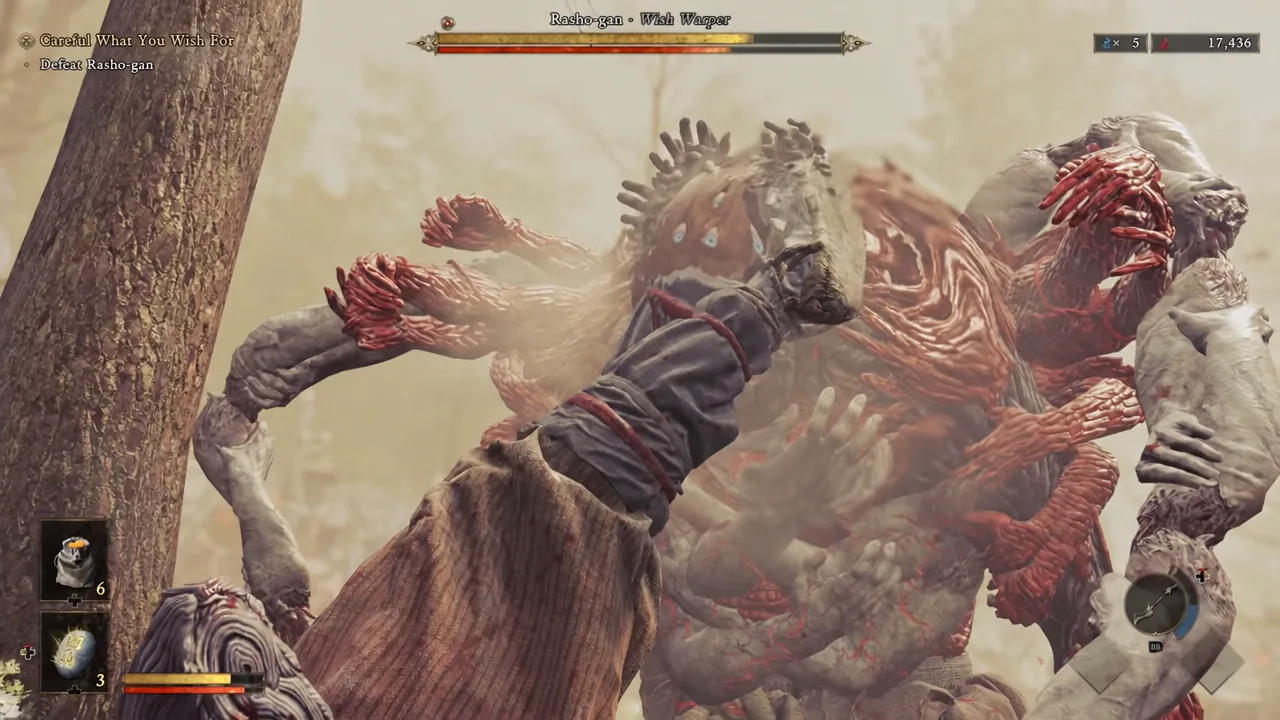
Tip: the shrine arena has destructible walls, and a prolonged parry lets you steer where the boss falls. Hold the stick toward a wall while parrying a charge and Rasho-gan slams into it, opening a free punish window without grinding down its posture the slow way.
Cutting the threads that bind Rasho-gan
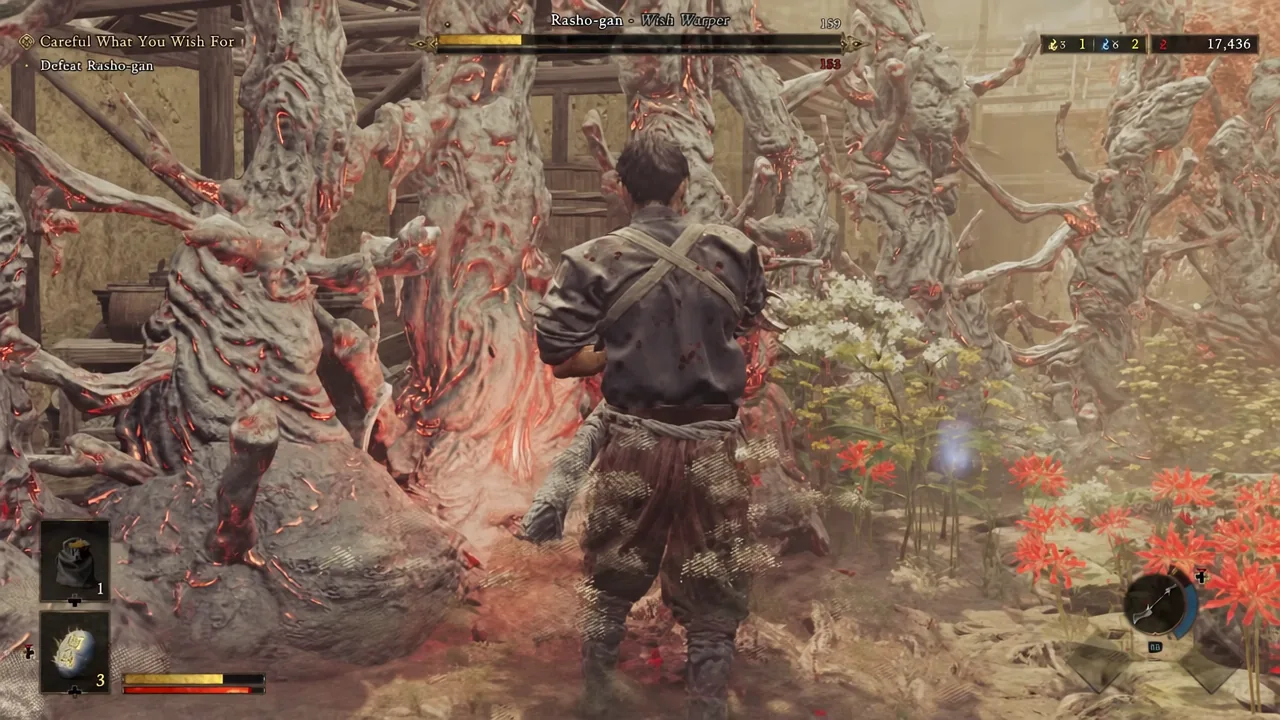
Rasho-gan’s body is held together by mystical threads, and severing them is a damage source the health bar alone does not advertise. Cutting the bonds weakens the boss temporarily and slows its attack speed, which buys you the breathing room the fight otherwise refuses to give. Treat the threads as a target of opportunity between parry windows rather than something to chase across the arena.
The Oni Bow does double duty here. It has unlimited arrows, so there is no reason to hoard shots, and it is the only clean answer to tendrils that have already picked up a tree or a boulder. Shoot the tendril and the object drops — ideally onto Rasho-gan’s own head, which cancels the attack outright.
Phase 2: What changes at 60 percent health
Once you take roughly 40 percent of the health bar off — leaving Rasho-gan at about 60 percent — the boss shifts into an enhanced state. Damage output rises, attack speed climbs, and new moves enter the rotation, including the spin attack and a grab that tracks Musashi far more aggressively than it did before.
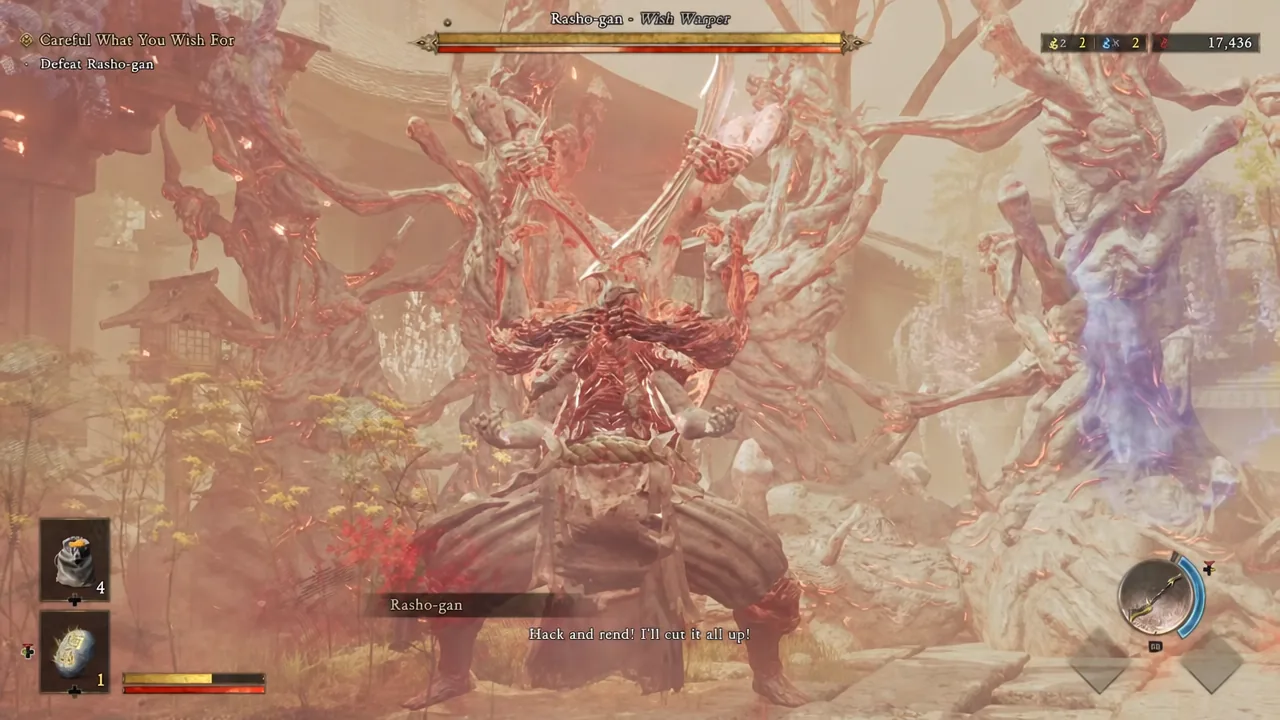
The parry timing on that spin is technically possible but punishingly tight, so sidestepping it is the safer default on Normal. The same goes for the enhanced follow-up on the blade combo: once the boss starts striking immediately after your first parry, treat every parry as the start of a two-part exchange instead of a green light to attack.
Save your healing items for this stretch. Phase one is survivable through clean defense alone, and burning consumables early leaves you with nothing when the grab starts landing.
Why runs fail against Rasho-gan
The failure modes here are narrow and repeatable, which is good news — each one has a direct fix.
- Trying to parry the slam or the grab. Neither is parryable; both need a Reflex Dodge.
- Parrying one limb and standing still. Another limb is usually already mid-swing, so reset your guard immediately after a punish.
- Ignoring the Oni Bow. Thrown trees and stones are avoidable damage if you shoot the tendril holding them.
- Spending healing items in phase one, then having nothing left when the enhanced grab connects.
- Attacking on the old rhythm after the 60 percent threshold, straight into the new follow-up strike.
Confirming the kill and what you get
The final blow triggers a defeat cutscene rather than a simple fade-out, so there is no ambiguity about whether the fight is over. Musashi is then granted the power of the Eight Stout Pillars by Yorimasa, and his gauntlet visibly transforms during the scene.
On the mechanical side, clearing the encounter awards the Oni Strength skill. If your quest log still shows Careful What You Wish For as active after the cutscene, the fight did not register as complete — the objective updates alongside the reward, not before it.
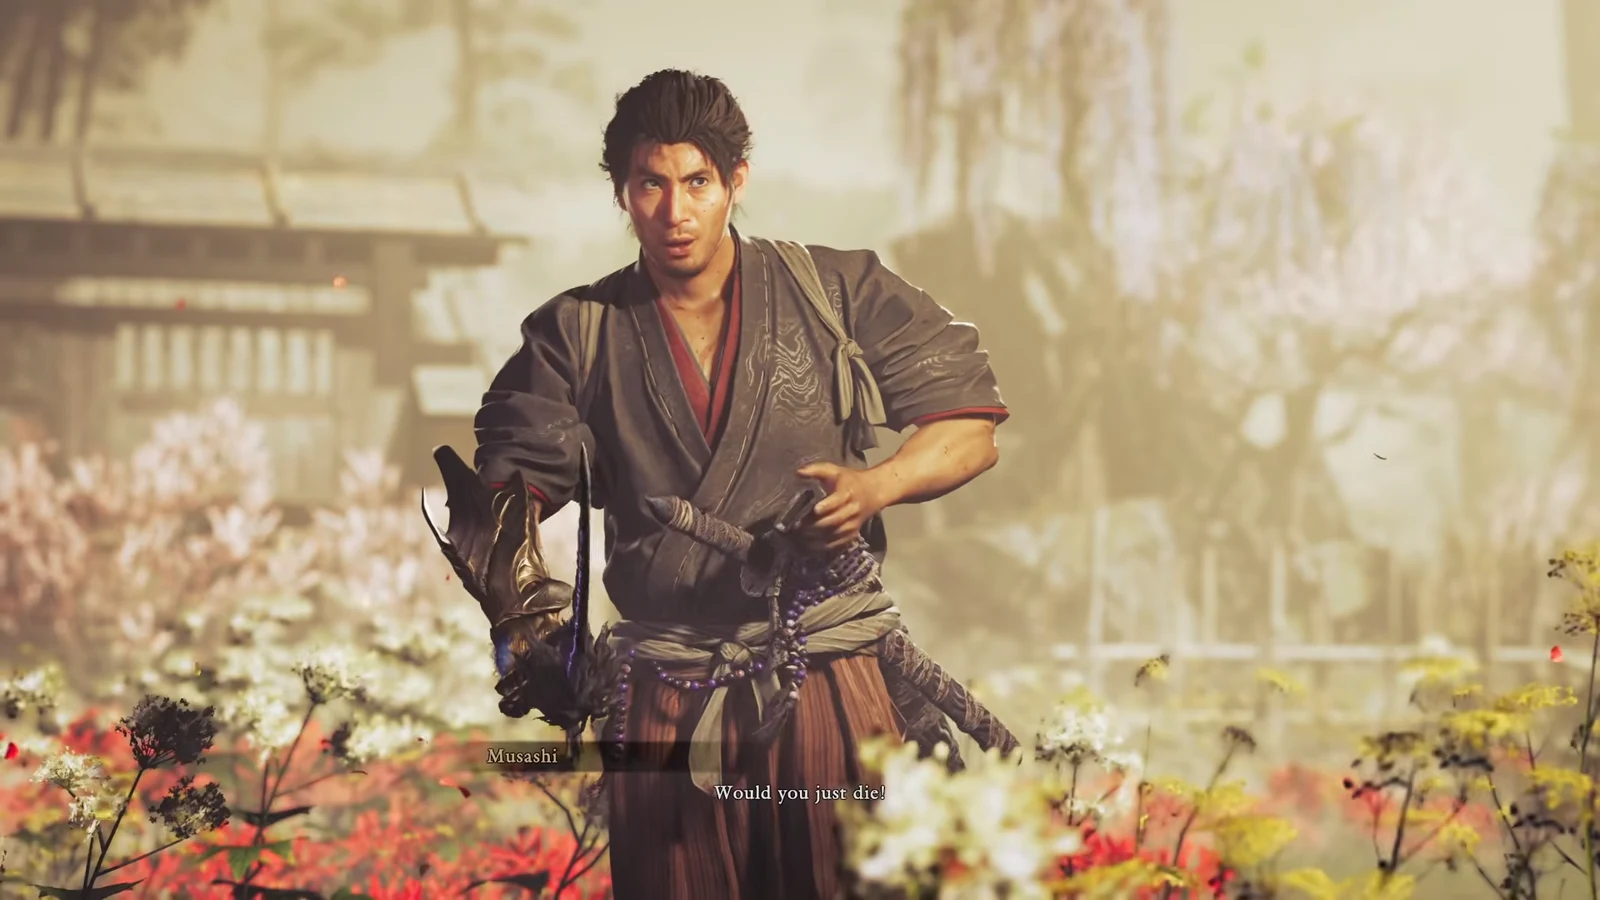
If the boss keeps ending your run in the first thirty seconds, the fix is almost always tempo rather than build. Slow down, take the combo parry, take three hits, and back off. Rasho-gan is designed as a skill check on the defensive toolkit you have already been handed, and it rewards patience far more than damage.