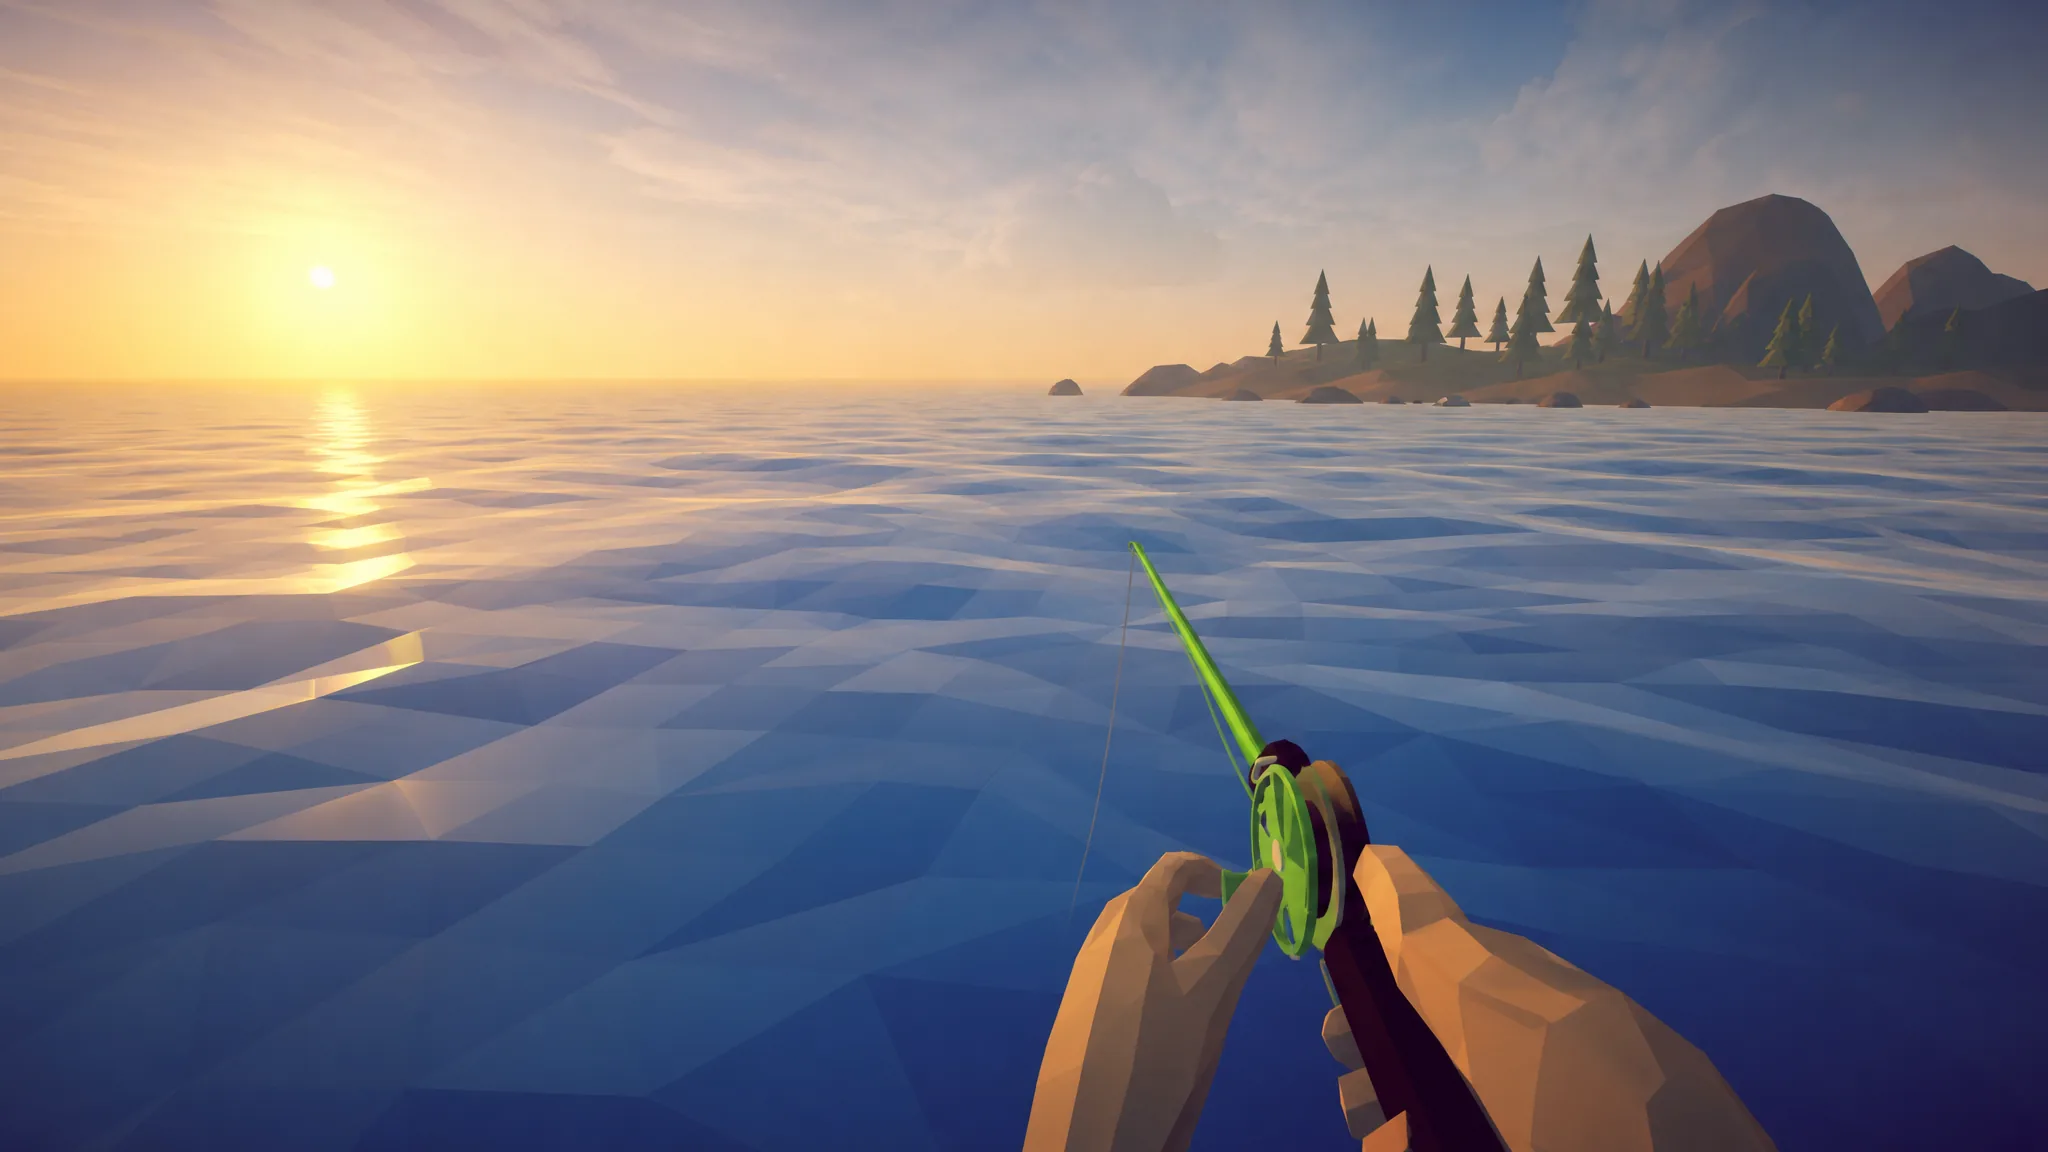
In How to Fish, the lure you equip decides what you pull out of the water. As of Patch 1.0.9 there are 49 creatures to collect, split across 38 regular fish and 11 bosses, and 16 different lures and baits control which of them can bite. Swap to the right bait and the correct fish becomes catchable; use the wrong one and it will never appear no matter how long you fish.
Quick answer: Open your encyclopedia with Tab, find the creature you are missing, then equip the lure listed for it below and fish until it bites. The catch is set by your lure, not the island you stand on.
How lures and rods decide your catch
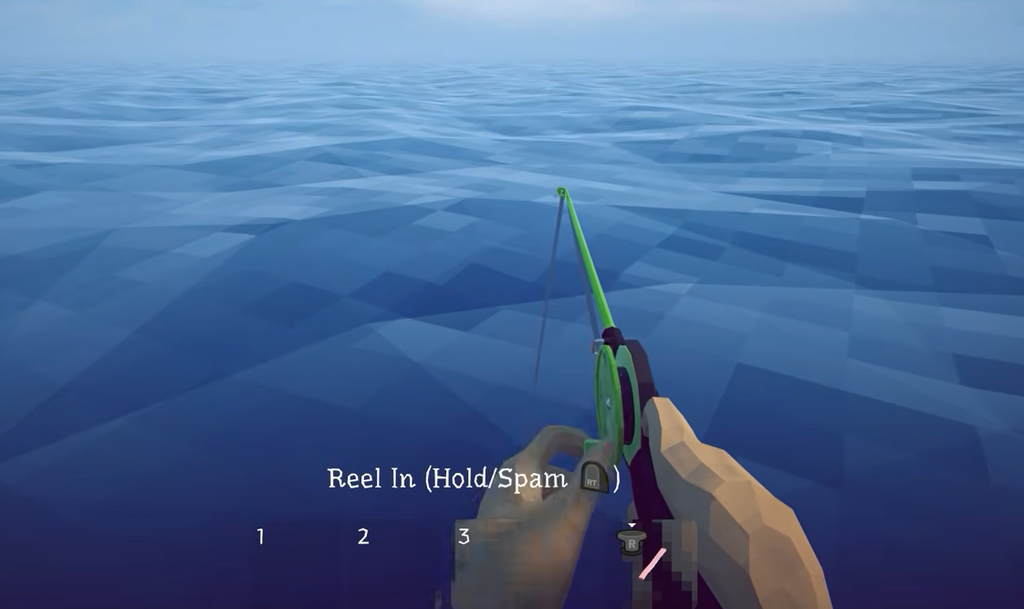
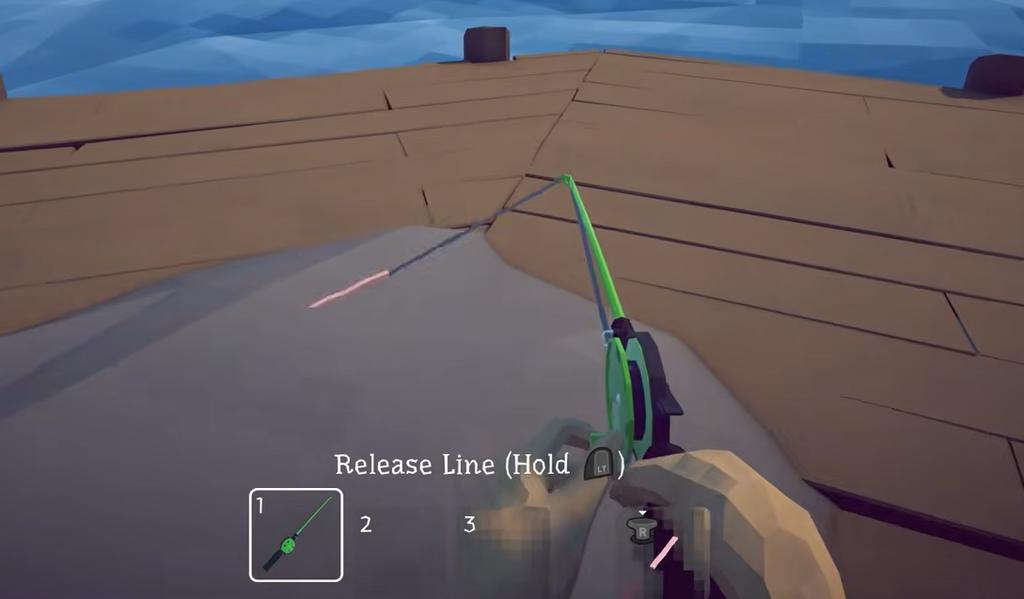
Each lure has a fixed pool of creatures it can hook. Better lures raise your chance of landing bigger fish, and bigger fish sell for more. Two rods matter for regular fishing. The Crab Fishing Rod handles crabs, shrimp, lobster, and piranha, while the standard Fishing Rod covers everything else.
Regular fish are not locked to any island. You can catch any of them anywhere as long as you carry the right lure and rod, so the locations below simply mark where each fish has the highest spawn chance. Drip variants share the exact lure and rod requirement of their base creature, so no special bait is needed for them.
Every regular fish, its lure, rod, and best island
The 38 sellable creatures are grouped here by island progression. Where a fish accepts more than one lure, both are listed.
| Fish | Lure | Rod | Best island |
|---|---|---|---|
| Brown Crab | Free Lure or Sausage | Crab Fishing Rod | Lighthouse (Starter) |
| Shrimp | Free Lure | Crab Fishing Rod | Lighthouse (Starter) |
| Rock Crab | Free Lure | Crab Fishing Rod | Lighthouse (Starter) |
| Lobster | Sausage | Crab Fishing Rod | Lighthouse (Starter) |
| Gar | Free Lure | Fishing Rod | Forest (Island 2) |
| Mackerel | Free Lure | Fishing Rod | Forest (Island 2) |
| Piranha | Sausage | Crab Fishing Rod | Forest (Island 2) |
| Pike | Free or Beginner Lure | Fishing Rod | Forest (Island 2) |
| Goldfish | Free or Beginner Lure | Fishing Rod | Forest (Island 2) |
| Cod | Beginner Lure | Fishing Rod | Forest (Island 2) |
| Goby | Beginner Lure | Fishing Rod | Forest (Island 2) |
| Perch | Beginner Lure | Fishing Rod | Forest (Island 2) |
| Triggerfish | Beginner Lure | Fishing Rod | Forest (Island 2) |
| Salmon | Standard Lure | Fishing Rod | Desert (Island 3) |
| Catfish | Standard Lure | Fishing Rod | Desert (Island 3) |
| Clownfish | Standard Lure | Fishing Rod | Desert (Island 3) |
| Sea Urchin | Standard Lure | Fishing Rod | Desert (Island 3) |
| Yellow Boxfish | Standard Lure | Fishing Rod | Desert (Island 3) |
| Needlefish | Standard Lure | Fishing Rod | Desert (Island 3) |
| Bluegill | Standard Lure | Fishing Rod | Desert (Island 3) |
| Seahorse | Standard Lure | Fishing Rod | Desert (Island 3) |
| Bowlfish | Standard Lure | Fishing Rod | Desert (Island 3) |
| Bass | Professional Lure | Fishing Rod | Rocks (Island 4) |
| Eel | Professional Lure | Fishing Rod | Rocks (Island 4) |
| Red Snapper | Professional Lure | Fishing Rod | Rocks (Island 4) |
| Sengarat | Professional Lure | Fishing Rod | Rocks (Island 4) |
| Halibut | Professional Lure | Fishing Rod | Rocks (Island 4) |
| Tigerfish | Professional Lure | Fishing Rod | Rocks (Island 4) |
| Flying Fish | Professional Lure | Fishing Rod | Rocks (Island 4) |
| Voxel Fish | Professional Lure | Fishing Rod | Rocks (Island 4) |
| Parrotfish | Professional Lure | Fishing Rod | Rocks (Island 4) |
| Dripper | Professional Lure | Fishing Rod | Rocks (Island 4) |
| Angelfish | Standard Lure | Fishing Rod | Volcano (Island 5) |
| Blobfish | Scientific Lure | Fishing Rod | Volcano (Island 5) |
| Oarfish | Scientific Lure | Fishing Rod | Volcano (Island 5) |
| Anglerfish | Scientific Lure | Fishing Rod | Volcano (Island 5) |
| Stonefish | Scientific Lure | Fishing Rod | Volcano (Island 5) |
| Superdwarf Fish | Scientific Lure | Fishing Rod | Volcano (Island 5) |
Angelfish takes the Standard Lure like the Desert fish, but it spawns most often at the Volcano rather than earlier islands.
Which fish each lure pulls
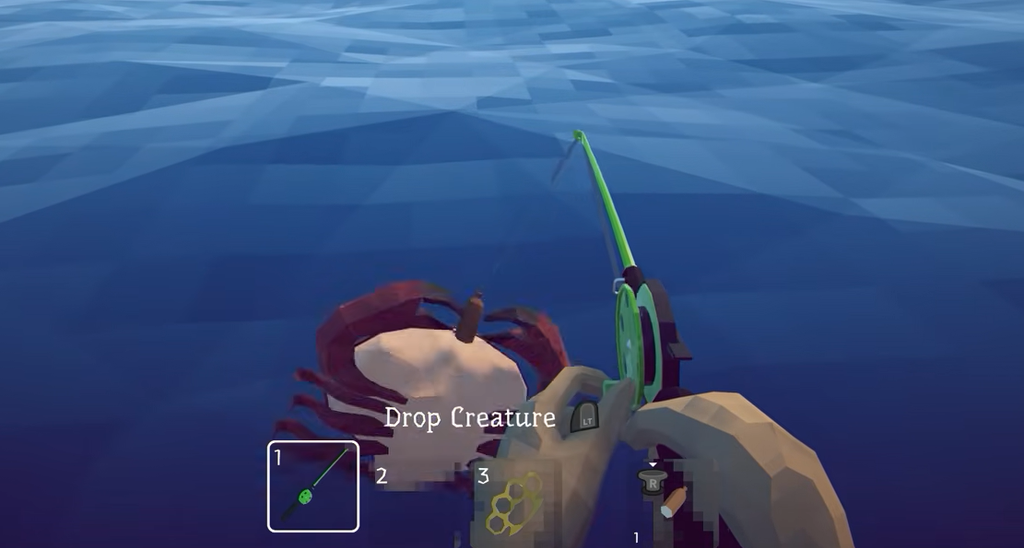
If you are chasing a specific creature, work from the lure instead. Each tier covers a set group, so equip the one that contains your missing fish and stay on it.
| Lure | Catches |
|---|---|
| Free Lure | Brown Crab, Rock Crab, Shrimp, Mackerel, Gar, Pike, Goldfish |
| Sausage (Hot Dog) | Brown Crab, Rock Crab, Lobster, Piranha |
| Beginner Lure | Pike, Cod, Goby, Perch, Triggerfish, Goldfish |
| Standard Lure | Salmon, Catfish, Clownfish, Sea Urchin, Yellow Boxfish, Needlefish, Bluegill, Seahorse, Bowlfish, Angelfish |
| Professional Lure | Bass, Eel, Red Snapper, Sengarat, Halibut, Tigerfish, Flying Fish, Voxel Fish, Parrotfish, Dripper |
| Scientific Lure | Blobfish, Oarfish, Anglerfish, Stonefish, Superdwarf Fish |
All 11 boss lures and where to fight them
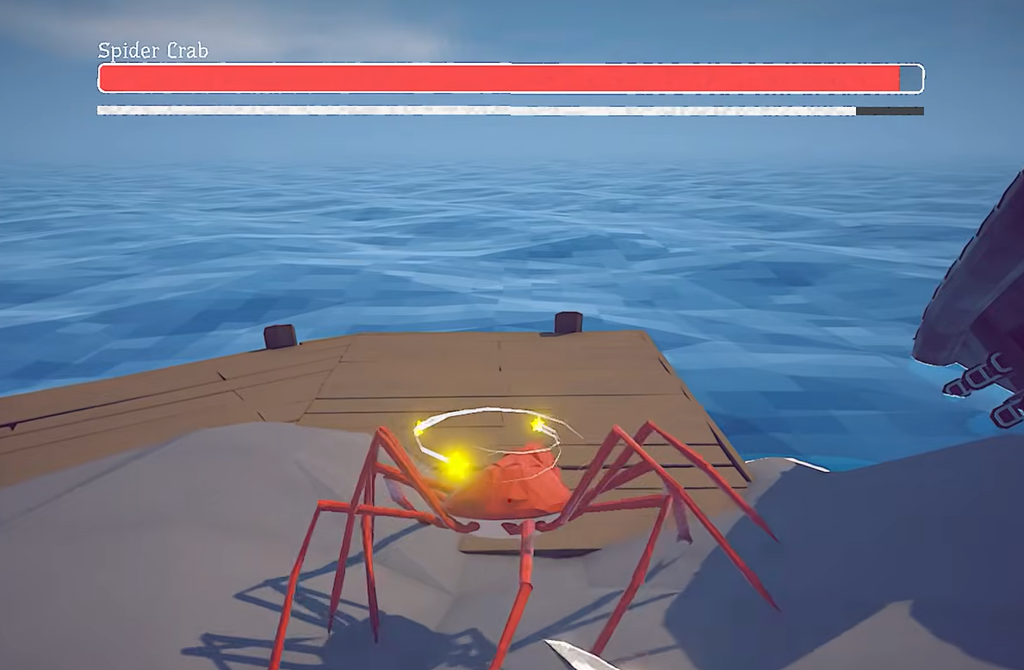
Bosses work differently from ordinary fish. Each one needs a specific boss lure or special bait, and unlike regular creatures, bosses are tied to a fixed island. You must carry the exact bait, use a Fishing Rod (or the Crab Fishing Rod for the Spider Crab), and fish at the listed spot. Clearing an island’s bosses is what lets you move to the next island.
| Boss | Lure / bait | Location |
|---|---|---|
| Spider Crab | Empty Beer Can (Crab Fishing Rod) | Lighthouse (Starter) |
| Sunfish | Beginner Boss Lure | Forest (Island 2) |
| Giant Piranha | Modified Leech | Forest (Island 2) |
| The Old Pike | Beginner Boss Lure | Forest (Island 2) |
| Blue Shark | Standard Boss Lure | Desert (Island 3) |
| Puffer Fish | Carrot | Desert (Island 3) |
| Tuna | Professional Boss Lure | Rocks (Island 4) |
| Albatross | Tuna | Rocks (Island 4) |
| Goblin Shark | Scientific Boss Lure | Volcano (Island 5) |
| Bowhead Whale | Fish Bucket | Volcano (Island 5) |
| Mutated Bowhead Whale | Bowhead Whale | Volcano (Island 5) |
A few boss baits are not bought from a shop. The Modified Leech comes from the forest quest on Island 2, and after beating the Giant Piranha you return its tail to the lady in the forest. The Carrot is earned by giving the tourist on Island 3 an endangered fish. The Albatross is summoned by placing a caught Tuna on the ground, and the Mutated Bowhead Whale needs a Bowhead Whale used as bait.
The purchasable boss lures scale in price as you progress. The Beginner Boss Lure costs $40, the Standard Boss Lure $280, the Professional Boss Lure $1,200, and the Scientific Boss Lure $5,800, so save up before heading to the later islands.
Completing the fish index
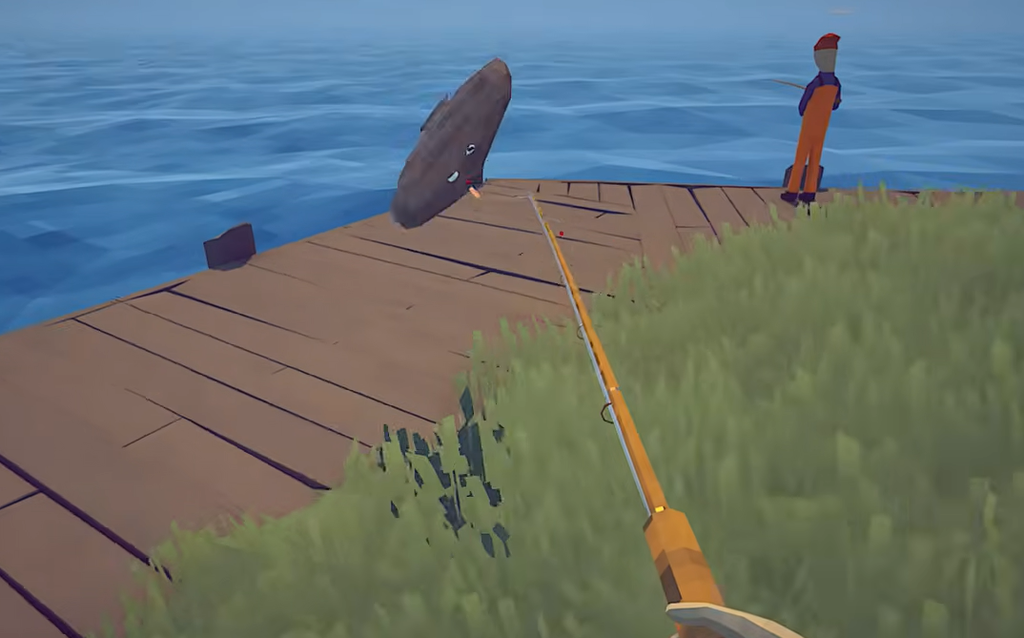
You know it worked when the creature is caught and its entry fills in the encyclopedia. If a fish will not appear, the usual cause is the wrong lure equipped or the wrong rod for crabs, shrimp, lobster, and piranha. Bosses that refuse to spawn mean you either lack the exact bait or are fishing on the wrong island. Line up the bait, rod, and location, and the missing creatures fall into place one lure at a time.