Rose Belmont’s tarot deck is how Castlevania: Belmont’s Curse handles magic. Each card holds one spell, and most of them are taken from bosses. Trevor hands Rose her late mother’s deck at the start, but only The Cursed works right away. The other 15 cards stay face-down in the Tarot menu until you earn them, either by beating their boss or by finishing a character’s quest.
Quick answer: Beat a boss, then hold R1 (E on PC) during the absorption phase to claim its card. The Judge, The Whisperer and The Sage come from quests, and The Cursed is your starting card.
How Arcana cards work in Belmont’s Curse
Mana (MP) fuels your spells. Hitting enemies restores it, making an aggressive approach a way to keep casting. Before a card can be claimed, its clue appears in the Tarot menu. A clue may arrive as a message like “NEW CLUE ABOUT THE FALLEN.” Spirits, hooded and seer statues that recite brief rhymes, and notes on desks can all reveal clues. In the BROWSE CLUES tab, each entry is paired with the area where you discovered it. There are 40 clues altogether.
Claiming a boss card follows the same pattern every time.
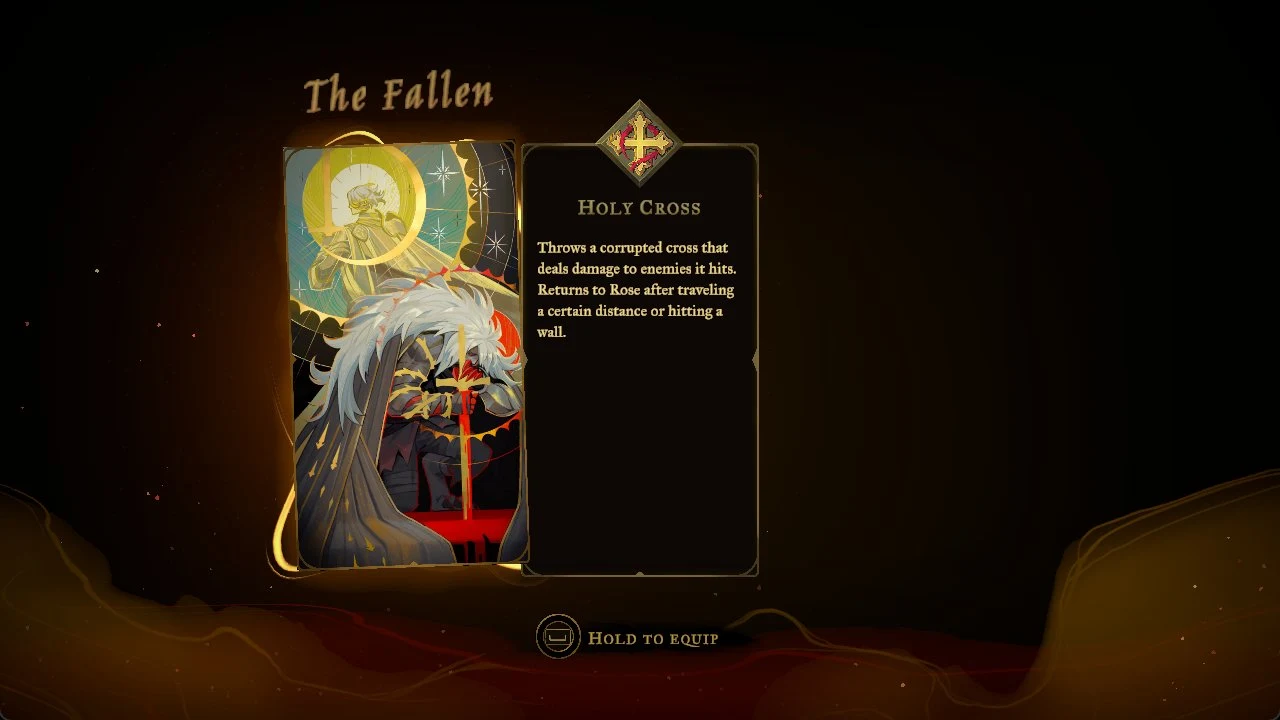
You can only equip one Arcana at a time. That matters for the resonance spots covered further down, since each one checks which card you have equipped.
Each card can also be upgraded. Every Arcana has two or three Works of Mercy, which are small challenges, for 42 across the deck. Completing one earns a Blessing. You spend Blessings to unlock that card’s Gifts, which are upgrades to its spell. There are also 42 Gifts.
All 16 Arcana, their spells and how to unlock them
| Card | Spell (cost) | Unlocked by | Area |
|---|---|---|---|
| The Cursed |  Cursed Flame (30 MP) | Starting card | — |
| The Fallen |  Holy Cross (50 MP) | Defeat The Fallen (Leon) | Gate to the Catacombs, Paris Streets |
| The Warrior |  Infernal Pyre (80 MP) | Defeat Joan | Roof of the Tower, Paris Streets |
| The Prophetess |  Petrifying Gaze (75 MP) | Defeat Medusa | Ossuary of the Innocents |
| The Judge | 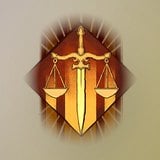 Chains of Justice (40 MP) | Saint Louis story reward | Palace of Justice |
| The Shadow | 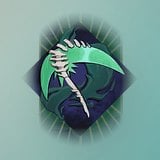 Soul Harvest (60 MP) | Defeat Death (second fight) | Choir, Notre-Dame |
| The Zealot | 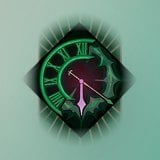 Chronomantic Dive (50 MP) | Defeat Isaac (second fight) | Heart of the Clock, Clock Tower |
| The Builder | 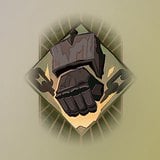 Fist of Talos (50 MP) | Defeat Talos | Throne of the Builder, Clock Tower |
| The Artist |  Masterpiece (60 MP) | Break Brauner’s sculpture | Brauner’s Atelier, Main Hall |
| The Occultist |  Blood Spikes (50 MP) | Defeat Carmilla | Observatory, Library |
| The Miser |  Wheel of Chaos (45 MP) | Defeat Mammon | Mammon’s Lair, Catacombs of Paris |
| The Whisperer |  Freezing Path (35 MP) | Return the Ferryman’s Obol | Ferryman’s Wharf |
| The Temptress |  Life Drain (5 MP) | Defeat Succubus | Belmont Manor, Hall of Mirrors |
| The Sage |  Mirror Walk (80 MP) | Eleanor’s questline | Mausoleum of the Queens |
| The Self |  Absolution (all MP) | Defeat the Doppelganger | Gallery of the Four Virtues, Notre-Dame |
| The Brittle King |  Stained-Glass Shield (100 MP) | Defeat Arthur | Chapel, Notre-Dame |
Five cards also give Rose a movement skill. These skills open paths you couldn’t reach before, which makes these fights the progression gates on the map.
- The Fallen: Arcane Whip
- The Warrior: Holy Light
- The Builder: Smash
- The Occultist (Carmilla): Aerial Rush
- The Shadow: Double Jump
Castlevania: Belmont’s Curse boss list with health and XP
Four bosses show up twice. Death and Isaac each have an early fight that gives you no card. Joan returns for a harder rematch in Notre-Dame. Dracula’s final battle is fought in two stages in the Master’s Quarters.
| Boss | Card | Fought in | Health / XP |
|---|---|---|---|
 Leon (The Fallen) | The Fallen | Paris Streets | 800 / 400 |
 Joan | The Warrior | Paris Streets, Notre-Dame | 1,800 / 600 |
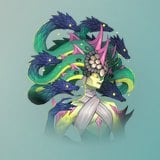 Medusa | The Prophetess | Holy Innocents’ Cemetery | 1,500 / 500 |
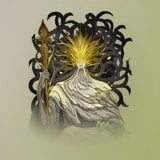 Saint Louis | The Judge | Paris Streets | 12,000 / 500 |
 Death | The Shadow | Catacombs of Paris, Notre-Dame | 8,444 / 1,000 |
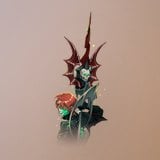 Isaac | The Zealot | Main Hall, Clock Tower | 2,500 / 1,000 |
 Carmilla | The Occultist | Library | 4,500 / 850 |
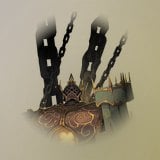 Talos | The Builder | Clock Tower | 5,000 / 900 |
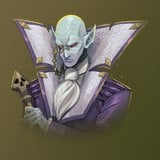 Brauner | The Artist | Main Hall | 4,250 / 500 |
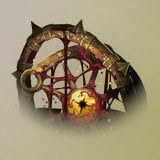 Mammon | The Miser | Catacombs of Paris | 8,000 / 1,000 |
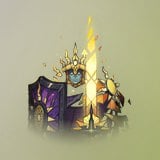 Arthur | The Brittle King | Notre-Dame | 11,000 / 500 |
 Succubus | The Temptress | Hall of Mirrors | 8,000 / 1,200 |
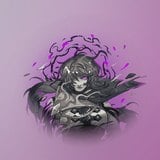 Doppelganger | The Self | Notre-Dame | 8,778 / 1,000 |
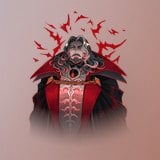 Dracula | None | Master’s Quarters | 7,666 / 1,200 |
Bosses resist most crowd control. Every one of them ignores freeze, petrify, launch, slam down, the Chronomantic Dive slow and the Freezing Path link. A few status effects still land on some of them, though.
- Chains of Justice’s root and stun work on Arthur, Death, Dracula, Medusa, Talos and Saint Louis.
- Bleed works on every boss except Arthur, Death, Dracula and Talos.
- Burn is blocked only by Arthur, Dracula and Talos.
- Saint Louis is immune to petrify and nothing else.
- Medusa can’t be killed by a fatal fall, and Dracula can’t be pulled with the whip hook.
The Fallen (Leon)
The first boss waits in the Gate to the Catacombs district of Paris Streets. He is later revealed to be Leon Belmont, the founder of the family’s vampire-hunting line. The spirit clue “A LEVER FOR THE WELL” leads you to a hidden lever in a breakable wall near some barrels. Pull it to open the way. Beating him gives you Holy Cross, The Fallen’s Key and the Arcane Whip. The whip lets you swing from glowing grapple points.
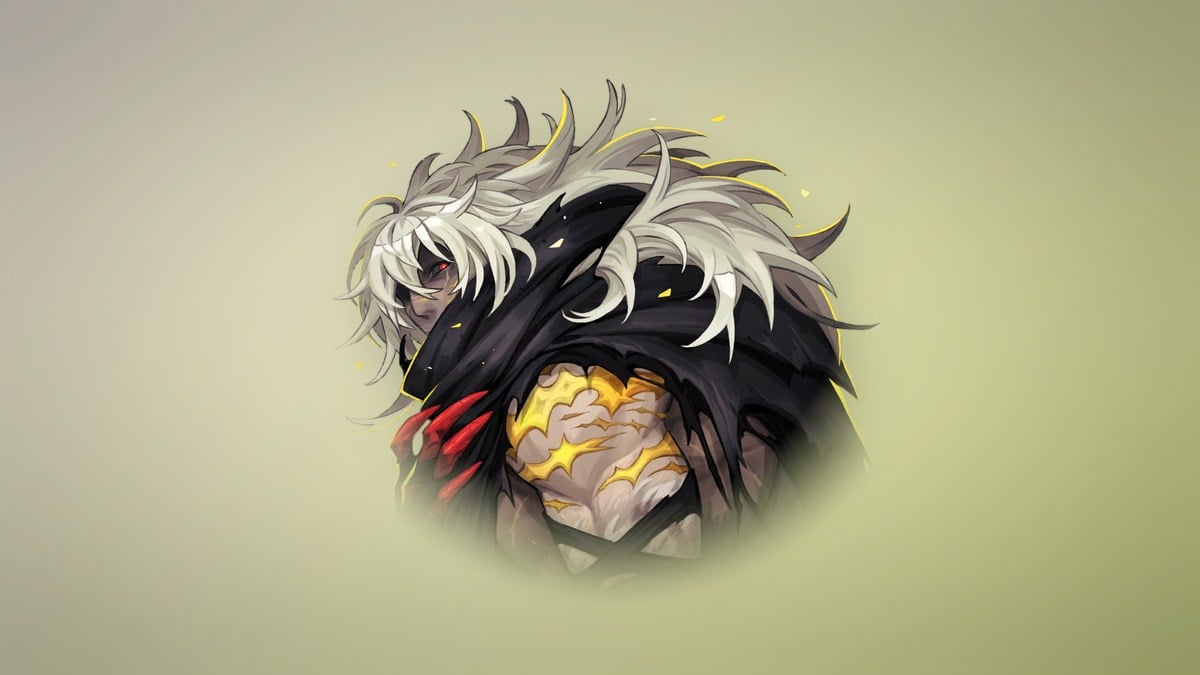
Holy Cross hurls a tainted cross, striking each foe along its route. It returns to Rose after covering a fixed range or colliding with a wall. Its three Gifts become available in this sequence:
- You can throw a second cross.
- The cross hits harder as it travels farther away from Rose.
- Catching the returning cross refunds 10% of its cost per enemy hit, up to 60%.
The Works of Mercy that earn those Blessings are: find three different whip-type weapons, kill five enemies with the same cross (they don’t have to be hit at the same time), and kill 10 enemies with a whip attack.
Joan
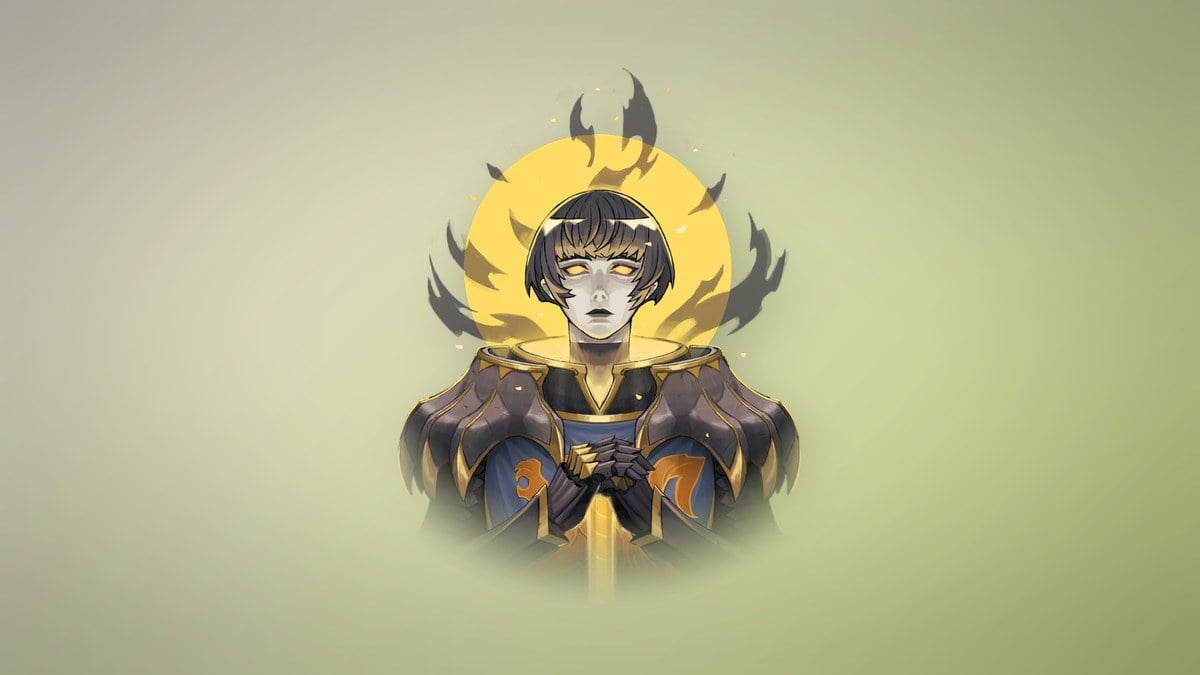
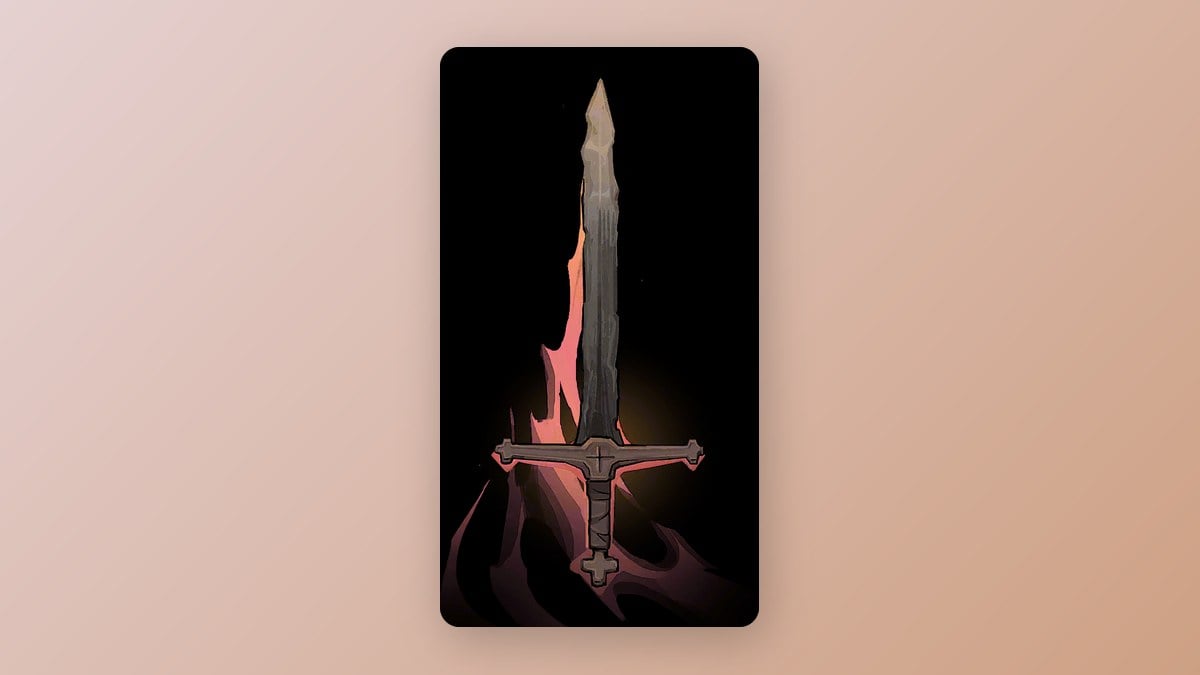
Joan of Arc fights at the Roof of the Tower, at the top of the Prisoner’s Tower on the western side of Paris Streets. She drops Infernal Pyre, The Warrior’s Key and the Holy Light skill. The Burnt Sword of Fierbois also comes from this part of Paris Streets. It’s an Ordinary two-handed sword that you can charge by holding Attack. You fight Joan again later, in a stronger form in Notre-Dame. That rematch awards the Blessing of Courage instead of a card.
Medusa
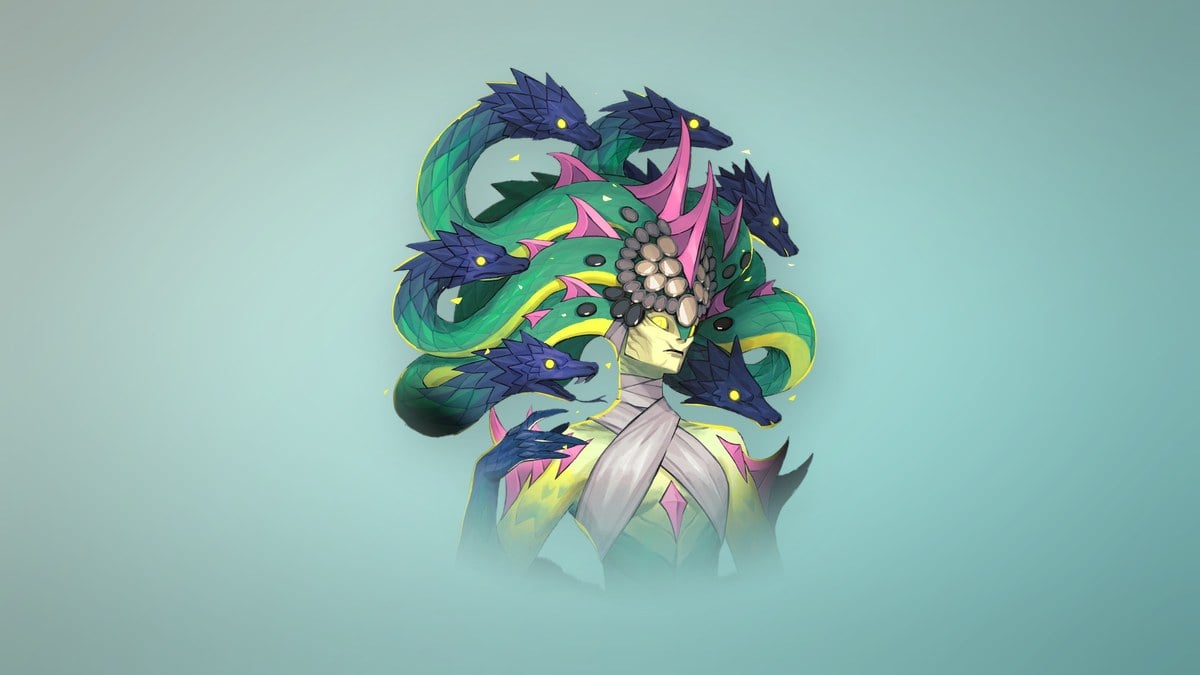
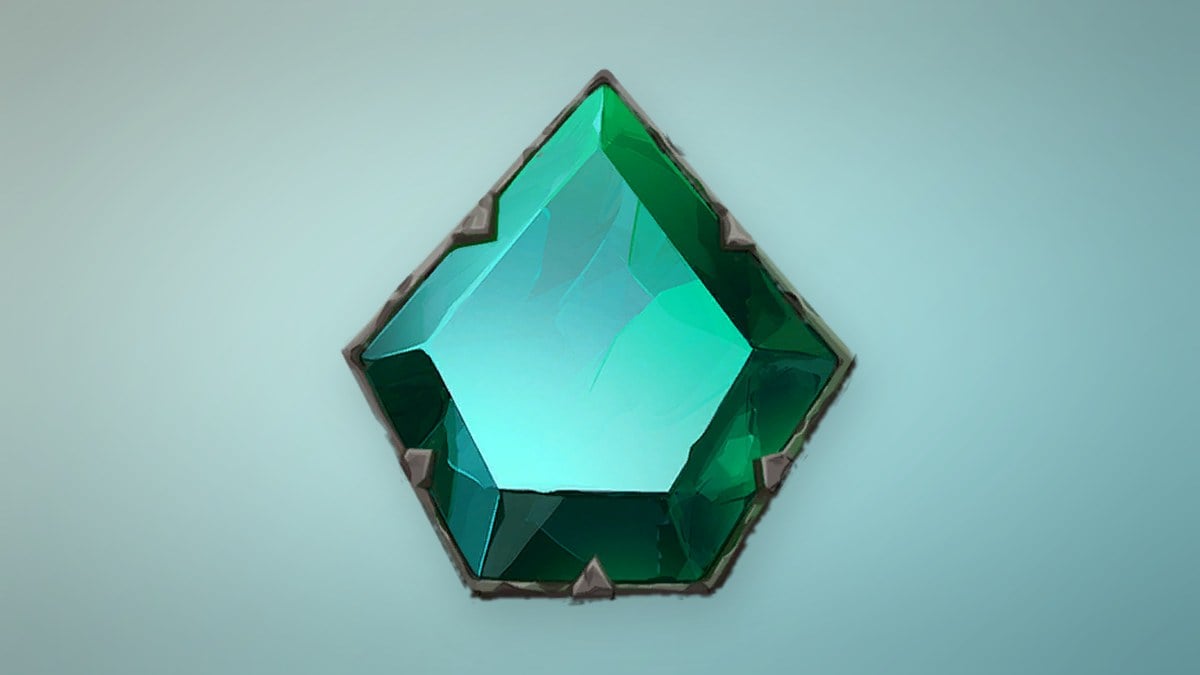
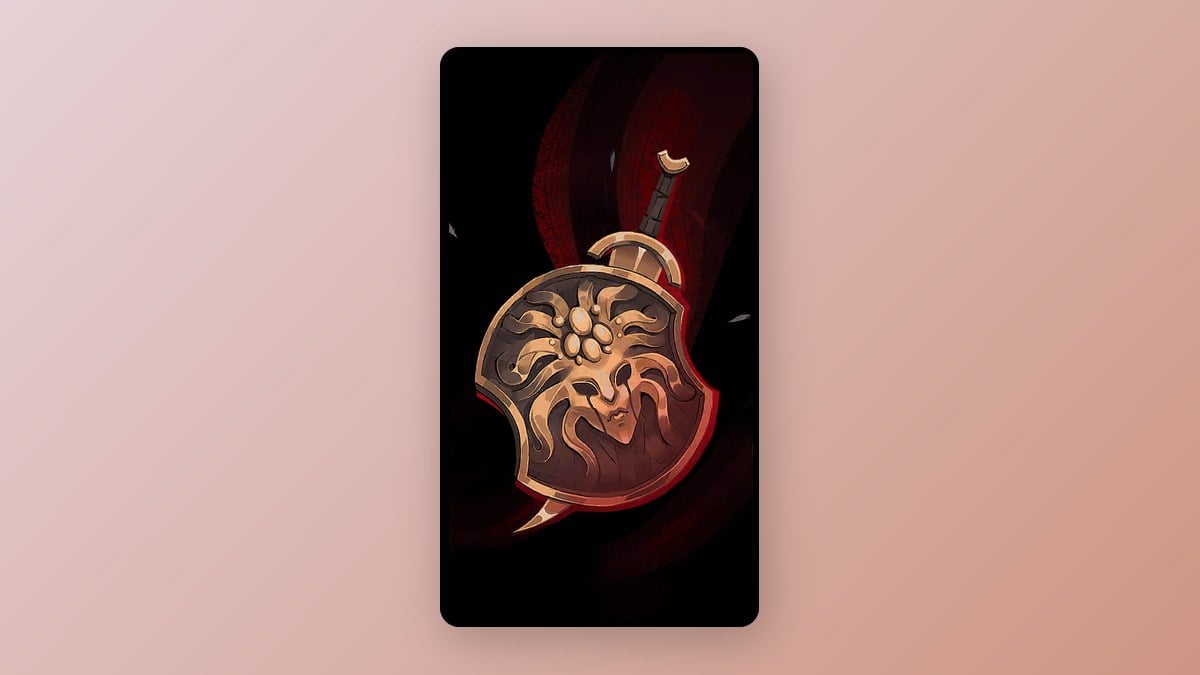
Medusa resides in the Ossuary of the Innocents, reached by traveling through the Ancient Sewers from Holy Innocents’ Cemetery. Her clues include “ROMAN BATHS” and “GUARDIAN’S GAZE” (all four are in the Medusa clue locations guide). She drops Petrifying Gaze, which petrifies foes positioned ahead of Rose, as well as The Prophetess’s Key. The Rusted Harpè and Aegis are also found in that cemetery; this sword-and-shield pair blocks frontal attacks while you hold Attack.
Petrifying Gaze has two Gifts. Killing a petrified enemy gives back half the spell’s mana cost. Enemies closer to Rose stay petrified longer and take more hits to break free. To earn the Blessings, petrify an enemy that’s carrying a shield, and kill 25 enemies with fall damage right after petrifying them in midair.
The Prophetess’s Key is one of the three keys for the sealed Catacombs door. The other two come from The Fallen and Joan.
Death
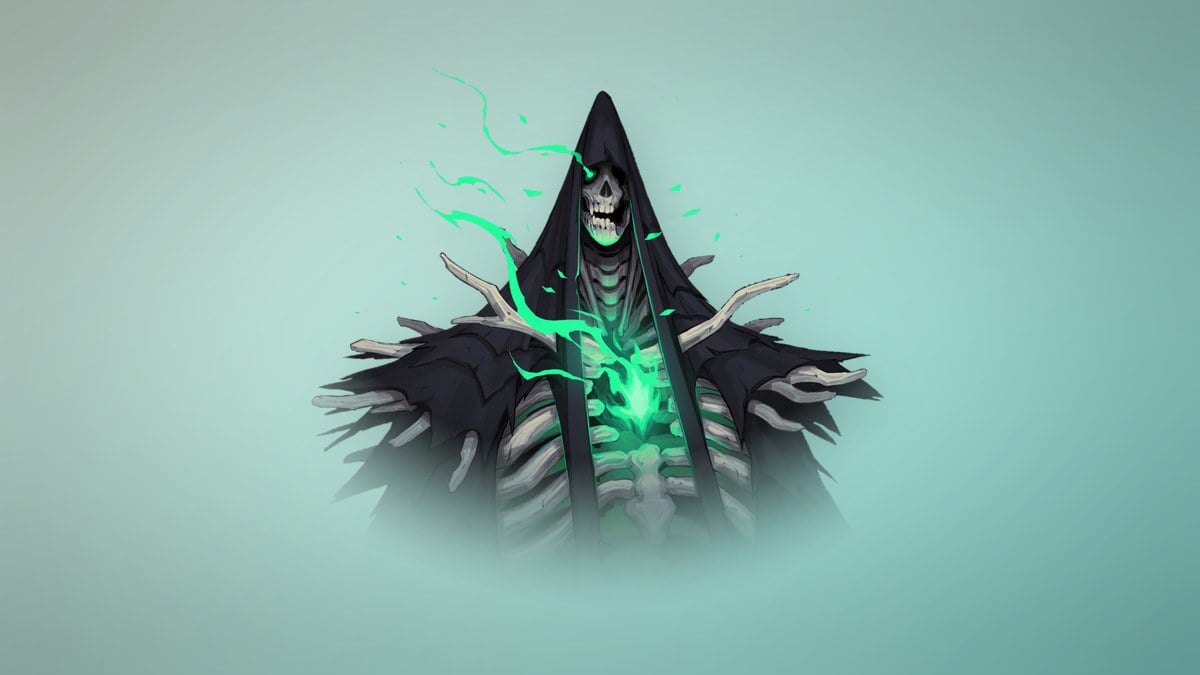
Rose’s first encounter with Death is in the Catacombs of Paris, and the fight is designed for you to lose. Reducing his health to zero still won’t let you win. Look for the “NEW CLUE ABOUT THE SHADOW” card hint in the Charnel Galleries, within the Catacombs of Paris. You face Death again in Notre-Dame’s Choir, beyond the Transept, after cleansing the Great Organ of corruption. Victory awards Soul Harvest, the Vampire Killer, and Double Jump. Soul Harvest swings a scythe slowly; enemies killed by it burst into four sickles.
Isaac
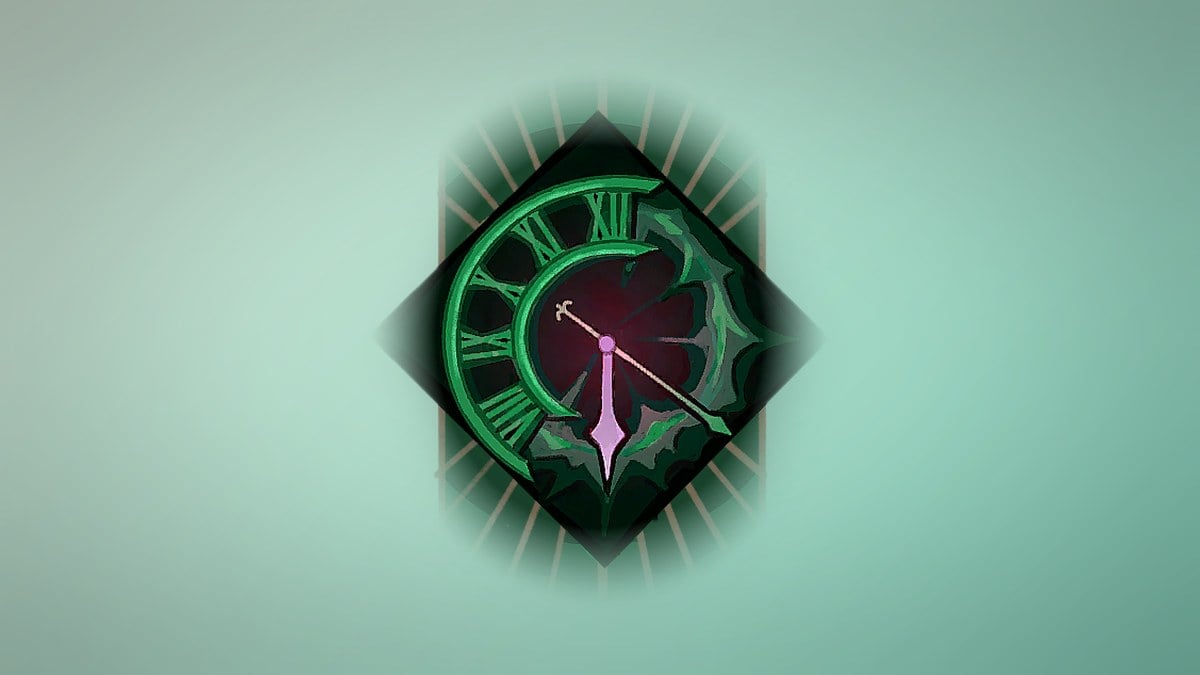
Isaac first ambushes Rose in the Main Hall, at the end of the Notre-Dame Bridge leading to Dracula’s Castle. That fight gives no card. The real fight is at the Heart of the Clock in the Clock Tower. To get there, equip Soul Harvest and interact with the glowing clock on the Clock Tower Bridge. Isaac drops Chronomantic Dive and his spear, Chauve-Souris.
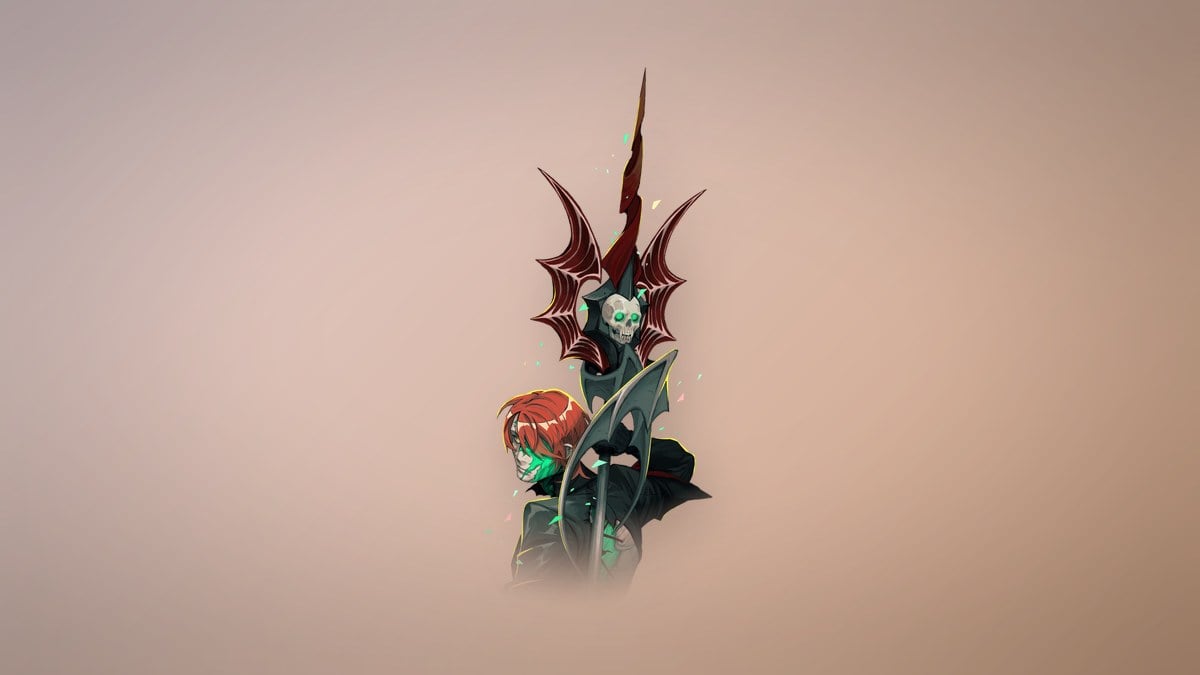
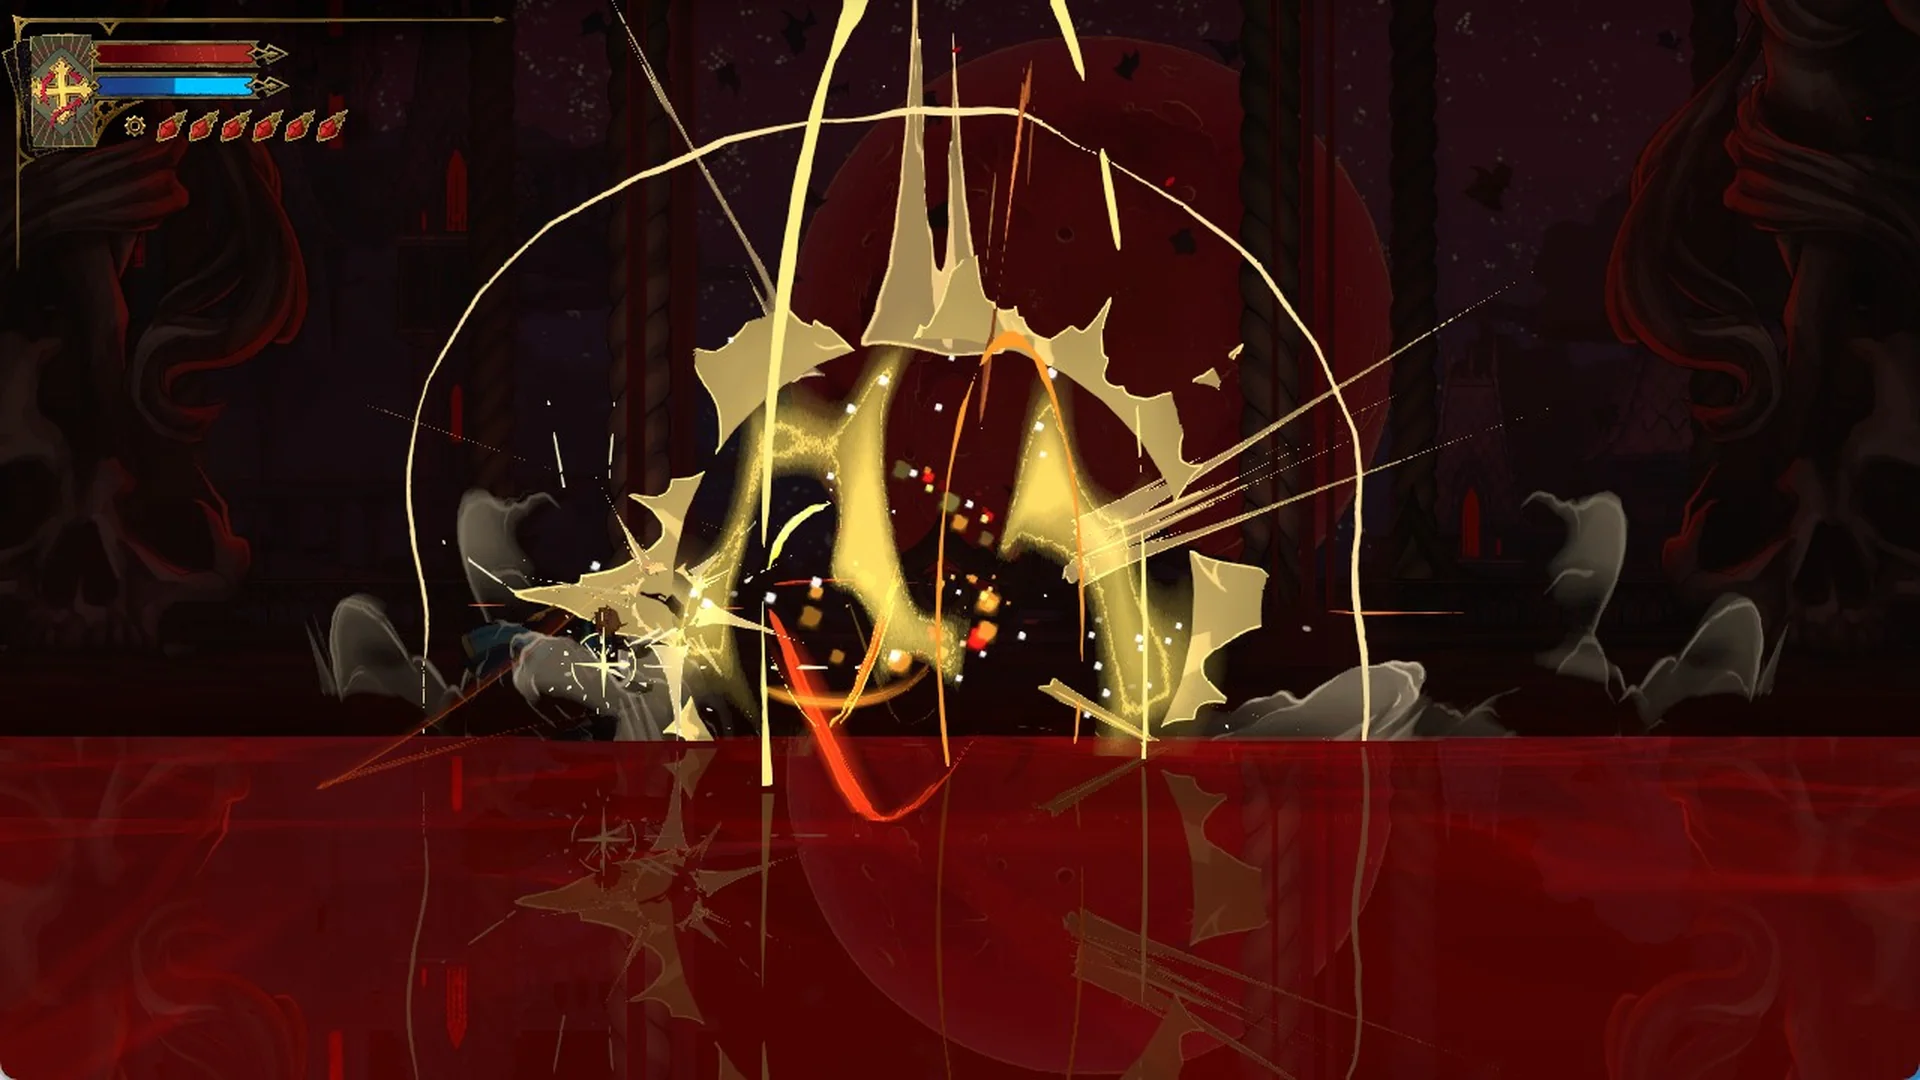
Chronomantic Dive lifts Rose into the air and crashes her into a green-fire cross, causing a brief time-slow. Its Gifts prolong that slow and enlarge the blast if you dive from a great height. The Works of Mercy require killing 20 enemies while time is slowed and searching every Clock Tower room.
Carmilla
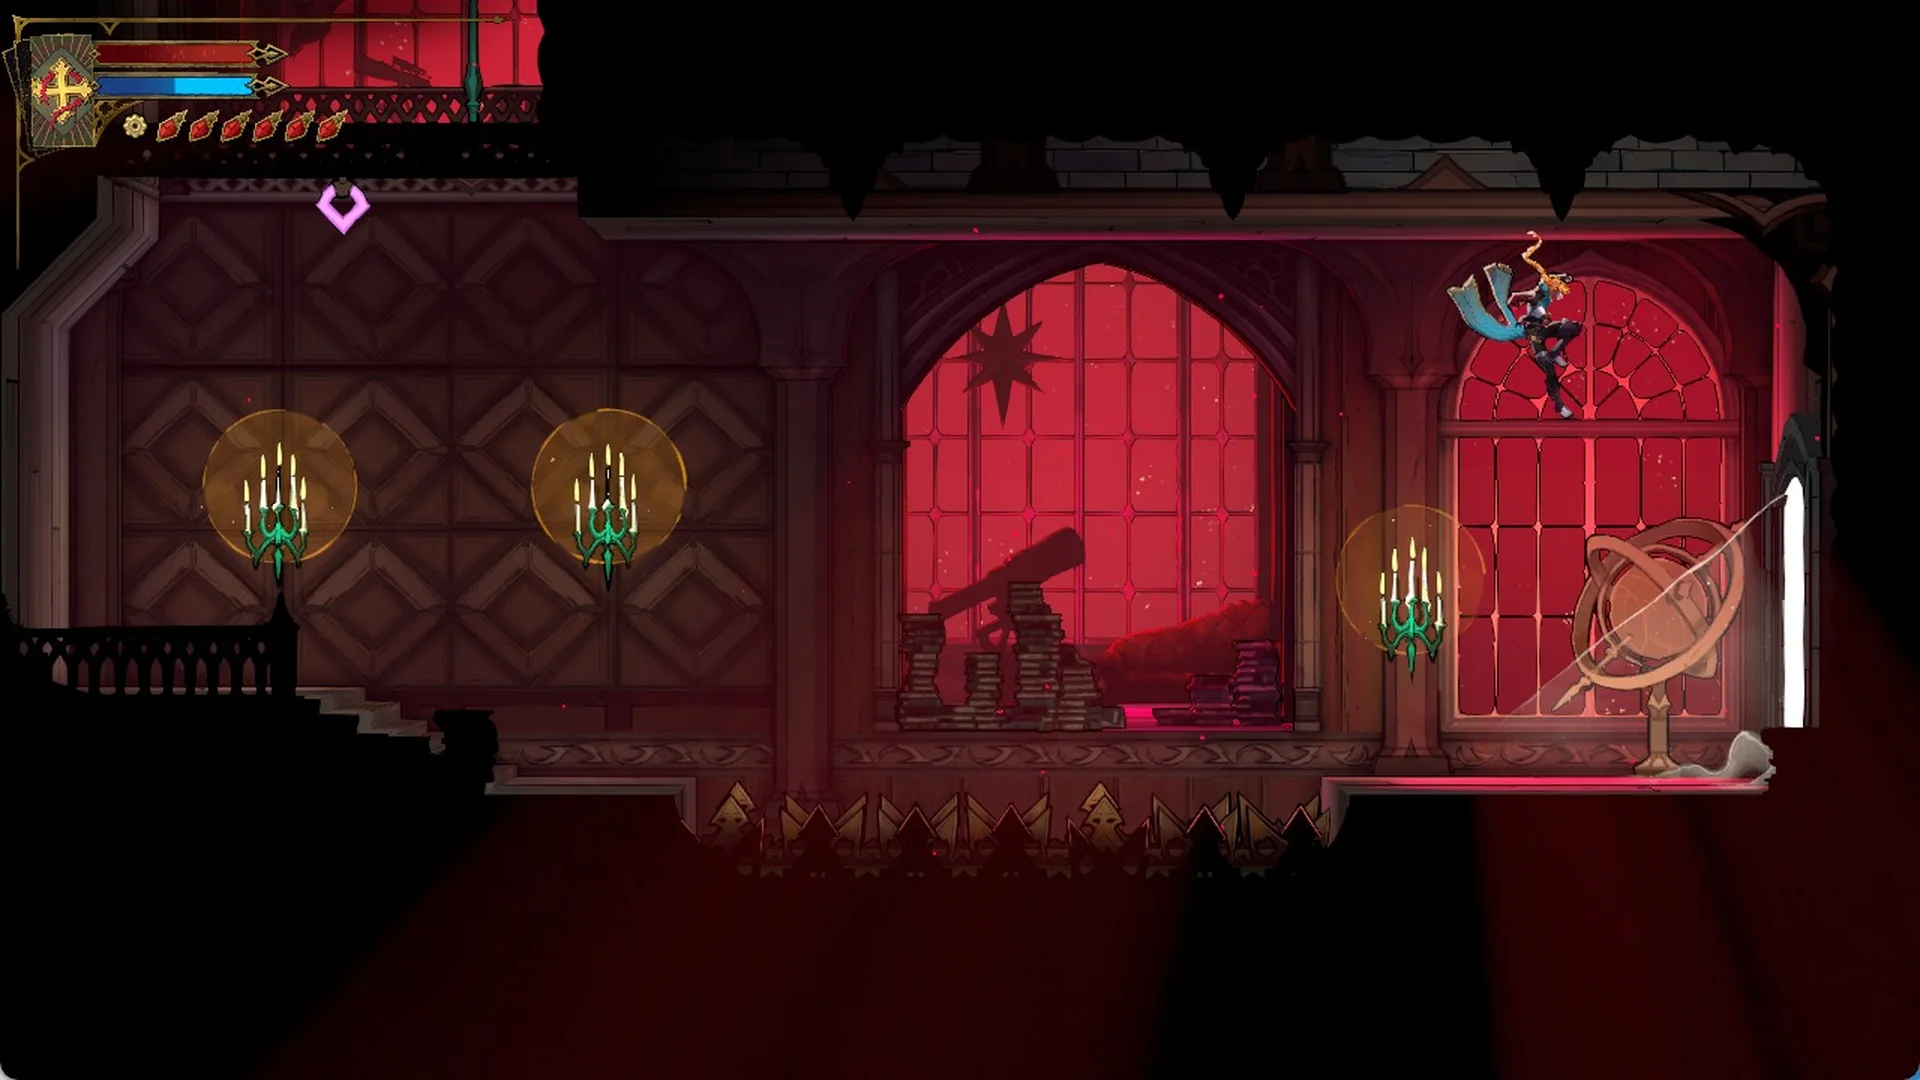
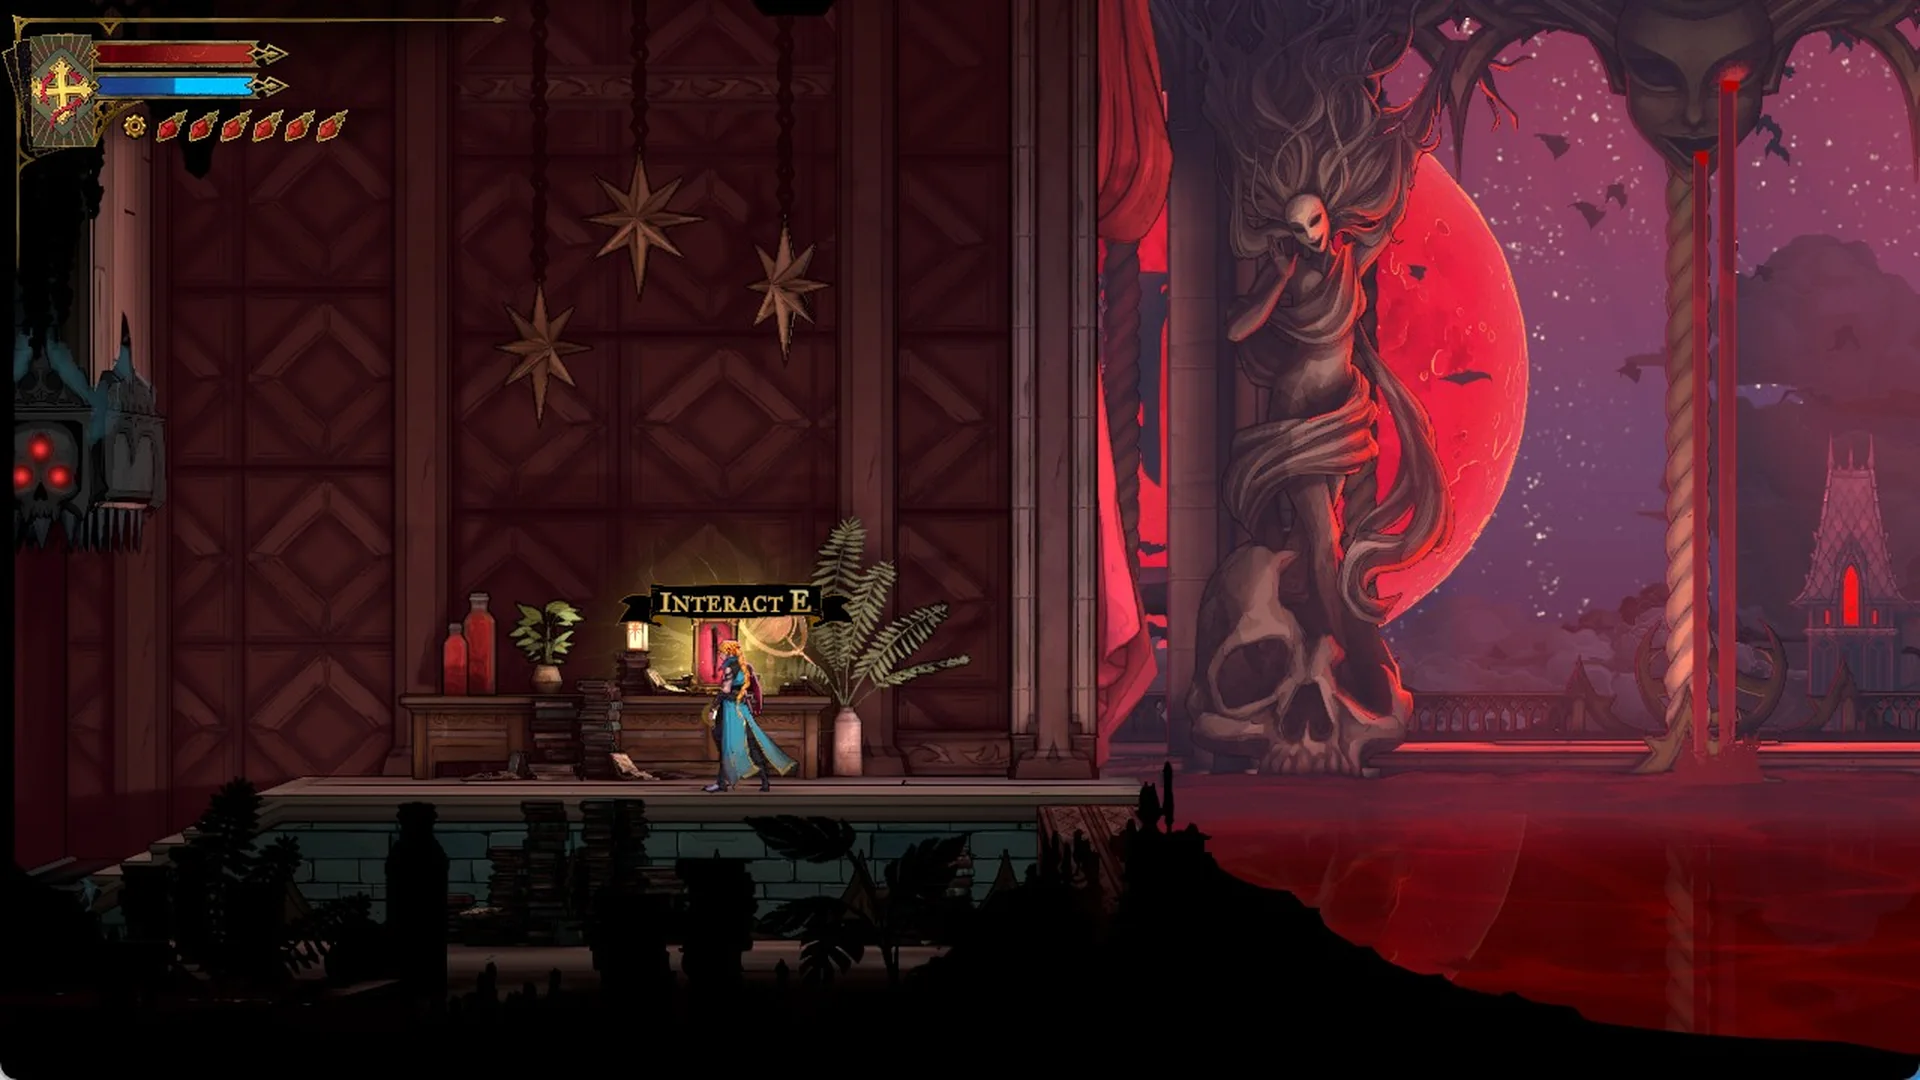
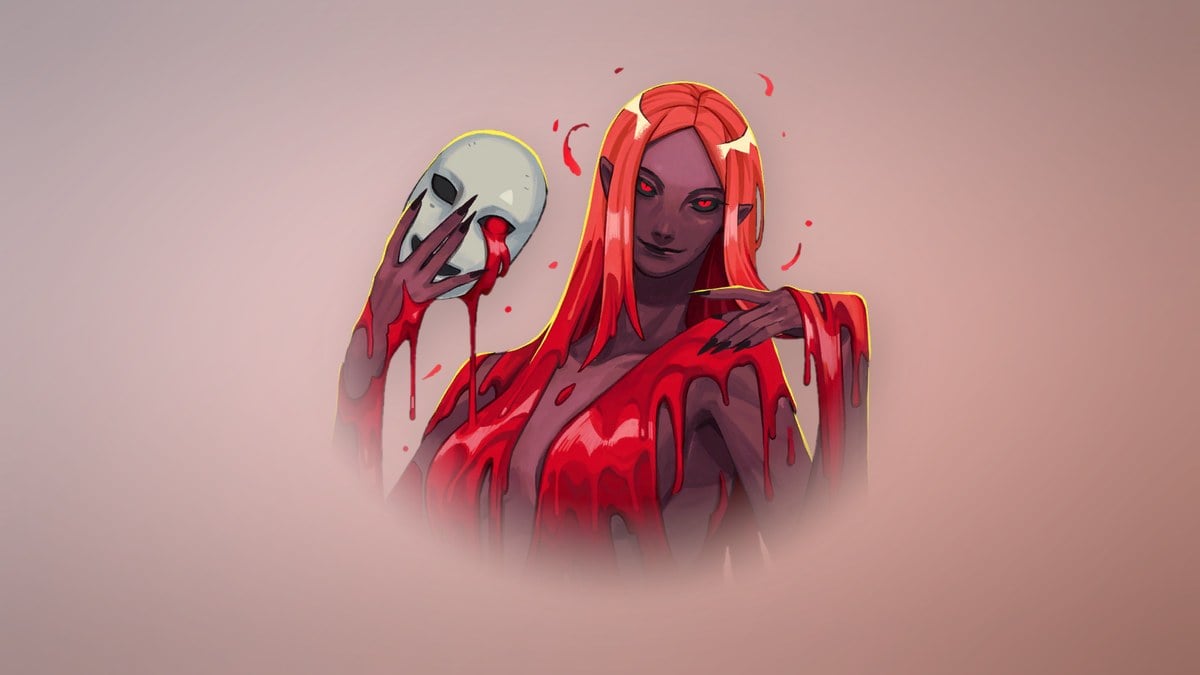
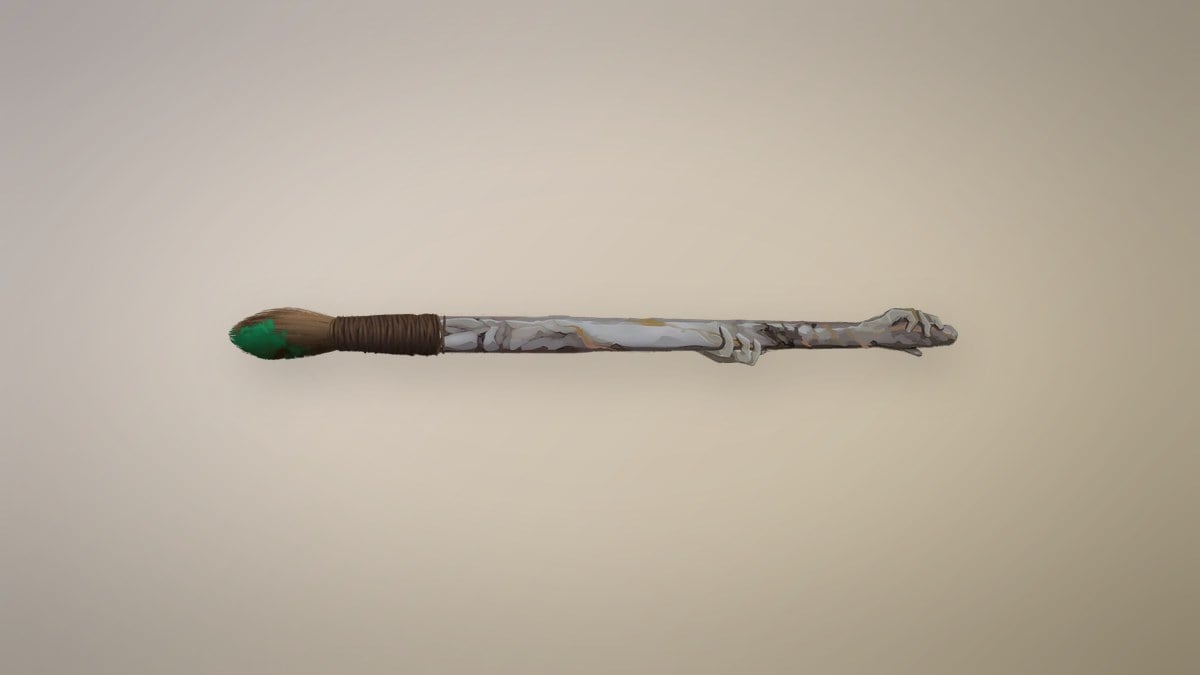
Carmilla fights in the Observatory of the Library. She gives you Blood Spikes, which hits the farthest enemy on your platform and makes it bleed. Brauner’s Paintbrush, which she had taken from Brauner, sits on a desk on the raised left landing of her hall (Interact E). To claim the card itself, strike the golden orb she leaves behind and hold E; the steps are in where to get The Occultist.
Talos
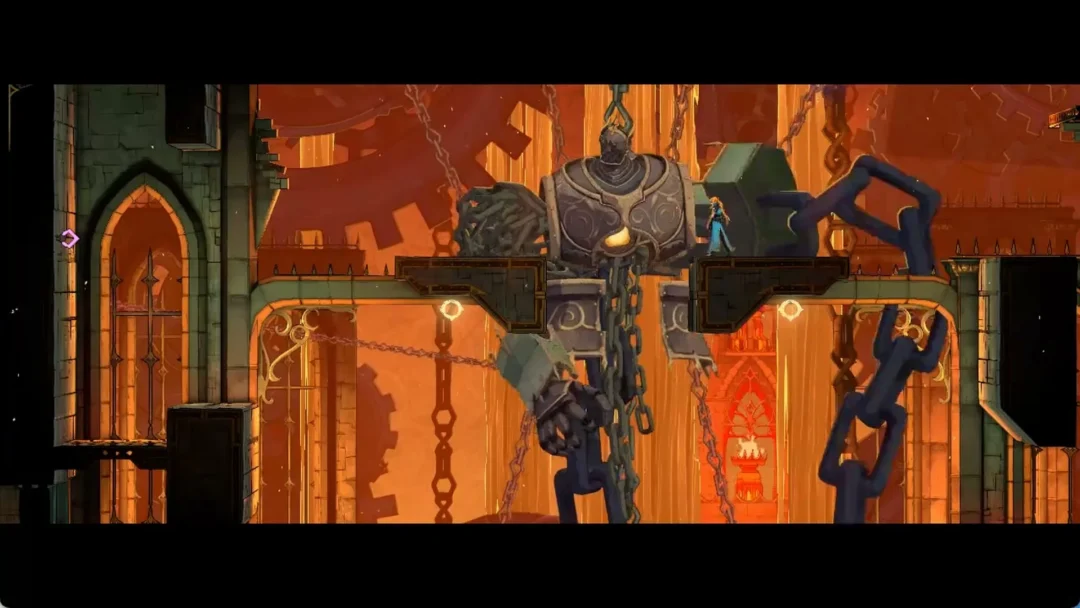
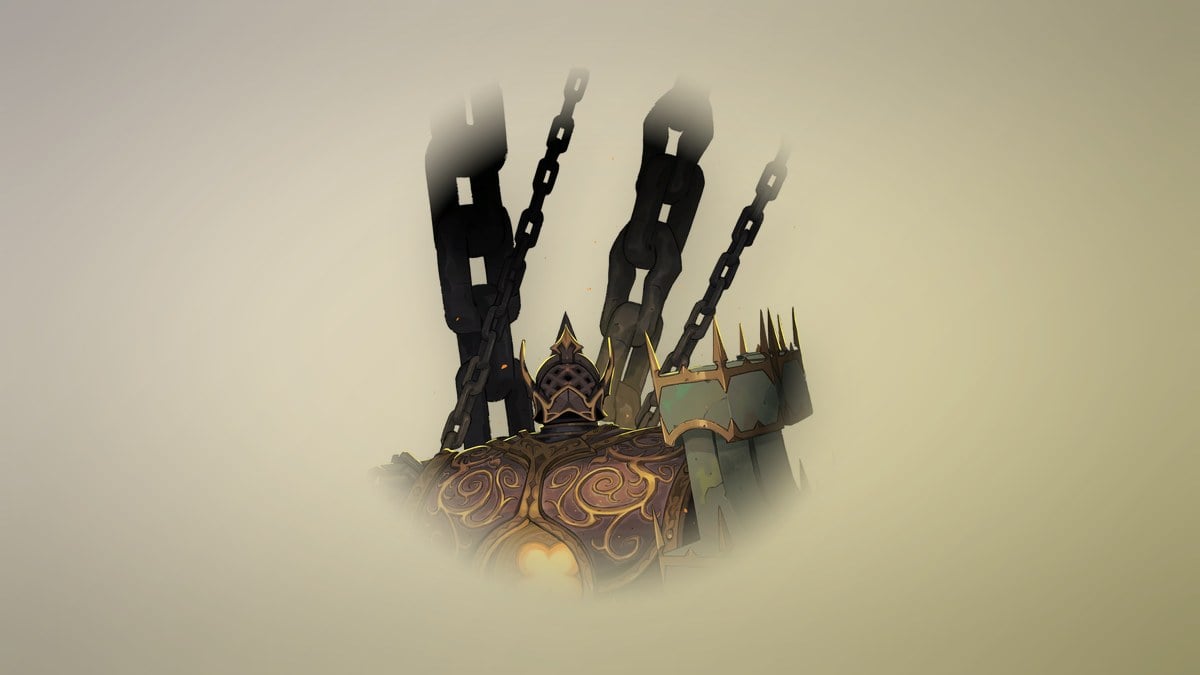
Talos is a huge construct that summons drones. It waits in the Throne of the Builder in the lower part of the Clock Tower. Beating it gives you Fist of Talos and the Smash skill. Fist of Talos slams the ground hard enough to knock enemies off ledges. Smash is what breaks Brauner’s sculpture, so this fight comes before his.
Brauner
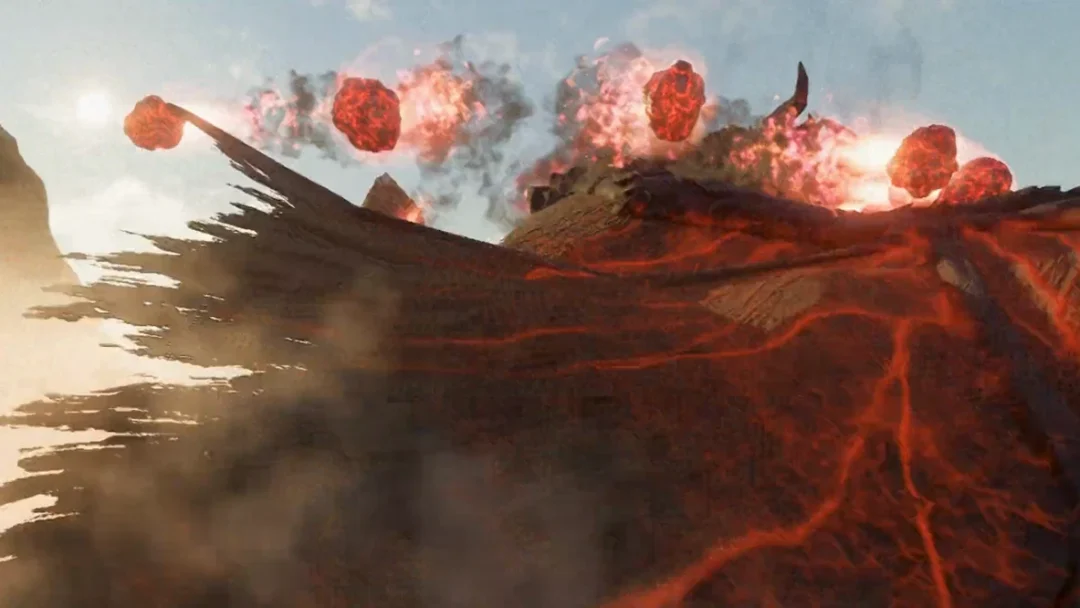
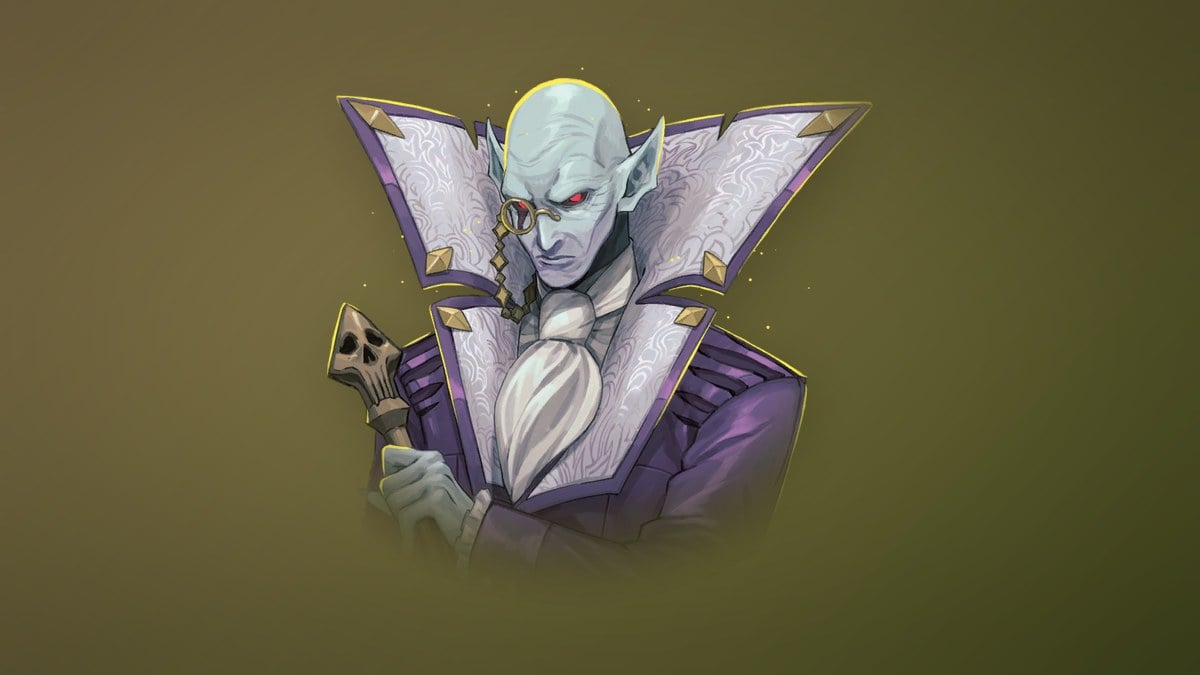
In the Main Hall’s Brauner’s Atelier, smash the chained stone sculpture with Smash. Brauner appears and, following a brief scene, hands over The Artist and Masterpiece. Casting Masterpiece calls up a gargoyle that fires fireballs. Cast again to send it diving at a nearby enemy, where it explodes. Step by step: where to find The Artist.
The Artist’s Works of Mercy are: kill 30 enemies with the Gargoyle Dive, make five enemies fall to their death with the Gargoyle Summoning Stone, and find every secret zone in the Main Hall.
Mammon
Mammon appears as a huge floating eye with two spinning wheels beside it. His lair lies in the Catacombs of Paris, on the far side of the Circle of Greed. Equip all three Eyes, then interact with the Gate of Flesh to enter. Defeating him awards Wheel of Chaos and unlocks the room’s gold hoard. The hoard contains the Ferryman’s Obol, which is required for The Whisperer.
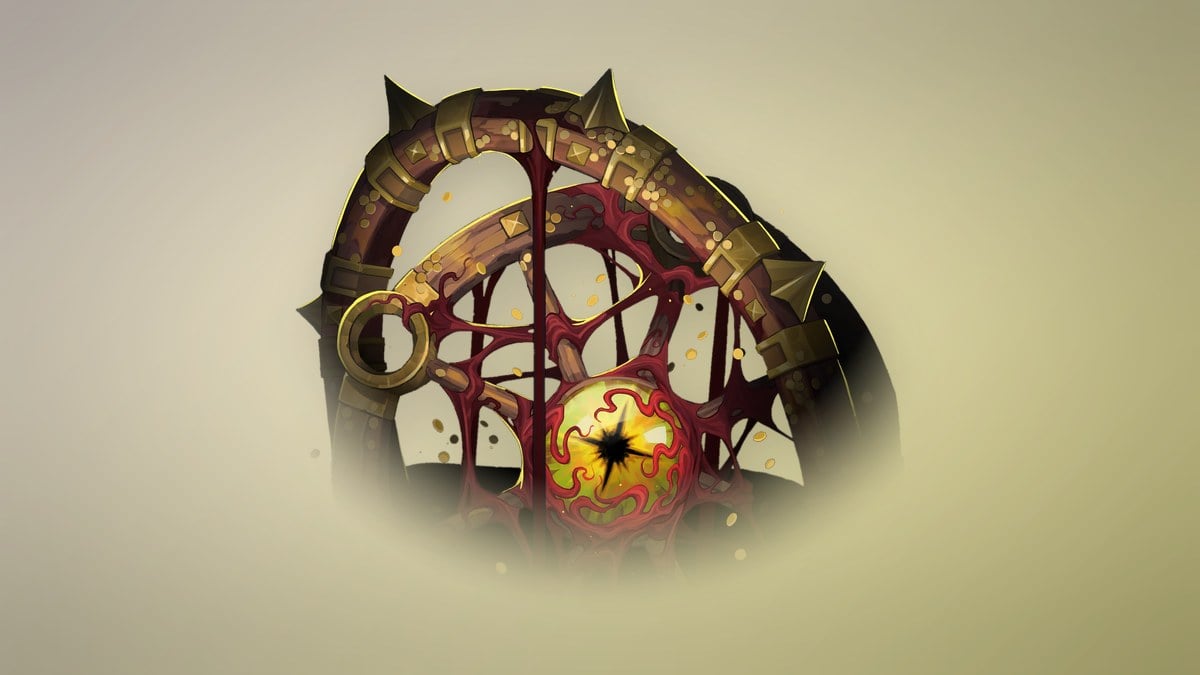
Wheel of Chaos throws a wheel toward whichever foe is closest, regardless of direction. It remains suspended for several seconds; a discounted recast sends it flying again. Its Gifts provide three effects: when you have no mana, you can pay to cast it with health, dealing 50% extra damage; each recast while the wheel is active increases its damage; and every recast has a 1-in-8 chance of triggering a random effect. The Works of Mercy require keeping a wheel spinning for 15 seconds, defeating five distinct enemies with one wheel, and spending 1,000 mana on recasts.
Arthur (The Brittle King)
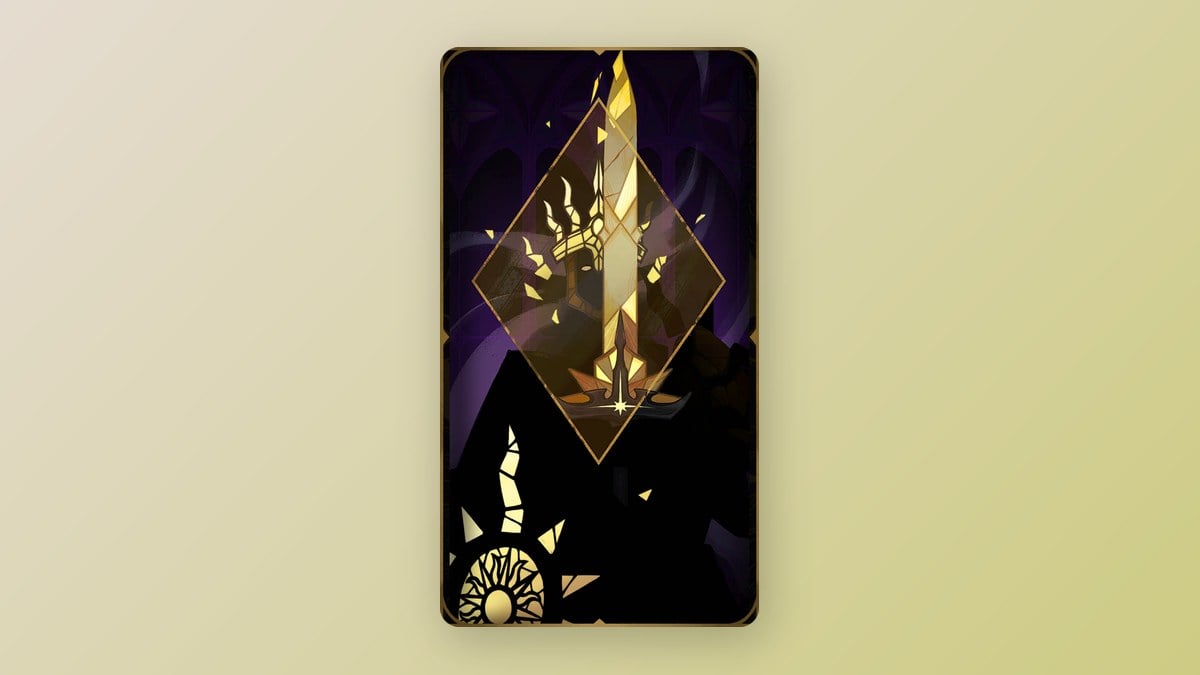
Use INTERACT on the altar sword at the Chapel of Notre-Dame to register the “FEAT OF STRENGTH” clue. Equip Fist of Talos, return, and press INTERACT over and over until the cutscene starts. The Brittle King says to Rose, “Strength is not enough to draw Excalibur. One must also be strong of heart and mind.” He then attacks. Defeat him, and the card appears as a golden orb beside Excalibur.

Stained-Glass Shield surrounds Rose with a barrier that fully cancels an incoming attack, including its damage, interruption and side effects. It also fires glass shards at nearby enemies. Its Gifts let the shield take one more hit before breaking, fire a shard at the nearest enemy every time Rose takes damage, and halve damage taken while she’s attacking so her attack isn’t interrupted. The Works of Mercy are: survive an attack that would have killed you thanks to the shield, kill 25 Haunted Armor, and kill three enemies with a single attack.
Succubus
In the Belmont Manor district, Succubus appears as Rose’s mother at the lowest point of the Hall of Mirrors. Kneel before a Mirror of Life to reach her; your story progress sets how far you can go. She awards Life Drain, which you hold to attach it to the closest enemy and restore Rose’s health with every damage tick.

Doppelganger (The Self)
Clear all four Virtue trials in the Gallery of the Four Virtues. Each one ends at a bell. Then interact with the glowing central altar in the cathedral. It takes Rose to an inner hall where a shadow of herself waits, with “???” on its health bar. Beat it and absorb the orb to get The Self, the Absolution spell and the Doppelganger Style Costume. Absolution hits every nearby enemy hard and heals Rose, but it uses up all her mana. The matching clue is the tablet “THE PROPHECY,” which ties lifting the curse to ringing the bells and overcoming the self.
Arcana from quests: The Judge, The Whisperer and The Sage
The Judge (Saint Louis)
The Palace of Justice in Paris Streets has a large scale next to the Tree of Justice. Its clue is “BALANCING THE SCALES OF JUSTICE.” To tip the scale, upgrade Rose’s maximum health and mana by collecting at least half of the Wise and Brave Heart Fragments across Paris. Saint Louis then wakes up. Medusa asks him to pass judgment on Leon Belmont, and Rose argues for Leon’s intentions. After his challenge, Saint Louis offers his power. You get The Judge, Chains of Justice and the Valmanway.
Chains of Justice immobilizes nearby enemies for 4 seconds, and a chained target takes bonus damage from the first blow. Its Gifts prevent chained foes from acting, transfer the chain to a nearby foe when a chained target dies, and instantly kill a chained enemy below 20% health. The Works of Mercy call for chaining four enemies simultaneously, defeating 25 enemies while they are chained, and increasing maximum health and maximum mana five times each.
The Whisperer (the Ferryman)
The Sage (Eleanor)
Queen Eleanor of Aquitaine first appears trapped inside a chained mirror in the Mirror Rooms. To free her, find four special mirrors in the Hall of Mirrors. Her note “ELEANOR FLEES TO THE CEMETARY” later turns up in the Heart of the Maze. She waits in the Mausoleum of the Queens in Holy Innocents’ Cemetery, where she names Rose her champion and gives her the card. Other clues for this card are “A SKETCH FROM TALOS” and “KNEELING IS THE WAY.” Mirror Walk places a mirror that lasts 15 seconds. Recasting teleports Rose back to it and restores 50% of the health she lost since placing it.
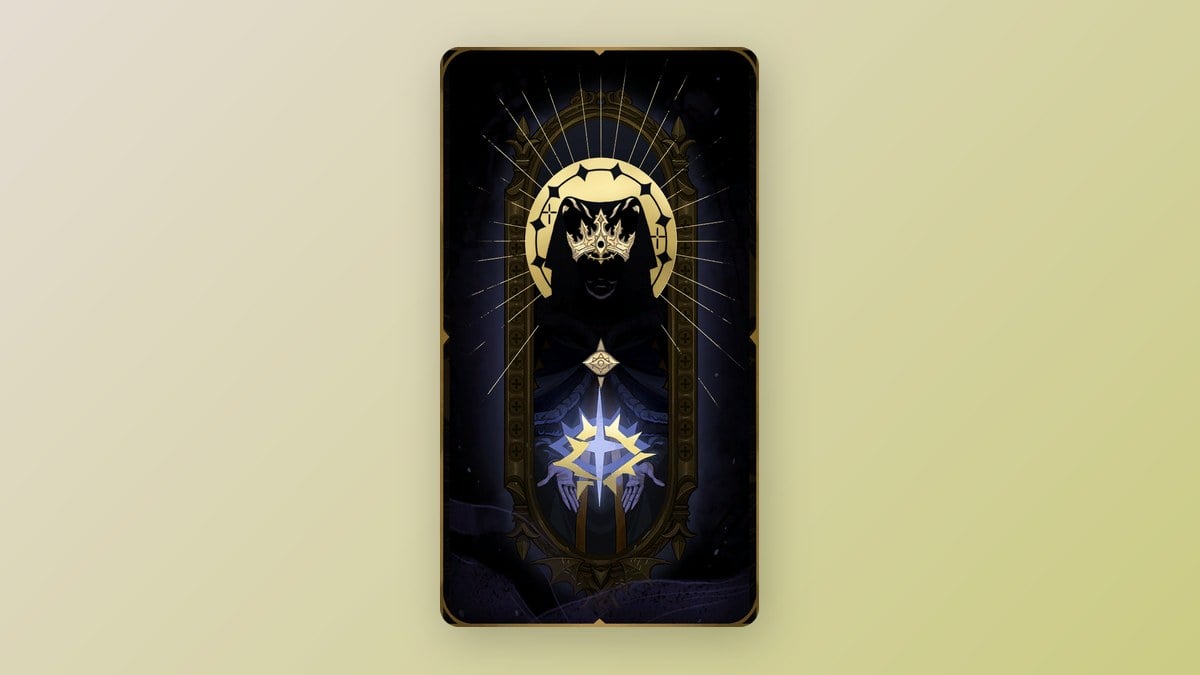
Arcanic Resonances: Where the equipped card matters
Some objects only react when a specific Arcana is equipped. Rose’s tarot deck reacts when she’s close to one. Swap to the right card under Equipment > Arcanas, then press INTERACT (R1 on PlayStation, E on PC).
| Spot | Area | Equip | Result |
|---|---|---|---|
| Glowing clock, Clock Tower Bridge | Clock Tower | Soul Harvest | Path to Isaac |
| Sword in the altar, Chapel | Notre-Dame | Fist of Talos | Arthur fight, Excalibur |
| Notre-Dame painting, Gallery of Eternal Night | Main Hall | Masterpiece | Scene with Brauner and Carmilla |
| Courage window | Gallery of the Four Virtues | Infernal Pyre | Courage trial |
| Temperance window | Gallery of the Four Virtues | Freezing Path | Temperance trial |
| Justice window | Gallery of the Four Virtues | Chains of Justice | Justice trial |
| Prudence window | Gallery of the Four Virtues | Mirror Walk | Prudence trial |
| Castle Rooftops | Master’s Quarters | Absolution | True ending |
If you interact with the glowing clock on the Clock Tower Bridge without Soul Harvest equipped, Rose falls into Death’s trap and you get the bad ending. Check your card before pressing INTERACT.
Dracula and the three endings
Dracula has no card. He waits in the Court of the Night in the Master’s Quarters, above the Clock Tower. Which ending you get depends on what you finish before you reach him.
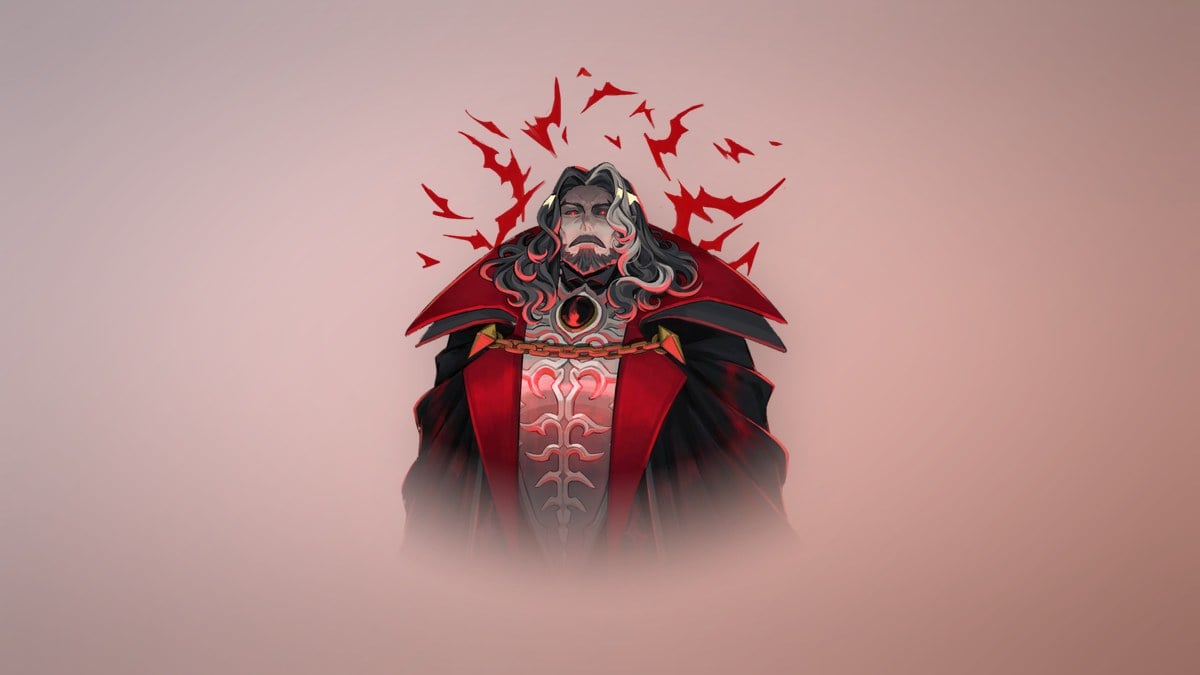
- Bad ending: Head toward Dracula without beating Death and walk past the Cursed Horologium. You never fight Dracula, and you unlock the Cursed’s Outfit.
- Normal ending: Disable the Cursed Horologium, then climb to the Master’s Quarters. The Dracula fight plays out normally.
- True ending: Bless The Warrior, The Whisperer, The Judge and The Sage through the Virtue trials, earn Absolution from the Doppelganger, then equip Absolution on the Castle Rooftops and use it on Dracula after beating his second form. The ending is labeled “Curse lifted.”
For a full deck, the true ending route is also the collection route. It requires every quest card, every trial, and the last card in the deck, The Self.