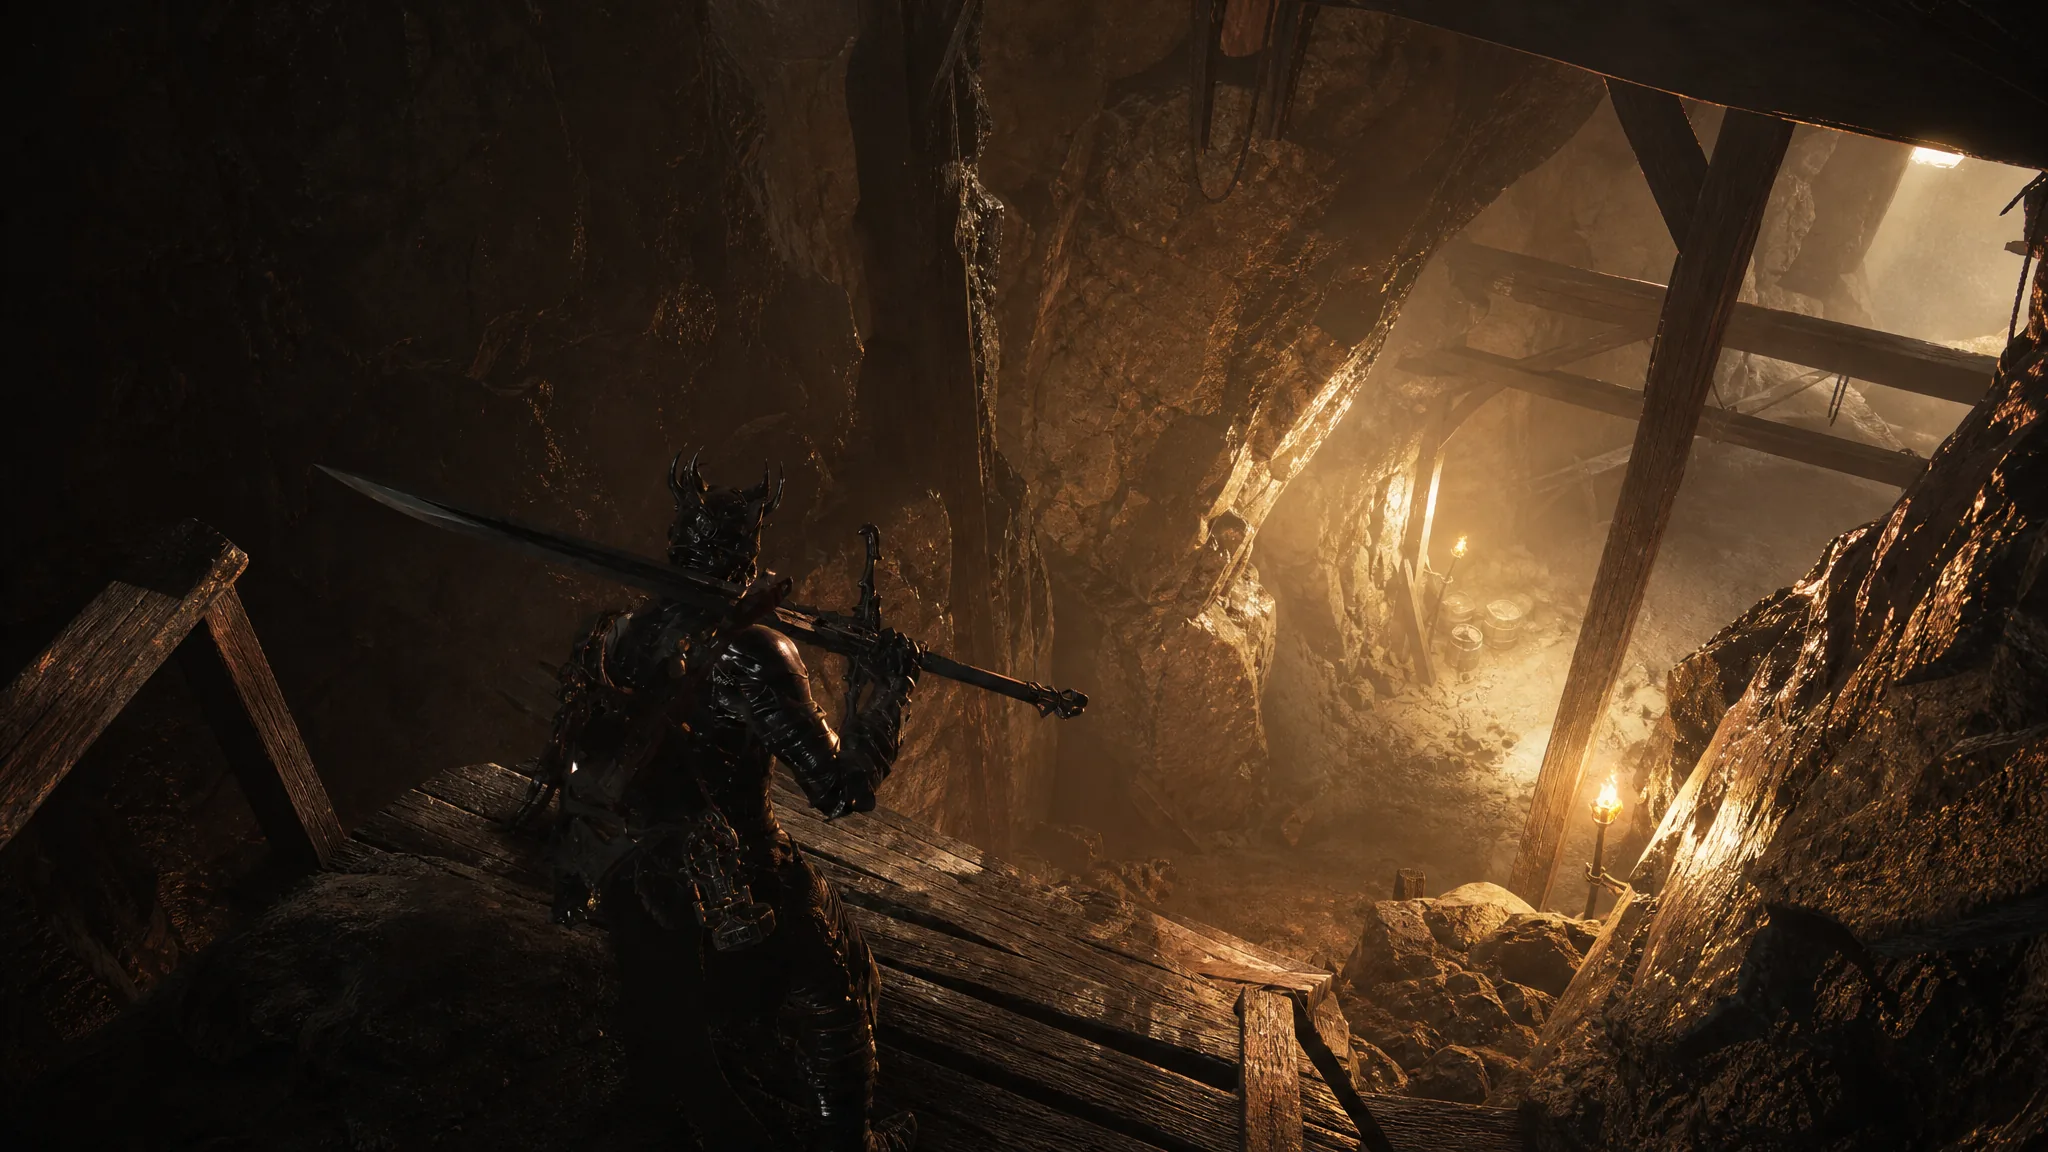
The Deserted Mine is one of the smaller dungeons in Mortal Shell 2, and one of the easiest to leave unfinished. A wooden post outside tells you to stay away, the tunnels are short, and the lift at the far end looks like the obvious way out. It isn’t the last thing you should interact with, because the mine’s biggest payout sits directly underneath that lift.
Quick answer: The Deserted Mine sits west of the One Legged Wolf beacon, east of Mushroom Village. Clear the tunnel, take the Laterite from the effigy and the Common Moonshine by the corpse, then ride the lift up, drop off it into the pit below, and open the chest for 2,000 coins.
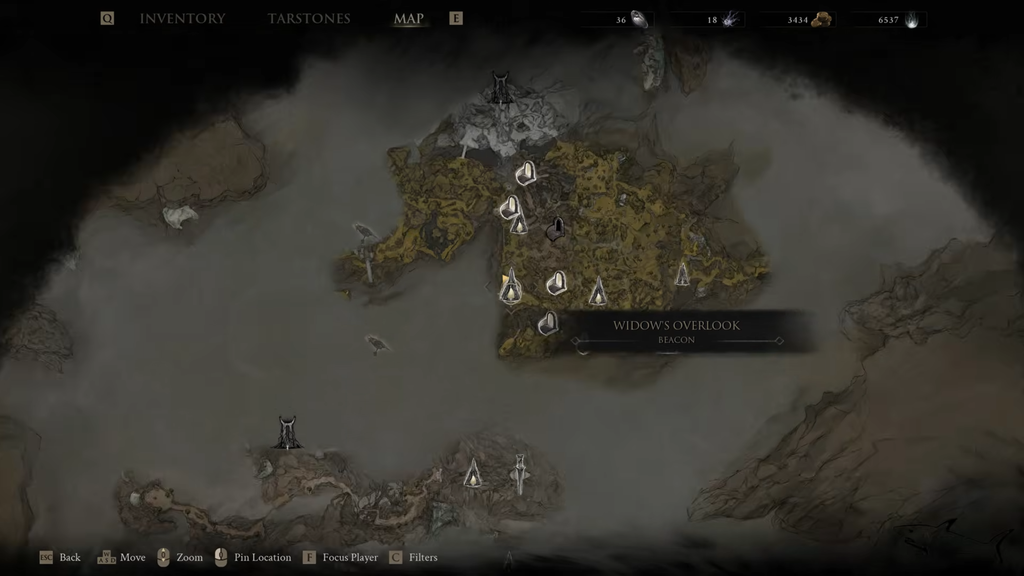
Deserted Mine location and route from Widow’s Overlook
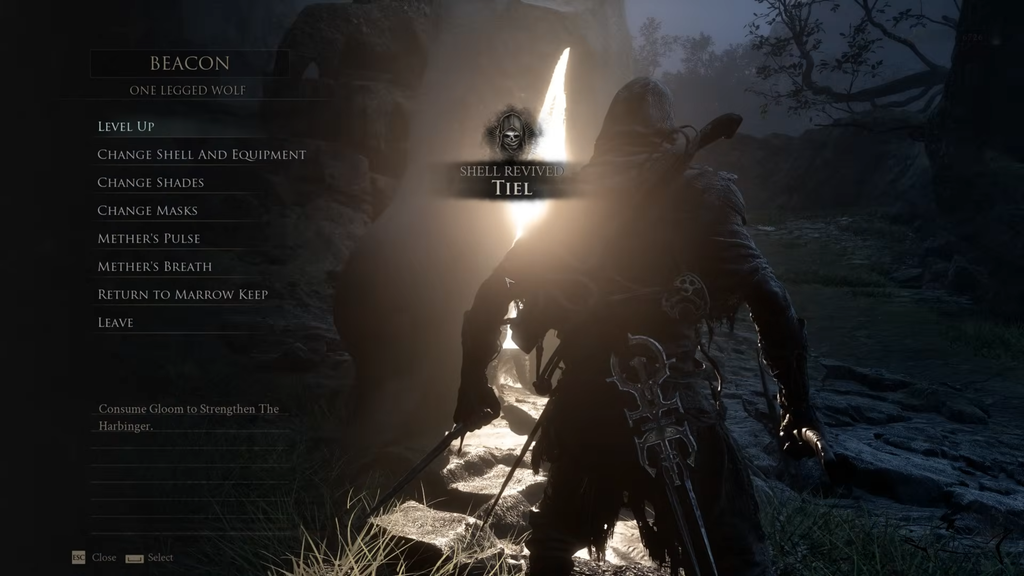
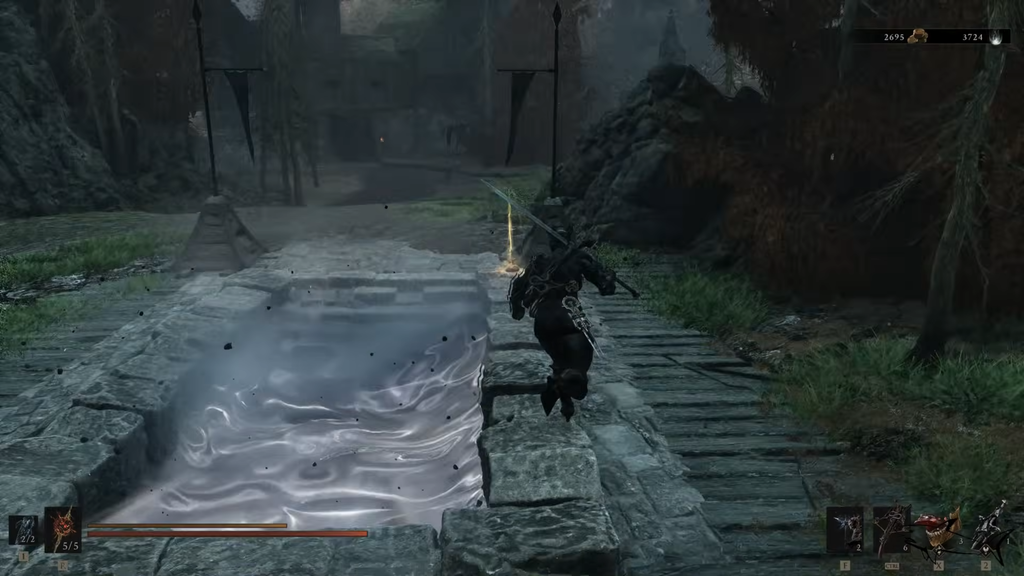
The entrance is a mist-covered stone doorway tucked into the rocks near a set of flags, on the western side of the One Legged Wolf beacon. Coming from the other direction, it’s east of Mushroom Village, past the stretch where you run into Hilga and Grom. The cleanest approach uses two beacons you have probably already lit.
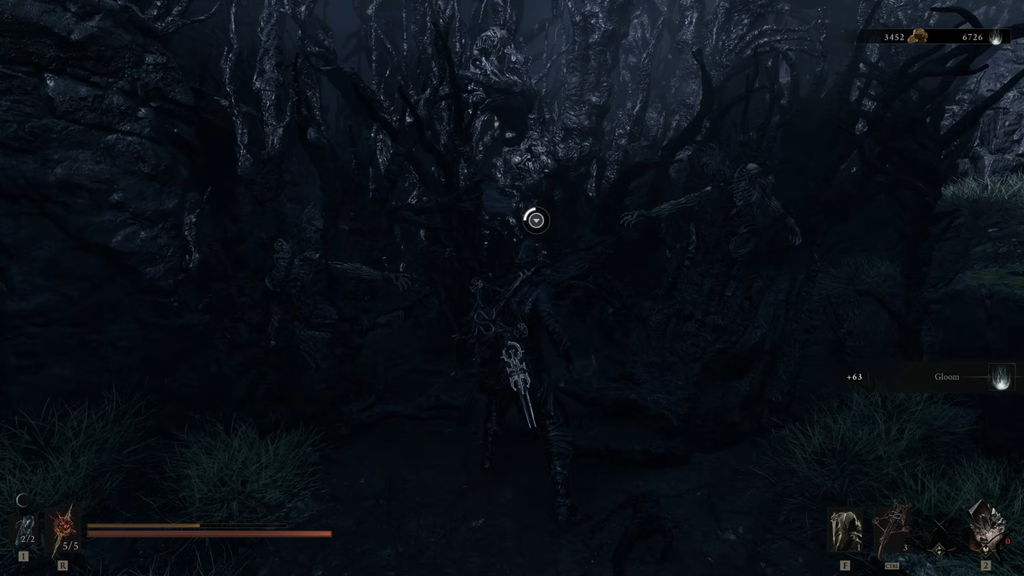
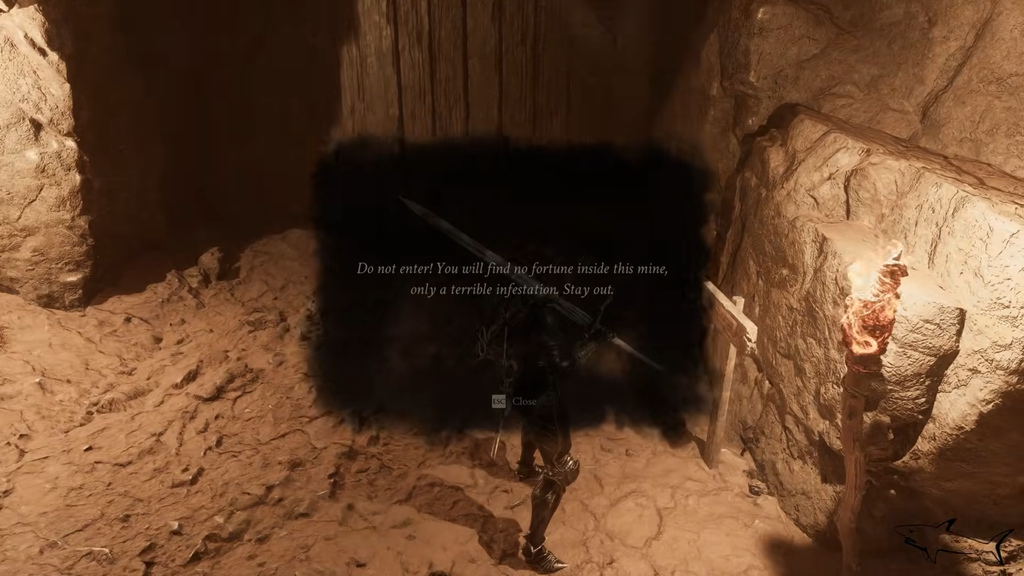
The warning post outside is flavor, not a mechanic. It reads: “Do not enter! You will find no fortune inside this mine, only a terrible infestation. Stay out.” There is fortune inside, and there is also an infestation.
Everything inside the Deserted Mine
The layout is a single descending cave path with a few branching pockets. Spindly, multi-legged spider creatures make up the entire enemy population — there is no boss and no gated arena. They come in small groups and hit hard in packs, so pull them into the wider tunnel sections rather than fighting in the choke points.
| Reward | Where to get it |
|---|---|
| Laterite | Deep in the mine, from the glowing white effigy. Destroy it to release the item. |
| Common Moonshine | On the ground next to the note, beside the crates near the effigy. |
| 2,000 Coins | Secret chest in the pit directly beneath the lift platform. |
Laterite is a weapon upgrade material, so this is a worthwhile trip even early on. Clear the tunnels of the spider enemies before you start looting — the effigy and the note sit in the same open area, and getting swarmed mid-pickup is the usual way this short dungeon turns costly.
How to find the hidden 2,000-coin chest under the lift
The mine tells you the secret outright if you stop to read. Next to the crates near the effigy is a corpse holding a note from one of the miners.
Don’t tell the others, but I hid the chest beneath the lift. We’ll tell ’em we found nothing and return the next day.
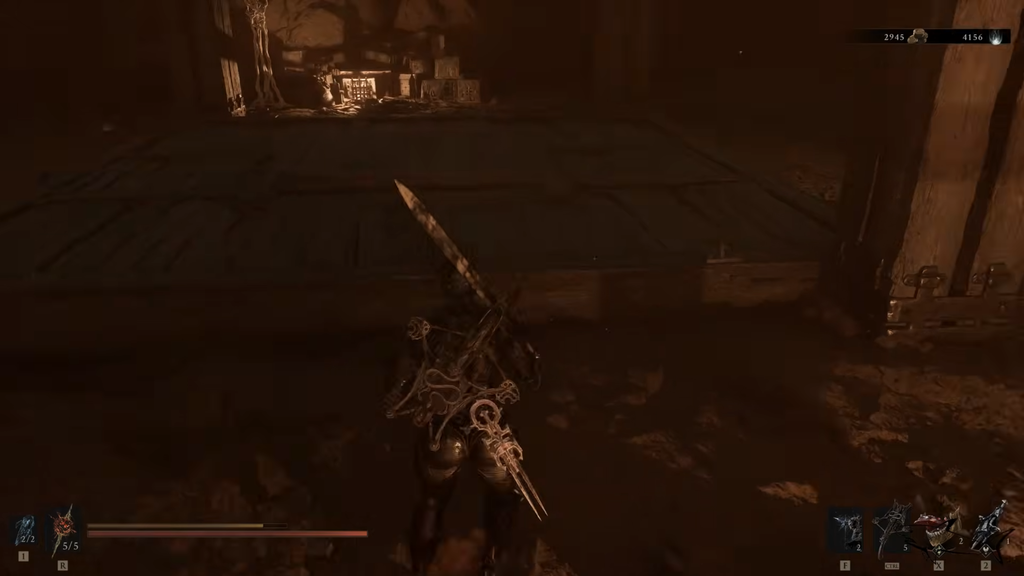
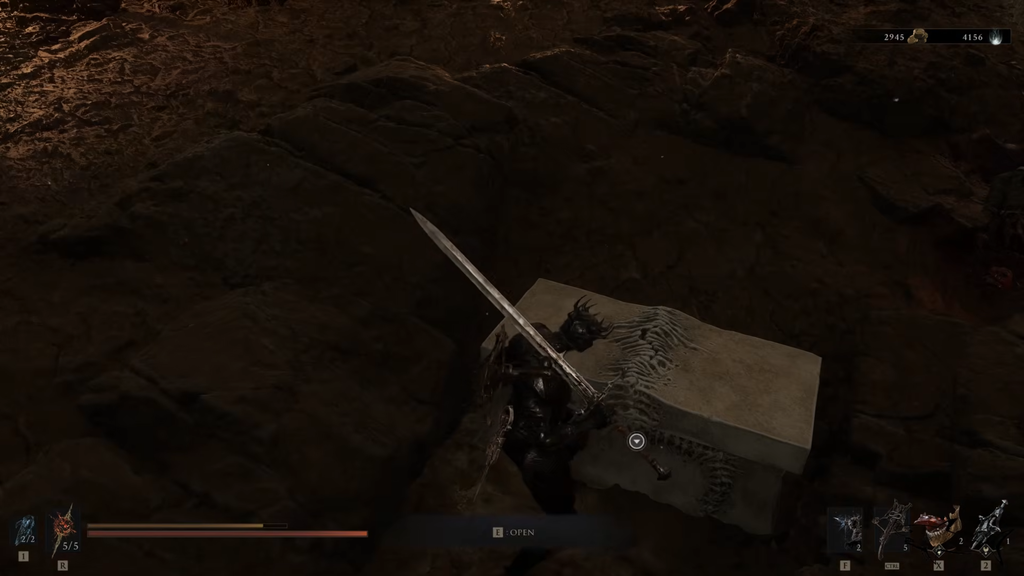
Note: the chest is not visible from the tunnel floor before the lift moves. If you walk to the shaft and see nothing, you have not used the lever yet.
Leaving the mine and marking the dungeon complete
The lift is the only exit, and it is reusable. Pull the lever on the wooden pillar again to bring the platform back down, stand on it, and ride it to the surface. You come out near the warning post where you first entered, back on the overworld path west of the One Legged Wolf beacon.
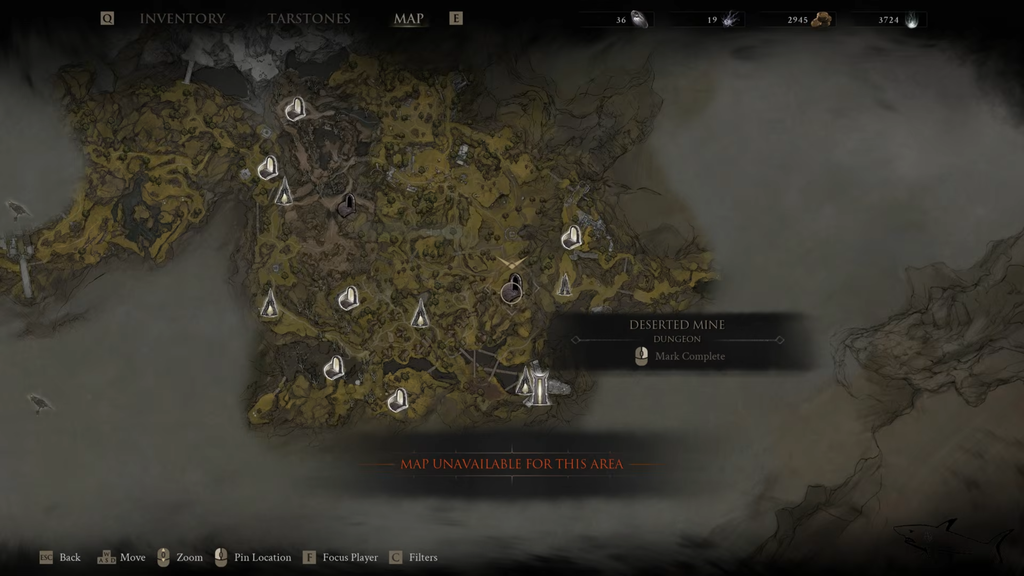
Mortal Shell 2 does not track dungeon completion for you. Open the map, move the cursor onto the Deserted Mine marker, and select “Mark complete.” The icon changes to reflect the new state, and you can reverse it with “Mark incomplete” if you ever want to revisit and re-check the area.
None of this is missable. Dungeons stay open in free roam after the final boss, so if you skipped the mine on your first pass through Fainweald, the Laterite, the Common Moonshine, and the coins are all still sitting there whenever you come back.