Stranded, the tenth campaign mission in Call of Duty: Modern Warfare 4, is an open North Korean sandbox with 26 Yellow Supply Crates spread across it. The Time to Crate trophy and achievement requires you to open every one of them. Twenty-four crates stay in fixed spots. Two ride on vehicles that are always moving. A handful sit behind four-digit keypads, climbs, or simple environmental puzzles.
Quick answer: Open all 26 Yellow Supply Crates in Stranded. That means 24 fixed crates at the coordinates below, plus one on the looping train and one on the patrolling convoy truck.
How Stranded tracks your crate count
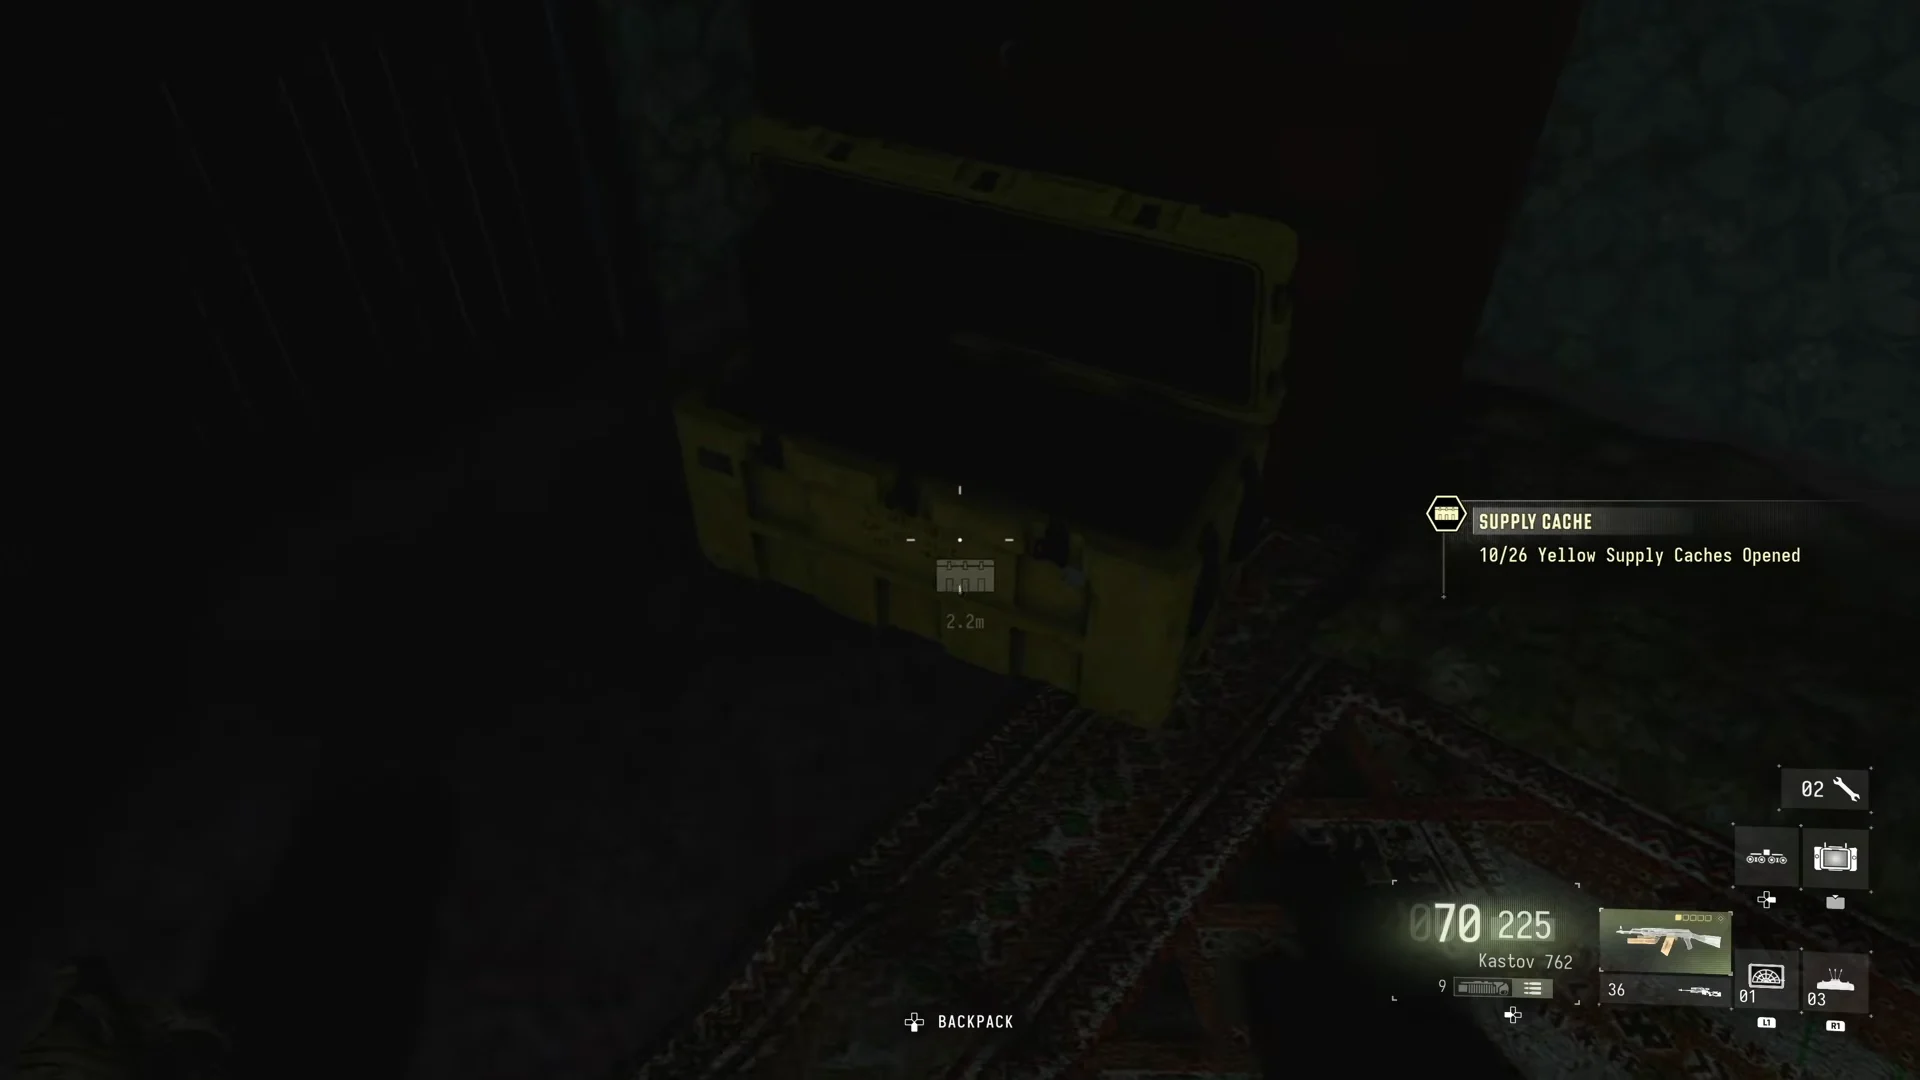
Each time you open a crate, a “Yellow Supply Caches Opened” counter appears and shows your running total out of 26. Progress carries across the whole mission, so you can collect crates in any order. Positions below are Tac Map coordinates, which you can use to set waypoints.
- Clearing a named outpost captures it and adds it as a fast travel point on the Tac Map.
- Base Camp and the three objective sites (Jamming Station, Bunker, SAM Site) are also fast travel points.
- Several crates only become reachable after you clear the outpost that guards them.
- Two notes unlock automatically when you open your 3rd and 5th crates.
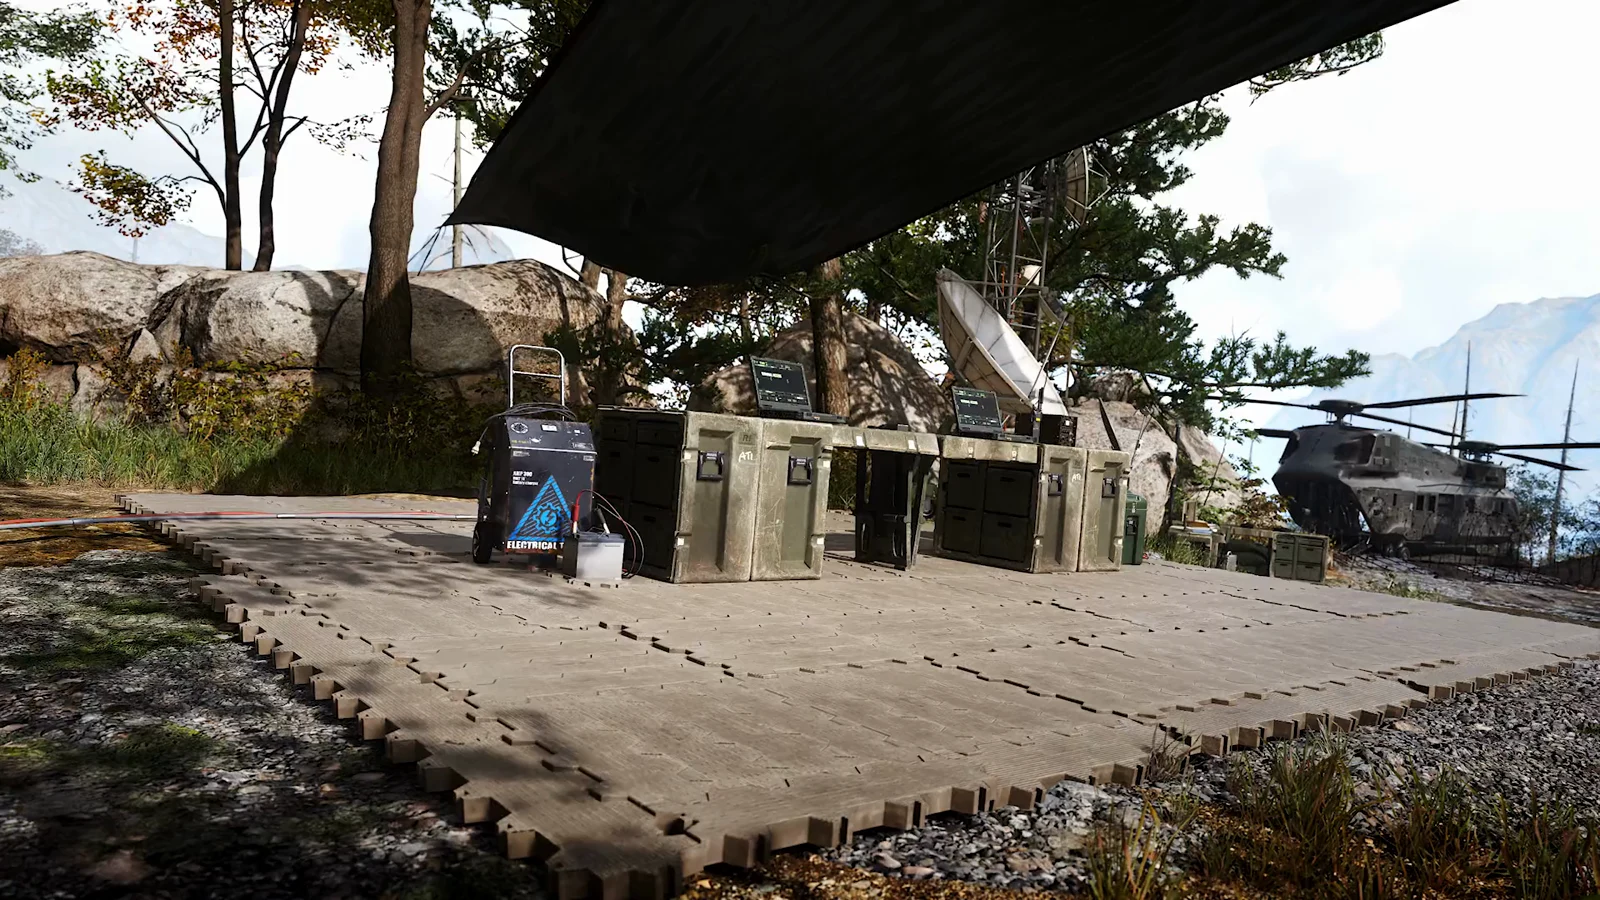
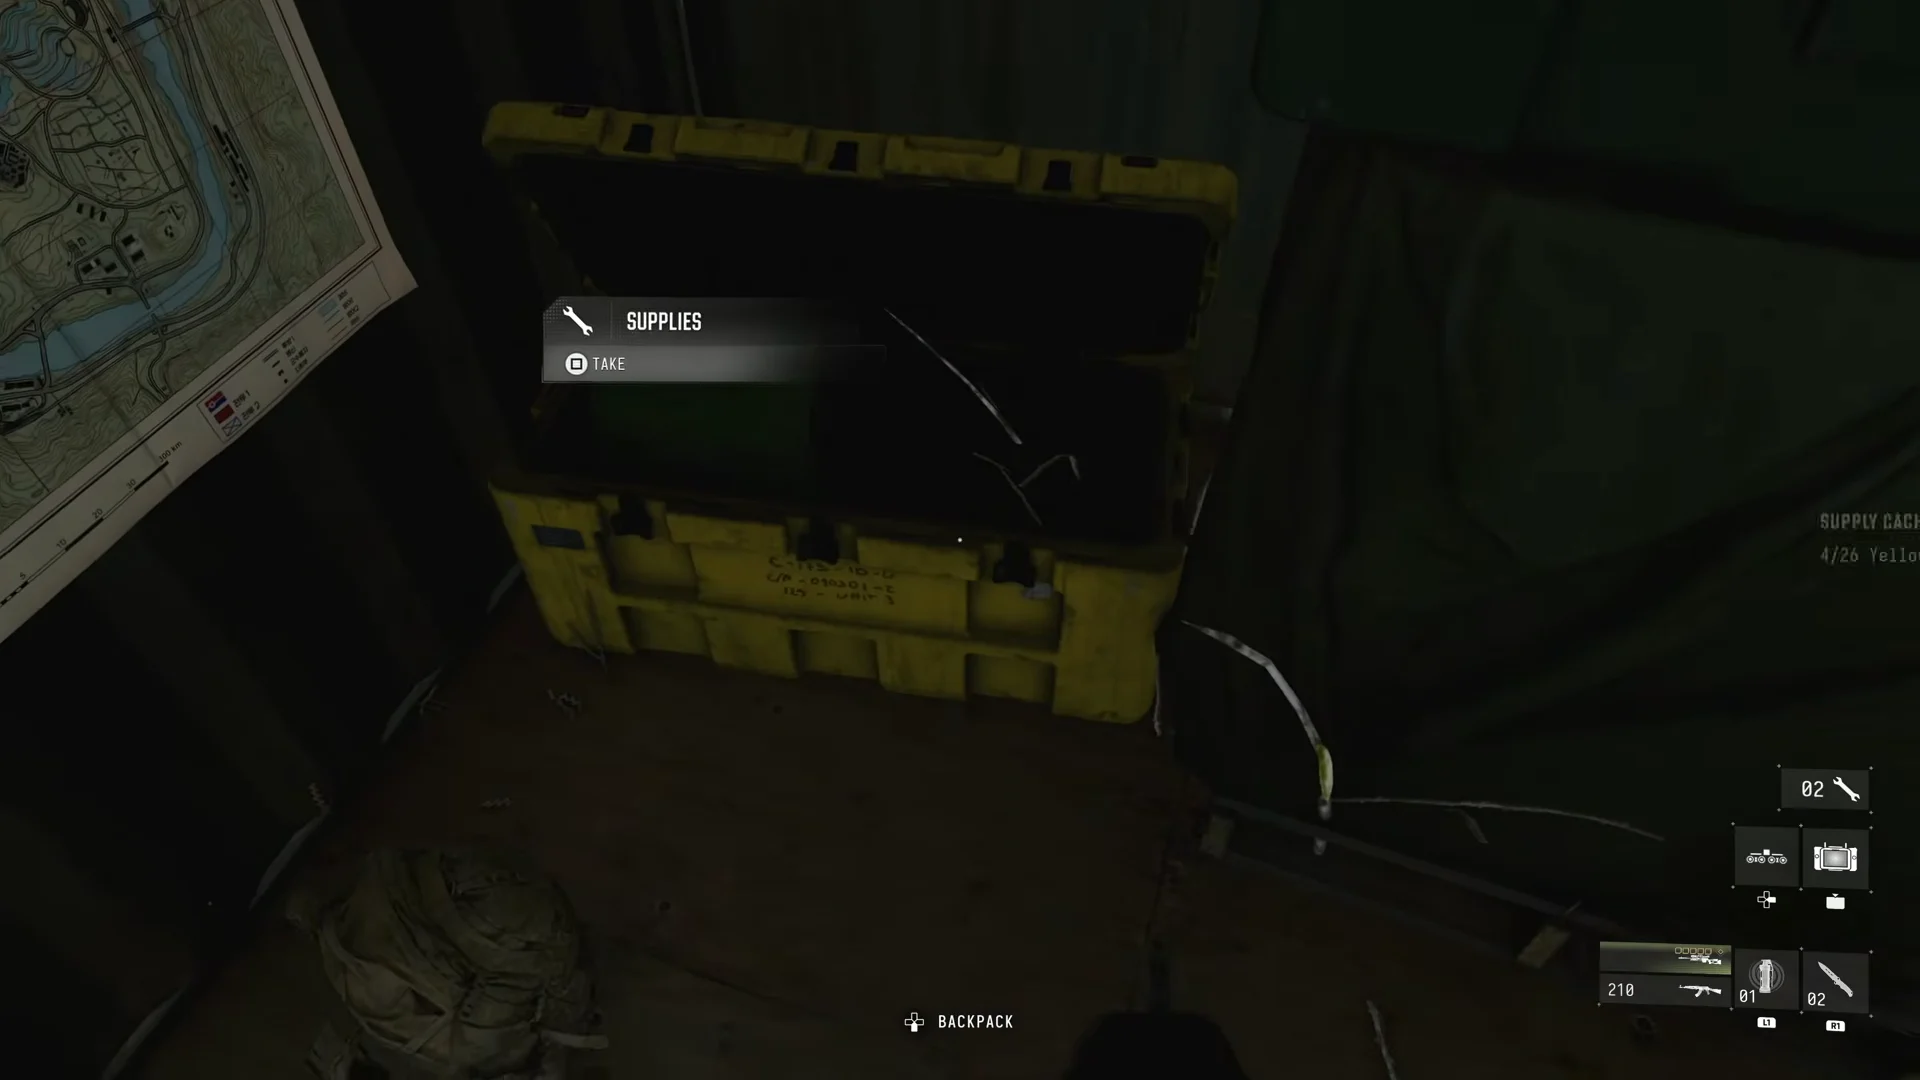
Start at Base Camp. The shipping container beside the radio tower opens with code 0024, and the wall map inside adds the locked keypad containers to your Tac Map. Opening a crate inside any locked shipping container gives the same intel.
Stranded keypad codes
Each locked container or bunker has a clipboard note next to its keypad. The note lists codes that were used before, and the correct code follows that pattern. You can also enter the codes below directly. Type all four digits, including leading zeros.
| Code | Location | Coordinates |
|---|---|---|
| 0024 | Base Camp container (intel map) | By the radio tower |
| 0600 | Container on the cliff north of Base Camp | 646, 158 |
| 8609 | Container south of the Jamming Station | 667, 125 |
| 1234 | Container by the big sign on the river road | 634, 136 |
| 6789 | Container on the small river island | 618, 132 |
| 0078 | Southeast village container at Infantry Checkpoint #4 | 652, 187 |
| 0008 | Bunker in the riverbed below the bridge | 616, 168 |
| 0330 | Hidden bunker in the farm field | 631, 127 |
For the 0008 bunker, use the count of river outposts. For 0330, add the values listed at the four Logistics outposts—10, 20, 100, and 200—once they have all been cleared. You can find another note for this bunker on the desk beside the radio.
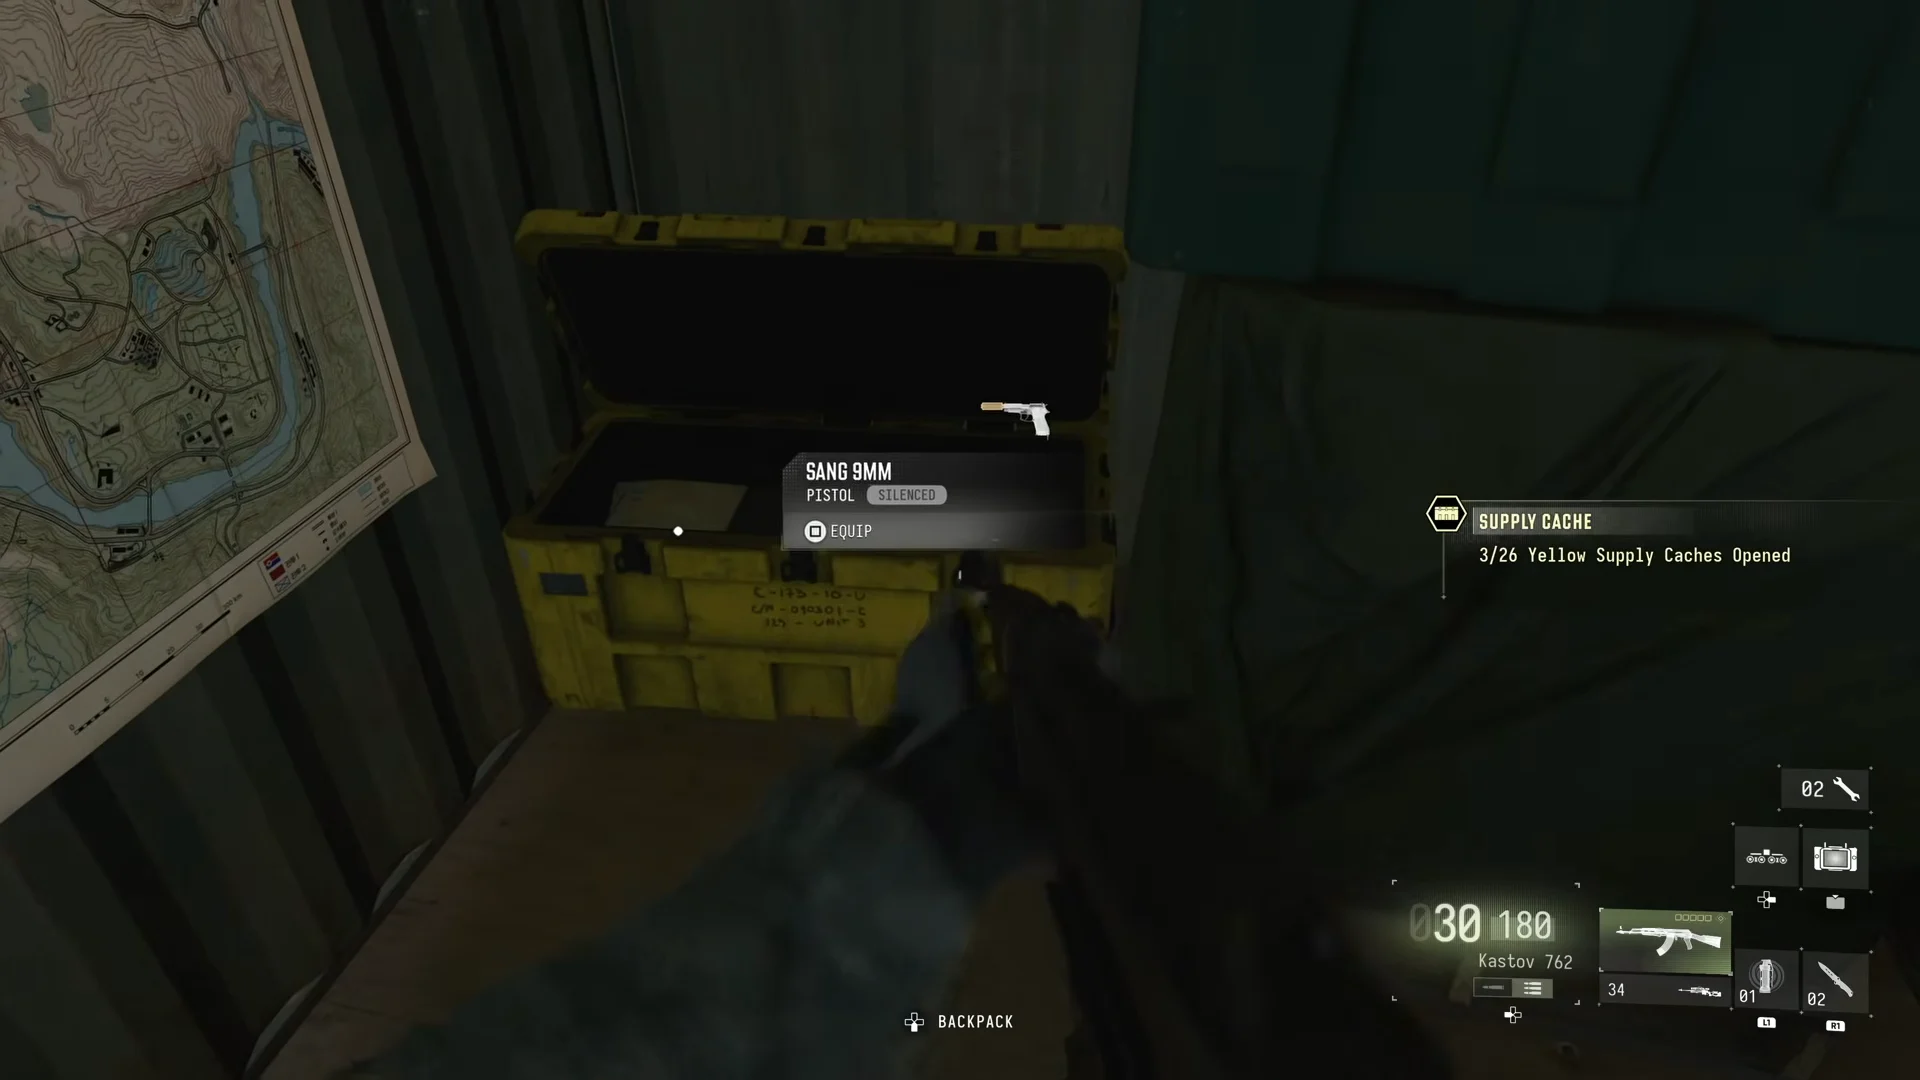
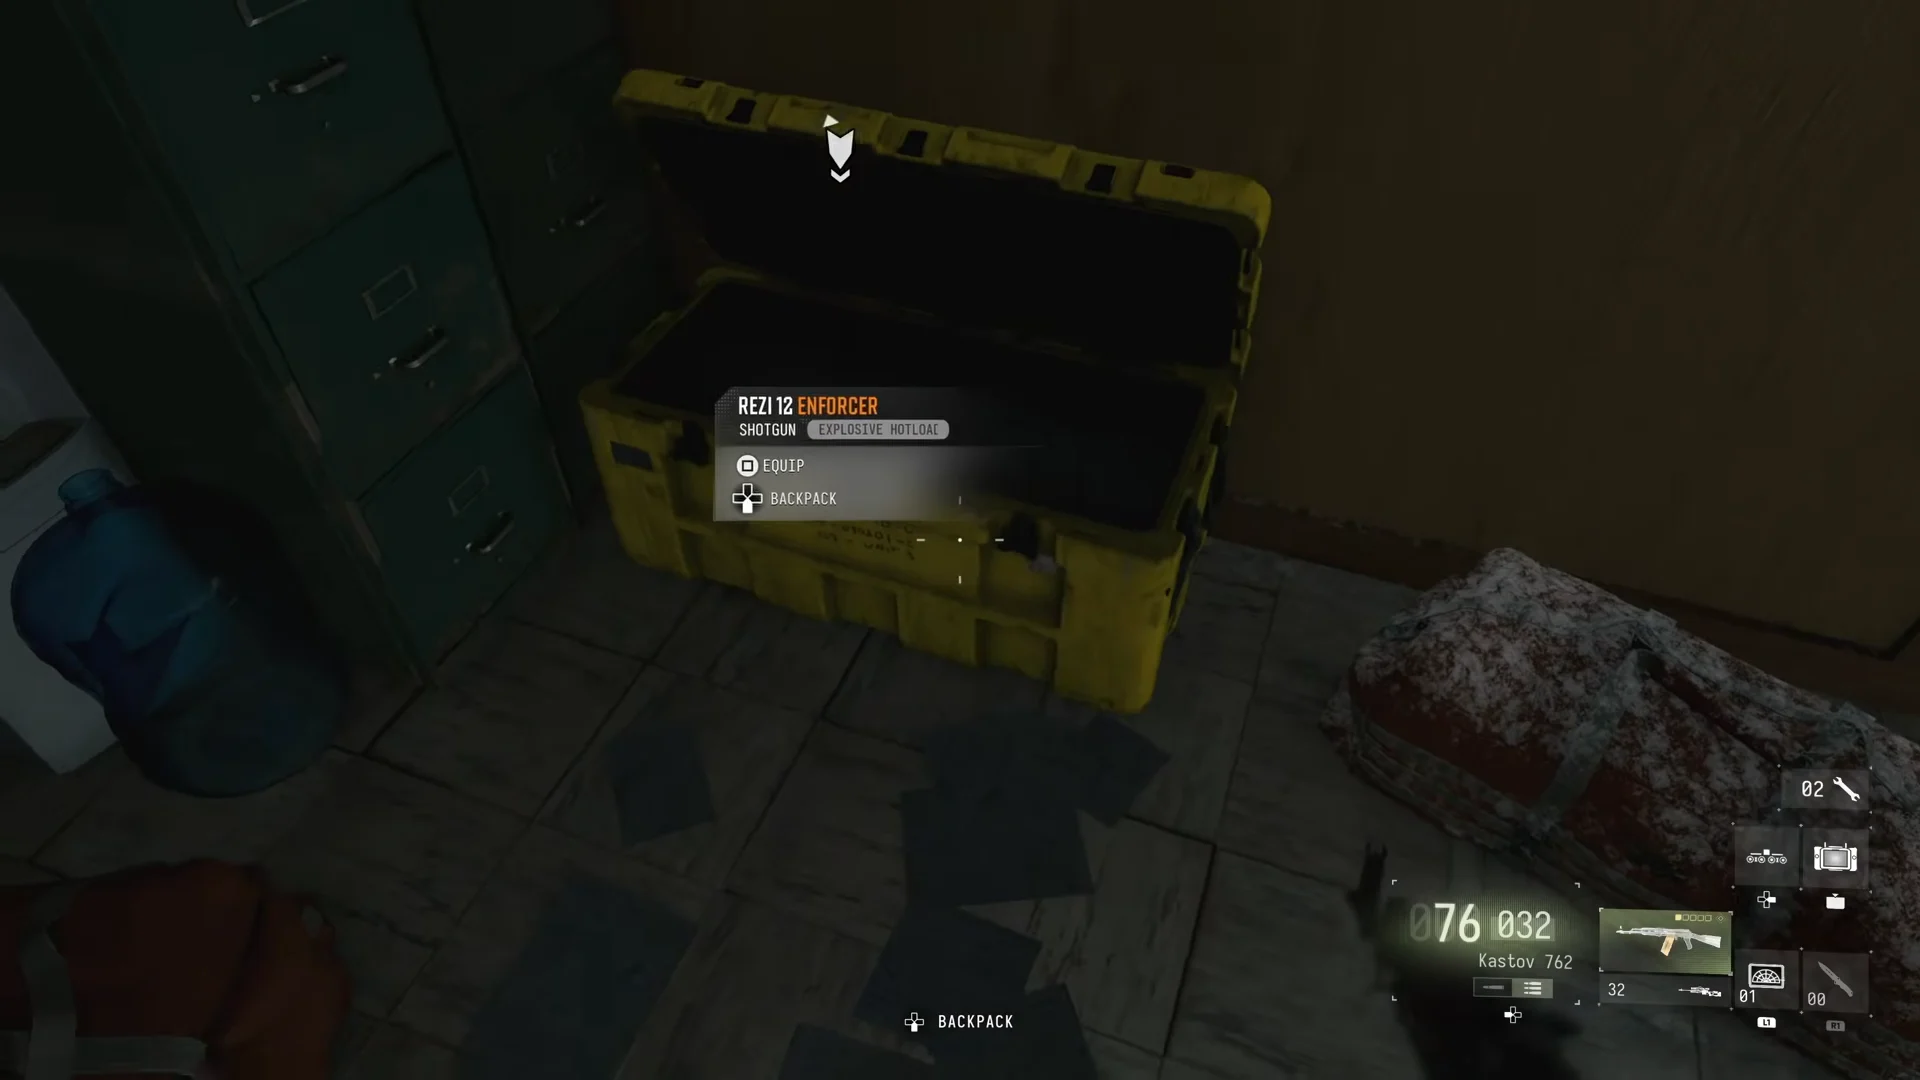
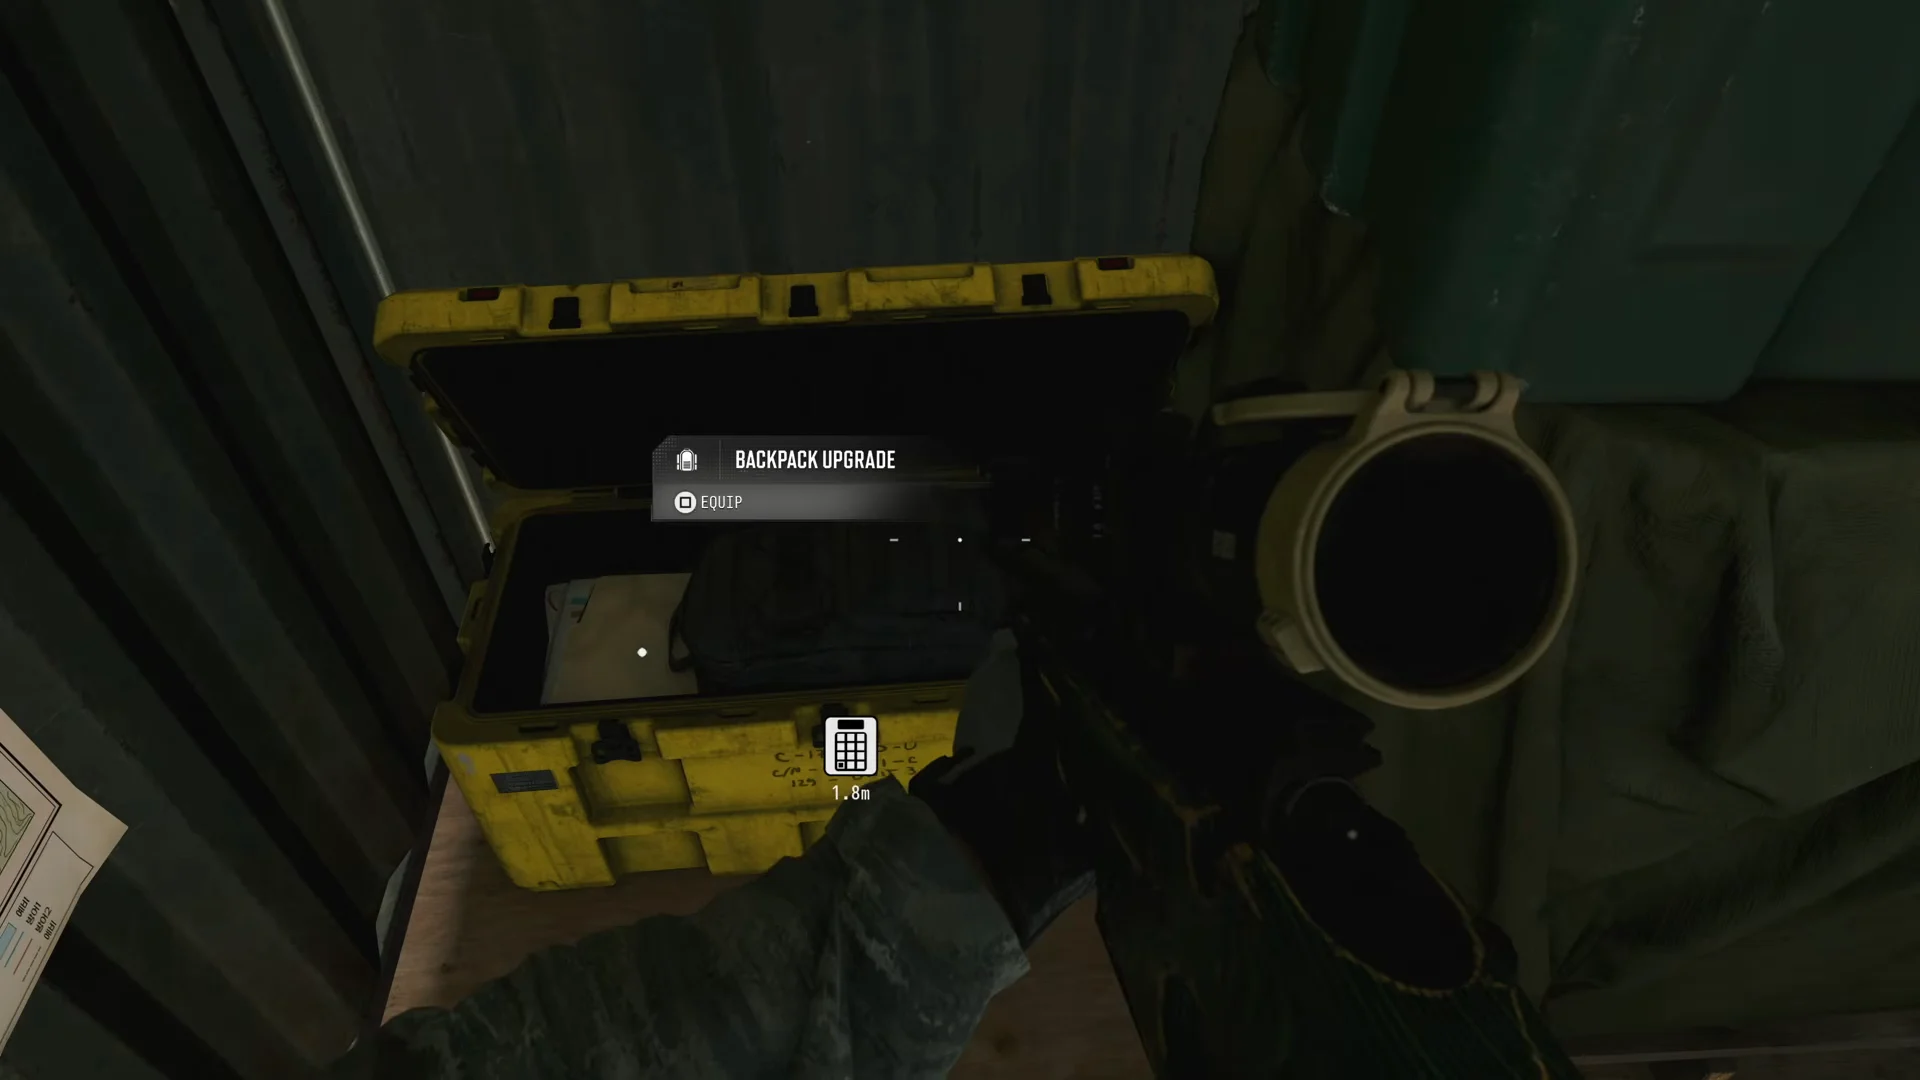
Crate contents are not consistent between playthroughs. The 8609 container, for example, has been opened to find Drill Charges, a Sang 9mm, or a Backpack Upgrade. Every crate counts the same toward the trophy, whatever it holds.
All 24 fixed Yellow Supply Crate locations
Rows run from east to west by Tac Map coordinate. The access column tells you what stands between you and the crate.
| Coordinates | Where it is | Access |
|---|---|---|
| 672, 141 | Enemy outpost | Clear the outpost |
| 671, 121 | Open ground near the Jamming Station | Walk up |
| 668, 183 | Enemy outpost | Clear the outpost |
| 667, 125 | Container south of Jamming Station | Keypad 8609 |
| 664, 167 | Enemy outpost | Clear the outpost |
| 657, 205 | Bunker area | Walk up |
| 657, 118 | Northeast outpost | Walk up |
| 652, 187 | Southeast village container | Keypad 0078 |
| 651, 134 | Locked house | Drop in through the roof |
| 648, 199 | Tall tower | Climb the copper pipes |
| 646, 170 | Open map location | Walk up |
| 646, 158 | Cliff container north of Base Camp | Keypad 0600 |
| 644, 158 | Base Camp radio tower | Climb to the top |
| 640, 131 | Blocked storage container | Explosive |
| 639, 165 | Sewer system | Follow arrows underground |
| 636, 189 | Outpost garage | Clear the outpost |
| 634, 136 | Container by the big sign | Keypad 1234 |
| 631, 169 | Enemy outpost | Clear the outpost |
| 622, 121 | Enemy outpost | Clear the outpost |
| 618, 132 | Small river island container | Keypad 6789 |
| 616, 141 | Industrial building with elevator | Climb the broken stairs |
| 616, 168 | Riverbed bunker | Keypad 0008 |
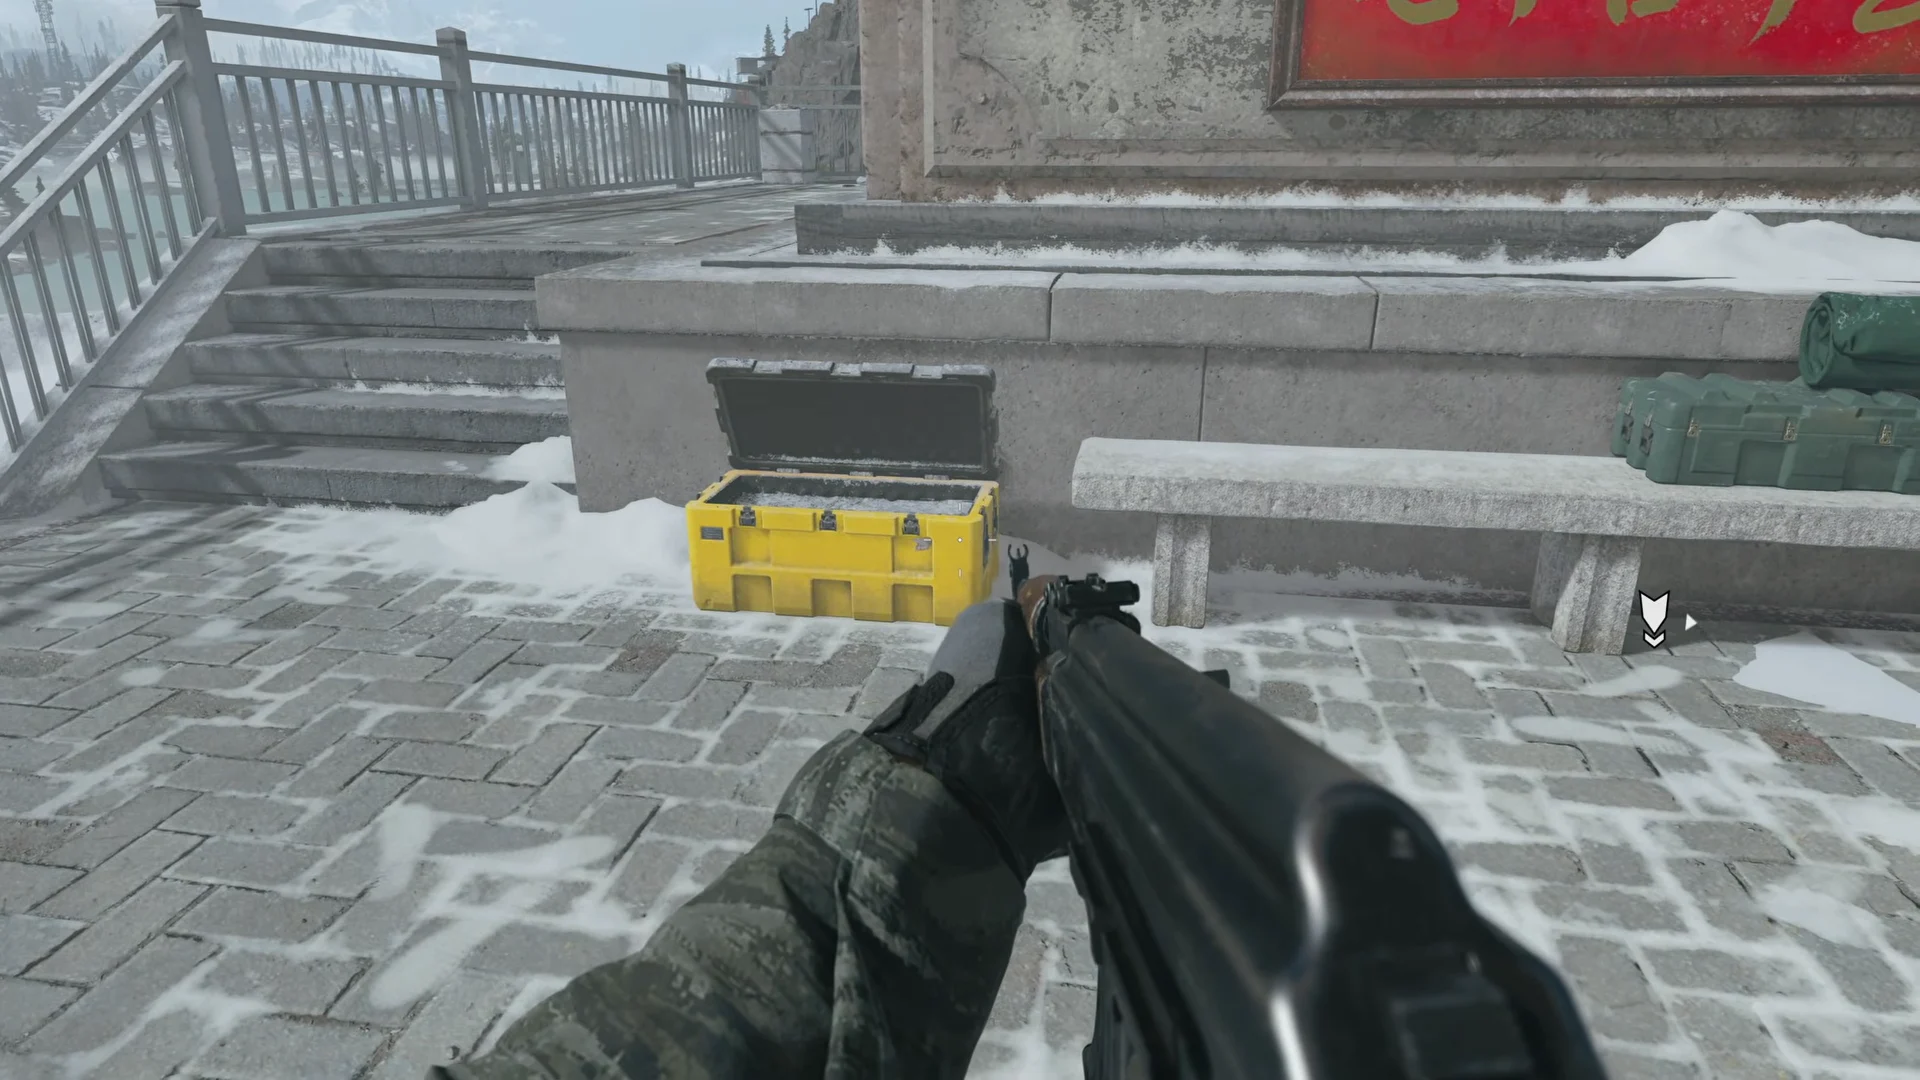
| 609, 125 | SAM Site statue base | Clear the SAM Site |
| 605, 115 | Hilltop store | Tripwires inside |
The riverside containers are close together. The 1234 container sits along the river road west of Base Camp, and the 6789 island container is a short swim further west.
The SAM Site crate at 609, 125 sits on a concrete bench by the monument in the plaza. Clear the SAM Site first and then walk up to it.
Outpost crates are usually inside a guard shack, booth, office, or garage. Once the “CLEARED OUTPOST” message appears, check the small buildings first.
Crates behind puzzles, traps, and climbs
Most crates are a quick grab once you reach the coordinates. These six need a specific approach.
Sewer crate (639, 165)
The entrance is a blue water pump building southwest of Base Camp. Climb down the ladder in the floor and switch on your Night Vision Goggles. Follow the arrows painted on the tunnel walls through two flooded pipe sections. The crate sits at the smuggler’s stash at the end of the maze.
Booby-trapped hilltop store (605, 115)
Tripwires cover the store, so toss a grenade in to activate them. Vault the counter afterward, then follow the right-hand wall to the crate; the explosives won’t go off along that route.
Blocked storage container (640, 131)
Stacked wooden crates block the container door in the Artillery Battery #6 motor yard. A grenade or proximity mine destroys the pile and opens the way in.
Locked house roof drop (651, 134)
The front entrance is locked, with no key available. Climb onto the damaged tile roof, then descend through the ceiling opening to reach the crate.
Tower climbs (644, 158 and 648, 199)
The Base Camp radio tower crate is on the highest platform. Climb the ladders and girders all the way up. The tower at 648, 199 is climbed using the copper pipes on its side.
Elevator building (616, 141)
In the large industrial facility in the northwest, use the damaged staircase beside the elevator shaft. Climb the outside stairs and mantle across the beams to reach the top platform.
The two moving crates: train and convoy truck
These crates have no fixed coordinates, so they’re often the last two left. Both vehicles stay on predictable routes.
Freight train: The train loops around the railroad that runs along the edge of the map, traveling counterclockwise. Drive alongside the tracks, board the train, and open the crate on its open flatbed car. If you miss it, wait for it to come around again.
Convoy truck: A green D50 Cargo flatbed patrols the roads around the Base Camp mountain and appears as a red marker on the Tac Map. The crate is in the truck bed. Deal with its escort first. The truck can also be caught parked at Infantry Checkpoint #3 in the northeast.
Confirming the Time to Crate unlock
When the last crate opens, the counter reads SUPPLY CACHE 26/26 and Time to Crate unlocks right away, with the description “Open every Yellow Supply Crate in ‘Stranded’.” Difficulty doesn’t matter. The trophy pops on Recruit or Regular just the same. If the counter stops short of 26, compare the crates you’ve opened against the fixed coordinates, then check the train and the truck.