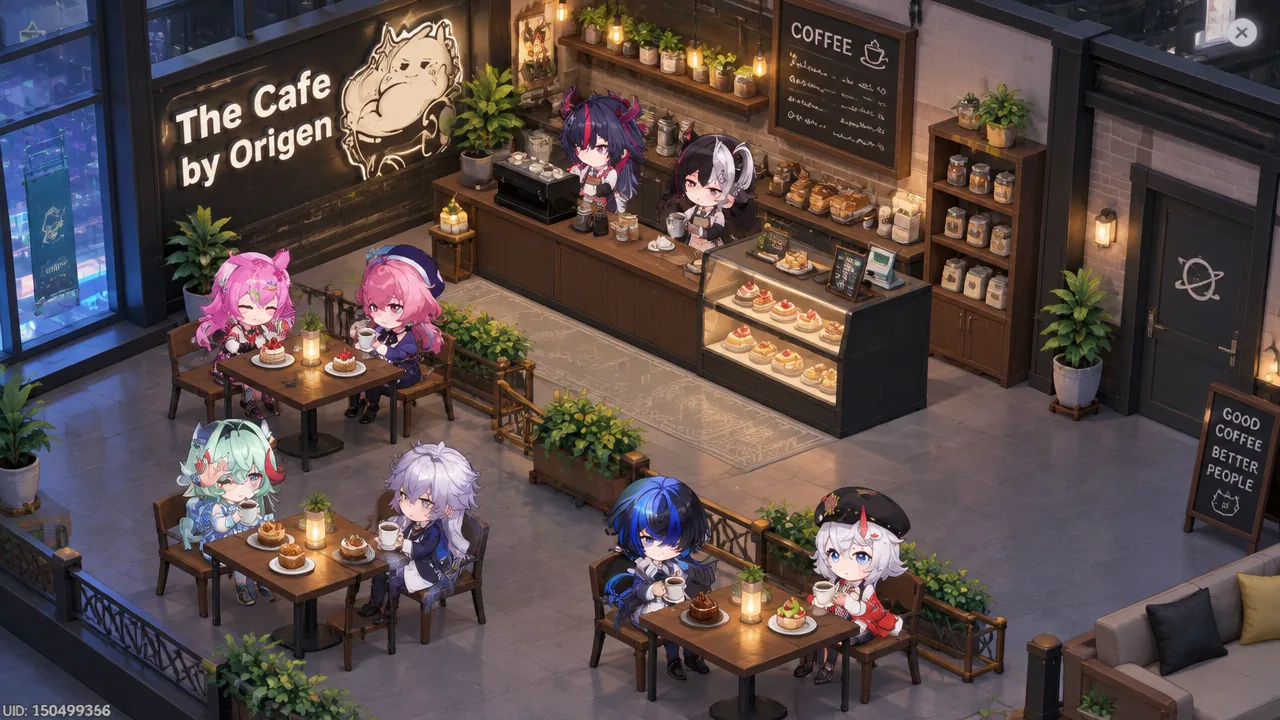
The Cafe by Origen is the passive Fons engine in Neverness to Everness, and by Version 1.3 the gap between a casual setup and a tuned one is large enough to matter. Income is not random. It comes from a small set of numbers you control directly, and every employee, dish, and piece of furniture either raises one of those numbers or does nothing at all.
Quick answer: Fill all six shelf slots with the highest-priced dishes that share a single tag, assign one price-boosting employee and one traffic-boosting employee to each shop, buy furniture only until each shop hits its popularity cap, then reopen Shop Management and confirm the total revenue per hour figure has gone up.
How Cafe by Origen revenue is calculated
Per-dish revenue follows a simple shape: the price of the dish multiplied by traffic divided by 100. Everything else is a modifier feeding one of those two terms. Employee life skills either add flat Fons to dish prices, add a percentage based on tags, or add raw customers to traffic. Shop popularity then applies an income multiplier on top of the result.
Because price and traffic multiply each other, a shop that only stacks price boosters is leaving money behind, and so is one that only stacks traffic. The strongest configurations pair the two. That is also why traffic percentages, such as a 1% boost to base total traffic, are worth more than they look — they scale against every price bonus you have already stacked.
Management Level rises automatically from the cumulative revenue you collect, so leaving earnings uncollected slows your progression through the level unlocks that make the cafe cheaper and more profitable to run.
The five shops, unlock costs, and popularity caps
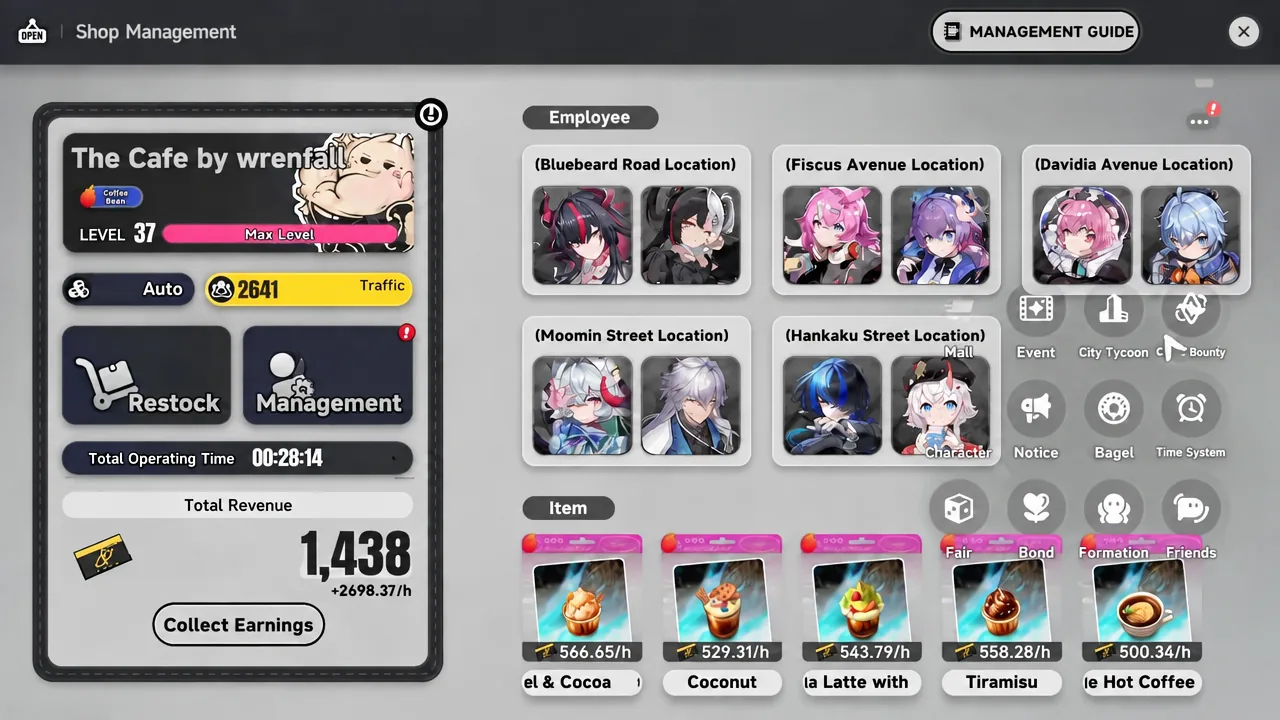
You can own five branches at once. The cafe system itself unlocks at City Tycoon Rank 4, which requires 200,200 Fons and 10 City Stamina spent. Bluebeard Road is the starter shop with 2,400 base traffic and the weakest popularity scaling; the two big shops at the end of the list carry the highest multipliers.
| Shop | Unlock | Cost | Popularity cap → bonus |
|---|---|---|---|
| Bluebeard Road | Mgmt. Lv1 | 5,000 | 150 → +0.01 |
| Fiscus Avenue | Mgmt. Lv5 | 20,000 | 500 → +0.015 |
| Davidia Avenue | Mgmt. Lv10 | 40,000 | 500 → +0.015 |
| Moomin Street | Mgmt. Lv17 | 75,000 | 750 → +0.025 |
| Hankaku Street | Mgmt. Lv25 | 100,000 | 750 → +0.025 |
Buy each property the moment it unlocks. More shops mean more menu slots running at once and more total traffic, and the cost is recovered by passive income rather than by any active grind.
Menu slots, dish tags, and why tag counting decides your roster
The shelf holds six dishes at a time. There are 18 dishes total, split into seven Beverages, six Main Dishes, and five Desserts, and each one has three levels that unlock at Management Level milestones and raise its base price. Coconut Latte climbs from 2.4 to 10.2 Fons across its levels, Coconut Macchiato from 8.6 to 16.0, and Iced Mocha from 3.0 to 10.6. The Level 2 Caramel & Cocoa Mille-Feuille reaches 18.0 Fons, the highest single dish price in the game.
Raw price is only half the decision. Several life skills read the tags on your shelf, so the composition of those six slots switches skills on or off. Three Beverage-tagged dishes are enough to turn on Shinku, Sakiri, and Aurelia, while two Dessert-tagged dishes activate Lacrimosa. Fill the shelf without checking tags and you can end up with an expensive menu that pays out less than a cheaper, tag-aligned one.
Tip: after every Management Level up, recheck the shelf. New high-tier dishes and recipe upgrades between levels 26 and 40 can change which combination wins, and older dishes sometimes catch back up once their level unlocks land.
Daily Trends and the flat price bonus
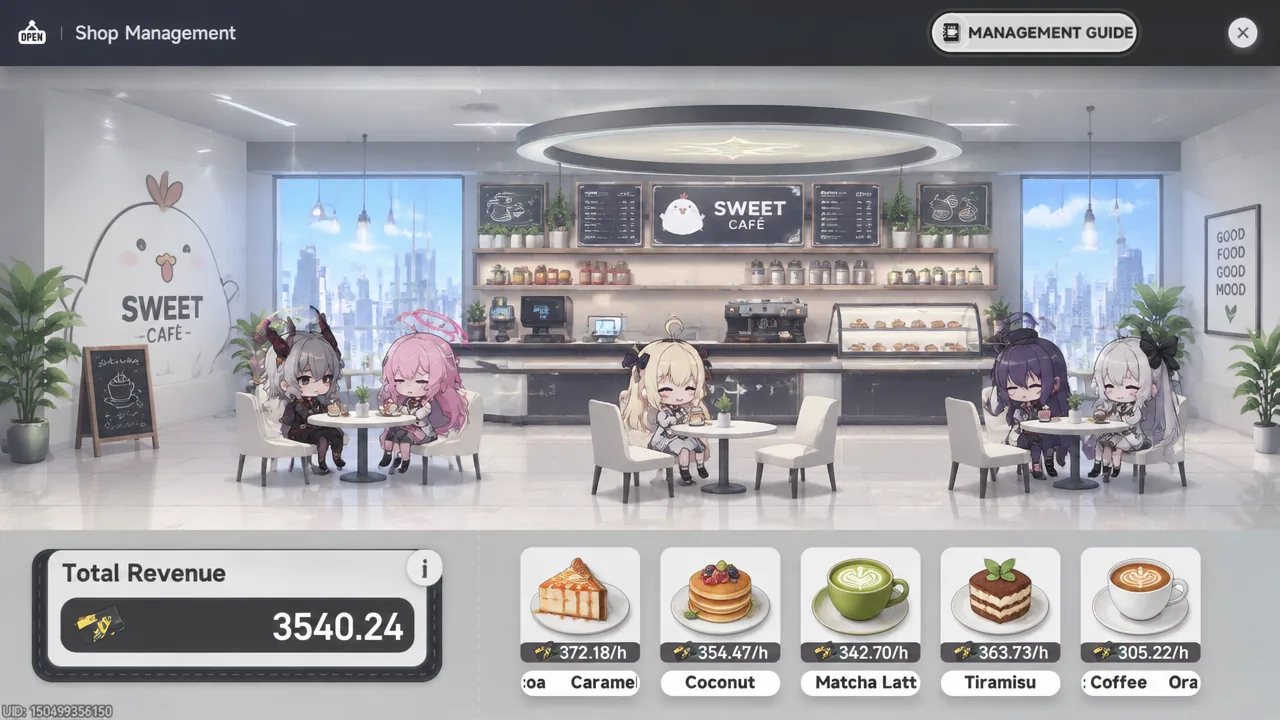
At Management Level 20 the Trends system unlocks and rotates one trend per day. Ingredient trends cover Flour, Fruit, and Coffee Beans and add a flat +0.75 Fons to every dish using that ingredient. Category trends cover Beverages, Main Dishes, and Desserts and add +1.0 Fons to that whole section of the menu.
Coffee Beans is the widest ingredient trend, hitting eight dishes including all seven Beverages. On a Beverages category day, running all seven drinks plus a single filler is usually the strongest shelf. Checking the trend before you leave the cafe idle is one of the cheapest daily gains available.
Employee life skills: price boosters, traffic boosters, and tag scalers
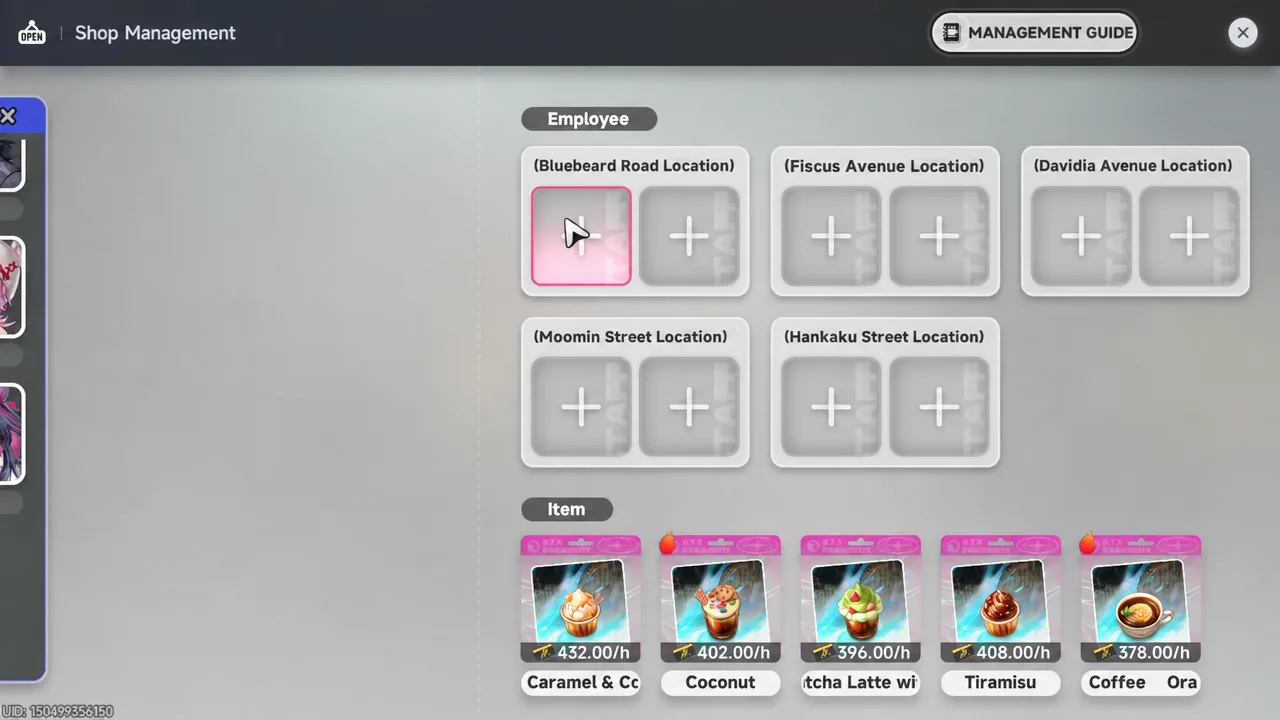
Each shop takes two employees. Every life skill has five levels — Level 1 is the headline effect, Levels 2 through 4 each shave 1% off ingredient consumption for a total of 3%, and Level 5 upgrades the headline effect.
| Employee | Level 1 effect | Level 5 effect |
|---|---|---|
| Nanally | +0.2 Fons per Main Dish tag | +0.3 Fons per 2 Main Dish tags |
| Lacrimosa | +1% price per Dessert tag | +1.5% per 2 Dessert tags |
| Aurelia | +1% traffic per Beverage tag | +1.5% per 2 Beverage tags |
| Sakiri | +0.12 Fons to dish prices | +0.3 Fons on dishes with 3 identical tags |
| Haniel | +0.12 Fons to dish prices | +0.18 Fons to dish prices |
| Adler | +0.12 Fons to dish prices | +0.18 Fons to dish prices |
| Mint | +0.12 Fons to dish prices | +0.18 Fons to dish prices |
| Skia | +18 traffic | +27 traffic |
| Daffodill | +18 traffic | +27 traffic |
| Baicang | +18 traffic | +27 traffic |
| Chiz | +18 traffic | +27 traffic |
| Edgar | +18 traffic | +18 traffic at Lv3, +27 at Lv5 |
Note: Haniel‘s price bonus applies to every dish regardless of tags, which makes him the safest slot in any shop whose menu you plan to keep changing. Nanally and Lacrimosa are the opposite — they only pay out if you deliberately load the shelf with their matching category.
Version 1.3 roster building and budget alternatives
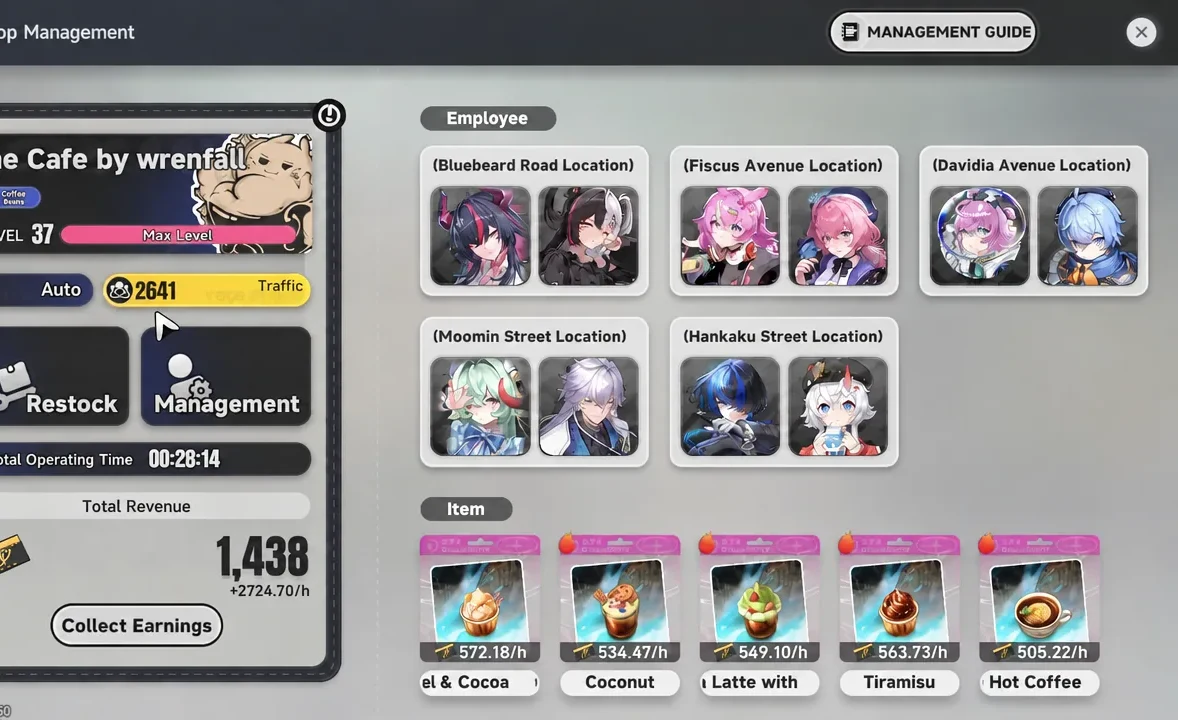
The pattern that holds up in Version 1.3 is a beverage-heavy shelf paired with a price unit and a traffic unit. Shinku sits at the top of the price side, with Sakiri and Aurelia riding the same three-Beverage requirement, and Lacrimosa converting two Dessert slots into a percentage price increase. Swapping a flat-traffic unit such as Skia into a shop visibly shifts the shop’s total traffic value, which is the fastest way to sanity-check that a skill is actually firing.
If you do not own the limited units, the loss is smaller than it looks. Flat +27 traffic from Skia, Daffodill, Baicang, or Chiz is available to everyone, and Haniel, Adler, and Mint all reach +0.18 Fons on every dish at Level 5. A roster built entirely from those units still clears a large share of the ceiling.
Outside the employee slots, Hotori’s Level 6 Bond Decor, Exclusive Customer Service, adds a 1% boost to base total traffic. Because it multiplies rather than adds, it stacks cleanly on top of whatever price bonuses your shops already carry.
Spend Dreamless Seeds across shops rather than dumping them into one character. Getting the first life skill level online in every shop beats pushing a single employee to Level 5 while three shops sit empty. Consumption reduction is worth prioritising early, since a shop that runs out of ingredients earns nothing at all.
Furniture: hit the popularity cap, then stop spending
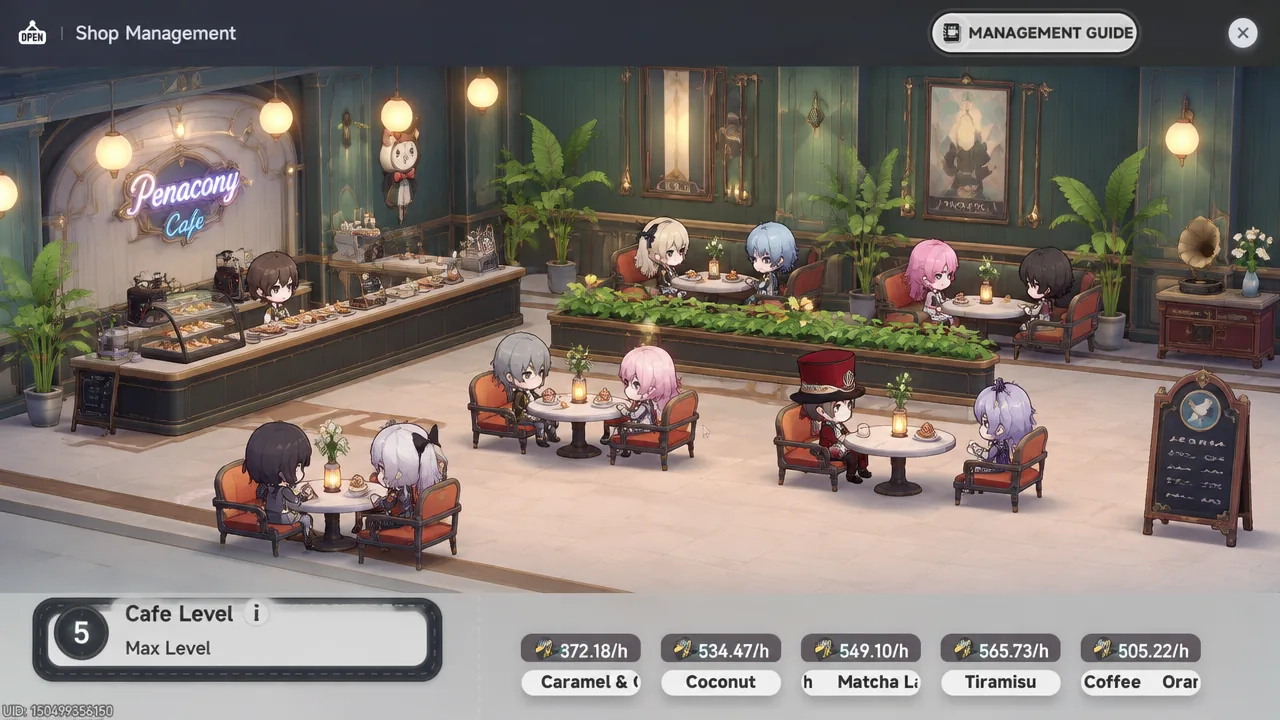
Popularity comes from Tables & Chairs, Walls, and Decor, and it raises hourly revenue up to each shop’s cap. Anything past the cap is wasted Fons. Tables and chairs give the most popularity per Fons, so buy those first and cover the remainder with wall decor. Four-seat furniture is the best value per Fons; on the fourth and fifth shops, mixing in a two-person Rustic Double Seat worth 80 popularity slightly lowers the total bill.
| Shop | Minimum furniture | Fons |
|---|---|---|
| Bluebeard Road | Cream Double Seat ×1, Boss’s Approval ×1 | 8,500 |
| Fiscus Avenue / Davidia Avenue (each) | Rustic Four-Seat ×2, Cream Double Seat ×1, Boss’s Approval ×2 | 17,500 |
| Moomin Street / Hankaku Street (each) | Rustic Four-Seat ×3, Rustic Double Seat ×2, Boss’s Approval ×6 | 35,500 |
| All five shops | Rustic Four-Seat ×10, Cream Double Seat ×3, Rustic Double Seat ×4, Boss’s Approval ×17 | 114,500 |
Boss’s Approval can be substituted with any other wall decor of equivalent popularity value. Furniture is bought from Dorn at the DeLuxur Decor shop.
Management Level unlocks that change your income
| Level | Unlock |
|---|---|
| 2 | Delivery unlocked, 80% fee |
| 15 | Delivery fee drops to 60% |
| 20 | Delivery fee 40%, Trends unlocked |
| 22 | Direct upgrades for displayed menu items |
| 25 | Delivery fee 20% |
| 30 | Delivery is free |
| 40 | Auto restock unlocked |
Auto restock can be toggled off from the Restock screen if you would rather manage ingredients manually. Until you reach it, the warehouse holds 72 hours of ingredients, so topping it off before a long idle stretch keeps every shop earning.
Why cafe revenue stops moving
If your hourly figure will not budge after a change, the cause is almost always one of these:
- Ingredients ran out. Earnings stop completely while a shop is out of stock.
- A tag-based skill is not active. Aurelia, Lacrimosa, Nanally, and Shinku need a specific number of matching tags on the shelf before they do anything.
- The shop is already at its popularity cap, so additional furniture returns nothing.
- The employee’s life skill level has not been unlocked yet, so the assignment applies no buff.
To confirm a change worked, reopen Shop Management and compare the total traffic and total revenue values before and after the swap. Traffic shifts immediately when you add or remove a flat-traffic employee, and unlisting then relisting a tagged dish will move the traffic number if a percentage skill such as Aurelia’s is genuinely active.
Upgrade priority for Level 5 life skills
Level 5 is where the headline effects jump, so it is the target for the units you actually keep assigned. Push the flat traffic units to Level 5 first, since +18 to +27 is a straight 50% increase to that skill and it multiplies against every price bonus in the shop. Follow with the universal price units, where +0.12 becomes +0.18 on every dish. Tag scalers come last unless your shelf is permanently built around their category, in which case they move ahead of the flat price units.
Once all five shops are bought, staffed, capped on popularity, and running upgraded dishes that match the day’s trend, the cafe becomes the steadiest Fons source you have. It keeps paying while you are offline, and the Fons it produces feed straight back into Hunter Exchange materials, vehicles, and the rest of your account economy.