

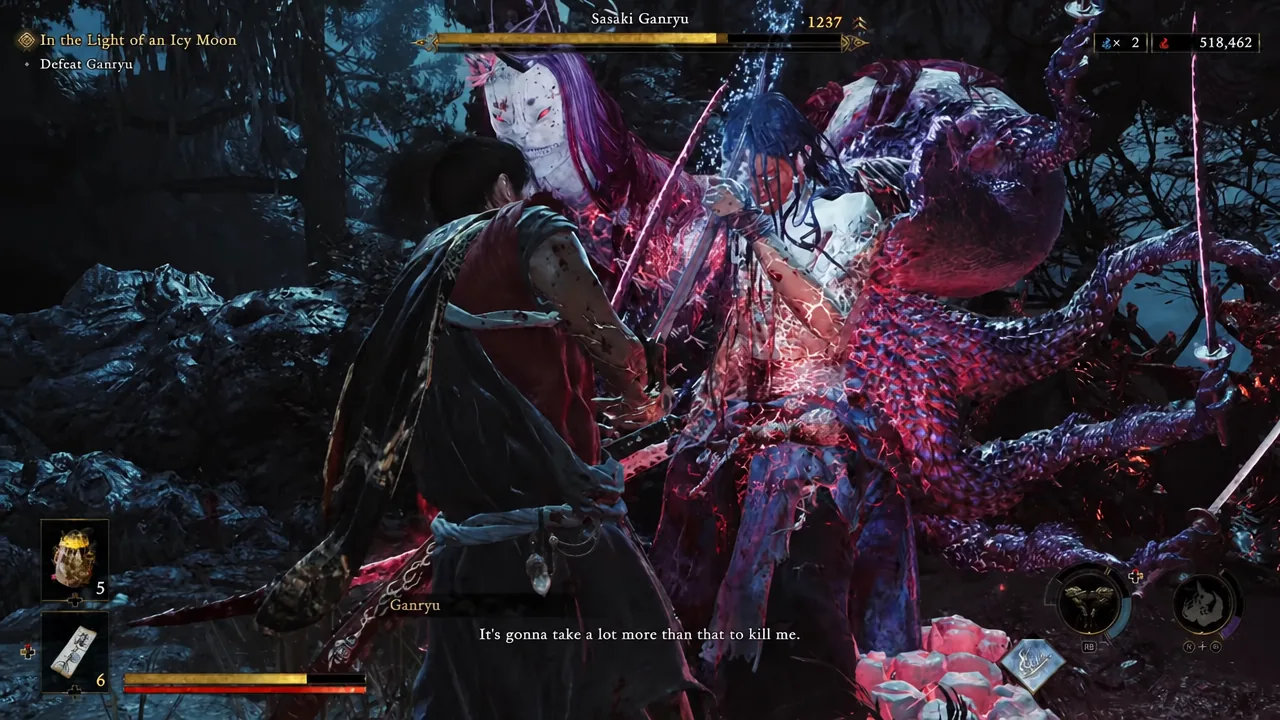
The Arashiyama rematch with Sasaki Ganryu lands during the quest “In the Light of an Icy Moon,” and it opens with him calling on the beast Gioh before steel ever crosses. It is still a duel first, though, and it is won the same way every Ganryu fight is won: by holding your guard, punishing his sword strings with parries, and turning the stagger into a Break Issen.
Quick answer: Stay on guard and parry Ganryu’s sword attacks to drain his stamina, dodge the grab when his arm glows white, and spend every stagger on a Break Issen. Keep repeating until the objective flips from “Defeat Ganryu” to “Look for Dokyo.”
Where the Arashiyama fight sits in the quest
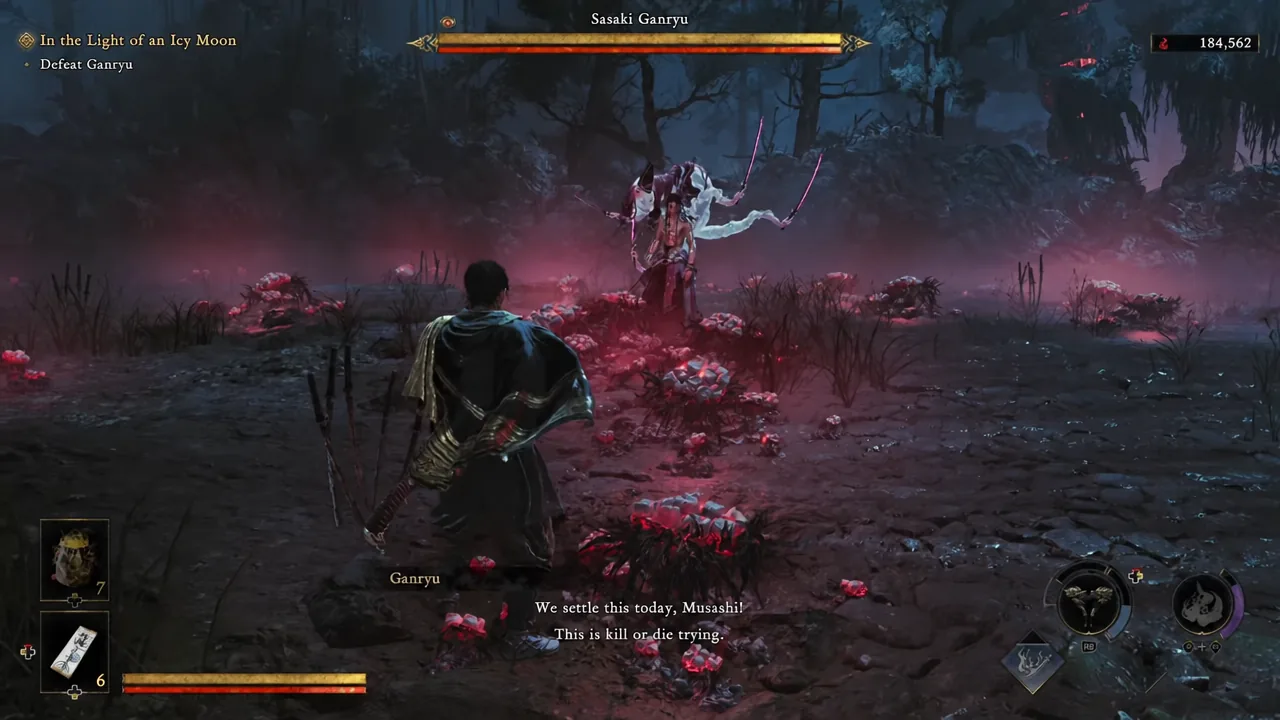
The encounter is gated behind the “Confront Ganryu” objective in the Arashiyama region. Once the opening cutscene plays out and Ganryu summons Gioh, the tracker switches to “Defeat Ganryu” and you are locked into the duel. Winning triggers a second cutscene, after which the quest points you toward Dokyo.
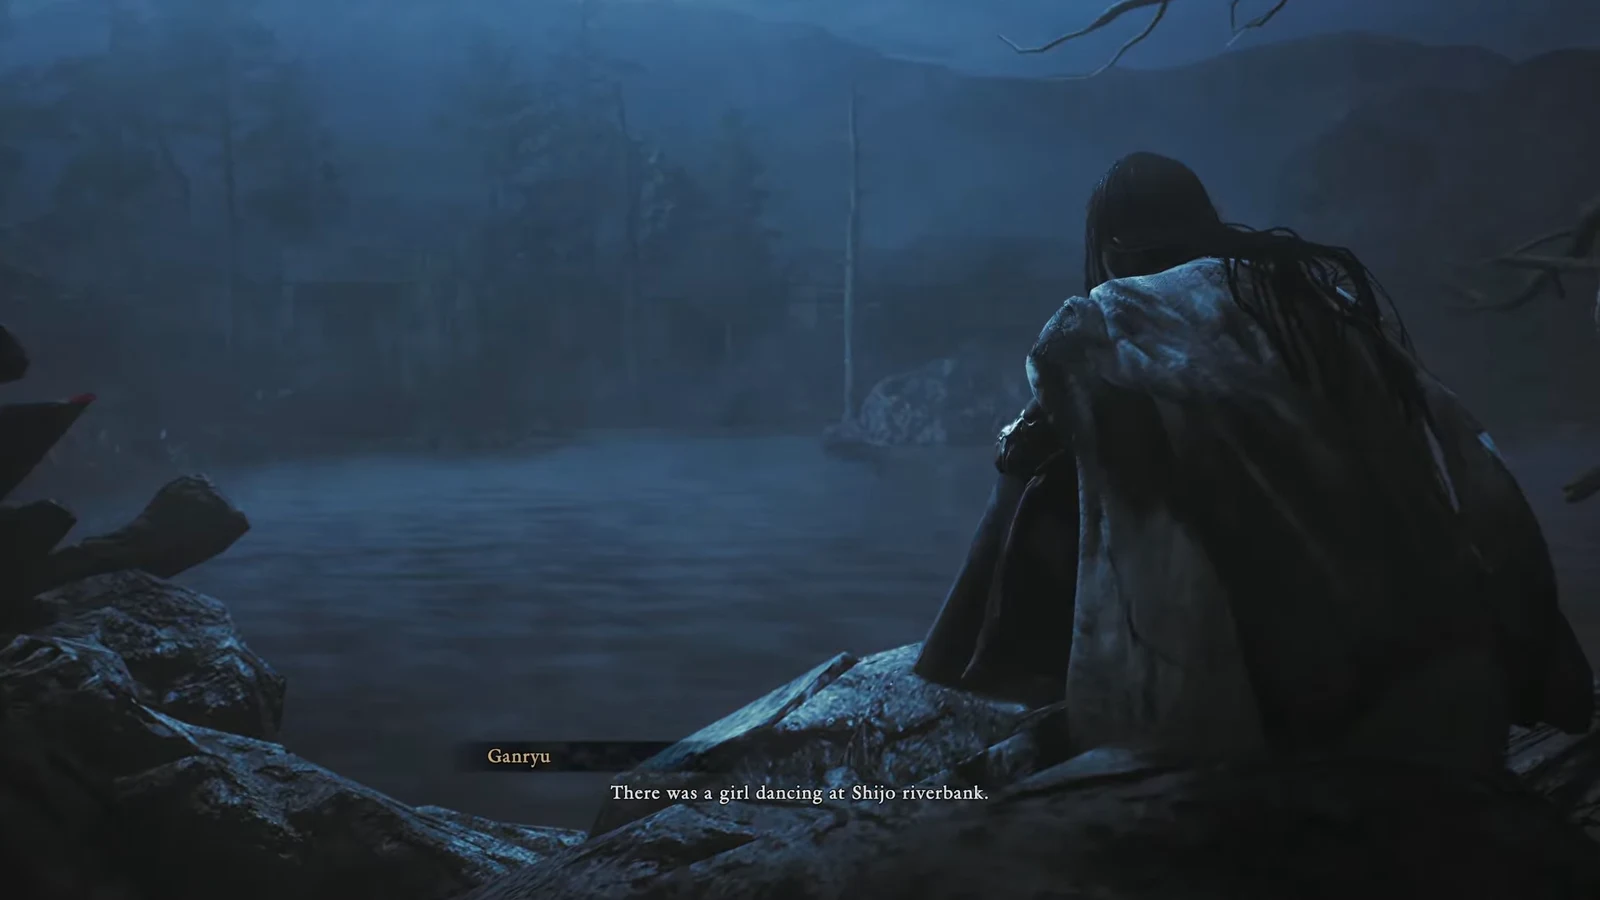
There is a Spirit Mirror close to the arena. Use it before you commit if you want to spend souls at Enhance Equipment / Abilities, warm up your timings at the Practice Ground, or fast travel out to Togetsu-kyo Bridge, Yasaka Shrine, Shijo Street or Swamp II to restock.
Difficulty settings: Action vs Story
There is no separate “normal” slider here. The game runs on two presets, and the standard combat-focused option is Action. You can swap between them at any Spirit Mirror through Change Difficulty Level, so a bad run does not force a restart of the chapter.
| Preset | What it means for this duel |
|---|---|
| Action (Combat Focus) | The standard combat experience. Ganryu’s strings hit hard and parry windows matter. |
| Story (Storyline Focus) | Weighted toward the narrative, with far less punishment for missed reads. |
Tip: if the timings are the problem rather than the damage, turn on action prompts in the menu. They surface the button you need on screen and make the parry rhythm much easier to internalise before you commit to the harder preset.
Ganryu’s attack patterns and the correct answer to each
Ganryu fights with erratic footwork and short feints designed to bait a swing out of you. Nearly everything he throws with the sword can be parried. The exception is the grab, which has to be evaded, and the leaping strike, which is safer to dodge than to meet head-on.
| Attack (tell) | Response |
|---|---|
| Step Back — short retreat with no swing | Hold guard and wait; it only sets up his next move |
| Sliding Slash — slides sideways, then cuts | Parry |
| Lunge — quick forward thrust | Parry, or sidestep and hit the flank |
| Direct Slash — follows the step back | Parry |
| Foot Stomp — stomp, then an immediate slash | Parry both parts; do not drop guard after the stomp |
| Aerial Slash — leaps up and strikes down | Dodge |
| Grab — arm glows white before he reaches | Evade; blocking will not save you |
| Triple Stab — three stabs in sequence | Parry each hit, then punish |
| Fake Out — a direct cut that turns into a side slash | Stay guarded through the feint and parry the real swing |
The winning loop: guard, parry, Break Issen
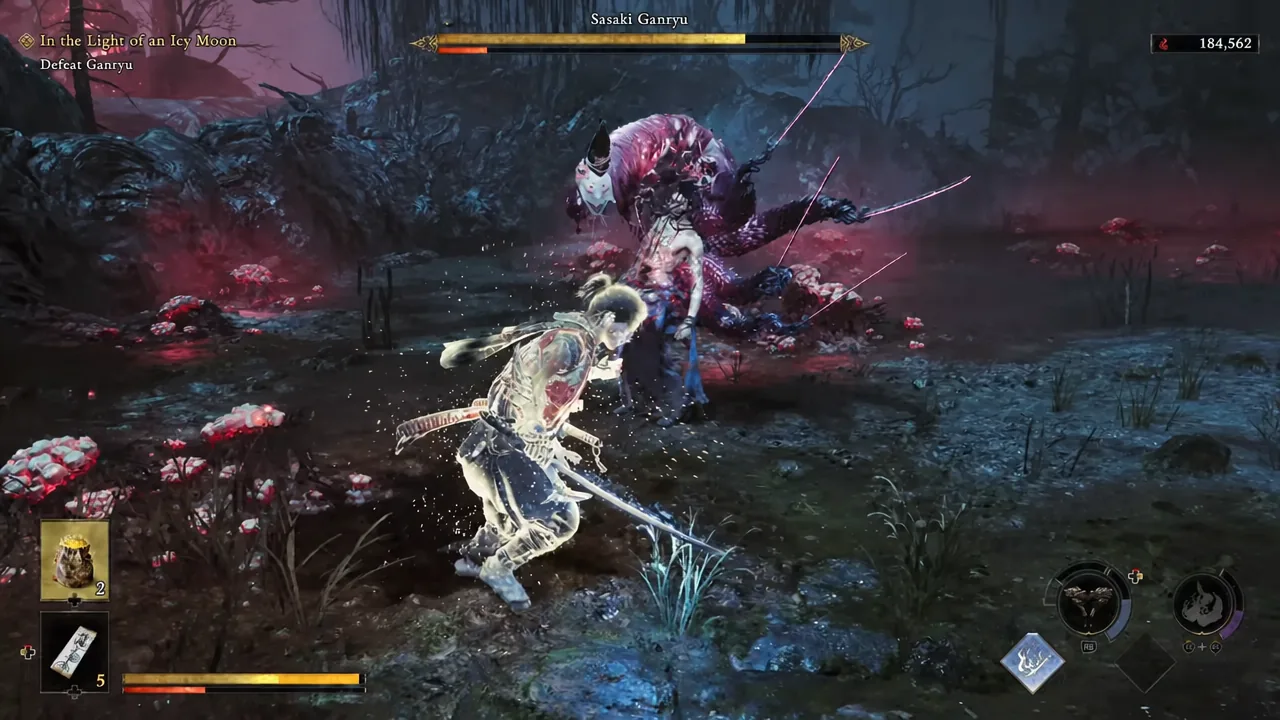
| Break Issen target | Reward |
|---|---|
| Head | Red orbs, used for upgrades and ability unlocks |
| Lower body | Blue and yellow orbs, which restore health and Oni Armament charge |
Souls, healing, and the Oni Armament
Soul absorption with the Oni Gauntlet is manual, and it is your main source of healing in a boss duel. That means you have to pick your moment. Pull souls in during Ganryu’s recovery frames or right after a stagger, never in the middle of one of his combos.
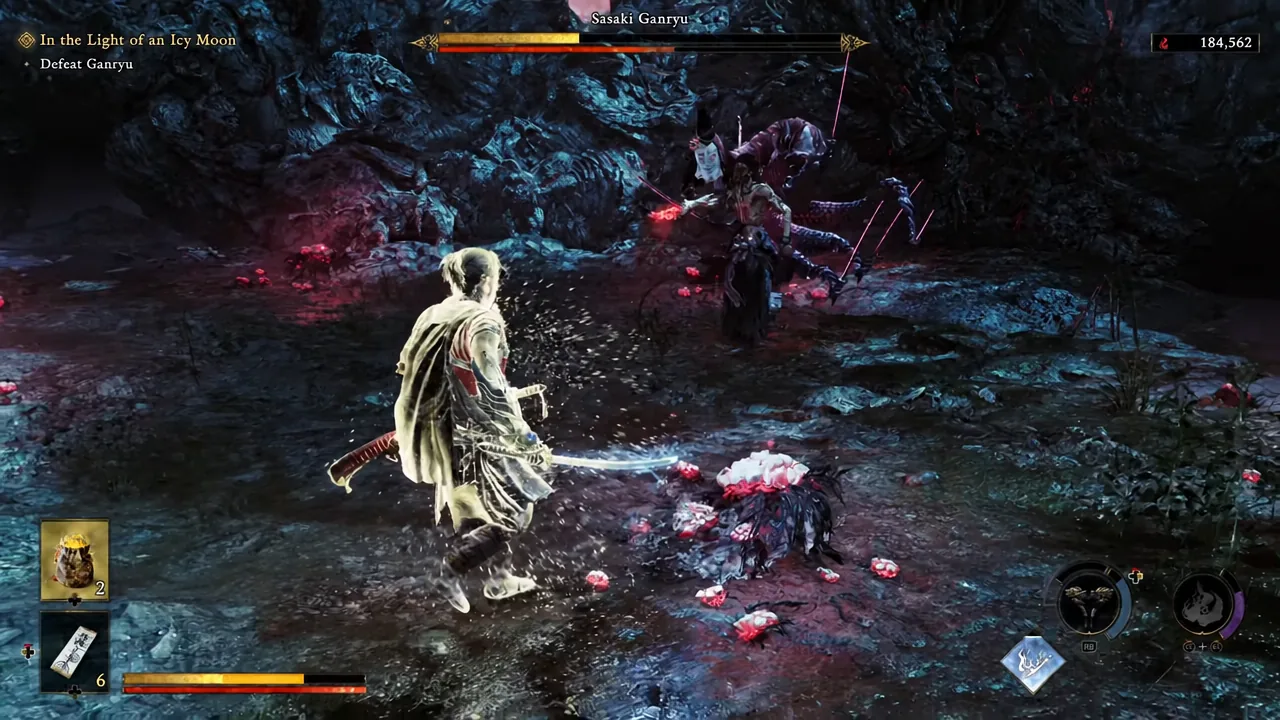
Blue orbs charge the Oni Armament gauge. Hold that charge for the moments when Ganryu turtles up or when you need to break his rhythm, since the weapon burns through a full gauge and then locks out until you refill it. Absorbing souls also feeds your upgrade currency, so nothing you pick up is wasted.
How to confirm the fight is over
The kill is unmistakable. Musashi lands the finishing blow, and the game cuts to Ganryu’s last moments as he reaches for his gauntlet and fails to get to it. If you die instead, the screen reads “You have fallen” and drops you back to your last checkpoint.
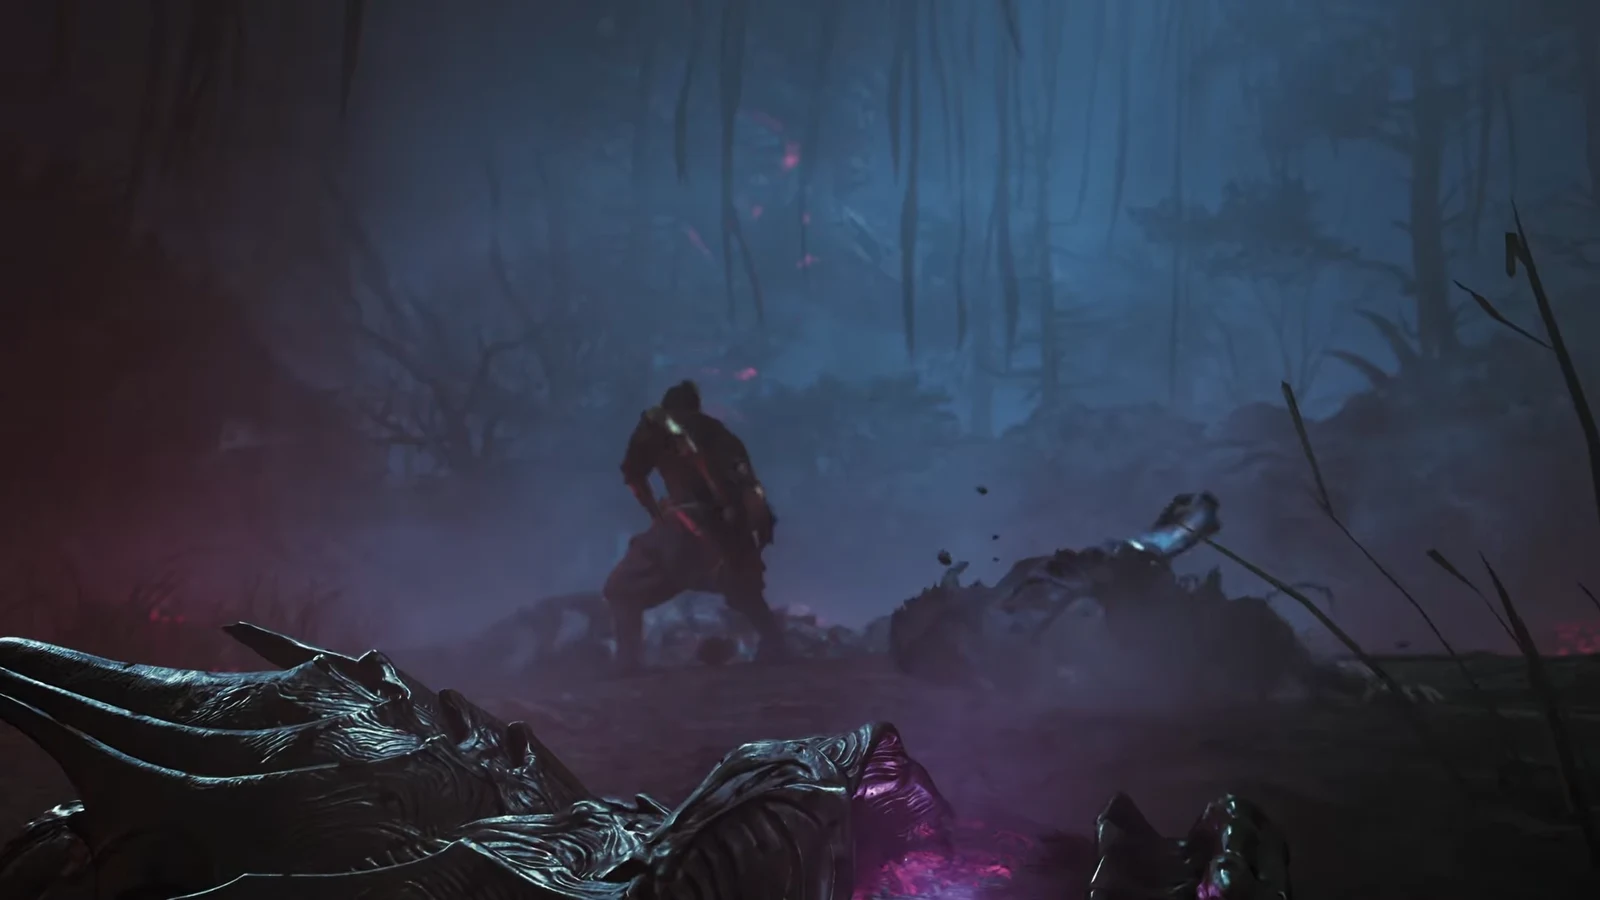
After the cutscene, the objective updates to “Look for Dokyo.” Head straight to the nearest Spirit Mirror and use Save so the clear is banked before you push on. The same menu also holds Travel, Storehouse, Change Honuki Pouch, Change Appearance and Additional Content if you want to reorganise before the next stretch.
Why runs fail here
- Trading hits instead of parrying. Raw damage barely moves Ganryu’s health compared to a stagger into Break Issen.
- Blocking the grab. The white glow on his arm is the cue to press evade, not guard.
- Absorbing souls mid-combo. Healing is manual and leaves you open, so it only works in his recovery gaps.
- Committing to a full combo after a single parry. Two or three hits and back to guard is the safe ceiling.
- Swinging during his step back. That move exists purely to bait an attack out of you.
If the duel keeps slipping away, drop to Story at the Spirit Mirror, clear it, and carry on. The parry reads you build here are the same ones the later rival fights ask for, and the timings transfer regardless of which preset you win on.





