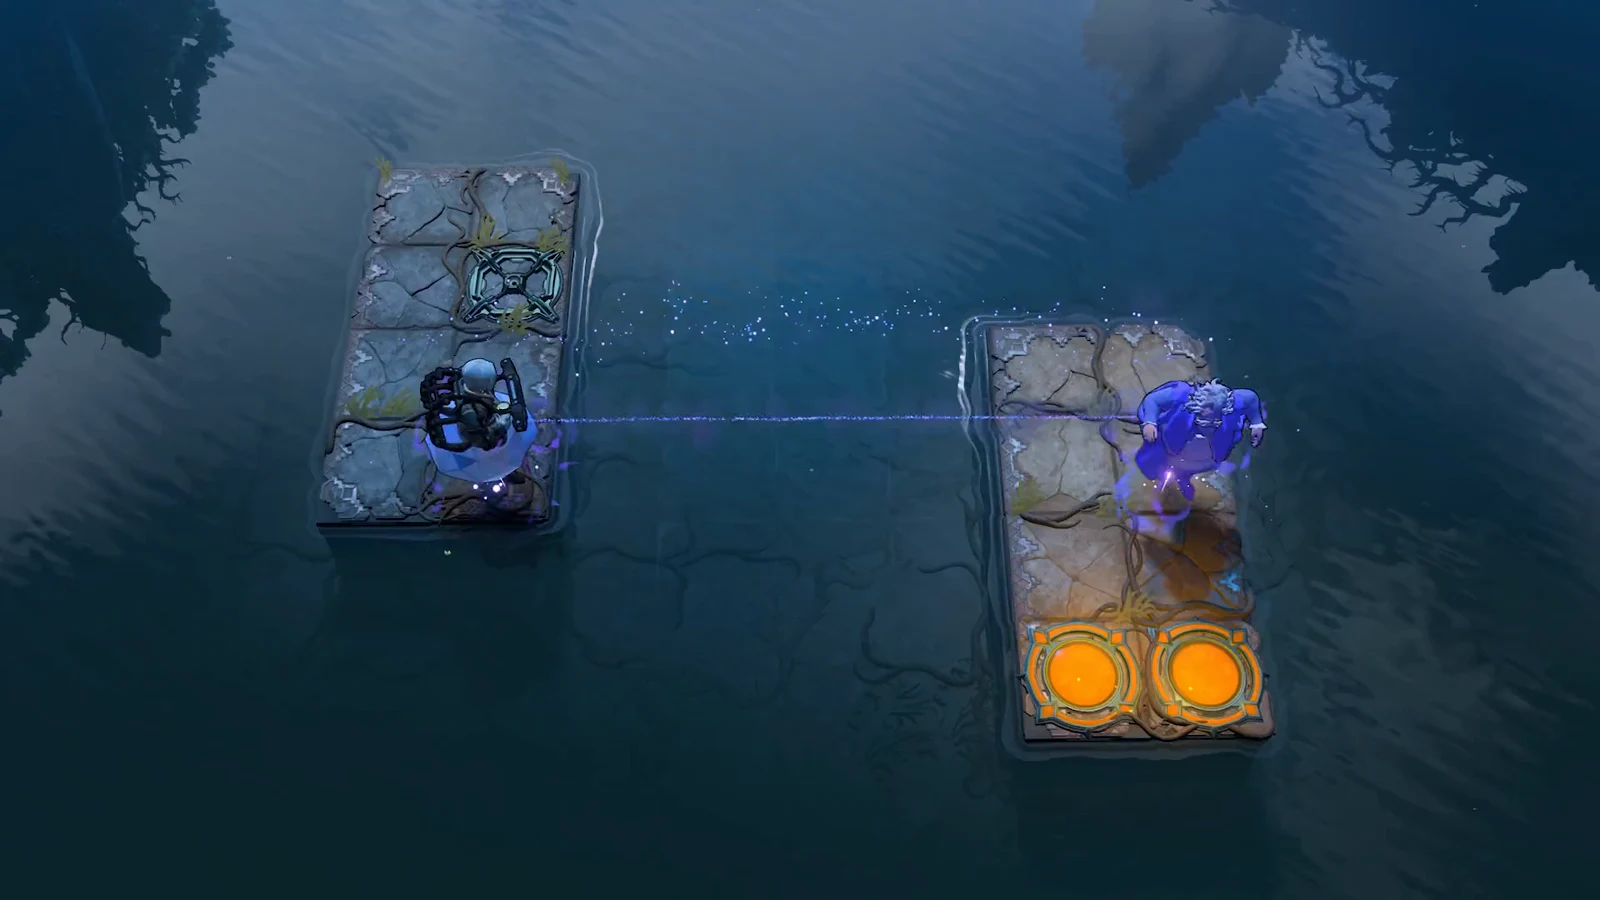
Heroes and Light, Advanced is the harder half of the Heroes and Beamcasters crossover in Order of the Sinking Star. It sits on the surface layer north of the Crossroads and holds 22 puzzles spread over six screens. Each room asks you to move heroes, crystals, gems and goblins so that a colored beam reaches its receiver. You use five heroes here, the Thief, Bard, Wizard, Warrior and Druid, and most rooms only open after you finish an earlier one.
Quick answer: Clear the Bard’s memory rooms and the outer courtyard, then finish the burned “Hell” town. That activates the Hell teleporter to the Antipode and unlocks the Antipode Hell achievement.
Heroes and Light, Advanced location and requirements
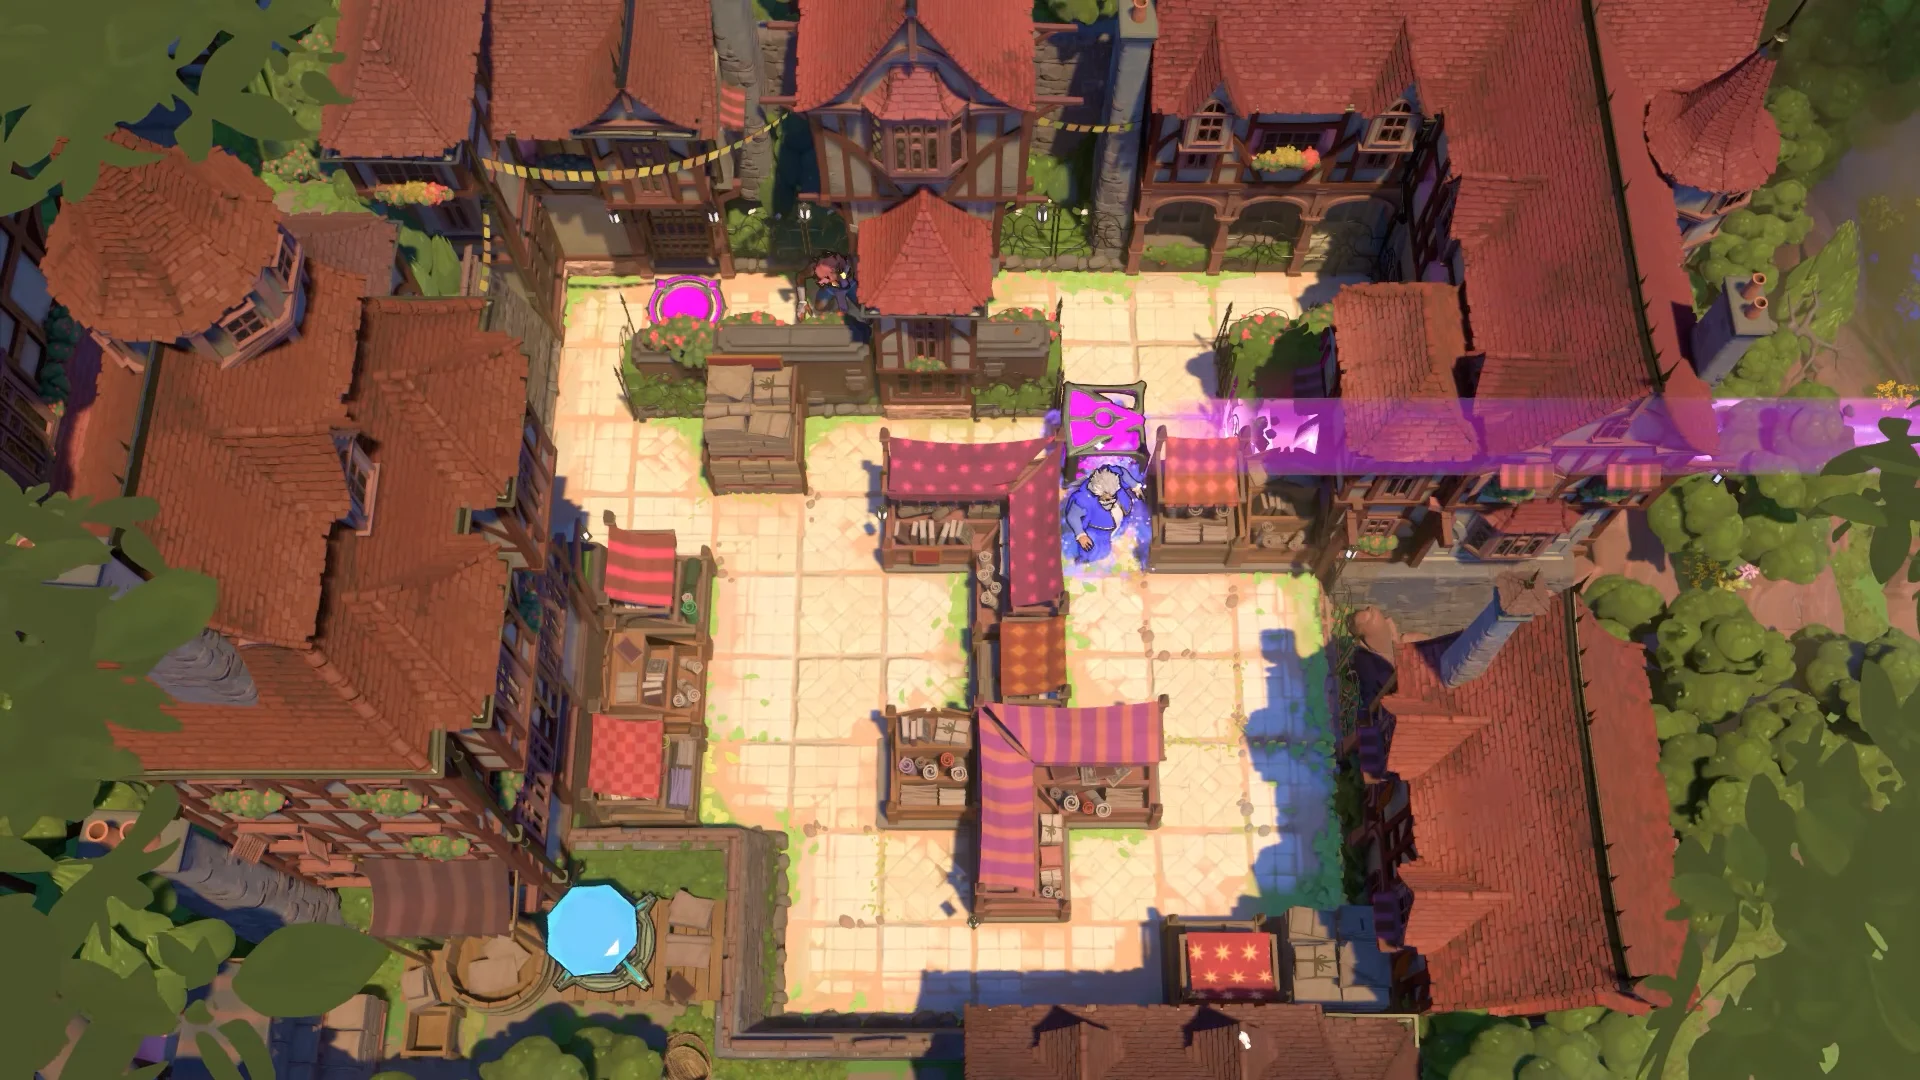
The Advanced rooms come after the base Heroes and Light area, which sits in the north-west of the map above Heroes and Artifacts. On the world map, Heroes and Light, Advanced is its own labeled zone. When you walk into its courtyard, the arena has a portal emblem you step on to start.
- Area type: Heroes and Beamcasters crossover, surface layer
- Size: 22 puzzles across 6 screens
- Heroes used: Thief, Bard, Wizard, Warrior, Druid
- Beam colors you will route: purple, gold and green
- Reward for finishing the Hell chain: the Antipode Hell achievement, held by about 7.1 percent of players
A game update on October 14th changed some levels and checkpoints. If your starting board does not match a solution, check the layout before you follow any moves.
Beam and hero rules in Heroes and Light, Advanced
Every room follows the same two layers of rules. Each hero keeps their normal Heroes ability. When a hero stands inside a beam, they also get that beam’s power. Crystals and goblins count as living things, so beams act on them as well.
| Beam color | What standing in it does |
|---|---|
| Yellow | Breaks rocks and crystals |
| Cyan | Lets you push |
| Red | Opens red energy blocks |
| Green | Walks through walls |
| Orange | Jumps two tiles at a time |
| Purple | Carries you to the beam’s far end |
| Hero | Own ability |
|---|---|
| Warrior | Pushes |
| Thief | Pulls |
| Wizard | Swaps places |
| Bard | Song drags a crystal along |
| Druid | Turns creatures into crystals |
Some edge cases come up again and again in these rooms. They explain most moves that seem odd at first.
- With a yellow beam active, pushing takes precedence over breaking. To shatter a crystal, approach from a direction that leaves it no room to slide.
- Purple stops at walls, stones and energy blocks. It passes through crystals.
- If a purple beam points toward an open map edge, you are launched off the map and die. A goblin pushed that way disappears permanently.
- A jump or a teleport is not a step, so the Thief lets go of whatever he was pulling.
- Energy blocks act like pistons. They shove whatever sits on their tile in the direction of their point, and they only crush it if the push is blocked.
The Wizard shows the basic setup in the base Heroes and Light rooms. You slide blocks so a beam crosses the chamber without hitting the wrong surface, then use the hero’s own ability to finish the line.
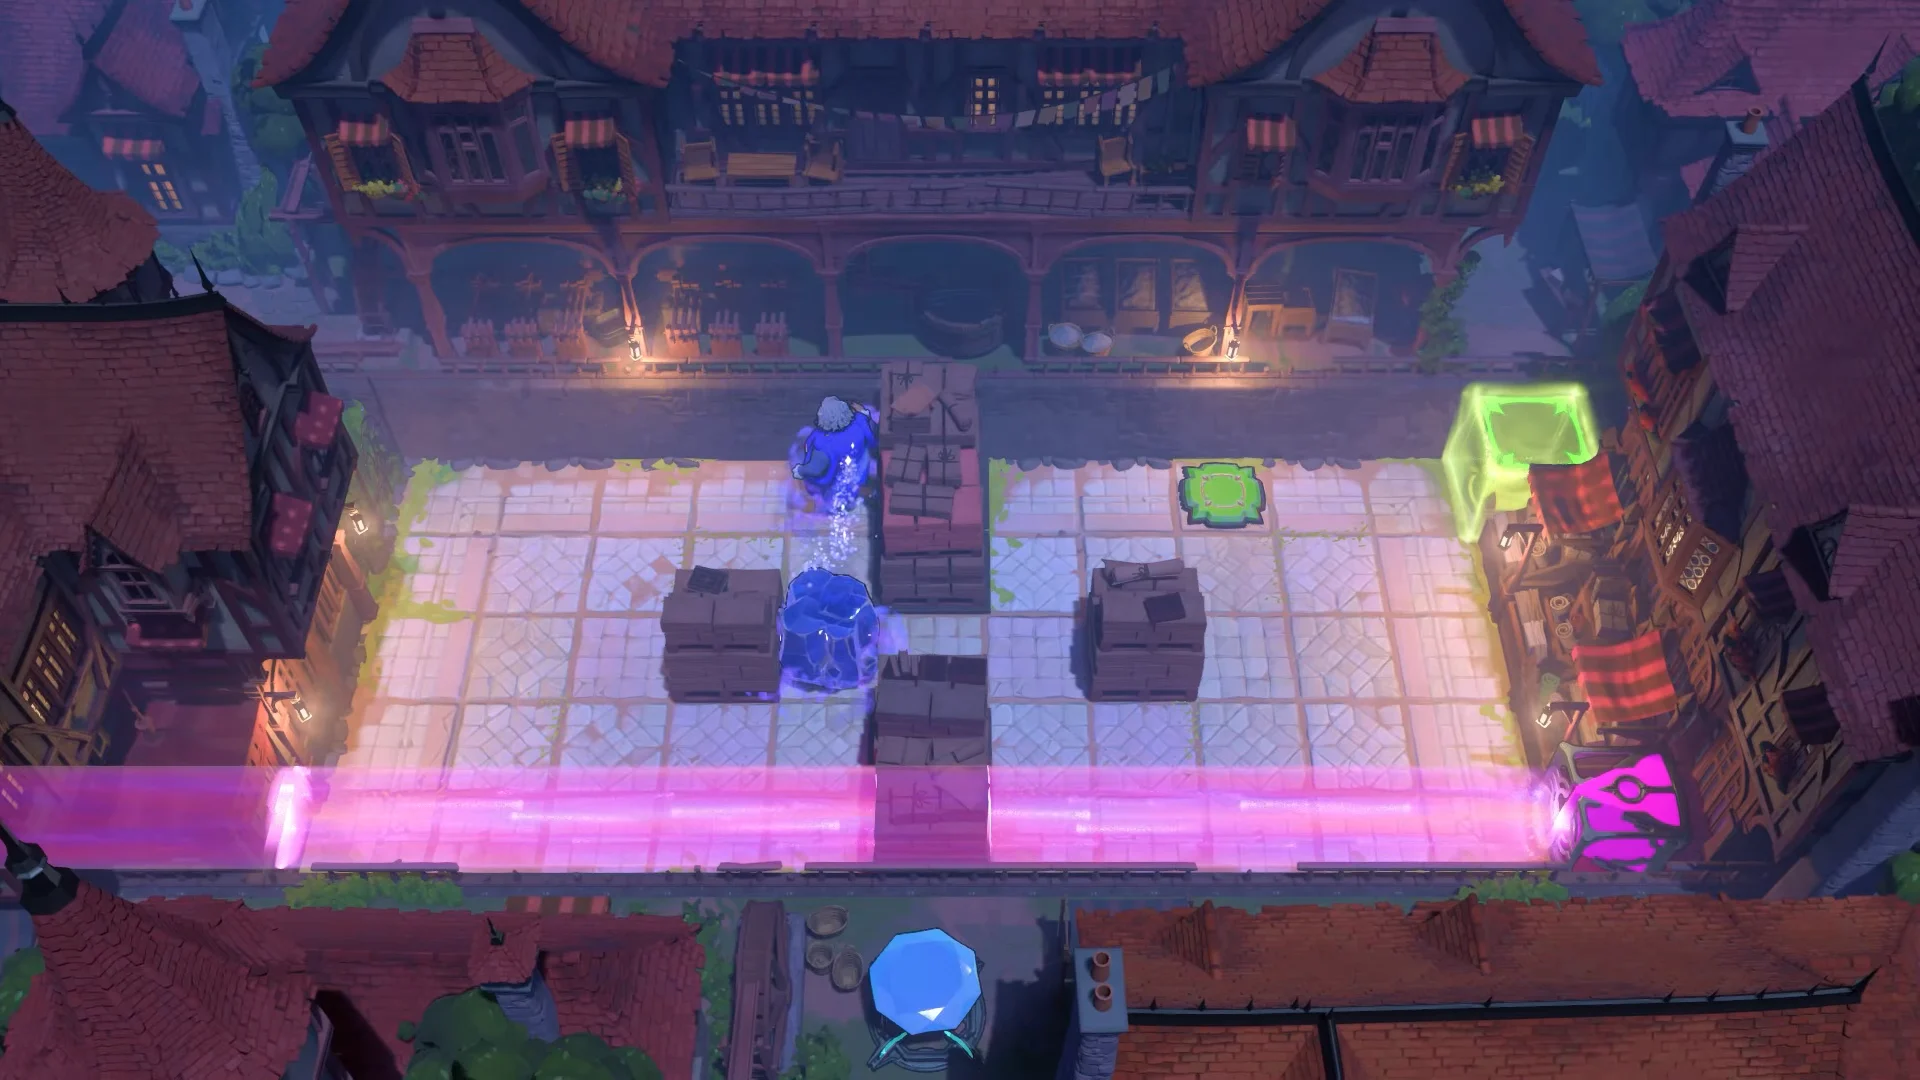
Mirrors and heroes can also block or redirect light. The town rooms use this a lot. A hero placed on the right tile changes the beam’s path, and a mirror turns it 90 degrees down another street.
Heroes and Light, Advanced puzzle order and unlocks
Puzzle numbers do not match the order you can play them in. On screen 2, puzzle 3 only opens after puzzle 6, and puzzle 2 only opens after puzzle 3. Plan your route around these links instead of following the numbers.
| Puzzle | Heroes | Key pieces | Solution length |
|---|---|---|---|
| 1 (screen 1) | Thief | 2 gems, beam source, 3 boulders | 160 steps |
| 2 (screen 2) | Bard | 2 beam sources, 2 crystals, gate | 42 steps |
| 3 (screen 2) | Thief, Bard | 7 goblins, 18 gems, 54 gates | 529 steps |
| 4 (screen 2) | Bard | 3 crystals, 3 buttons, 3 gates | 77 steps |
| 5 (screen 2) | Bard | 1 crystal, 2 gems, 2 beam sources | 64 steps |
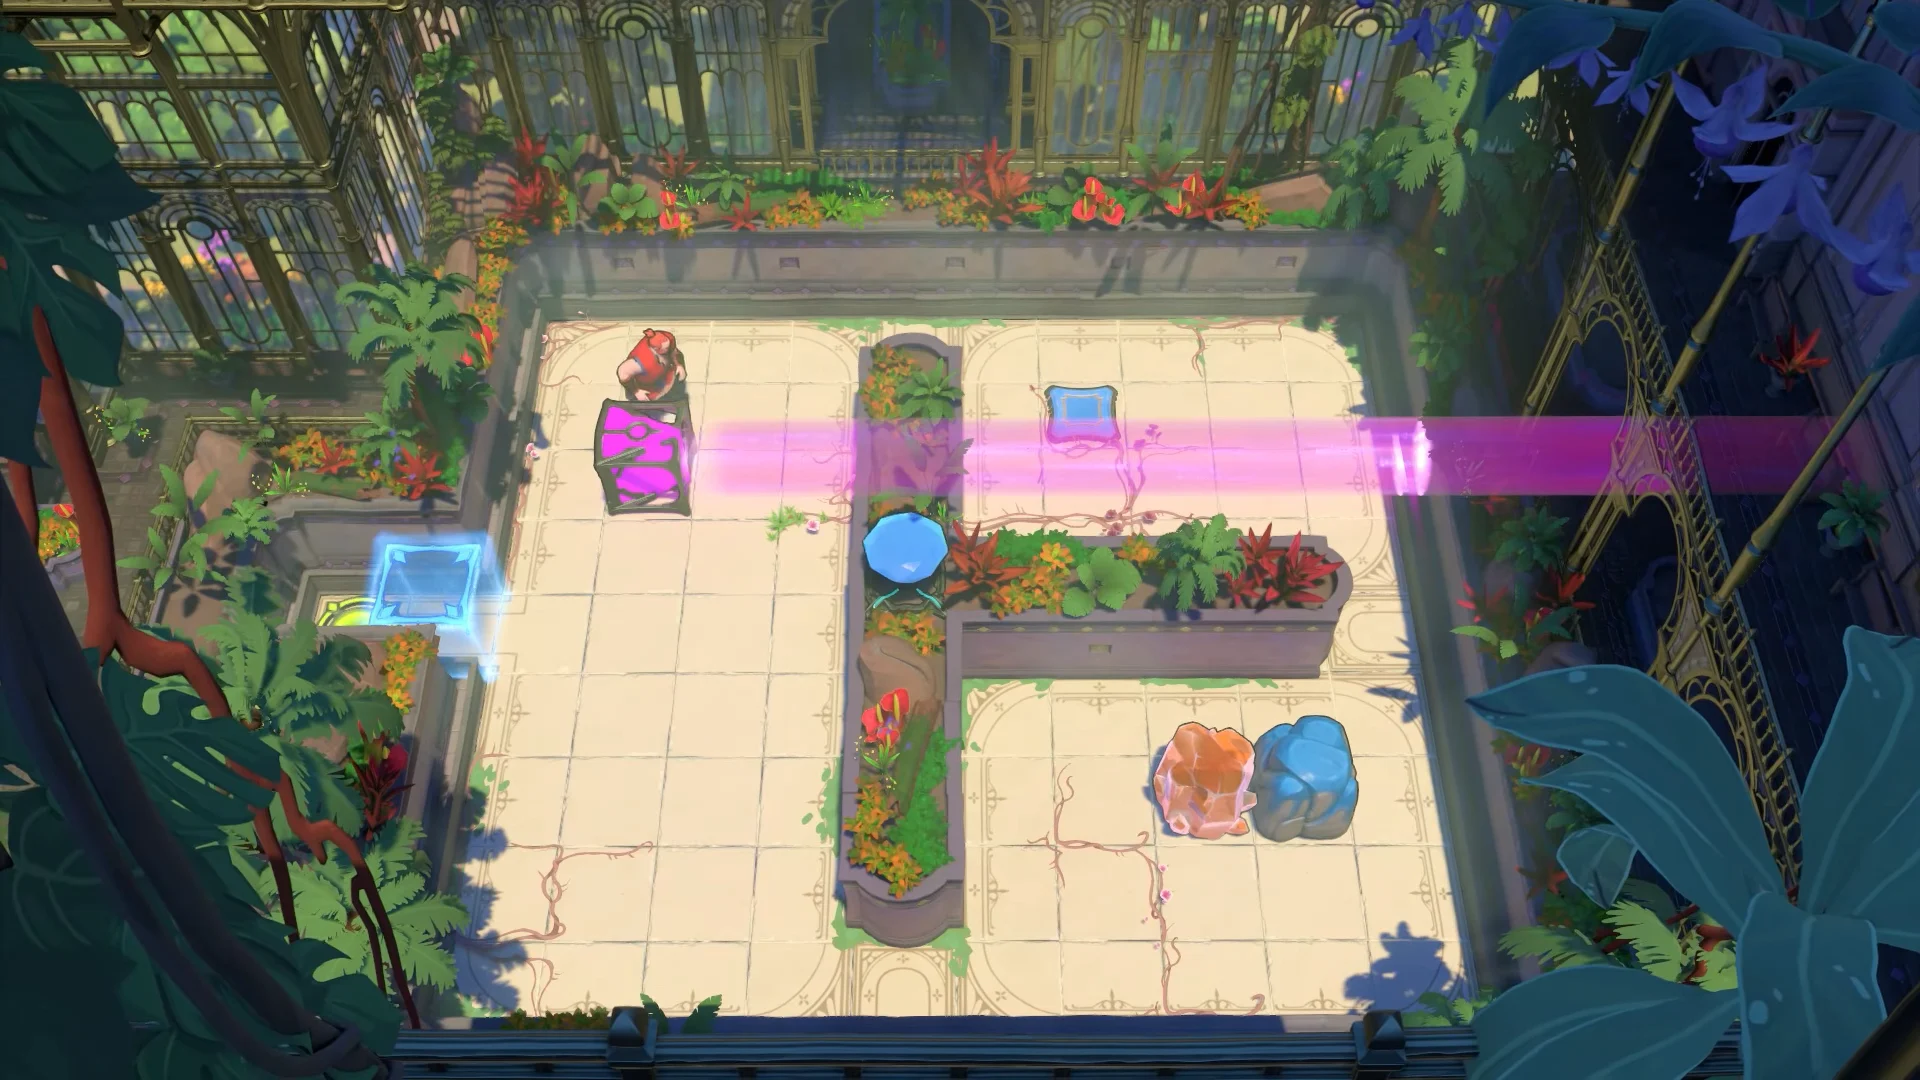
Puzzle 1 is mostly about the Thief pulling the beamcaster into place. Start by pulling the top beamcaster up. Then pull the bottom-right block 3 tiles left, and pull the beamcaster right. The Bard rooms on screen 2 move only crystals. In puzzle 2 both crystals change position, in puzzle 4 all three do, and in puzzle 5 only the single crystal moves. Everything else in those rooms stays where it starts.
Puzzle 3 is the long one, at 68 by 23 tiles. You use the Thief first, then switch back and forth with the Bard. Only the beamcaster and 2 of the 7 goblins need to move. To open it, pull the left beamcaster 2 tiles right, 7 tiles down, then 3 tiles left. To finish, pull it 5 tiles right. Then lead the second bottom-right goblin 4 tiles right, and pull the beamcaster 4 more tiles right before you leave.
Route through the Advanced courtyard, town and garden
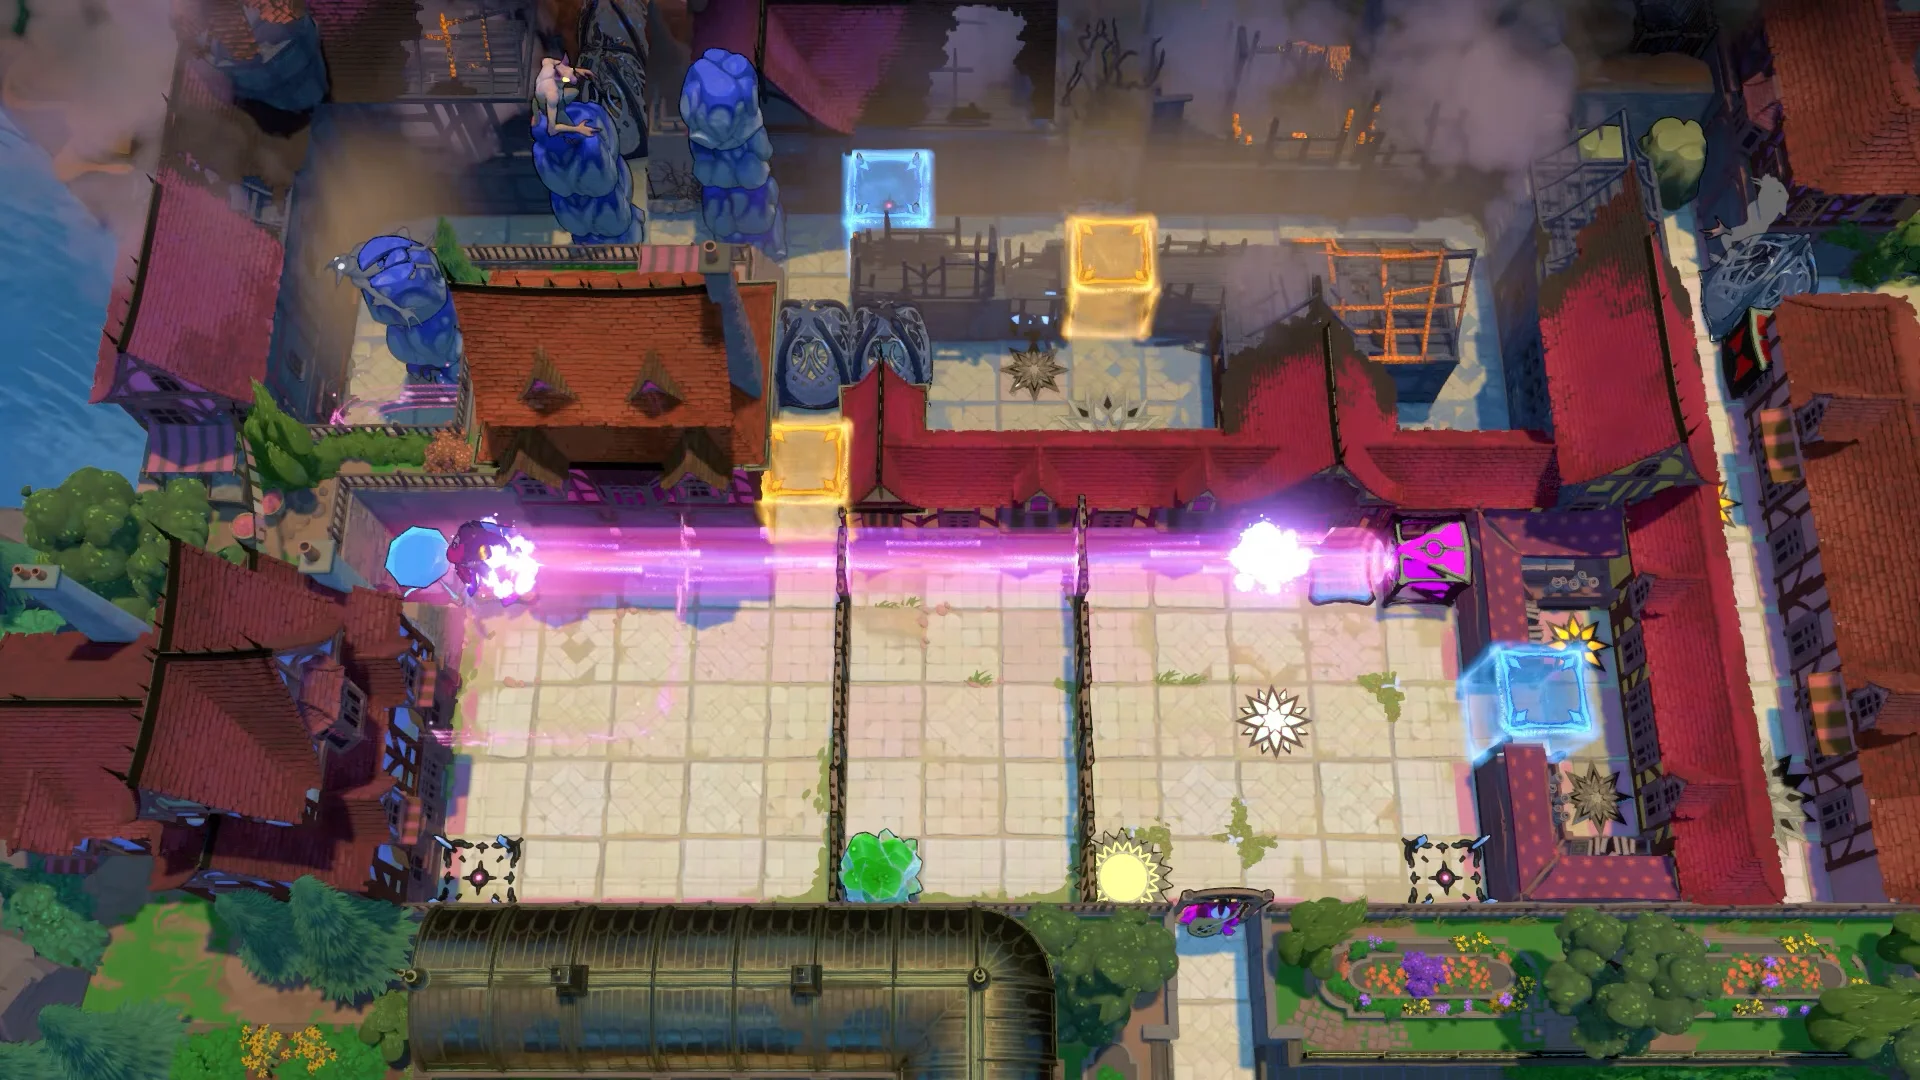
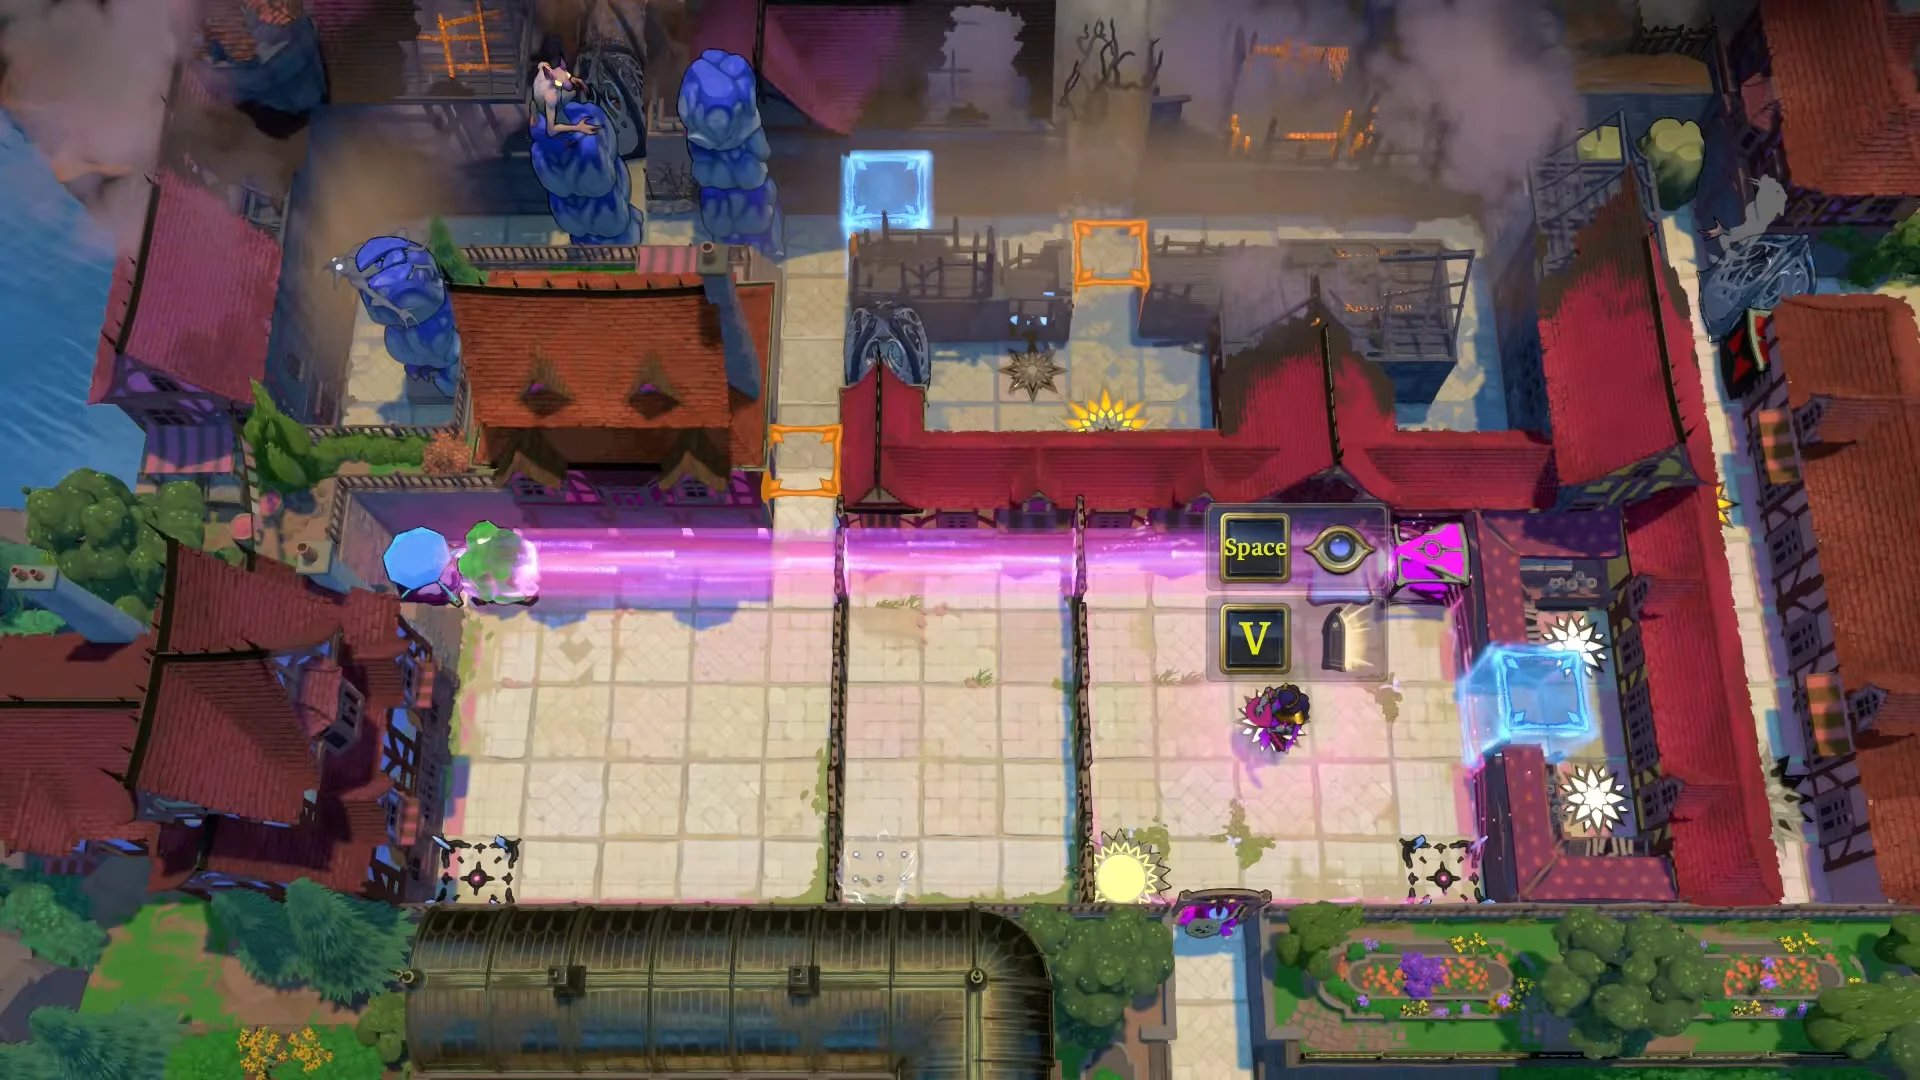
Loose stones can appear in the burned town even though they are not part of the puzzle. This is a loading bug. Objects from the world above fall into the area when the game loads.
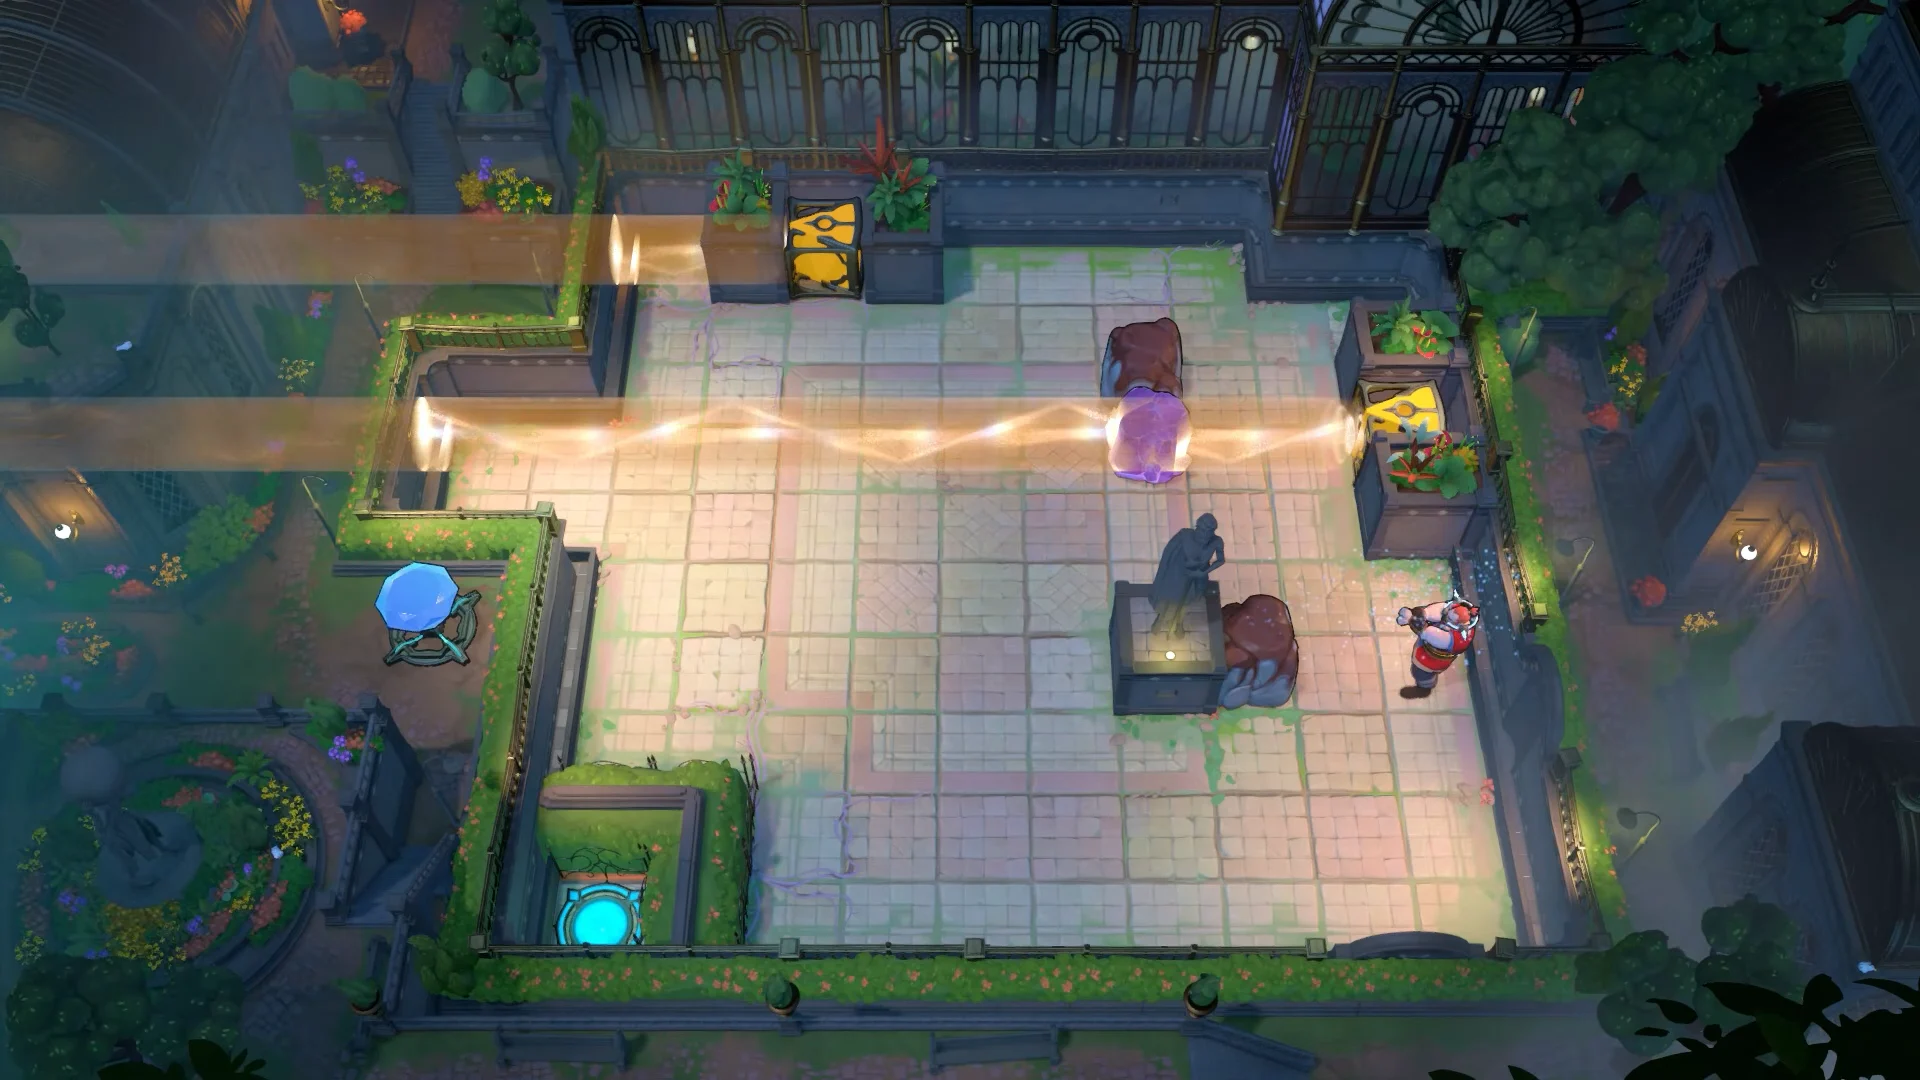
Antipode Hell achievement: Trigger and confirmation
The achievement has one condition, shown in its description as “Activate the Hell teleporter to the Antipode.” You do not need to clear all 22 rooms. It fires as soon as the burned-town chain is finished and the teleporter turns on.
You will know it worked when a notification reading “Achievement unlocked” appears with Antipode Hell and its 7.1 percent unlock rate. The Antipode is labeled on the world map next to Heroes and Light, Advanced. Once the remaining garden rooms are done, the gate on the sector’s far side opens and returns you to the overworld map, with new paths open to the neighboring regions.