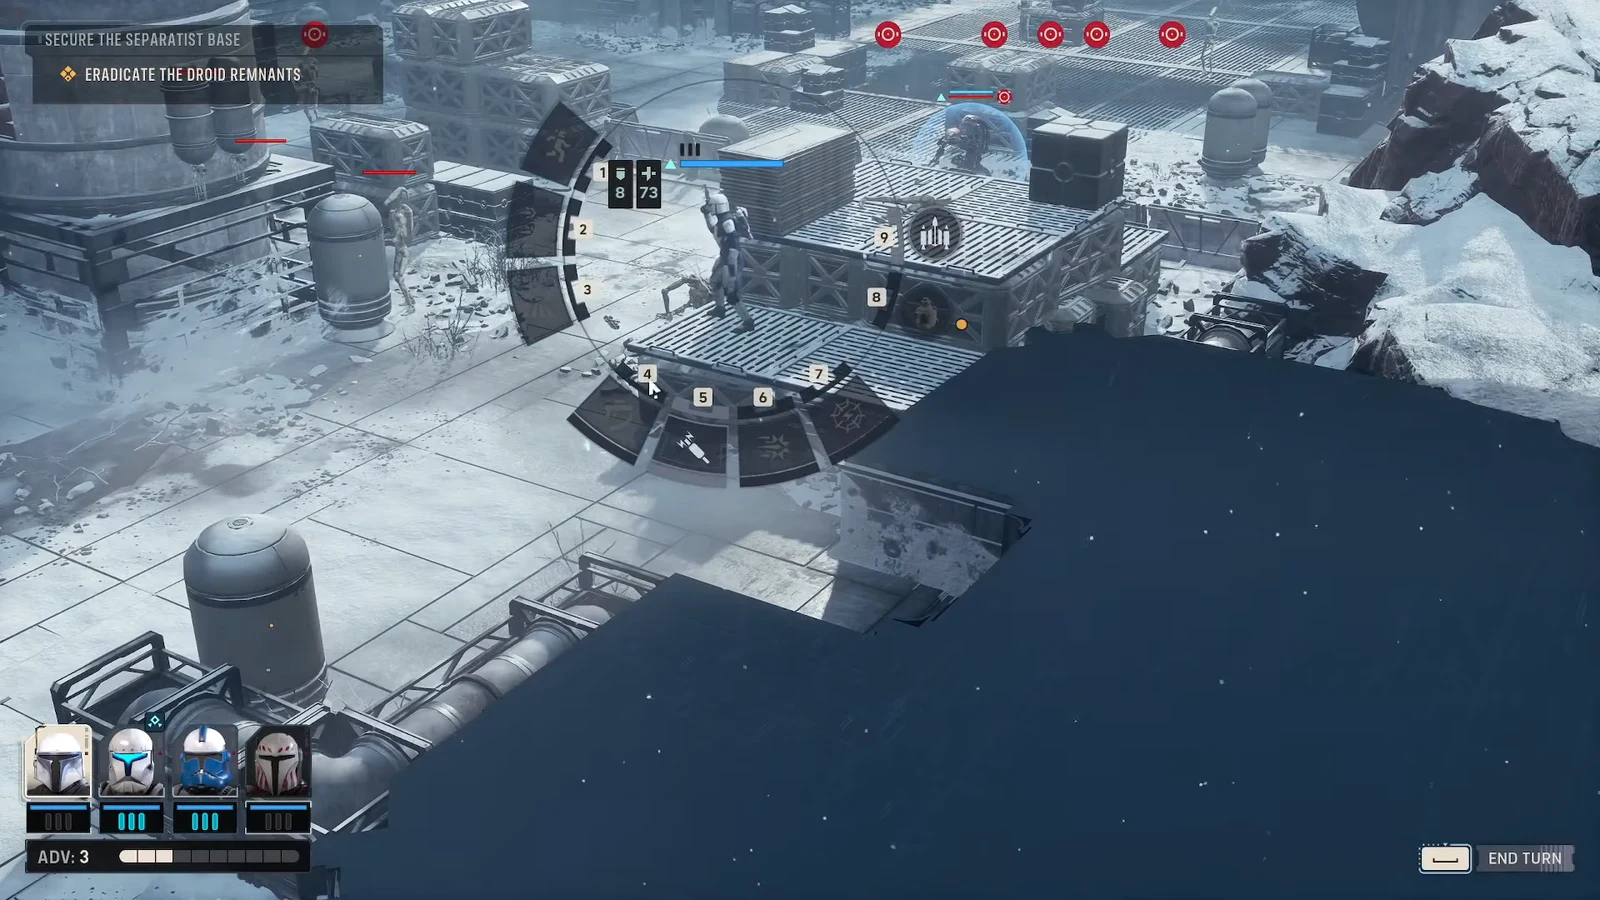
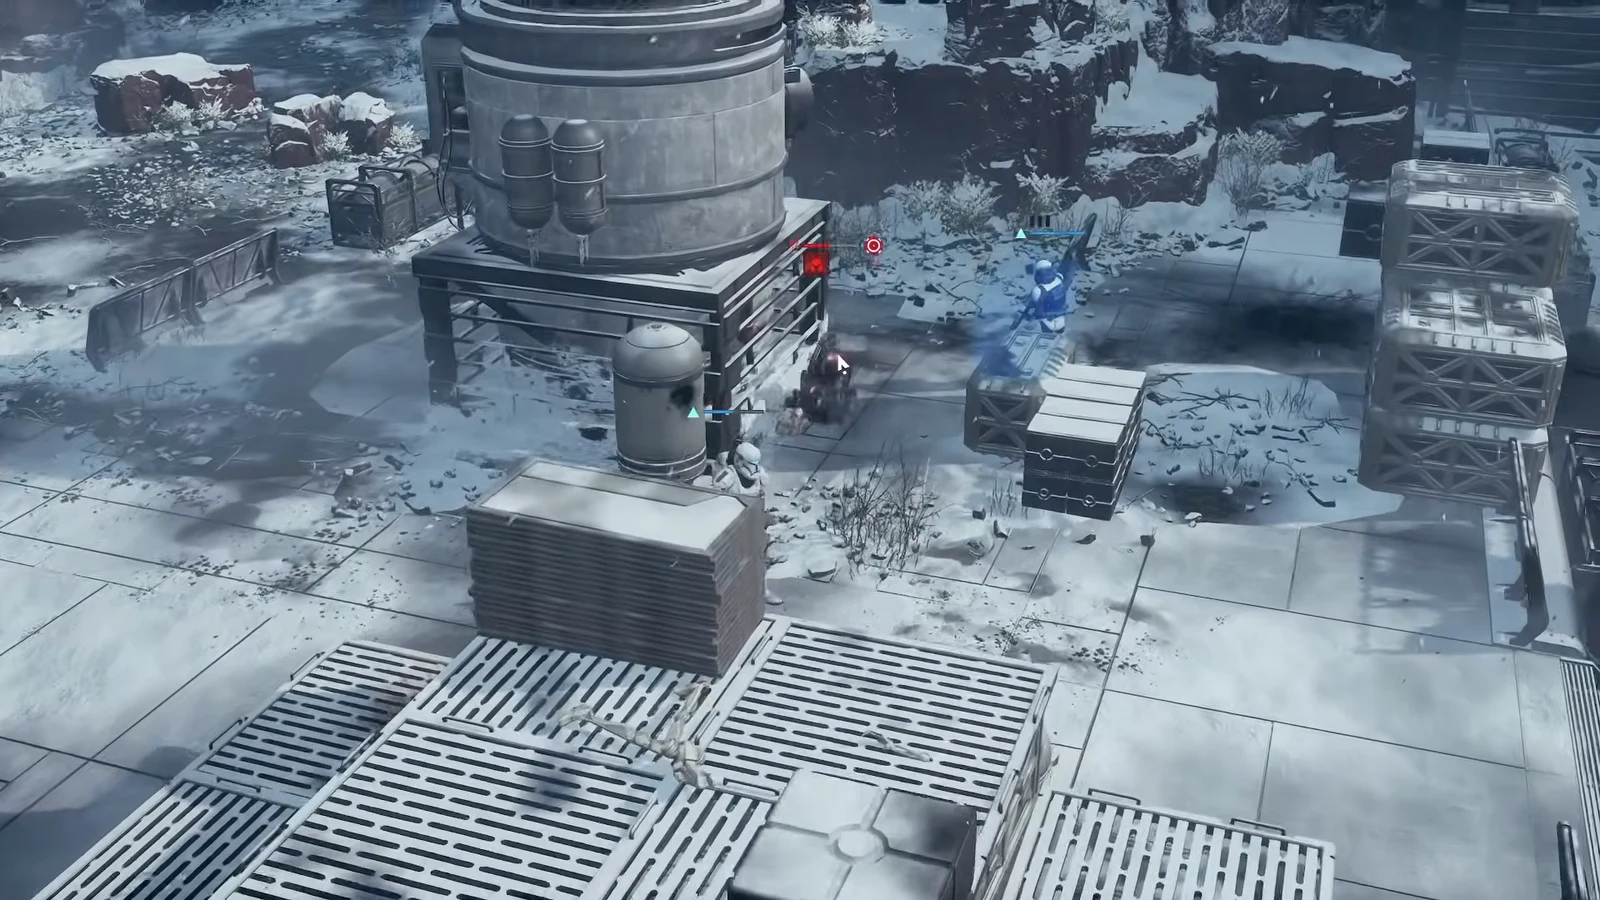
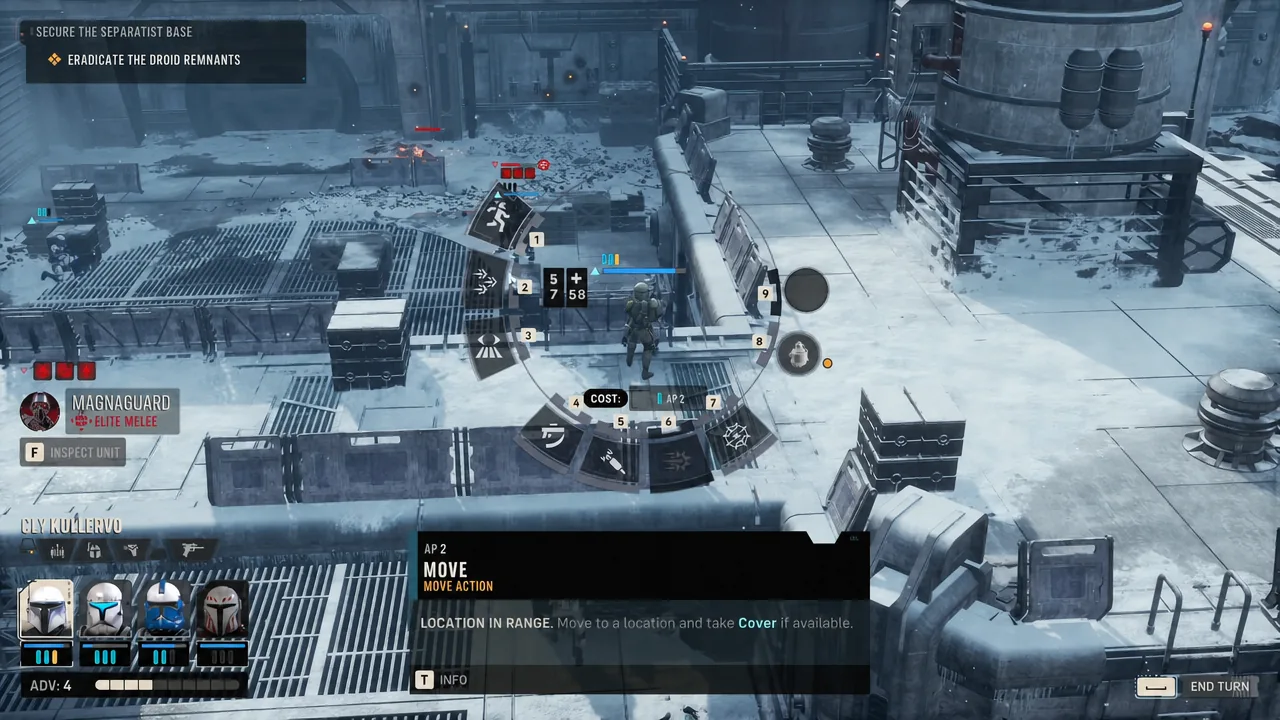
The Separatist base fight in Star Wars Zero Company pairs a primary objective, “SECURE THE SEPARATIST BASE,” with a sub-objective printed just beneath it, “ERADICATE THE DROID REMNANTS.” That second line is the one that matters mechanically. The base does not count as secured until every droid on the map is destroyed, including the wave that arrives partway through the fight.
Quick answer: Destroy every droid on the field, then hold position and destroy the reinforcement wave that enters through the blast doors. When the last droid falls, the sub-objective clears and the mission ends immediately — there is no evacuation step.
What the eradicate objective actually requires
Most missions in the game let you finish without wiping the board. This one does not. The HUD tracks the primary objective at the top left with the sub-objective sitting under it, and the sub-objective is a straight kill count against every hostile unit present.
Two things follow from that. First, letting a droid survive and escape is a real cost — units that get away come back stronger in later encounters. Second, the reinforcement wave is not optional cleanup you can skip by rushing the exit. It is part of the count.
The deployment for this fight is a four-slot clone squad: Cly Kullervo, Trick, Fred, and Hawks. Hawks is required on story deployments, and the other three cover heavy ordnance, close assault, and mobile flanking respectively.
Droid roster and kill priority
Five droid types appear across the encounter. Handling them in the wrong order is what turns a clean run into a rescue operation, so treat the table below as your target list rather than shooting whatever the game auto-targets.
| Droid | Threat and how to answer it |
|---|---|
| Droideka | Deploys a deflector shield that must be stripped before health damage lands. Stack attacks from multiple operators in one turn, then finish it with sustained fire such as Trick’s DC-17m repeater. |
| BX Droid Sniper | High single-target damage from range. Close the gap rather than trading shots — Fred’s Bull Rush slams straight into it. |
| MagnaGuard | Durable melee unit that arrives with the reinforcements. Layer debuffs like Sweeping Salvo on it and add melee charges to wear it down. |
| B2 Super Battle Droid | Tougher than a standard droid and hits harder. Debuff it before committing to a straight exchange of fire. |
| B1 Battle Droid | Lowest priority. Heavy cover negates their critical hits entirely, so leave them until the dangerous units are gone or sweep them with area damage. |
Note: droids are the Separatist Alliance’s whole army, and Ion weaponry is the efficient counter against them across the campaign. If you have Ion mods available in the loadout screen, bring them to this fight.
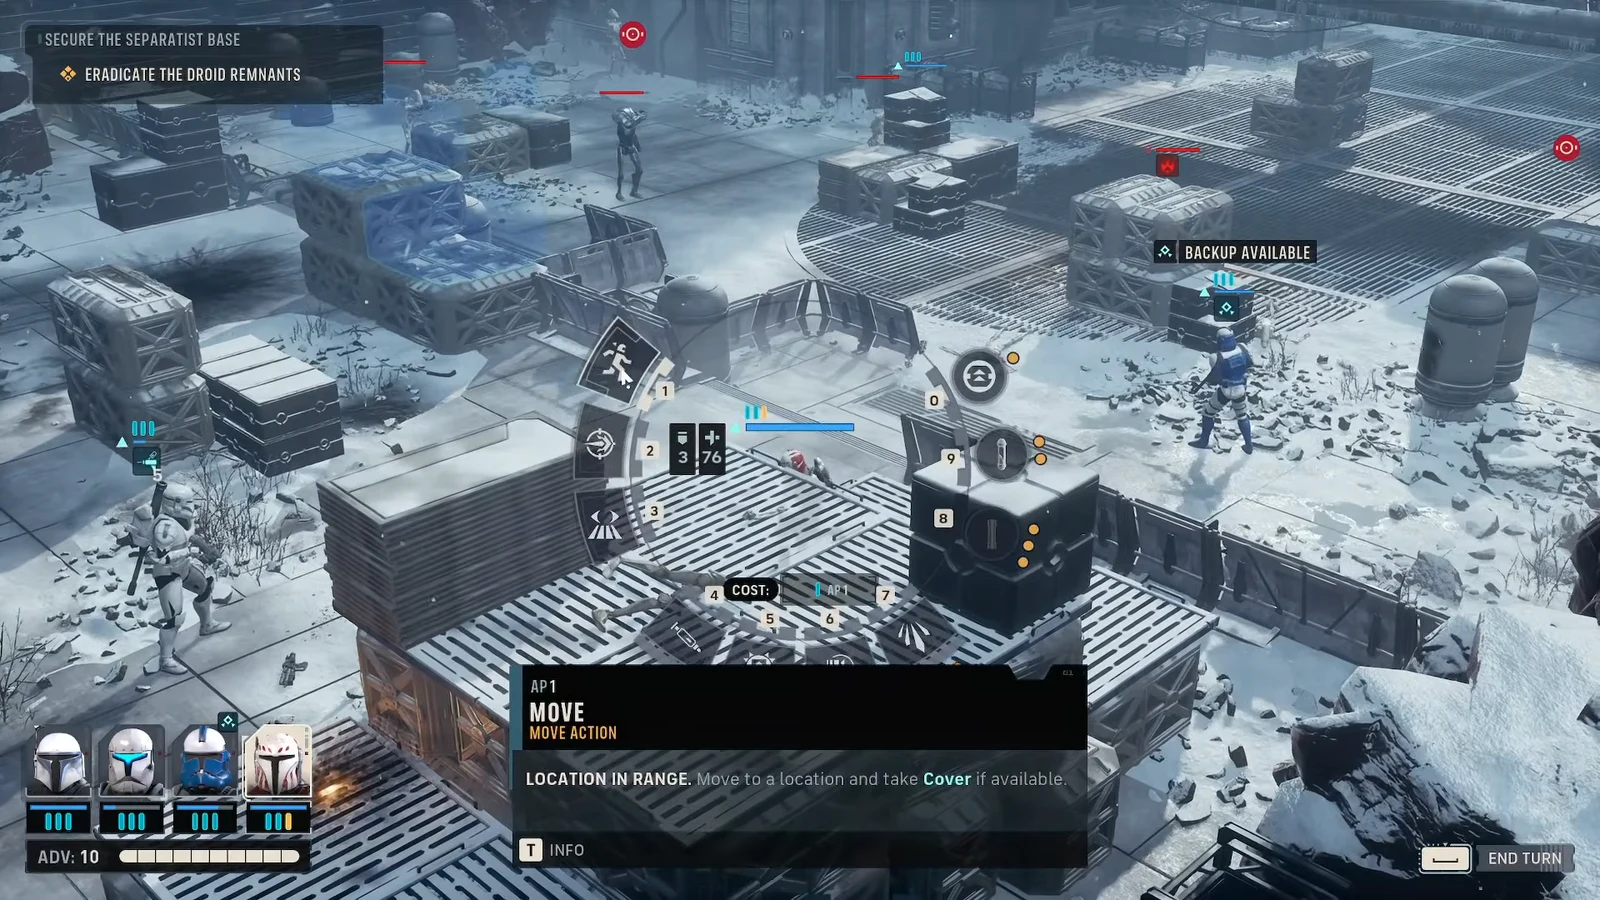
Clearing the first droid group
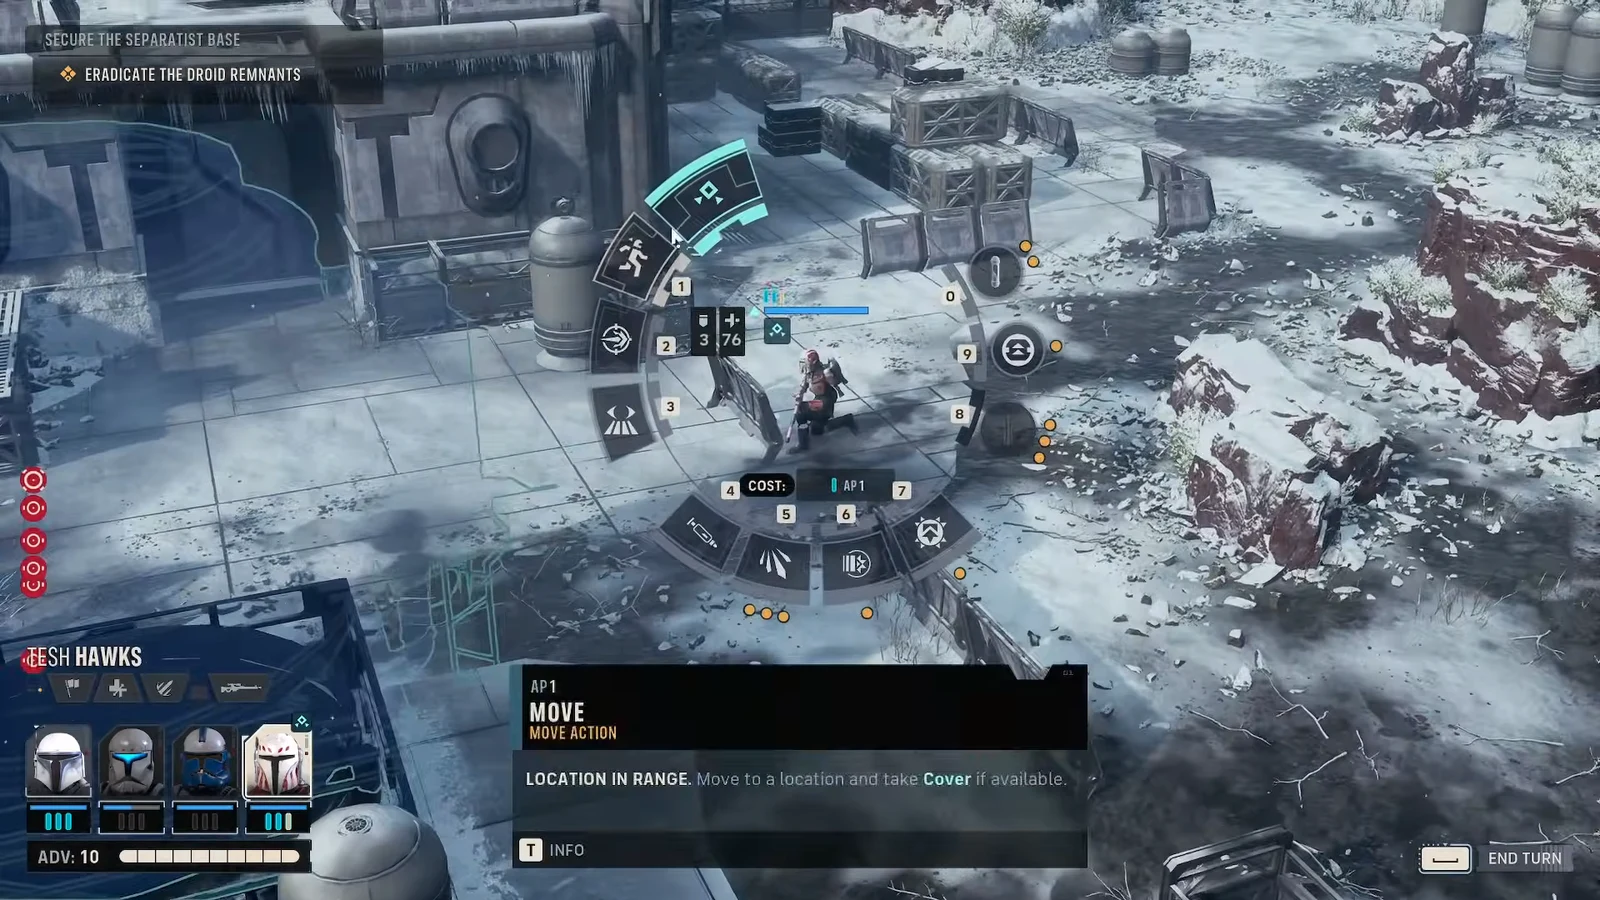
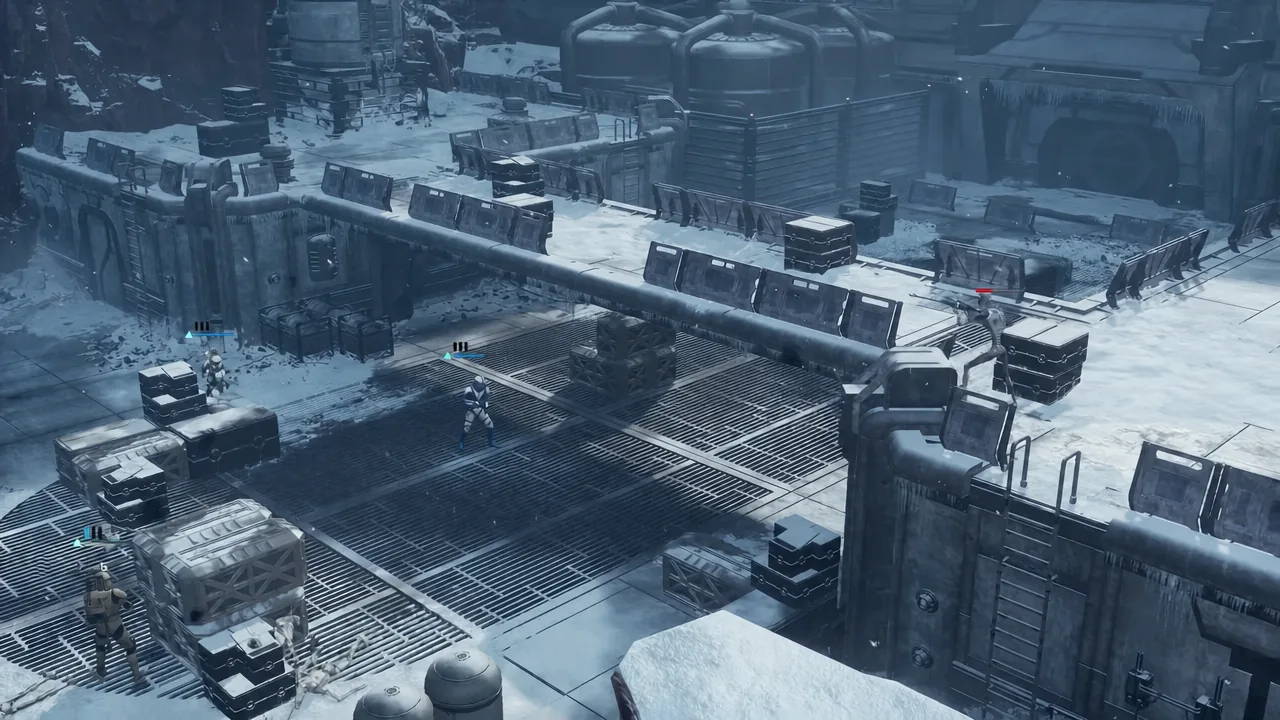
Setting overwatch before the reinforcements arrive
The game warns you that reinforcements are incoming before the doors open. That warning is your cue to stop advancing and start preparing, because the fresh droids walk into a fixed choke point.
How to confirm the base is secured
The moment the last droid is destroyed, the sub-objective in the top-left HUD resolves and the mission ends on the spot. You do not need to walk the squad to a pickup area, and there is no separate confirmation prompt to accept.
If the mission has not ended, a droid is still alive somewhere on the map. Two situations account for nearly every case of this. Either a unit is sitting outside your current line of sight behind terrain, or the reinforcement wave has not fully spawned yet and you are waiting on an enemy turn that has not resolved.
Tip: if a run goes badly, you can restart the mission from the game menu and redeploy the same operators. That is worth doing before accepting a downed squadmate, since each knockdown adds an injury and three injuries kill an operator permanently when permadeath is switched on.
Ability reference for this fight
| Ability | Operator and use |
|---|---|
| Fire DC-17m Anti-Armor | Trick. Opening area damage against clustered droids. |
| Fire DC-17m Repeater | Trick. Sustained fire to finish a shield-stripped Droideka. |
| Grit II | Fred. Grants invulnerability, absorbing an entire enemy phase of fire. |
| Bull Rush IV | Fred. Charges into a target; used to slam the BX Droid Sniper. |
| Impact Bomb | Fred. Area damage against the reinforcement group at the doors. |
| Combat Jump IV | Cly Kullervo. Repositions to high ground for the accuracy bonus. |
| Electroweb Dart / Surge IV | Cly Kullervo. Shocks and damages droids from the flank. |
| Sweeping Salvo III | Hawks. Debuffs heavier units such as the B2 and the MagnaGuard. |
| Combat Stim V | Hawks. Restores a damaged operator between waves. |
| Call for Backup | Any operator. Adds a nearby teammate’s attack for extra damage in one turn. |
Each operator gets three action points per turn to move, attack, and use abilities, and the strongest abilities in that table spend Advantage points, which build as you damage enemies. That is the underlying budget for the whole fight — spend early AP on cover and positioning, bank Advantage through the first group, and have it ready when the blast doors open.