Bakir, the Mad Khan is one of the three vassals standing between Coen and Brencis, and he is the only one you have to talk your way into fighting. The encounter sits at the end of The Lunar Game, a masked tournament held inside Lunar Manor where your gear is stripped and your vampiric powers are off-limits. Handled well, the fight is a clean duel in Bakir’s treasury with no guards involved.
Quick answer: Finish the maze without using Vrakhiri powers, keep your mask on at the feast, toast twice, say you want to die fighting, then ask for your reward — Bakir returns your sword and takes you into the treasury alone. Beat him there and pick [drain Bakir's blood] to unlock the Shadowstorm ability.
How the Bakir fight is triggered in The Lunar Game
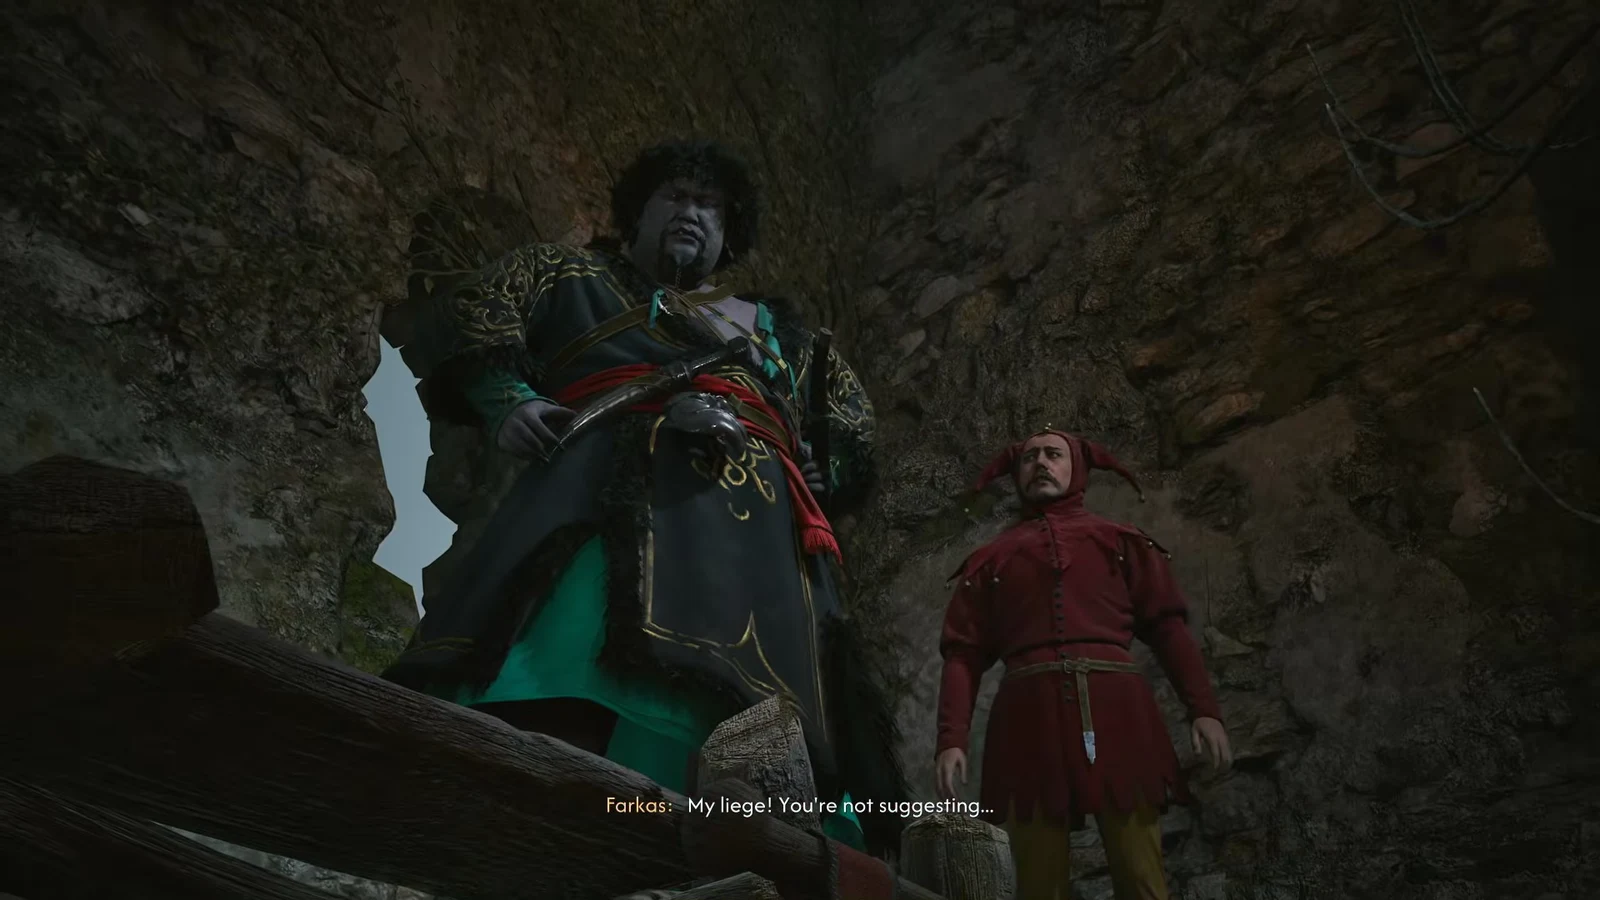
Bakir will not meet you until you have wrecked enough of his operations. Court Activities tied to him — headhunters, payoff transports, distilleries, and pillories — push his Anger meter in the Court menu. When it maxes out, his jester Farkas approaches Coen and offers a way in: enter Bakir’s own masked tournament at Lunar Manor.
Bakir is a level 20+ encounter, which is why the usual order is Ambrus, then Bakir, then Xanthe. The tournament itself only starts in the afternoon, so accept Farkas’s invitation with three time segments of daylight left rather than arriving early and waiting.
Two rules define the whole quest. You enter with low-tier equipment and have to loot upgrades inside the manor, and using any vampiric ability risks exposing Coen. Farkas can cover for a slip once, but if Bakir catches on he ends the tournament and attacks with his entire cohort while you are still underequipped.
Before the maze: sabotage that removes fights later
You get three time segments in the gathering area before dusk, and each meaningful action costs one. Use Focus Mode to spot the interactable objects.
| Action | Effect inside the maze |
|---|---|
| Pick the herbs from the bush and drop them into the drink beside The Cockroach | He is found slumped and weakened later, so the fight is a formality |
| Talk to The Porcupine and imply you intend to kill Bakir | He steps aside instead of duelling you |
| Talk to The Marten and ask her to help kill Bakir | She reacts well; be cooperative rather than dismissive |
During Bakir’s speech, cheer or stay silent. Both are safe. The option with the sword icon drops your disguise on the spot and forces you to fight the contestants and the cohort with almost no gear.
Note: The Rat is killed by The Cockroach regardless, and The Marten dies to the wurm encounter after handing over the Darkbane Amulet. Loot as you go — the trap box riddle is solved by choosing the left hole.
Dialogue choices that get Bakir alone in the treasury
The cutscene chain after the maze is where the fight is actually decided. Pick the wrong line and you take on Bakir plus every guard in the room. The white filler options between these picks have no effect.
I can't. costs you nothing — one of his guards does the cutting instead, and Bakir still invites you to the feast.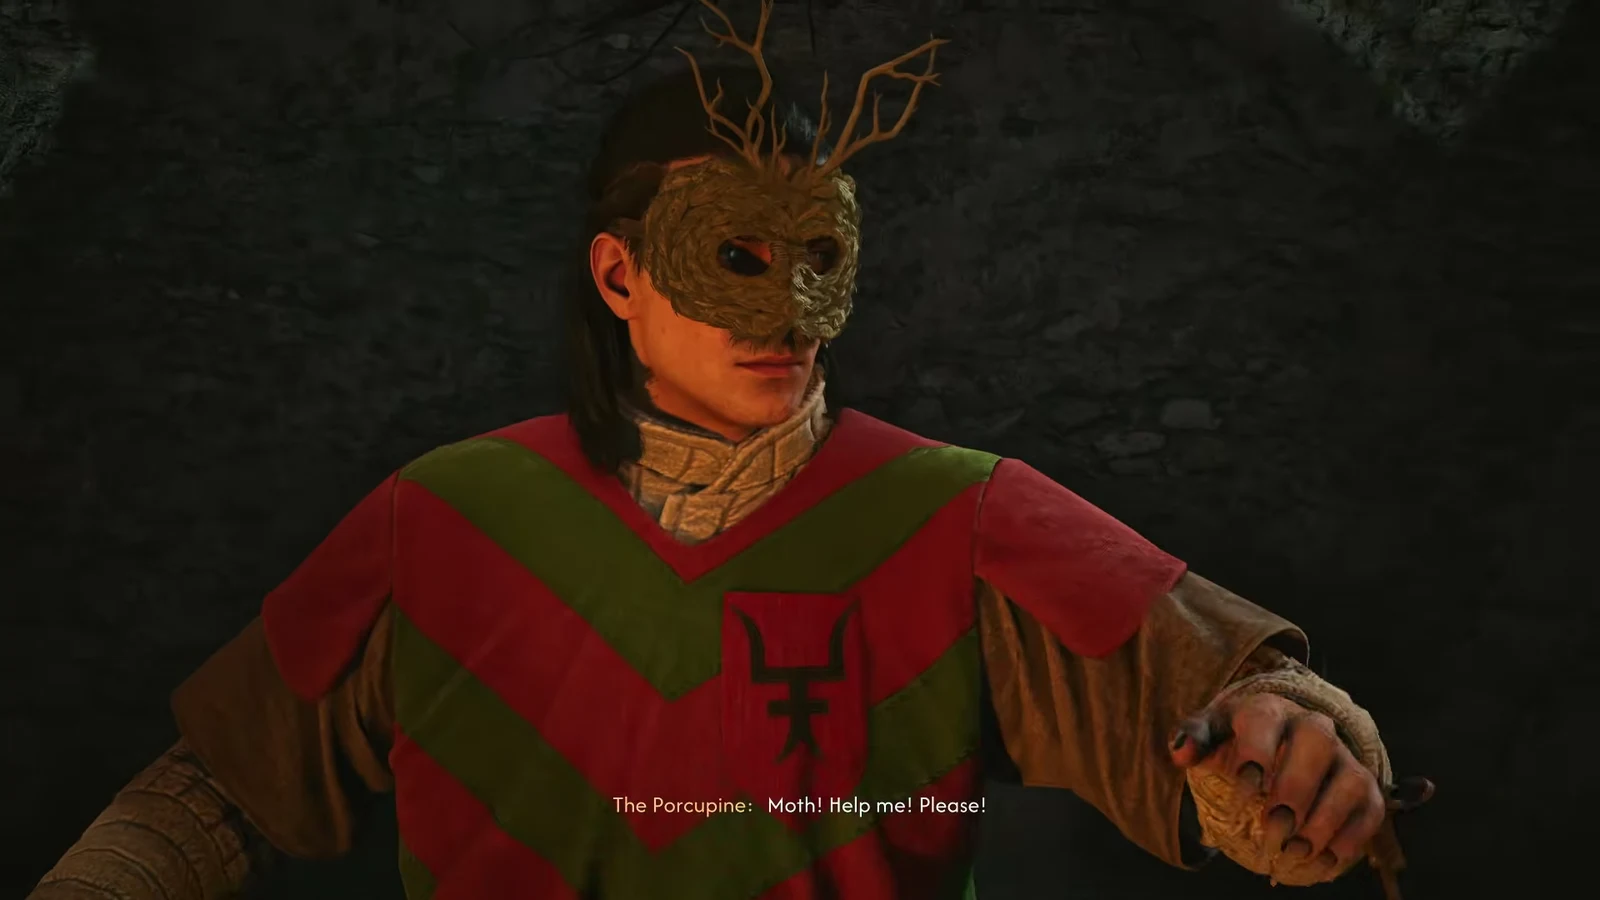
I'm sorry, but I'm not taking the mask off. This is the single most important pick. The obedient line, I'll do as you wish, my lord., ends the conversation and starts the fight against Bakir and his remaining henchmen at once.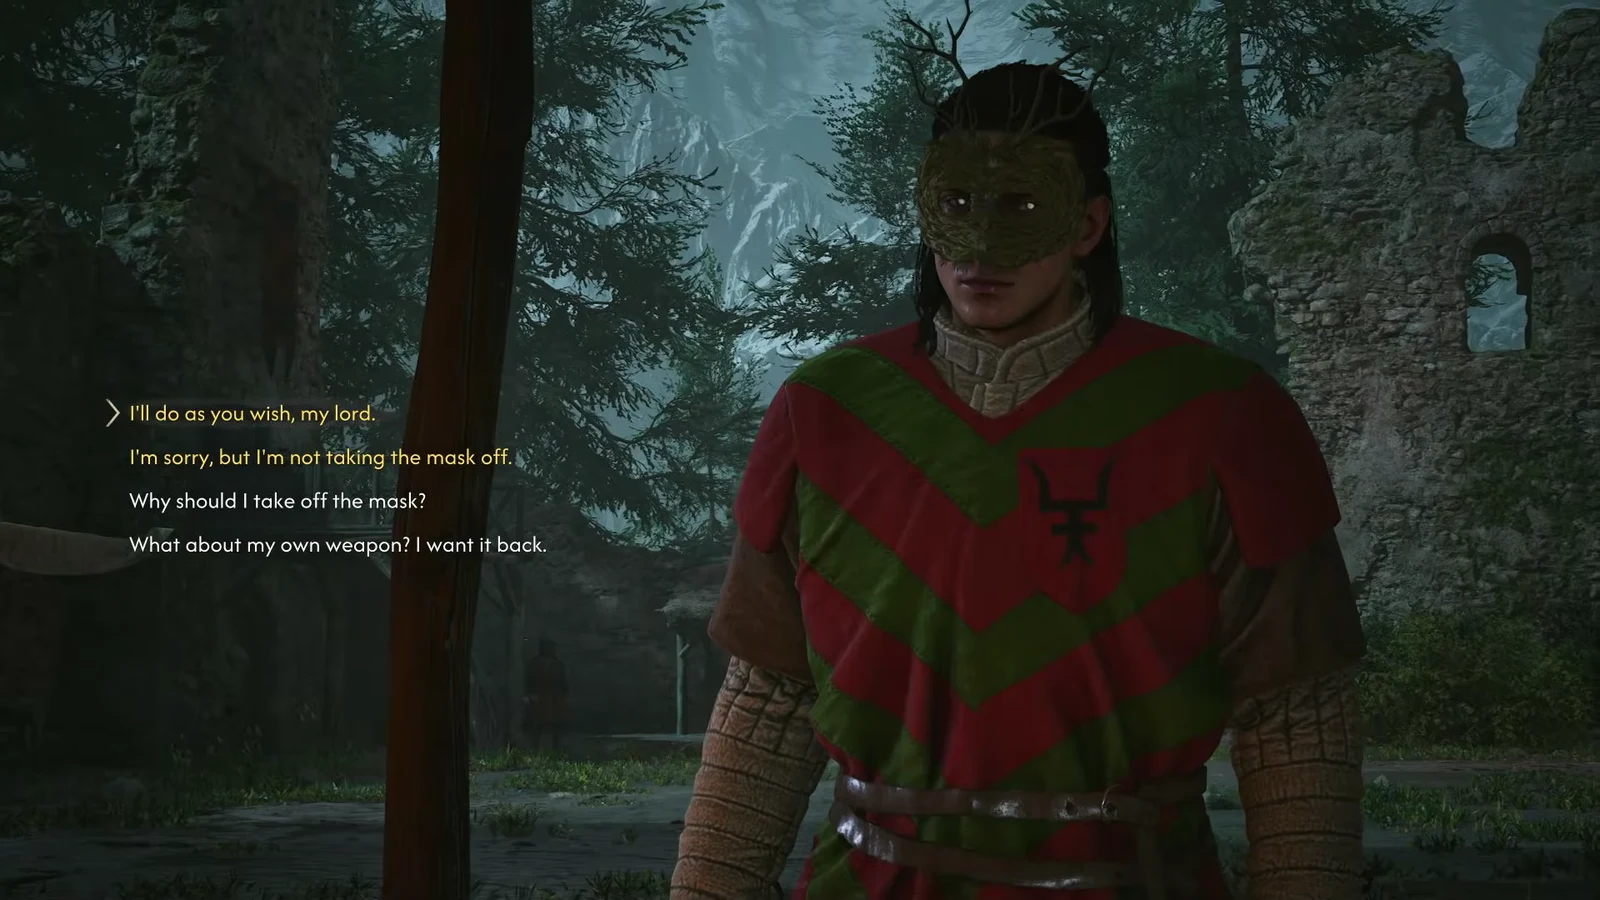
With pleasure. Coen sits down beside another victim bound to the table.Cheers! and drink. The cup turns out to be full of blood, which Coen swallows without breaking character.My wish is to die fighting, not quietly in my bed. This is the line that earns Bakir’s respect.Is that all? Can I get my reward now? Bakir turns the conversation to why you spared the contestants you beat.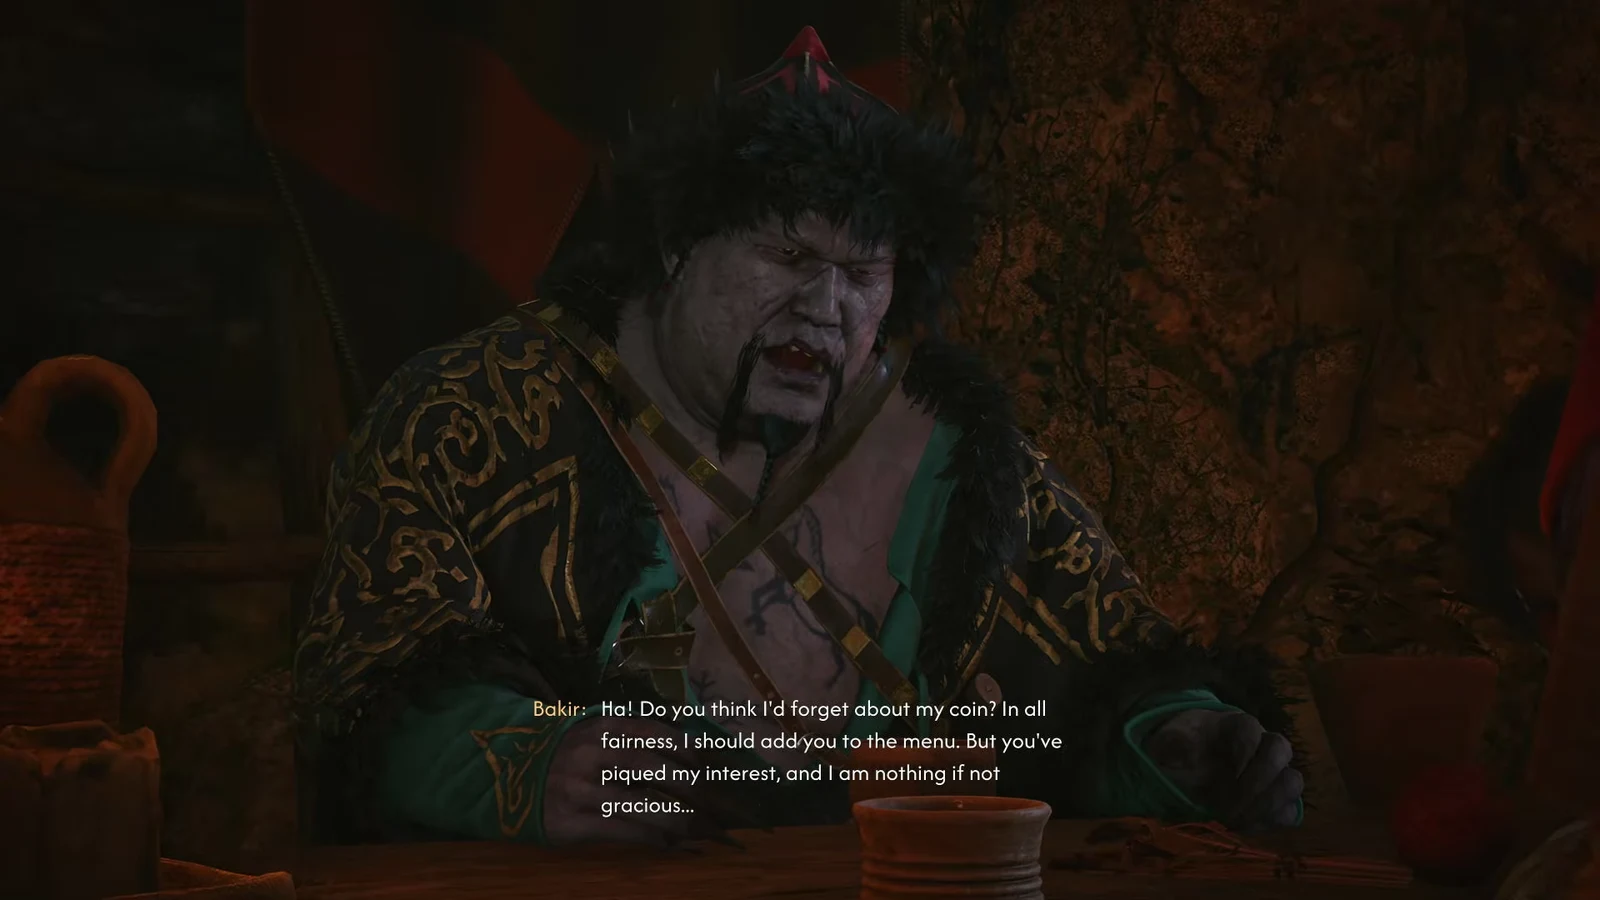
I thought you might want to eat them later. if any contestants survived. It lands better than I saw no need to be cruel.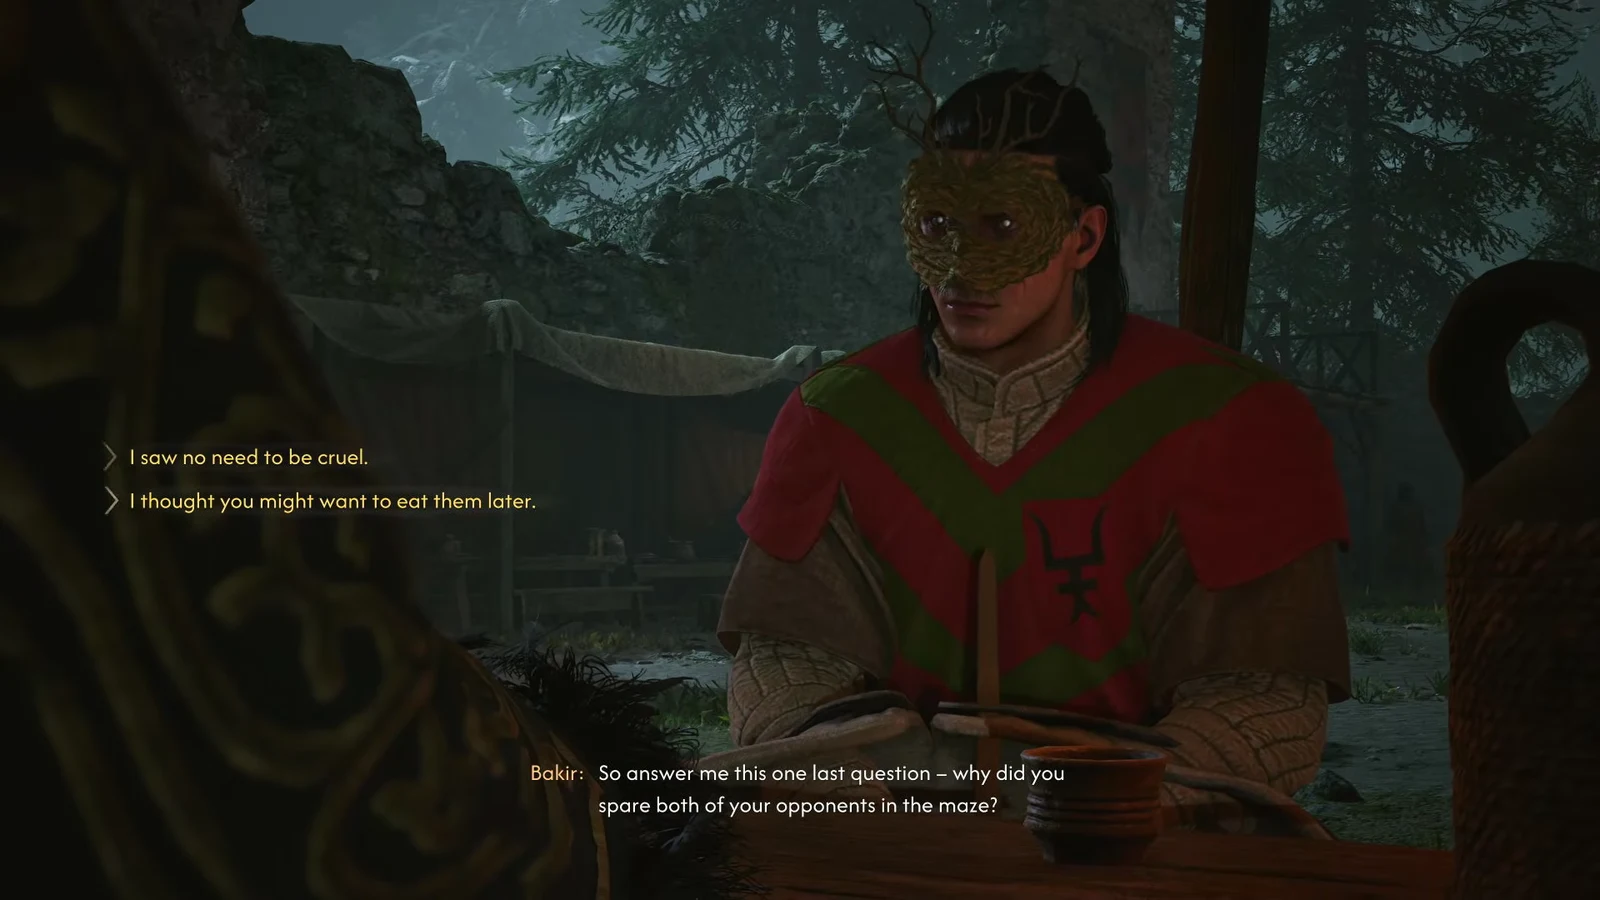
I just want to rip out yours... to unmask and start the duel. You can also talk your way back out, but sparing him gives no exclusive reward and locks you out of his drops.Bakir, the Mad Khan attack patterns and counters
Bakir fights with his fists and blood magic, and he teleports out of long combos. His moveset does not change shape in the final phase — he simply throws the ranged attacks more often, so keep moving and take two or three hits at a time rather than committing.
| Attack | How to handle it |
|---|---|
| Right hook — a slow step-in punch | Block or parry, then punish |
| Right uppercut — telegraphed by his right hand dropping | Parry on the wind-up and retaliate |
| Overhead punch — winds the arm back, then slams down | Block or parry |
| Front kick — arms drop to his sides first | Unblockable; dodge backwards |
| Blood Fissures — slams the ground, sending straight lines of blood outward | Unblockable; dodge sideways and keep dodging, he often repeats it. Dirty Trick interrupts the cast |
| Bat Dive — conjures blood bats that fly in and dive | Unblockable; wait until they are close, then dodge sideways. Dodging early lets them track you |
If you tripped your cover earlier, you clear the cohort first — regular soldiers plus a witch miniboss — before Bakir joins in. That version is winnable but wastes healing items you will want for the duel itself.
Drain or kill: Shadowstorm, Anachora, and the trophies
When Bakir goes down you get two prompts, [drain Bakir's blood] and [kill Bakir]. Draining is the meaningful one. Coen bites his neck and is pulled into Anachora, a red purgatory realm where slain souls linger.
In the conversation there, Bakir’s soul resists the offer to move on. Selecting I invite you nonetheless. brings him along anyway. Coen then wakes in the treasury.

You know it worked when the Shadowstorm vampiric ability unlocks and, on PlayStation, the trophies Realmwalker and The Mad Khan pop as you return to the real world. Bakir’s diamond plaque also disappears from the Court tab, and your Infamy rises for the Brencis confrontation. Killing him outright skips Anachora and Shadowstorm entirely.
Treasury loot and the amethyst ring
Loot Bakir’s body before you leave. He carries Bakir’s Armour, a legendary medium chestplate, along with a Ruby Brooch, Denarius, a Potent Razor Claw Vial, and Bakir’s Treasury Key. If Farkas rushes you into the treasury after a courtyard fight, step back out and return to the corpse first.
The treasury holds the Vrakhiric Bracers and the epic amulet Sunlight’s Boon. Farkas’s heirloom, the amethyst ring, is in a small chest on a shelf along the northern wall. Agreeing with All right, I'll find your ring. and picking it up starts The Ring.
Hand the ring over and Farkas leaves with it, which later plays out badly for him in a world event. Keep it and you can take it to Anca at the Crossroads inn, or follow the trail to the Uriash Matriarch in the mountains, who identifies the ring as evil and rewards you for the honesty. Farkas himself turns up in Parlita afterwards with a modest payment and a grudge against his dead master.
With Bakir down, his remaining Court Activities stay available if you want to clear the board, and Xanthe is the natural next target before Greifberg Castle.