
Extended help — walkthroughs, tier lists, strategy.
Content Type: Guide
-
Every Collectible Location in The Sinking City 2 (100% Walkthrough)
Every lore codex, evidence page, radio, weapon, crate, and Dream Essence you need, plus the safe code and fuse puzzle in Chapter 1.
-
The Sinking City 2: All 13 E.R.C. Activator Pen and Crate Locations (Behind Every Crate Man… Trophy)
Where to find every Activator Pen and the Emergency Relief Crate it opens across Chapters 2 through 5.
-
Mortal Shell 2: Where to Find All 8 Sidearms (Guns. Lots of Guns. Trophy)
Every sidearm location, plus the two boss fights you need to clear to complete the collection.
-

Mortal Shell 2: Every Weapon Location for the Lord of War Trophy
Where to find all eight primary weapons across the prologue, Fainweald, and Mammon to earn the Silver trophy.
-
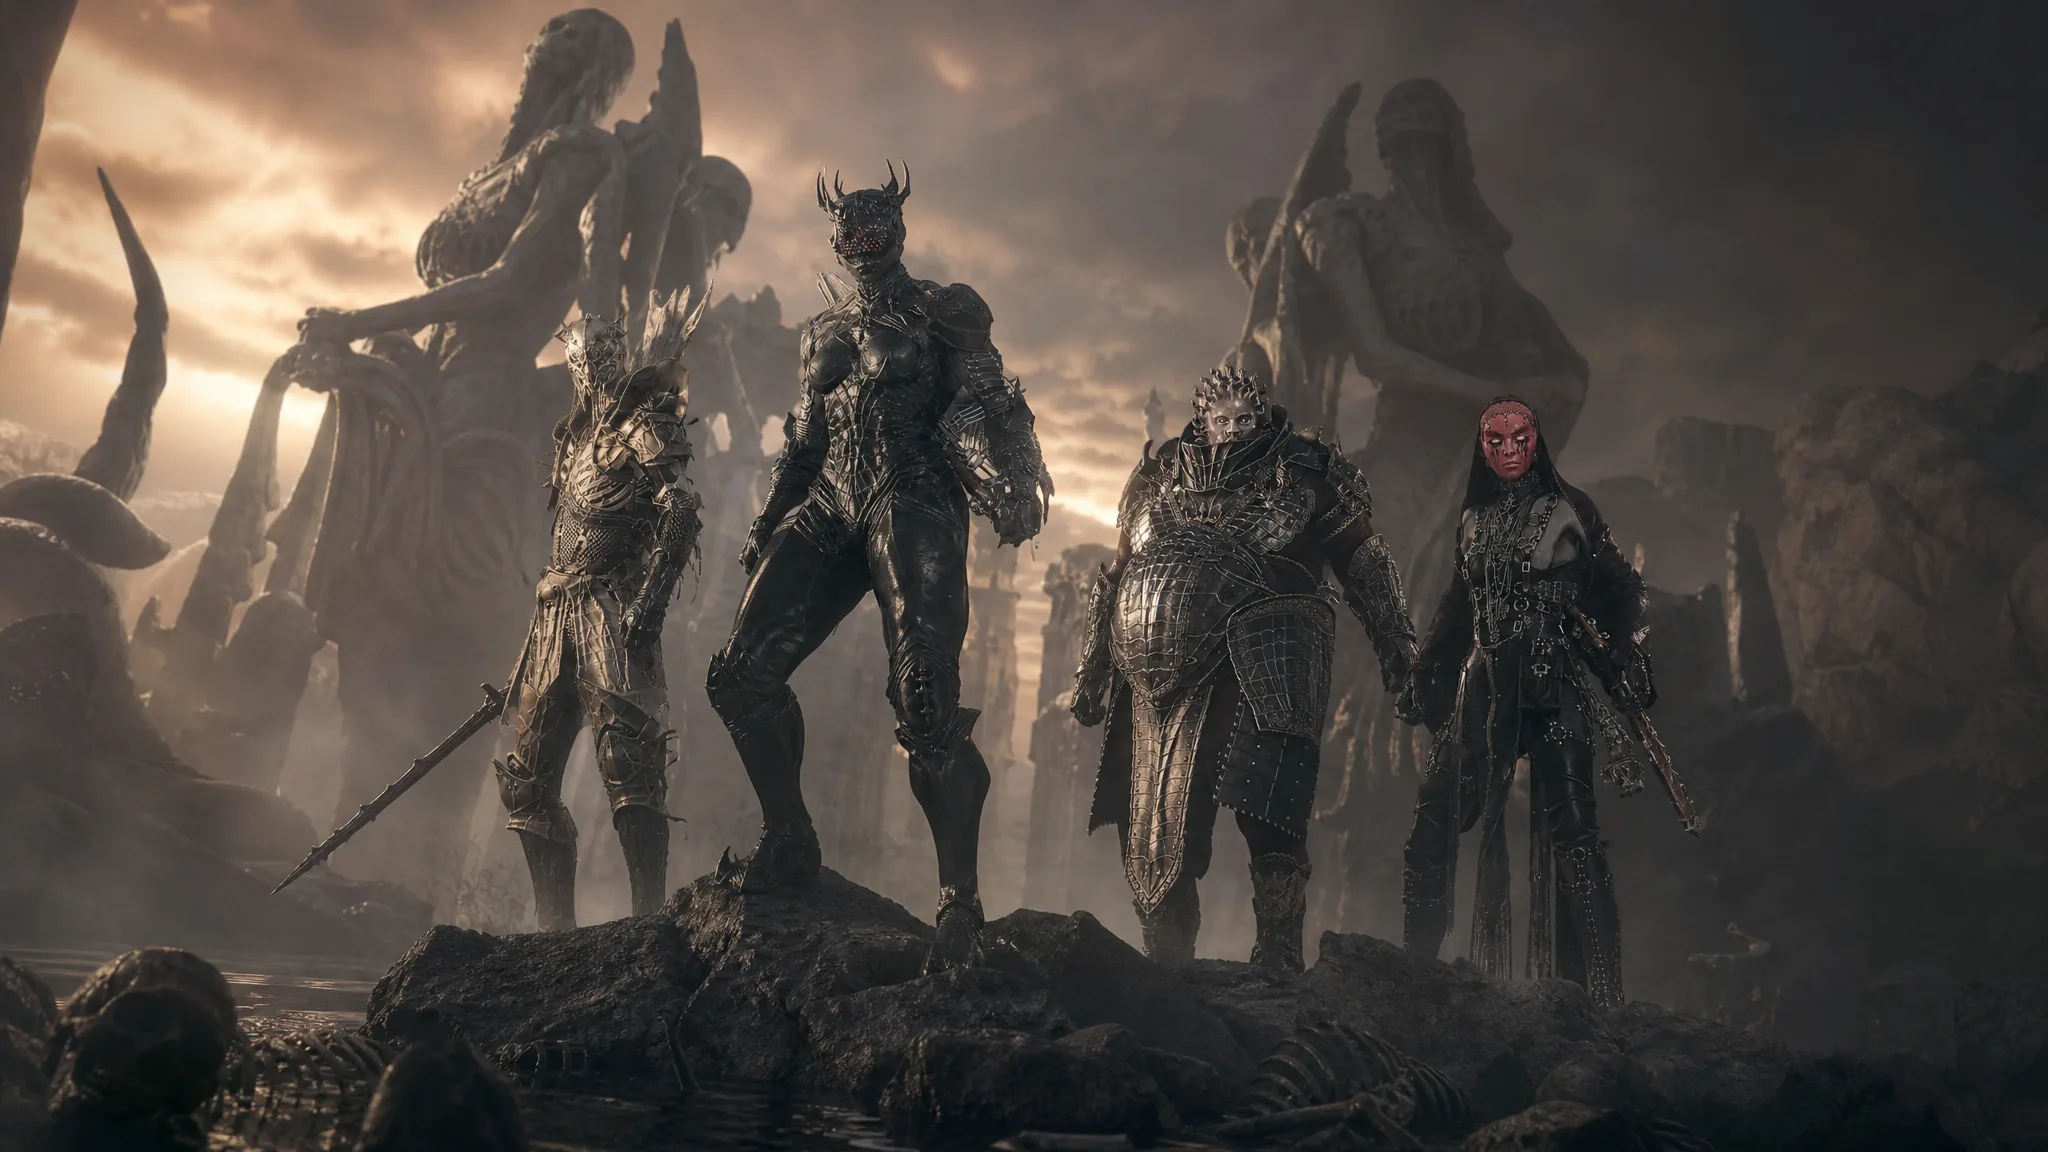
Mortal Shell 2: Every Shell Location and How to Unlock Each Character
Where to find all nine Shells across Fainweald and Mammon, plus the exact conditions that unlock each one.
-
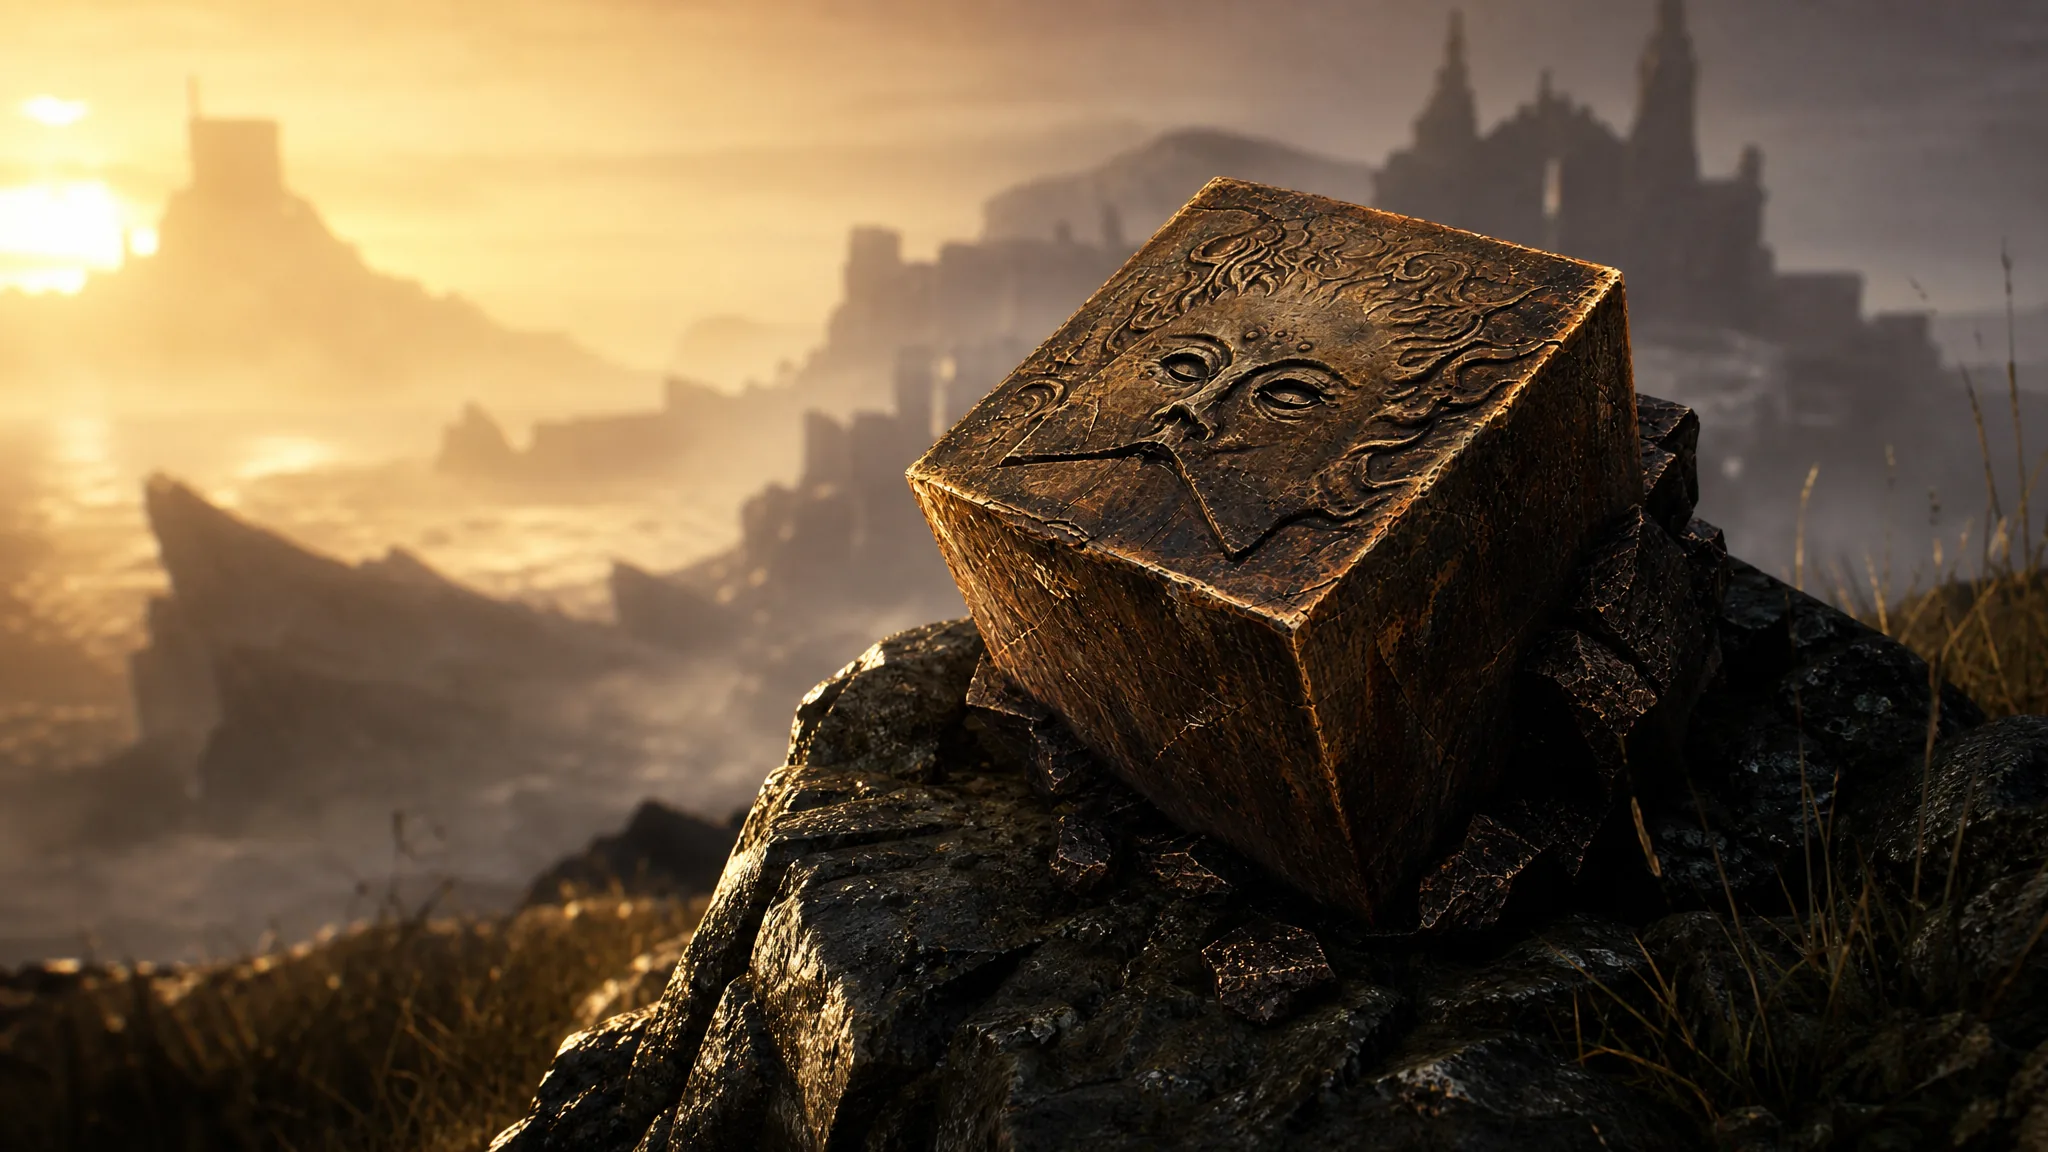
Mortal Shell 2 Justiciar’s Stone: Location and Gold Boost Effect
Grab this Tarstone in an eastern Fainweald cavern to make defeated enemies drop more gold.
-
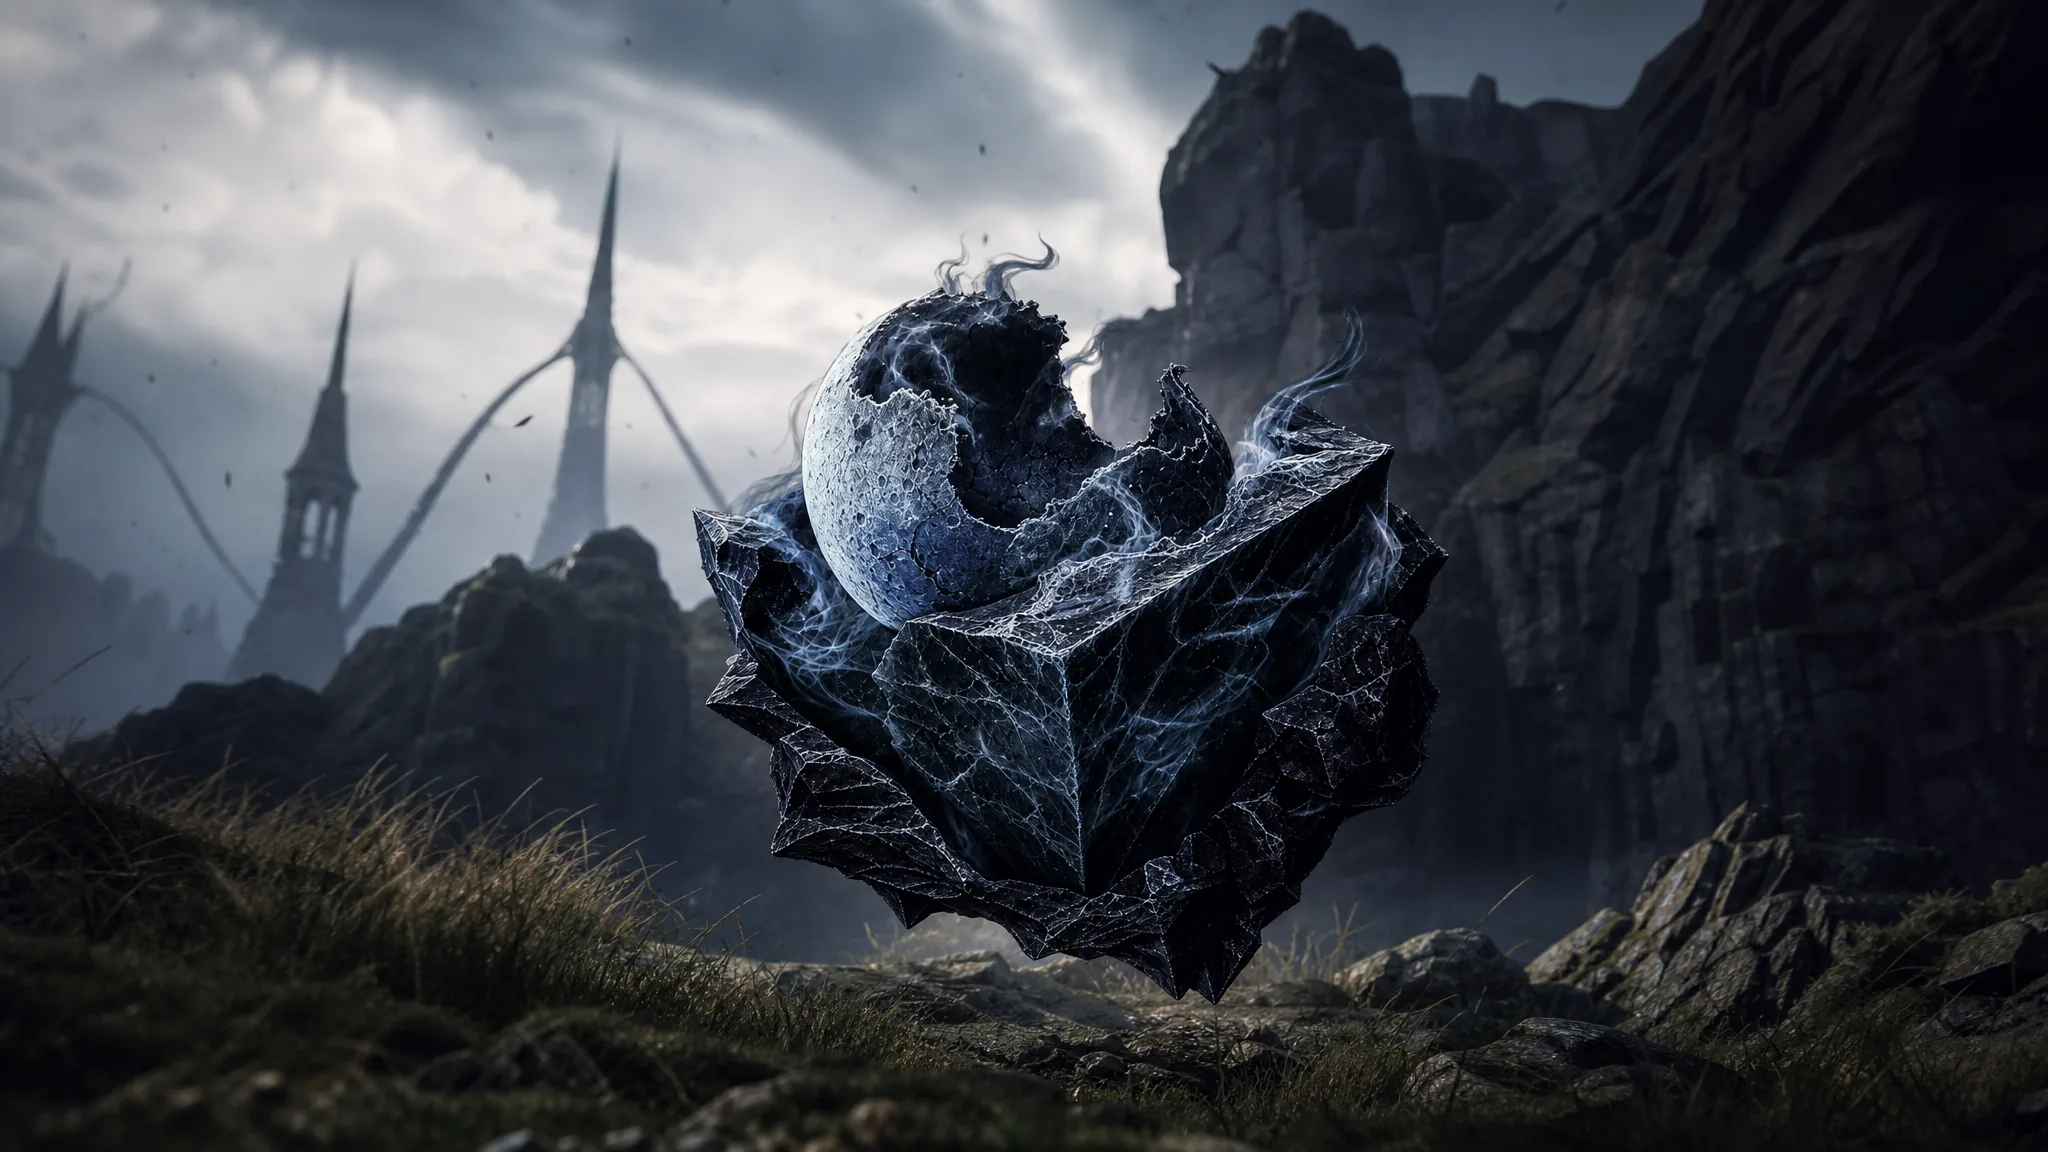
Gloombound Stone Tarstone Location in Mortal Shell 2 (Farm More Gloom)
The Gloombound Stone sits in a stone chest east of the Shattered Beacon and raises the Gloom enemies drop.
-
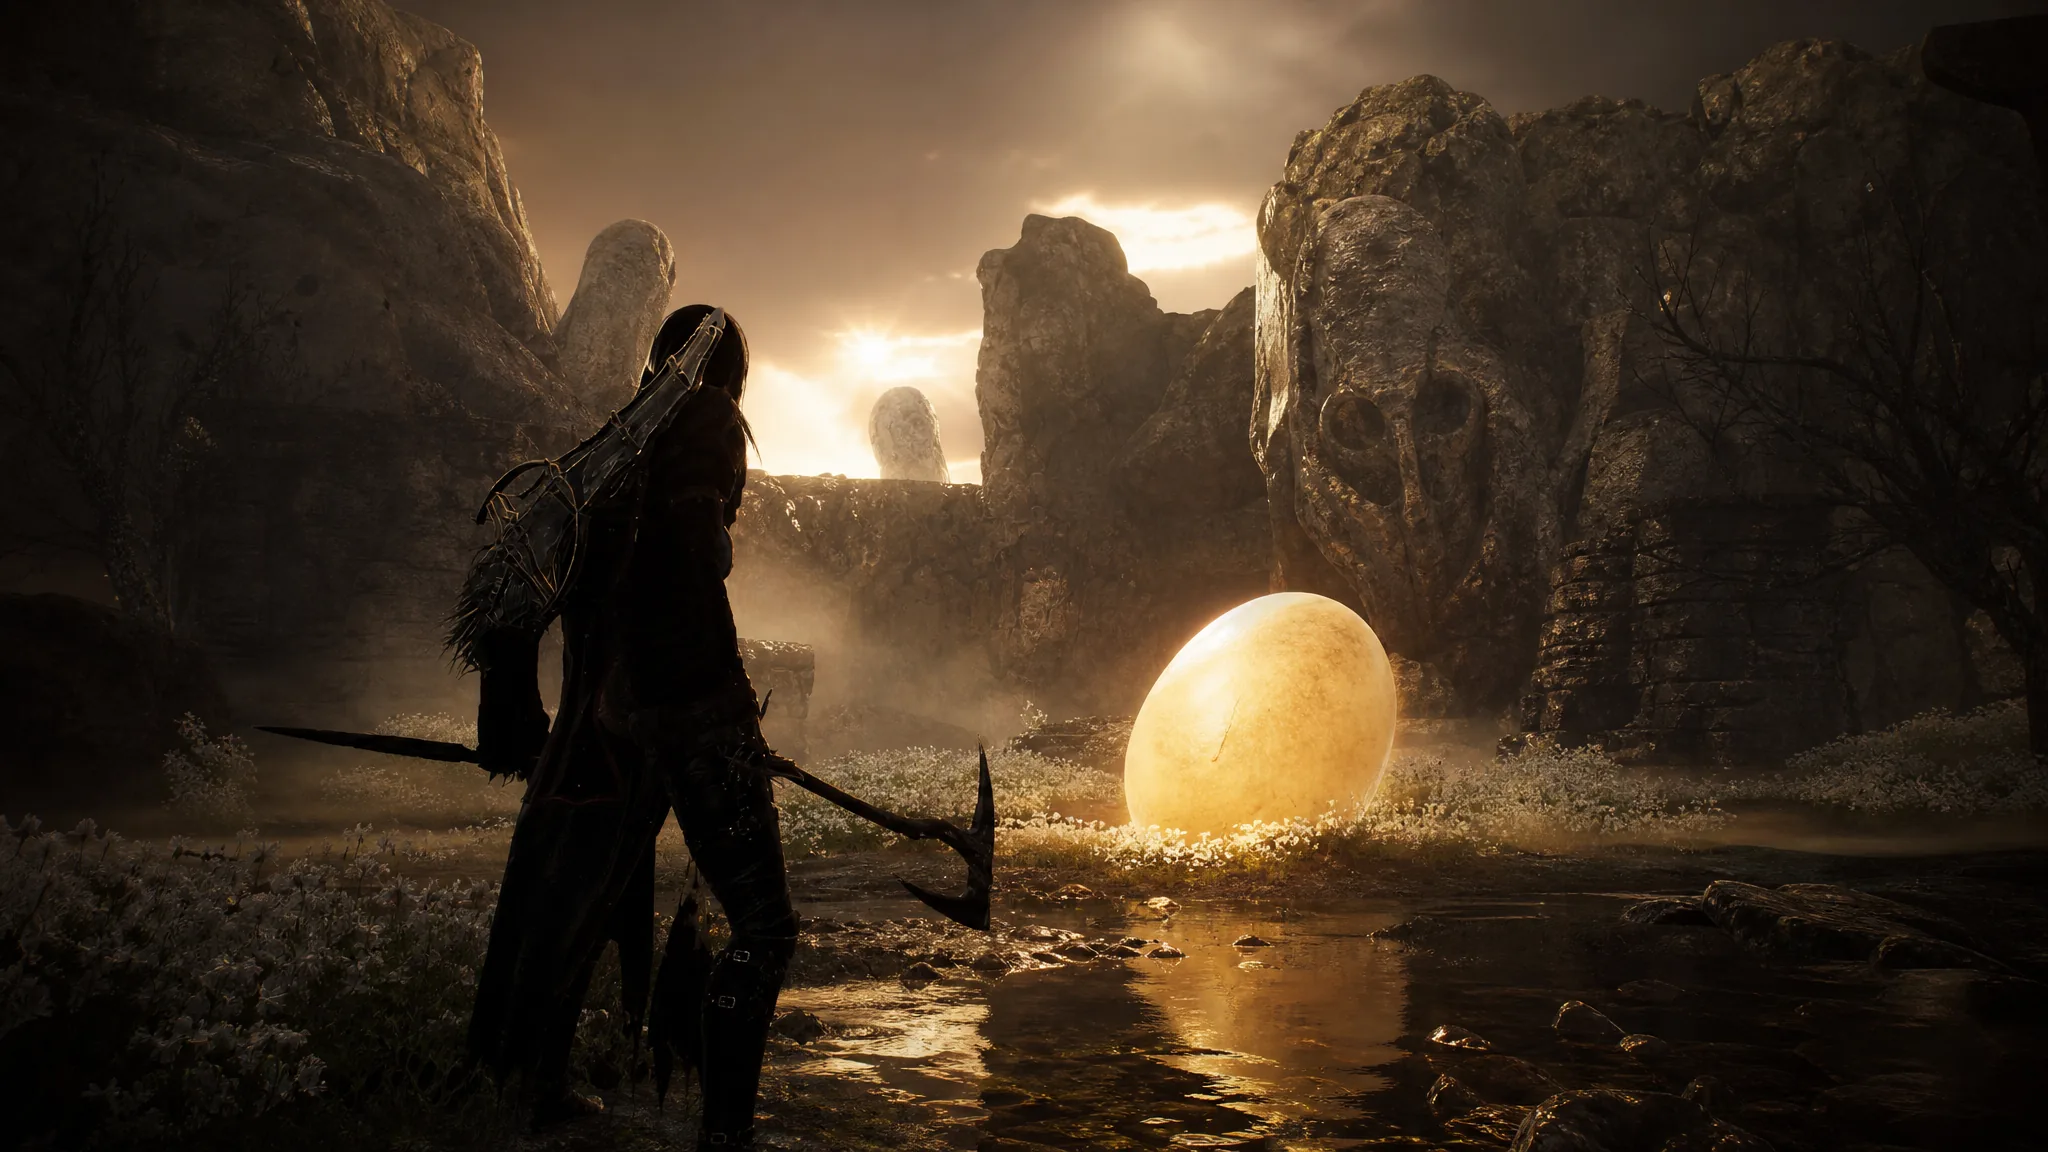
Mortal Shell 2: How to Unlock the Ascension Trophy (Secret of the Mango)
The exact two-step route to the giant Mango, from Mether’s Flesh to the hidden Sanctuary teleport.
-
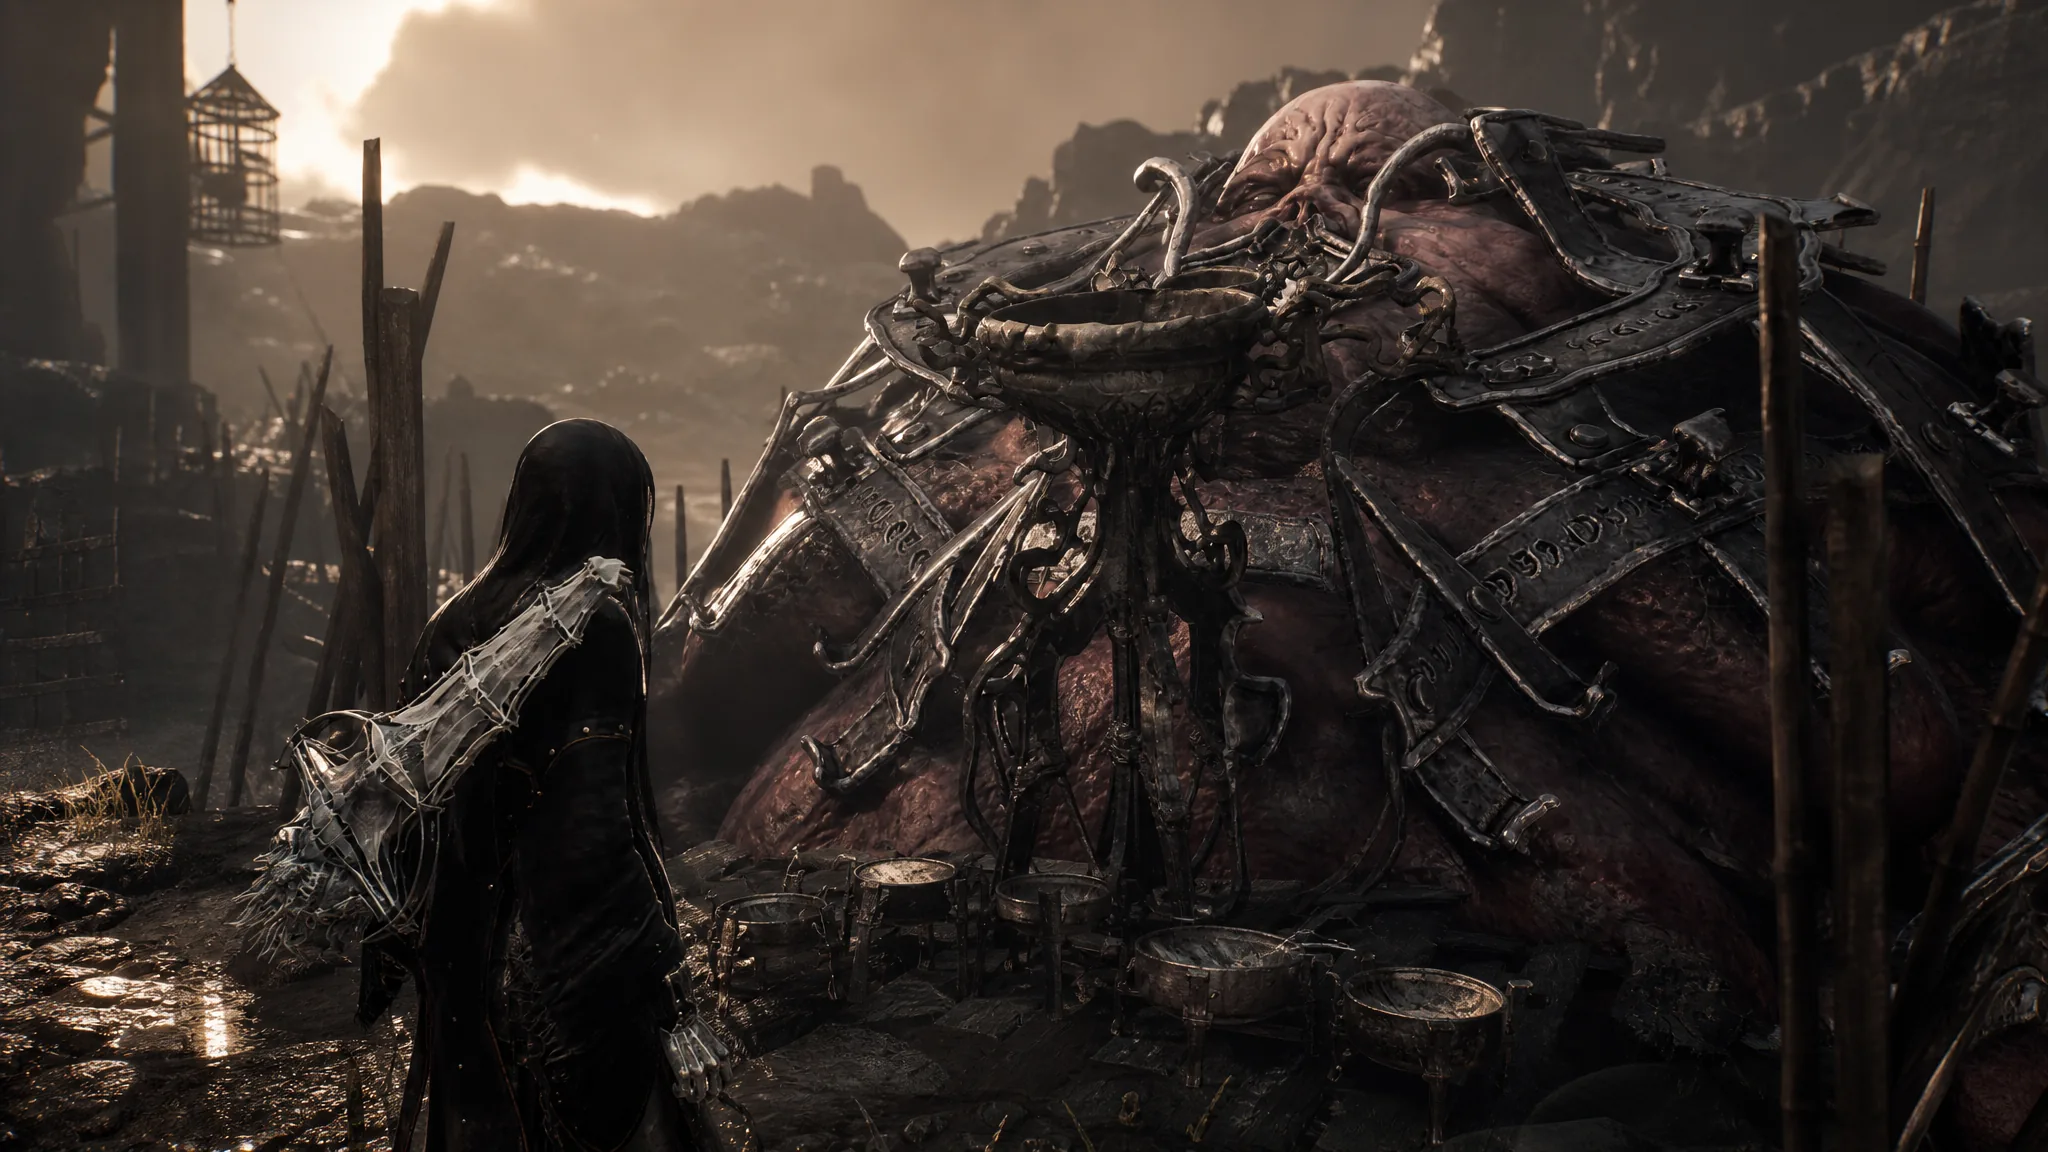
Mortal Shell 2: How to Unlock the Feed Me Trophy
Pay Ergon at least 20,000 Gloom in Mammon to make him pass away and claim the hidden bronze trophy.
-
The Sinking City 2: All 20 Codex Locations in The Wake-Up Call
Where to find every lore Codex entry across the Annex, the Church, the Printing House, and the Devil’s Reef Hotel in Chapter 2.