The limited Serialized Gohan unit in Universal Tower Defense X comes from clearing The Blanco Beast on Nightmare difficulty in the Beast Tear act. Because the final boss stays trapped near the entrance loop when you stack stuns and knockbacks, the whole run can be recorded once and left to repeat on its own. A completed clear posts around 163 million total damage across all 20 waves, finishing in roughly six and a half to ten minutes depending on boss behavior.
Quick answer: Run six units built around Light-element damage, lock the boss at the first loop with Prodigy Mage stuns and Crow Shinobi knockbacks, place units in the wave order below, and save the sequence to a Built-in Macro slot so it replays hands-free.
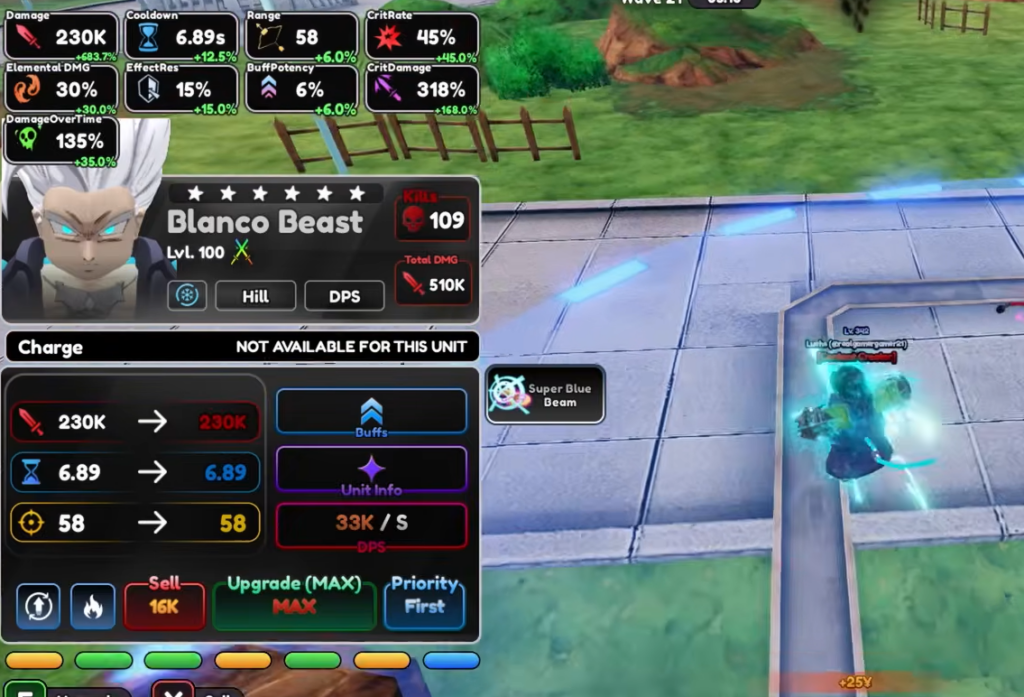
Team composition for the Beast Tear macro
The lineup is six units. Fastcart is dropped from the usual farm setup and replaced by Prodigy Mage (Apprentice), whose stuns and buffs are what keep the boss pinned. The two Light-element carries do the bulk of the damage, while Bulmo funds fast upgrades early.
| Unit | Role | Purpose |
|---|---|---|
| Ultimate Fused Warrior (Lvl 100) | DPS | Main Light-element carry |
| Angel Born in Hell / Gogeta (Unrivaled, Lvl 75) | Utility DPS | Second Light-element carry with cleanse buffs |
| Crow Shinobi (Reanimated) | DPS | Knockback to hold the boss in place |
| Prodigy Mage / Fern (Apprentice, Lvl 70) | Support | Stuns and crit-rate buffing |
| Virtual Idol (Super Star, Lvl 70) | Buffer | Damage boost for nearby units |
| Bulmo (Lvl 70) | Farm | Yen generation for early upgrades |
Why the element matchup matters
Gohan is a Dark-element boss and the standard mobs are Wind element. Light-element units land the strongest counter damage against him, which is why Ultimate Fused Warrior and Gogeta anchor the damage. Gohan also moves fast and stuns your units on contact, so crowd control is not optional. Without stuns from Fern and knockbacks from Crow Shinobi, the boss slips past your defenses and the AFK run falls apart.
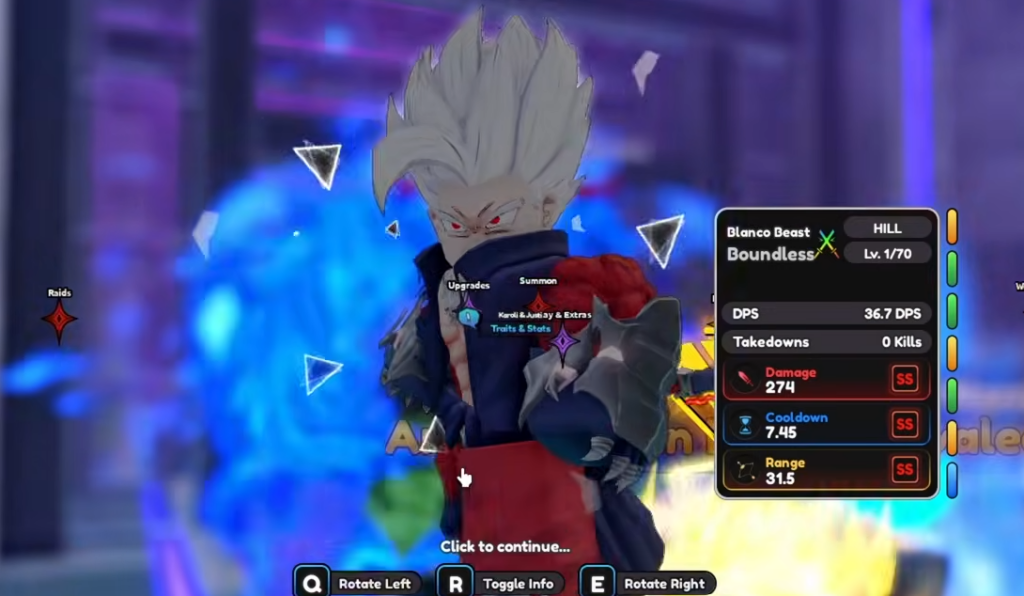
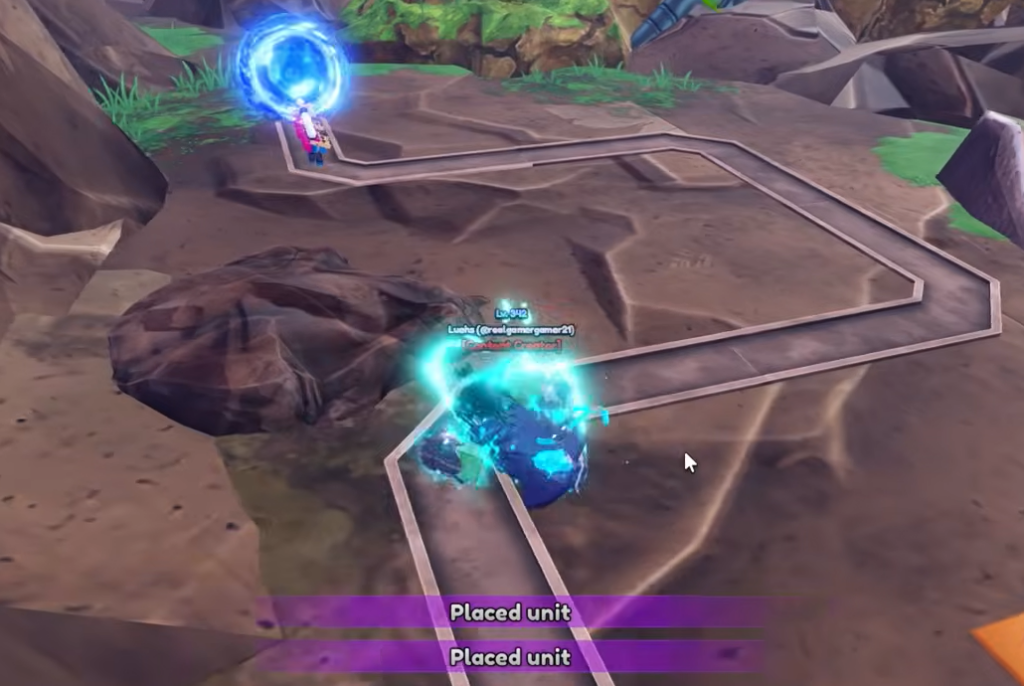
Placement order to record the macro
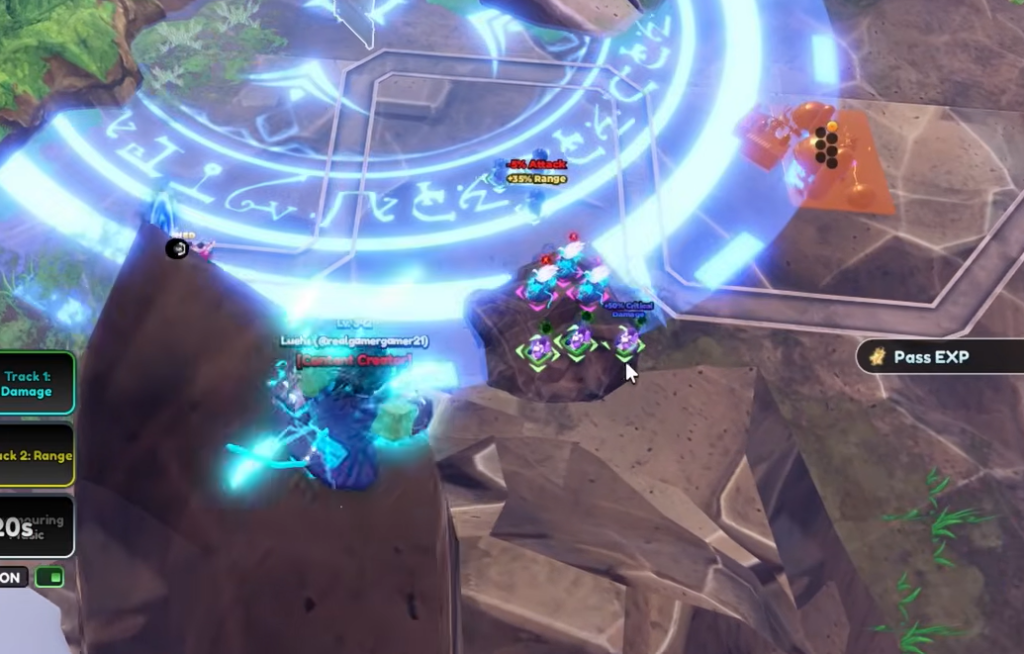
Open the Built-in Macro menu, select Slot 1, and start recording before you place anything. Every action from here forward is captured, so place units on the same waves each time.
Boss phases on Wave 20
The final wave sends in Rohan, who transforms three times before dying. Keep him locked at the entrance loop with your stuns and knockbacks, and the DPS units will grind through every health bar in sequence.
| Phase | Health |
|---|---|
| Rohan | 20M |
| Rohan (Super) | 25M |
| Rohan (Ultimate) | 30M |
| Blanco Beast | 30M |
Relics used on each unit
The relic loadouts push damage and refund upgrade costs so the run stays self-sustaining. Crow Shinobi carries no relics and works purely for its knockback.
| Unit | Key relics and effect |
|---|---|
| Bulmo | Ex Captain Urahara Hat (refunds 5% of Yen spent on upgrades), Super Roku Shirt |
| Ultimate Fused Warrior | Fused Warrior Earrings (+50% non-synchro damage), Fused Warrior Top, Fused Warrior Bottom |
| Angel Born in Hell (Gogeta) | Fusion Aura (+50% damage to cleansed allies), Fusion Vest |
| Prodigy Mage (Fern) | Shadow Reaper Necklace, Super Roku Shirt (+20% damage to Saiyan units), Super Roku Pants |
| Crow Shinobi (Reanimated) | None |
How to confirm the clear and what it drops
When Blanco Beast dies, the Mission Results screen shows The Blanco Beast marked Won under the Beast Tear act, with Waves Cleared at 20 and Difficulty listed as Nightmare. A finished run pays out Gems x1000 and Gold x3000, and progress toward the Serialized Gohan unit along with reward crafts such as the Ultimate Sword. Once the win screen appears, the saved macro can replay the same sequence for repeat farming.
You can access Universal Tower Defense X directly from its Roblox game page to start a run.
Common reasons the AFK run fails
The macro only holds a 100% win rate when the boss stays pinned. A few placement mistakes break that lock and let Gohan reach your base.
- Skipping Prodigy Mage stuns or Crow Shinobi knockbacks lets the fast-moving boss slip past and stun your carries.
- Placing the Light carries apart from each other reduces overlapping damage on the loop where the boss is trapped.
- Forgetting to enable Auto-Upgrade means the DPS units never scale, and the boss survives its later phases.
- Recording placements on different waves than listed shifts the timing and can leave the choke point open.
Get the placements, and Auto-Upgrade toggles right on the first recording, and the saved Slot 1 macro will clear Nightmare Beast Tear on repeat while you step away, steadily banking the currency and progress you need for Serialized Gohan.