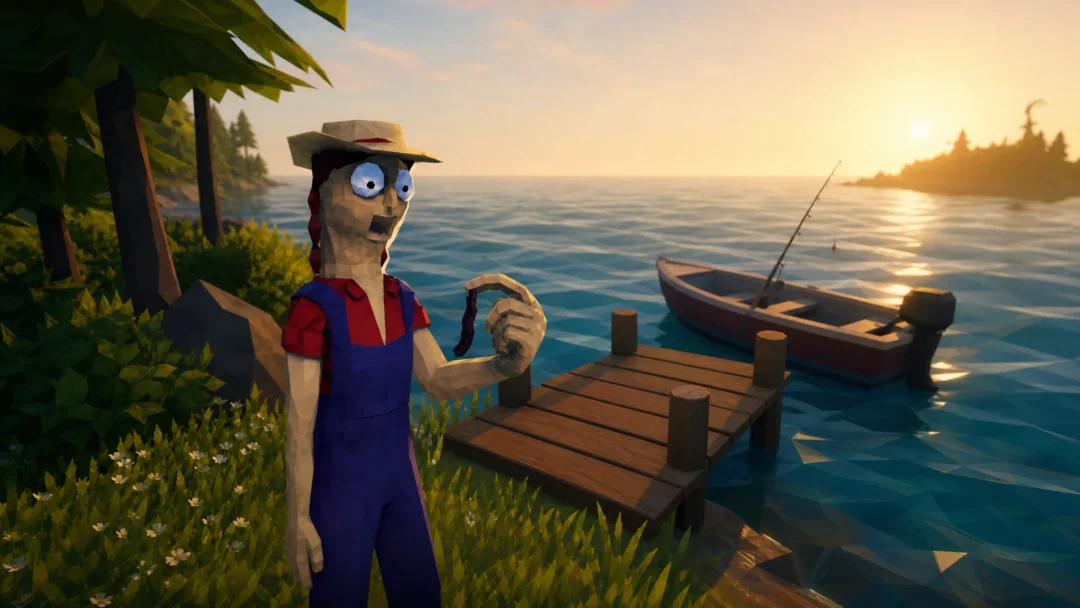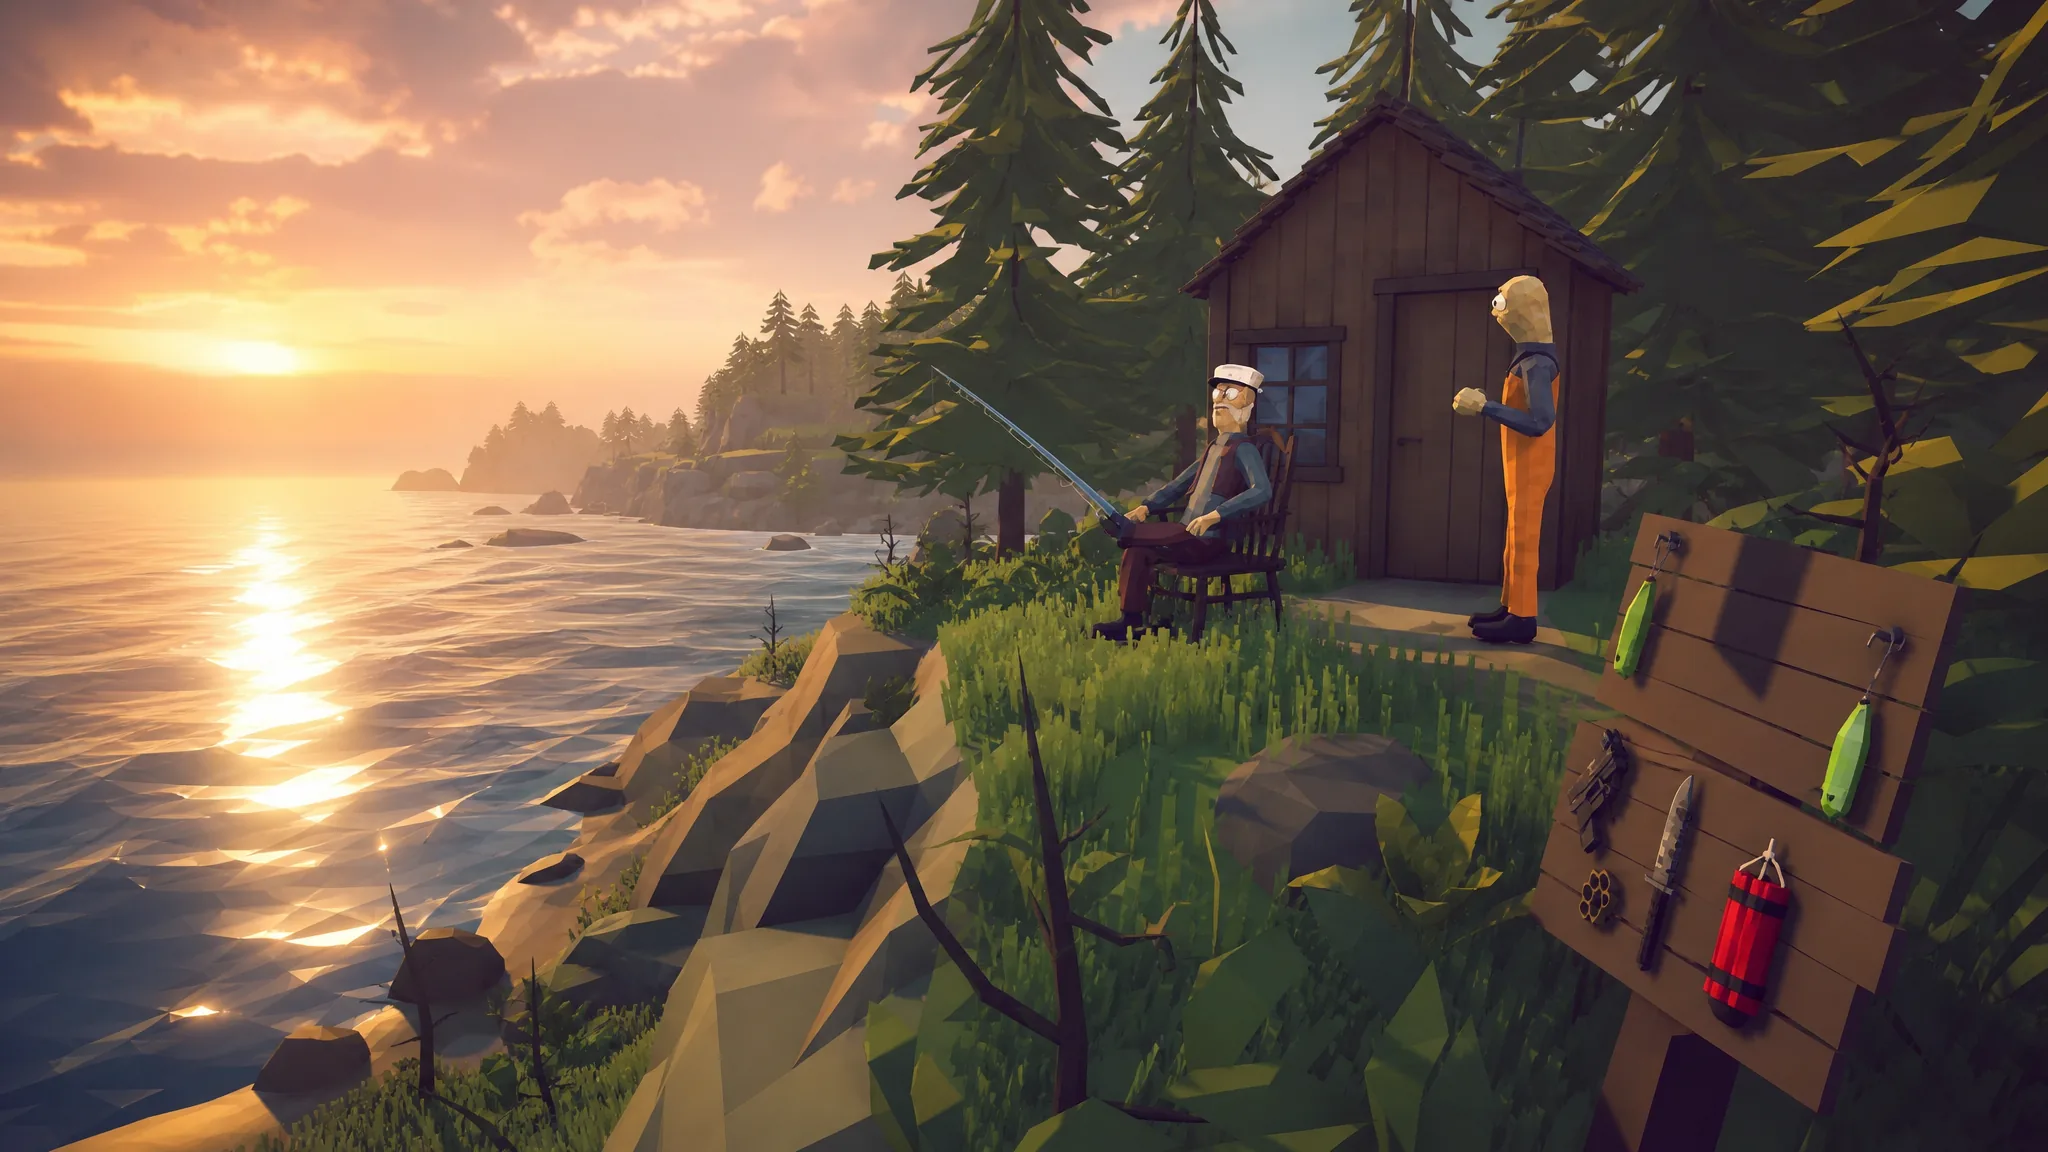
How to Fish spreads more than 30 catchable creatures across five islands, and almost none of them bite on the wrong bait. The Dazed Games co-op title gates each new stretch of water behind a lure tier, so filling out your collection is less about casting technique and more about carrying the right lure for the island you are standing on. Bosses add a second layer, since most of them only surface when you use a one-off item earned from a quest.
Quick answer: Match the lure to the island. Free lure and Hot Dog cover the Lighthouse, Free lure and Beginner Lure cover Island 2, Standard Lure covers Island 3, Professional Lure covers Island 4, and Scientific Lure covers Island 5. Bosses ignore all of that and require their own dedicated bait.
Rod and lure tiers by island
The Lighthouse is the only place where the Crab Fishing Rod does the whole job. Everything from Island 2 onward runs on the standard Fishing Rod, with the lure doing the heavy lifting. Each island sells the lure tier that matches its waters, so buying locally is the fastest way to avoid dead casts.
| Island | Rod | Lures used |
|---|---|---|
| Lighthouse | Crab Fishing Rod | Free lure, Hot Dog |
| Island 2 (Forest) | Fishing Rod (plus Crab Fishing Rod for Piranha) | Free lure, Beginner Lure, Hot Dog |
| Island 3 (Desert) | Fishing Rod | Standard Lure |
| Island 4 (Rocks) | Fishing Rod | Professional Lure |
| Island 5 (Volcano) | Fishing Rod | Scientific Lure |
Lighthouse and Island 2 catches (mixed bait)
The first two islands are the only ones where bait choice changes from fish to fish. Rock Crab shows up on both the free lure and the Hot Dog, while Pike and Goldfish will take either the free lure or the Beginner Lure. Piranha is the odd one out on Island 2 because it stays on the Crab Fishing Rod with a Hot Dog attached.
| Species | Island | Bait |
|---|---|---|
| Rock Crab | Lighthouse | Free lure or Hot Dog |
| Shrimp | Lighthouse | Free lure |
| Lobster | Lighthouse | Hot Dog |
| Piranha | Island 2 | Hot Dog |
| Mackerel | Island 2 | Free lure |
| Gar | Island 2 | Free lure |
| Pike | Island 2 | Free lure or Beginner Lure |
| Goldfish | Island 2 | Free lure or Beginner Lure |
| Cod | Island 2 | Beginner Lure |
| Perch | Island 2 | Beginner Lure |
| Triggerfish | Island 2 | Beginner Lure |
Islands 3, 4, and 5: One lure per island
From the Desert onward, the game simplifies things. Every regular creature on an island answers to that island’s single lure tier, so you can clear an entire page of the collection in one sitting once you have stocked up. Island 5 is still the shallowest list of the three, since its roster continues to grow.
| Island | Bait | Species |
|---|---|---|
| Island 3 (Desert) | Standard Lure | Angelfish, Boxfish, Catfish, Sea Urchin, Seahorse, Clownfish, Bluegill, Salmon, Needlefish |
| Island 4 (Rocks) | Professional Lure | Parrotfish, Voxelfish, Bass, Halibut, Eel, Tigerfish, Flying Fish, Sengarat, Red Snapper |
| Island 5 (Volcano) | Scientific Lure | Anglerfish, Blobfish, Oarfish, Superdwarf Fish, Stonefish |
All boss creatures and their bait
Ten creatures count as bosses, and two of them are not fish at all. The Albatross is a bird that swoops in over Island 4, and the Spider Crab is the tutorial-tier encounter at the Lighthouse. Boss lures are purchasable at the shop on their respective islands, but the rest are quest rewards or items you have to produce yourself.
| Boss | Island | Bait |
|---|---|---|
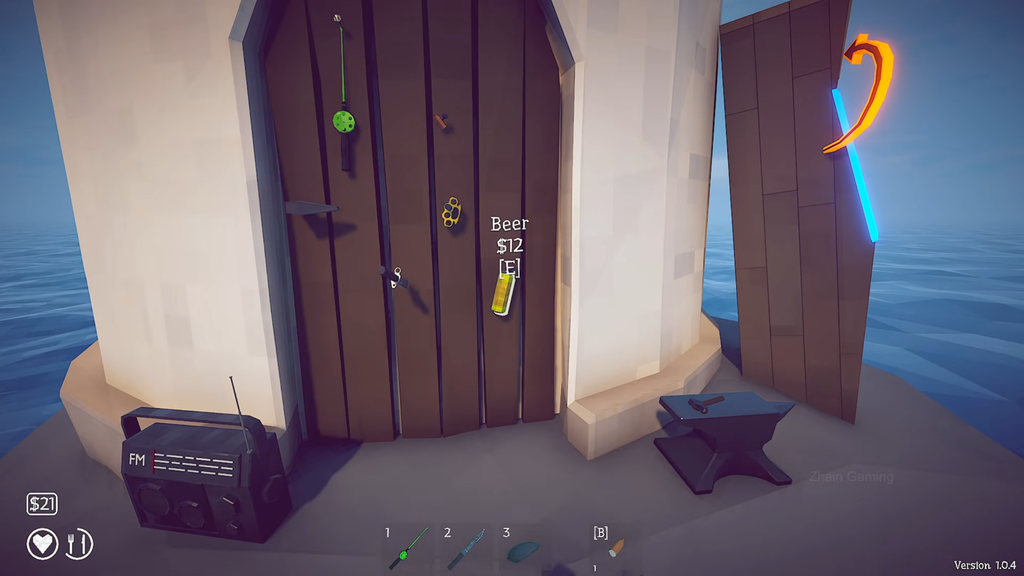
| Spider Crab | Lighthouse | Empty Beer Can |
| Giant Piranha | Island 2 (Forest) | Modified Leech |
| The Old Pike | Island 2 (Forest) | Beginner Boss Lure |
| Blue Shark | Island 3 (Desert) | Standard Boss Lure |
| Pufferfish | Island 3 (Desert) | Carrot |
| Tuna | Island 4 (Rocks) | Professional Boss Lure |
| Albatross | Island 4 (Rocks) | Tuna |
| Goblin Shark | Island 5 (Volcano) | Scientific Boss Lure |
| Bowhead Whale | Island 5 (Volcano) | Fish Bucket |
| Mutated Bowhead Whale | Island 5 (Volcano) | Bowhead Whale |
How to get the quest baits you cannot buy
Four of the boss baits come from NPCs, and each one is tied to a small favour. The pattern is consistent throughout the game. You catch something, hand it over, and get an item back that summons the next big fight.
Empty Beer Can (Spider Crab)
Modified Leech (Giant Piranha)
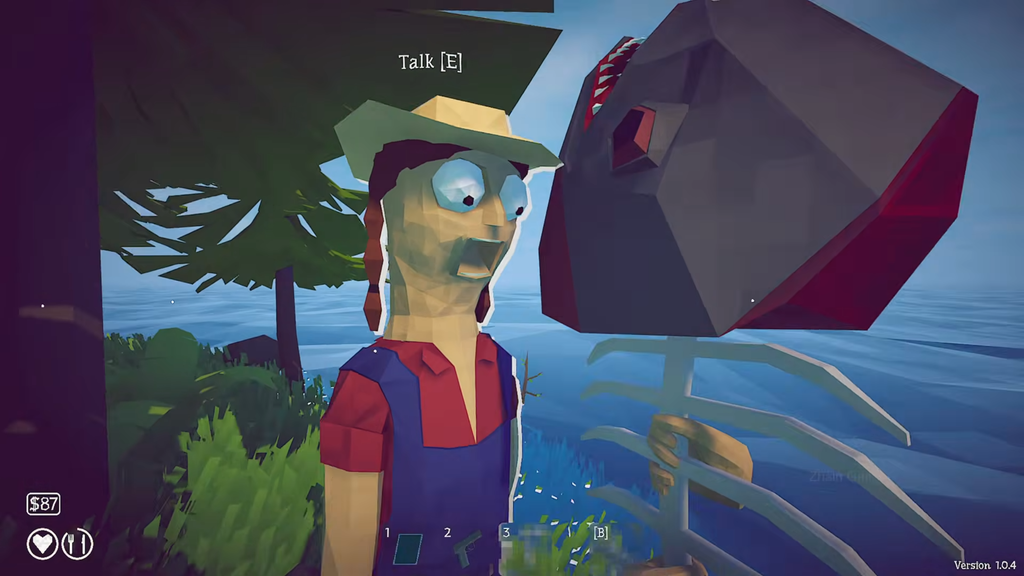
Carrot (Pufferfish)
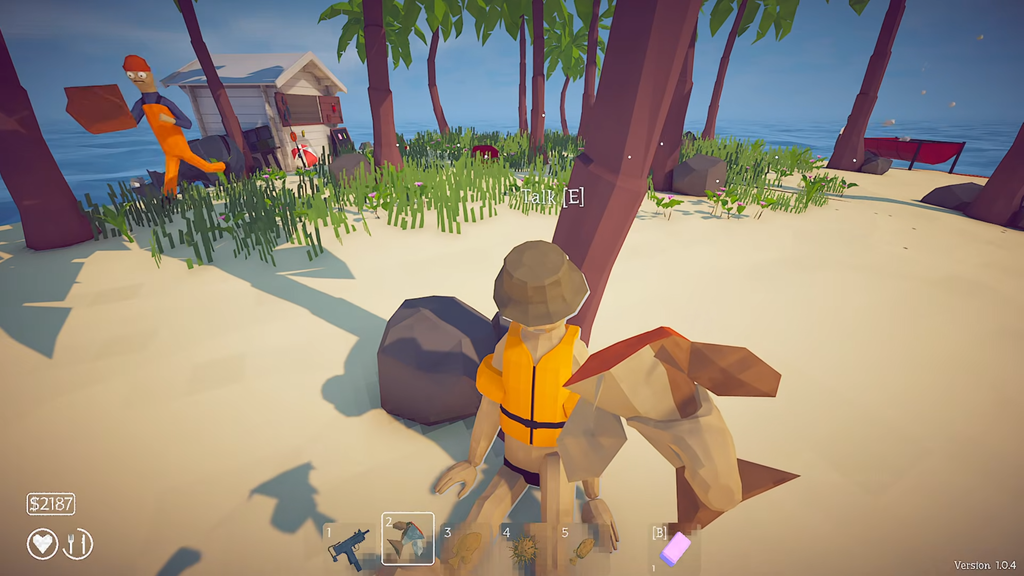
Tuna (Albatross)
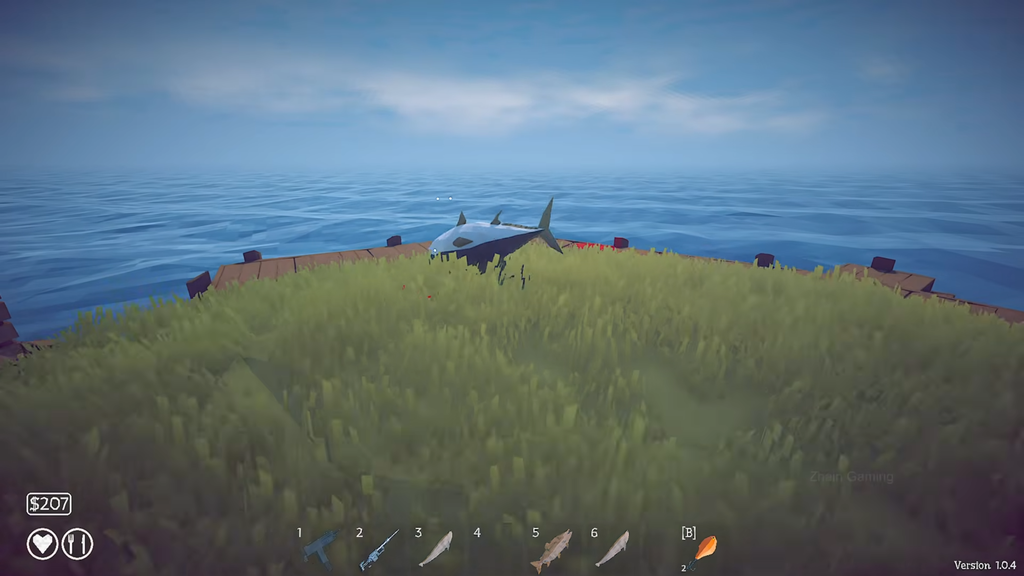
Note: The Bowhead Whale on Island 5 doubles as bait for the Mutated Bowhead Whale, so do not sell it after the fight.
Why a fish or boss will not bite
Nearly every failed catch traces back to one of three things. Using a lower lure tier than the island expects, using the standard lure when a boss requires a dedicated boss lure or quest item, or losing a boss before you finish it off.
That last one is worth watching closely. Every boss has a white bar under its health pool. If the bar runs out before the boss dies, it escapes, your bait is spent, and you have to source the item again from scratch. Backing off too far during the Spider Crab fight also makes it jump around and burns time off that bar, so stay close and punish its missed charges instead.
Confirming a complete collection
Your collection log updates the moment a creature dies, not when it takes the bait, so a fish that slips off the line does not register. Two Steam achievements confirm your progress. Collector unlocks once you have found and killed every creature, and Fishipedia covers every drip creature specifically.
Before the volcano run, it is worth killing the Blue Shark on Island 3 to activate the Grill. The NPC beside it hands over a lighter, and cooked catches sell for 1.5x their base value, which pays for the higher-tier lures you will burn through on Islands 4 and 5. The Island 5 roster is still expanding, so expect a few more entries to appear in the Volcano waters as the game receives updates.