“Ambrus’s Dungeons: Twists and Turns” is one of the Draining Dungeons in Ambrus’s domain, the blood-farming operations that keep the vrakhiri fed. Clearing it is short, mostly linear, and ends on a choice that decides what happens to the people locked in the cells.
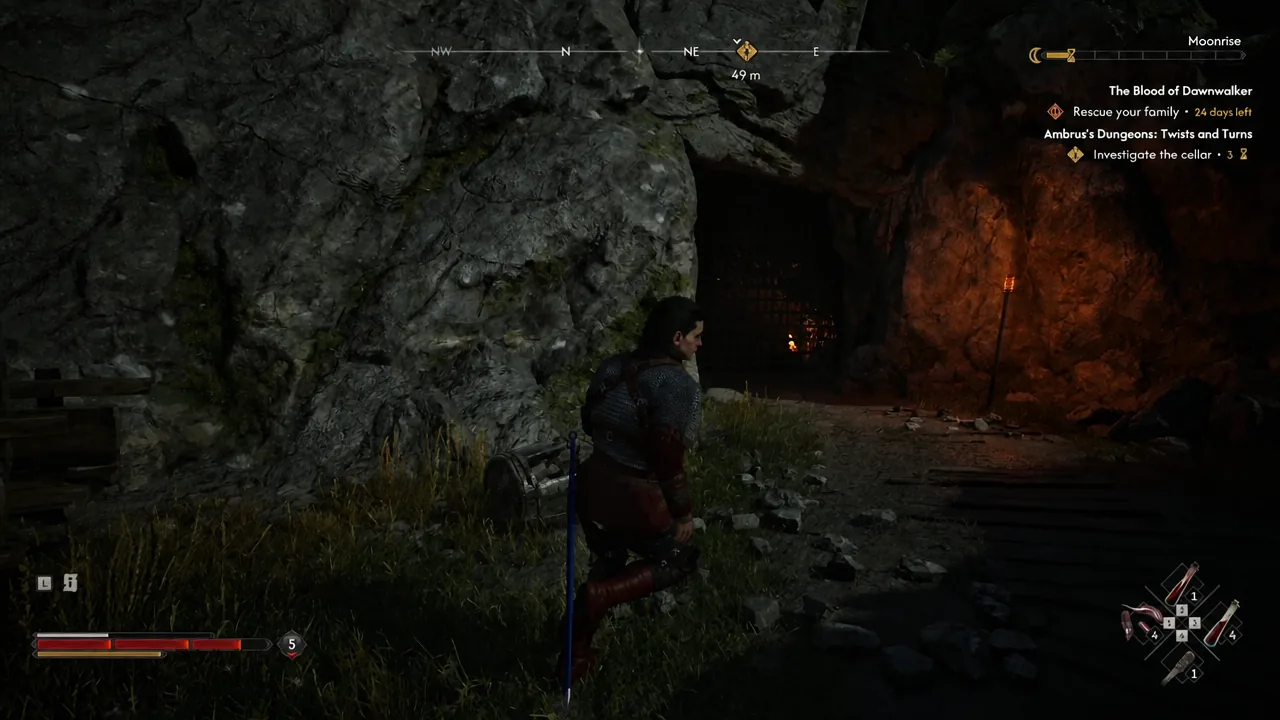
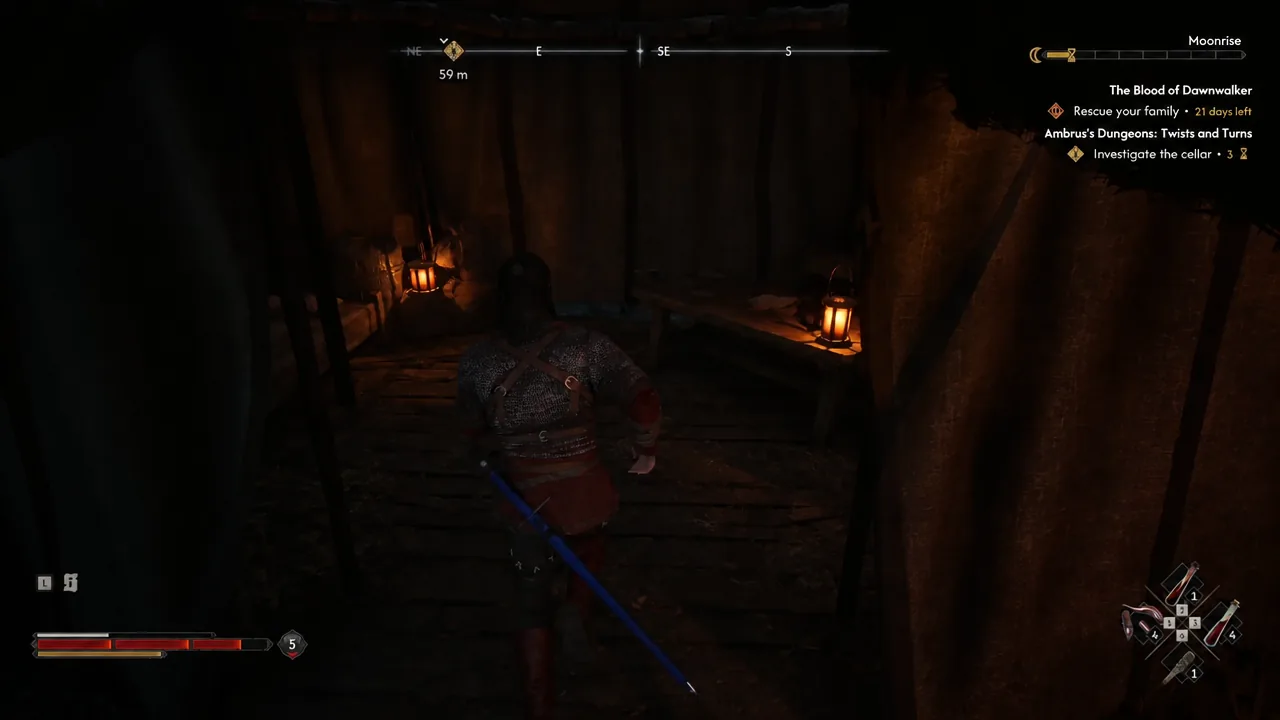
Quick answer: Head to the fort in the northeastern part of Marag’s Wealds, kill the guards in the camp, take the Letter of Admonishment from the tent desk, go through the mountain gate and down the stairs to the holding chamber, loot the Jailer’s Keys off a guard, then inspect the cell gate and either free or condemn the prisoners.
Twists and Turns quest location, time cost, and rewards
The dungeon sits on the eastern side of Marag’s Wealds, effectively right under the region label on the map. Look for the fort built into the mountainside; the wooden door in the palisade out front is the way in, and nothing about the entrance is locked or gated behind another quest.
| Detail | Value |
|---|---|
| Quest name | Ambrus’s Dungeons: Twists and Turns |
| Region | Marag’s Wealds, northeastern edge of Ambrus’s domain |
| Objectives | Steal Letter of Admonishment, Investigate the cellar, Open the cells |
| Time cost | 3 TIME, spent when you inspect the cell gate |
| Rewards | XP, 250 coin, and 1 Skill Point |
| Unlocks next | Where Loyalty Lies |
Note: the payout does not change based on what you decide at the cells. Both outcomes hand over the same XP and the same single Skill Point.
Clearing the camp and stealing the Letter of Admonishment
Route down to the cells and the fight inside
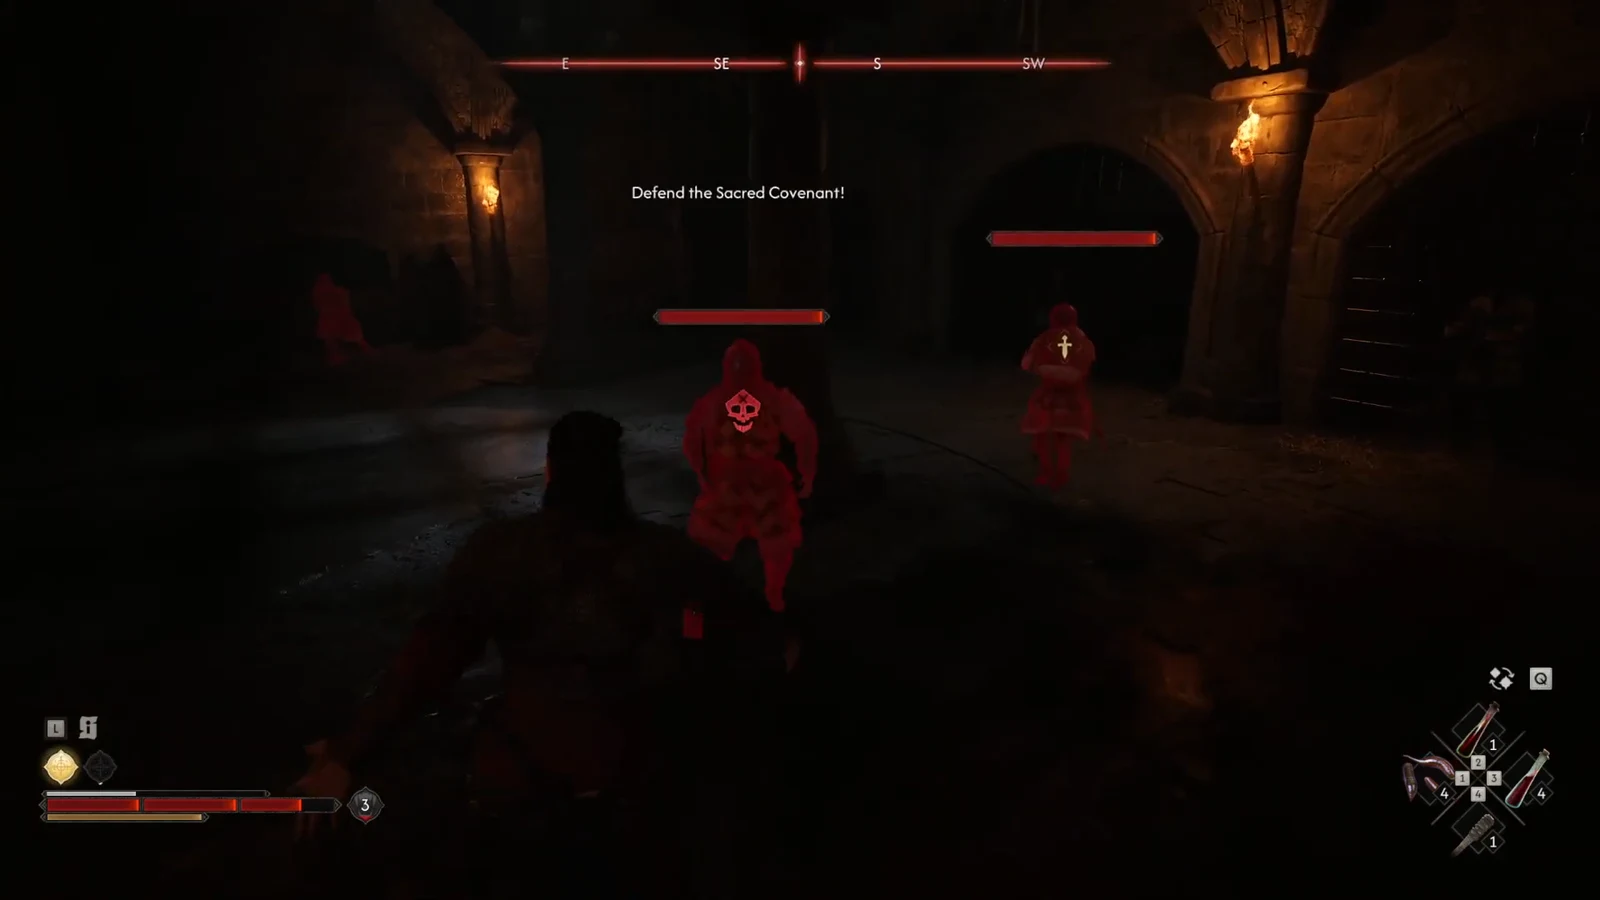
Free or condemn the prisoners: both dialogue outcomes
The occupied cell is just to the right of where you entered the chamber. Inspecting the gate with the Jailer’s Keys in hand consumes 3 TIME and starts the conversation, so treat that interaction as the point of no return for the clock.
You can question the prisoners first. They admit they once served the knyaz, which is exactly why Brencis’s people put them down here, and that relationship is not being repaired. From there you either leave them locked up to rot for that service or let them out.
If you free them, they ask what you want in return. Choosing “Do what you can to oppose Brencis.” sends them off eager to make trouble for him. Choosing “You owe me nothing.” gets a remark on your generosity instead. Neither line changes the XP or the Skill Point you receive.
How to confirm the quest completed
Once the cell dialogue wraps, a “QUEST ENDED” card appears with Ambrus’s Dungeons: Twists and Turns named at the top, followed by the XP gain, 250 coin, and Skill Points (1). If that card has not shown up, the usual cause is that the cell gate was never inspected because the Jailer’s Keys are still on a guard’s body in the chamber.
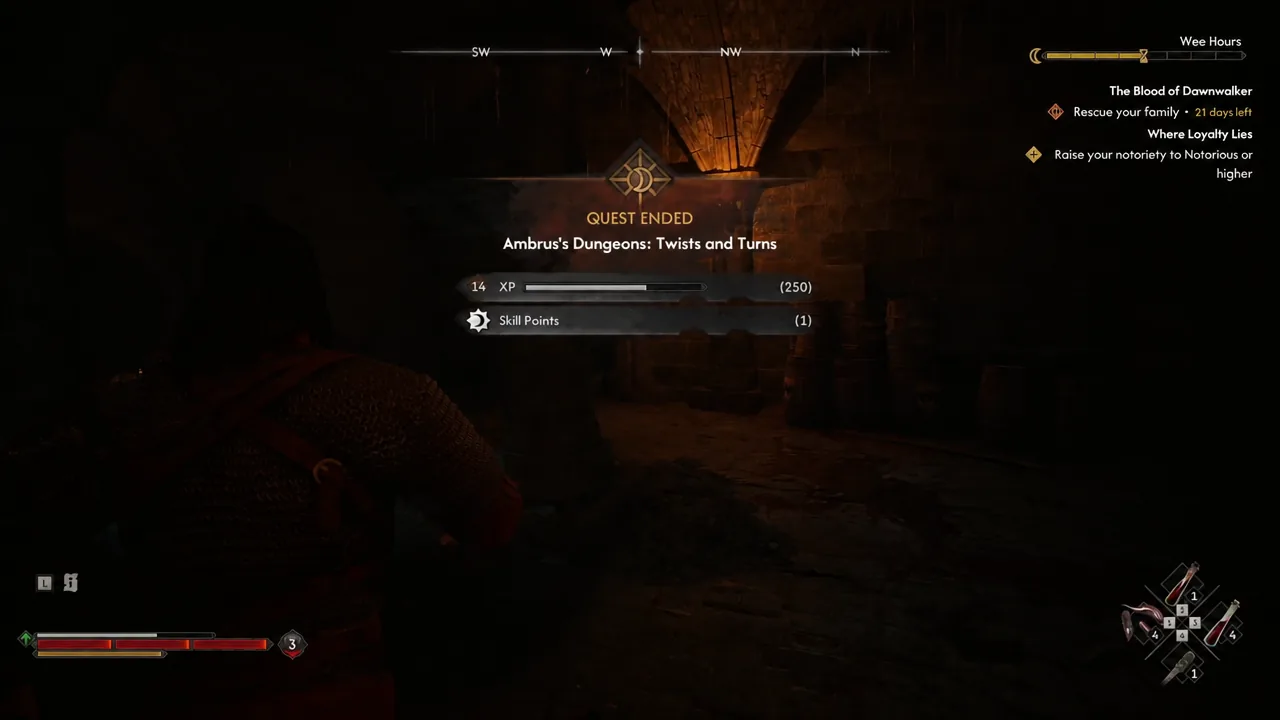
Where Loyalty Lies opens immediately afterward, so the tracker will already have a new entry waiting when you climb back out. If you also picked up the Letter of Admonishment on the way in, Ambrus’s Prisoners: Lucky Crossing is marked on the map as a second thread to follow, and both are separate from the other two Draining Dungeons still running in Ambrus’s territory.