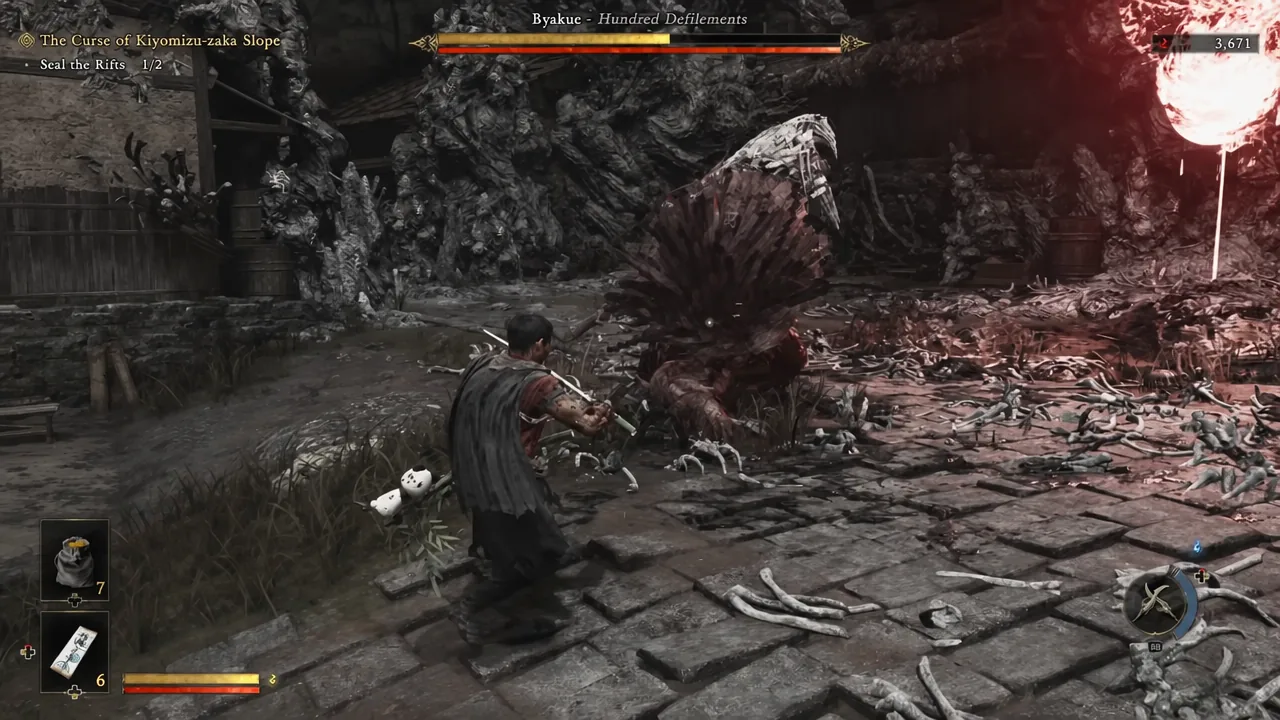
Byakue — Hundred Defilements is the talisman-wrapped, axe-swinging Genma you meet at Kiyomizu-dera Temple during the Curse of Kiyomizu-zaka Slope objective, and it is the first fight in Onimusha: Way of the Sword that punishes passive play. It has a large health pool, it opens with charges that close distance instantly, and it gets stronger the longer the fight drags on. You will also meet it again several times over the course of the game, so the timings you learn here keep paying off.
Quick answer: Deflect every axe swing, dodge the two charges, Issen the Leaping Axe Strike, then drain the stamina bar and cash it in with a riposte to the head — two or three stamina breaks end the fight.
Blood escalation: why a slow Byakue fight gets worse
Byakue’s power grows as its own blood soaks into its body. That is not flavour text — the longer the encounter runs and the more damage it has taken, the faster and more aggressive its swings become. Talisman seals tear away as you push through its health, and each torn seal releases a quicker version underneath.
Bosses in this game are also dynamic. Taking heavy damage early can push Byakue into its enhanced, Blazing state well before you would otherwise see it. The practical takeaway is that damage taken and time spent both work against you, so treat every stamina break as a chance to close out a phase rather than a chance to farm resources.
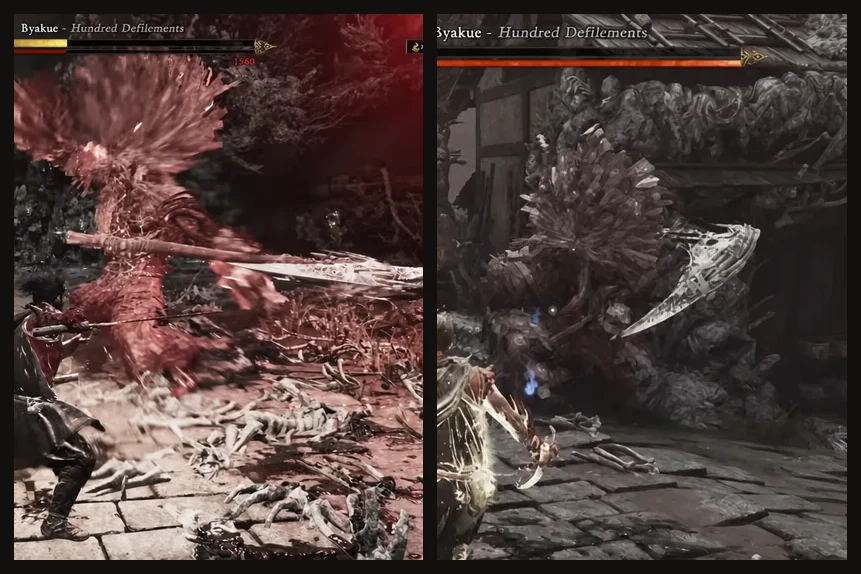
Byakue attack list and the correct response
The whole fight comes down to one rule: dodge when the axe is not swinging, deflect when it is. The charges are the exception, because they cannot be countered with Issen.
| Attack | Best response |
|---|---|
| Charge (sprints straight at you) | Evade sideways. Deflecting drains almost no stamina from it, and dodging builds the Reflex Gauge instead. |
| Hop & Bash (shoulder rush) | Evade rather than block, then land one or two hits before it recovers. |
| Leaping Axe Strike | Issen. The jump is the clearest tell in the fight and the counter deals heavy health and stamina damage. |
| Overhead Strike | Dodge. It can be parried, but a clean hit staggers you and opens you up to a follow-up. |
| Triple Axe Combo | Deflect all three. The first swing has the tightest timing; the second and third are easier to read. |
| Spinning Sweep | Deflect the sweep or dodge out of the arc entirely. |
| Upswing Charge | Prepare a parry as it closes; the upward swing has a readable wind-up. |
| Hair Grab (blue attack) | Press the counter input just before the glowing hair touches you, or simply walk out of range. |
| 5-Hit Wild Swing | Chain consecutive deflects. Do not try to squeeze in an attack mid-string. |
| Crimson Smash (Blazing state) | Jump right before the axe hits the ground to avoid the eruption. |
| Crimson Pour (Blazing state) | Attack during the casting animation, then stay out of the miasma pools it leaves behind. |
The deflect loop that drains Byakue’s stamina
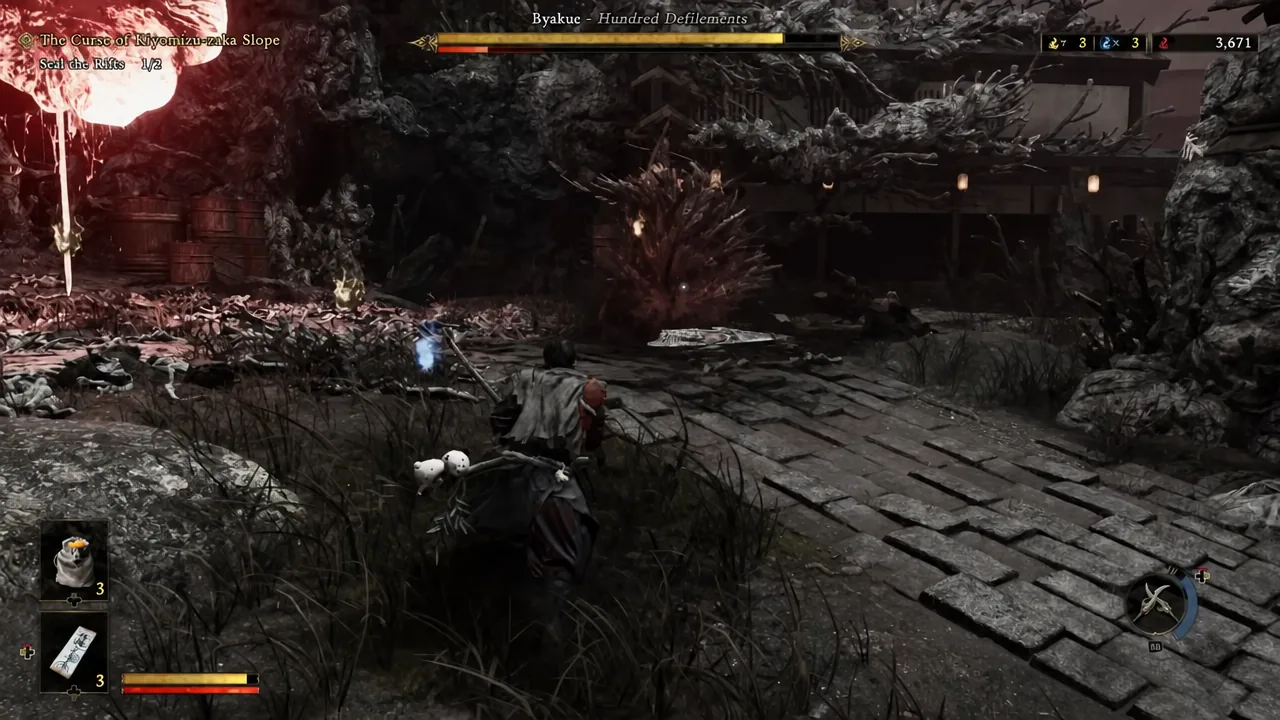
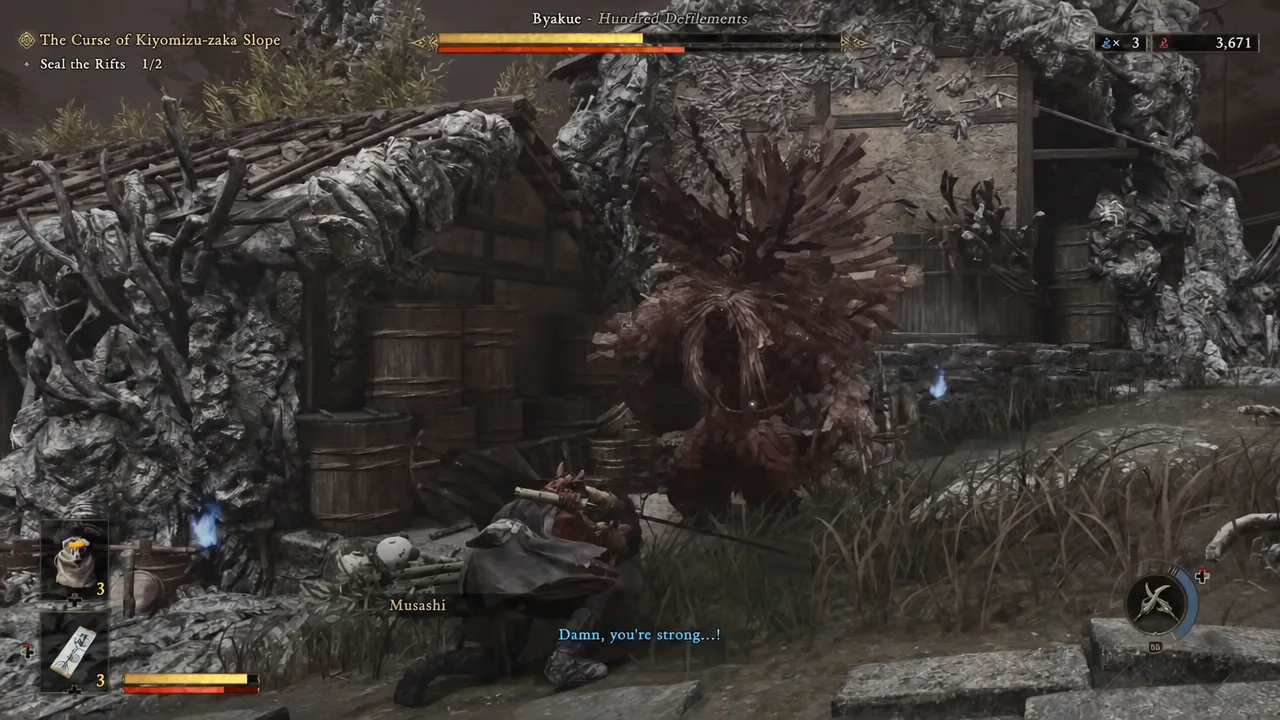
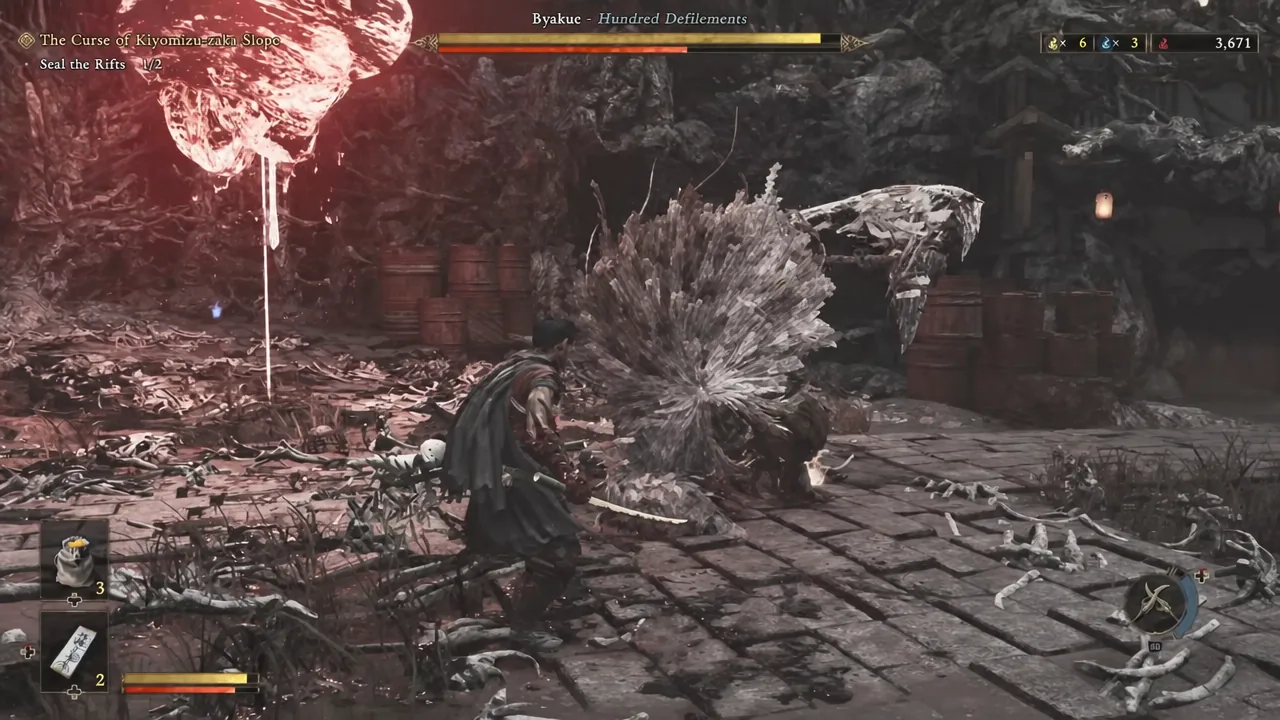
Note: some of Byakue’s attacks have their own parry animations that leave it open for noticeably longer than a standard deflect. Learning which ones stagger it hardest turns a two-hit punish into a full combo.
Stance, Oni Armament, and bow use
Two-handed stance is the better pick here. It deals more damage per swing, so you need fewer hits to close a phase, and Byakue telegraphs enough of its attacks that the longer commitment windows are manageable. Fast one-handed strings look tempting but feed the blood escalation more quickly.
The Two Celestials Oni Armament is the strongest tool in the fight. It costs blue souls, deals a concentrated burst of damage, and grants invincibility frames during the flurry, so it doubles as an escape from a bad position. Save it for the moment a phase is about to break.
Keep the Oni Bow on hand for the gaps. Shots chip health from a safe distance and slow Byakue’s stamina recovery, which matters when you have backed off to heal or reposition. It is also the cleanest way to finish a sliver of health without walking back into axe range.
How to tell the fight is going your way
Progress shows up in the stamina bar long before the health bar moves much. If a run of deflects is landing, the bar drops in visible chunks and Byakue drops into a stagger you can riposte. If the bar barely moves, you are blocking rather than deflecting, or you are guarding the charges instead of dodging them.
On defeat, the rift closes and the Seal the Rifts counter advances, and you pick up Byakue’s Talisman x2, a weapon-enhancement material. The first victory also awards the Serves You Right trophy.
Common mistakes that lose the fight
- Trying to Issen a charge. Neither the shoulder rush nor the sprinting charge can be countered — you have to move.
- Blocking instead of deflecting. Plain blocks barely dent the stamina bar and stretch the fight into its more dangerous phases.
- Parrying the overhead slam. Mistiming it stuns you and hands Byakue a free follow-up; dodging is the safer default.
- Overextending after a deflect. Charges frequently flow straight into another axe swing.
- Taking heavy chip damage early, which can push it into its Blazing state ahead of schedule.
Enhanced Byakue and the demo’s Special Challenge
The Enhanced Byakue in Boss Rematch runs on the same plan with one addition. Below roughly half health it wreathes the axe in Malice, adding the ground slam you jump over and the pools of Malice you simply stay out of. Nothing else about the read changes.
In the demo, Byakue appeared as a secret encounter rather than a story boss. Landing 10 Issen — tracked by a counter in the bottom-left corner — and then finishing the demo unlocked the Special Challenge from the main menu.
Once the deflect timing clicks, later Byakue encounters stop feeling like boss fights at all and start playing more like tougher Genma. That is the point of the first meeting: it teaches the deflect, riposte and Issen rhythm that the rest of the game’s bosses run on.