Dire is the sixth and final difficulty of Stygian Onslaught, and it is the one place in Genshin Impact where the game strips away every safety net. No co-op, no Exalted One buffs, no reusing a character across battlefields, and enemies at level 110. Version 7.0’s rotation, Battle of the Starburst, throws three separate ward mechanics at you, and each one demands a different reaction type to break.
Quick answer: Clear Fearless solo to unlock Dire, then build three completely separate four-character teams — a Stellar Glimmer team for the Chimeric Winged Lion, a Bond of Life team for the Veteran Wind Operative, and an Electro-Charged or Lunar-Charged team for Knuckle Duckle. No character, weapon, or artifact piece may be shared between the three stages.
Dire difficulty rules and restrictions
Dire sits behind a solo clear of Fearless, and its rewards can only be claimed in Single-Player Mode. Because characters cannot be deployed twice, you effectively need twelve built units, not four. The game also tracks gear: if you swap a character, weapon, or artifact set that was already used in a cleared stage into a different team, you get a warning, and confirming wipes the earlier record.
| Rule | What it means on Dire |
|---|---|
| Enemy level | 110, with sharply higher HP and damage than Fearless |
| Time limit | Two minutes per battlefield |
| Character reuse | Blocked — twelve distinct characters required |
| Co-op | Not available at all |
| Exalted Ones | Eminent Boon is disabled, so no free ATK/DEF/HP buffs |
| Energy at start | All characters begin with zero Energy and Special Energy |
Note: menus stay locked once a stage begins. Between stages you can only open the Character menu and the Artifacts tab of your inventory, so plan gear swaps before you commit.
Battle of the Starburst boss lineup
Each of the three stages is a damage check wrapped around a specific reaction requirement. Skipping the mechanic does not just slow you down — in two of the three fights, the boss simply refuses to take meaningful damage until its ward is gone.
| Stage | Boss | What breaks it |
|---|---|---|
| 1 | Chimeric Winged Lion | Radiance: Stellar Glimmer, ideally on an Electro aura |
| 2 | Veteran Wind Operative | Burst damage into her Bloody Pursuit shield |
| 3 | Knuckle Duckle | Electro-Charged or Lunar-Charged on the Stamping Devices |
Chimeric Winged Lion: Break the Electro Ward with Stellar Glimmer
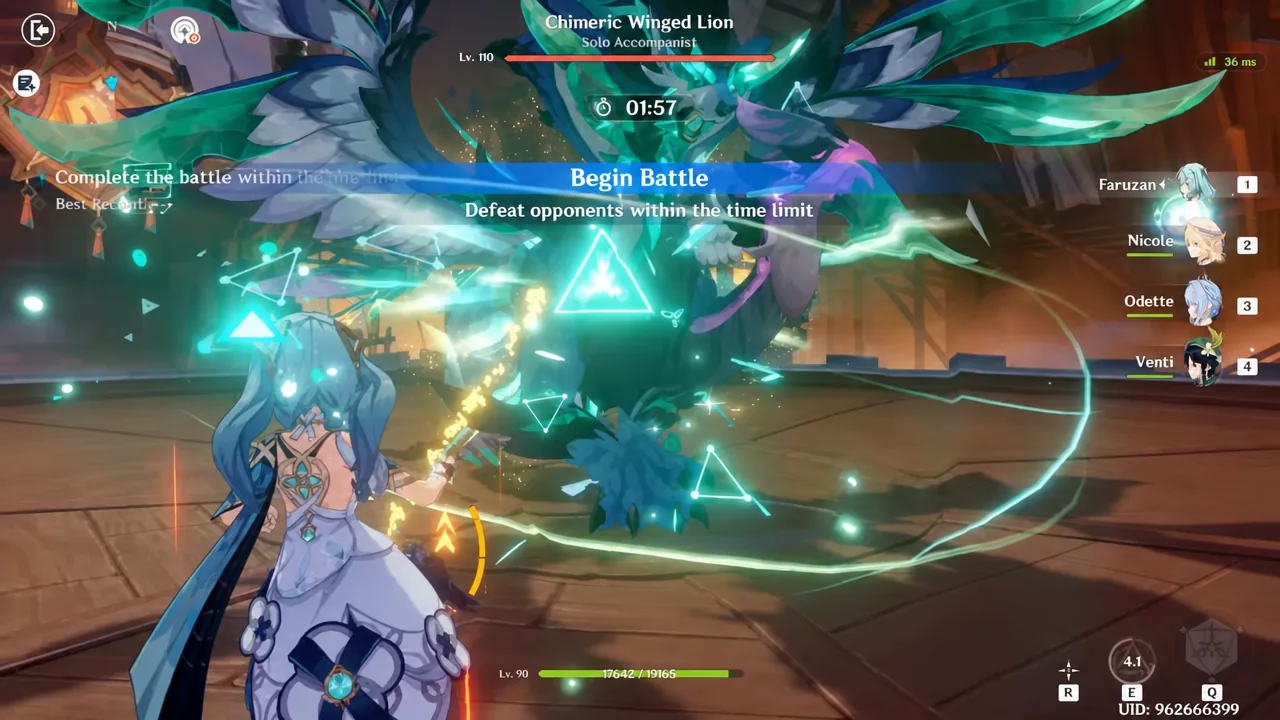
The Lion opens the fight by generating a resilient Electro Ward. At intervals it channels Anemo power into its Electro greatsword for a large shockwave — if it is under Radiance: Stellar Glimmer at that moment, the attack backfires and damages the Ward instead. Break the Ward through Elemental Reactions and it collapses into paralysis, its Cryo and Anemo RES drops hard, and it eats a single large backlash hit scaled to the damage the Ward absorbed. More Stellar Glimmer reaction damage means a bigger backlash payload.
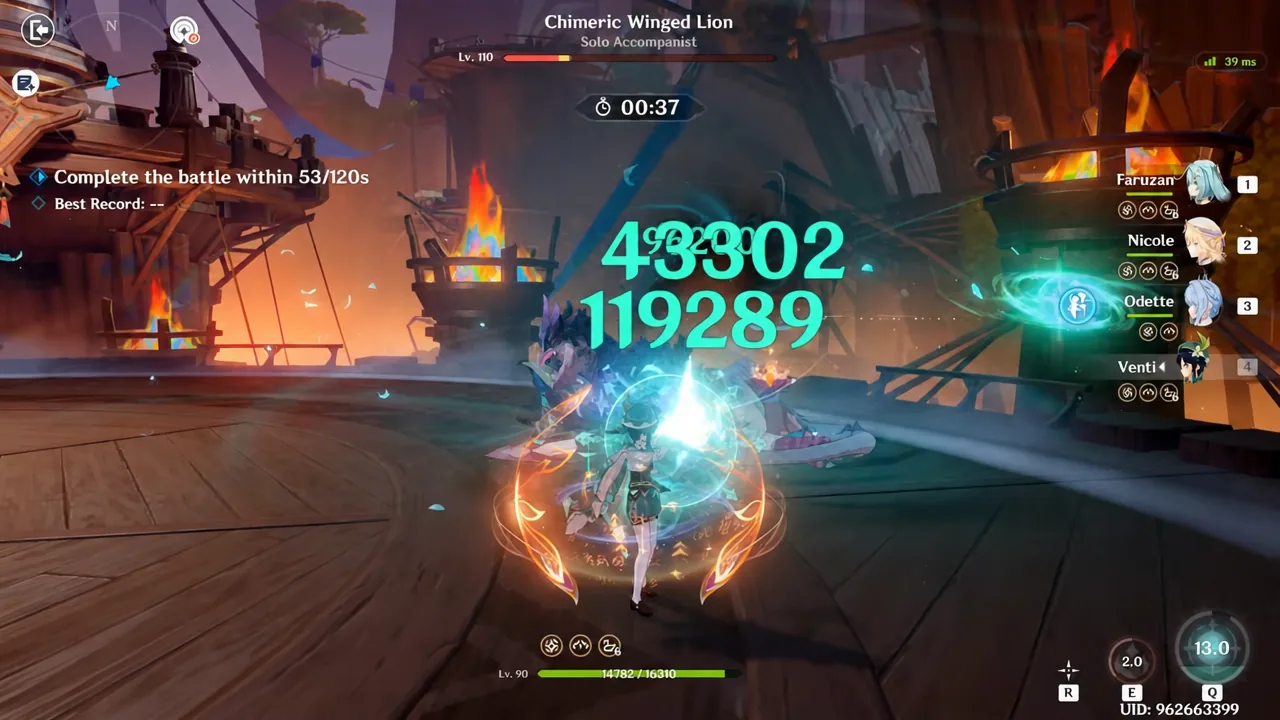
Its second pattern, Galeforce, has the Lion circle in the air firing Gale Bolts, then open a vortex to absorb Anemo Orbs and recharge. You can pop those orbs with Hydro, Pyro, Electro, or Cryo damage, or simply keep Stellar Glimmer applied to block the absorption outright. If the vortex closes before it has taken in enough orbs, the Lion is paralyzed immediately.
Veteran Wind Operative: Turn Bond of Life into damage
The Operative spends her own HP on Hunt Down, which heals her and attaches a Bond of Life to whoever it hits. Characters carrying a Bond of Life take continuous damage and are hit harder by the follow-up. On Dire, her interruption power and interruption resistance are both raised, she can teleport out of an aerial stance break, and before Hunt Down she enters Bloody Pursuit, raising a shield that keeps stacking Bonds of Life onto the whole party. Break that shield and she takes enormous damage.
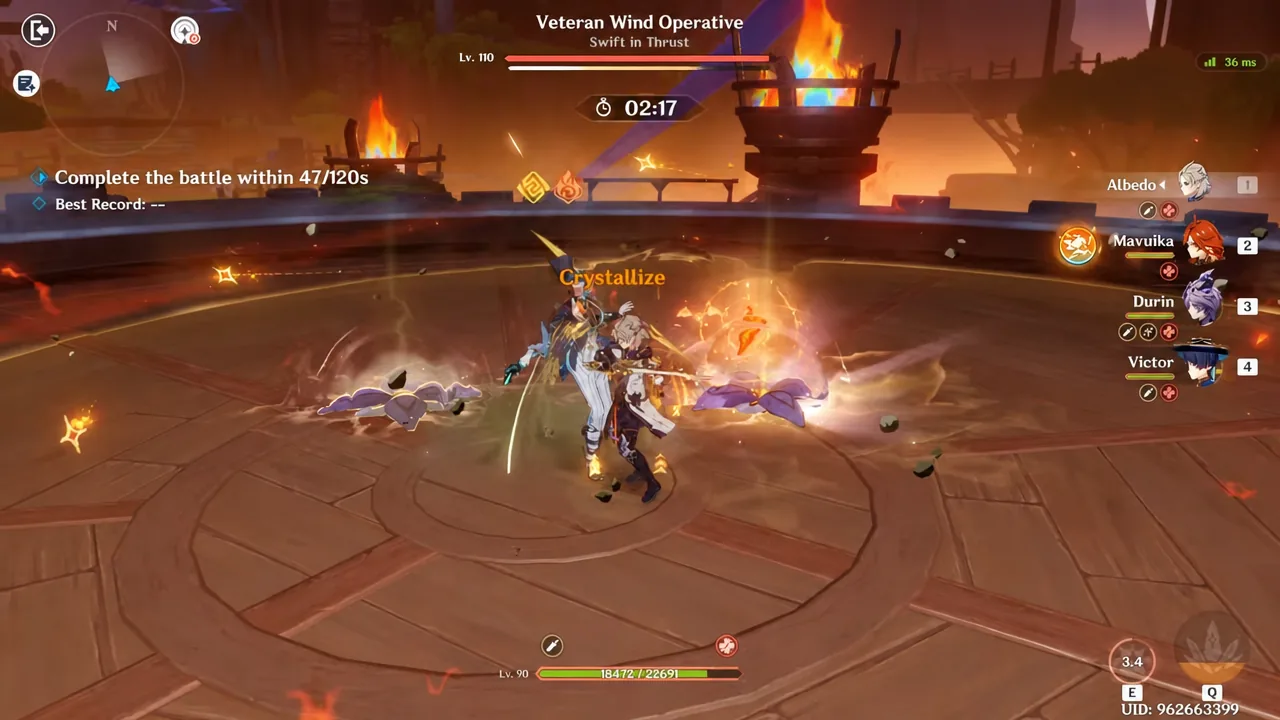
That mechanic is why Bond of Life carries such as Arlecchino and Clorinde flip the fight. Arlecchino in particular wants as much Bond of Life as possible stacked before his big hit. Nicole and Chevreuse pair naturally into that shell, and Mavuika works as an alternative main damage dealer if you would rather not run a Bond of Life carry.
Knuckle Duckle: Destroy the Stamping Devices
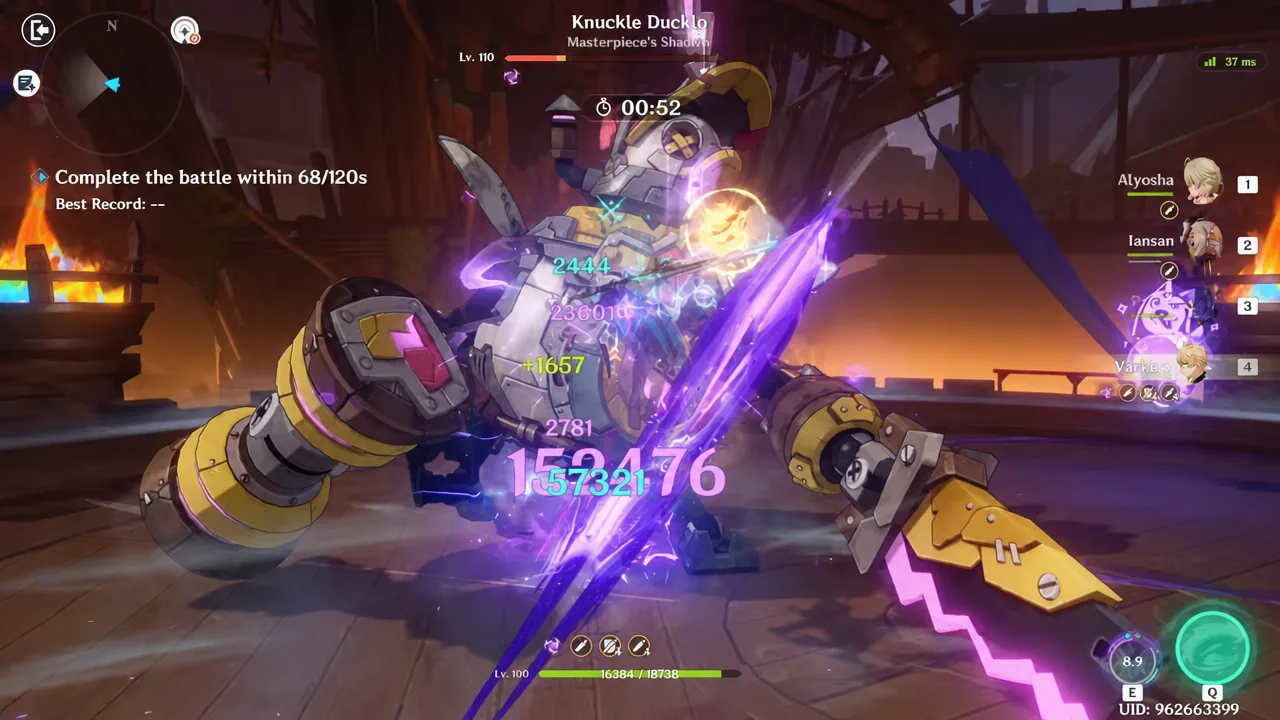
Knuckle Duckle enters Heavy Duckstruction Mode as soon as the fight starts on Dire, raising a Ward that increases all RES and summoning floating Stamping Devices. The devices resist almost everything except Electro. Hit them repeatedly with Electro-Charged or Lunar-Charged damage, or brute-force them down, and they lose control and slam into the boss, chipping the Ward. On Dire the devices are tougher, but the damage they deal on impact scales with the damage they soaked up first.
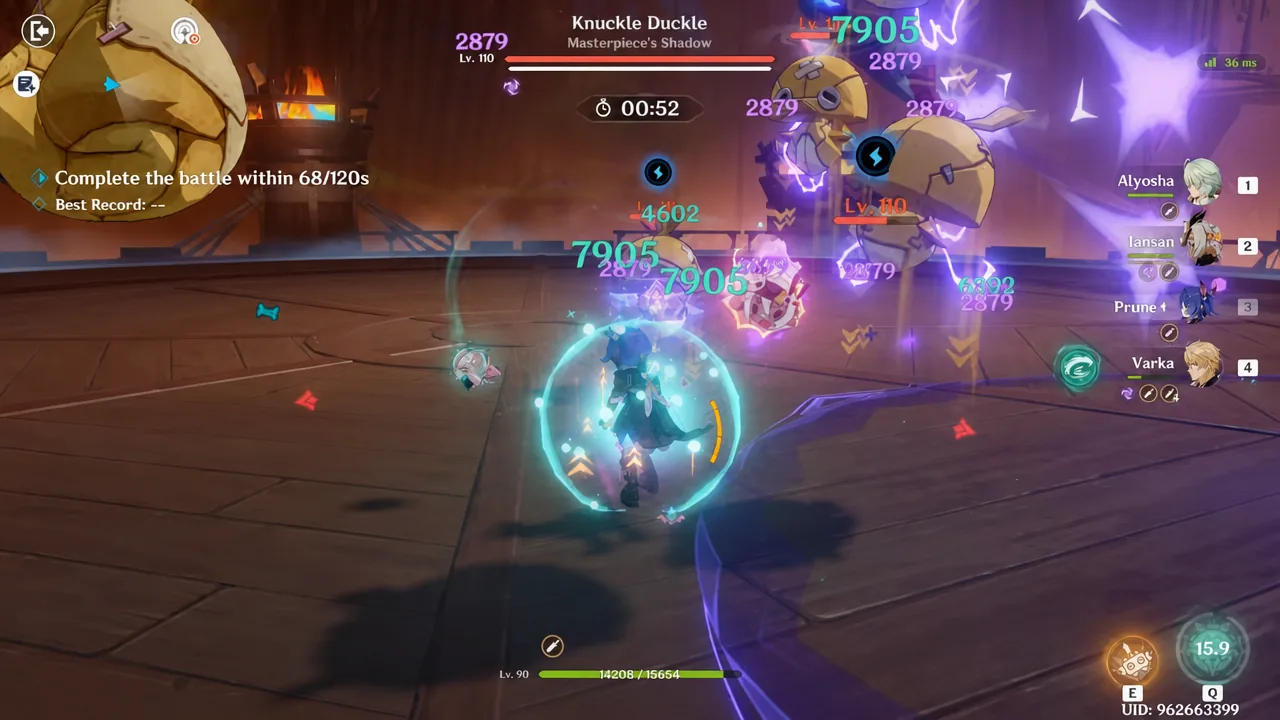
Destroying the Ward this way knocks it out of Duckstruction Mode, staggers it with Overloaded, and cuts its Electro RES for a window. That is your damage phase. Flins, Ineffa, Columbina, and Sucrose cover the Lunar-Charged shell cleanly, and Venti with Faruzan works as an Anemo grouping alternative for keeping the devices bunched.
Building the three teams without overlap
The roster restriction is the real puzzle. Spread your Anemo units across stages rather than stacking them, and decide early which battlefield gets your best support. Nicole, for example, fits stage one and stage two equally well, so pick one and commit.
| Stage | Sample four | Swap options |
|---|---|---|
| Chimeric Winged Lion | Sandrone, Yae Miko, Odette, Nicole | Cyno, Wriothesley, Fischl, Alyosha, Escoffier, Cryo Traveler |
| Veteran Wind Operative | Arlecchino, Nicole, Chevreuse, Fischl | Clorinde, Mavuika, Iansan, Citlali, Xilonen, Sucrose |
| Knuckle Duckle | Flins, Sucrose, Ineffa, Columbina | Clorinde, Raiden Shogun, Varesa, Xingqiu, Furina |
Varka is the awkward one to slot in, because his buffs are conditional. He wants two Hexerei characters for his passive, a second Anemo unit for the first stack, and two teammates sharing a single swirlable element for the second stack. Pyro is his strongest pairing overall, which points at Durin and Bennett, with Venti covering both the Anemo and Hexerei slots at once. Venti also raises swirl damage across the board, which suits Varka’s mixed elemental output. Wanderer, meanwhile, is a self-contained Anemo damage dealer who does not need that scaffolding.
The 180-second objective and what counts as a clear
There are two separate finish lines. Simply beating all three bosses solo on Dire awards the Radiant Phantasm: Incursion Repeller weapon skin. Doing it with a combined time under 180 seconds across all three battlefields awards the upgraded Sublimation version, which adds a glow. That works out to an average of 60 seconds per boss, and it is a genuinely tight window.
For scale, a heavily invested run recently posted 88 seconds on the Chimeric Winged Lion, 92 on the Veteran Wind Operative, and 92 on Knuckle Duckle, for 272 seconds total. That comfortably clears Dire and earns the base skin, but lands well outside the Sublimation cutoff — a useful reminder that the 180-second target is a separate tier of investment, not a natural byproduct of finishing.
You will know it registered when the completion screen shows your total elapsed time and the reward mission for Dire single-player ticks over. Characters used in a solo Dire clear also receive Eminence, or Enduring Eminence if you met the perilous objectives. Accumulate enough Eminence server-wide and that character becomes an Exalted One for other players on lower difficulties. The two states replace each other rather than stacking, and Exalted One selections refresh daily at 04:00 server time.
Why a Dire run fails to register
- Fearless was cleared in co-op rather than solo, so Dire never unlocks.
- A character, weapon, or artifact from a completed stage was reassigned to another team, wiping the earlier record after the confirmation prompt.
- The attempt was made in co-op, where Dire rewards cannot be claimed.
- A stage ran past its two-minute limit because the ward or shield was never broken.
Version 7.0 cycle dates
The Battle of the Starburst rotation opened on August 19, 2026 and runs until September 22, 2026, following the usual pattern of Stygian Onslaught starting the Wednesday of the week after a version launch. The Disturbance Outbreak window, which allowed Resin-based artifact farming from Hard difficulty upward, closed on August 29, 2026. The rest of the mode, including Dire, stays playable until the cycle ends.
The following cycle is scheduled for September 30 through November 3, 2026, which will rotate in a new set of three bosses and reset the Disturbance Outbreak. The weapon skins are tied to the current cycle and expire when it ends, though the same designs have returned in later versions alongside newly added ones.
The domain itself sits north of Mingyun Village in Sal Terrae, Liyue, next to a Teleport Waypoint. Unlocking it requires Adventure Rank 20 and the Archon Quest Prologue Act III, Song of the Dragon and Freedom, with Interlude Chapter Act II, Perilous Trail, recommended for context. If you are still assembling twelve viable teams, Menacing remains the most efficient stop for Dust of Enlightenment while you build toward the harder tiers.