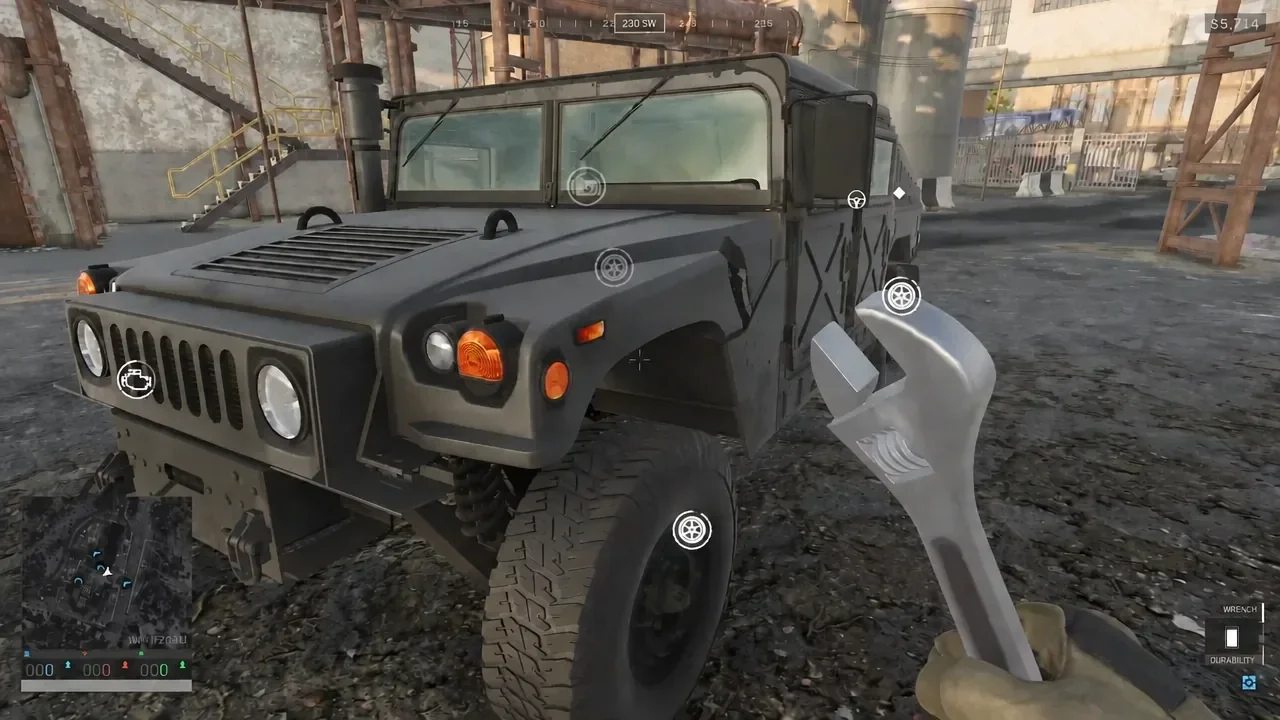
Vehicles in WARDOGS wear their damage on the outside. A truck that has taken fire will sit on a flat tire, trail smoke from the engine bay, and lose speed long before it actually explodes. Because every vehicle is bought with cash that carries across matches, fixing one is almost always cheaper than replacing it.
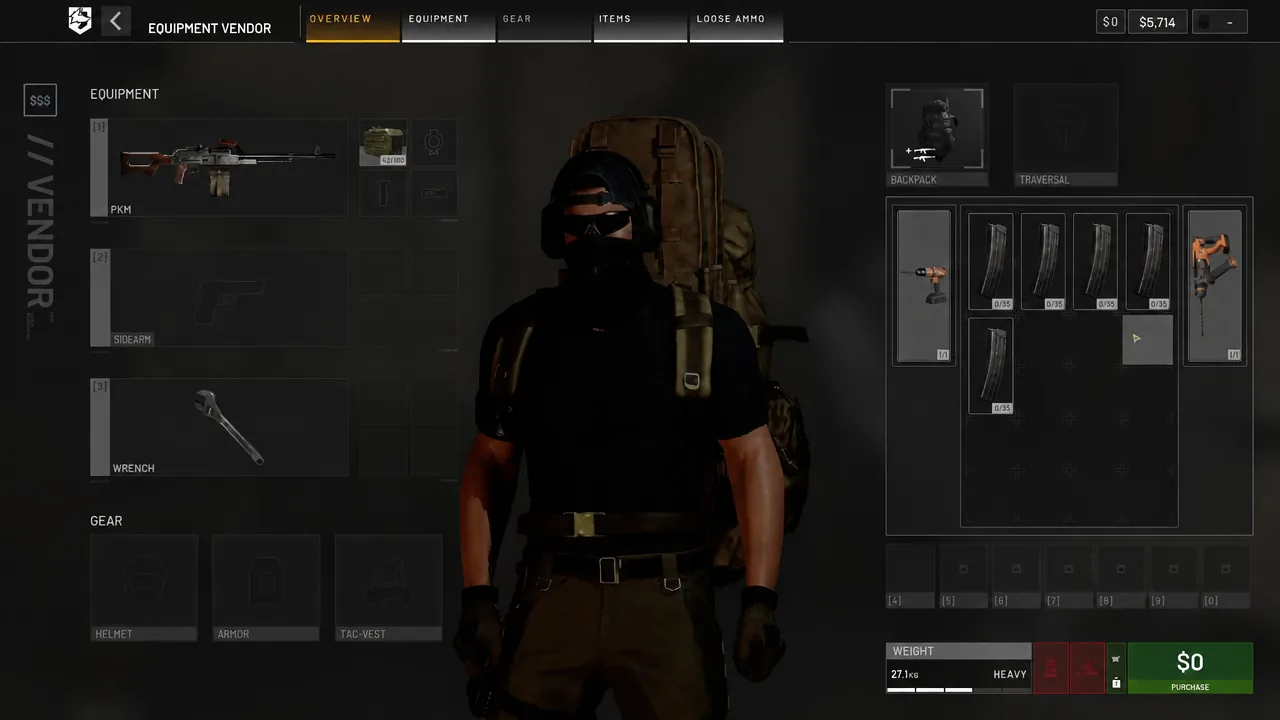
Quick answer: Buy a Wrench, Light Drill or Heavy Drill from the Equipment Vendor’s Vehicle tab under the Spec Item slot, equip the tool, then aim at each damaged part and hold the use button.
WARDOGS repair tools: Wrench, Light Drill and Heavy Drill
Three tools can repair vehicles, and they differ in speed and in whether they need power. The Wrench is described in-game as cheap, reliable and slow, and it repairs all vehicles. The two drills work faster but will not function without batteries.
| Tool | Slot | Repair speed | Batteries |
|---|---|---|---|
| Wrench | Quick slot | Slow | No |
| Light Drill | Spec. Item | Moderate | Yes |
| Heavy Drill | Spec. Item | Fastest | Yes |
The Wrench is the safe default for anyone who just wants a working tool in the kit at all times. If you plan to drive or fly for a whole match, a drill saves real time on a badly beaten vehicle — as long as you carry spare batteries.
Repairs pay out rewards and support XP, so patching up a teammate’s vehicle is not charity work.
Buy a repair tool from the Equipment Vendor
How to repair a damaged vehicle in the field
Repairs happen part by part, not as one bar that refills. Walk around the vehicle and the HUD marks each damaged component with its own icon — a wheel icon for a blown tire, an engine icon on the front grille. Approach on foot and those prompts appear next to the usual driver and passenger entry options.
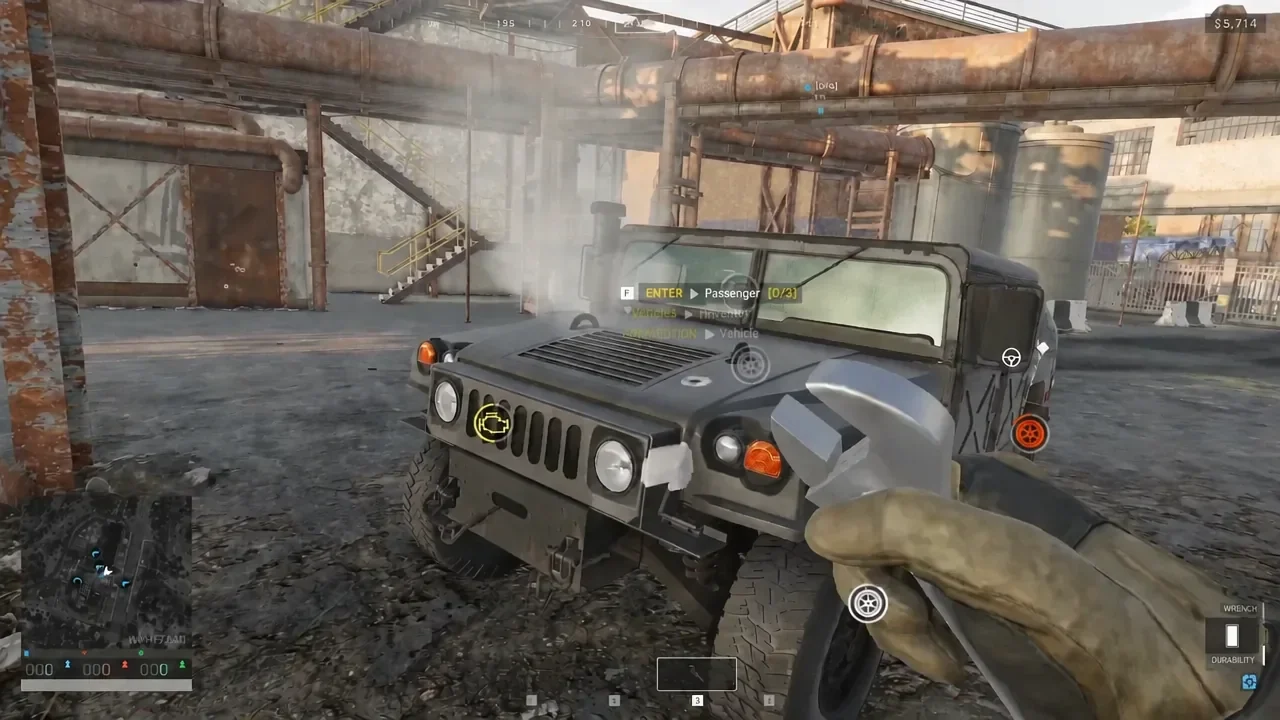
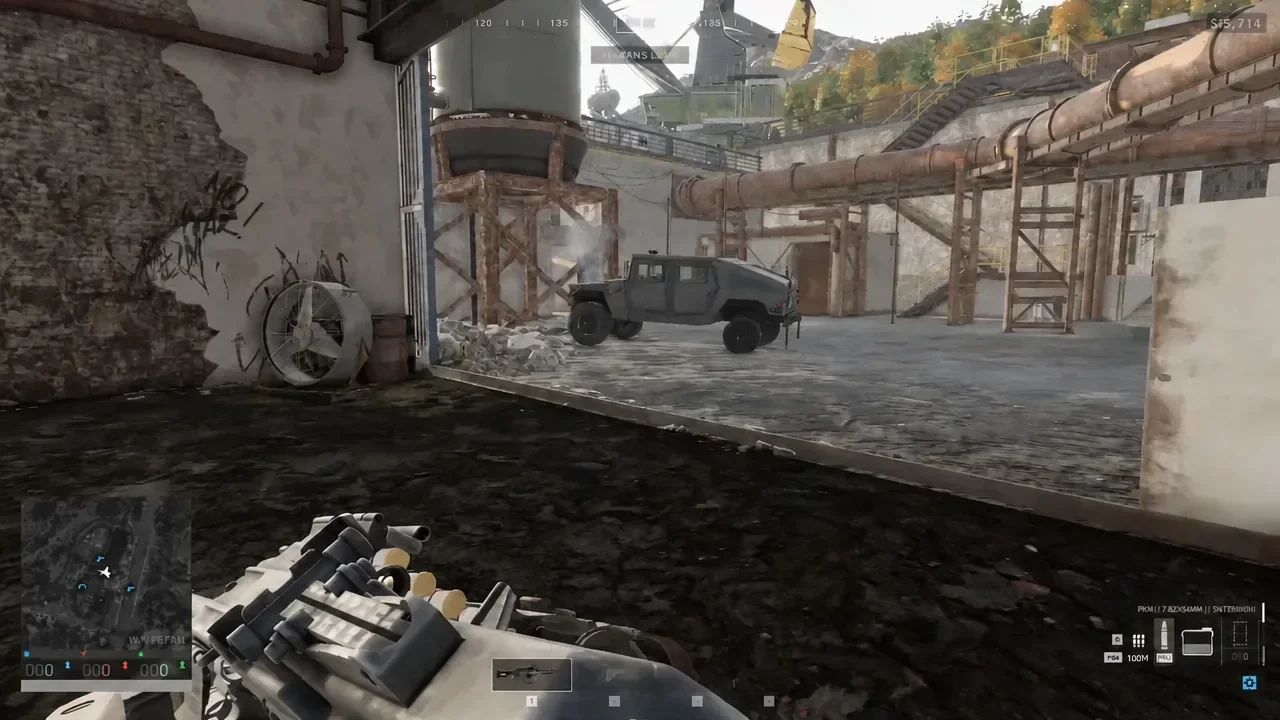
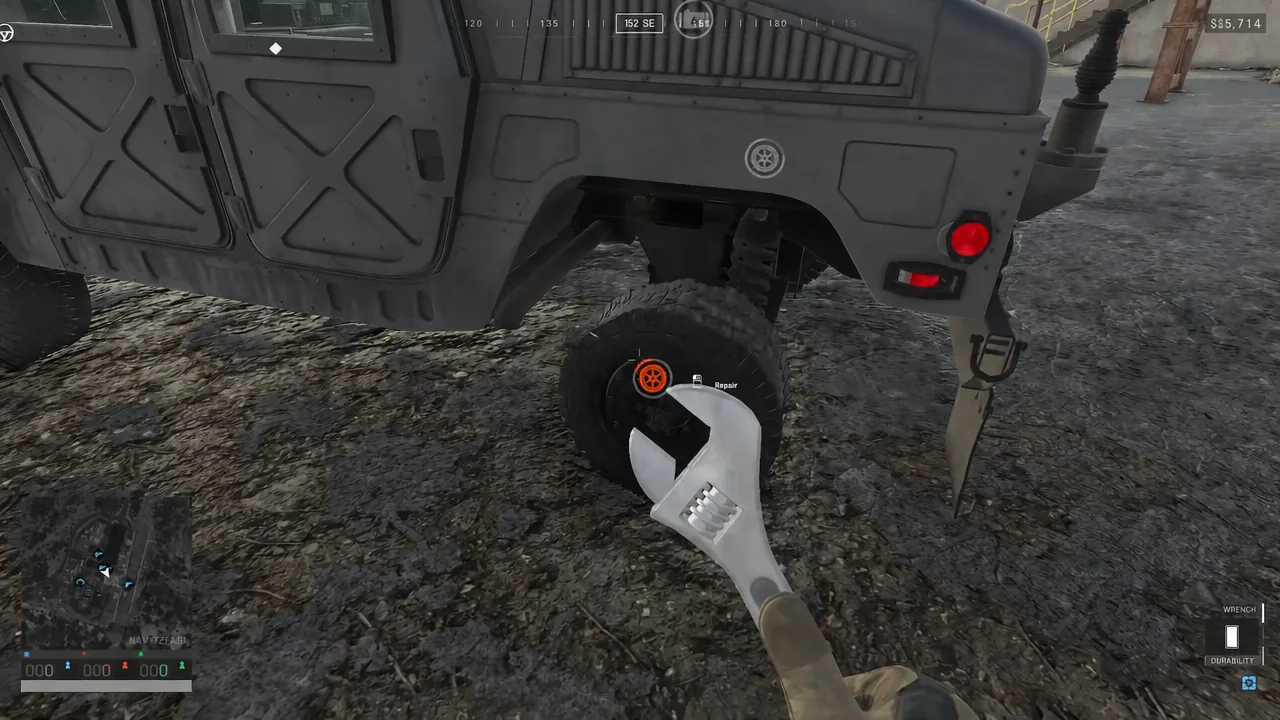
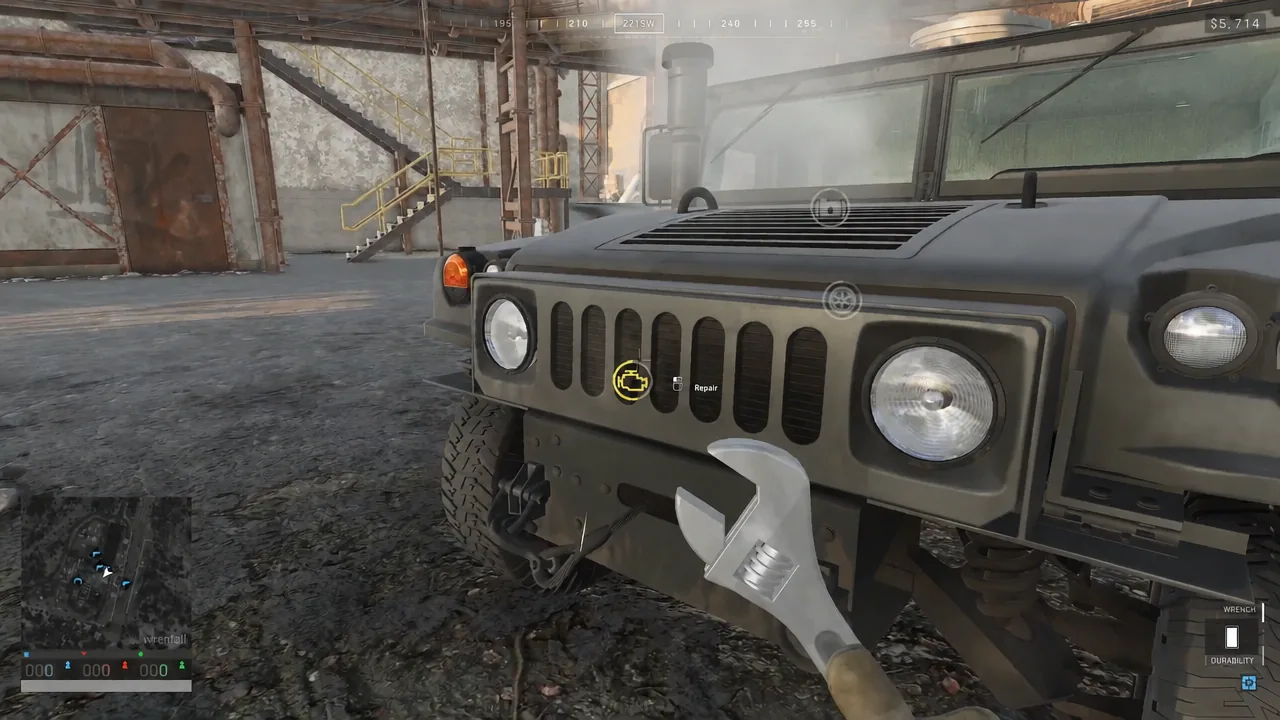
You know it worked when the damage icon disappears from that part and the visible damage goes with it — the tire fills out, the smoke stops, and the vehicle handles normally again.
Repair vehicles at base and at a FOB repair station
Hand tools are not the only option. Garage vendors at your faction base handle repairs, refuelling and vehicle purchases, and a repair area at base will fix a vehicle automatically once it is parked there. That also covers the annoying case of a rolled vehicle: flip it back onto its wheels first, then bring it in.
Forward repairs run on Mechanical Supplies, which are the resource vehicle repair consumes at a FOB. The repair station has to be built inside the FOB radius and someone has to keep it stocked. Parking next to an empty station does nothing.
- Mechanical Supplies cover repairs.
- Fuel Supplies cover refuelling, and a Fuel Can bought from the vendor works in the field.
- Ammo Supplies cover ammunition, and vehicle weapons are not always loaded on purchase.
They are separate cargo types, so ask for the right one. A fully repaired tank with no fuel and no ammunition is still parked.
Repair the team spawn vehicle’s satellite dish
The armoured spawn vehicle is the one repair job worth dropping everything for. Its weak point is the satellite dish on the roof, and once that is destroyed the vehicle stops working as a deployment point until it is fixed. Any repair tool will do the job.
An enemy spawn vehicle carries a bounty of roughly $15,000, so expect the other teams to keep attacking yours rather than ignoring it once the dish comes back online.
There is a point where repairing stops being the right call. If the service FOB is under sustained fire, or the vehicle is stranded deep in enemy territory, walking away costs less than feeding more kit into the recovery. Everywhere else, a tool in the quick slot and a couple of minutes behind cover is the difference between a vehicle that keeps earning and another purchase out of a balance that never resets.