The Deserter is a side quest in the Vale of Wrath, tied to Chapter V (CRIME). It sends you after Private Henri Dufour, an Eternal Guard who fled his post with a stolen treasure and hid it inside beehives scattered across the valley. To finish it you read a Wanted Notice, clear a path to the beekeeper’s hut, and pull three figurine pieces from the right hives.
Quick answer: Read the Wanted Notice near the Under the Bridge Lantern, take the Beekeeper’s Hut Key from the Eternal Guardsman, then open the three figurine hives across the Vale of Wrath map — the ones with no red X.
How The Deserter starts: the Wanted Notice
The quest begins the moment you pick up a poster in the open valley. It is one of all 24 side quests, and reading the notice first matters: the diary you later find in the hut only appears once you have read it.
In the Vale of Wrath, find the damaged wooden platform roughly 70 m to the west of the Under the Bridge Lantern. Face the poster until [E] TAKE appears, then press E.
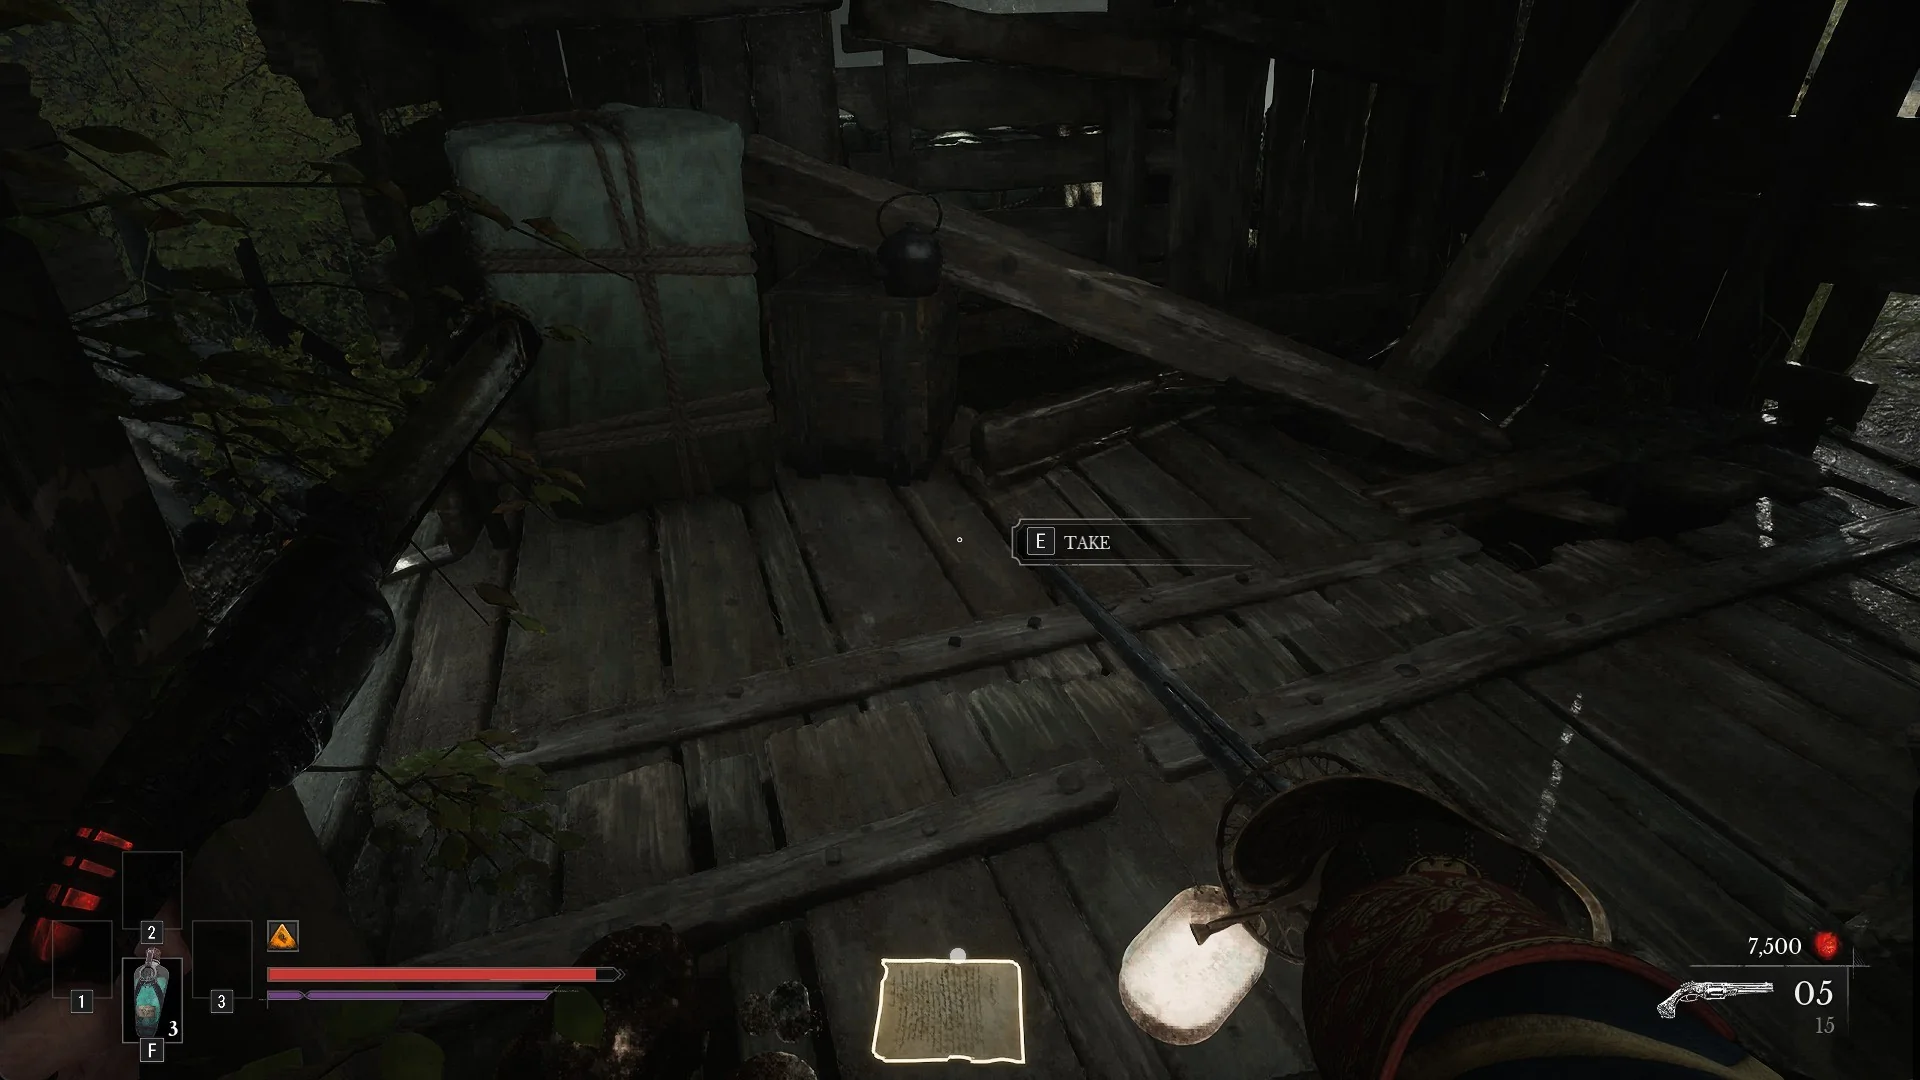
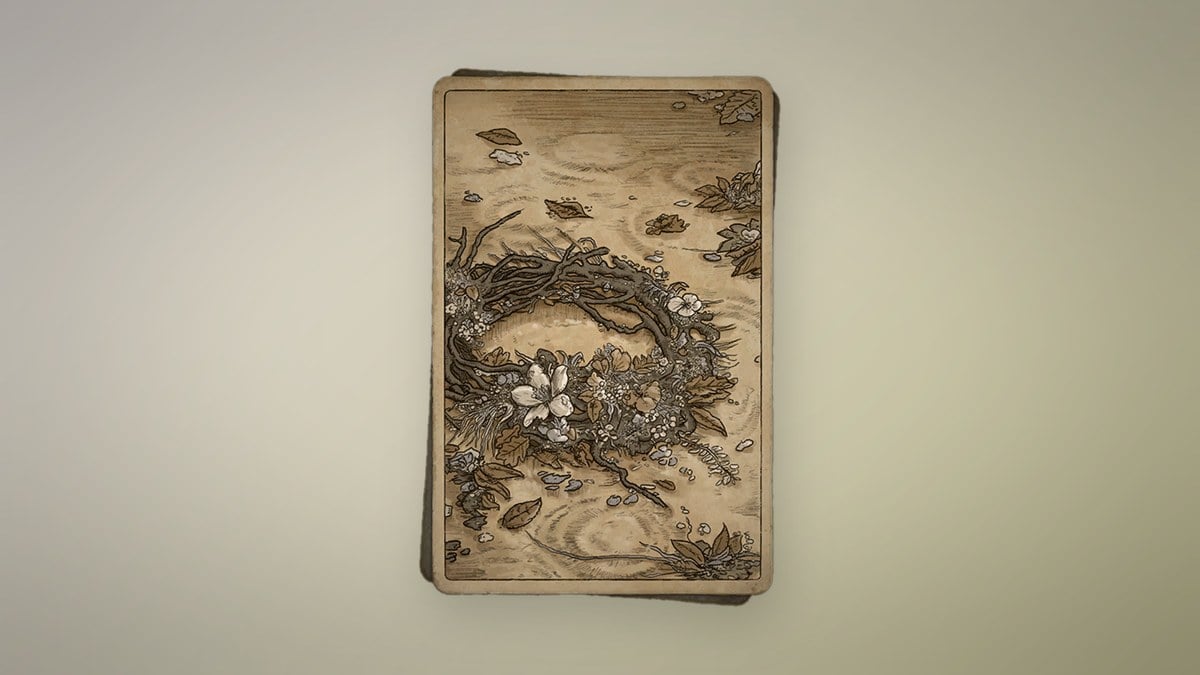
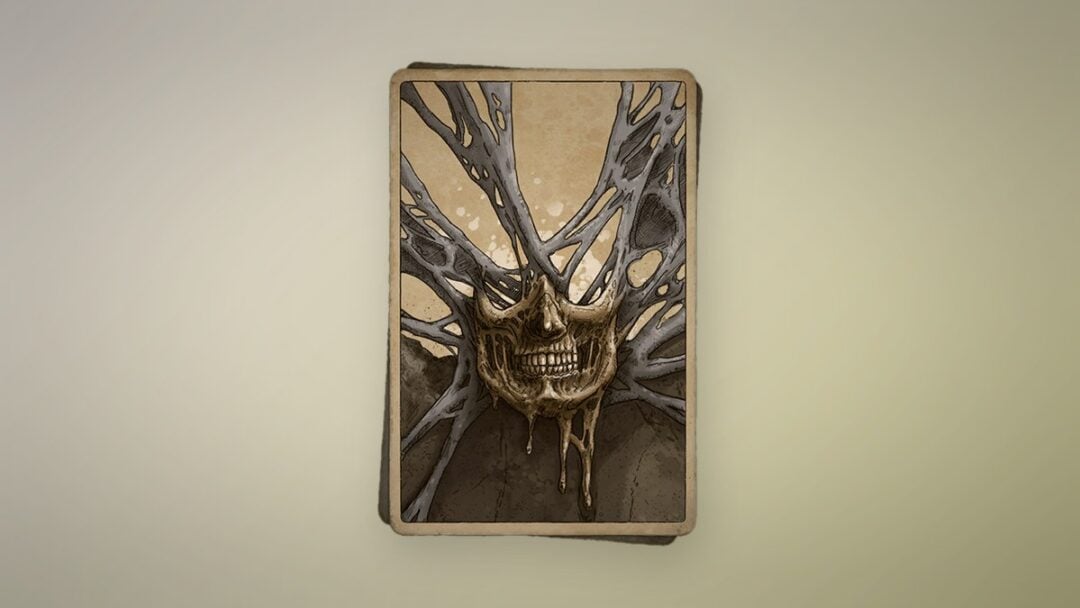
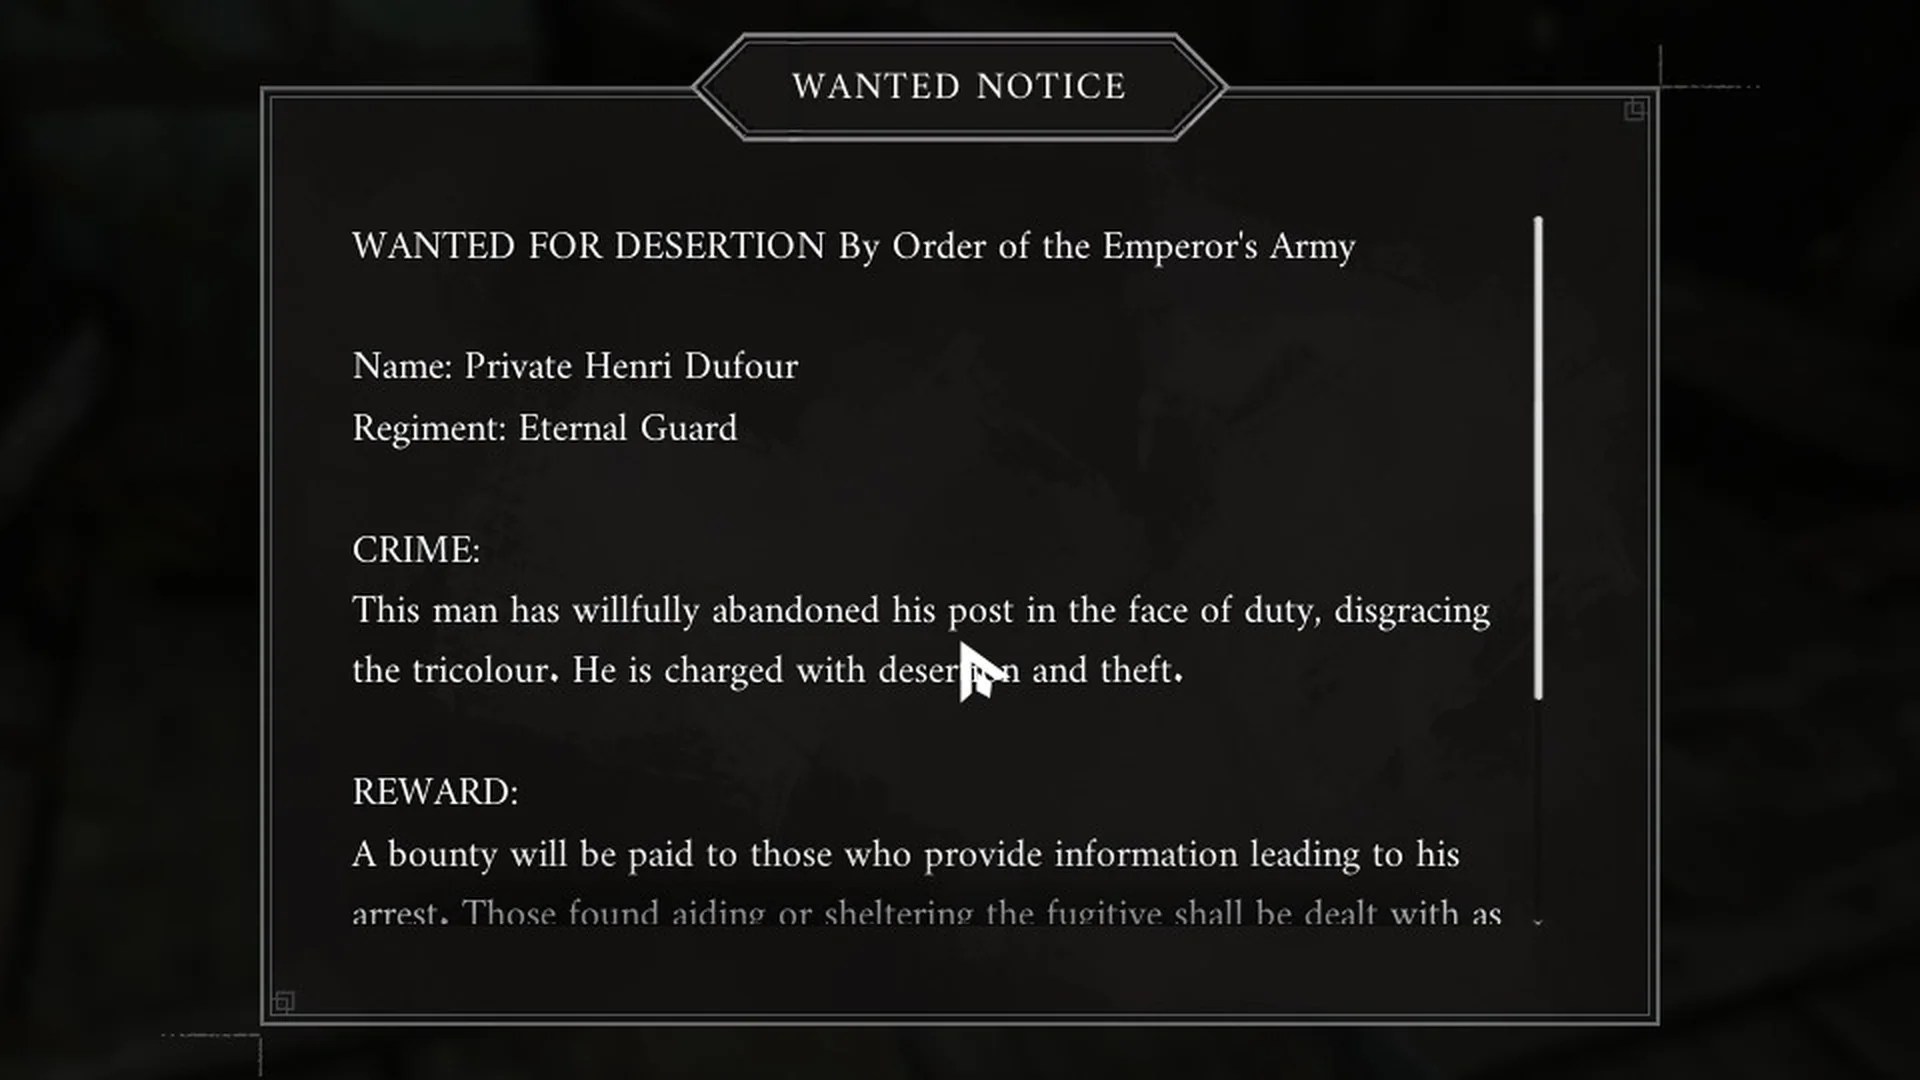
The poster reads: “WANTED FOR DESERTION By Order of the Emperor’s Army / Name: Private Henri Dufour / Regiment: Eternal Guard / CRIME: This man has willfully abandoned his post in the face of duty, disgracing the tricolour. He is charged with desertion and theft. / REWARD: A bounty will be paid to those who provide information leading to his arrest. Those found aiding or sheltering the fugitive shall be dealt with as traitors. / LOYALTY IS HONOUR, TREACHERY IS DEATH / Signed,”
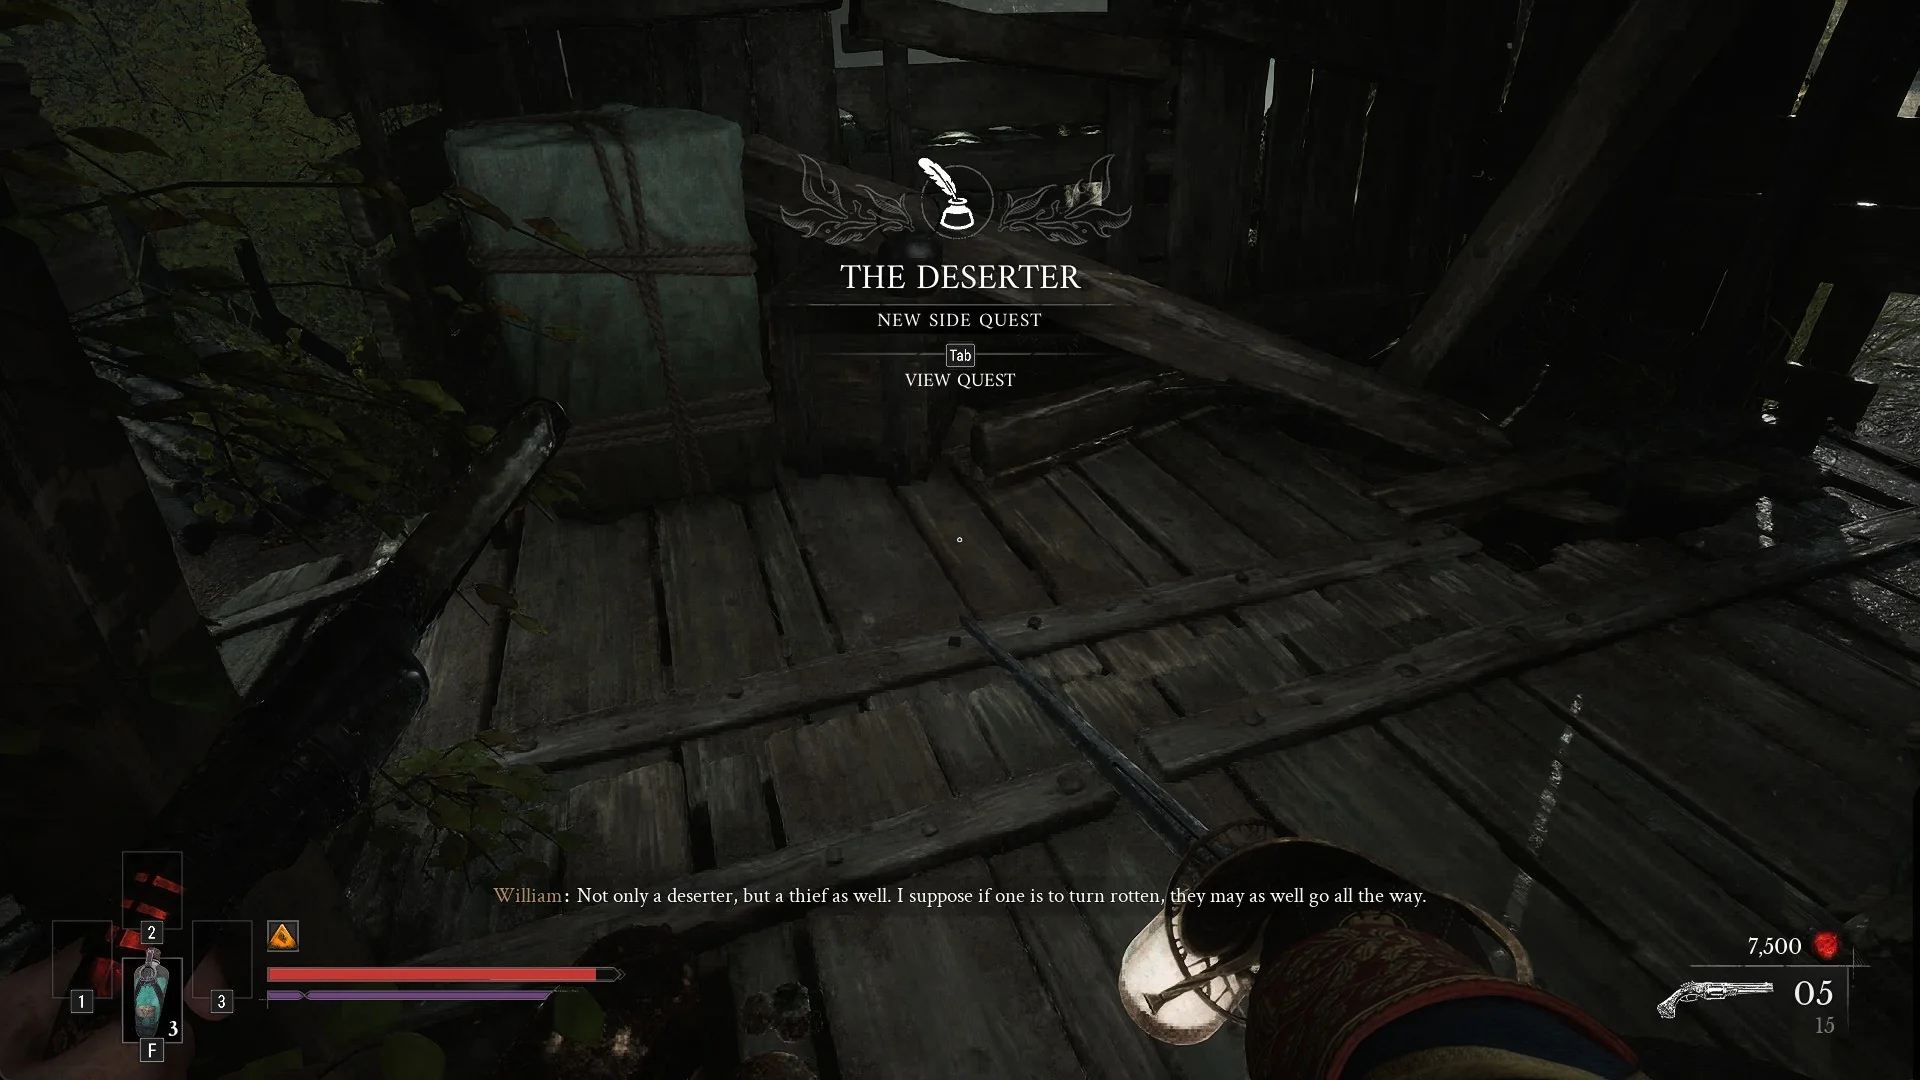
Taking it shows “THE DESERTER – NEW SIDE QUEST” and William remarks, “Not only a deserter, but a thief as well. I suppose if one is to turn rotten, they may as well go all the way.”
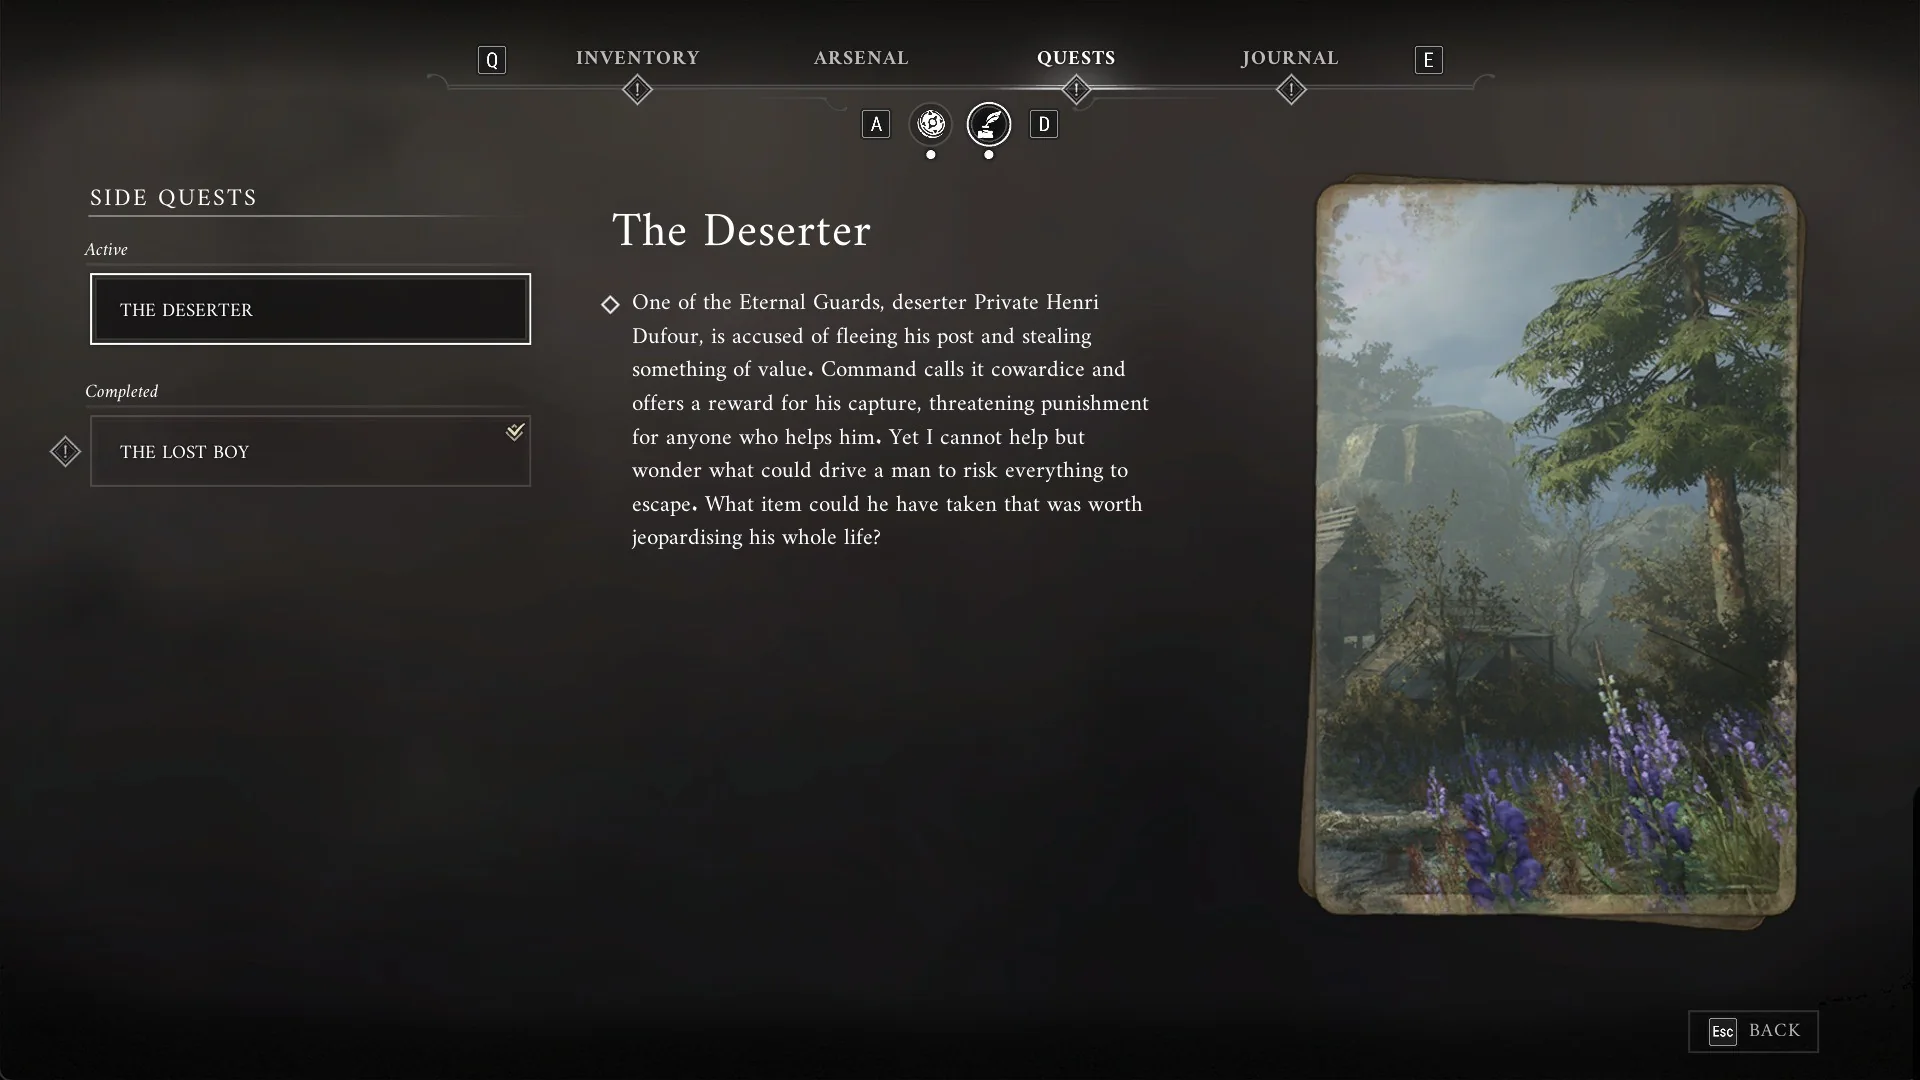
The log entry under Quests > Side Quests > The Deserter reads: “One of the Eternal Guards, deserter Private Henri Dufour, is accused of fleeing his post and stealing something of value. Command calls it cowardice and offers a reward for his capture, threatening punishment for anyone who helps him. Yet I cannot help but wonder what could drive a man to risk everything to escape. What item could he have taken that was worth jeopardising his whole life?”
The Eternal Guardsman and the Beekeeper’s Hut Key
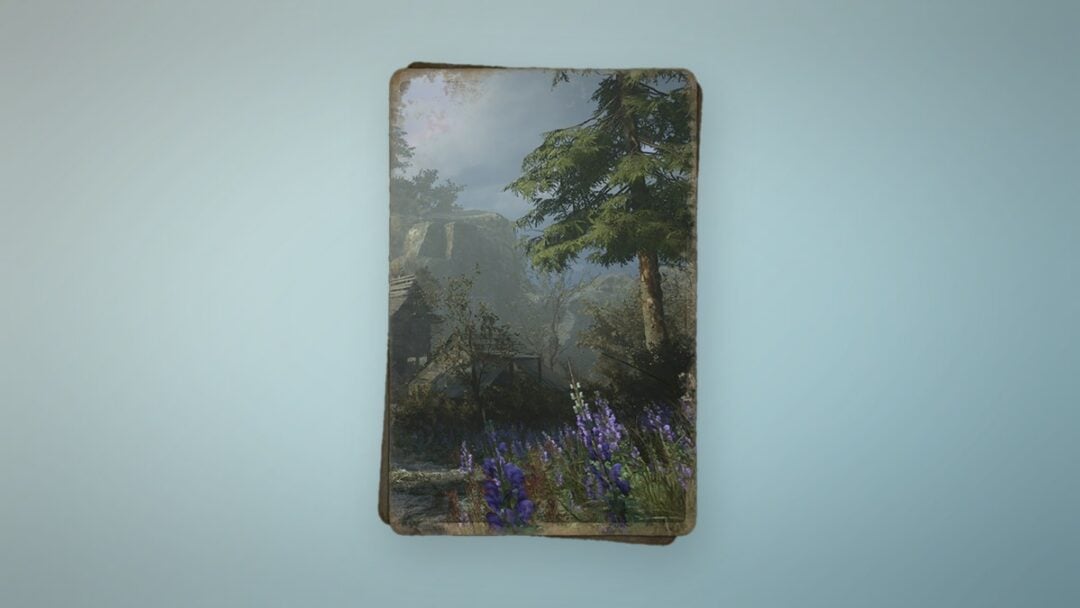
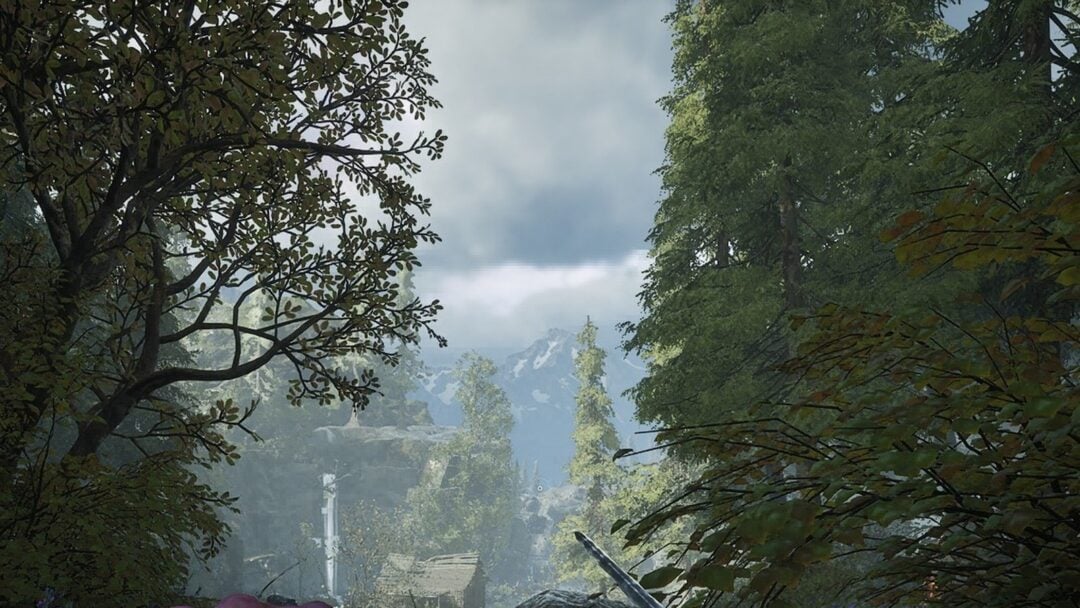
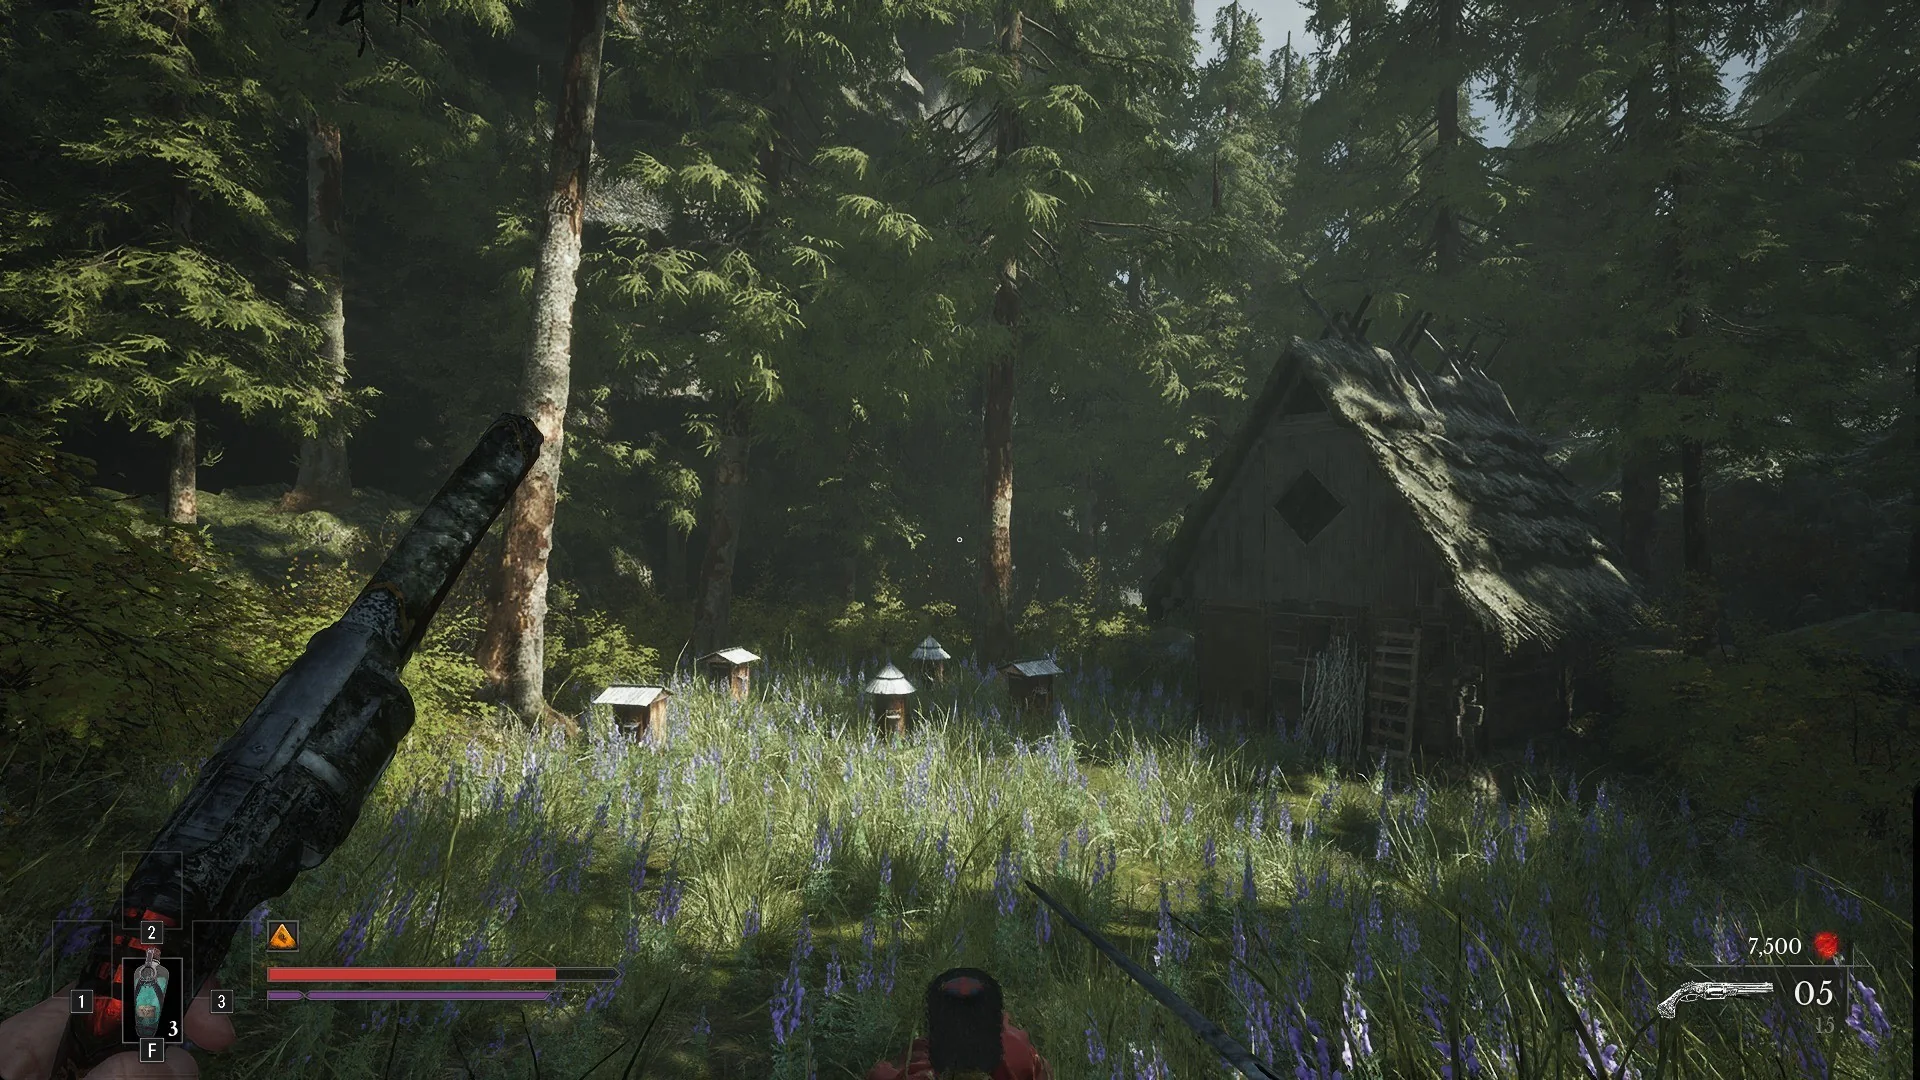
About 150 m west of the Wolfsbane Field Lantern, a wooden cabin with a steep shingle roof marks the edge of a meadow. Small white beehive boxes and purple lupins fill the meadow. Reach it by following the ridge path down from the east.
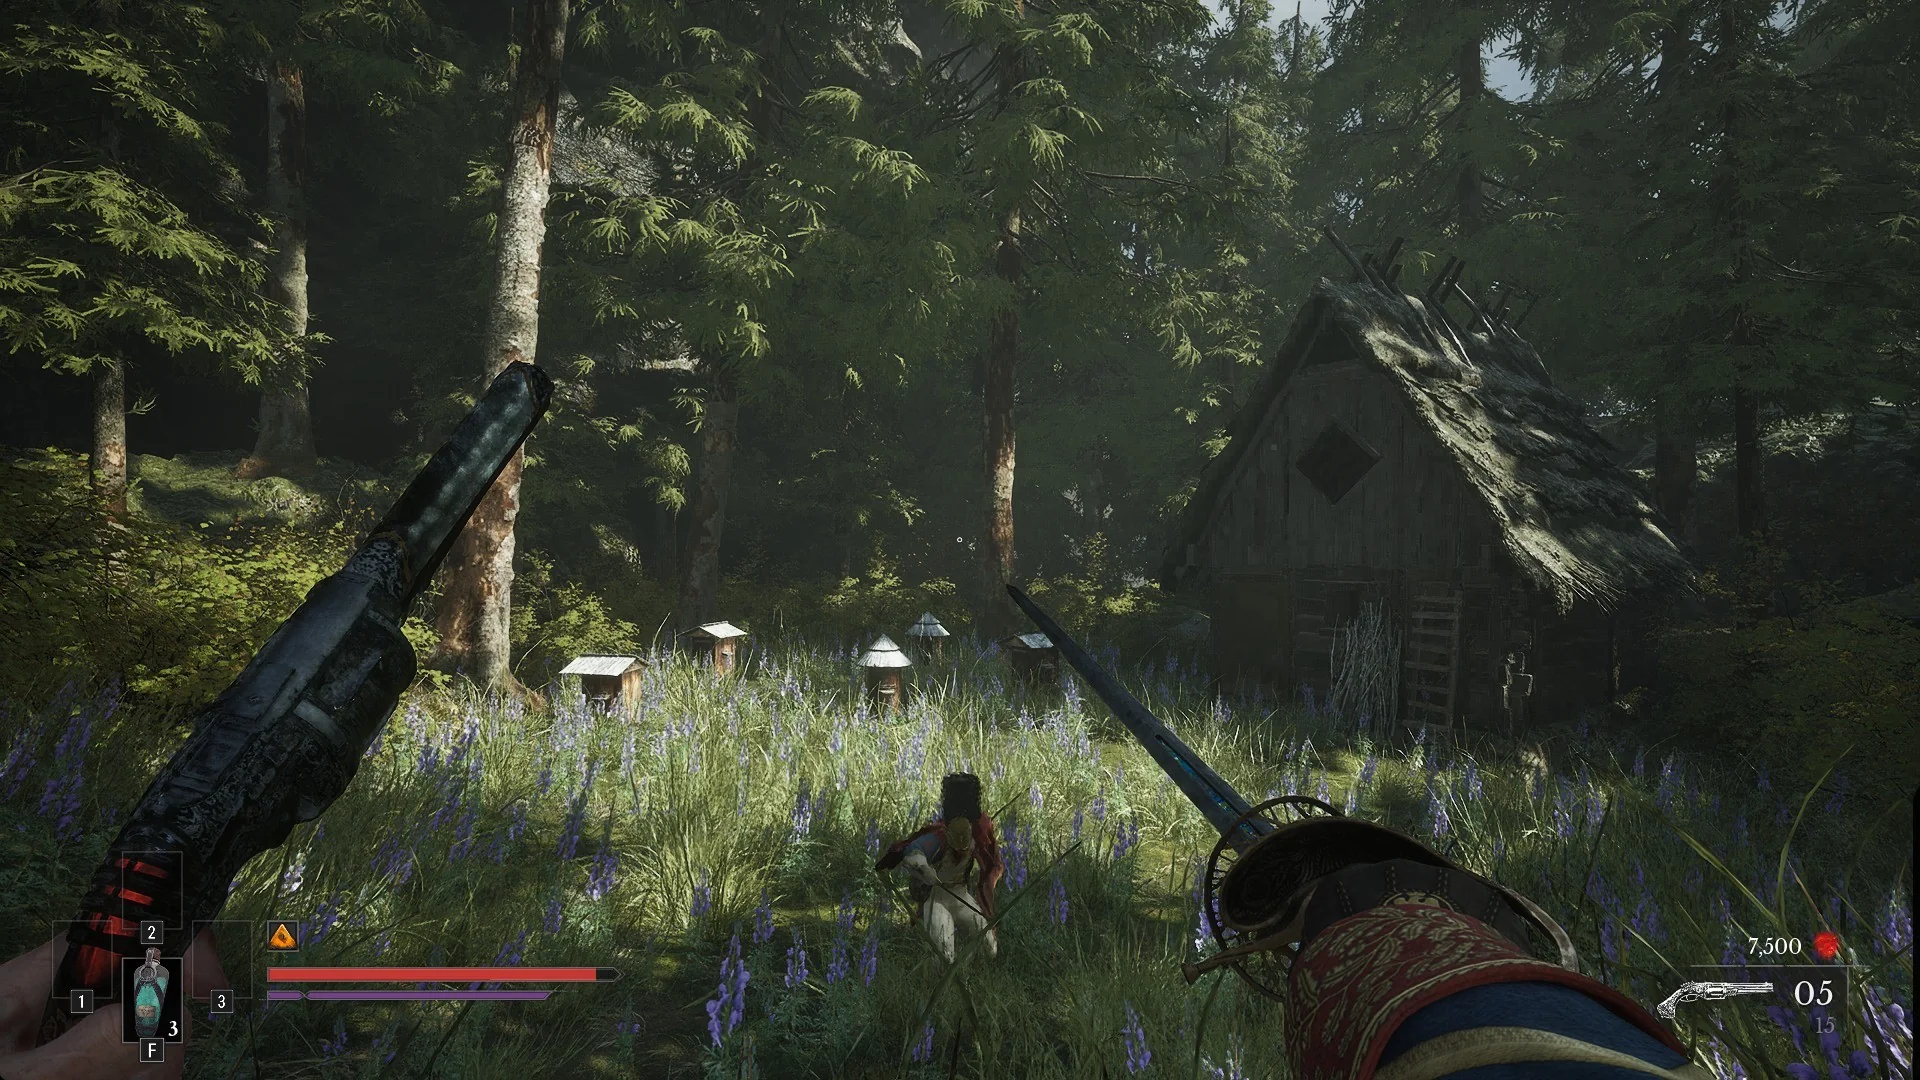
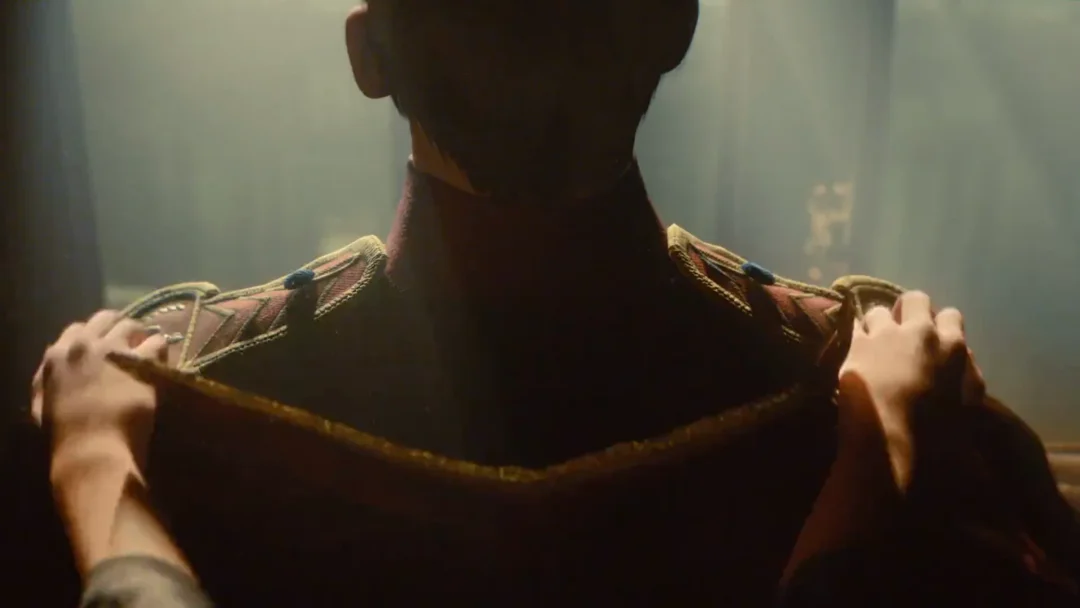
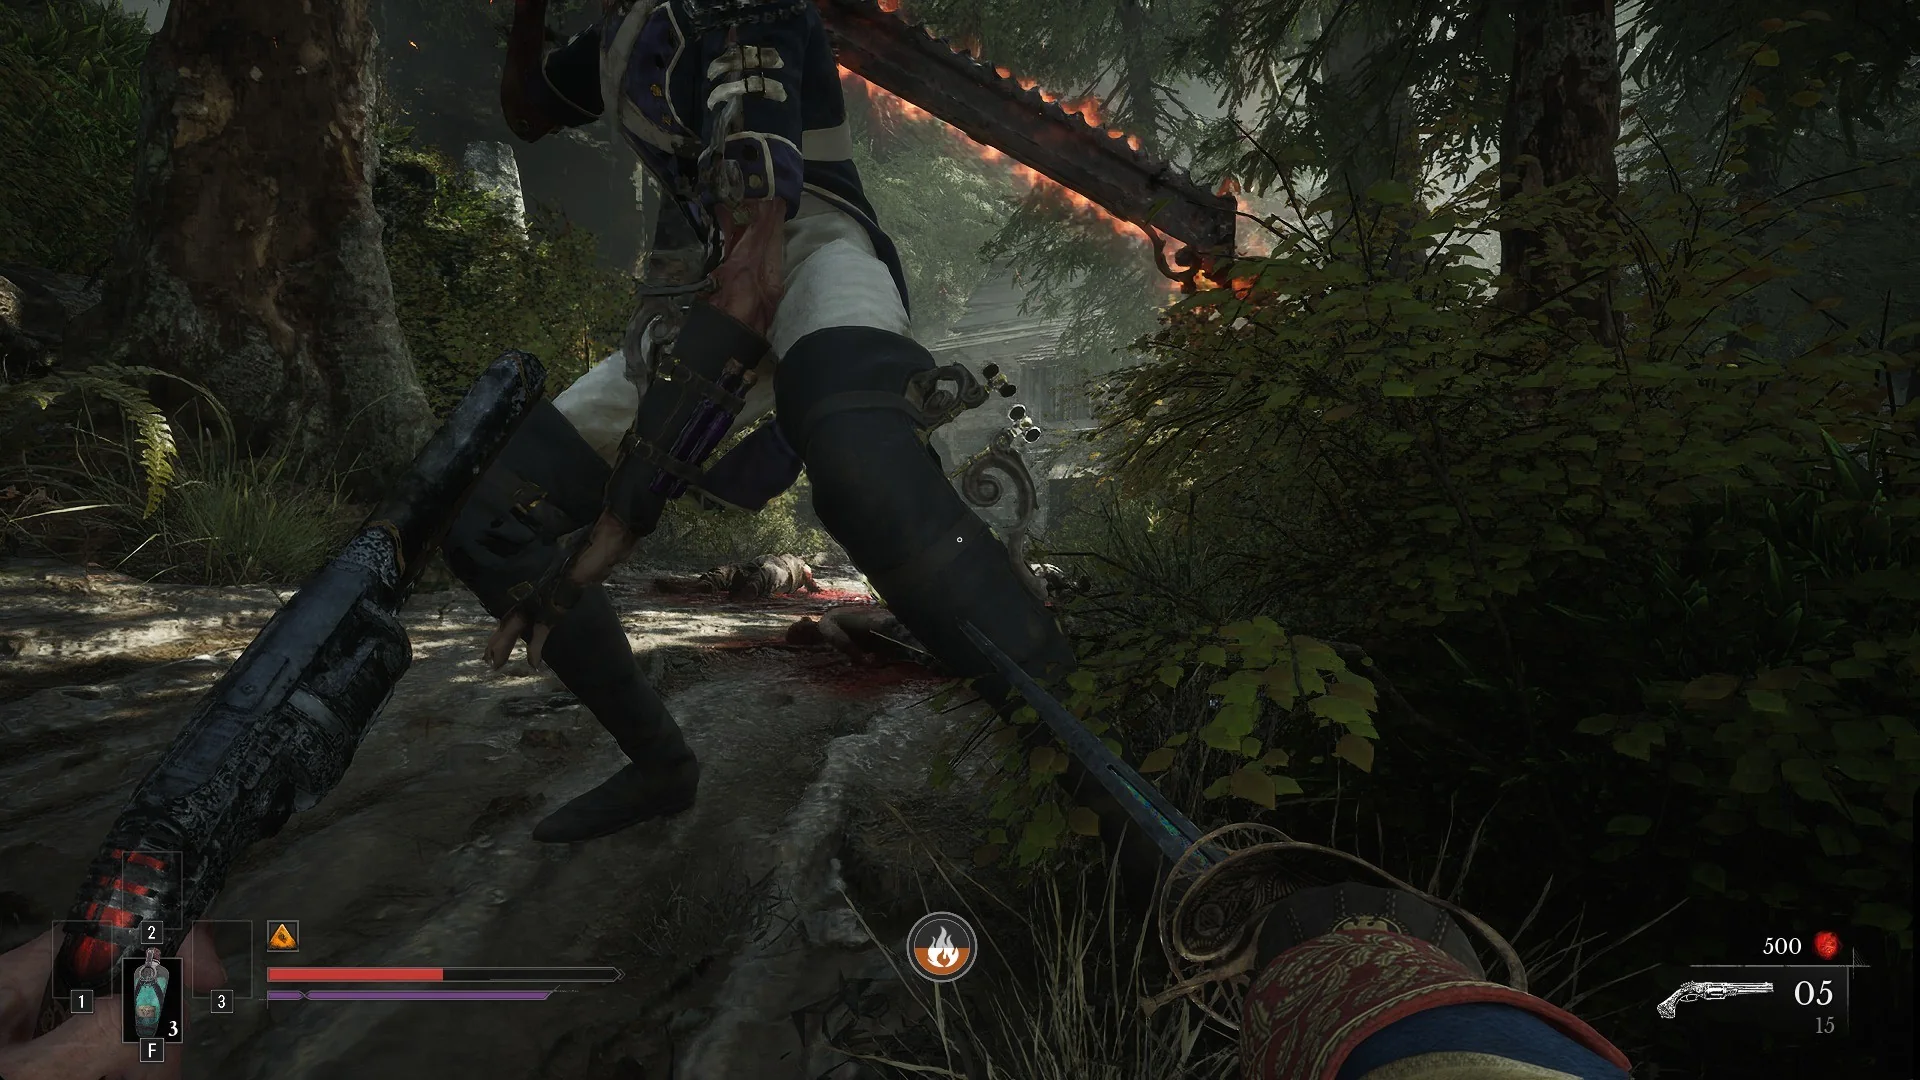
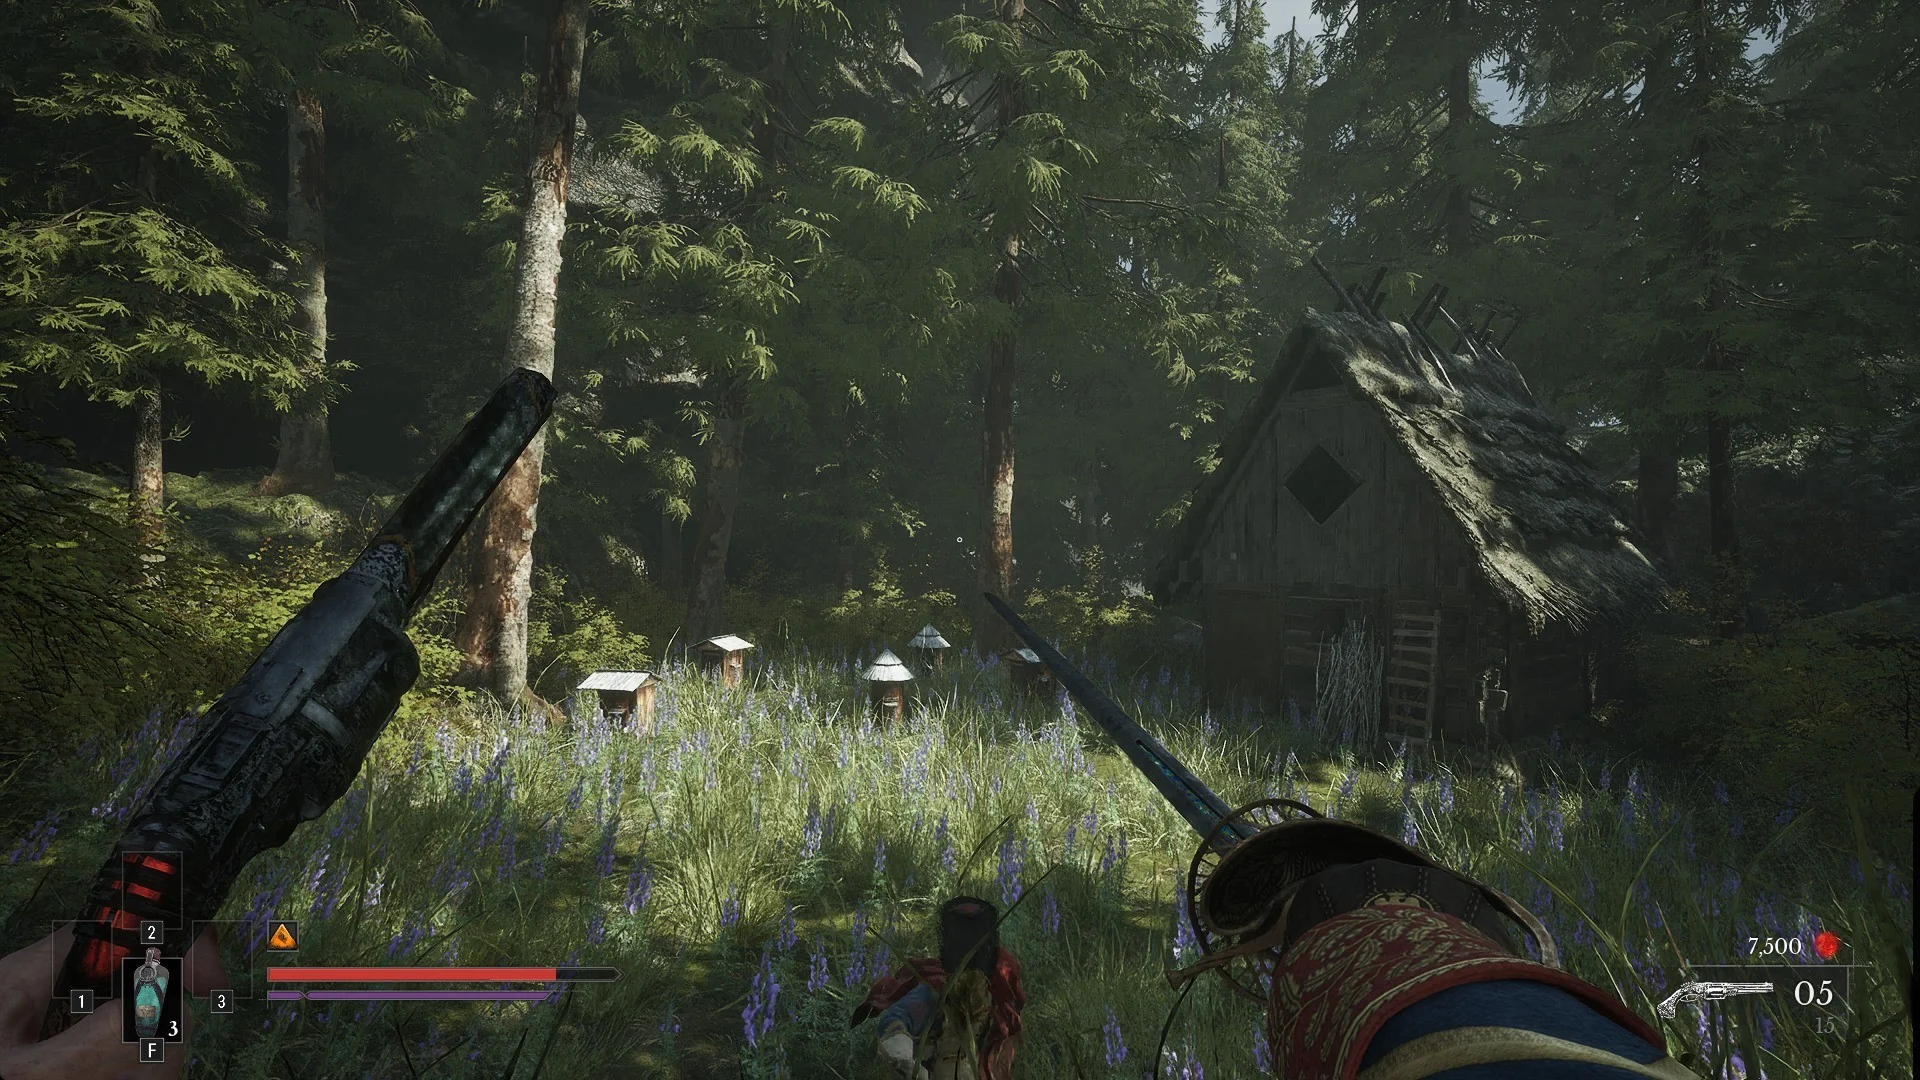
As you reach the meadow, the Eternal Guardsman appears — a figure in a red coat, tall bearskin hat and gold mask, carrying a sabre. He has 1,750 health and 500 Posture, sprints in and lunges hard; he took a 140-health William down to 57 before finishing him off. He resists firearms and has no melee resistance, so close-range weapons are the better choice here.
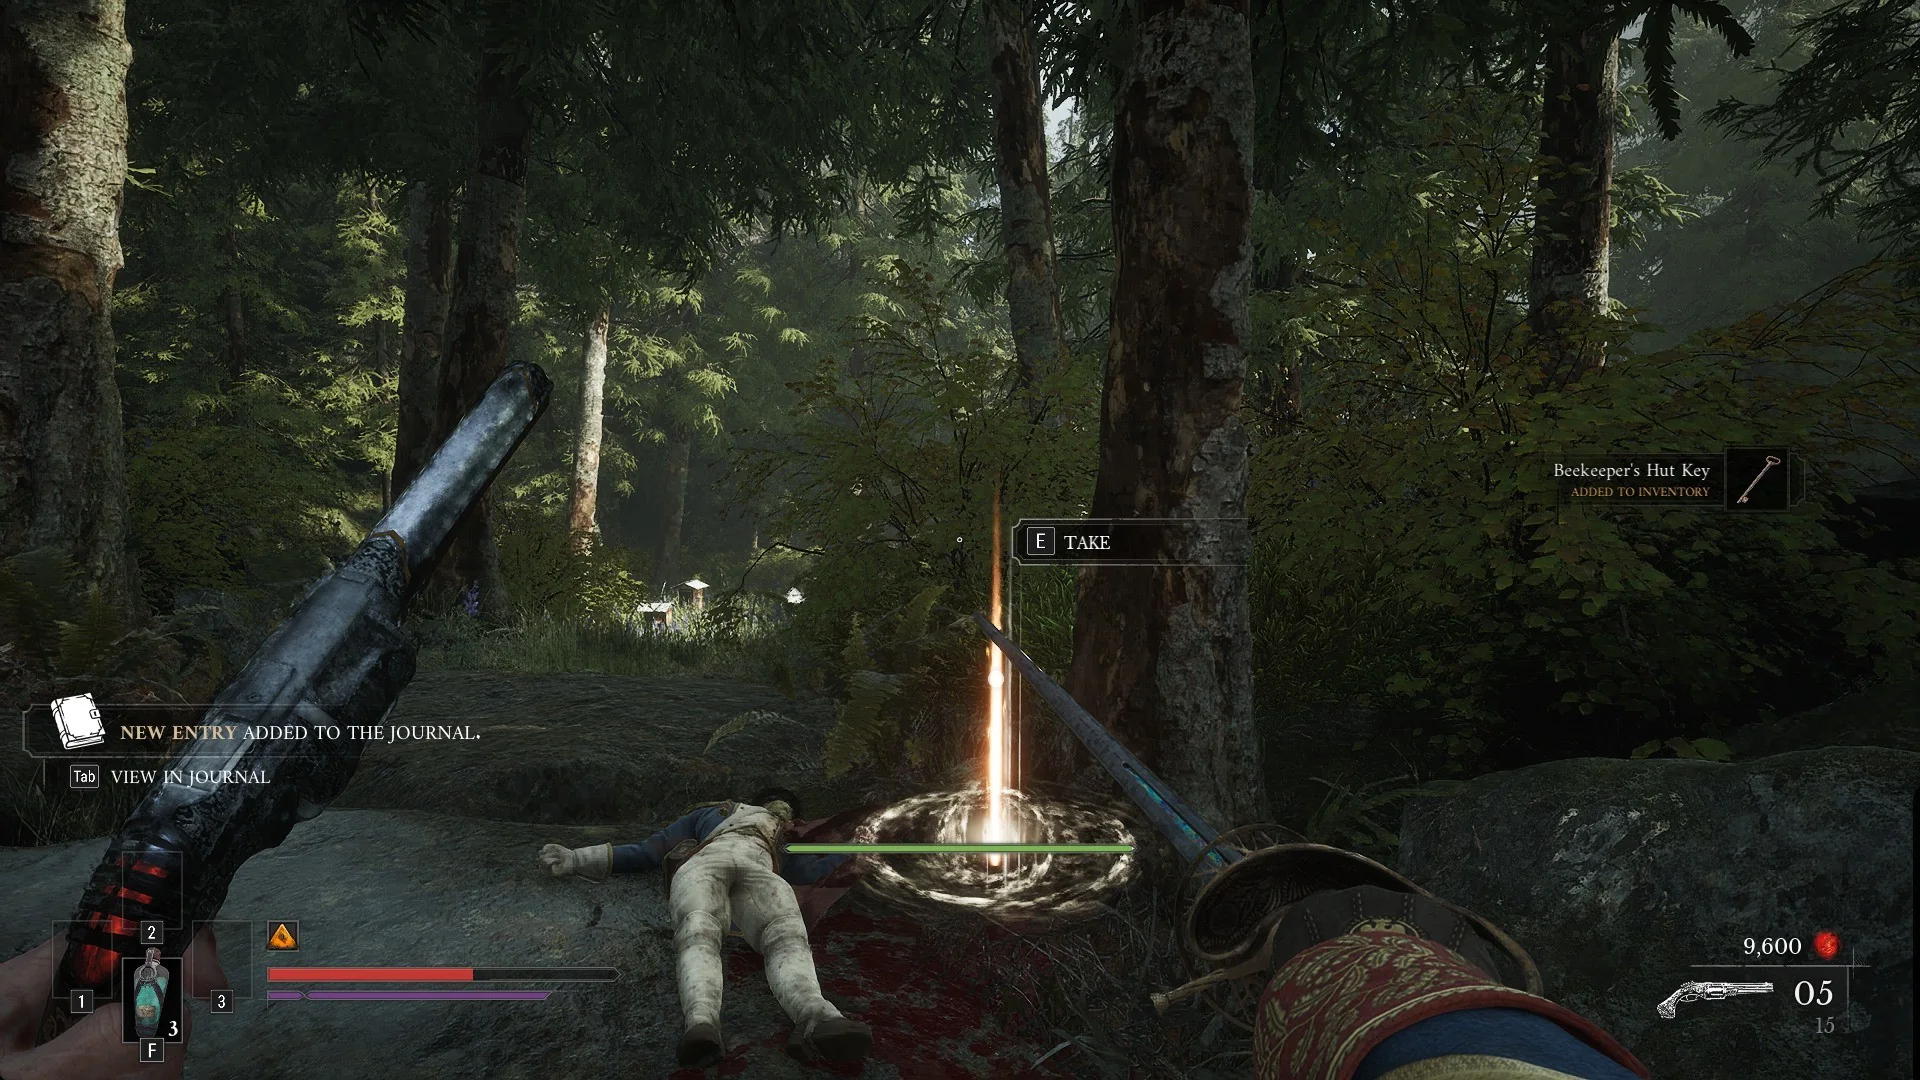
When he falls he drops 2,100 Catalysts, the “Beekeeper’s Hut Key / ADDED TO INVENTORY”, a “NEW ENTRY ADDED TO THE JOURNAL” line, and a “Deadly Rounds” x1 on the ground by his body. The key’s description reads: “The beeswax-stained key to the beekeeper’s hut which became a deserter’s hideout.” If you want to track what else it and its counterparts open, check the breakdown of every key and what it opens.
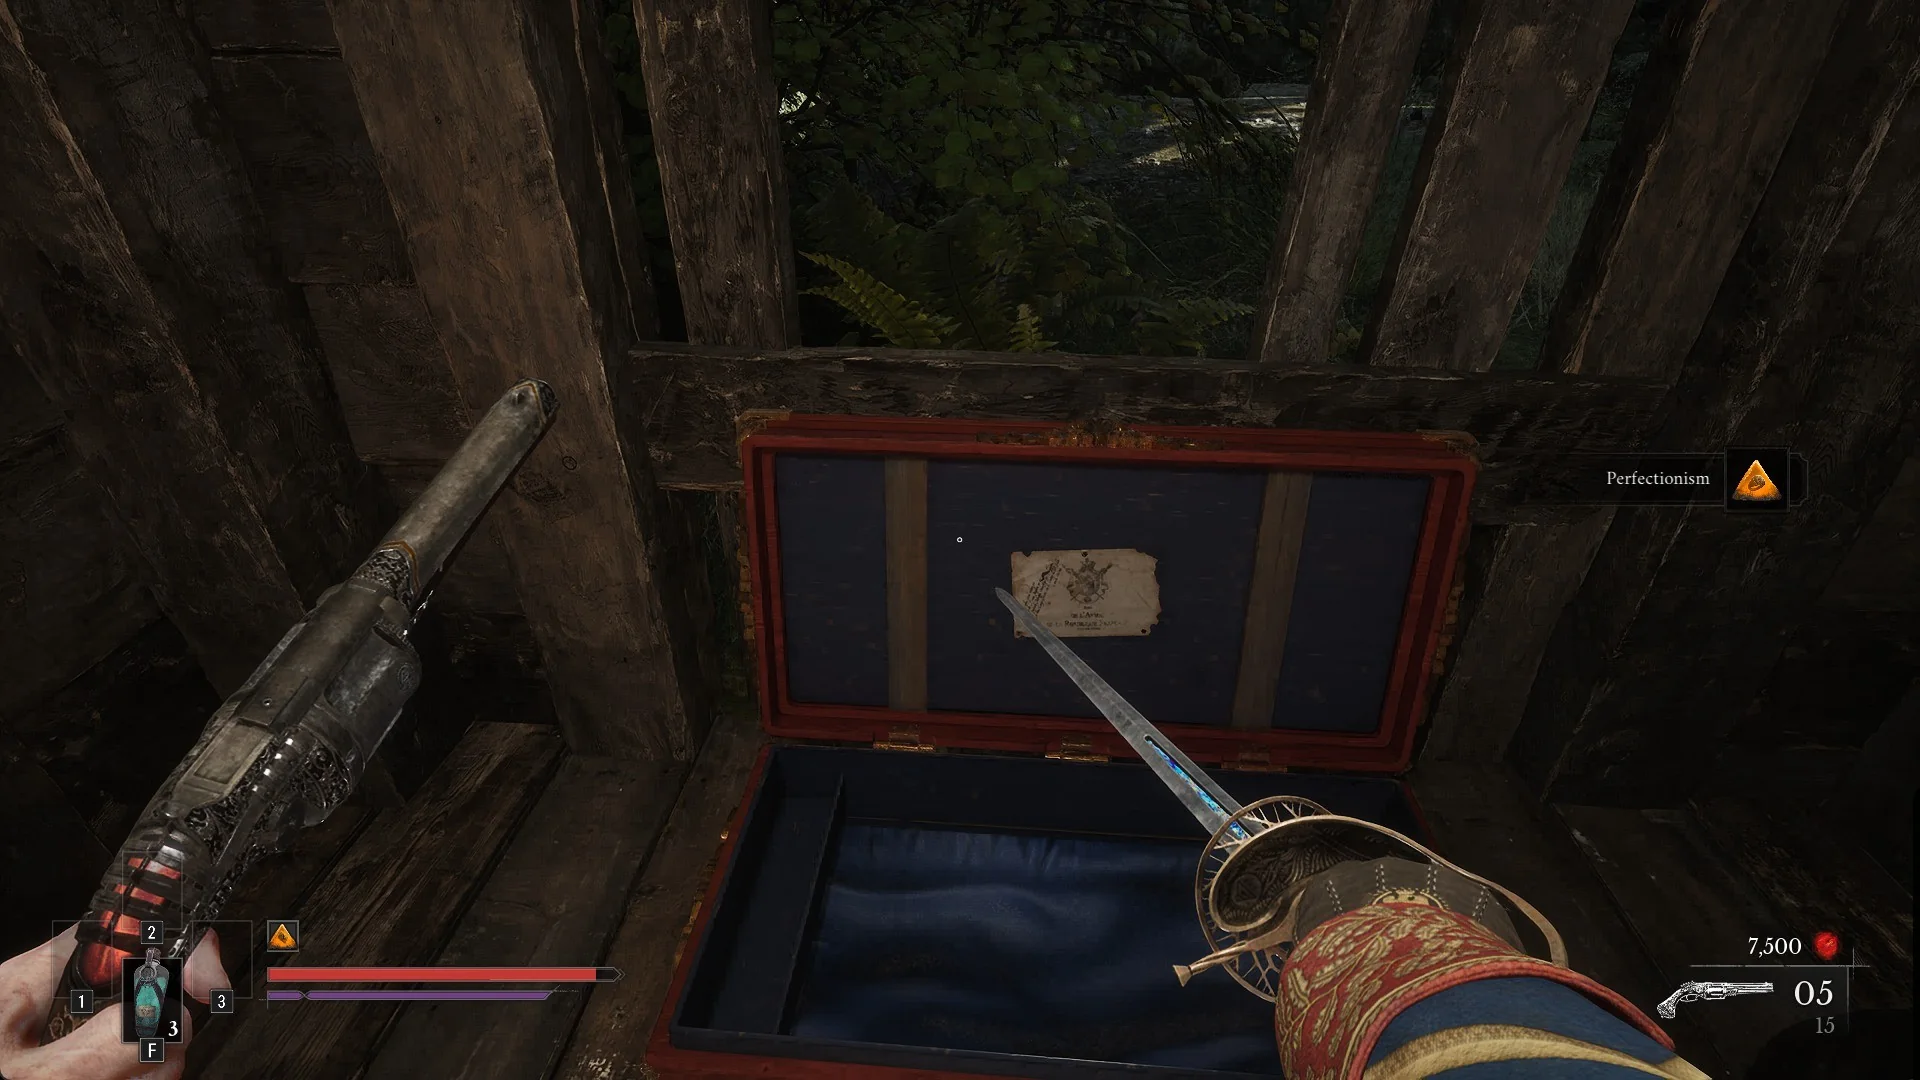
Inside the beekeeper’s hut: the diary and Perfectionism chest
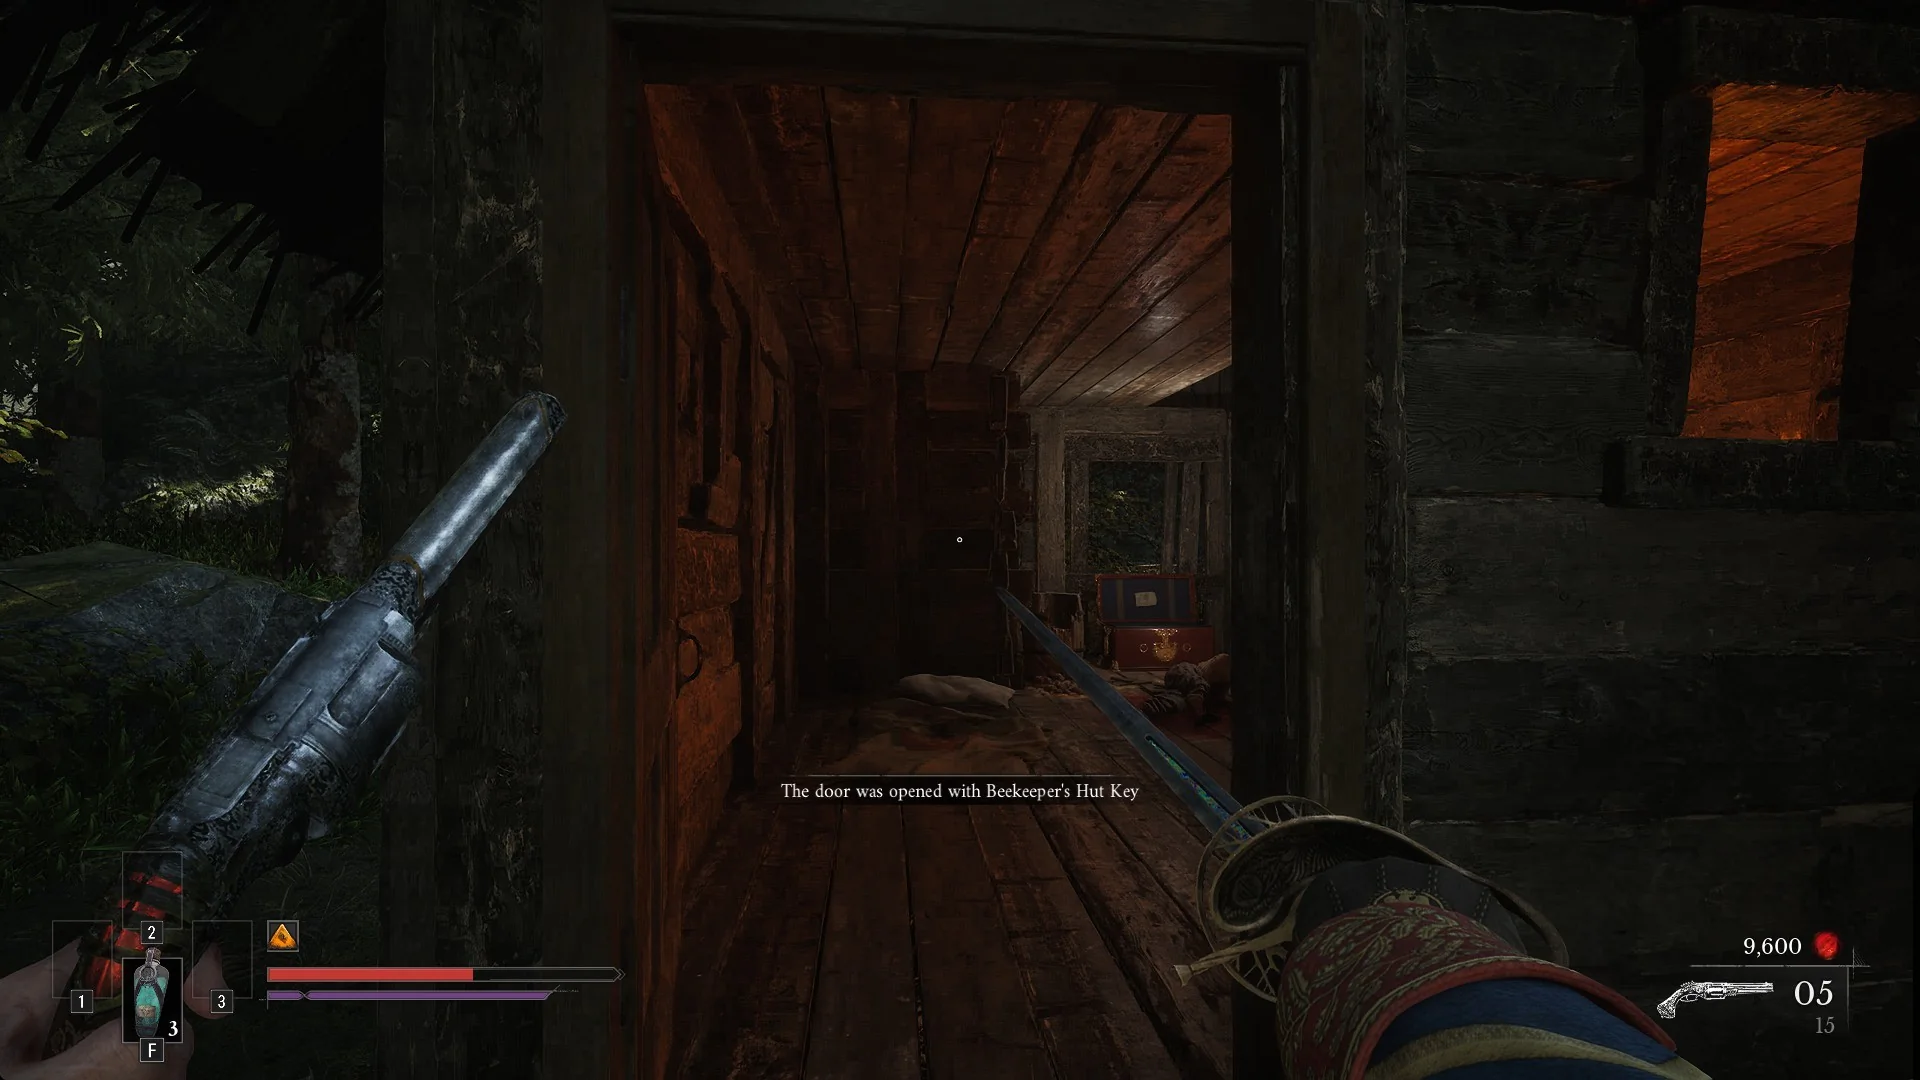
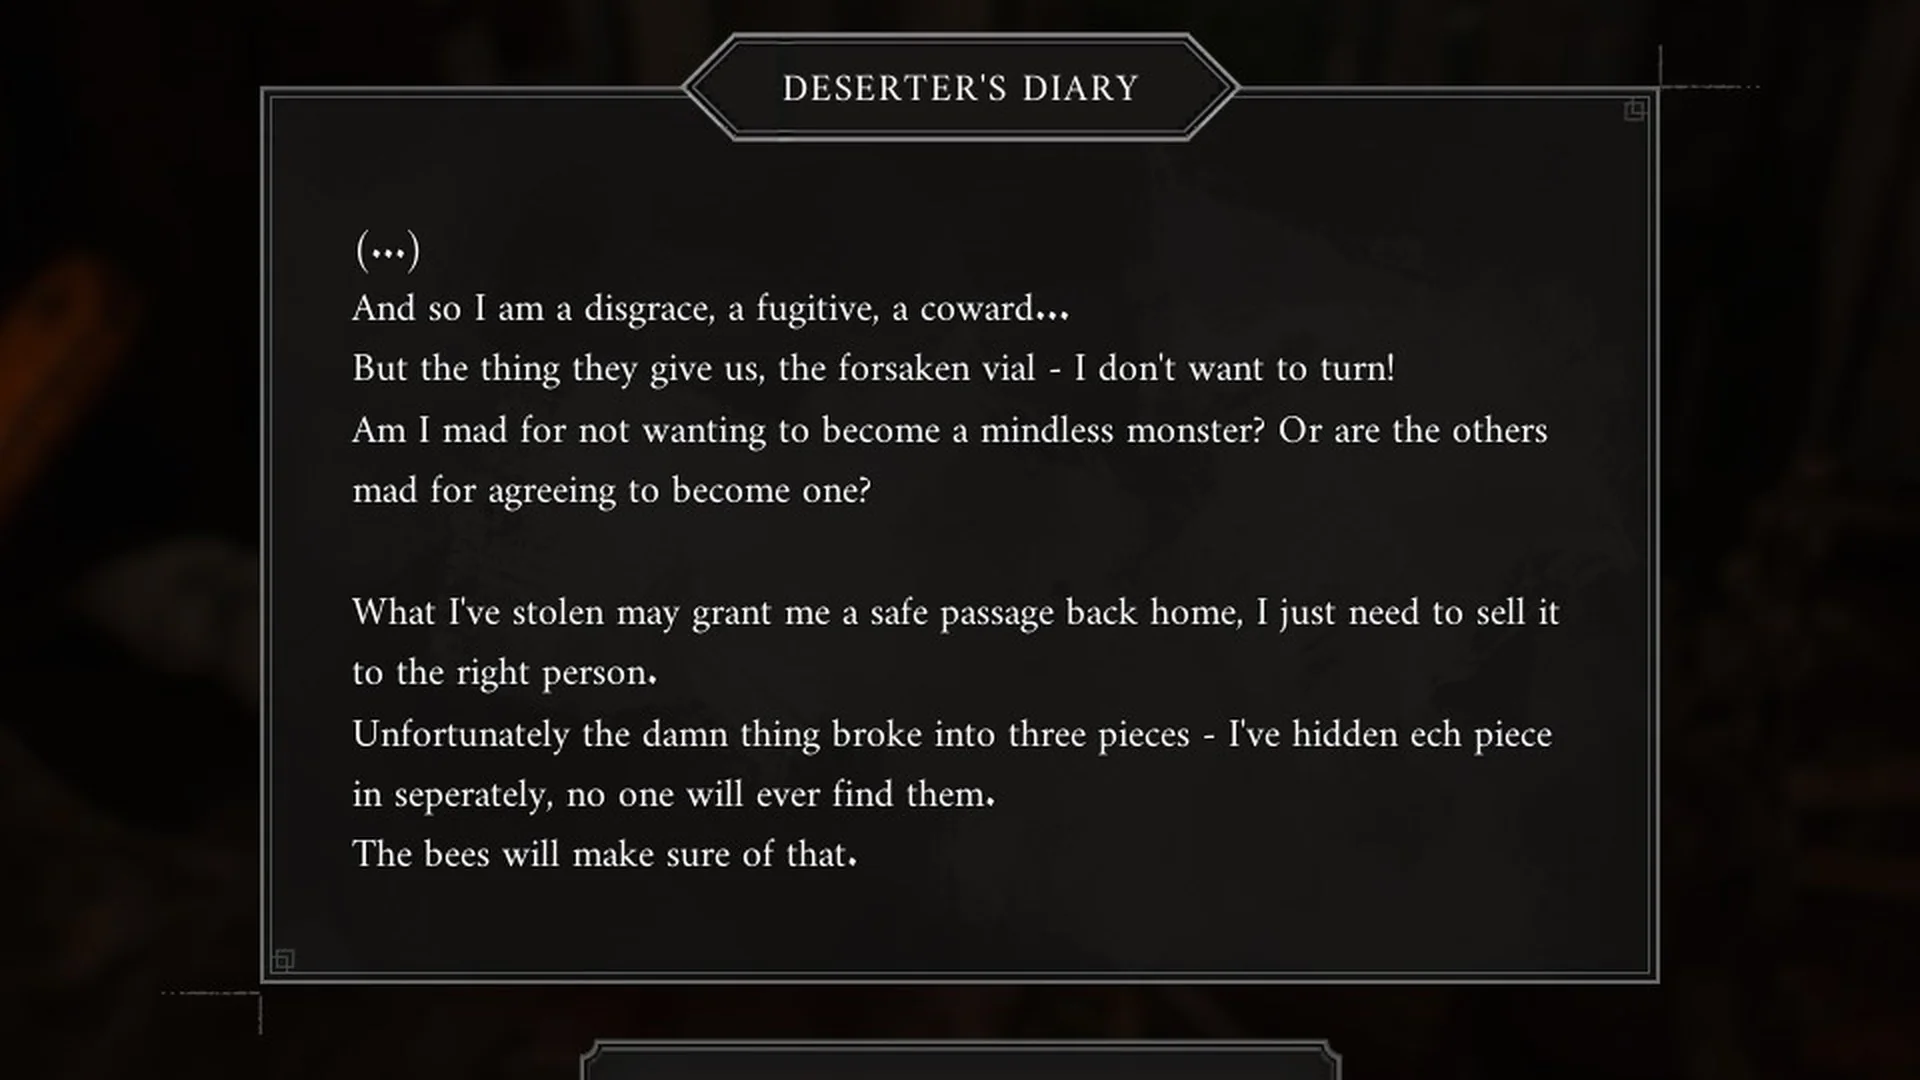
The diary reads: “(…) And so I am a disgrace, a fugitive, a coward… But the thing they give us, the forsaken vial – I don’t want to turn! Am I mad for not wanting to become a mindless monster? Or are the others mad for agreeing to become one? What I’ve stolen may grant me a safe passage back home, I just need to sell it to the right person. Unfortunately the damn thing broke into three pieces – I’ve hidden ech piece in seperately, no one will ever find them. The bees will make sure of that.”
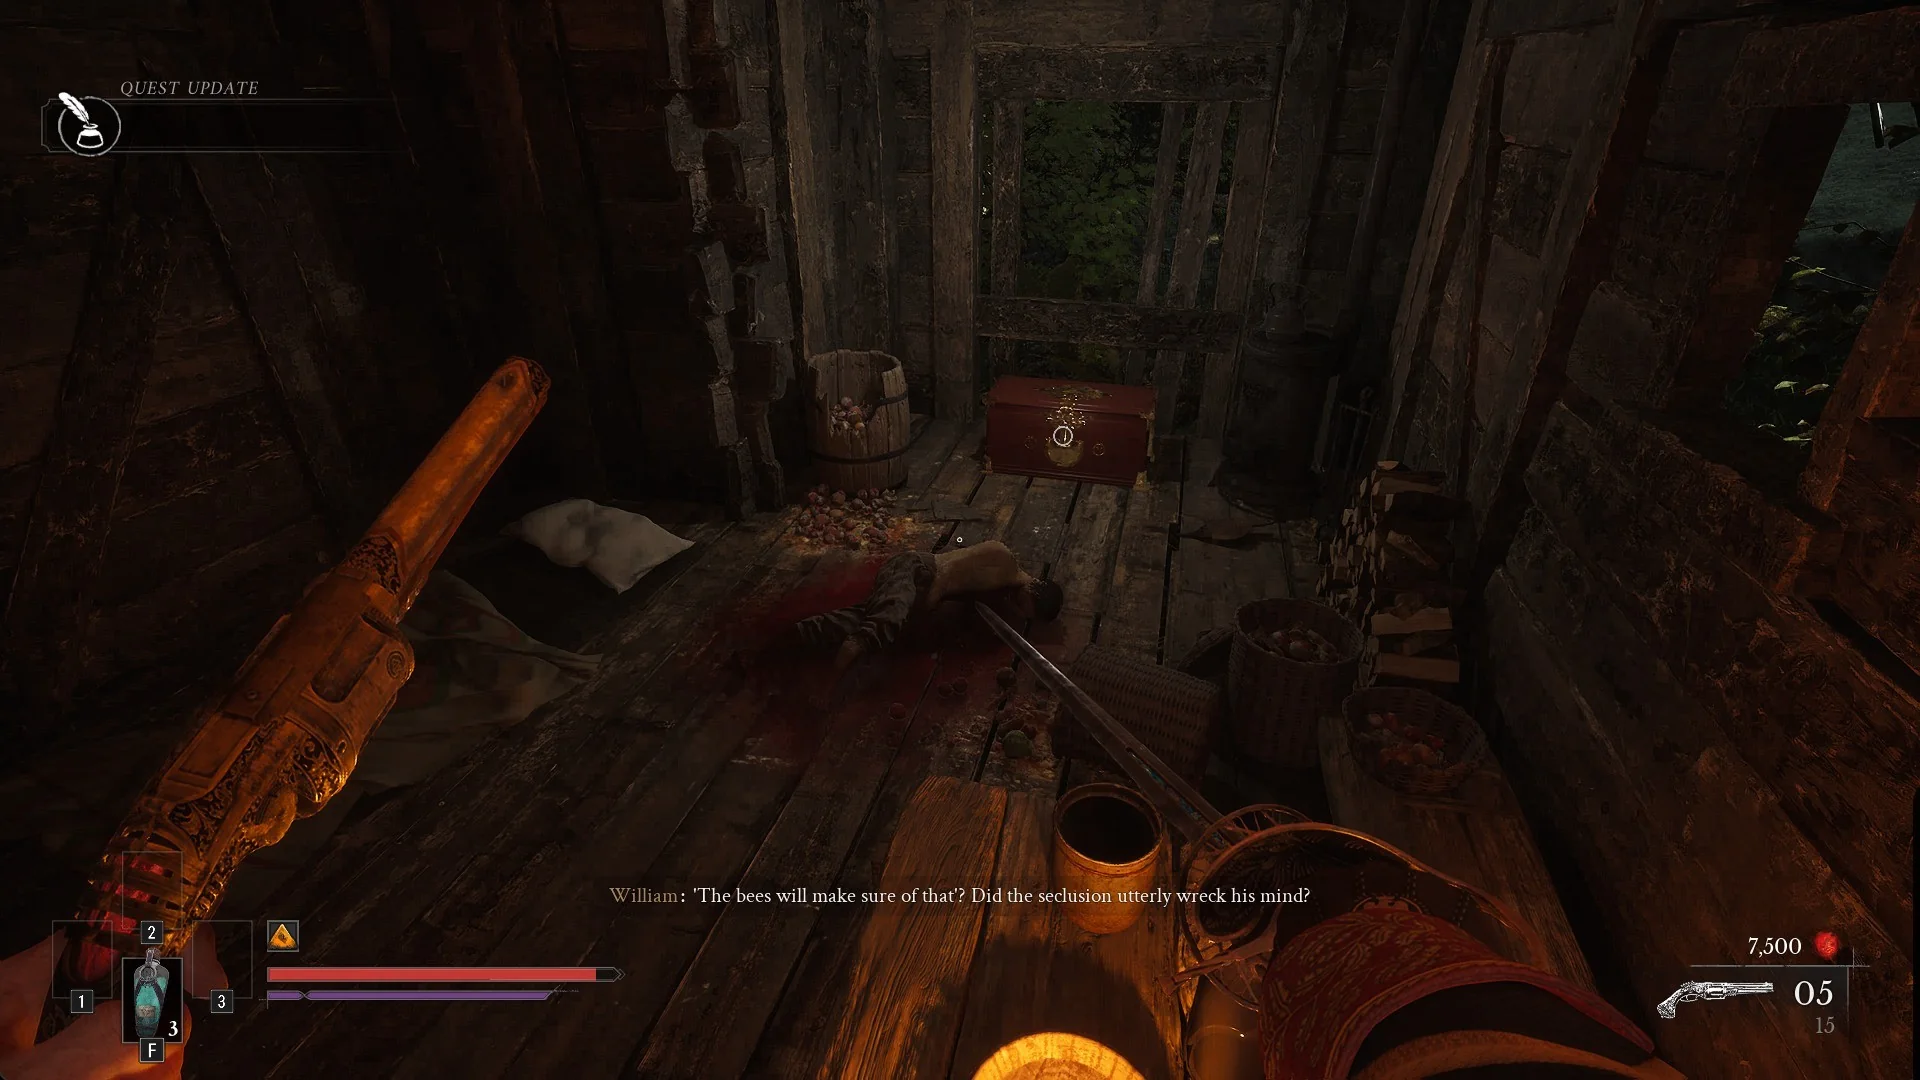
Reading it fires a QUEST UPDATE. William says, “The bees will make sure of that? Did the seclusion utterly wreck his mind?”, and a “NEW ENTRY ADDED TO THE JOURNAL” line appears. The log now reads: “It seems Dufour fled because he refused to share the fate of the other Eternal Guards — turned into mindless monsters for the sake of battle. I cannot say I blame him; who would want such a destiny? Whatever he stole was supposed to grant him safe passage home, but the question remains: where did he hide it, and what do the bees have to do with it?”
How the hives work: the entrance board, the red X and the Beekeeper’s Note
The three figurine pieces sit inside beehive boxes spread across three separate apiaries in the Vale of Wrath. Any order works, and William keeps a running count as you collect them.
Face a hive and target the little board over its entrance; the “[E] INTERACT” prompt appears only when you aim there.
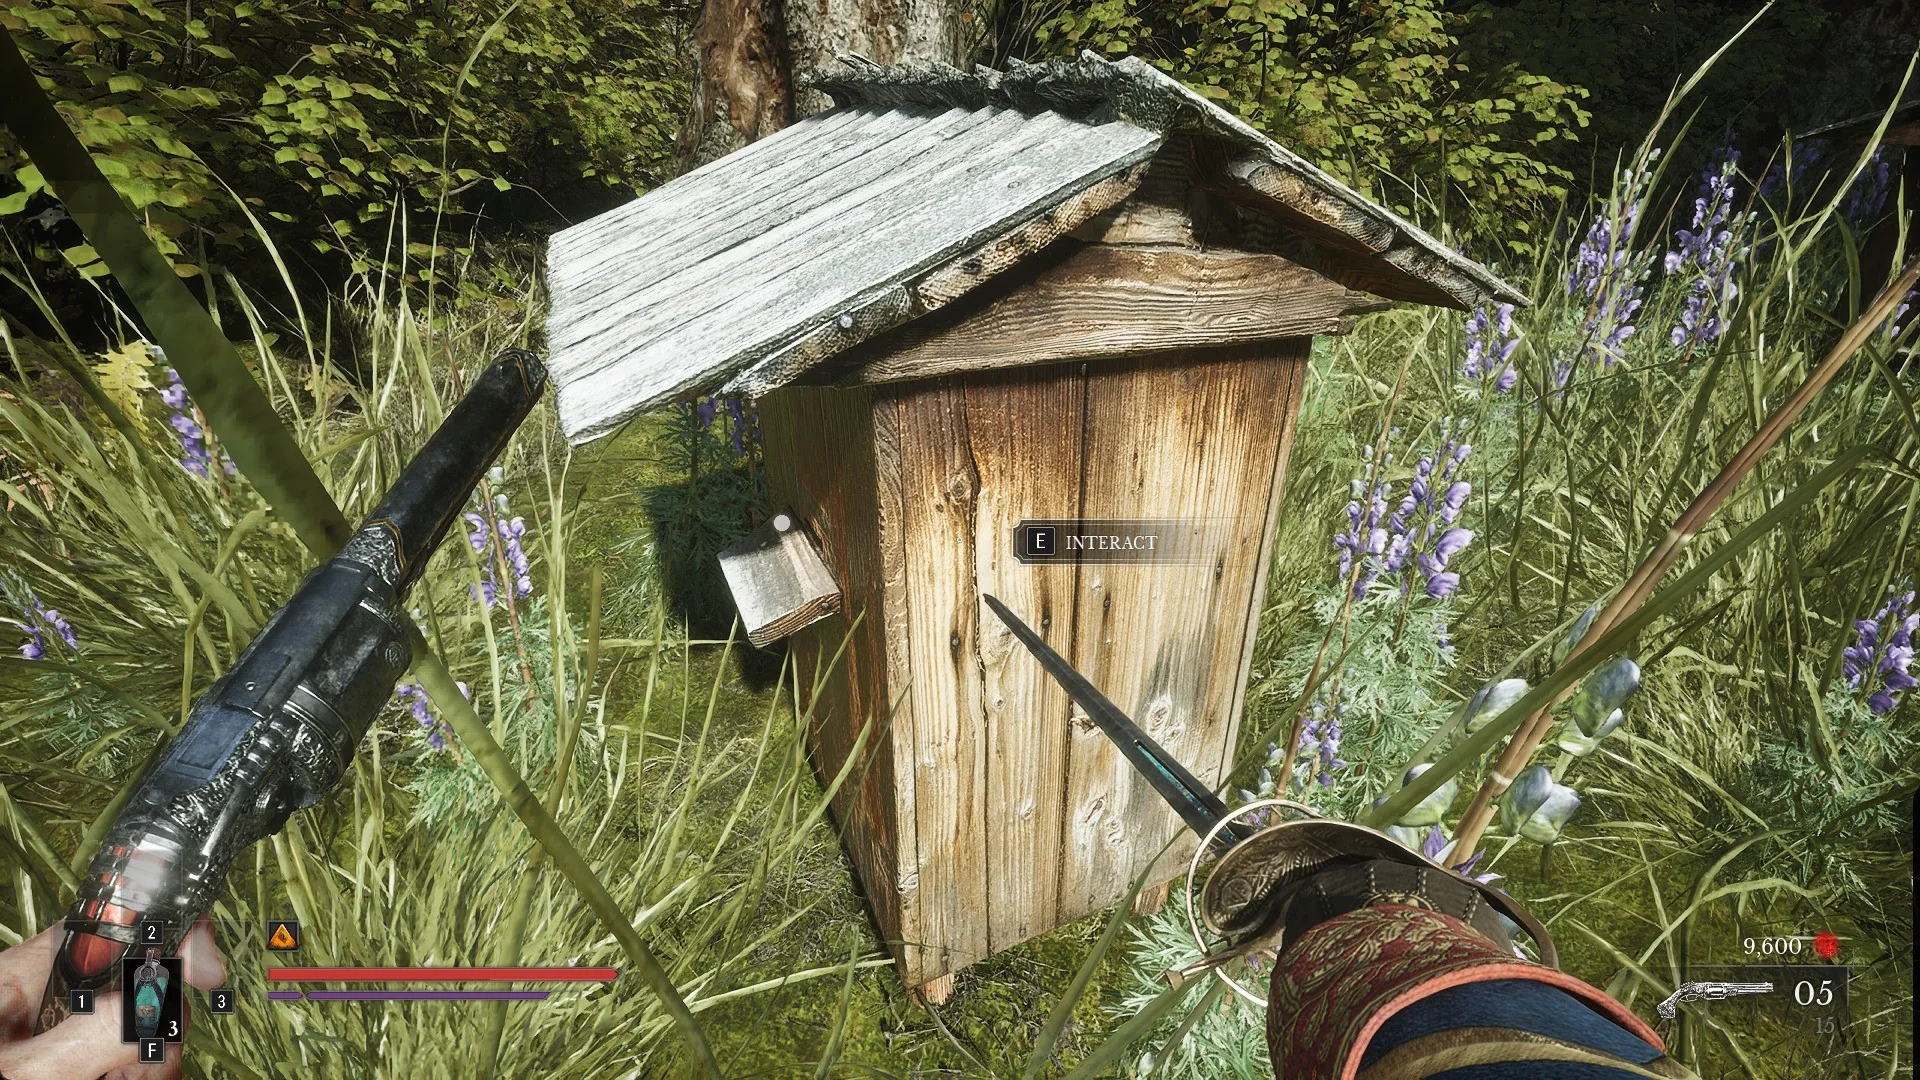
Looking at the roof or standing beside a hive shows no prompt at all.
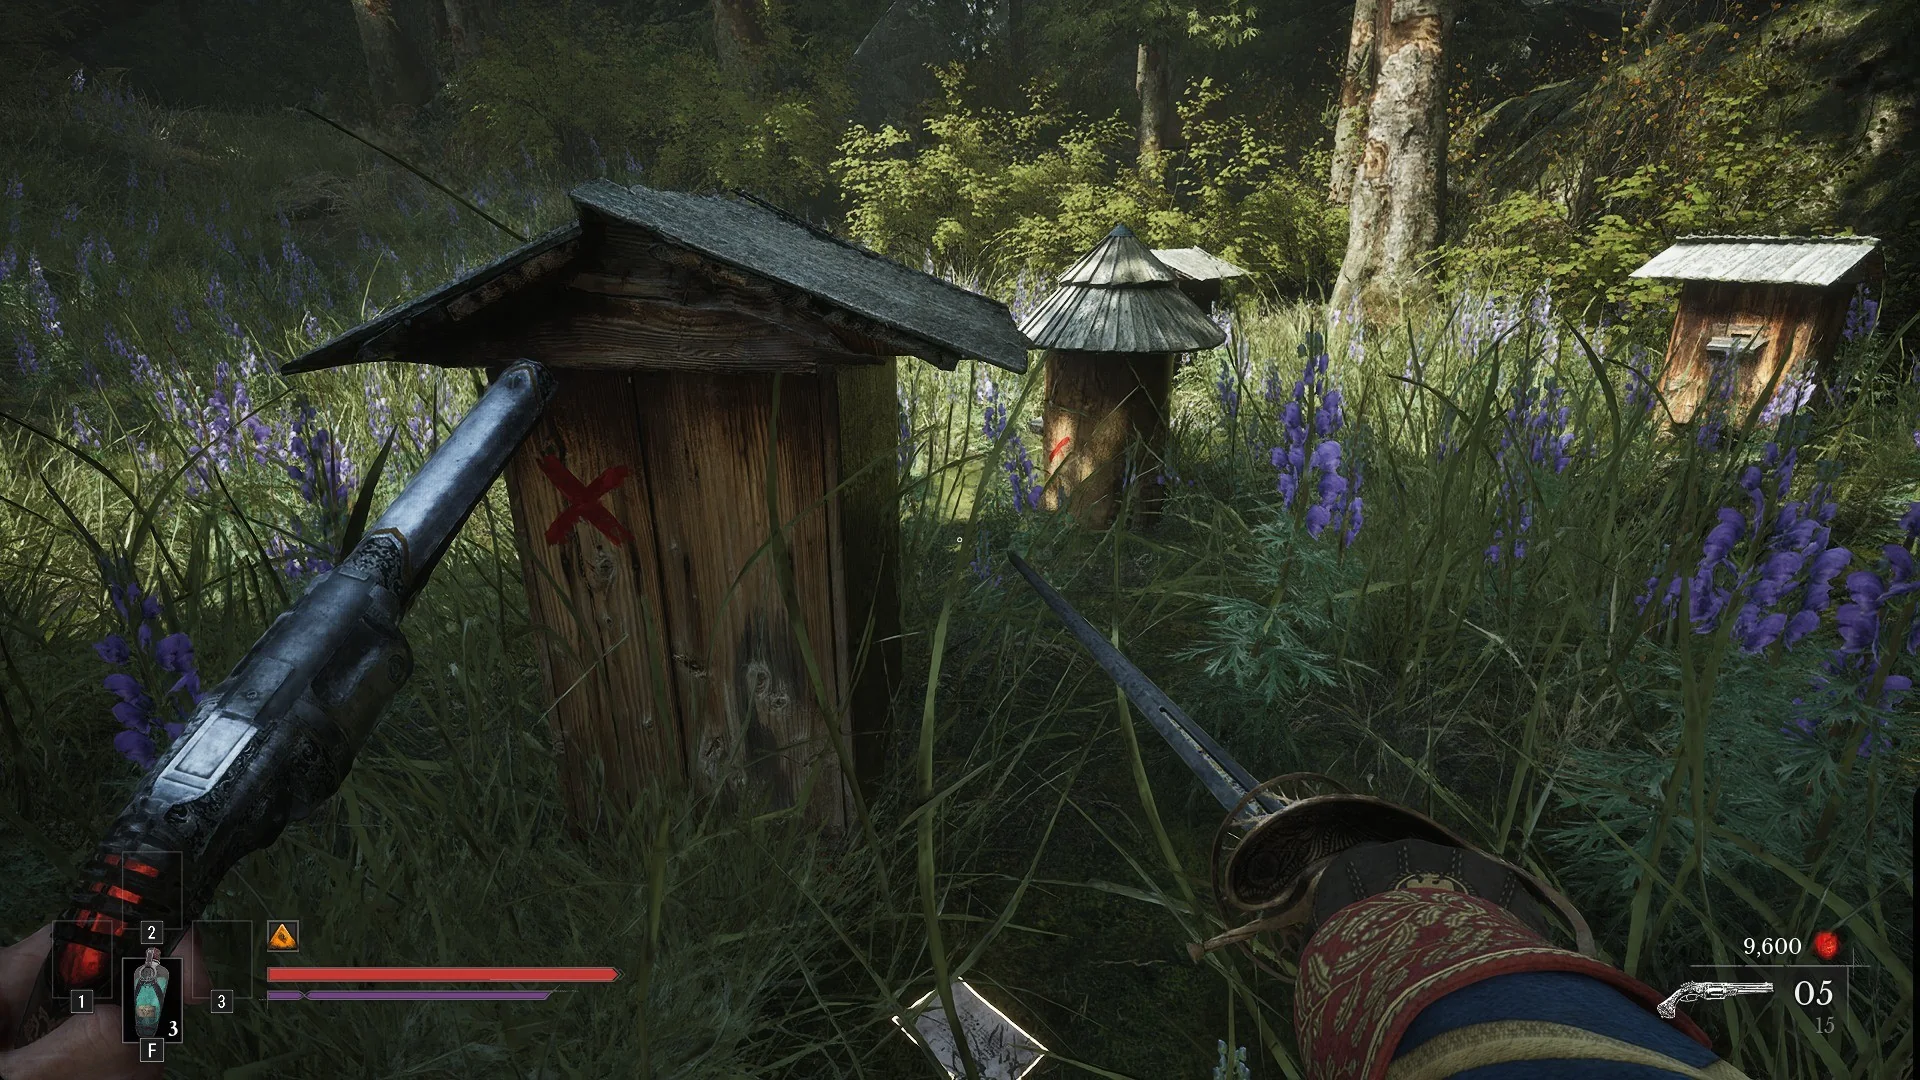
Opening a hive marked with a red painted X unleashes a purple swarm. It deals 25 Health damage to William, who has 140 health, and yields no reward.
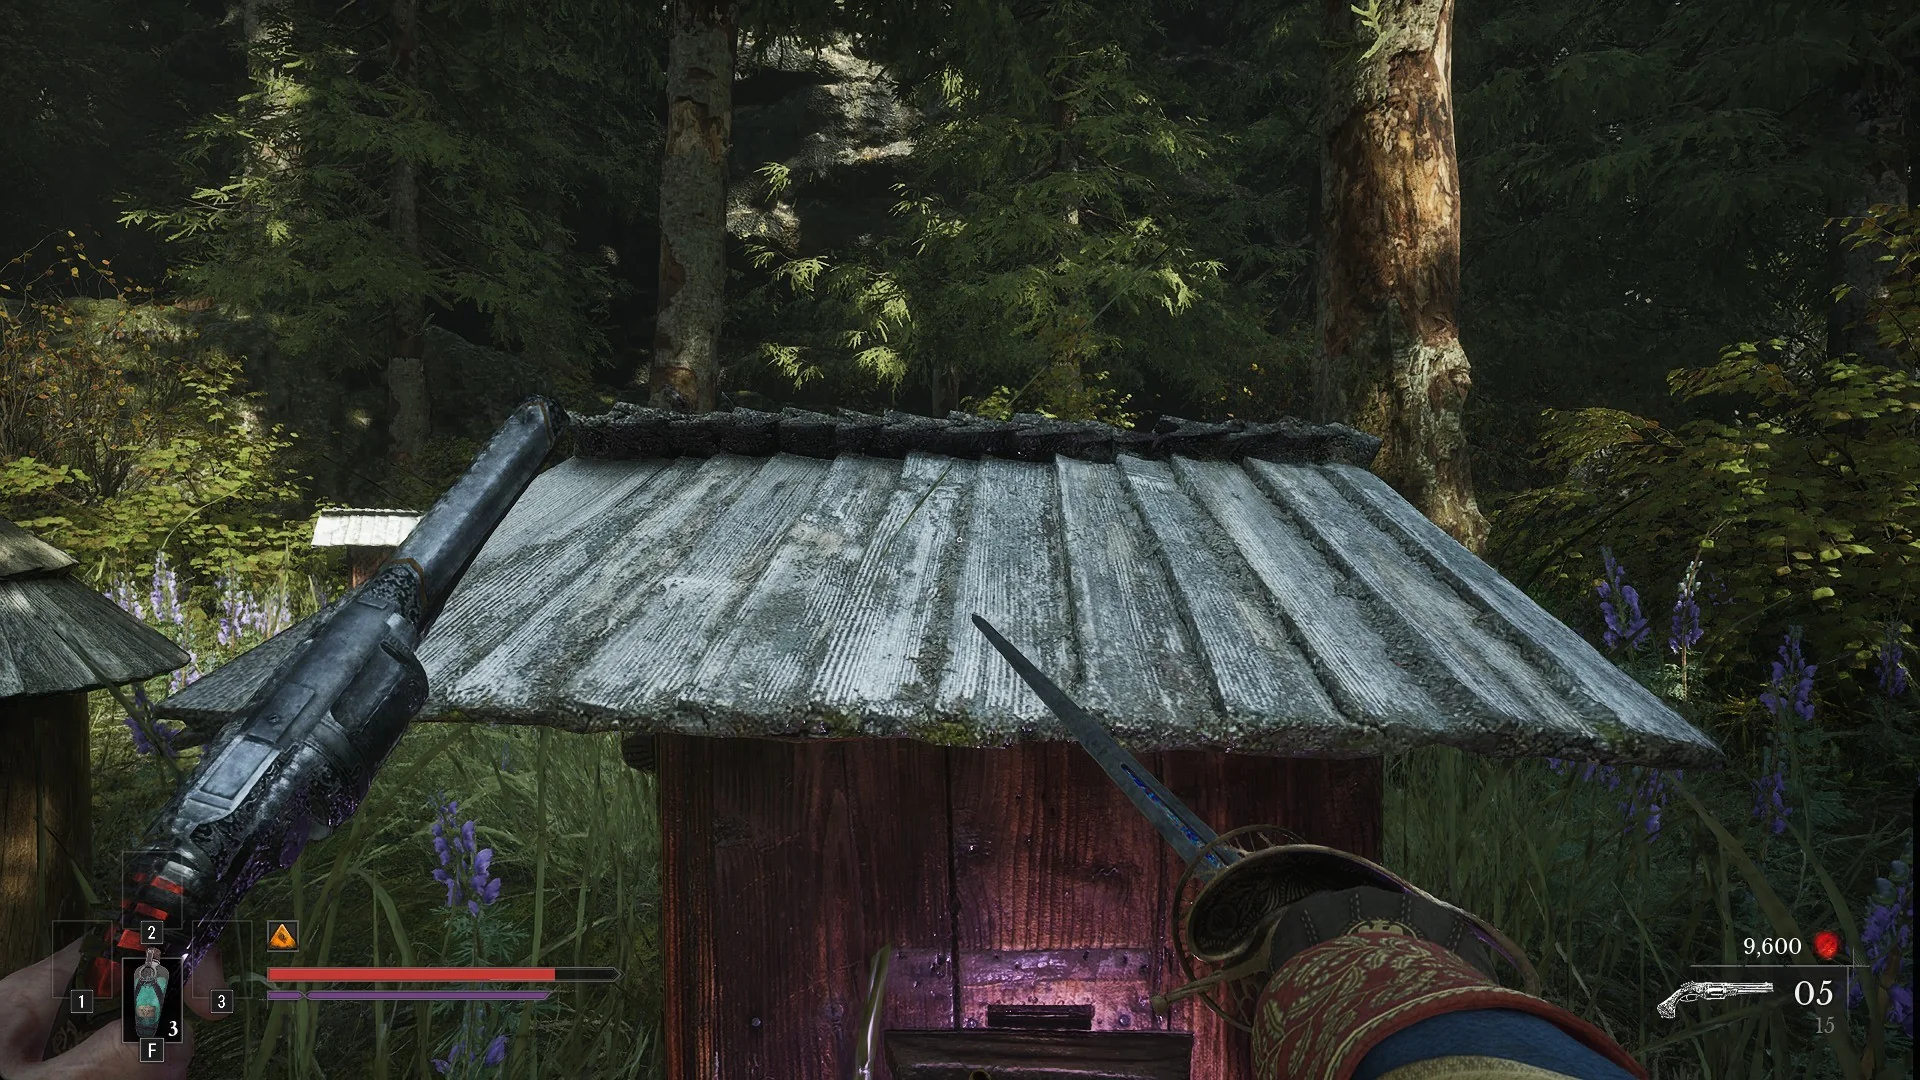
The hives that hold a figurine piece carry no red X.
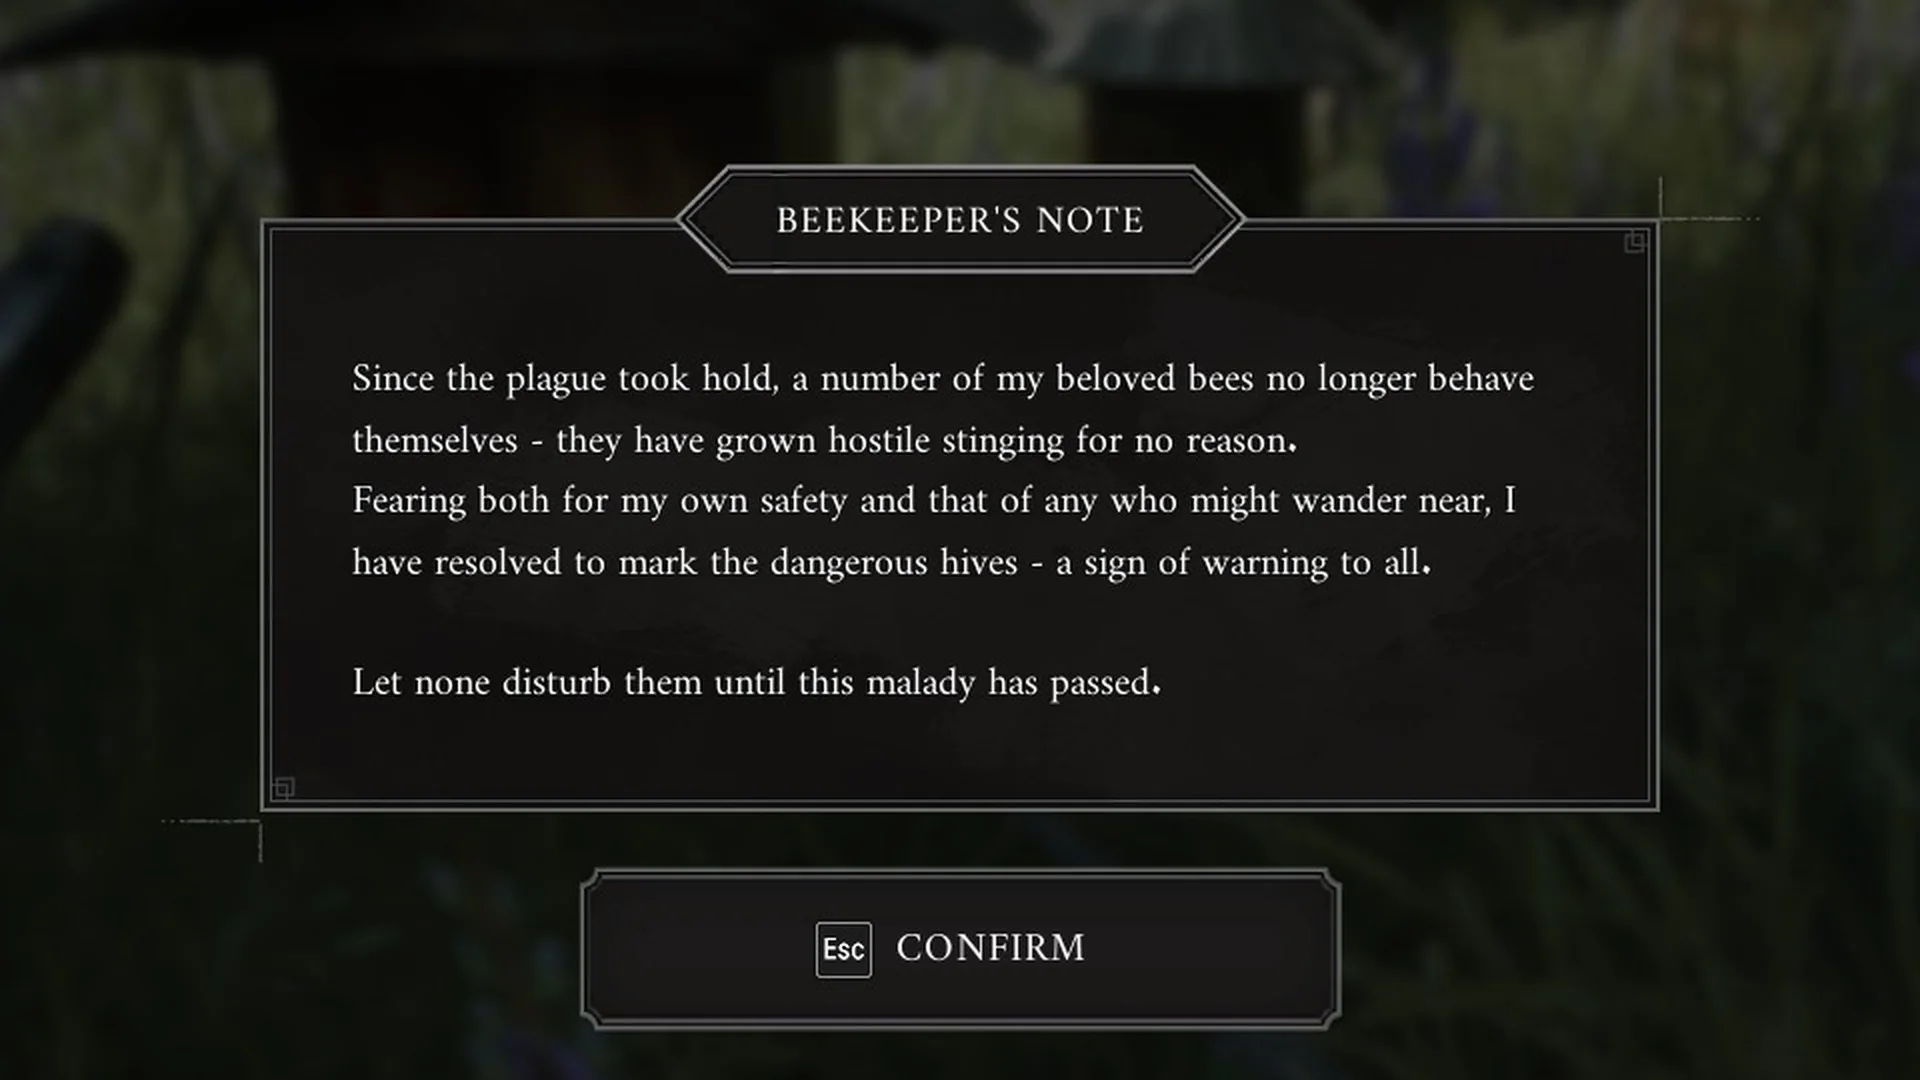
The Beekeeper’s Note lies on the grass beside the red-X hive near the hut. It can be picked up once you have found the first piece; before that it offers no prompt. It reads: “Since the plague took hold, a number of my beloved bees no longer behave themselves – they have grown hostile stinging for no reason. Fearing both for my own safety and that of any who might wander near, I have resolved to mark the dangerous hives – a sign of warning to all. Let none disturb them until this malady has passed.” Reading it triggers a QUEST UPDATE, William notes, “It seems some hives are more dangerous than others…”, and the log adds: “The drawing I found near the hives seems to point out that some of the bees are more dangerous than others.”
Where to find all 3 figurine pieces
Piece 1: the hut apiary
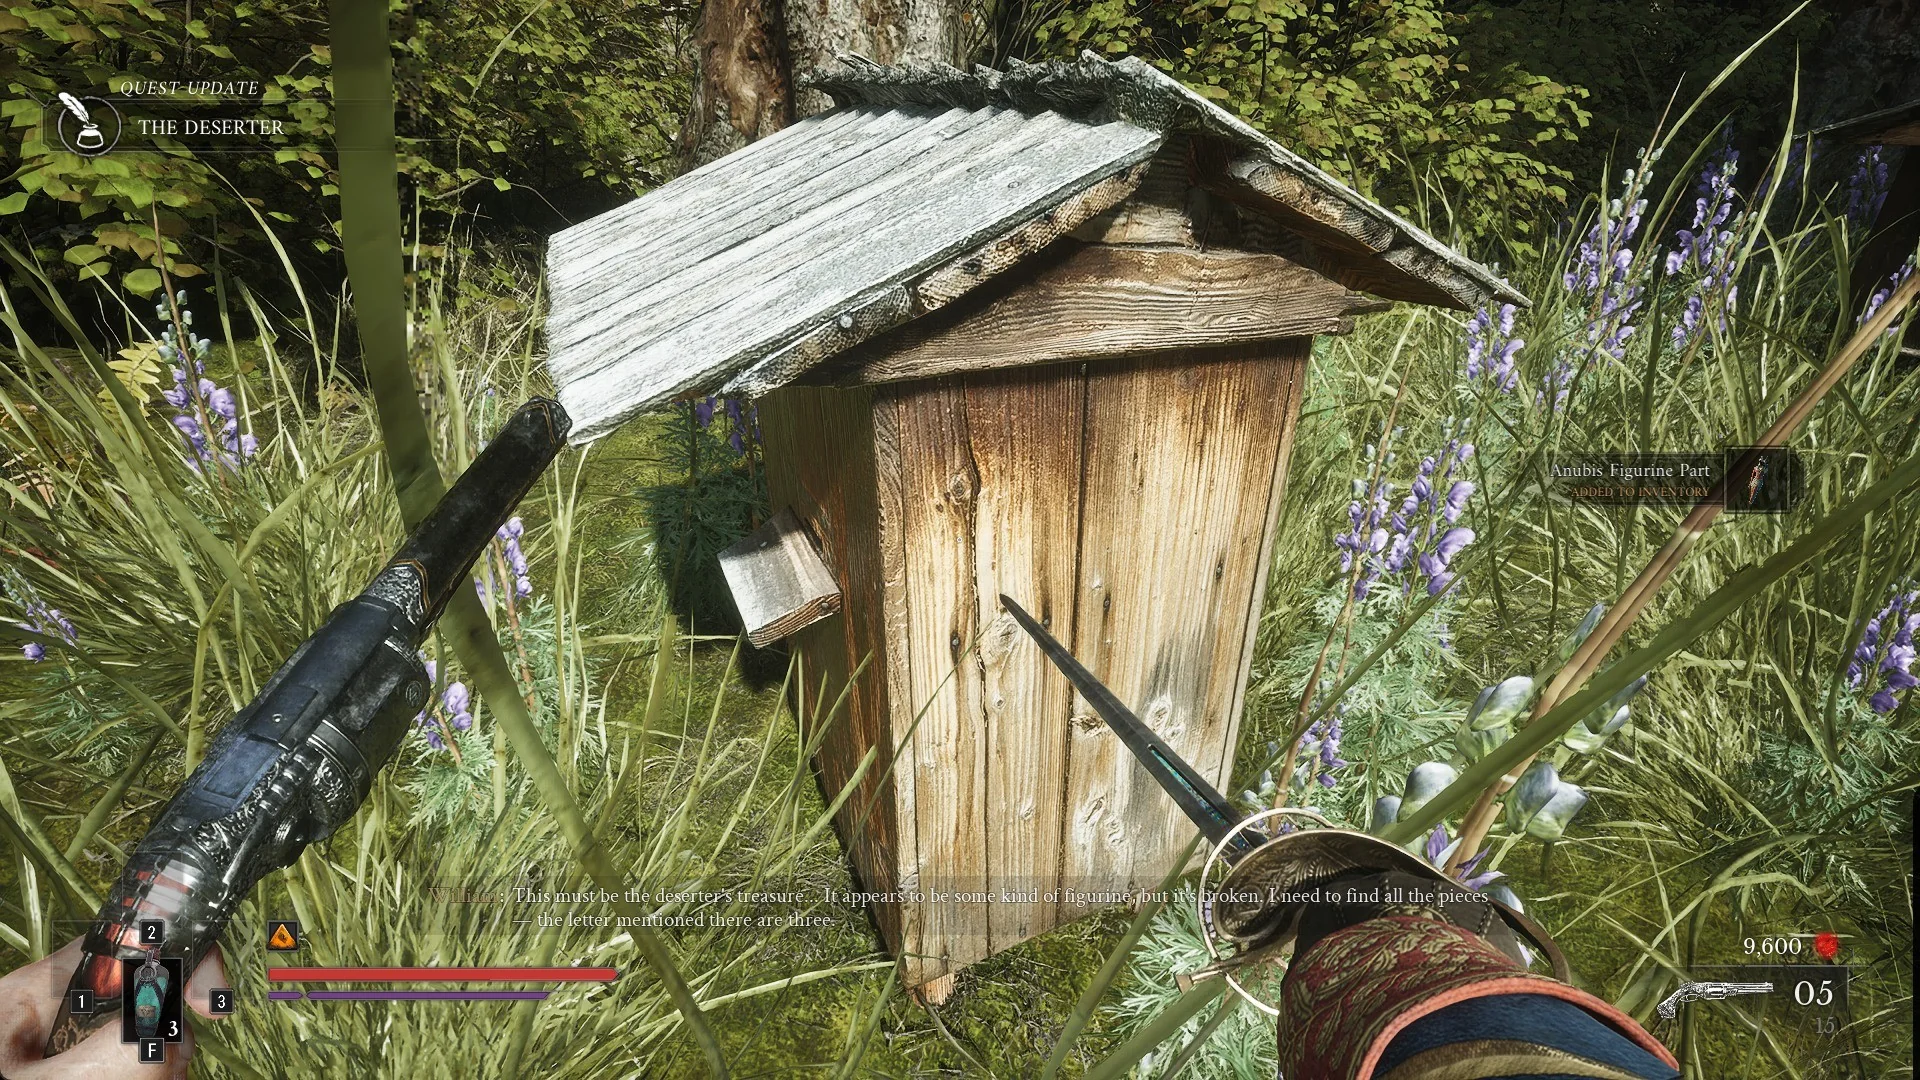
The first piece hive stands in the meadow about 13 m north of the beekeeper’s hut door, with its front facing east. Approach from the east side and aim at the entrance board. The “[E] INTERACT” prompt fires a QUEST UPDATE THE DESERTER, the “Anubis Figurine Part ADDED TO INVENTORY” toast, and William’s line: “This must be the deserter’s treasure… It appears to be some kind of figurine, but it’s broken. I need to find all the pieces — the letter mentioned there are three.” The log adds: “The figurine Dufour had stolen appears to be broken. Once I find all three missing pieces, I should be able to put it back together again.”
Piece 2: the west apiary by the Poisoned Camp
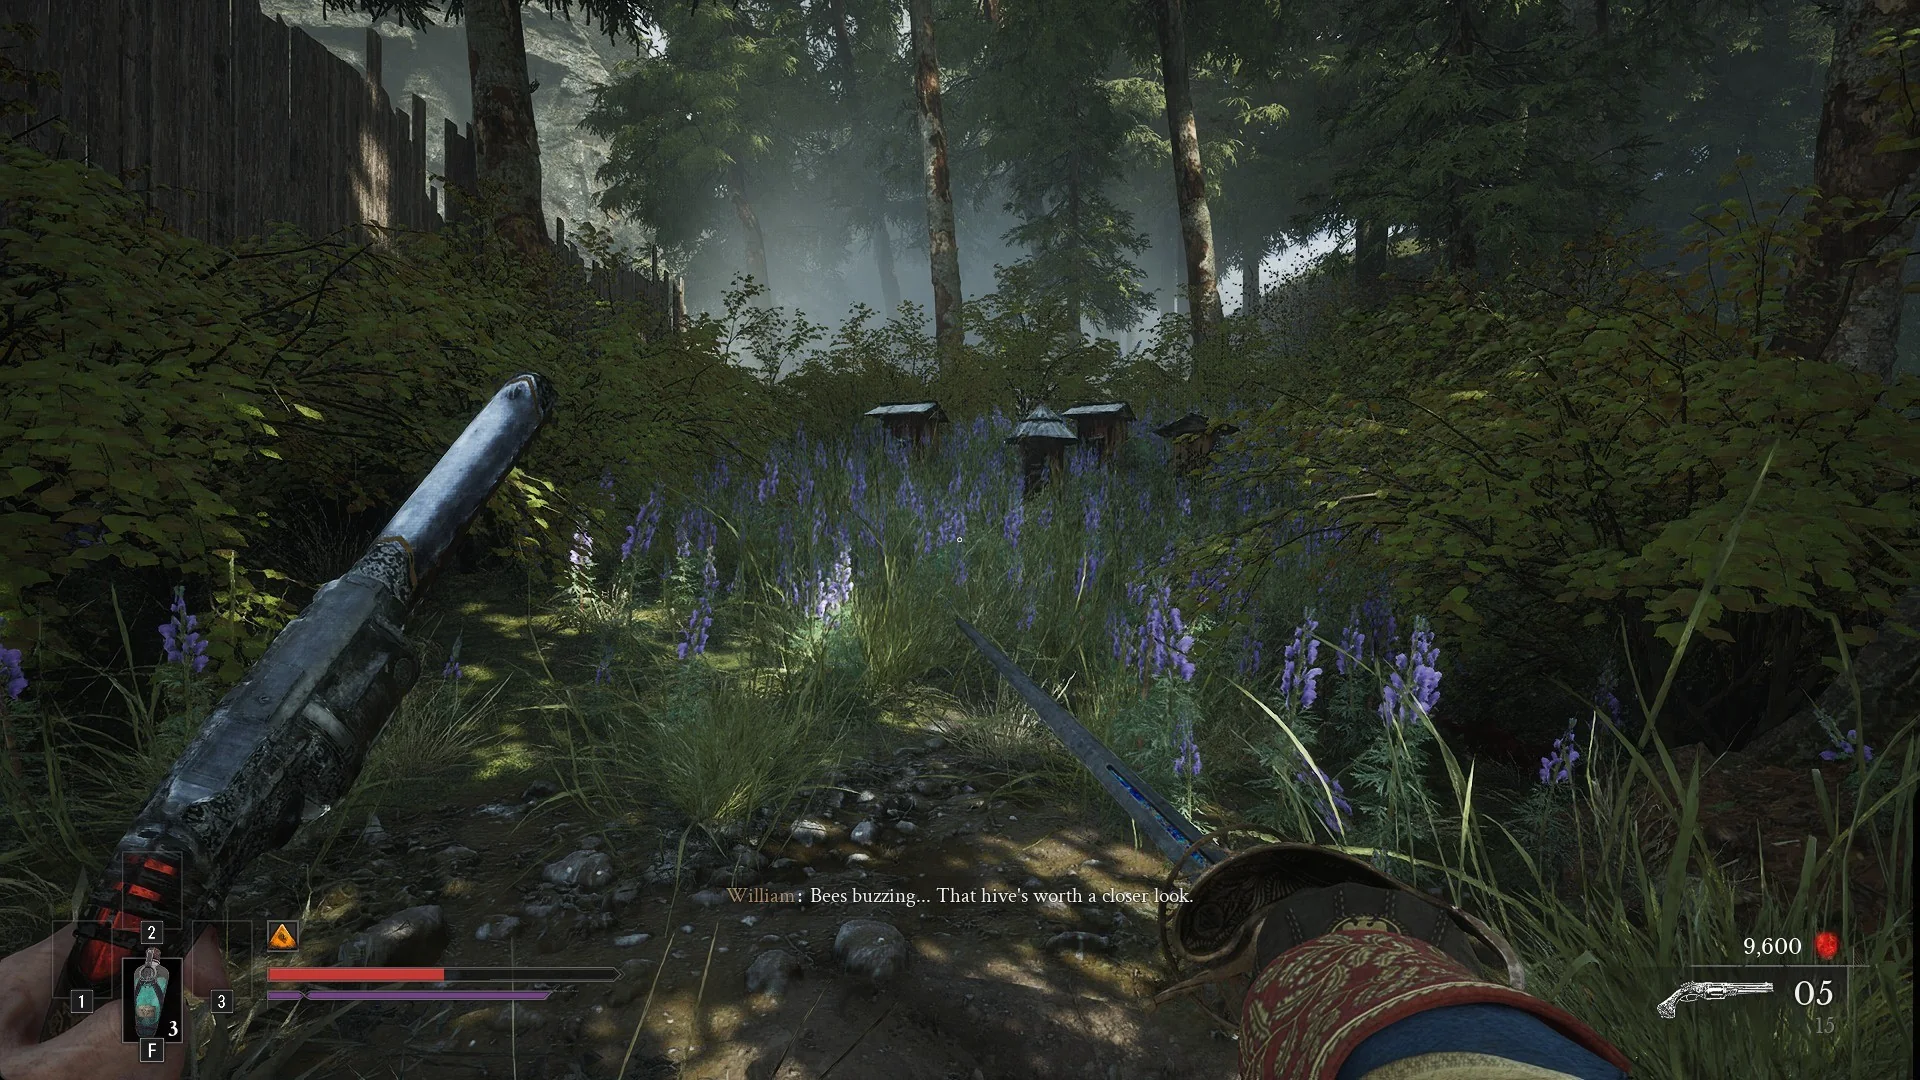
A cluster of hives sits in the forest about 53 m south of the Poisoned Camp Lantern, roughly 45 m north of the Wanted Notice. Walking in from the east, William says, “Bees buzzing… That hive’s worth a closer look.”
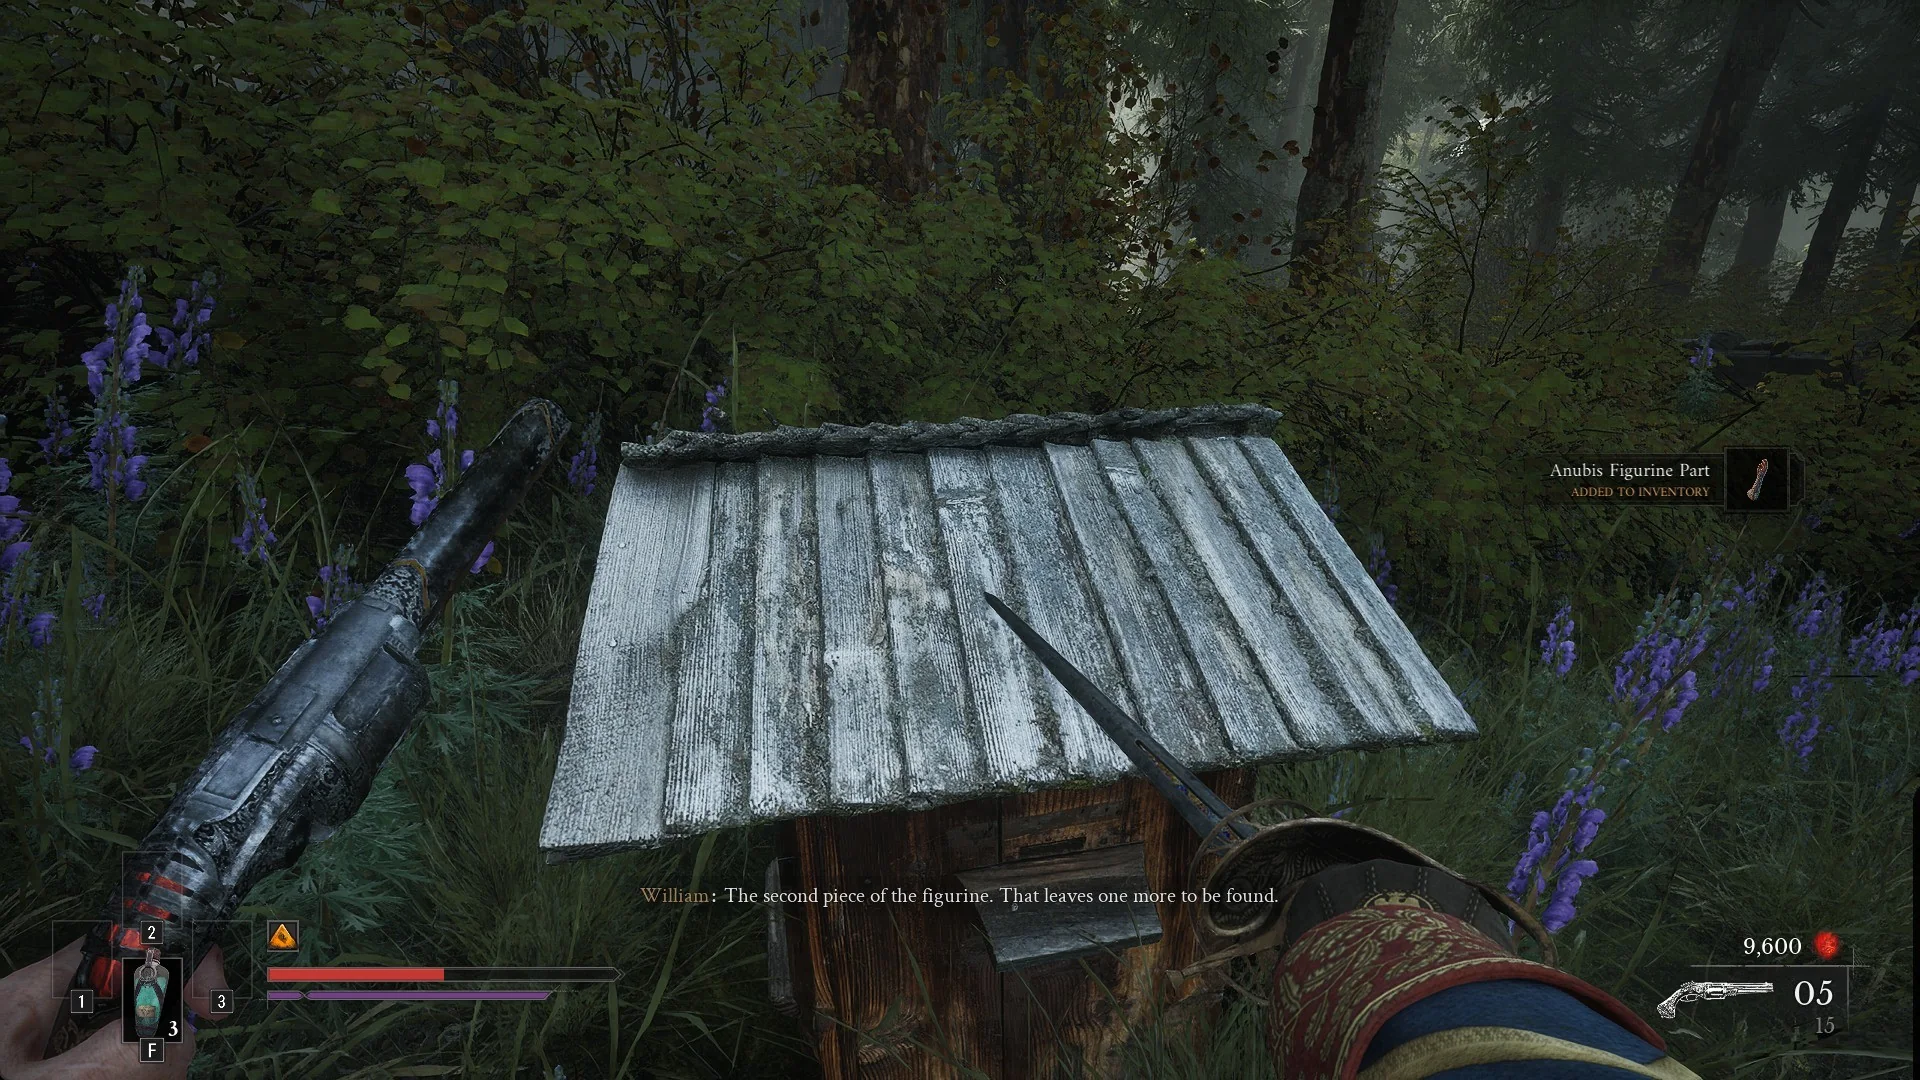
The piece hive’s front faces north. The ground slopes here, so you may end up looking down at its roof — step back until the entrance board is in view, then press E. The prompt returns “The second piece of the figurine. That leaves one more to be found.” alongside the “Anubis Figurine Part ADDED TO INVENTORY” toast.
Piece 3: the east apiary in the ruined house
The final hives stand inside and against a ruined timber house about 40 m north-east of the Under the Bridge Lantern. The piece hive’s front faces north-west.
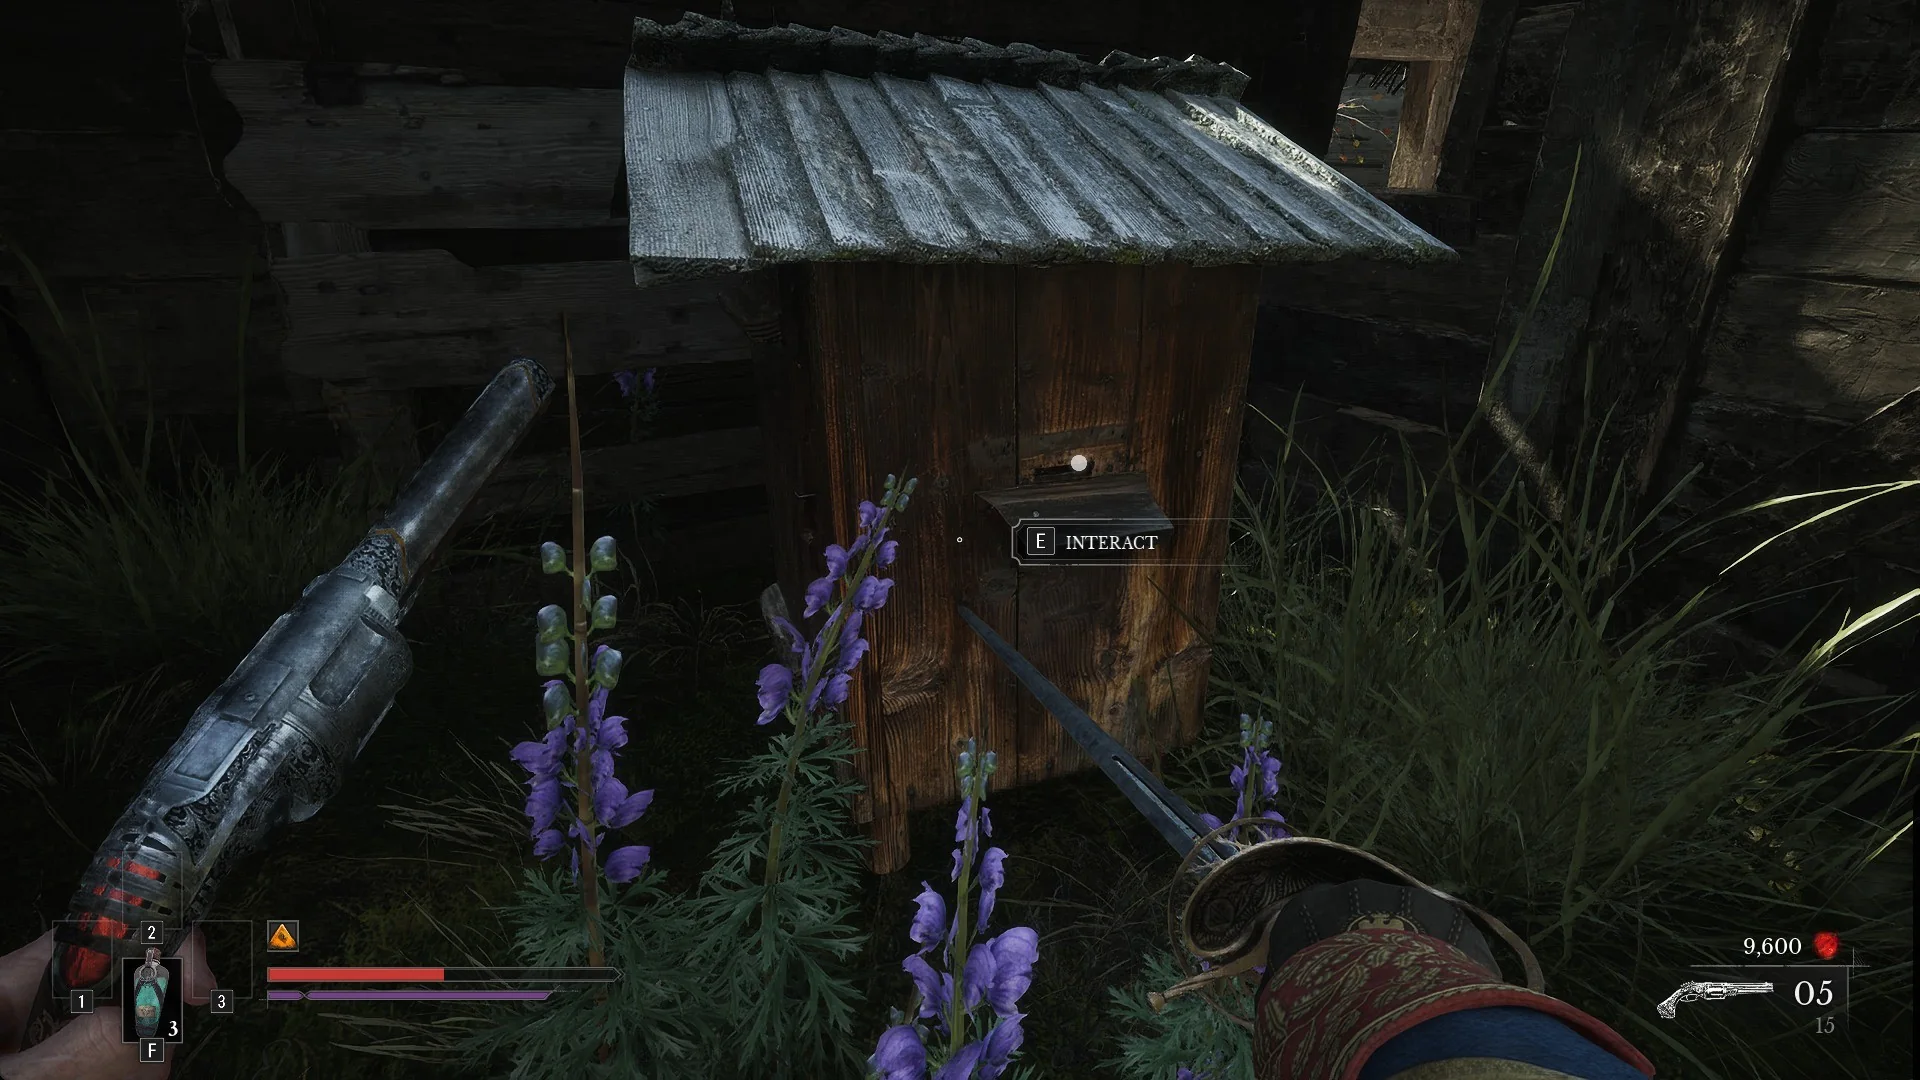
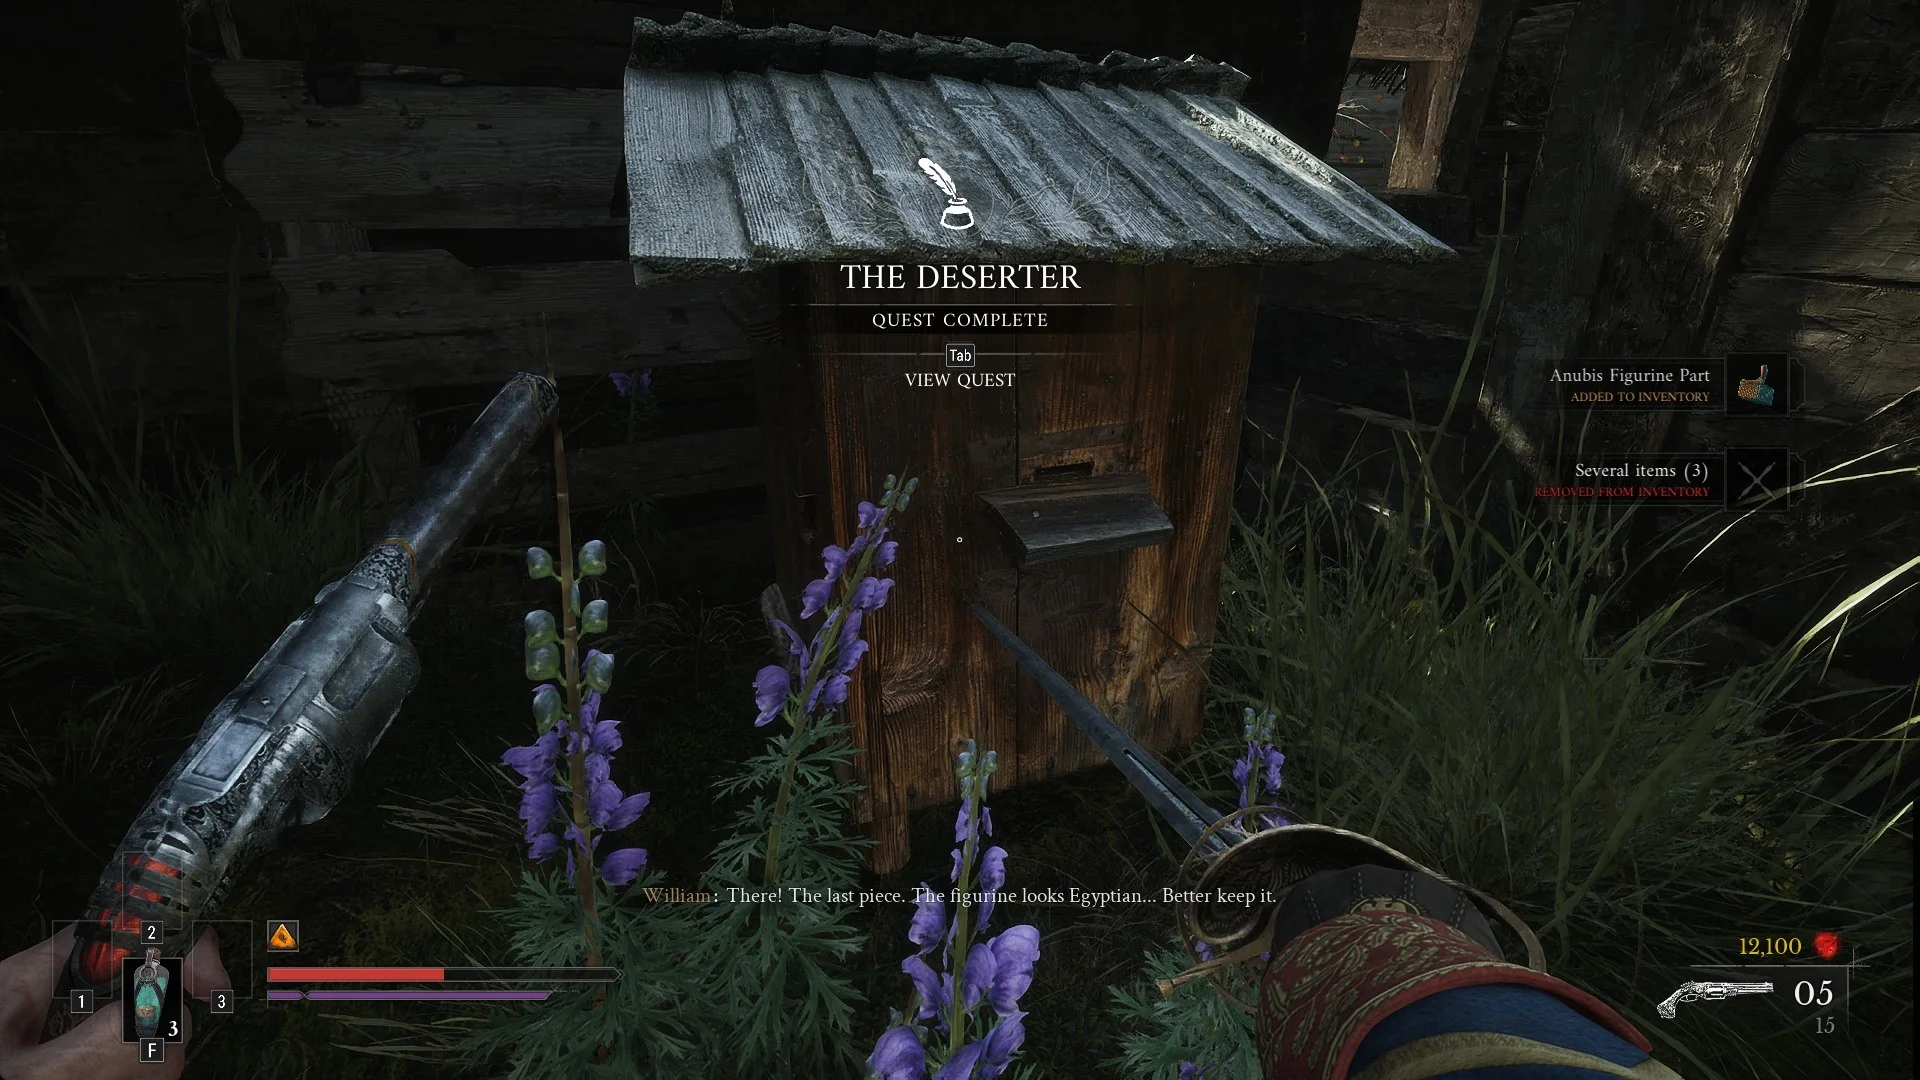
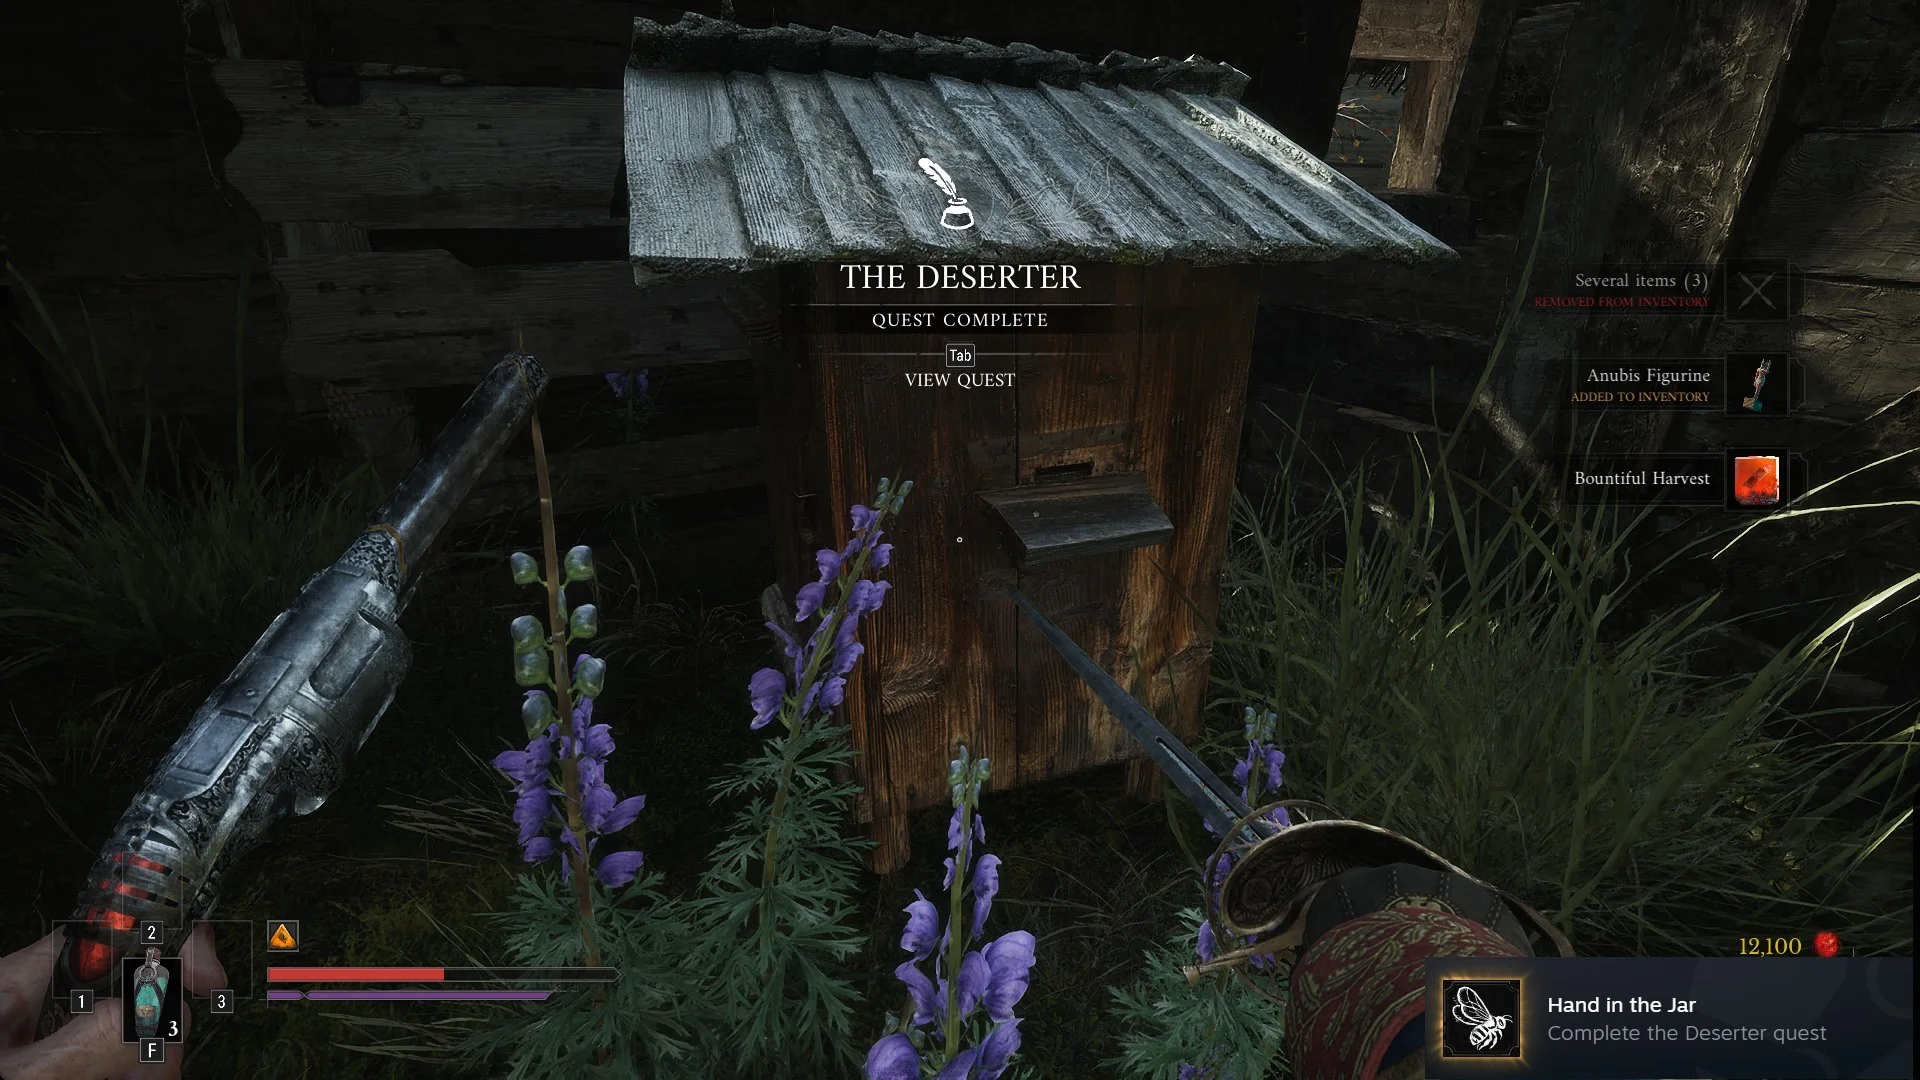
Aim at the entrance board and press E for “[E] INTERACT”. This brings up “THE DESERTER – QUEST COMPLETE – VIEW QUEST” and William’s line: “There! The last piece. The figurine looks Egyptian… Better keep it.”
Quest reward and the Hand in the Jar achievement
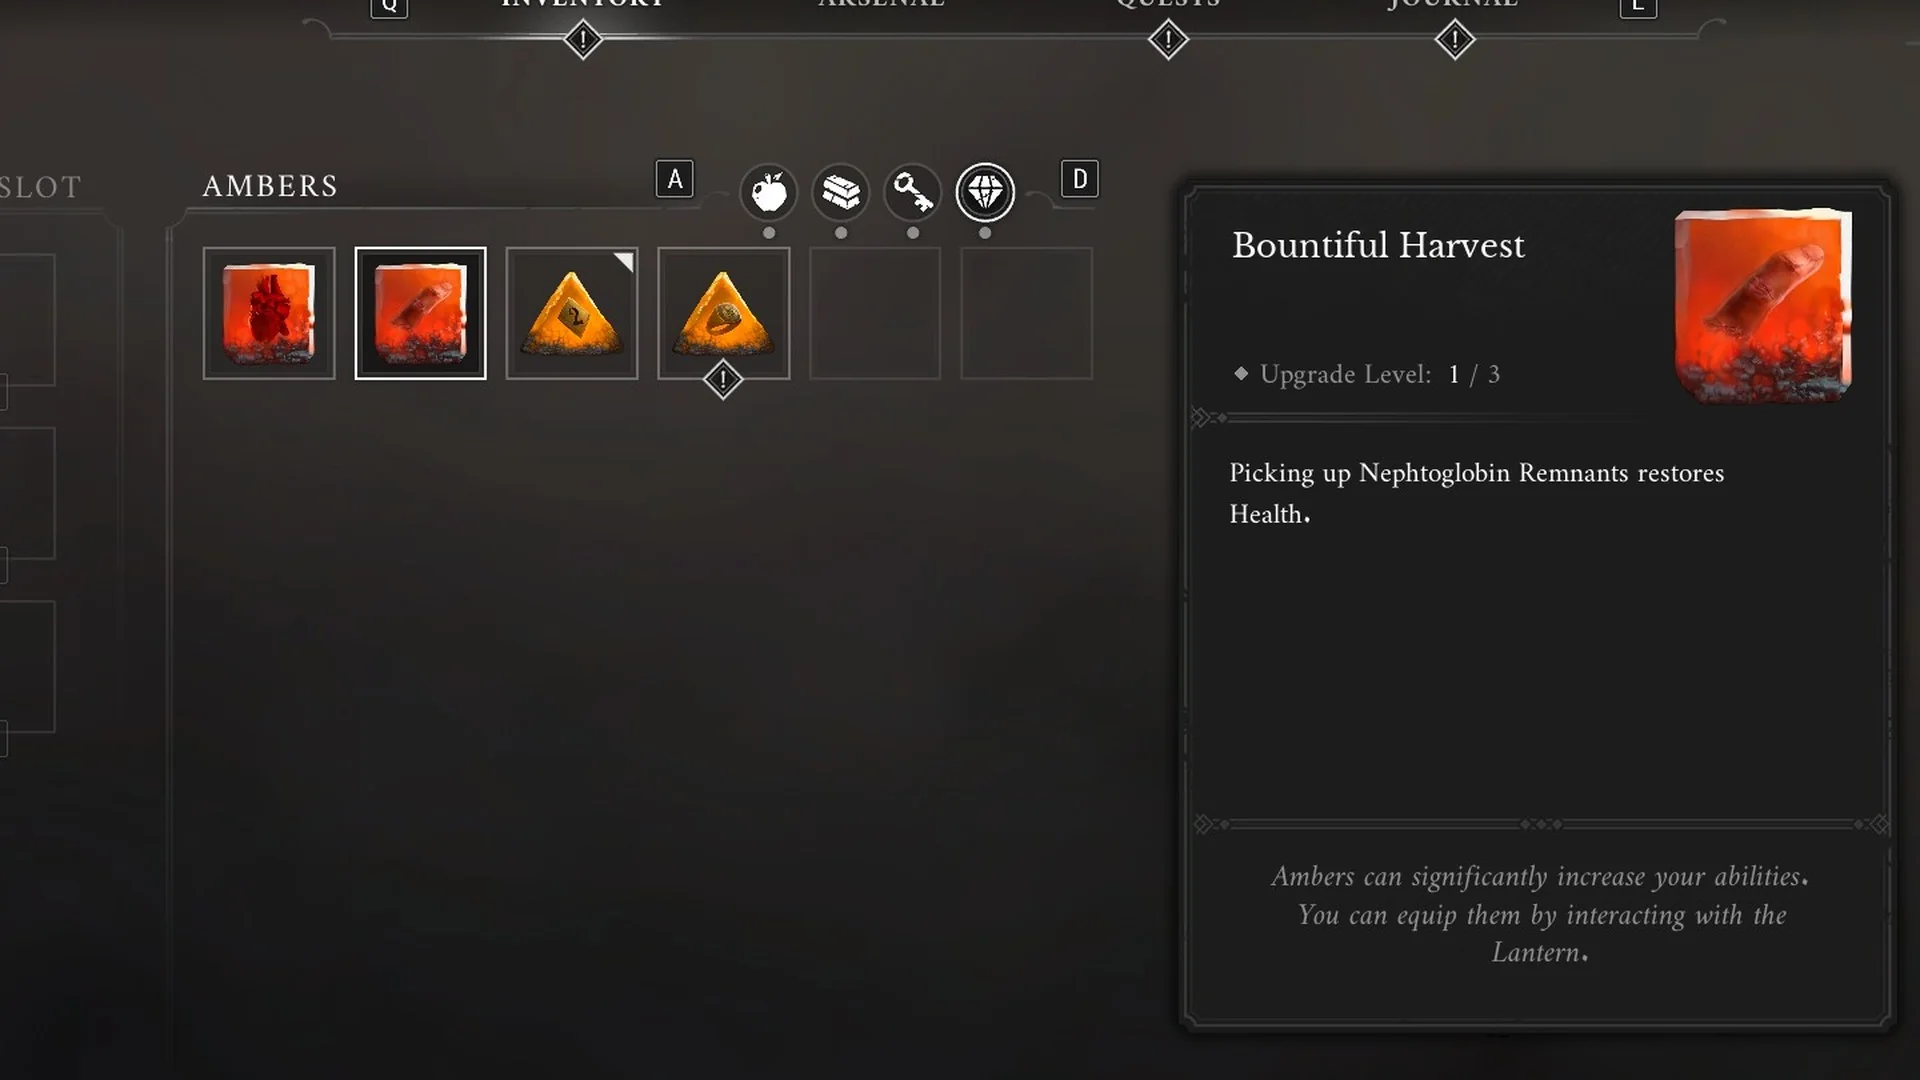
Taking the third piece chains a run of toasts: “Anubis Figurine Part ADDED TO INVENTORY”, “Several items (3) REMOVED FROM INVENTORY”, “Anubis Figurine ADDED TO INVENTORY”, and the Amber “Bountiful Harvest”. Your Catalysts rise by 2,500, from 9,600 to 12,100. You can confirm the quest is done by its log turning to Completed, which reads: “Finally, in the very last apiary, I found the last piece of treasure Dufour had stolen: an Egyptian artefact, some kind of figurine.”
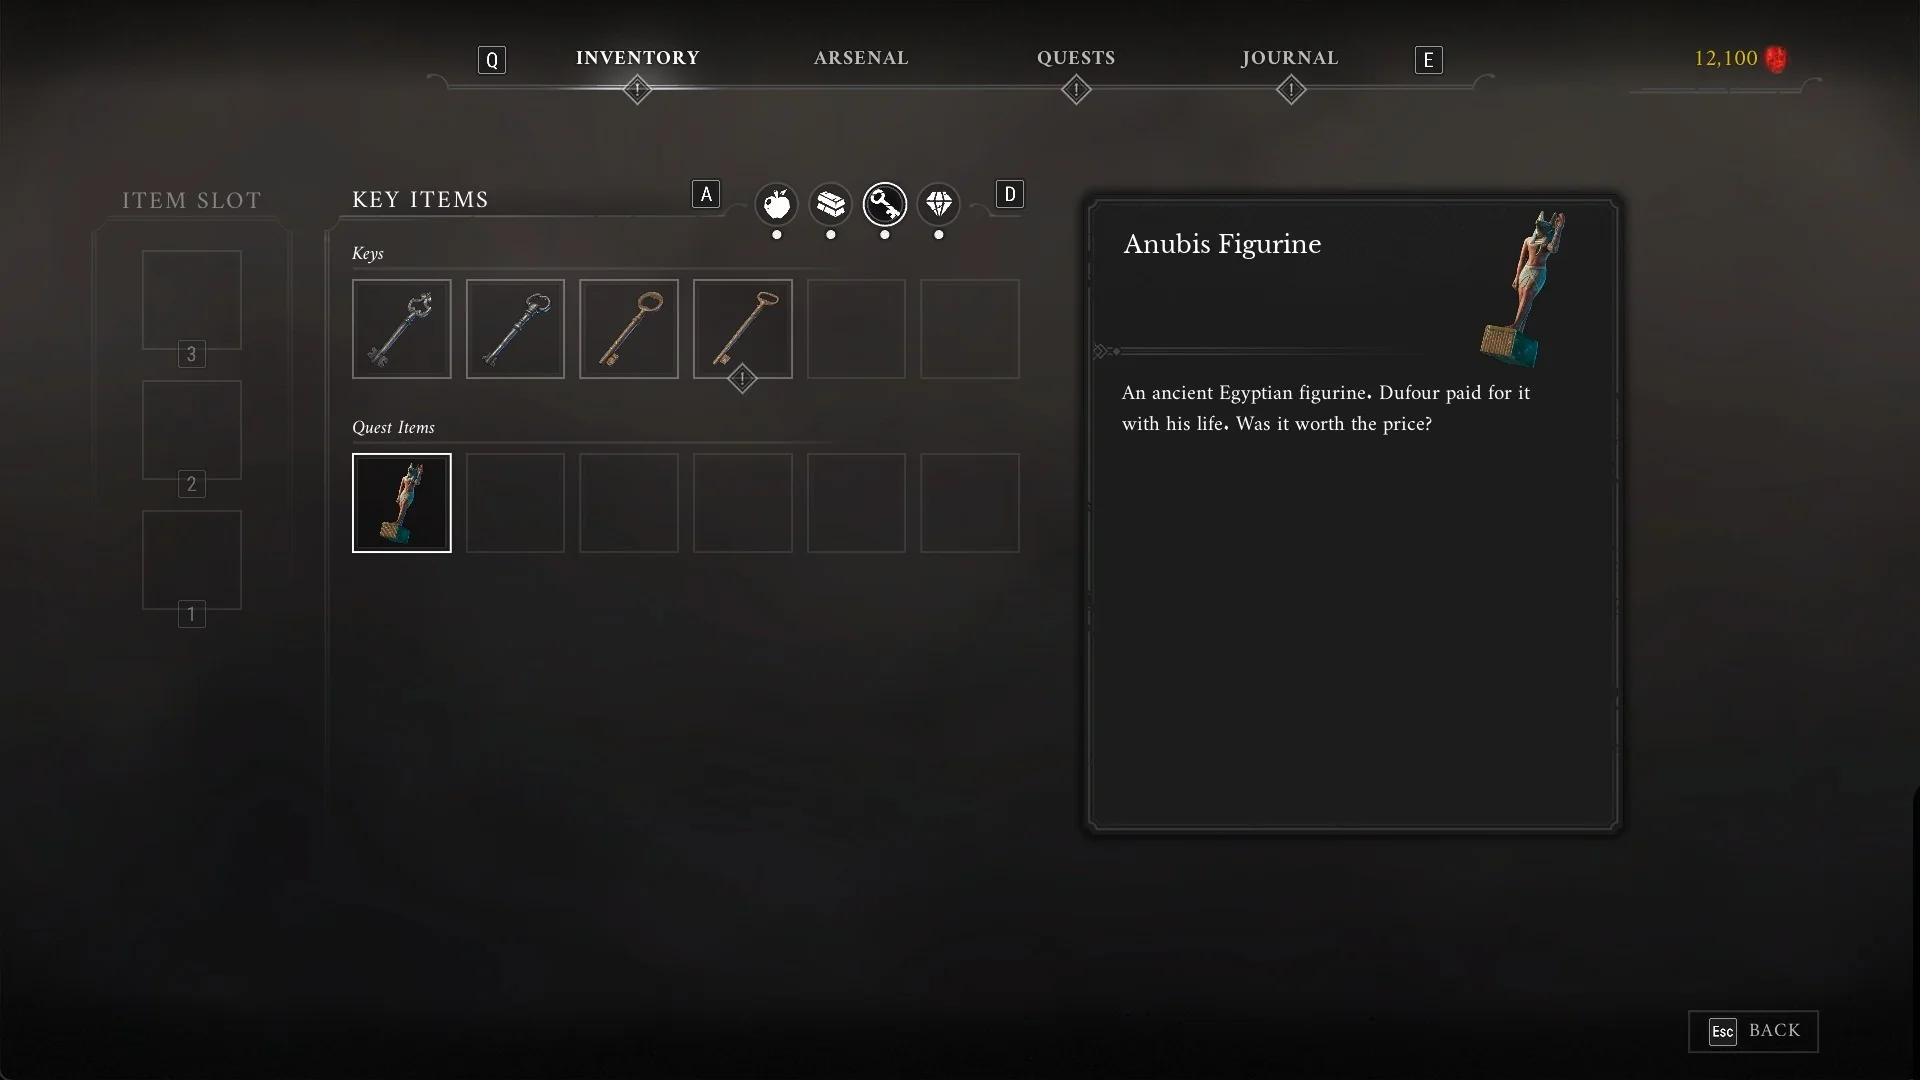
The finished item sits under Inventory > Key Items > Quest Items. The Anubis Figurine reads: “An ancient Egyptian figurine. Dufour paid for it with his life. Was it worth the price?”
Under Inventory > Ambers, Bountiful Harvest shows “Upgrade Level: 1 / 3” with the effect “Picking up Nephtoglobin Remnants restores Health.” Completing the quest also unlocks the achievement “Hand in the Jar — Complete the Deserter quest.” Once the quest is done, the Anubis Figurine also appears as an object in the Abandoned Church hub.