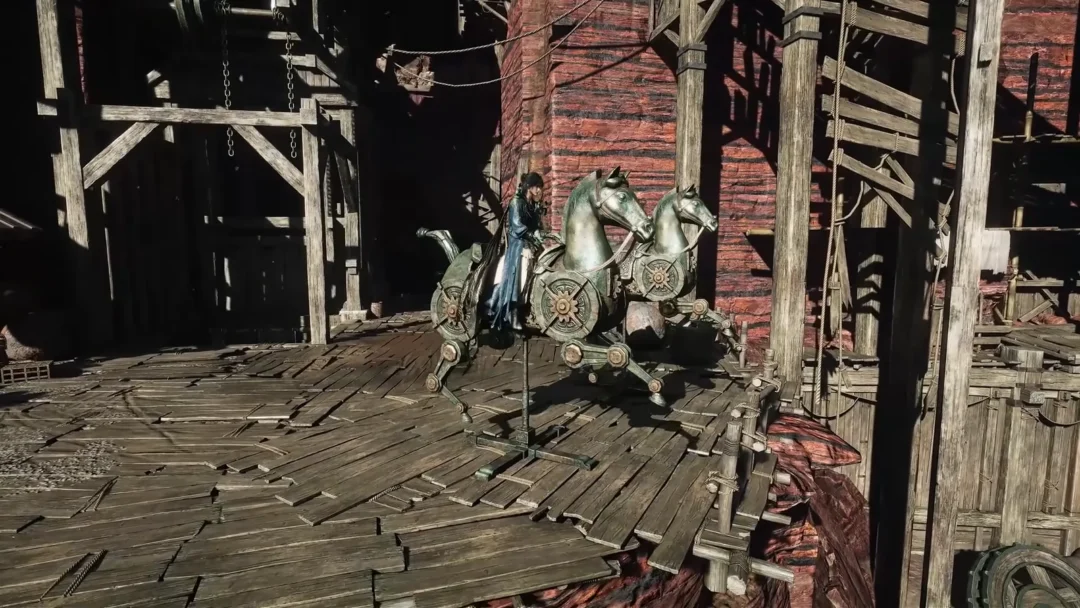
The Greatest Detective is a silver trophy in Castlevania: Belmont’s Curse. It unlocks when you have found every clue tied to the game’s tarot cards, which is 40 in total. Only 0.2 percent of players have earned it. Most clues are spirits, letters, statues, and inscriptions, and they are spread across Paris and Dracula’s Castle. A few only appear once the story reaches a certain point.
Quick answer: Collect all 40 clues across the 15 tarot cards. The trophy pops as soon as the 40th clue registers, whichever clue that happens to be.
The Greatest Detective trophy requirements
- Goal: find all 40 clues. There is no separate turn-in step.
- Trophy grade: silver on PlayStation. The matching Steam achievement is not hidden.
- The clues belong to 15 tarot cards. Each card holds between one and six clues.
- The First Card, filed under The Self, is yours from the start of the game. That leaves 39 to find in the world.
- A Monster Terrorizes Paris is story-linked. It appears right before the first boss.
Some interactions, called arcanic resonances, stay hidden until you equip the matching arcana. Rose’s Tarot reacts when you are close to one, so a twitching card is a sign that something in the room needs a specific arcana.
All 39 world clue locations by area
The clues below are grouped by area, so you can clear a whole region in one pass instead of following each card’s chain across the map. The district column matches the sub-area name on the in-game map. The last column tells you what to interact with once you are in the right room.
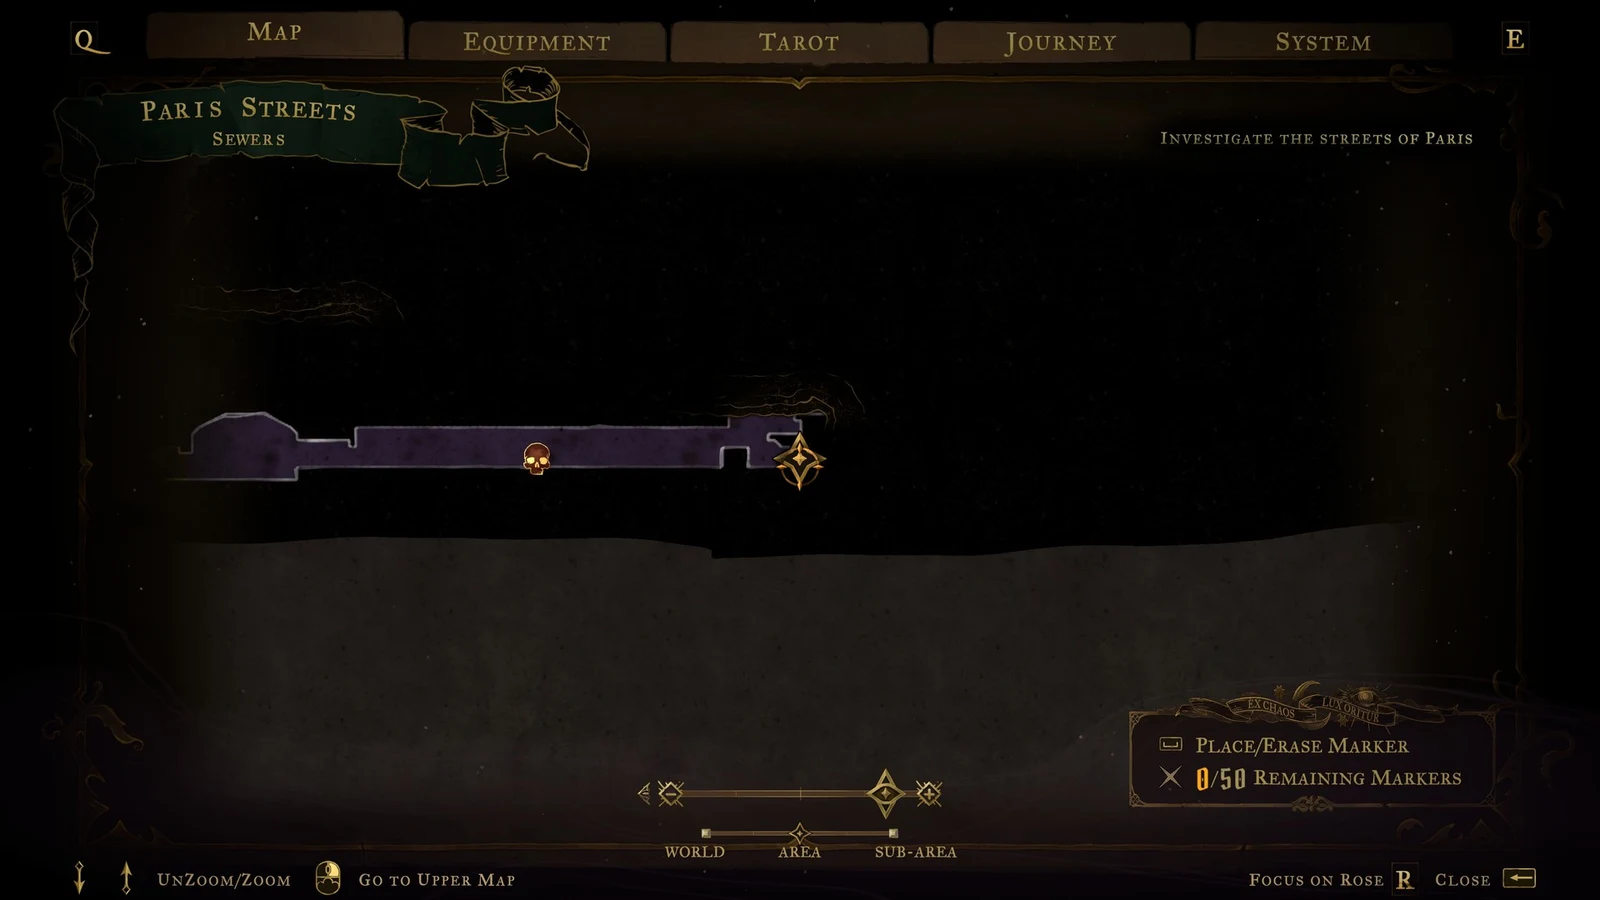
Paris Streets (9 clues)
| Clue | Card | District | Interact with |
|---|---|---|---|
| A Lever for the Well |  The Fallen The Fallen | Ruined Market | Spirit near barrels |
| A Monster Terrorizes Paris | The Fallen | Path of the Rat | Spirit before first boss |
| The Warrior Is at the Top of the Tower | 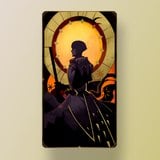 The Warrior The Warrior | Burned District | Spirit on a bridge |
| Carpenter’s Crane Sketch | The Warrior | Upper Tower | Spirit past the spikes |
| Tomb Relic | 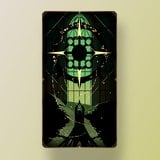 The Miser The Miser | Bishop’s Office | Note on upper level |
| Hospital Relic | The Miser | Bishop’s Office | Note in lower chambers |
| Catacomb Relic | The Miser | Bishop’s Office | Book on a high ledge |
| Stolen Oboles |  The Whisperer The Whisperer | Street of the Tomb Masons | Spirit high above street |
| Balancing the Scales of Justice | 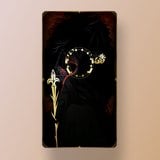 The Judge The Judge | Palace of Justice (Overgrown Oak) | Scale monument |
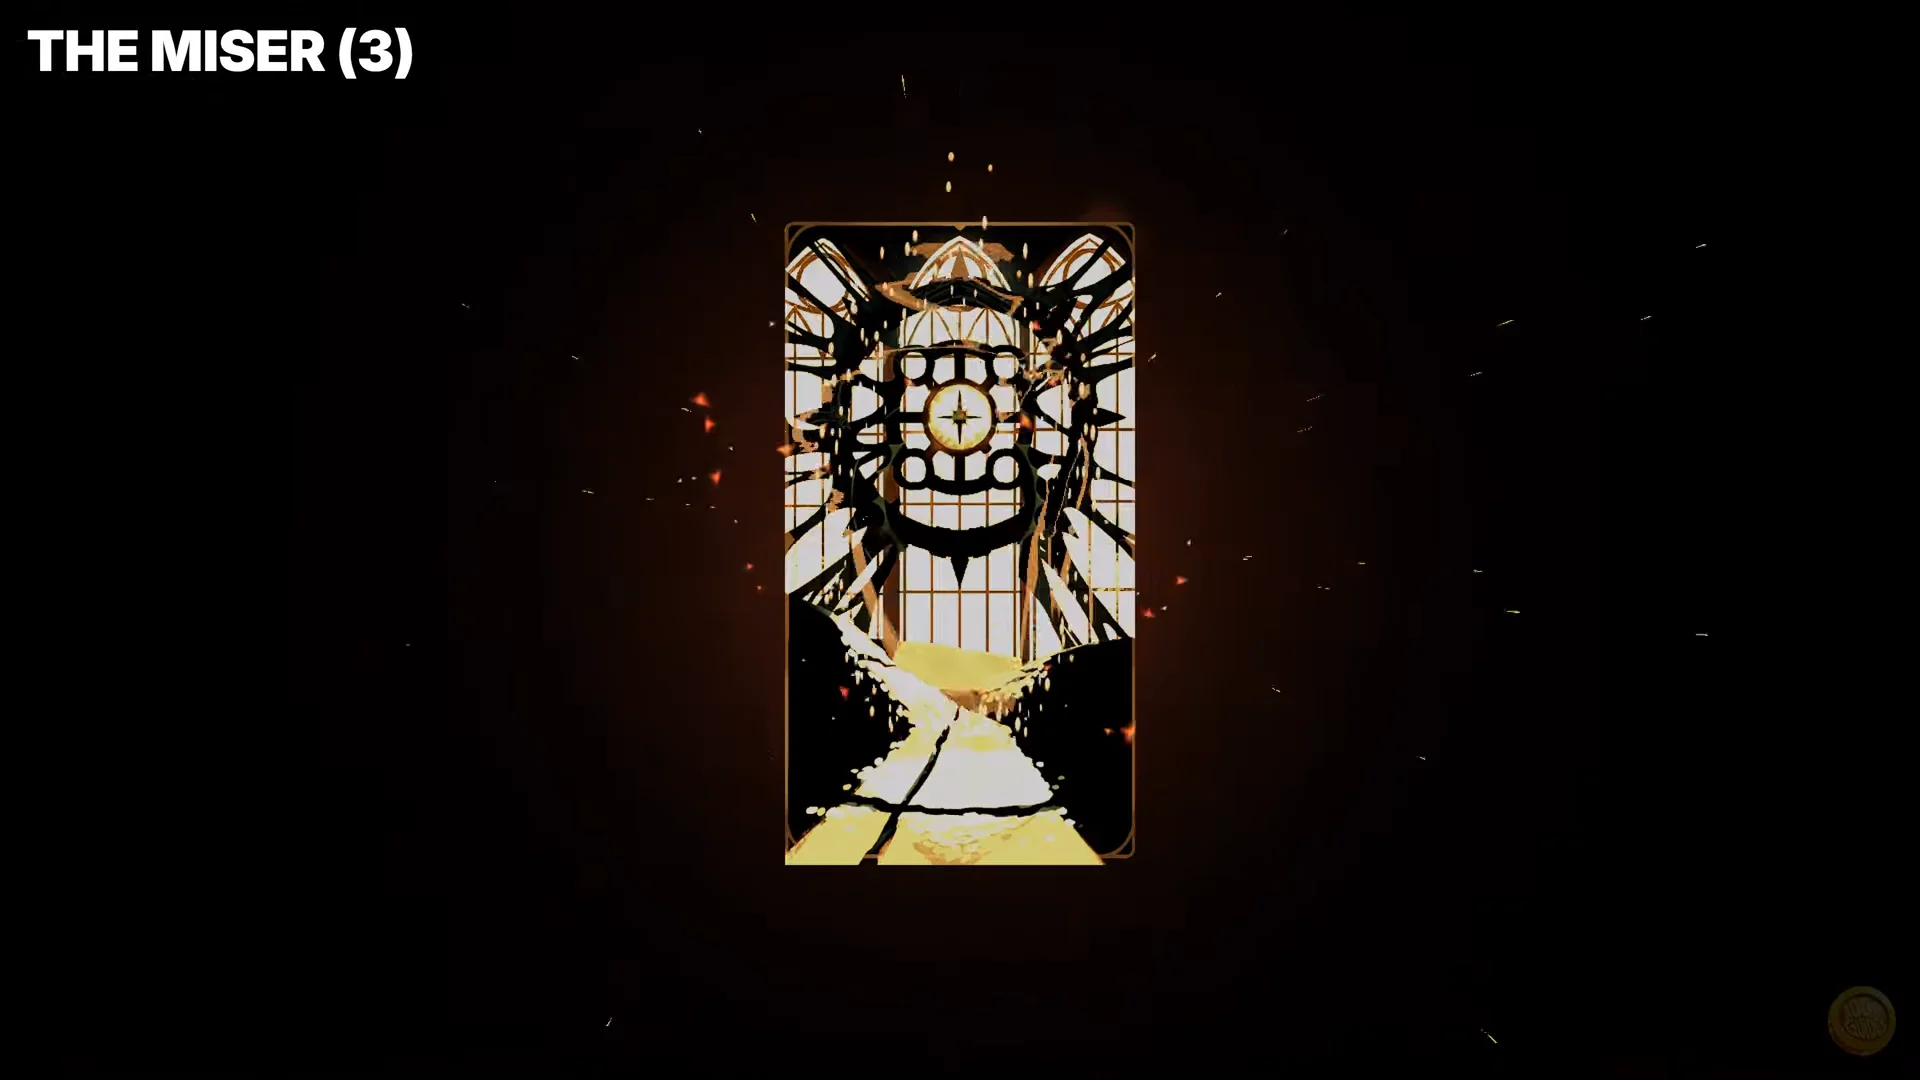
Carpenter’s Crane Sketch sits at the end of a run of spikes and wall jumps in the Upper Tower. All three Miser relic letters are in the Bishop’s Office, which connects to the Court of Justice. One letter is on the upper level, one is in the lower chambers, and the third is on a high ledge to the upper right. Each letter is dated in early 1499, and reading the Hospital Relic opens a full-screen letter like the one below.
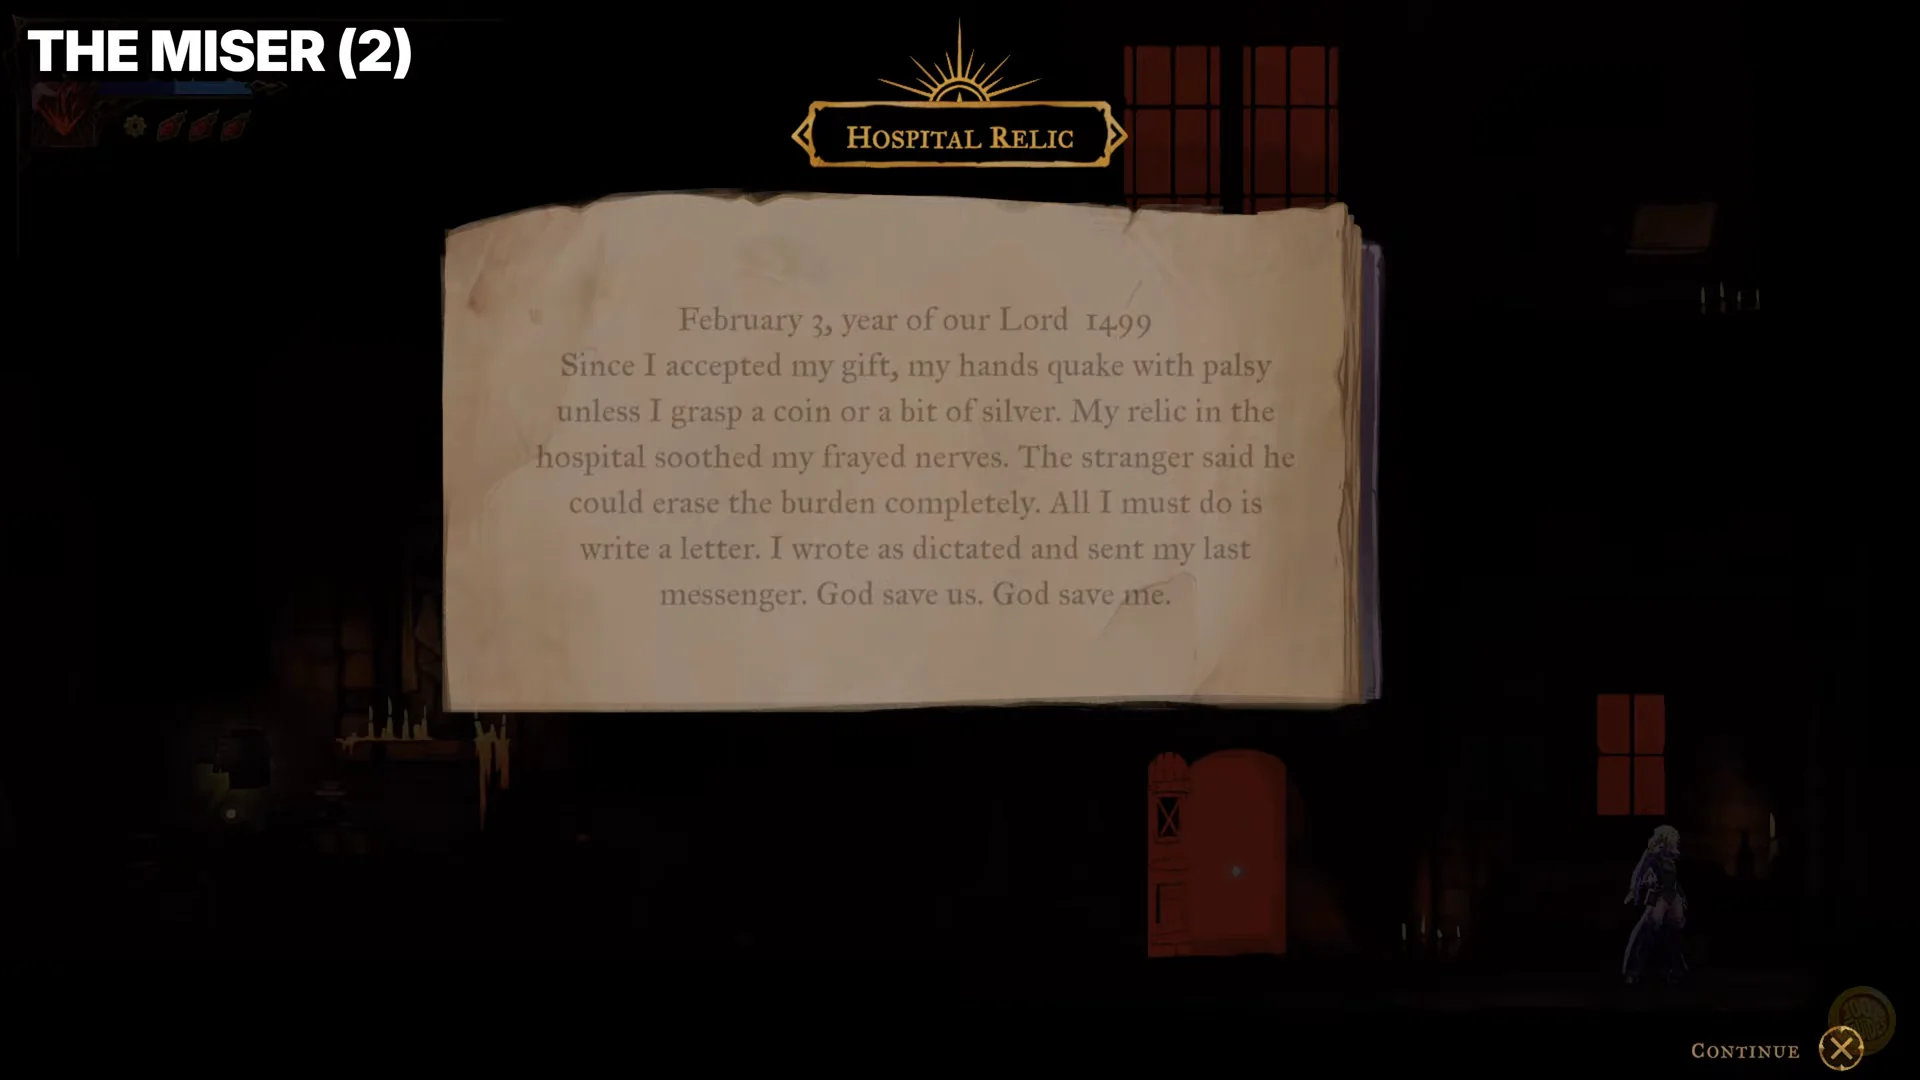
Reading the Catacomb Relic triggers a tarot card reveal. Stolen Oboles works the same way for The Whisperer. You reach it by going through the Hospital and climbing over the rooftops of the Street of the Tomb Masons. The Judge’s scale monument also adds its card when you interact with it.
Holy Innocents’ Cemetery (4 clues)
| Clue | Card | District | Interact with |
|---|---|---|---|
| The Hollow Tree’s Roots |  The Prophetess The Prophetess | Chapel of the Kings | Spirit |
| Cemetary Fountain | The Prophetess | Fountain of the Innocents | Spirit |
| Guardian’s Gaze | The Prophetess | Roman Baths | Spirit past grapple points |
| Roman Baths | The Prophetess | Sepulcher of the Knight | Spirit on a balcony |
Every Prophetess clue is in this one area. The Chapel of the Kings spirit is next to a Mirror of Life. Guardian’s Gaze takes a string of grapple swings across the Roman Baths to reach an upper ledge.
Catacombs of Paris (2 clues)
| Clue | Card | District | Interact with |
|---|---|---|---|
| Death Mark |  The Shadow The Shadow | Charnel Galleries | Spirit by a green glyph |
| A Door Made of Flesh and Eyes | The Miser | Circle of Greed | Gate of Flesh |
Death Mark is behind rotating saw blades in the Charnel Galleries. The Miser’s fourth clue is the fleshy gate itself. Examine the door directly instead of looking for a spirit.
Main Hall (6 clues)
| Clue | Card | District | Interact with |
|---|---|---|---|
| Builder Flees to the Clock Tower |  The Builder The Builder | Abandoned Workshop | Hooded statue |
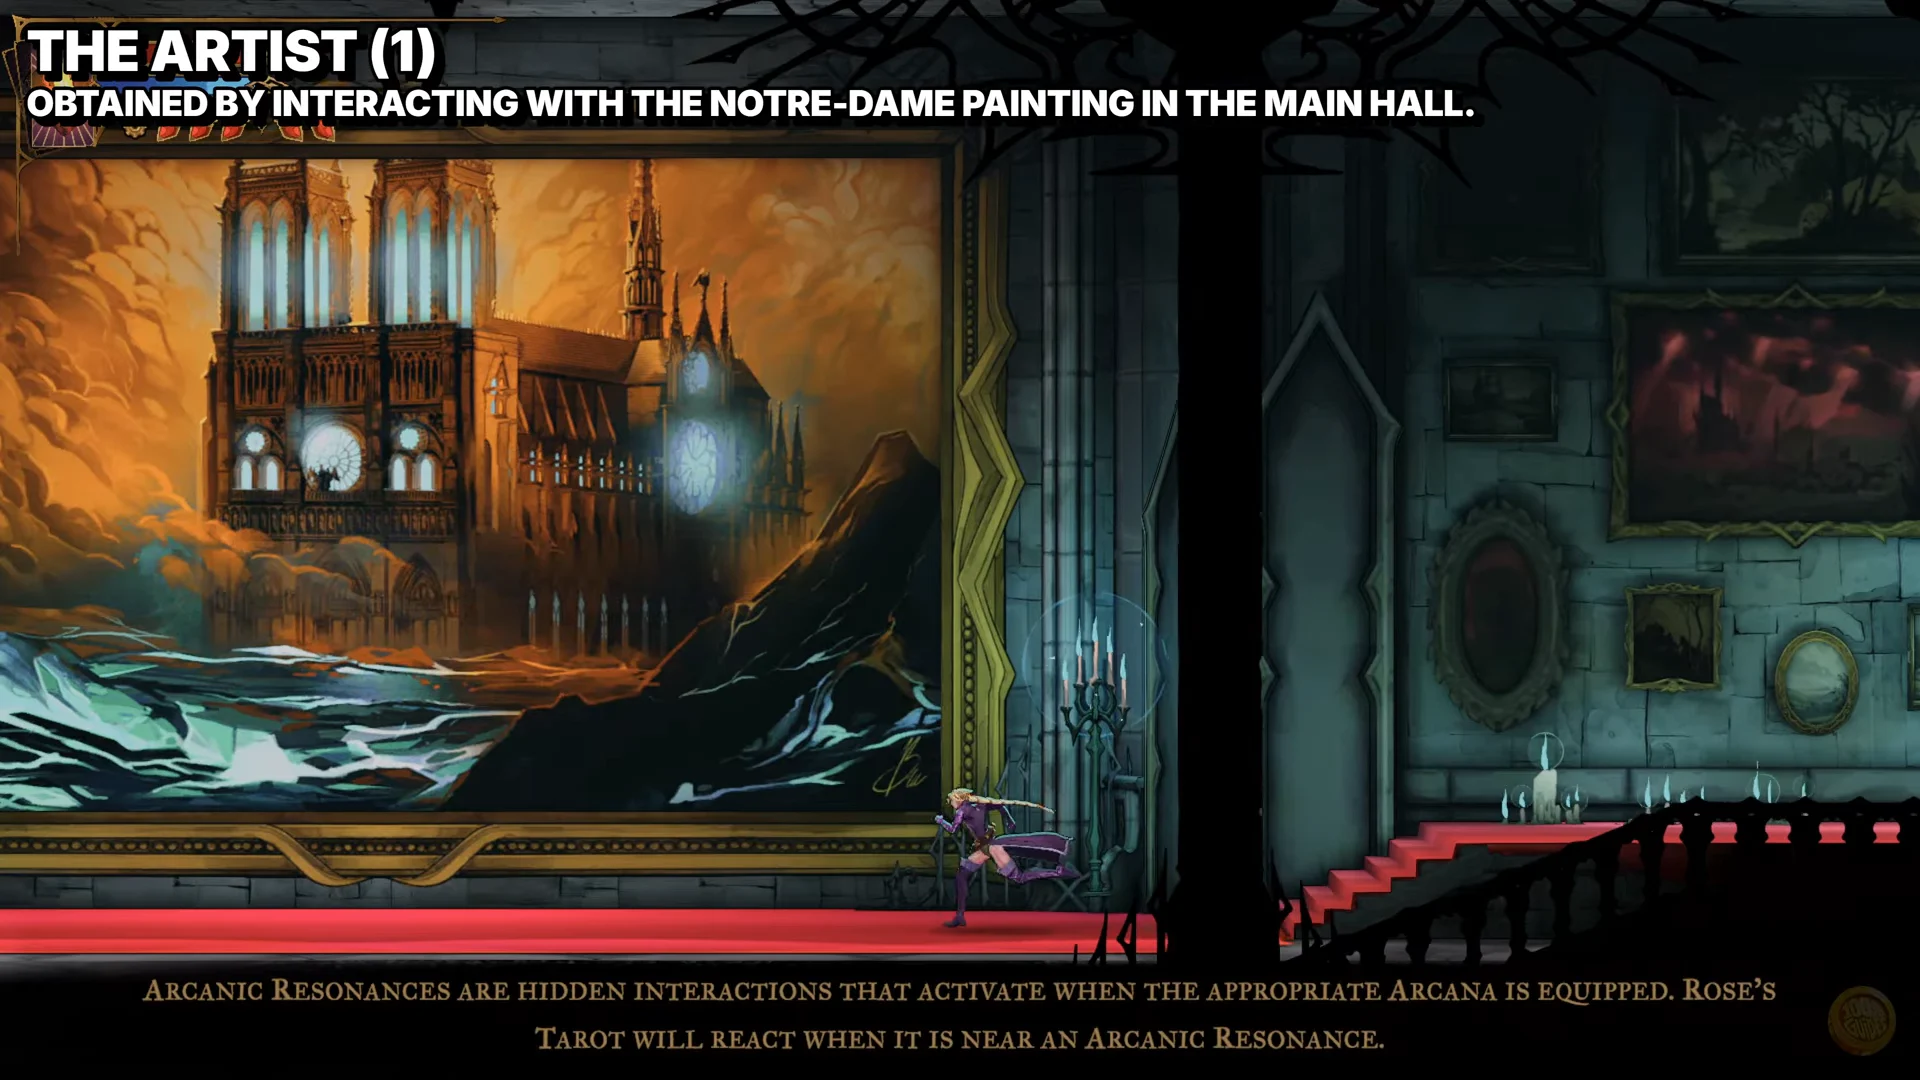
| A Strange Painting of Notre-Dame |  The Artist The Artist | Gallery of Eternal Night | Large painting |
| Artist Hides in the Main Hall | The Artist | Elevator Tower | Hooded statue on landing |
| Alucard Guides | The Artist | Old Gallery (Servants’ Hall) | Spot below Alucard’s portrait |
| Brauner’s “Masterpiece” | The Artist | Brauner’s Atelier | Sculptural installation |
| Carmilla in the Library |  The Occultist The Occultist | Brauner’s Atelier | Letter on upper desk |
The Notre-Dame painting in the Gallery of Eternal Night is the largest frame in the room and easy to spot. For Artist Hides in the Main Hall, take the Elevator Tower lift up and check the statue on the staircase landing. Brauner’s Atelier is reached from the Grand Hall. There you destroy a blood core to get to the Masterpiece, and The Artist card comes with it. The Carmilla letter is in the same atelier, on a desk you reach by climbing the chandeliers.
Library (4 clues)
| Clue | Card | District | Interact with |
|---|---|---|---|
| Magical Brush | The Occultist | Observation Tower | Hooded figure at the top |
| Star Chart | The Occultist | Astronomer’s Office | Desk |
| Organic Astrology | The Occultist | Drawing Room | Manuscript on an altar |
| Blood Poem | The Occultist | Natural Philosophy Shelves | Writing desk |
The other four Occultist clues are in the Library. Magical Brush is at the very top of the Observation Tower, where a hooded figure stands in a red-lit room.
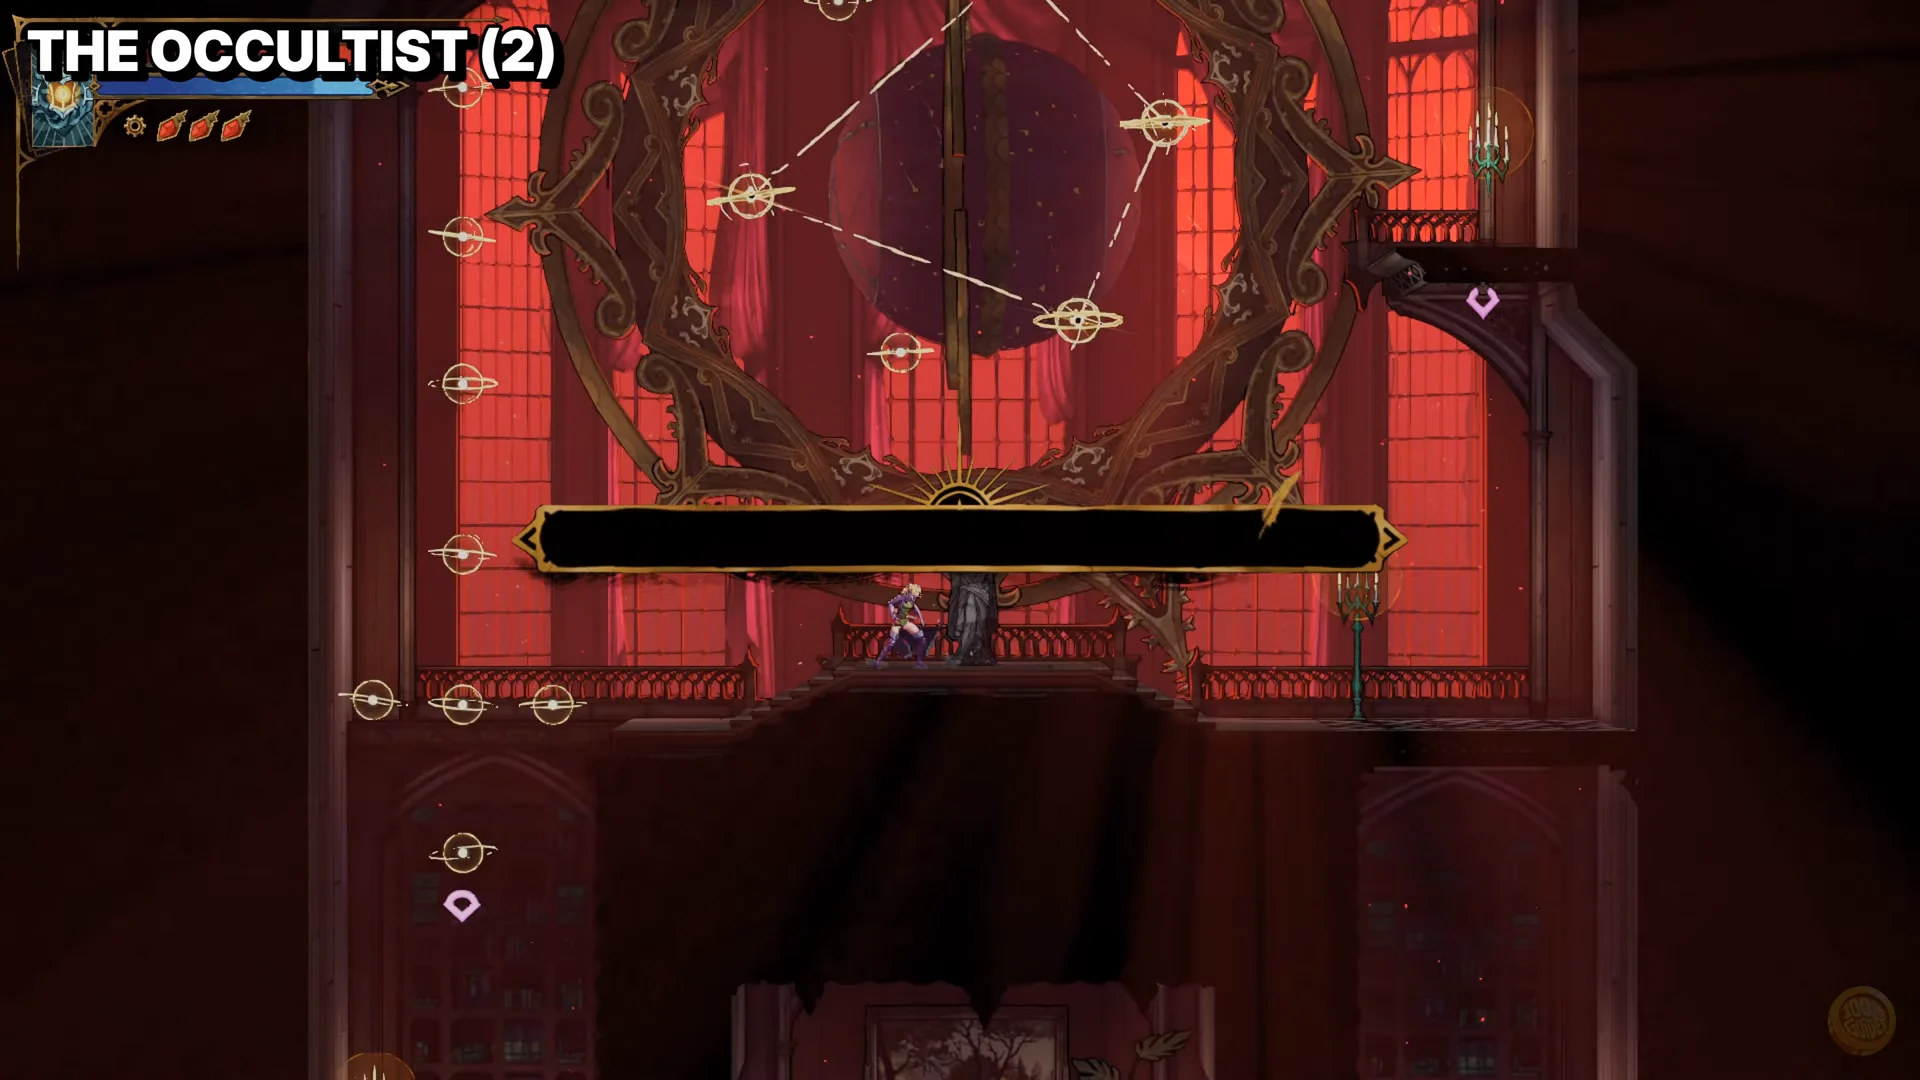
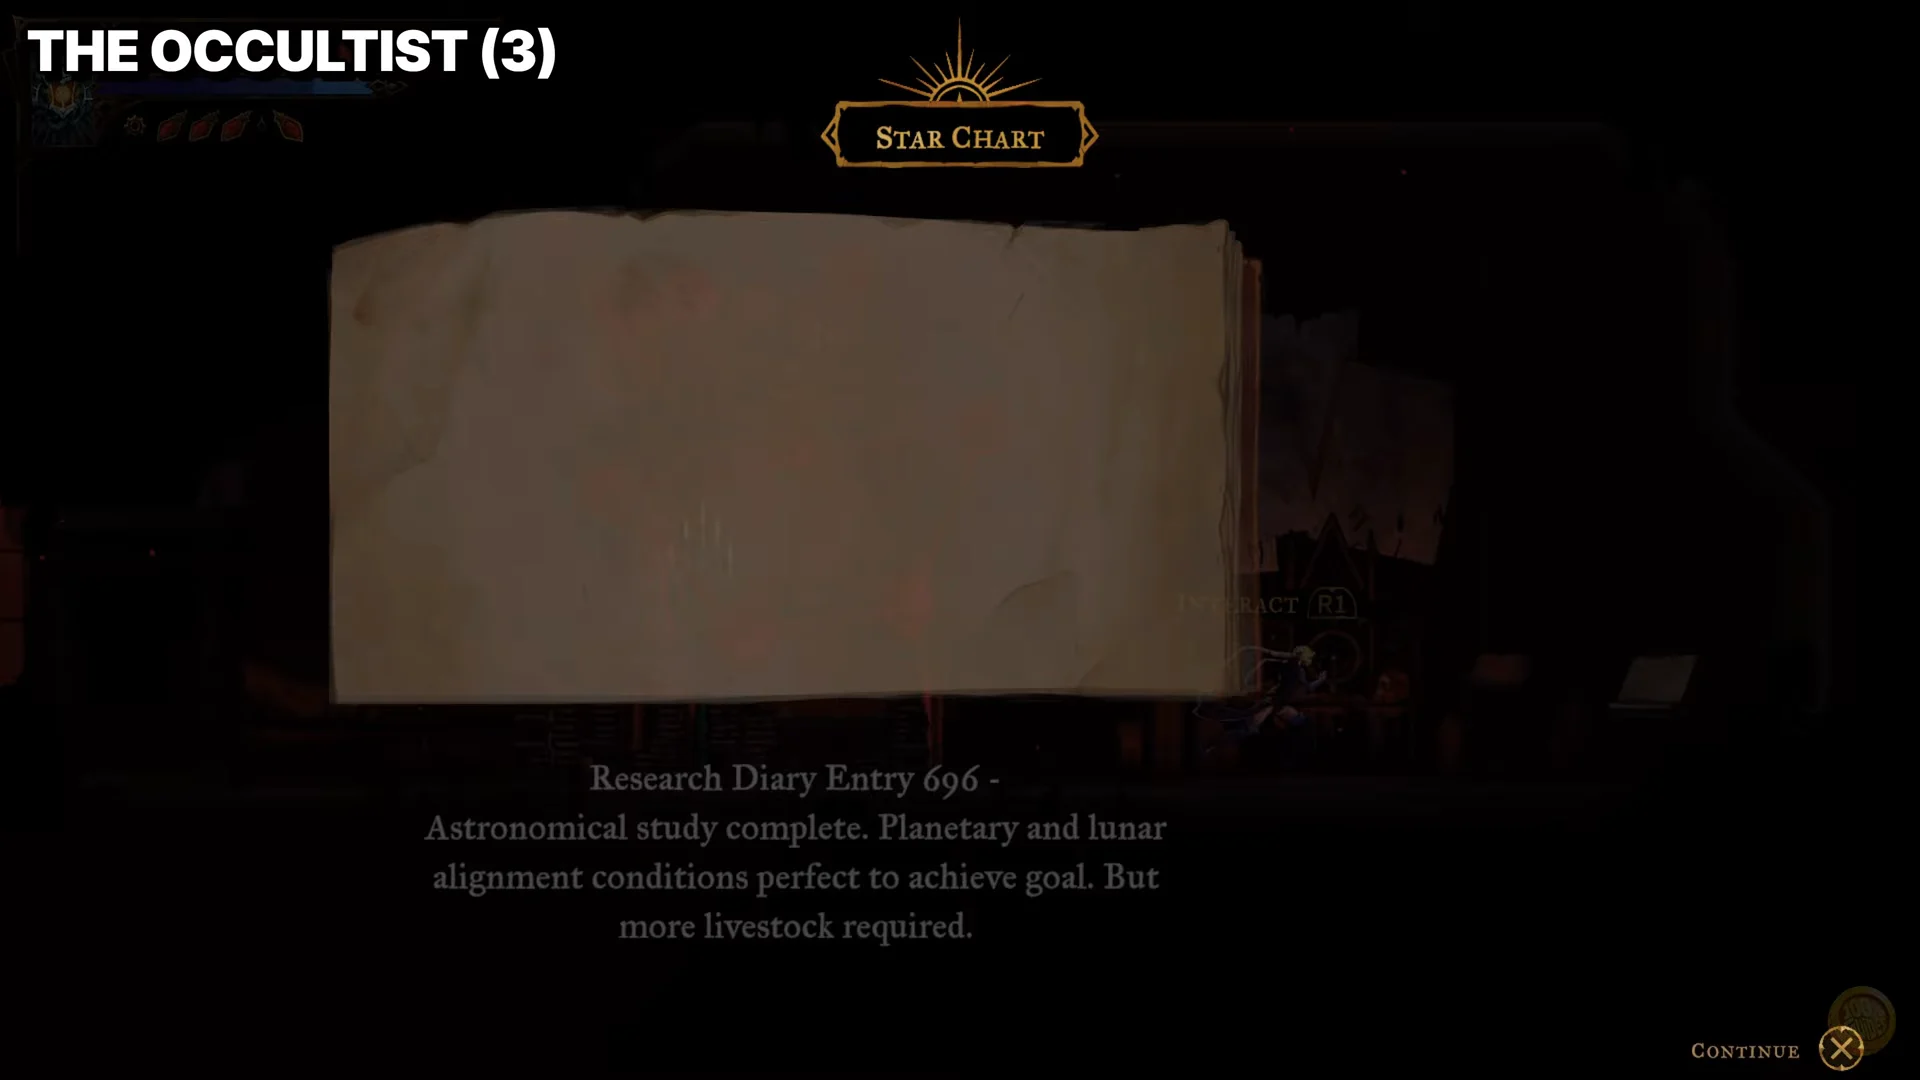
The Astronomer’s Office desk gives you the Star Chart, which reads as Research Diary Entry 696.
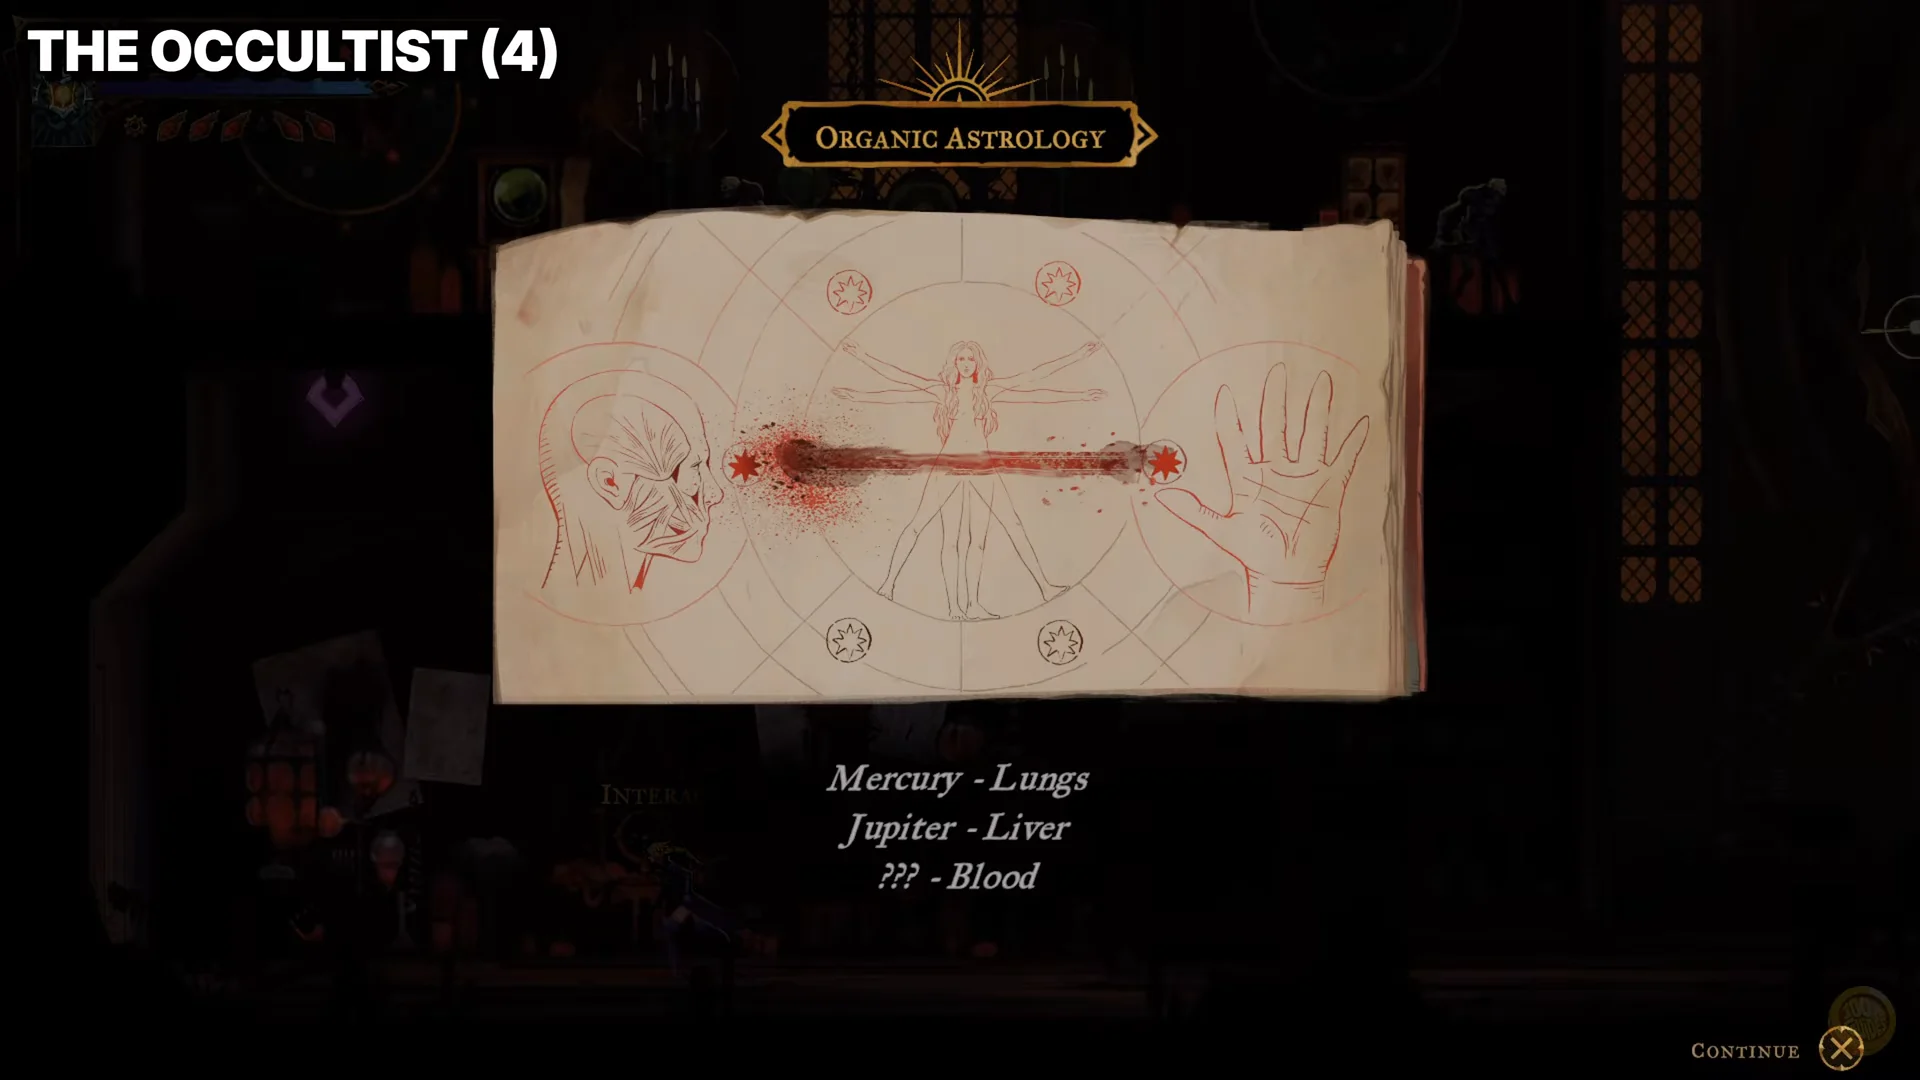
Organic Astrology is on an altar in the Drawing Room. Blood Poem is the last one: drop down the shaft in the Natural Philosophy Shelves to reach its desk.
Clock Tower (3 clues)
| Clue | Card | District | Interact with |
|---|---|---|---|
| Blueprints for the Clock Tower | The Builder | Daedalus Crossing | Desk below the gears |
| Isaac Waits in the Clock Tower |  The Zealot The Zealot | Mechanic’s Ascent | Hooded statue |
| A Sketch from Talos |  The Sage The Sage | Builder’s Bureau | Workbench |
To reach the Blueprints desk in Daedalus Crossing, drop down through the gears. The Zealot’s statue in Mechanic’s Ascent sits between hanging candelabras.
Notre-Dame (7 clues)
| Clue | Card | District | Interact with |
|---|---|---|---|
| The Prophecy |  The Self The Self | Gallery of the Four Virtues | Stained glass window |
| The Masters of Music Hide From Death | The Shadow | Collapsed Crypt | Shrine between crypt doors |
| The Corrupted Pipes of the Notre-Dame Organ | The Shadow | Transept | Organ pipes |
| Melody Sheet: Concerto of Notre-Dame | The Shadow | La Flèche | Spirit in a high loft |
| Melody Sheet for the Sonata of Notre-Dame | The Shadow | Sealed Scriptorium | Spirit in the organ room |
| Melody Sheet for the Fugue of Notre-Dame | The Shadow | Great Organ Room | Spirit on a balustrade |
| Feat of Strength | 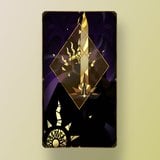 The Brittle King The Brittle King | Chapel (East Gallery) | Sword shrine |
Five of The Shadow’s six clues are in the cathedral, and three of them are the melody sheets. The Prophecy is the second clue for The Self, read from the round stained glass window in the Gallery of the Four Virtues. Inspecting the sword shrine for Feat of Strength also adds The Brittle King card.
Hall of Mirrors (4 clues)
| Clue | Card | District | Interact with |
|---|---|---|---|
| The Temptress Watches Over the Hall of Mirrors | 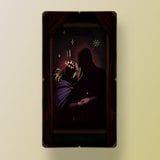 The Temptress The Temptress | Glass Gallery | Spirit past sawblades |
| Kneeling Is the Way | The Sage | Looping Hallways | Inscription before a statue |
| The Reflection Deceives | The Sage | Steps of Misdirection | Hooded figure |
| Eleanor Flees to the Cemetery | The Sage | Heart of the Maze | Eleanor’s Prison |
Steps of Misdirection is next to Ferryman’s Wharf. The last Sage clue is in Eleanor’s Prison at the Heart of the Maze, so you have to work through the whole maze to get it.
Clue count for each tarot card
Use this table as a checklist against the Tarot menu. If a card shows fewer clues than the number listed here, that card still has one waiting somewhere.
| No. | Card | Character | Clues |
|---|---|---|---|
| 1 | The Self | Doppelganger | 2 |
| 2 | The Fallen | Leon | 2 |
| 3 | The Warrior | Joan | 2 |
| 4 | The Prophetess | Medusa | 4 |
| 5 | The Builder | Talos | 2 |
| 6 | The Artist | Brauner | 4 |
| 7 | The Occultist | Carmilla | 5 |
| 8 | The Shadow | Death | 6 |
| 9 | The Miser | Mammon | 4 |
| 10 | The Whisperer | Ferryman | 1 |
| 11 | The Zealot | Isaac | 1 |
| 12 | The Temptress | Succubus | 1 |
| 13 | The Brittle King | Arthur | 1 |
| 14 | The Judge | Saint Louis | 1 |
| 15 | The Sage | Eleanor | 4 |
| — | Total | — | 40 |
The Shadow has the most clues, at six. The Whisperer, The Zealot, The Temptress, The Brittle King, and The Judge each have one, so a single visit finishes any of those five cards. If you are missing a clue late in the game, check the multi-clue cards first: The Shadow, The Occultist, and the four-clue sets for The Prophetess, The Artist, The Miser, and The Sage.
How to confirm a clue and The Greatest Detective unlocked
Each clue you pick up shows a “New clue about” banner naming its tarot card. The clue is then listed under that card in the Tarot menu. Clues that complete a card, such as the Catacomb Relic or Stolen Oboles, also show the card itself.
The trophy has no fixed final clue. It unlocks on whichever clue brings your total to 40, and the Greatest Detective notification appears right away. If it does not appear, compare each card in the Tarot menu against the count table above to find the one that is short.