Valor Mortis’s Caverns are set in an abandoned salt mine, where cliffs, Nightwalls, rope bridges and rotating machinery fill the route. You enter during Chapter 4, Dark Descent. Since the game provides no map, the lanterns you rekindle are the only reliable landmarks. Taking the direct route, William can reach the exit from the first lantern in roughly 10 minutes. No upgrades are required, and you can skip every collectible.
Quick answer: Go downhill, grapple and wallrun across the chasms, then enter the salt mine. Take the stasis power from the root-bound corpse and freeze each turnstile to cross. The route ends at a rope-bridge lantern.
Dark Descent: What the Caverns escape requires
Louis sends William into the Caverns to find what he was studying, and you reach the cave using the Cave Grotto Key he hands over. Getting out depends on very little gear. Four things matter:
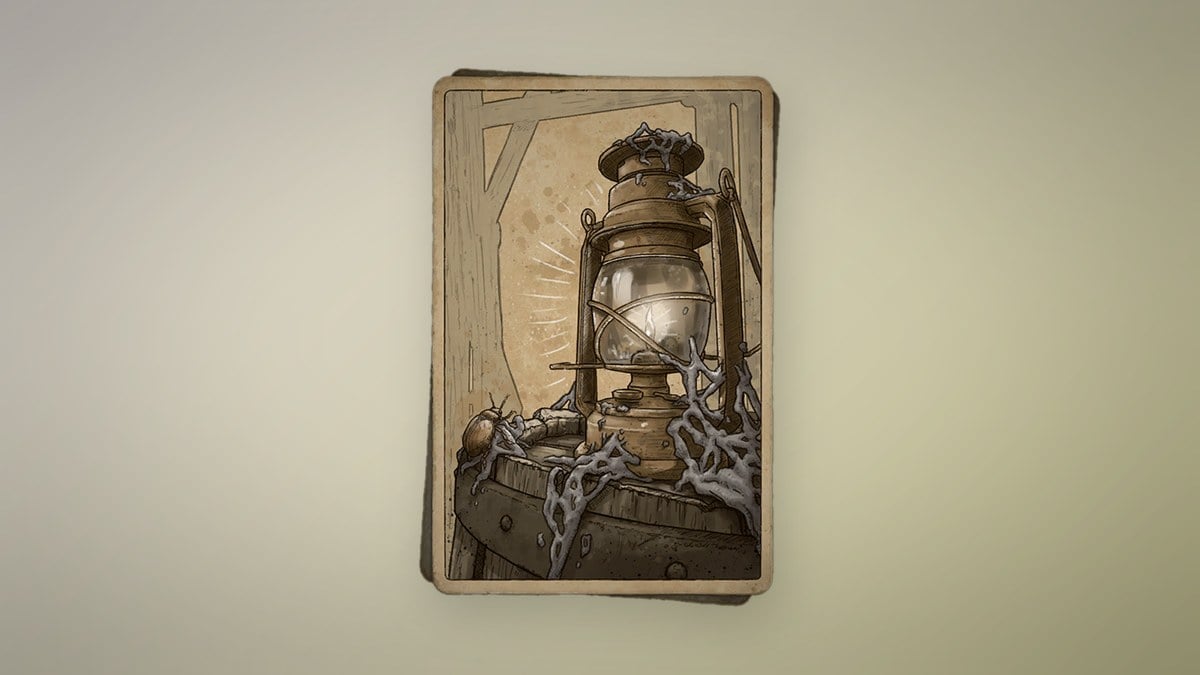
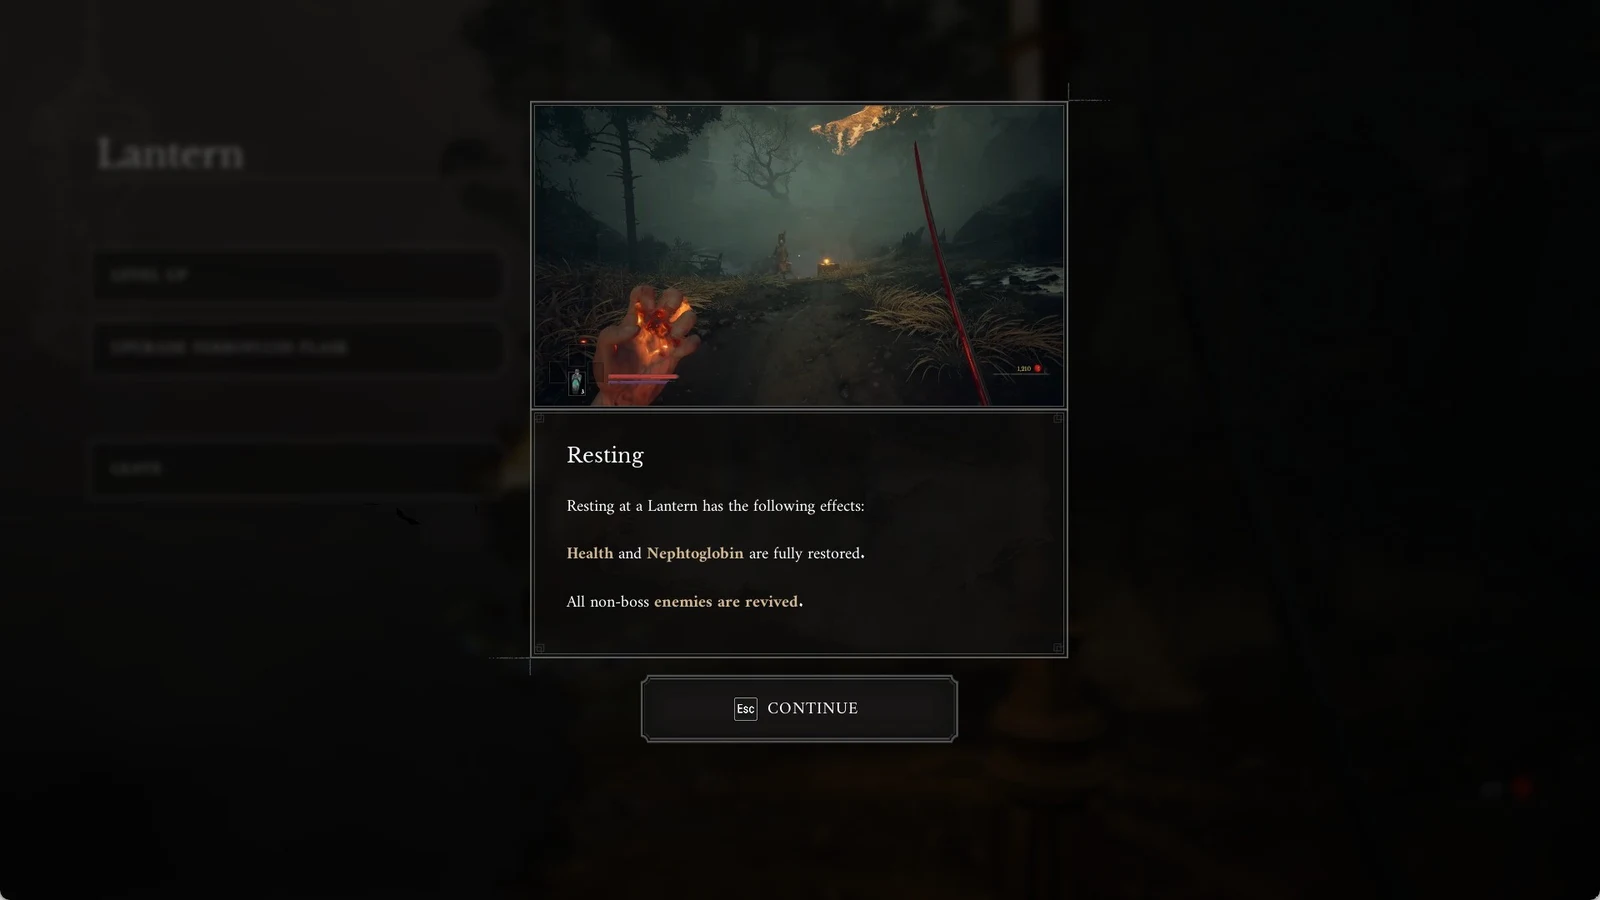
- The game has no map, so pause at each rekindled lantern to orient yourself before continuing.
- Weapon and Transmutation upgrades are optional for this route.
- The stasis power from the salt mine is mandatory. The turnstiles cannot be crossed without it.
- Movement uses jumps, grapples to blue anchor nodes (
E GRAPPLE), and wallruns on webbed Nightwall surfaces.
The quest journal tracks your progress. One stage logs that William has received a new power that manipulates motion, and that stage is your signal that the stasis pickup worked.
Caverns route from the opening lantern to the salt mine
The first half of the Caverns is all traversal. It teaches the Nightwall wallrun, then chains several grapples together over deep drops.
Waterfall cavern and the first Nightwall
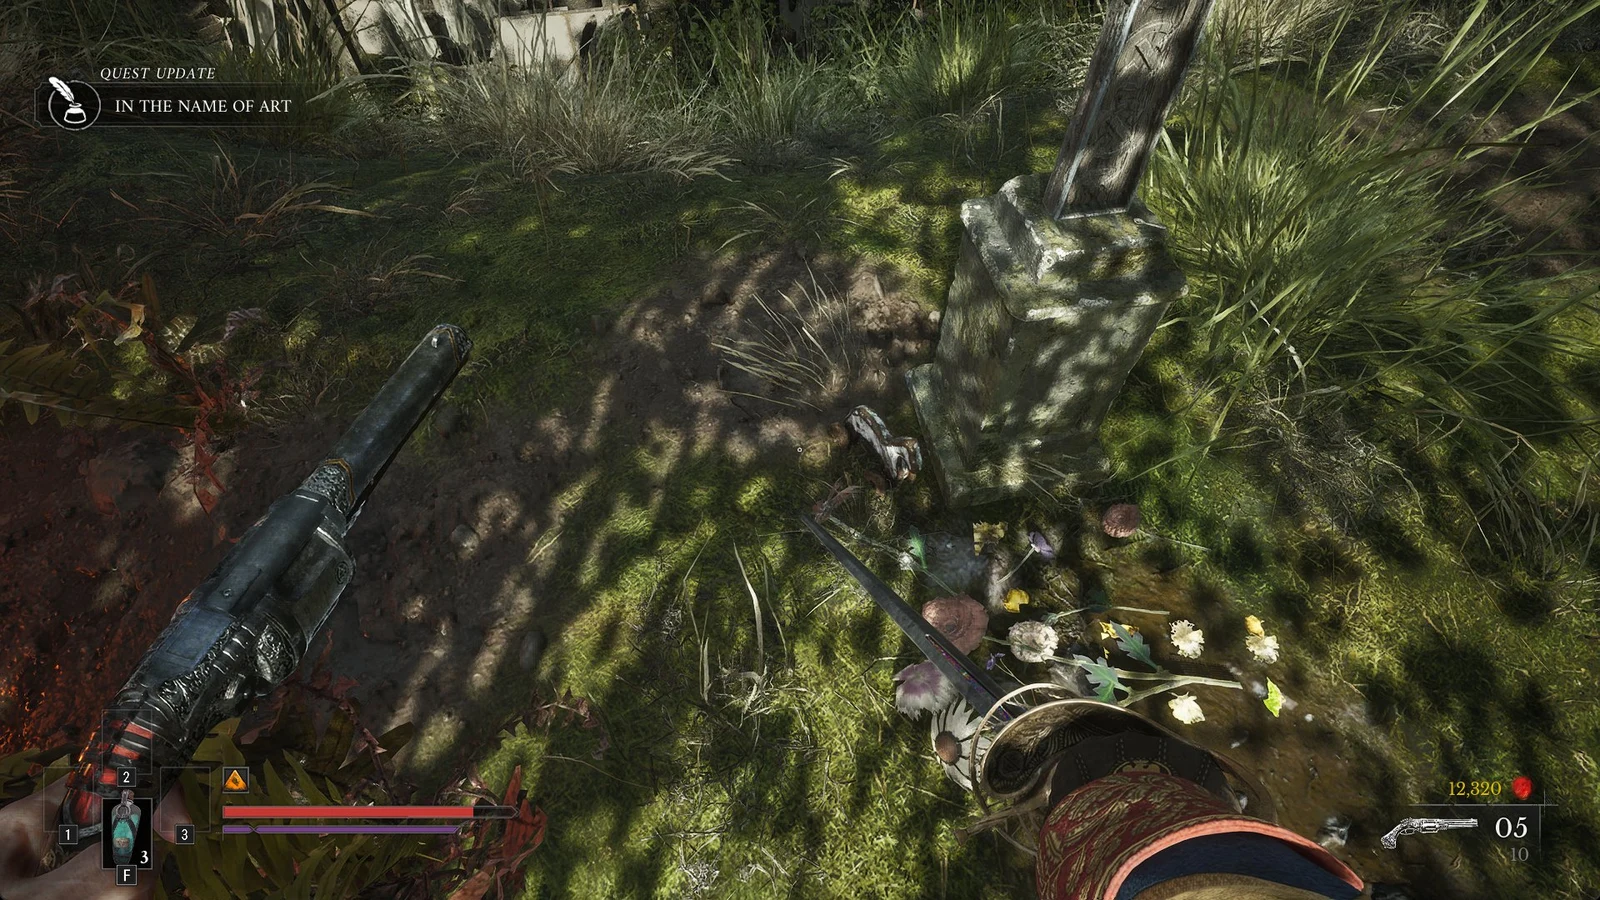
Chasm grapples, the shortcut lever and the rope bridges
E GRAPPLE. William pulls out his shotgun during this section.E PULL (HOLD) to remove the obstruction. The passage provides a shortcut, with an hourglass rest spot immediately beyond it.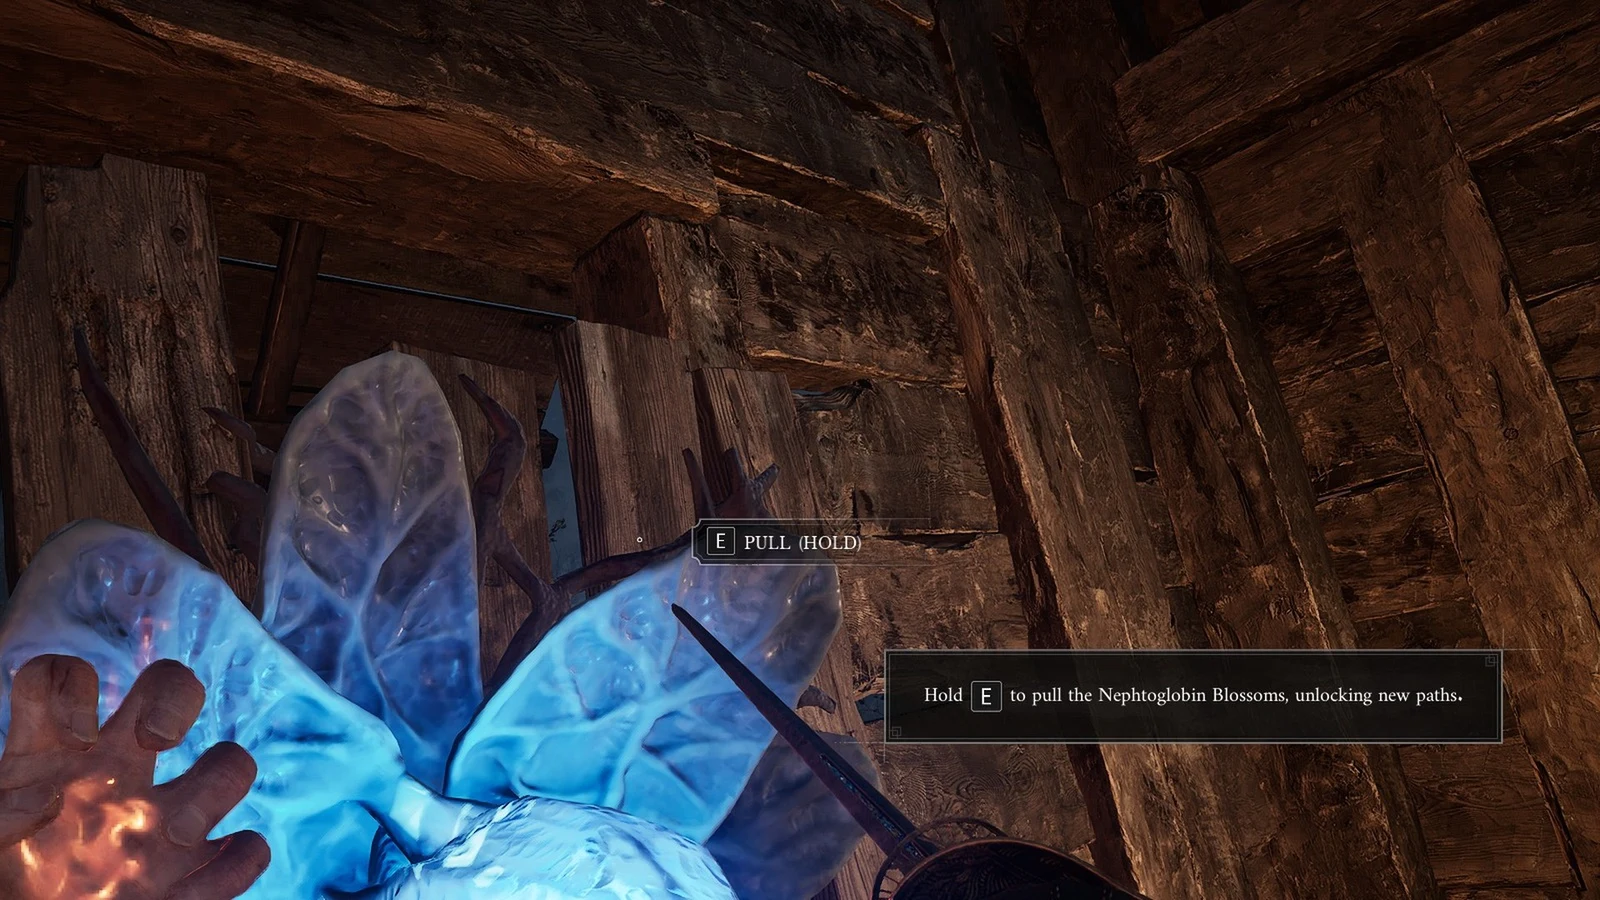
How to get the Stasis Transmutation in the salt mine
The mine’s machinery is locked behind a power you pick up inside the mine. Get it before you try any of the turnstiles.
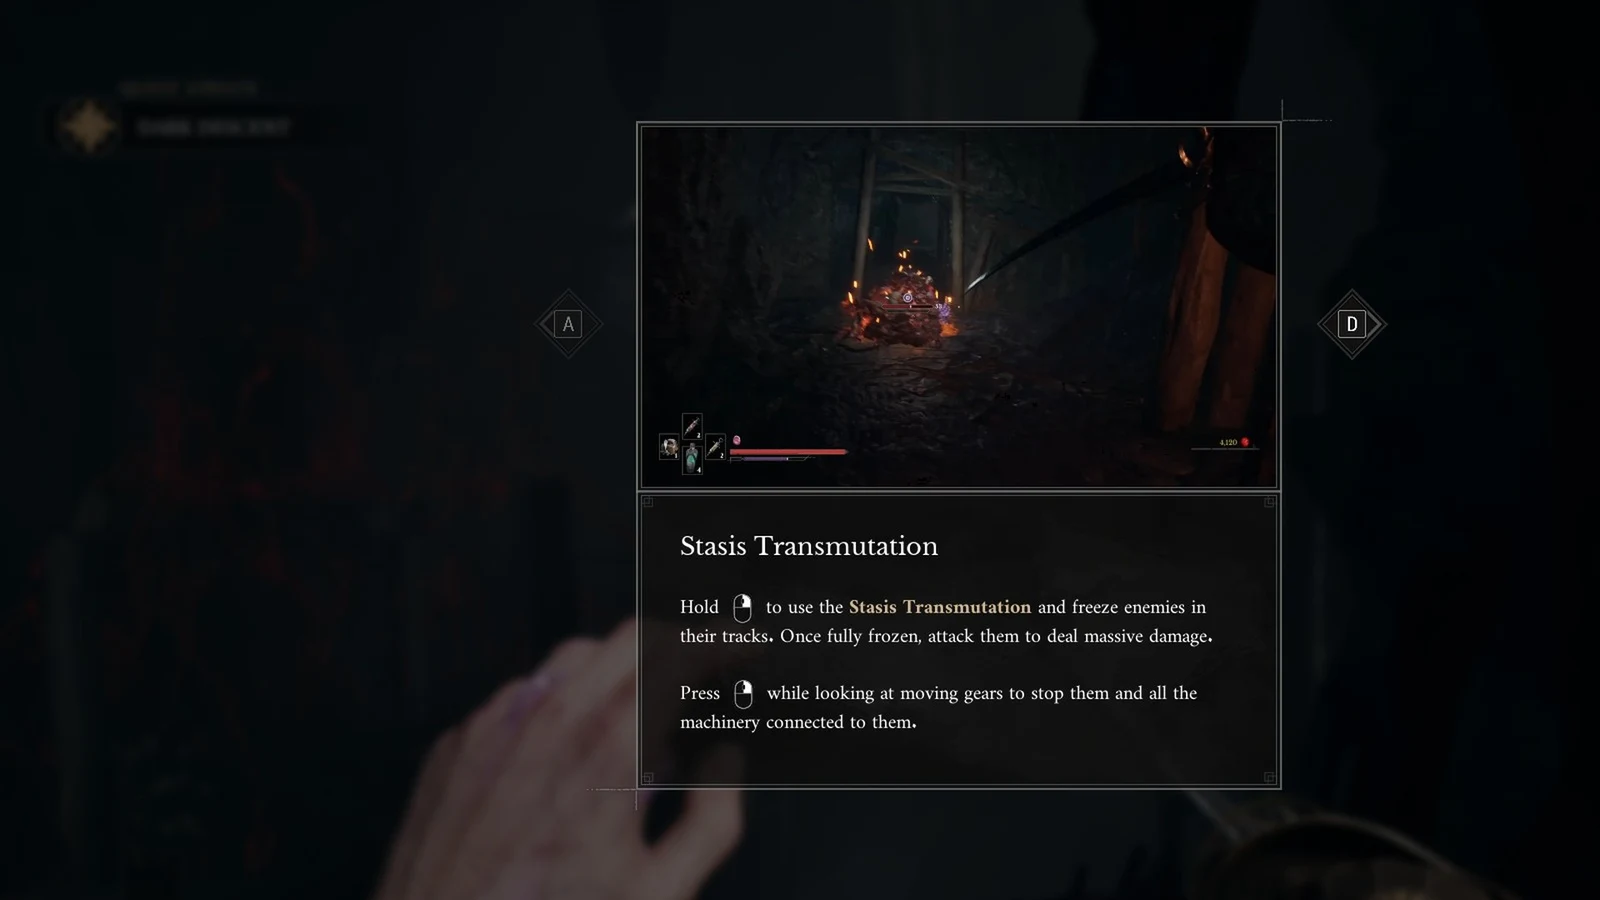
E USE. A ghostly Sergeant starts yelling that the mine is “vital military infrastructure.” The Epic Catalyst Clot nearby is optional.A Stasis Transmutation tutorial panel appears afterward. It explains that holding the mouse button freezes enemies and stops moving gears. This applies to every machine in the lower mine: crank a platform into position, then use stasis (E USE) to hold it there. The effect wears off after a short time, so cross as soon as the wheel halts. Stasis also pins enemies in place, and striking one while frozen inflicts massive damage.
Caverns turnstiles to the rope-bridge exit lantern
E TALK TO, but speaking with him isn’t required to complete the route.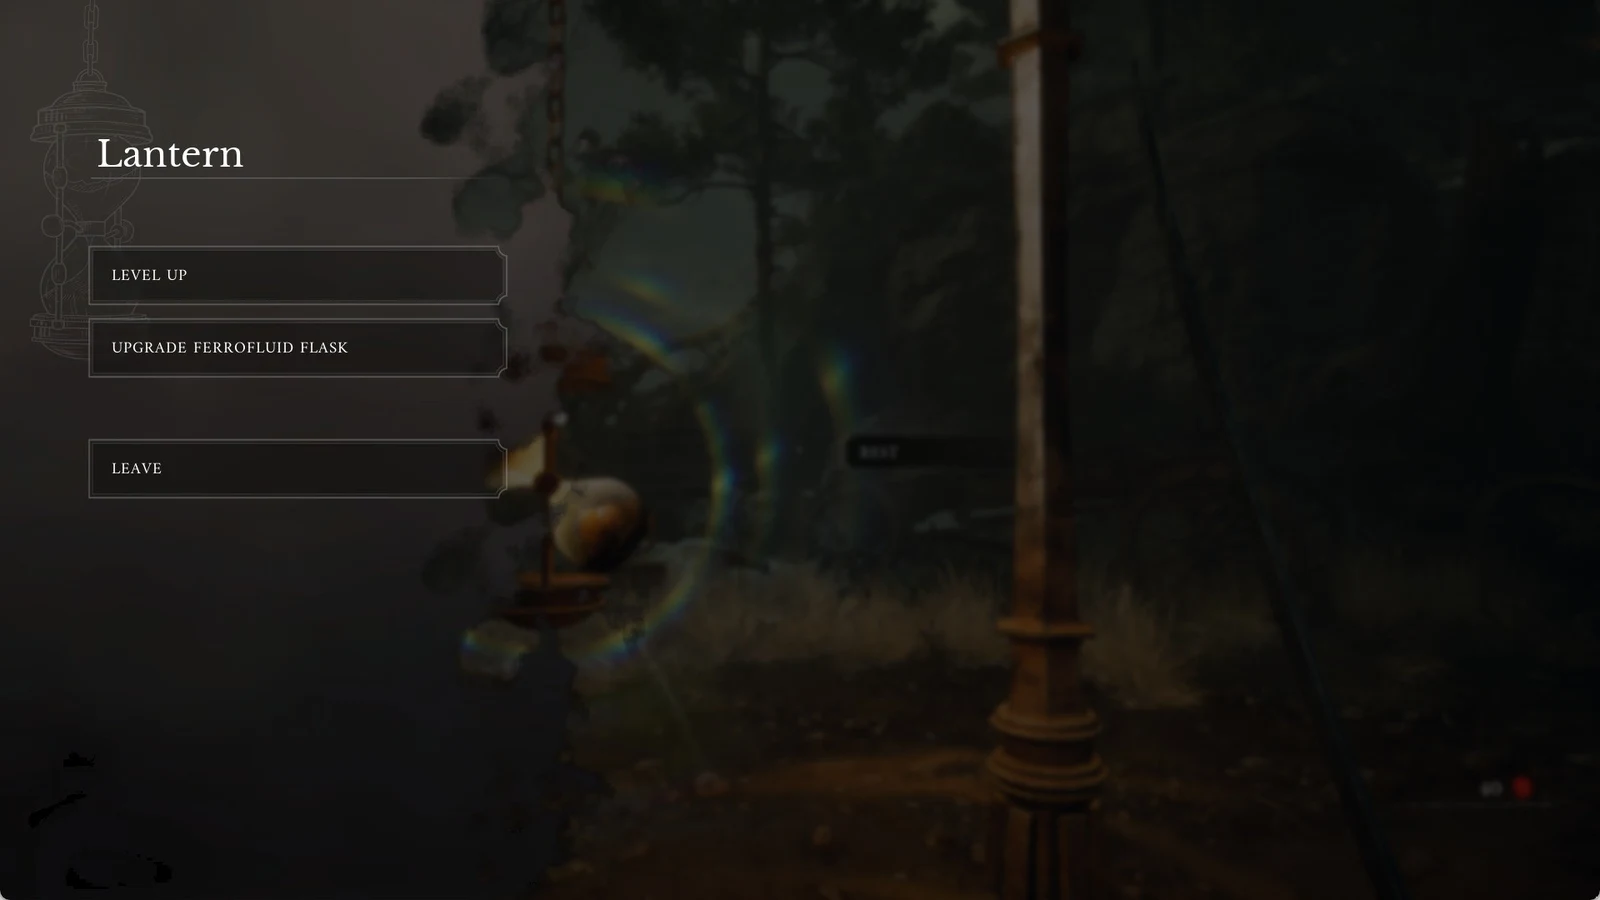
At the lantern by the rope bridge, the run is complete once LANTERN REKINDLED appears and the floating hourglass displays an E REST prompt. William also says Louis could not have made it through this place on his own.
Caverns mine kart ride walkthrough
A mine cart sequence takes you through torchlit tunnels and beside a deep chasm in the Caverns. William remarks that it is a surprisingly clever way to travel through a mine. The cart follows the rails without your input, leaving you to choose the correct path and deal with obstacles.
E PULL (HOLD) on the track switch lever. William throws it with his glowing left arm, and the kart rolls through a doorway onto the new line.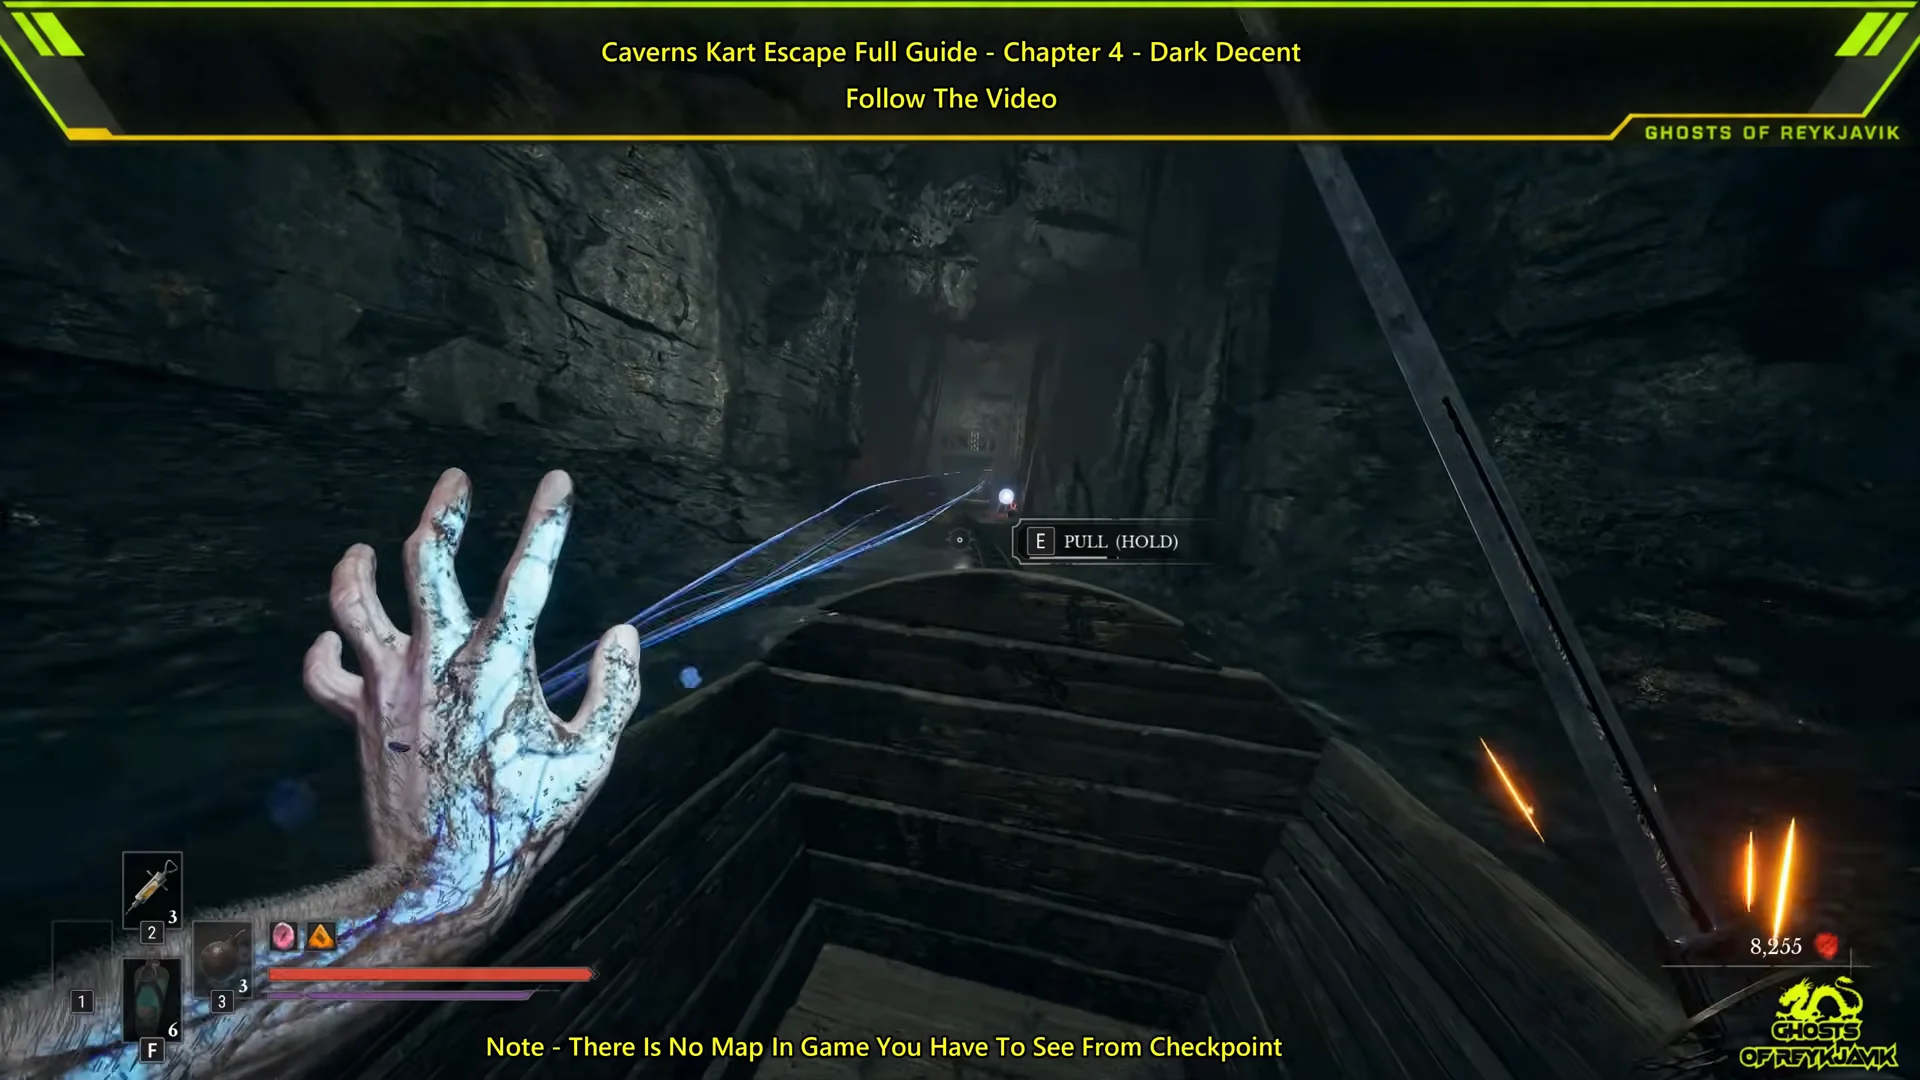
E PULL (HOLD) as you approach the next junction. Skipping it sends the kart toward a dead end.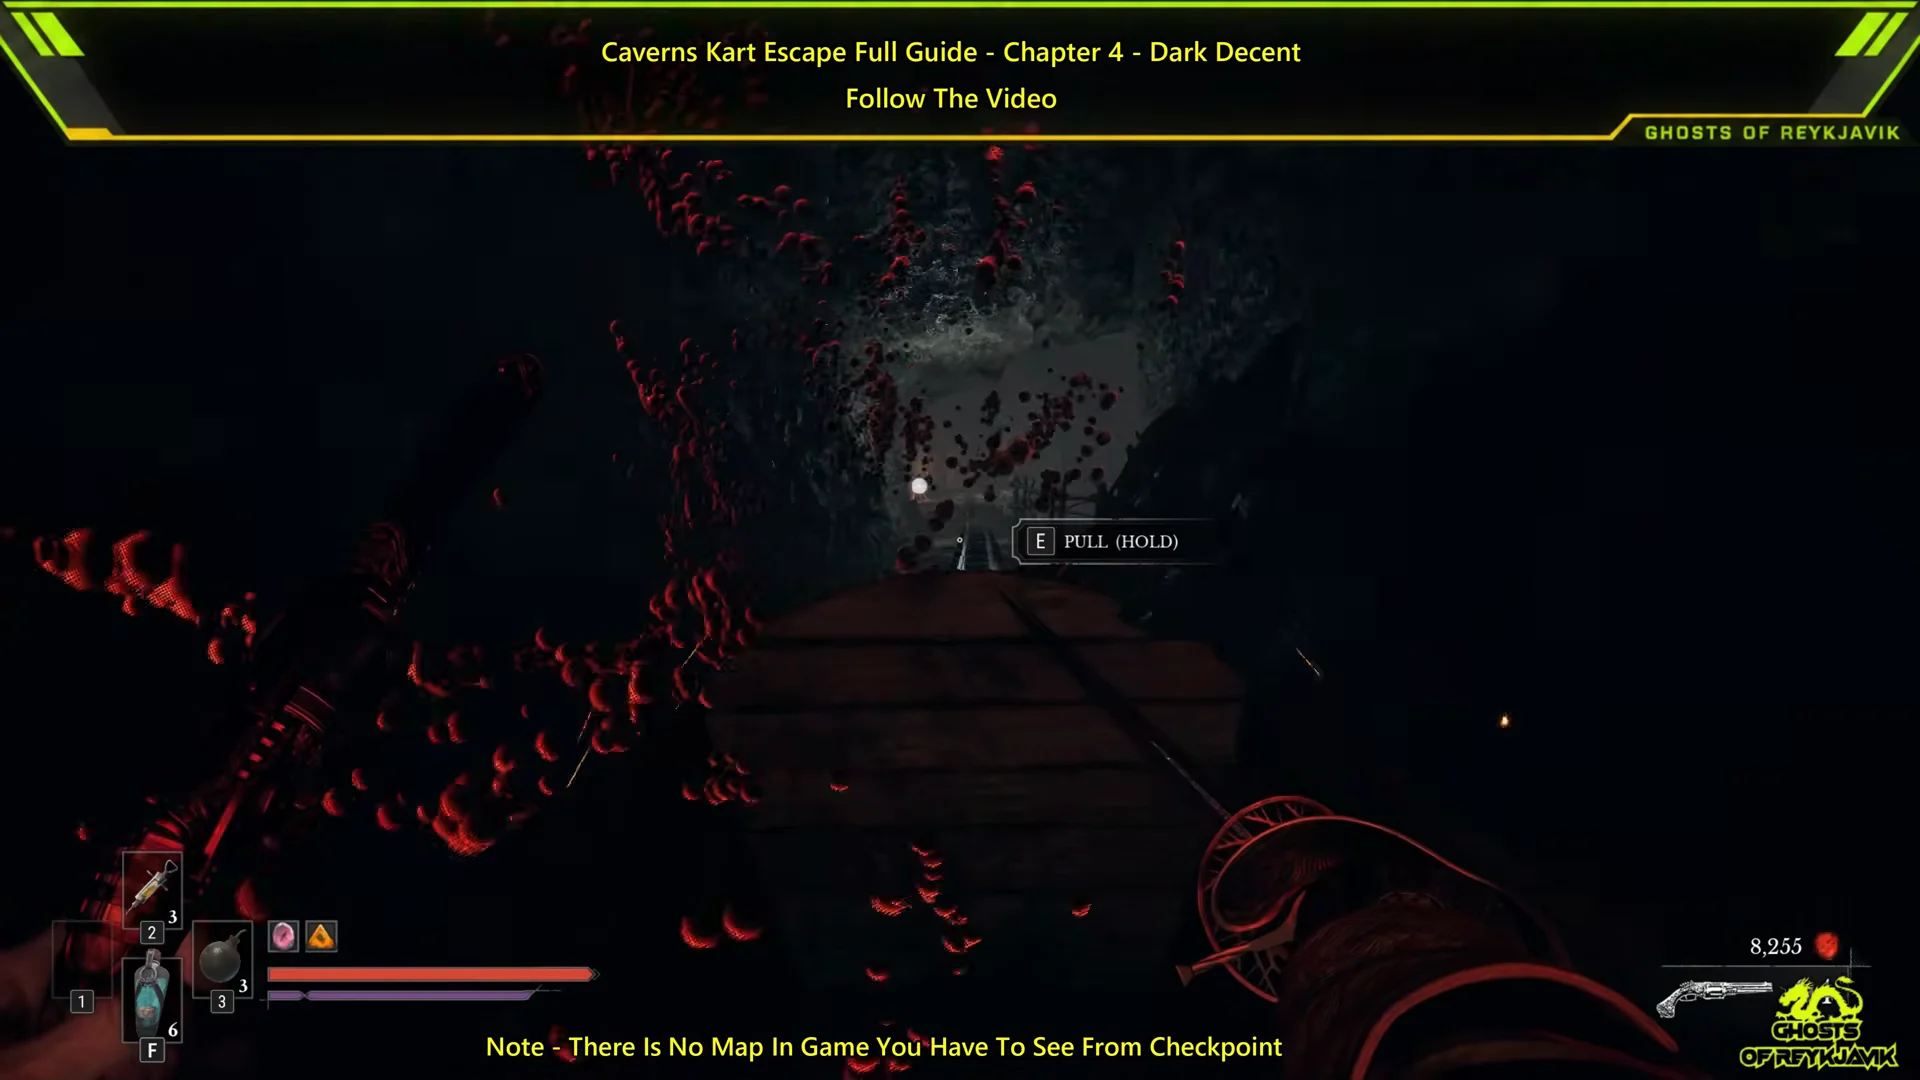
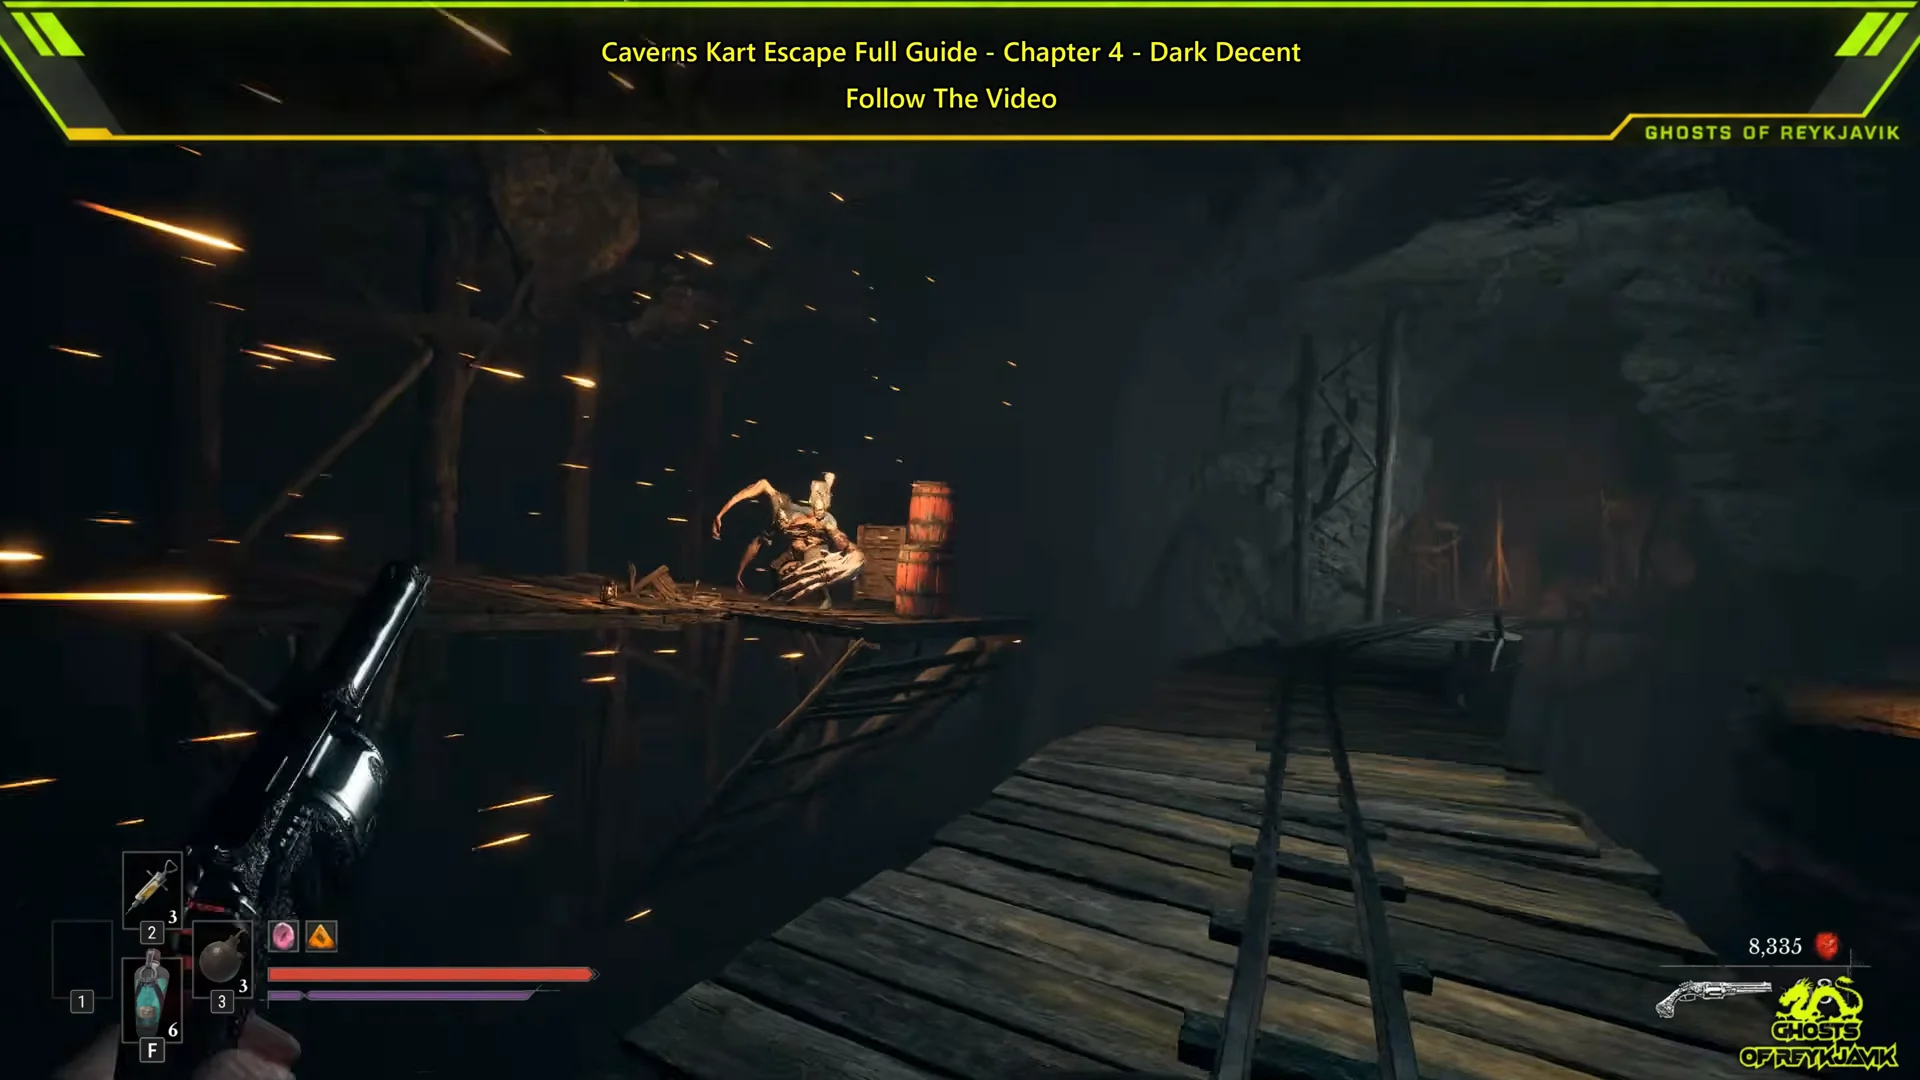
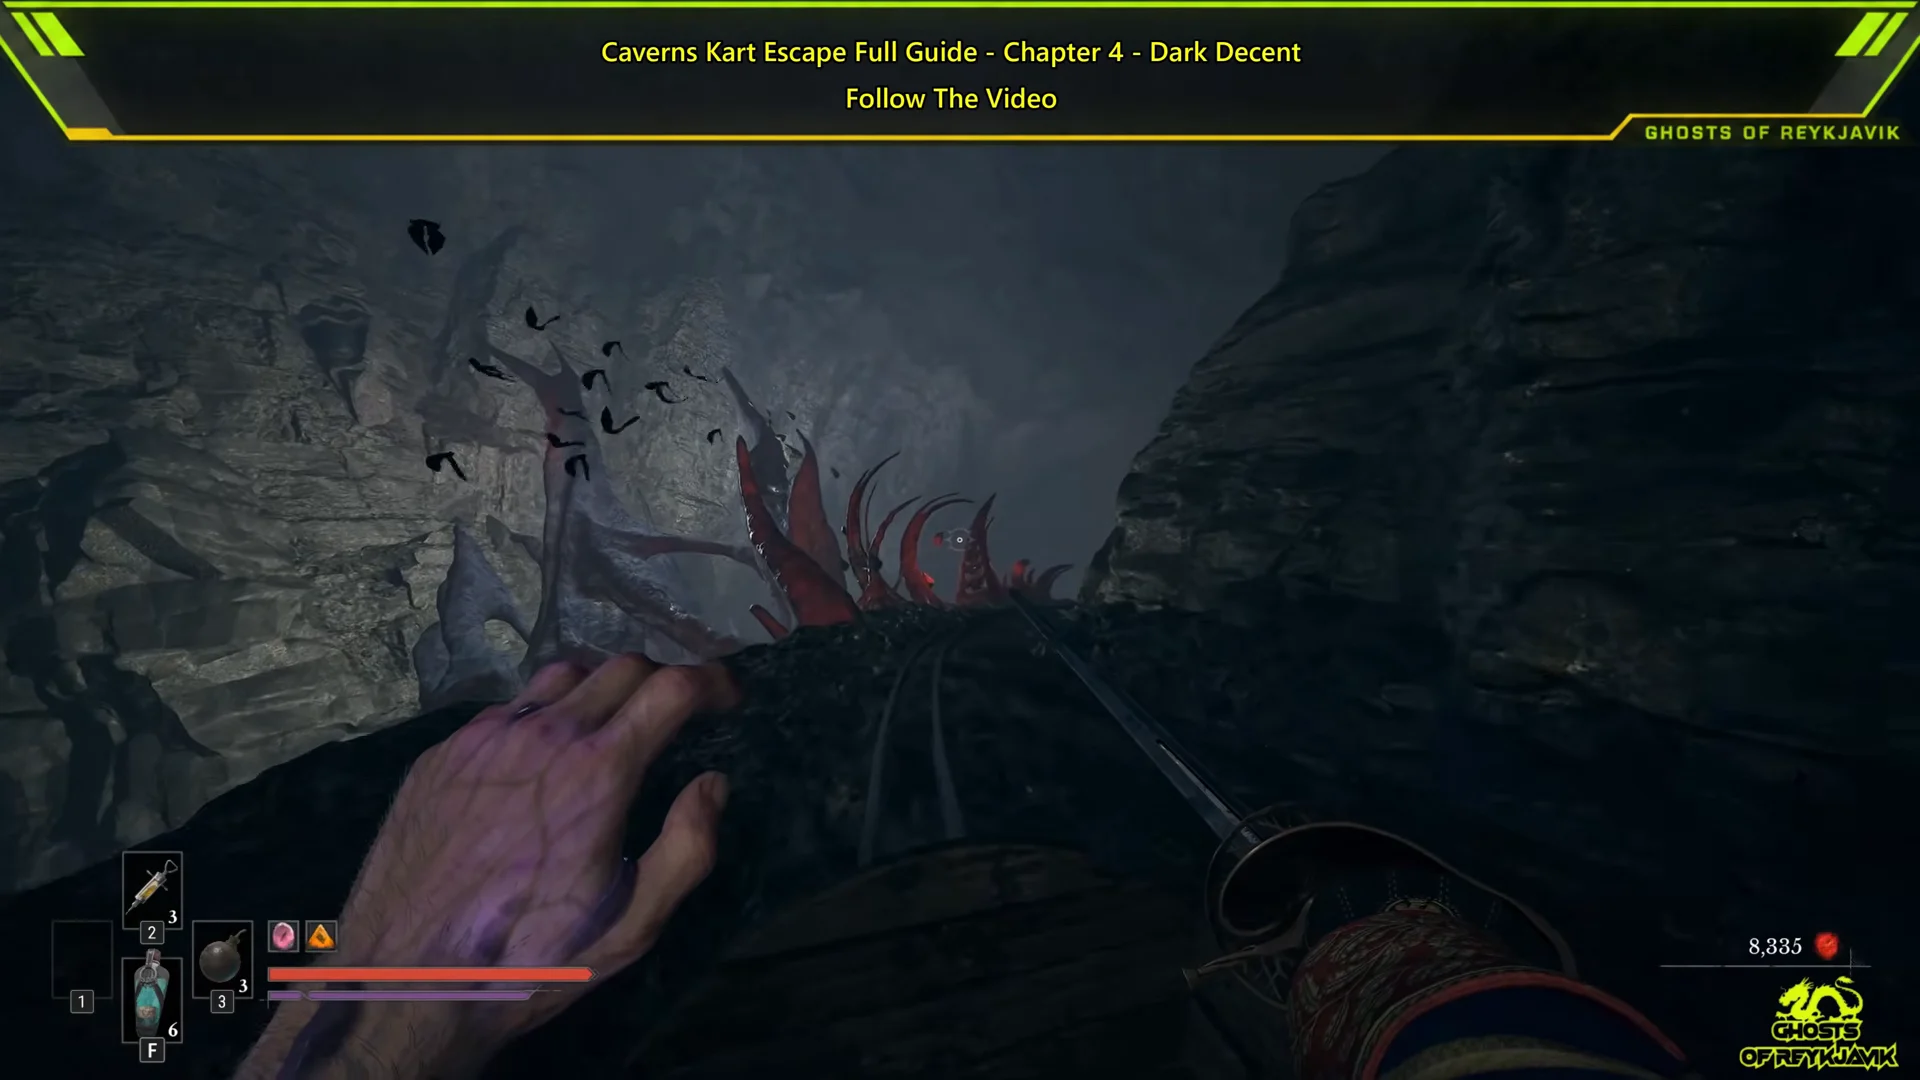
E USE to smash through.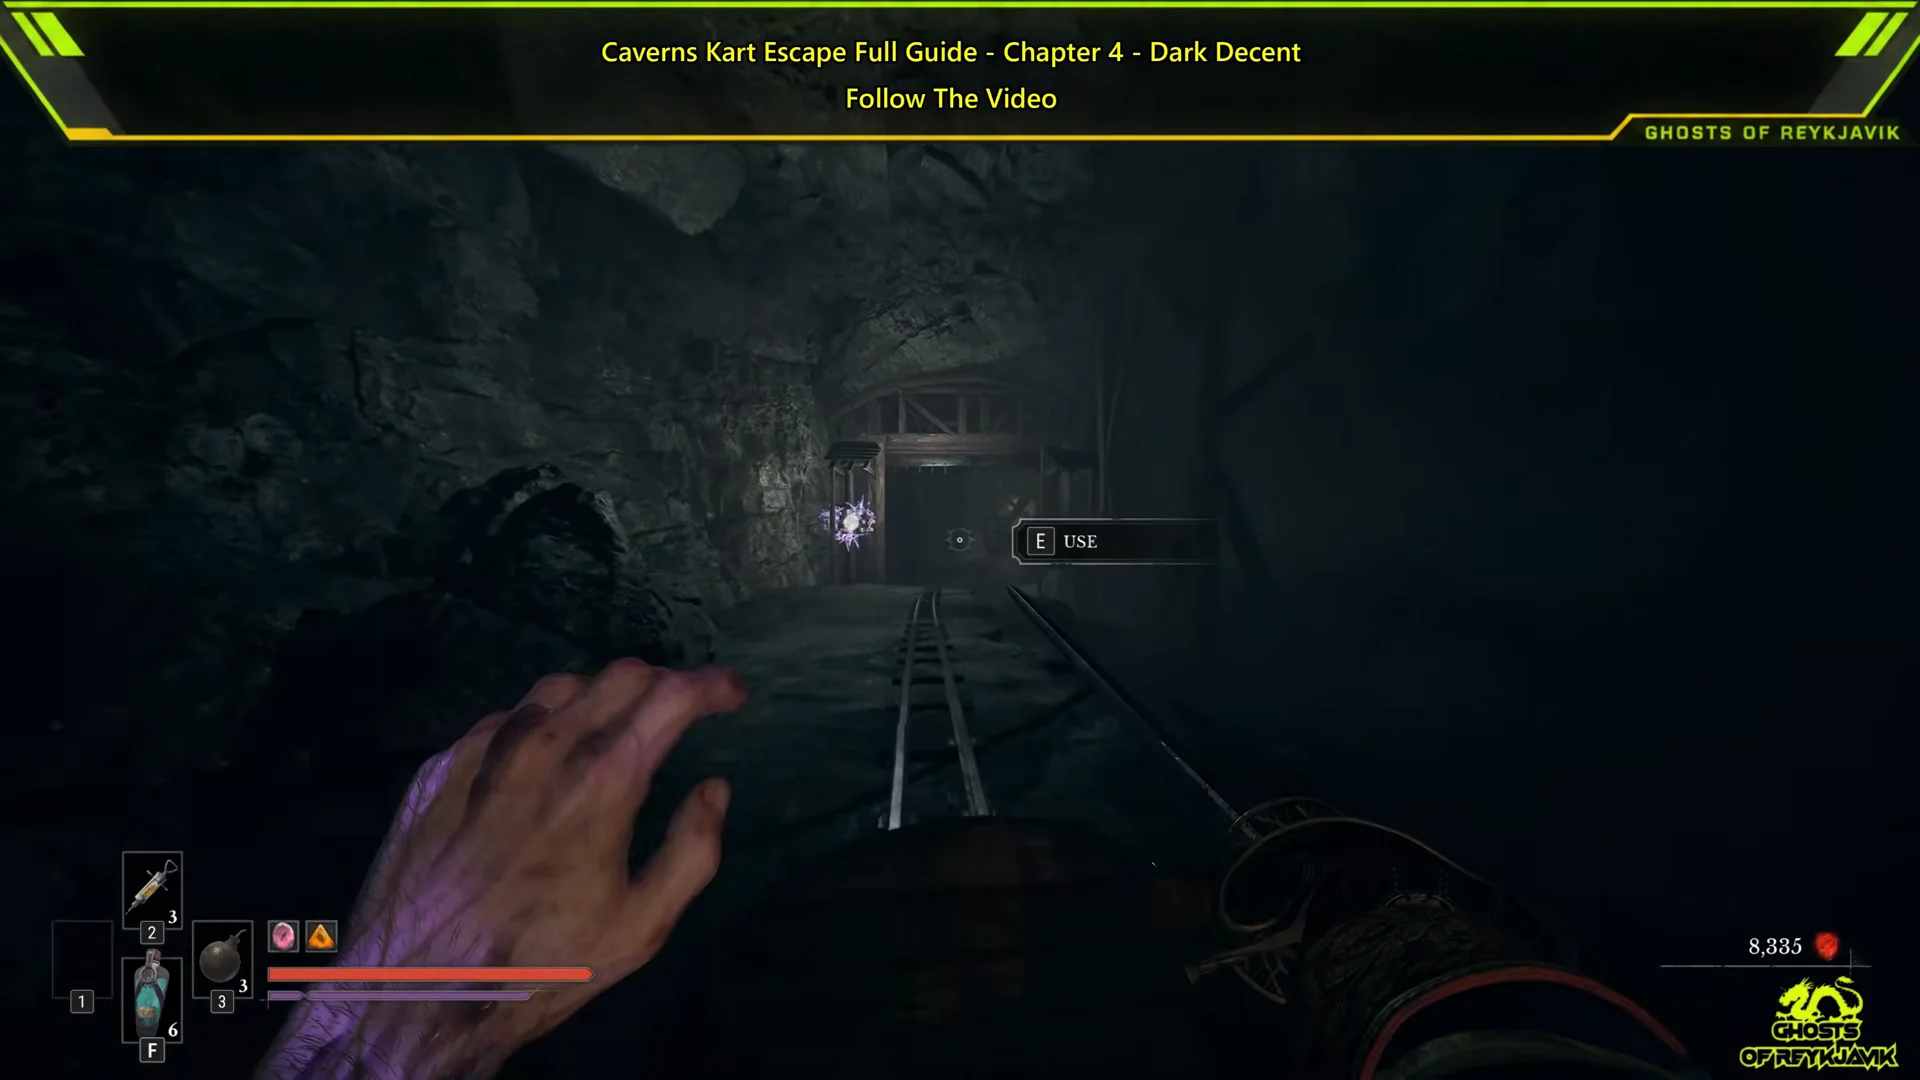
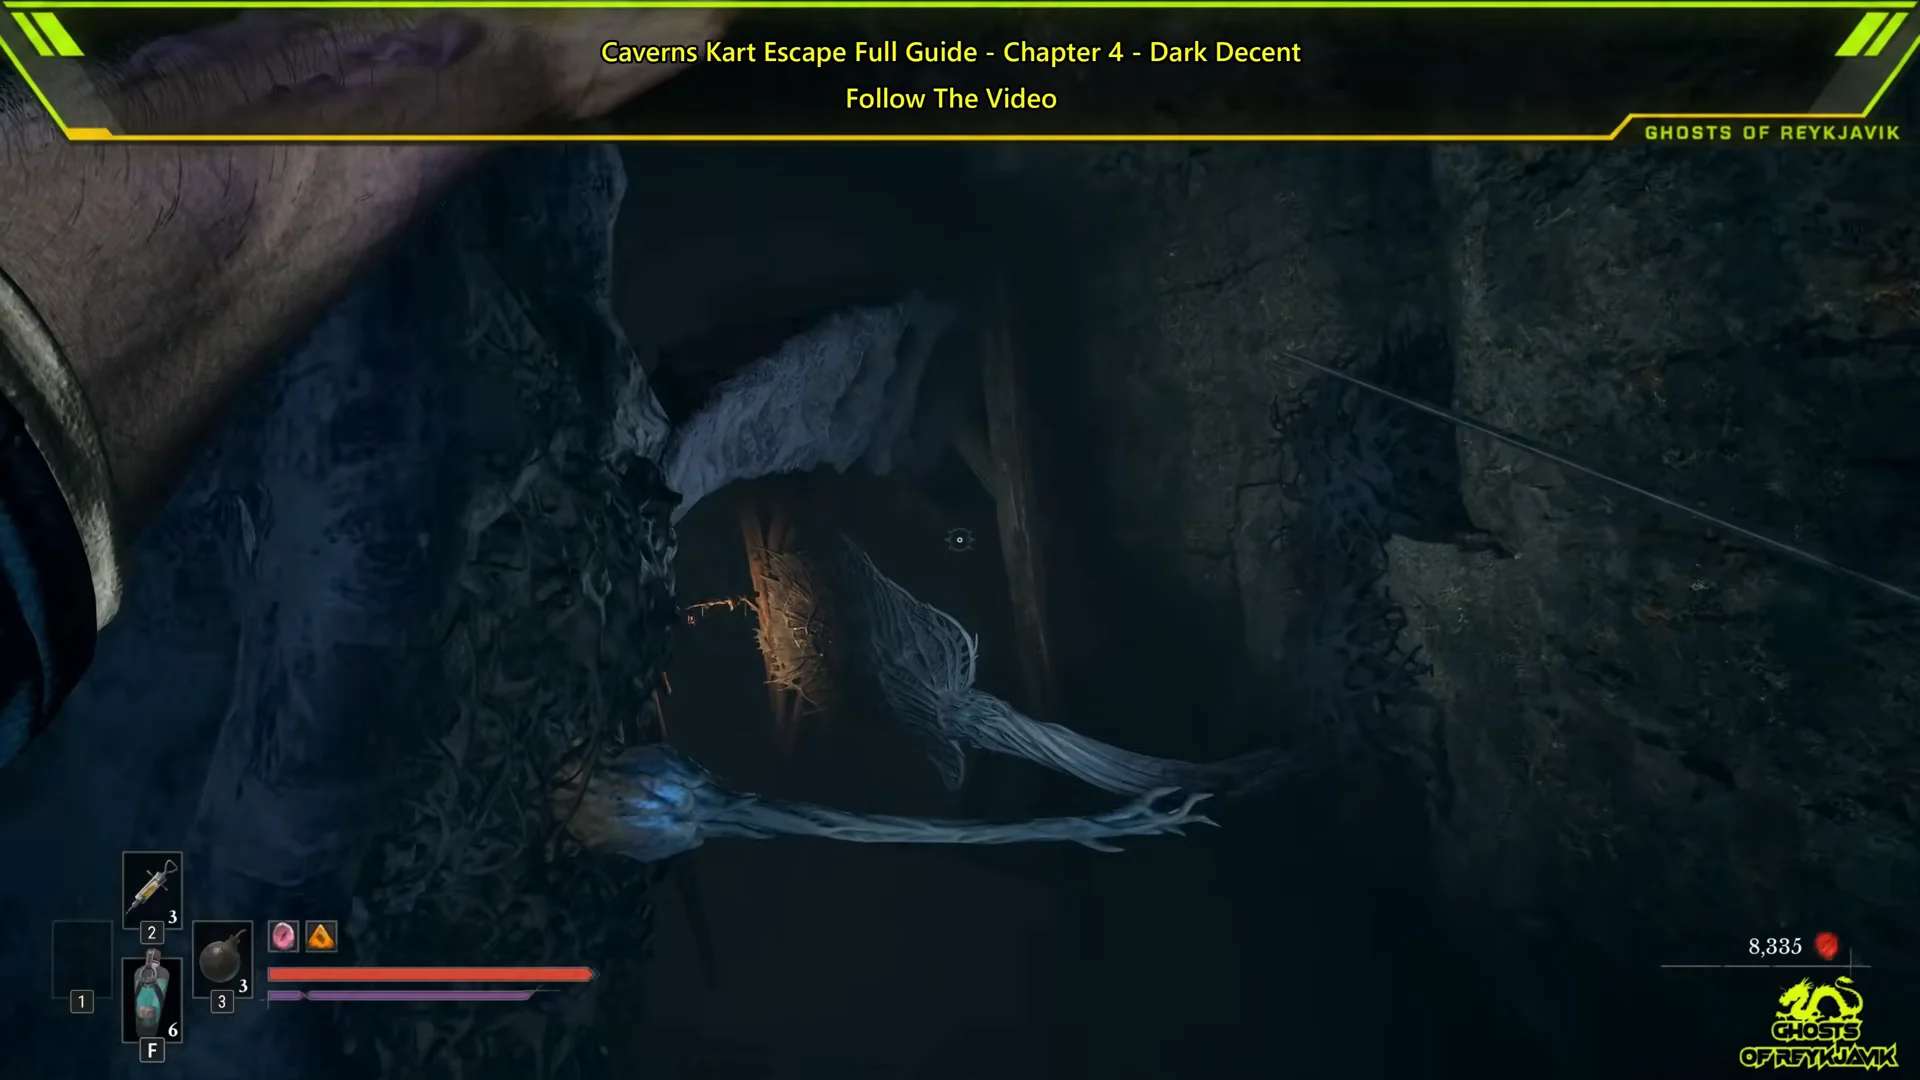
E PULL (HOLD).SPACE GRAPPLE prompt by grappling upward. You’ll land in a tunnel above.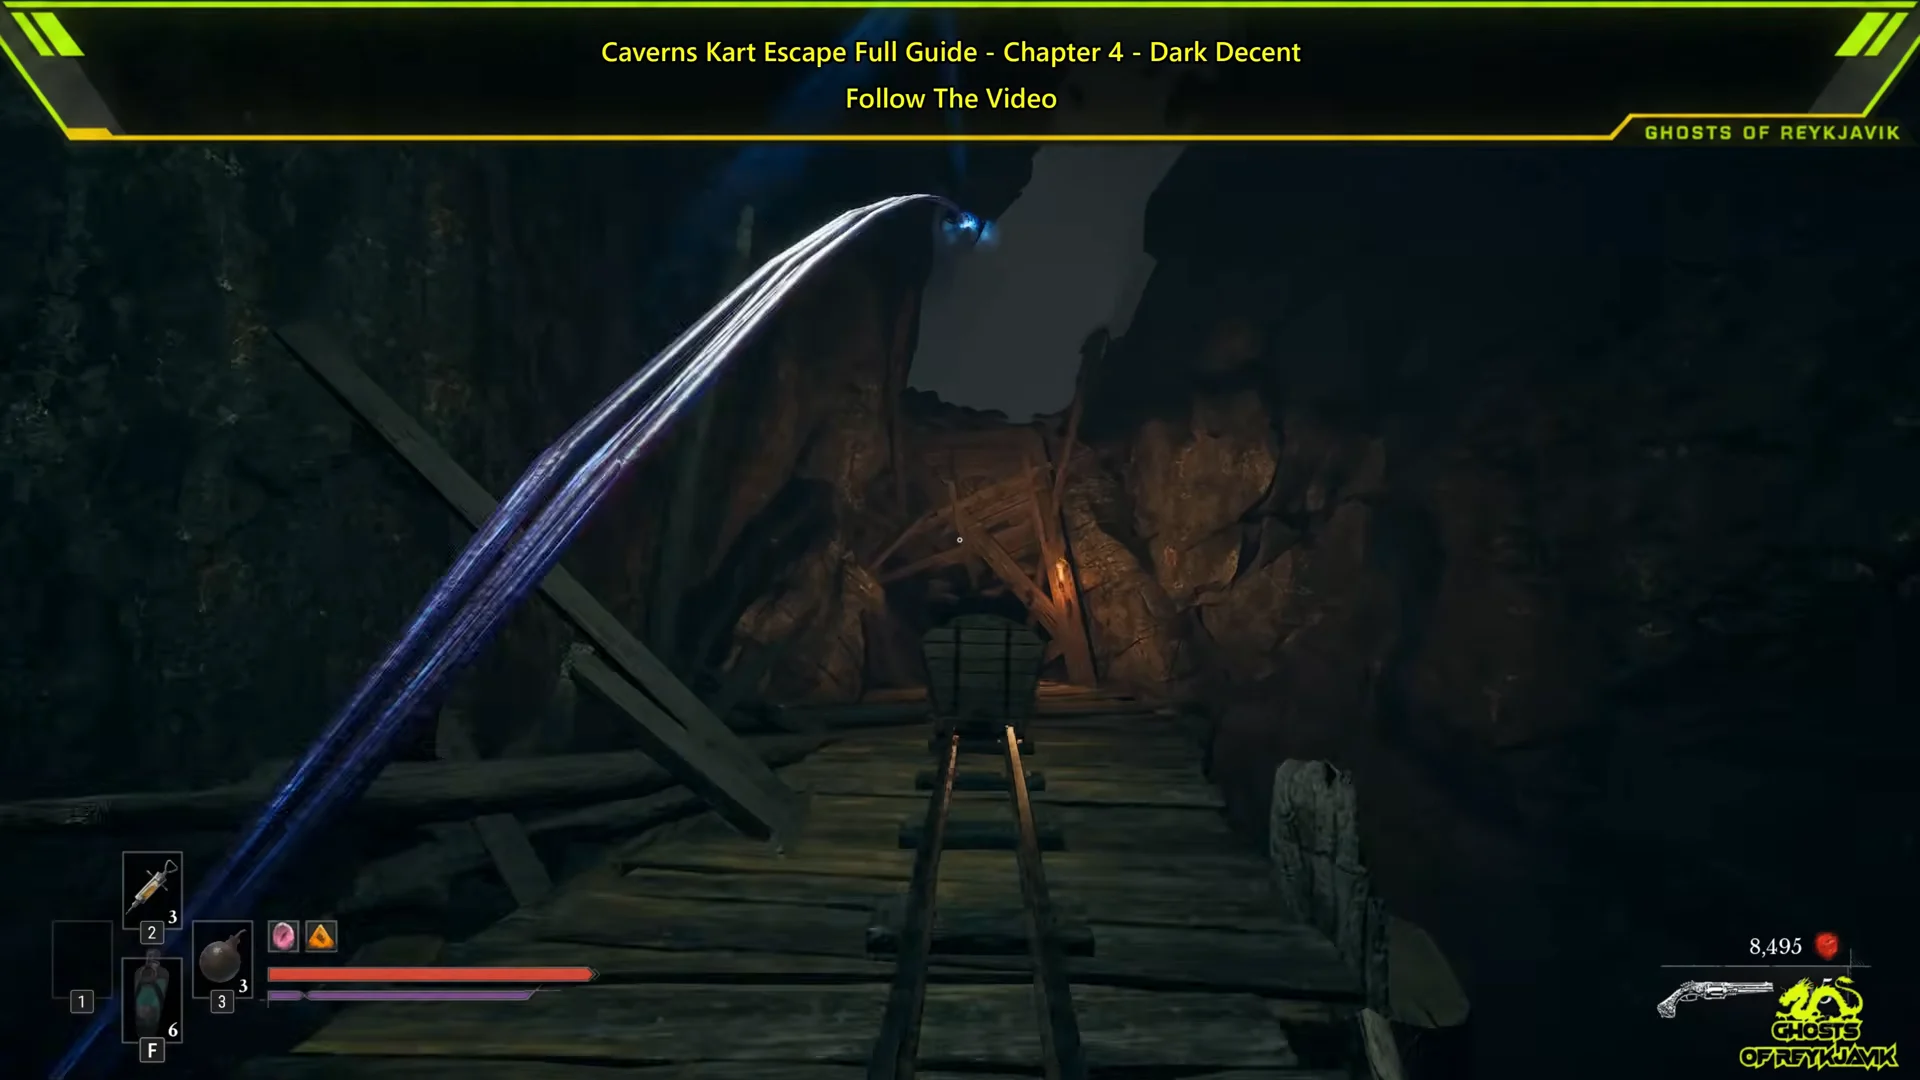
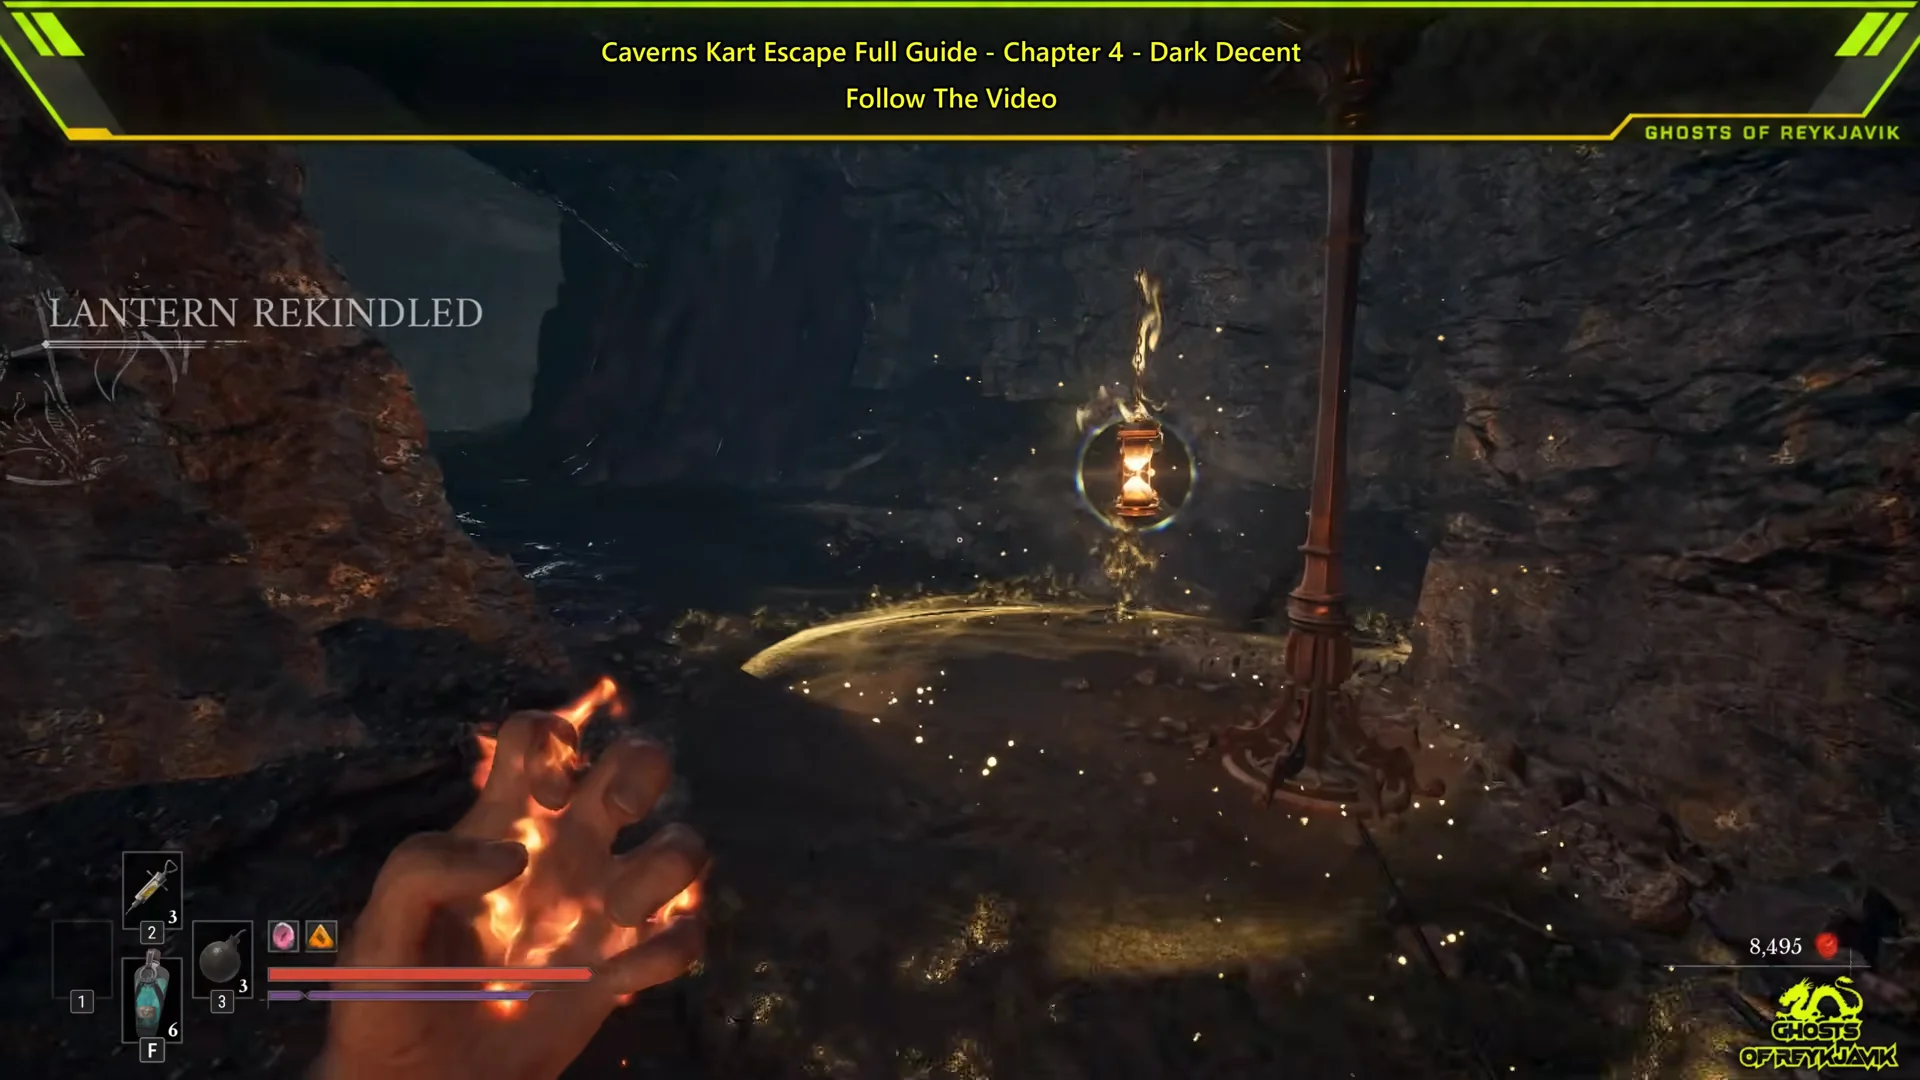
The ride is over once William is back on foot and says he seems to have made it through. Walk up to the hanging lantern and rekindle it. LANTERN REKINDLED on screen confirms the checkpoint.
Stasis Transmutation levels, upgrade costs and choices
Escaping the Caverns doesn’t require any upgrades. The Stasis Transmutation stays useful well beyond the mine, though, and it caps at level 5.
| Level | Damage factor | Upgrade cost | Unlock |
|---|---|---|---|
| 1 | 1 | — | — |
| 2 | 1.2 | Crude Transmutation Material x2 |  Termination |
| 3 | 1.3 | Pure Transmutation Material x2 | Eruption or Implosion |
| 4 | 1.4 | Distilled Transmutation Material x2 | Control or Hex |
| 5 | 1.5 | Quintessential Transmutation Material x1 | Drain or Expansion |
You unlock Termination automatically upon reaching level 2. Its Heavy Attack clears Stasis from a target, regardless of the amount built up.
At levels 3, 4 and 5 you choose one of two upgrades each time:
- Eruption (level 3): triggering a Stasis Segment damages everything around the target.
- Implosion (level 3): triggering a Stasis Segment hits harder.
- Control (level 4): use your grapple to pull yourself toward foes held in Stasis.
- Hex (level 4): Stasis stops decaying over time.
- Drain (level 5): hitting frozen enemies restores Health.
- Expansion (level 5): triggering a Stasis Segment spreads the effect to nearby targets.
Where to get Transmutation Materials
Each tier of material also upgrades the Fire and Shield Transmutations at the same level and in the same quantity. Louis’s Laboratoire stocks every tier except Quintessential, but each tier opens at a different point in the story.
| Material | Price | Louis’s Laboratoire | In the Caverns |
|---|---|---|---|
 Crude Transmutation Material | $2,000 | From the start | 2 in the world |
 Pure Transmutation Material | $4,000 | From chapter 5 (Crime) | None |
 Distilled Transmutation Material | $8,000 | From chapter 9 (In Ruins) | 1 chest |
 Quintessential Transmutation Material | — | Not sold | None |
Crude Transmutation Material also drops from Carrion (1–2%), Howler (1%), Spewer (1–2%) and Swarm Mother (1%). Carrion, Howler and Spewer all appear in the Caverns. Pure Transmutation Material drops at 2% from Abomination, Eternal Guardsman and Volunteers, and the last two of those spawn here.
Distilled Transmutation Material is also handed out in two conversations, and you can find it lying around in the University and the Fortress. Quintessential Transmutation Material only comes from chests in the University and the Fortress, so the final Stasis level has to wait until late in the game.
Caverns region reference: Lanterns, bosses and loot
The Caverns are region IV. Before the plague, they were a busy salt mine, and many refugees sheltered here once the war started. The table covers the region’s fixed counts and names.
| Record | Value |
|---|---|
| Chests | 11 |
| Notes placed | 4 |
| Lanterns | Last Sunlight, Weeping Ledge, Old Mine, Mine Cart Route, Ancient Lair |
| Bosses | Sphinx; Devourer of the Unworthy |
| Side quest |  Homesick |
Enemies in the region are Risen Musketeer, Carrion, Shambling Civilians, Risen Soldier, Spewer, Volunteers, Howler, Risen Sapeur, Risen Duellist, Risen Grenadier, Risen Lancer and Eternal Guardsman.
The fast route goes right past several upgrade items and consumables, so picking them up costs almost no time.
| Item | In the Caverns | Other source |
|---|---|---|
 Legendary Catalyst Clot | 6 in the world | Lucjan (2000), later in the story |
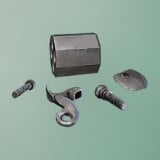 Superior Firearm Parts | 1 in the world, 1 chest | James’s Iron Bench ($3,000), chapter 5 |
| Crude Transmutation Material | 2 in the world | Louis’s Laboratoire ($2,000) |
| Distilled Transmutation Material | 1 chest | Louis’s Laboratoire ($8,000), chapter 9 |
Using a Legendary Catalyst Clot awards 1000 Catalysts; your inventory can hold as many as 99, and each sells for 1000. For upgrades at levels 5, 6 and 7, the Pistol, Blunderbuss and Musket require 1, 2 and 3 Superior Firearm Parts, respectively. Volunteers have a 4% chance to drop these parts. James’s Iron Bench only stocks them starting in chapter 5, making the crate beneath the trapdoor a worthwhile short detour.
The other route pickups are combat consumables. The plain Whetstone raises weapon damage for several attacks, the Flaming Whetstone sets enemies on fire, and the Stasis Whetstone applies Stasis on hit. Hand Grenades explode on impact. If your stack of an item is already full, a route pickup of that item does nothing for you.
Leaving the Caverns doesn’t finish Dark Descent. William later finds a sealed, Egyptian-styled cave entrance guarded by a monster, and beating it still doesn’t open the door. The Ancient Lair lantern sits behind that seal, and the Reflection chapter sends William back there near the end of the game.