The Planetarium blocks the only way up to Carmilla in Castlevania: Belmont’s Curse. It sits inside the Library in Dracula’s Castle. Three rotating astronomical globes stand in a vertical chamber, and each one has small glowing planets orbiting it. Rose has to bounce on four of those planets in the right order. When she does, a new bounce point appears and carries her to the next tier. Clear all three and the Observation Tower opens, with the Observatory and Carmilla at the top.
Quick answer: Each globe needs four planet bounces in a set order. When a new bounce point appears, the globe is solved. Use the table below, starting with the lowest globe.
Planetarium puzzle solutions for all three globes
The globes stack from bottom to top. You can’t reach the second globe until the first is solved, and the third works the same way.
| Globe | Image in the globe | Bounce order |
|---|---|---|
| First (lowest) | Man | Far left, bottom two (left to right), far right |
| Second | Skeleton | Left, top right, middle right, bottom right |
| Third (top) | Topmost apparatus | Far left, top, bottom right, far right |
First globe: the man
This is the globe you find on entering the Planetarium. The four planets you need are the lower ones, and together they form a trapezoid. Hit the far-left planet first. Then drop down to the two bottom planets and take them left to right. Finish on the far-right planet. Running the same route right to left also works.
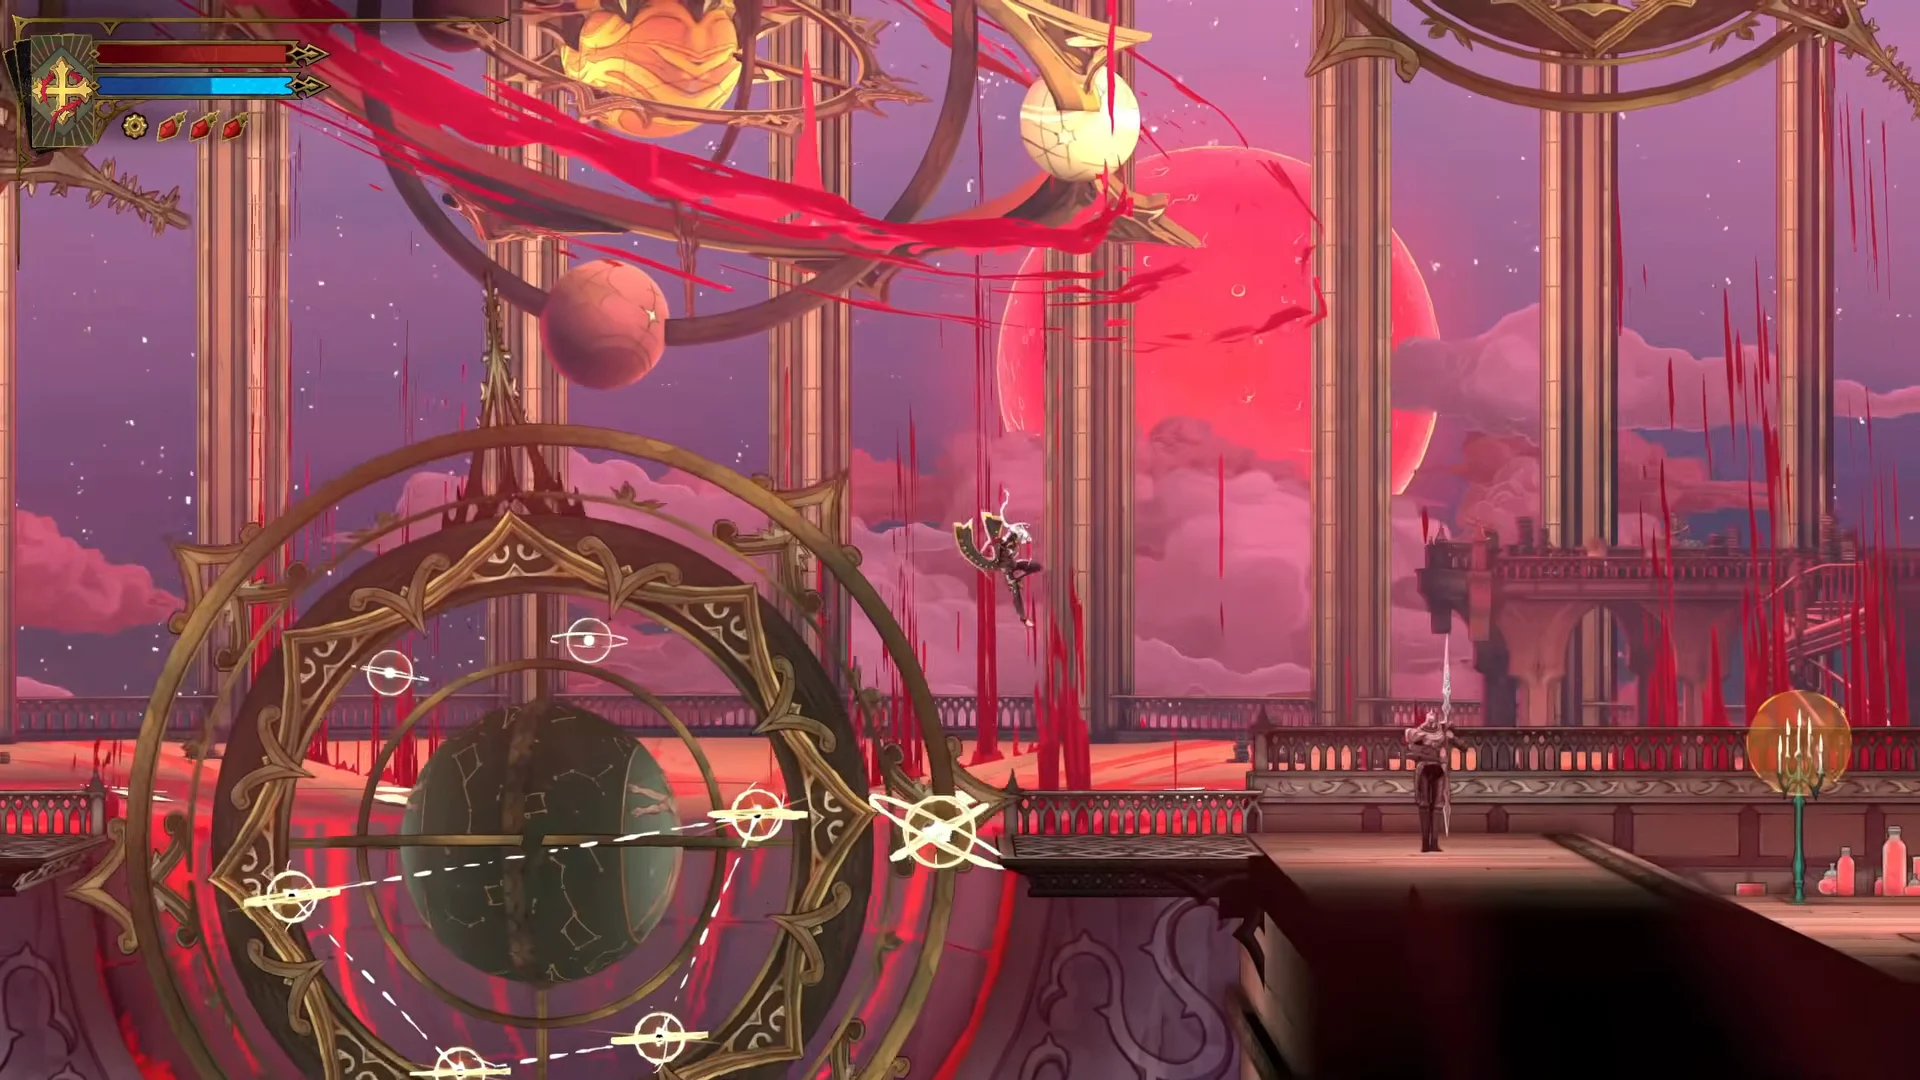
Once the new bounce point appears, use it with the whip grapple points above to climb the chamber to the next tier.
Second globe: the skeleton
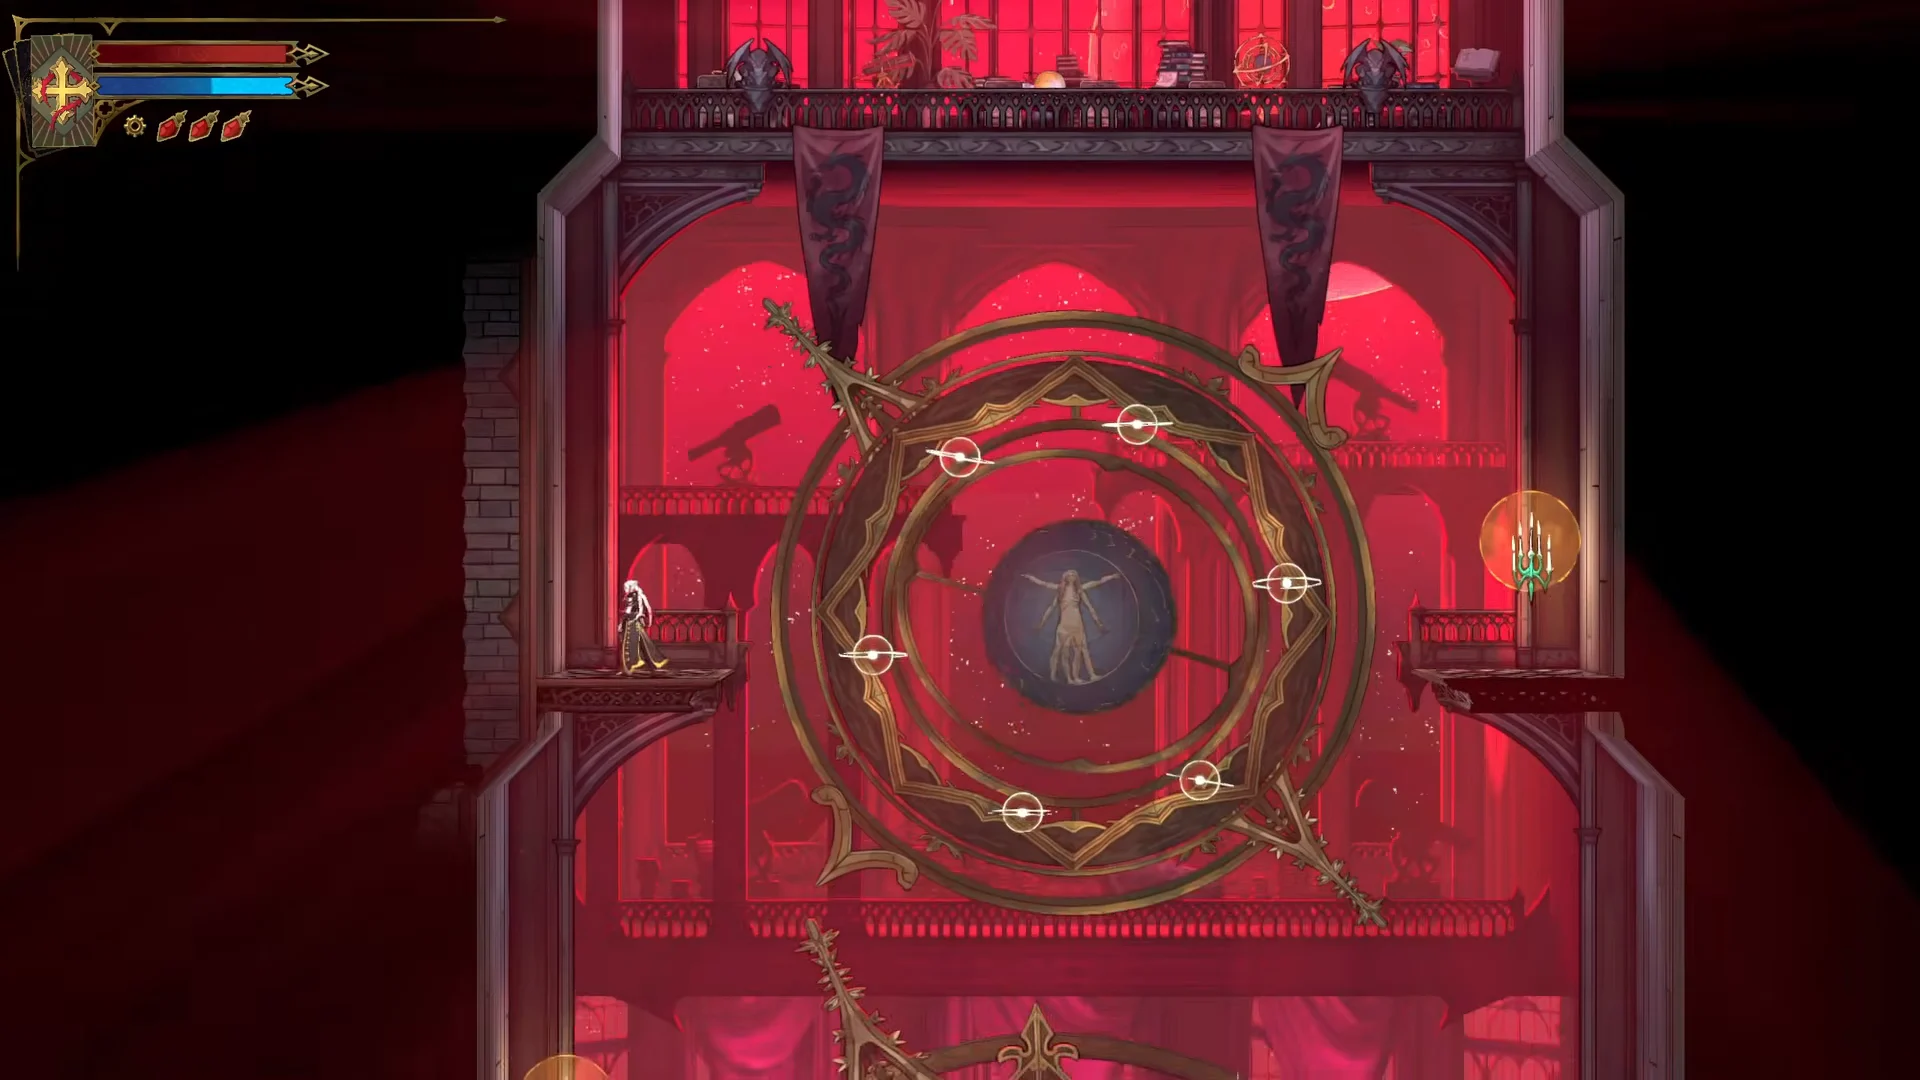
Press the interact button at the second device to start the puzzle, revealing a skeleton inside the globe. The pattern descends on the right: jump from the left planet to the top-right planet, continue down through the middle-right planet, then finish on the bottom-right planet. If the next jump is out of alignment, bounce in place on the left planet to reset your height.
Third globe: the top of the chamber
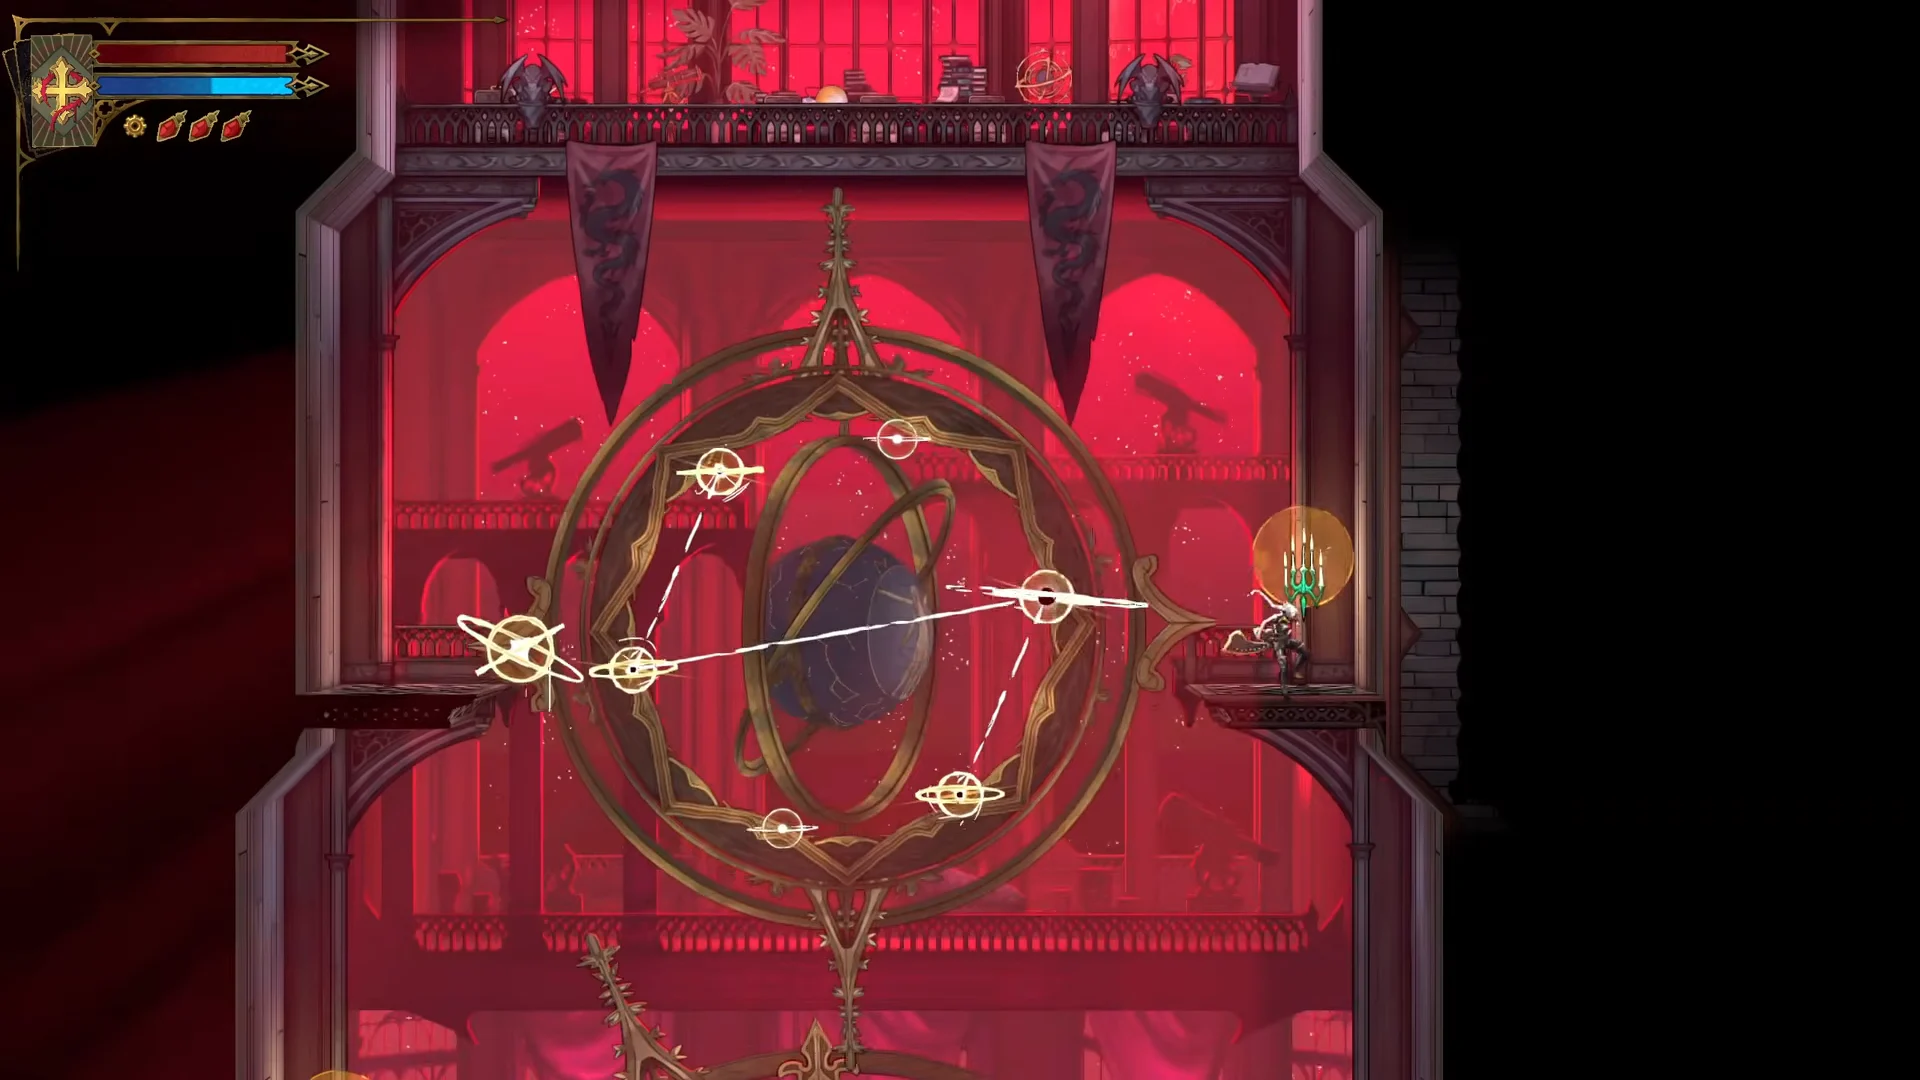
The last globe sits right above the skeleton tier. Bounce on the far-left planet, then go up to the top planet. Drop to the bottom-right planet and cross over to the far-right planet to finish.
How the globe puzzles work
Every globe uses the same rules. Only the order of planets changes.
- Each globe has a set of glowing planets in orbit, and you bounce on them by landing on them.
- A solution always uses exactly four planets in a fixed order.
- Landing on a wrong planet fails the attempt and resets the sequence, so you start again from the first planet.
- A correct sequence creates a new bounce point that leads to the next tier.
The new bounce point is your confirmation. If it doesn’t appear after your fourth bounce, the order was wrong. Go back to the first planet in the table and try again.
The patterns are hidden in the Library as clues. The man globe’s pattern is on a Star Chart in the Astronomer’s Office. The skeleton’s constellation shows through a window in the Natural Philosophy Shelves. You don’t need either clue if you follow the table above.
Reaching the Planetarium in the Library
The Library is reached from the Clock Tower. You don’t need an extra movement upgrade to get to the Planetarium, so the route is open once the Clock Tower is.
After the third globe: Observation Tower to Carmilla
Solving the top globe opens a vertical shaft above the Planetarium. Climb it using the bounce points and whip grapple anchors. At the top is the Observation Tower, which has a small room with a chair. Sit in it to restore Rose to full health before the fight. Check the map here if you want to confirm where you are.
Go through the next door and you’re in Carmilla’s arena in the Observatory. As you enter, Rose remarks on the air:
“The air… it smells metallic. I can practically taste it.”
When the boss health bar labelled CARMILLA appears, you’ve finished the Planetarium route.
Library, Planetarium, and Carmilla reference values
The Planetarium also hides items. If you’re clearing the Library for completion, these are the figures to track.
| Planetarium (district) | Value |
|---|---|
| Area | Library |
| Items | Brave Heart Fragment, Wise Heart Fragment |
| Breakable walls | 1 |
| Secret areas | 1 |
| Library (area) | Value |
|---|---|
| Boss |  Carmilla |
| Completion items | 139 |
| Exploration zones | 105 |
| Chests with items | 8 |
| XP statues | 9 (300 XP each) |
| Brave / Wise Heart Fragments | 3 / 3 |
| Mirrors of life | 2 |
| Candles | 176 |
| Area exits | 2 |
The Library also counts one Ferryman’s Wharf, two background doors, one absorbed Arcana, and 13 items toward completion. Enemies in the area are Boomerang Skeleton, Ectoplasm, Flea Man, Flying Skull, Red Skeleton, Shield Armor, Skeleton Archer, Spear Guard, and Werewolf.
Carmilla boss stats
| Stat | Value |
|---|---|
| Health | 4500 |
| Attack | 35 |
| XP | 850 |
| District | Observatory |
| Reward |  Blood Spikes |
| Arcana card |  The Occultist |
Carmilla is immune to freeze, petrify, launch into the air, slam down, Chains of Justice root and stun, Chronomantic Dive slow, Freezing Path link, and Infernal Pyre launch. Bleed and burn are not on her immunity list.
The Occultist arcana
The Occultist is Arcana number 7, tied to Carmilla, and it carries the Blood Spikes spell. It has 5 clues, and the Star Chart and window constellation found around the Planetarium are among them. Its works of mercy are killing 25 enemies with bleed damage, finding 2 different dual blade-type weapons, and making an enemy bleed continuously for 10 seconds.
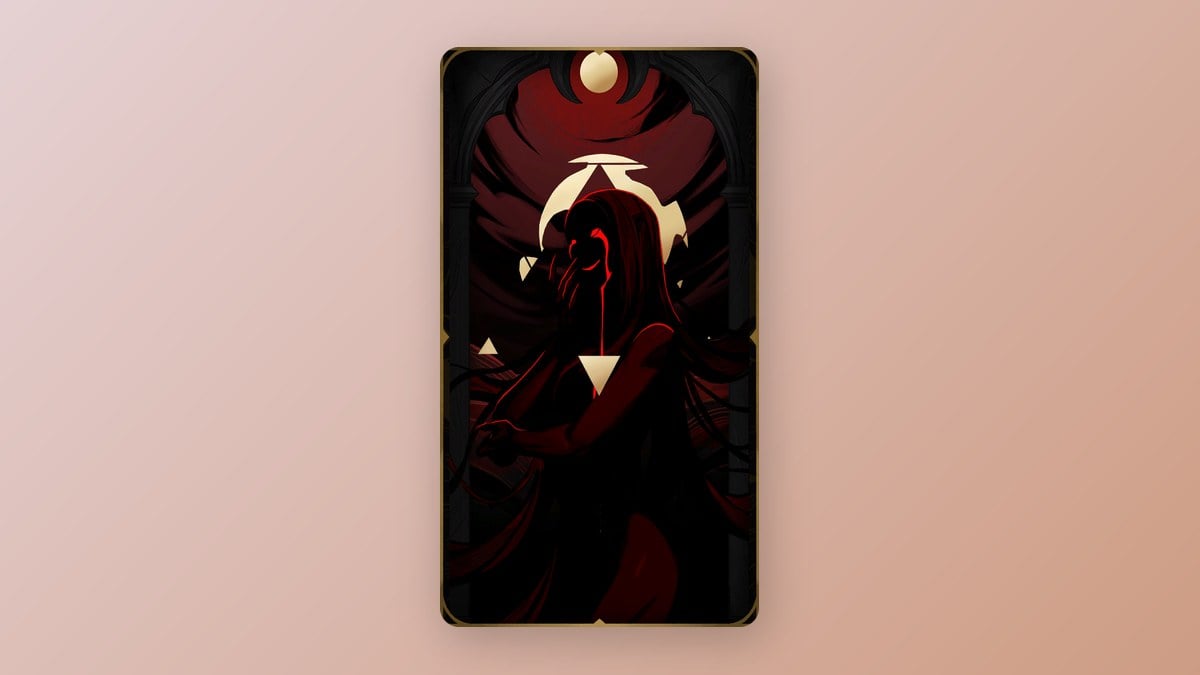
After the fight, search the Observatory before you leave. Brauner’s Paintbrush is on a desk there.