Gaming Guide

Enshrouded Albaneve Summit Ancient Spire Location and Puzzle Guide (8 Buttons)

Getting to the frozen tower, pressing eight buttons across two stages, looting the golden chest, and unlocking the fast travel point.

Getting to the frozen tower, pressing eight buttons across two stages, looting the golden chest, and unlocking the fast travel point.

The Ancient Spire in Enshrouded’s Albaneve Summits sits far to the north of a region that covers 13.4 percent of Embervale. Climbing it lights the quest objective Ignite The Snowy Mountaintops and unlocks a fast travel point, but the tower makes you earn it. It has two puzzle stages, eight buttons, spiked floors, icy beams, and electric orbs that can knock you out of the air.

Quick answer: Travel north from the Nomad Highlands Ancient Spire through the Passage to the Albaneve Summits. Press four buttons in stage one and four in stage two, then Commune with the Flame on the roof.
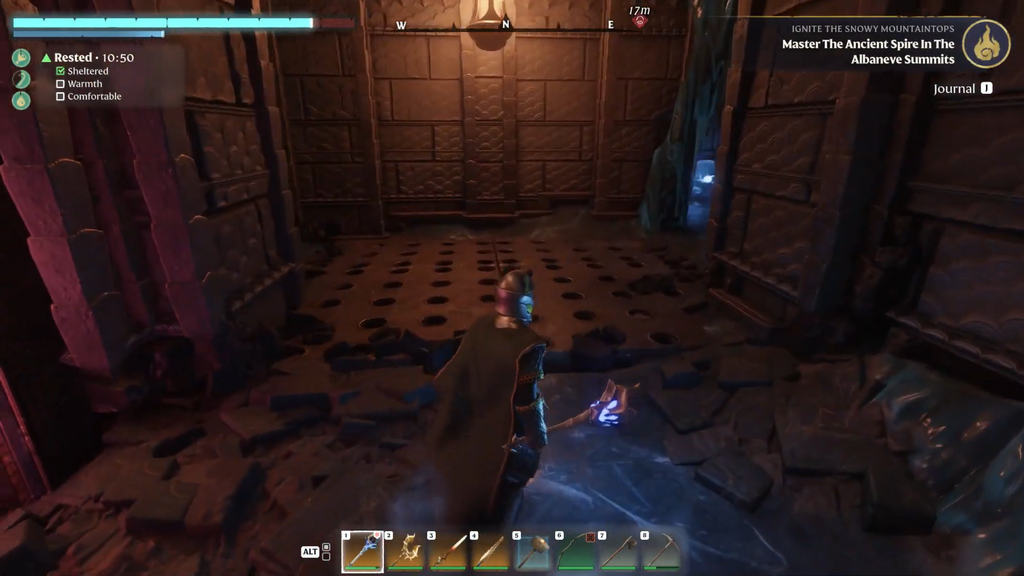
Image credit: Keen Games GmbH via YouTube/@Dizzy Plays

Albaneve Summits Ancient Spire location and route

The spire is in the north of the Albaneve Summits, the frozen region above the Nomad Highlands and the Kindlewastes. It is a late-game area with a biome level of 30 to 40 and a Flame Level band of 6 to 8. The practical starting point is the Nomad Highlands Ancient Spire. The road winds around a mountain and passes through Vukah territory before it reaches the snow.
Fast travel to the Nomad Highlands Ancient Spire and head north. Pick up the dirt path that splits from the main road and follow it to the first Vukah camp. You can run past most of the Vukah if you would rather save your health.
Keep to the main route as it crosses Vukah Sacrifice Hill and continues into Vukah Canyon. When the road terminates beyond the canyon, turn left to reach the Passage to the Albaneve Summits.
Go straight through the passage, cross The Pit, and cross the icy lake to leave the cave. Vukah, Sabertooth Tigers, and spiders all patrol this stretch. It sits about halfway along the route, so a Flame Altar here saves you from a long walk if you die later.
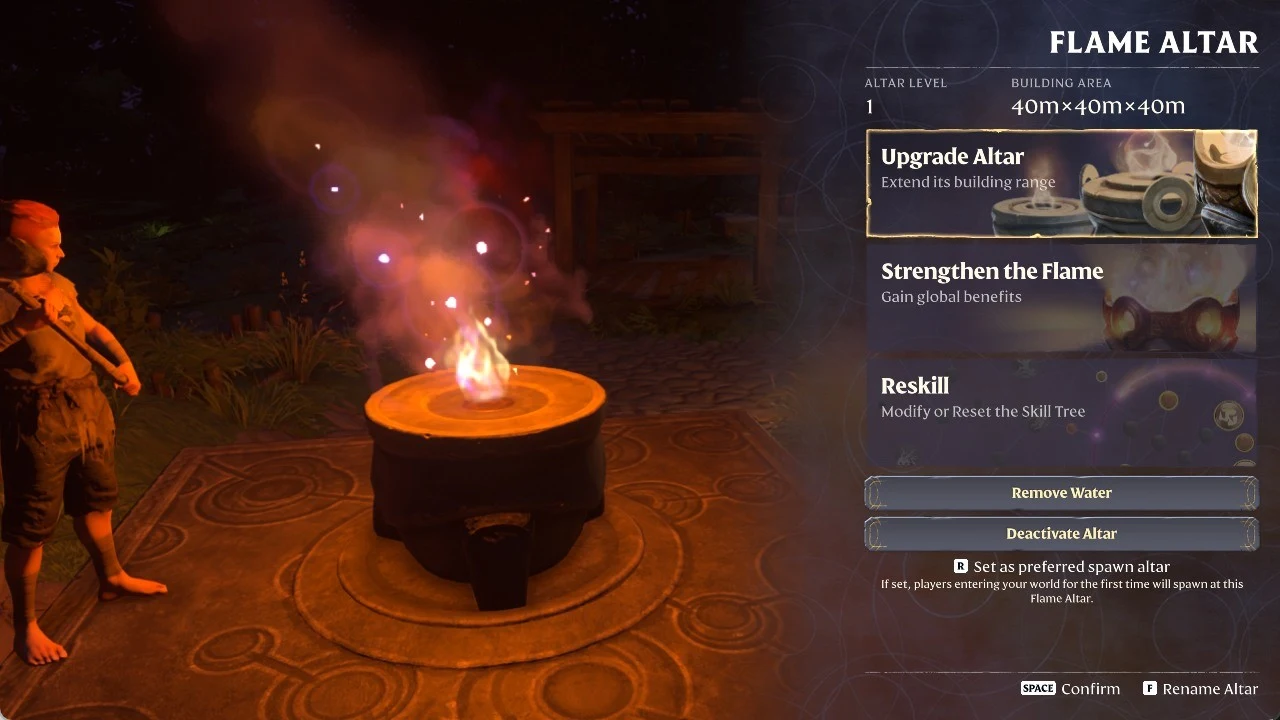
Flame Altar menu beside a burning altar, listing Upgrade Altar, Strengthen the Flame, Reskill, Remove Water and Deactivate Altar.
The Flame Altar menu offers Upgrade Altar, Strengthen the Flame and Reskill options at altar level 1 with a 40m×40m×40m building area.
Cross the covered bridge, then follow the route north to the Fletcher Marble Quarry. Two Sabertooth Tigers guard it. Standing on a marble slab and using ranged attacks makes them easier to handle.
Climb to the top of the quarry and go through the narrow cave entrance there. The cave is full of spiders and tarantulas that will follow you, so clearing them as you go tends to be safer than running.
Leave the cave and slide down the frozen lake toward the wooden building. Veer right off the slope around the midpoint, then follow the trail at the bottom over the ridge on your left.
Fight through or sneak around the Scavenger camp partway up the trail. Then cross the two chasms at the broken bridge and climb the stone steps to the spire. The “Location Discovered: Albaneve Summits” banner confirms you have arrived.

Skills and tools required for the Albaneve Ancient Spire

You cannot finish the climb with walking and jumping alone. Spike floors need a second jump, the upper floor of stage one needs a grapple, and stage two is built around gliding on an updraft.

RequirementTypeCostUsed for
Double JumpActive skill2 skill points, 10 Stamina per useClearing spike traps
Grappling HookUncommon tool (Workbench)40 Stamina per useReaching stage one’s upper floor
GliderTraversal gearNoneRiding the stage two updraft

Double Jump lets you leap again before touching down. Most spike stretches in the tower are too long to cross without it.

Double Jump
Double Jump. Image: Keen Games

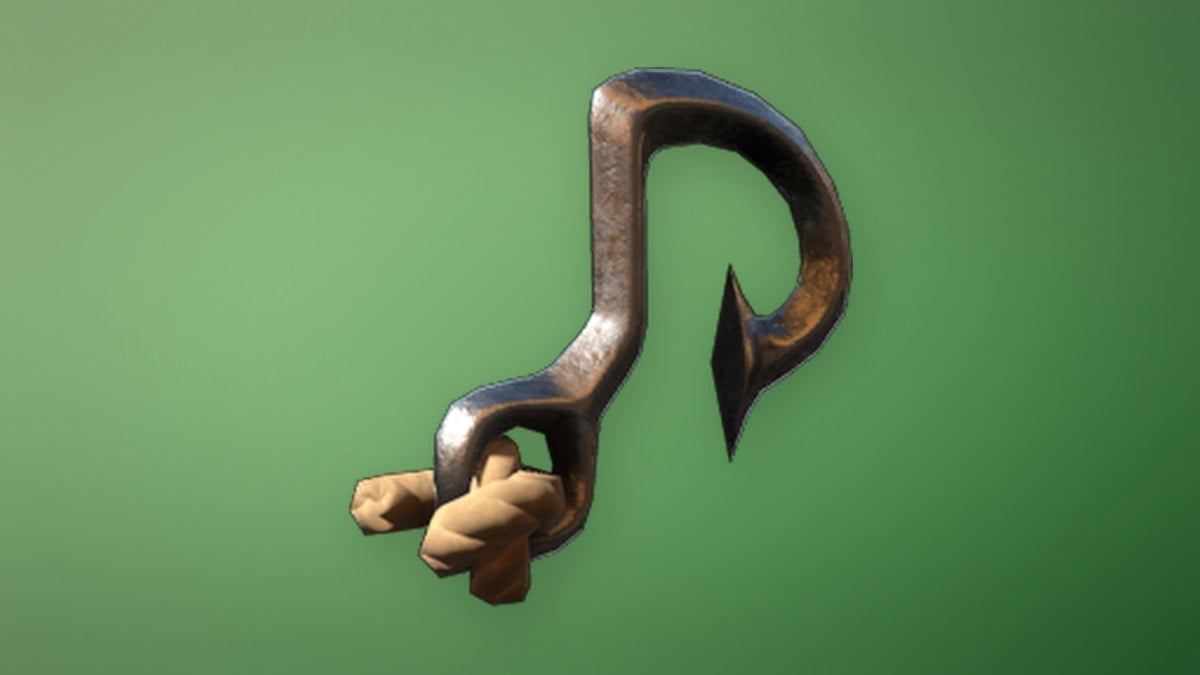
The Grappling Hook recipe unlocks once you pick up Animal Fur, Shroud Spores, Shroud Wood, or String. You then craft it at the Workbench. Bring healing as well. Health potions and bandages cover the damage from traps you miss.
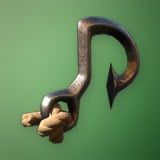
Grappling Hook
Grappling Hook. Image: Keen Games

Stage one puzzle: four buttons on the ice floor

Stand on the metal plate at the base to teleport into the first chamber. The floor mixes spike plates, slippery ice, and blue electric orbs. Wherever there is ice, stand on the dirt patches or use short hops. Walking on it can slide you straight into a trap.
Turn around as soon as you land rather than moving forward. Head behind the arrival point and turn right at the wall. Turn right again to reach the first button.
Go back to the arrival point and move forward. Jump across the first spike floor, then double jump over the second set of spikes while staying clear of the electric orbs. Turn right to find the second button.
Keyboard and mouse bindings table for Preset A listing movement actions with their keys and press modality.
The Keyboard & Mouse Bindings screen shows the Preset A control scheme with General Gameplay bindings for movement such as Move Forward, Jump and Sprint.
Return across the second spiked floor and head toward the electric trap. A hook point hangs above it. Grapple up to the upper floor, where there is a chest.
Cross the icy wooden beams by hopping instead of walking, so you don’t slide off. Turn left at the far end to press the third button on the west wall.
From the third button, head the other way toward the east wall. Jump onto the only platform that isn’t frozen, then turn right to press the fourth button.
Glide down to the gate in the middle of the chamber. All four of its circular lights should now be lit and the gate open. Step onto the glowing pad to teleport up to stage two.

Stage two puzzle: lava updraft and four platform switches

Stage two is a tall shaft with a lava floor. The lava creates a column of rising air in the center. Four platforms climb the walls, each with a switch in its corner room. A lantern marks the corner you should aim for. Pressing all four switches opens a locked room on the ground floor and the route to the exit teleporter.

If an electric orb hits you in this shaft, you can’t move afterward. Even when you survive the shock, the fall that follows is usually fatal. Wait for the orbs to pass before you jump.
Open your glider and drop into the lower side corridor to press the first switch. Ride the updraft one platform at a time. Rising too far in one go is how most players overshoot a landing.
Use the updraft to reach the next ledge and press the second switch. Wait until the electricity fires out of the holes on the right, then jump straight across, drop, and glide to the landing. If you climb too high, cancel the glider (right-click on PC) to land.
Controller Bindings screen on the General Gameplay tab with a gamepad diagram and labelled button actions around it.
The Controller Bindings screen shows the General Gameplay layout, with actions such as Jump, Glider, Block and Parry, Quick Item Wheel and Inventory mapped to a gamepad.
Go straight across and up another level. Wait for the top row of orbs to move left, then ride the air up and land at the third switch.
Face the diagonal path to the last walkway. A large chain hangs in the middle of it. Enter the air stream angled slightly to one side of the chain, then land and press the fourth switch.
Glide back down to the ground floor and enter the room that just opened. The golden chest is inside.

Albaneve Ancient Spire golden chest rewards

The golden chest gives you two weapons, one for each end of the class spectrum. Both are available at item levels 1 through 55.

WeaponRarity and classTypePerks
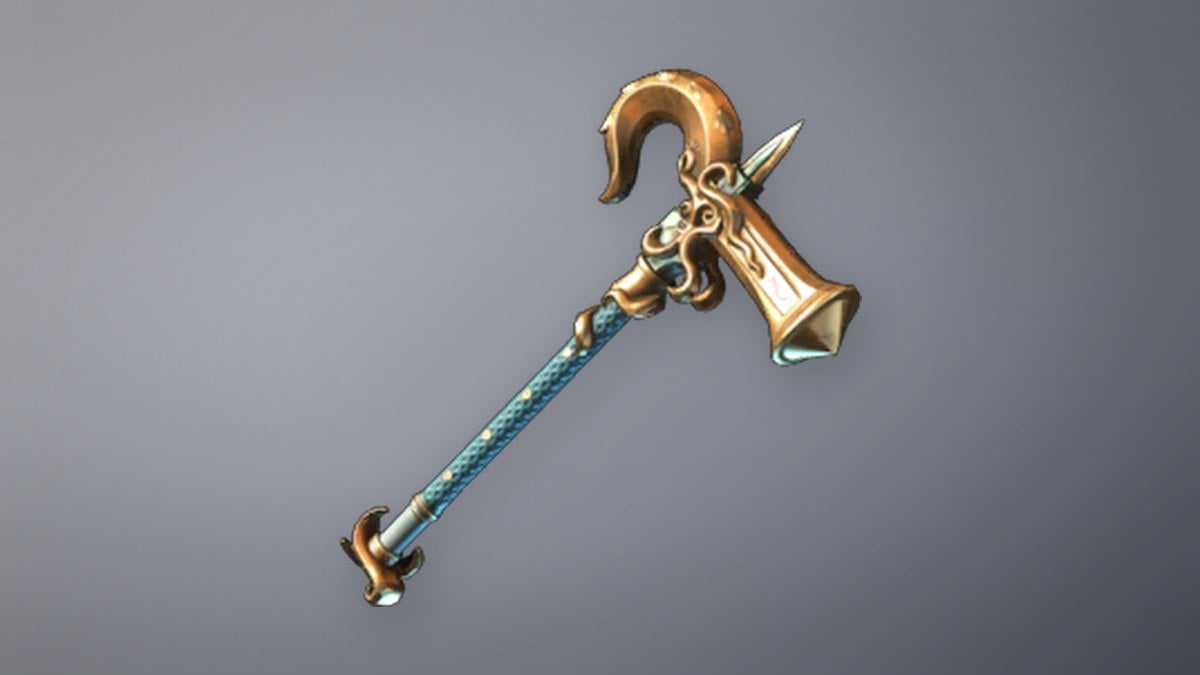
Fearsome ClubCommon, WarriorOne-Handed ClubCritical Strike Damage 18%, Merciless Attack Damage 18%
Staff of GuidanceLegendary, MageStaff (ranged)All Magic Fire Damage 10%, Critical Strike Chance 6%, Critical Strike Damage 20%

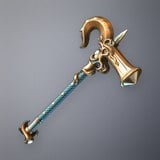
Fearsome Club splits its damage evenly between Blunt and Lightning and swings every 0.6 seconds. Its damage starts at 11 at level 1 and rises with item level.

Item levelDamageItem levelDamage
1113055
5173562
10254070
15324577
20405085
25475592
Fearsome Club
Fearsome Club. Image: Keen Games

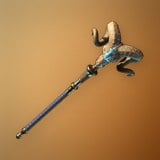
Staff of Guidance goes in the ranged weapon slot. Like any staff, it needs Spell Charges equipped and spends Mana to cast. Its perks lean toward fire magic and critical hits, which suits a Mage heading into a region full of cold-themed enemies.
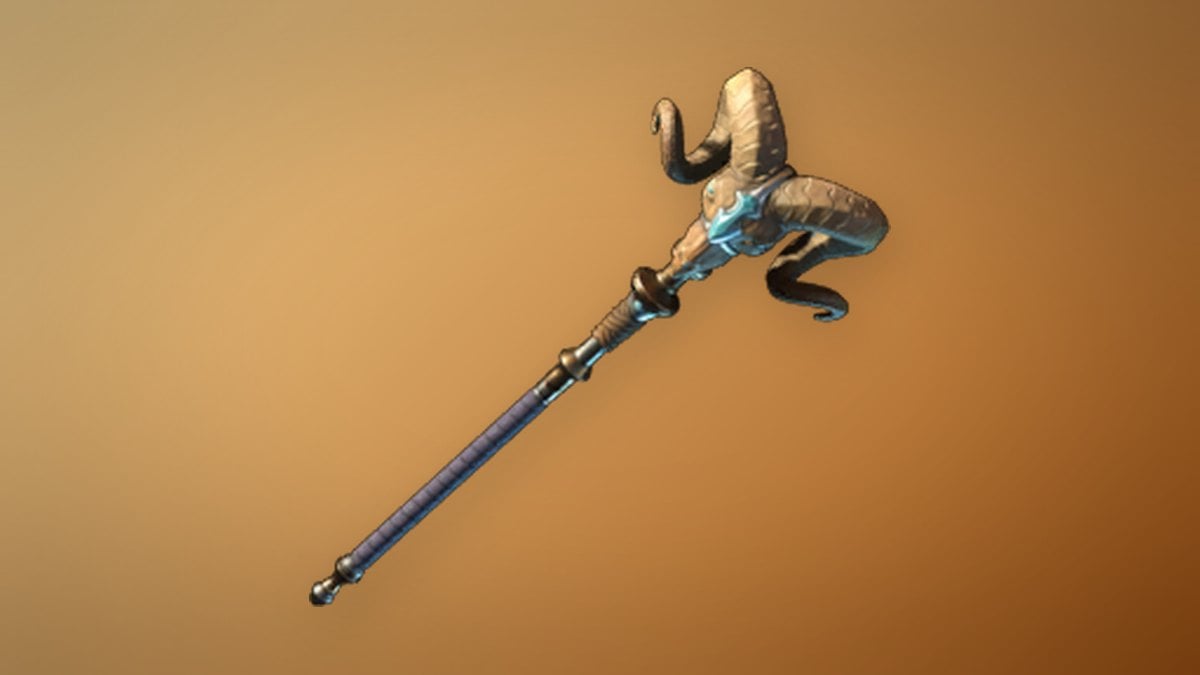
Staff of Guidance
Staff of Guidance. Image: Keen Games

Unlocking the Albaneve Summits fast travel point

Looting the chest doesn’t finish the spire. You still have to go back up the shaft. Ride the lava updraft level by level to the topmost landing, avoiding the electric orbs on the way, and step onto the exit teleporter. It takes you to the roof, where a brazier holds the Flame.

Choose Commune with the Flame at the brazier. Three things confirm the run is complete. The “New Location Charted! Albaneve Summits” banner appears, the Ignite The Snowy Mountaintops objective to master the Ancient Spire in the Albaneve Summits completes, and the spire becomes a fast travel point on your map. From then on, you never have to repeat the long trek from the Nomad Highlands.
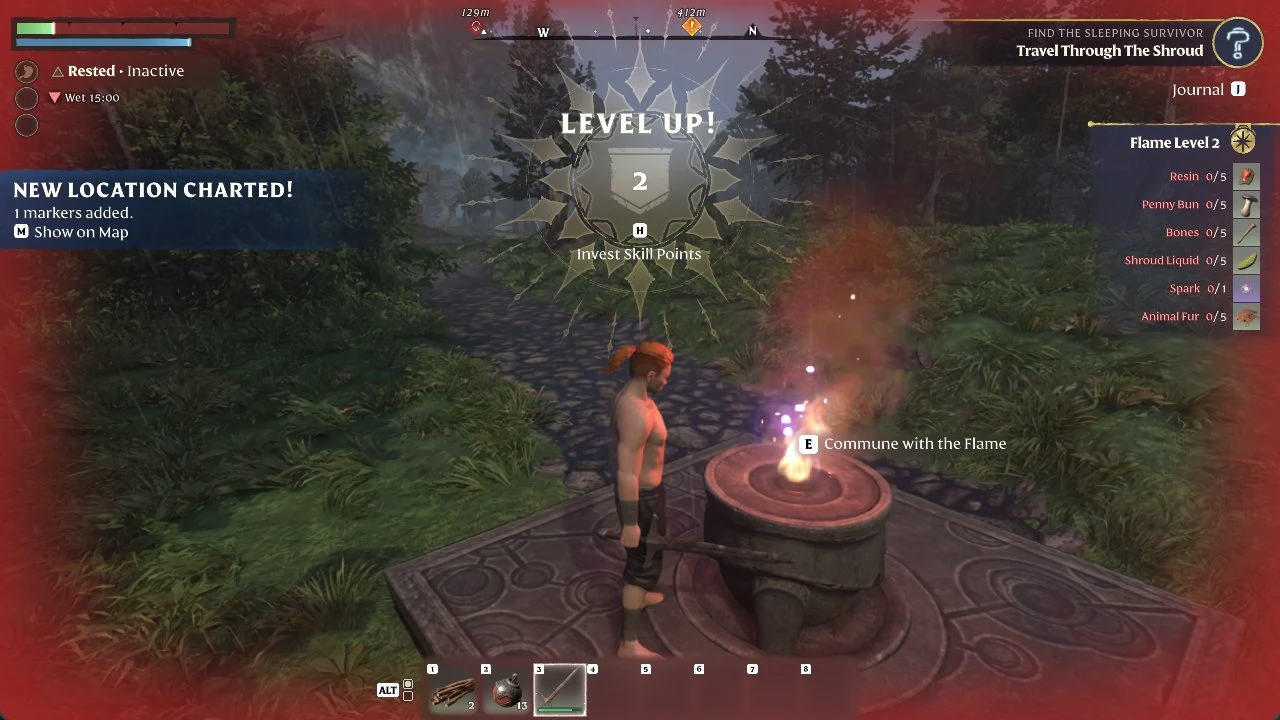
Shirtless red-haired character beside a glowing flame altar on a stone platform in a forest, with level up and Flame Level 2 panels.
A player stands beside a Flame altar with the prompt Commune with the Flame, with Flame Level 2 requirements listed and a Level Up notice.