In the Main Hall’s Mirror Rooms, Queen Eleanor is trapped inside a chain-bound mirror, held there by four seals. You do not walk to them through the Hall of Mirrors: each hangs over a mirror at the Hall of Mirrors Entrance, accessible through a separate Mirror of Life elsewhere in the world.
Quick answer: Use the Mirrors of Life in Prison Tower, the Archives, Mechanic’s Ascent and the East Gallery. At each one, strike the seal above the mirror and clear the ambush.
Where the four mirror seals are
The seals become a goal in the Mirror Rooms (Main Hall). Eleanor calls out from a large standing mirror wrapped in glowing chains: “Damnation, they’ve sealed this passage away! Hurry, find a way to break these seals!” The chains hold at that point, so you have to go elsewhere.
The clue that points to the seals is “A Sketch from Talos”. You find it in the Builder’s Bureau of the Clock Tower, and it reads “Prisoner will be secure if seals are kept INTACT.” The sketch marks four places: Paris Streets, Main Hall, Notre-Dame and Clock Tower. It is filed as one of The Sage’s clues in the Tarot menu.
One Mirror of Life in each of the four areas leads to a seal. These are standard Mirrors of Life and count toward the total of 34; their positions are included in the full list of Mirror of Life locations.
| Area | Mirror of Life district | What the ambush throws at you |
|---|---|---|
| Paris Streets | Prison Tower | Winged fiends, skull columns, ground beasts |
| Main Hall | Archives | Armored shield knights, bouncing spiked green spheres, red hooded phantoms |
| Clock Tower | Mechanic’s Ascent | Winged fiends, flame beasts, spirits |
| Notre-Dame | East Gallery | Skeletons, a huge armored warrior |
The red hooded phantoms in the Main Hall ambush throw red circular blades, so keep moving while you deal with the shield knights.
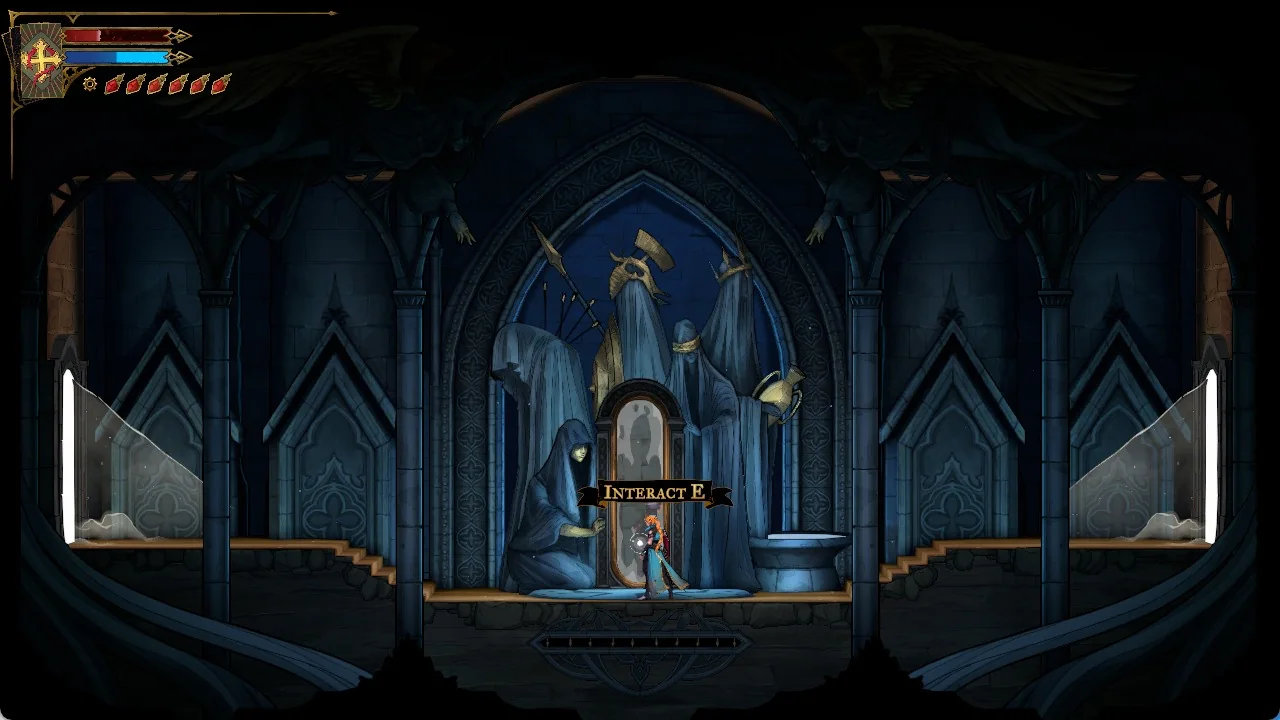
One way to the Archives mirror starts in the Old Gallery. Take the glowing red doorway down to the Servants’ Hall, then leave through its upper-left door into the Dungeon. Saw blades ride on rails there, and you get past them by jumping into the small gold-framed mirror portals. The mirror room beyond, ringed by hooded statues, is the one you want.
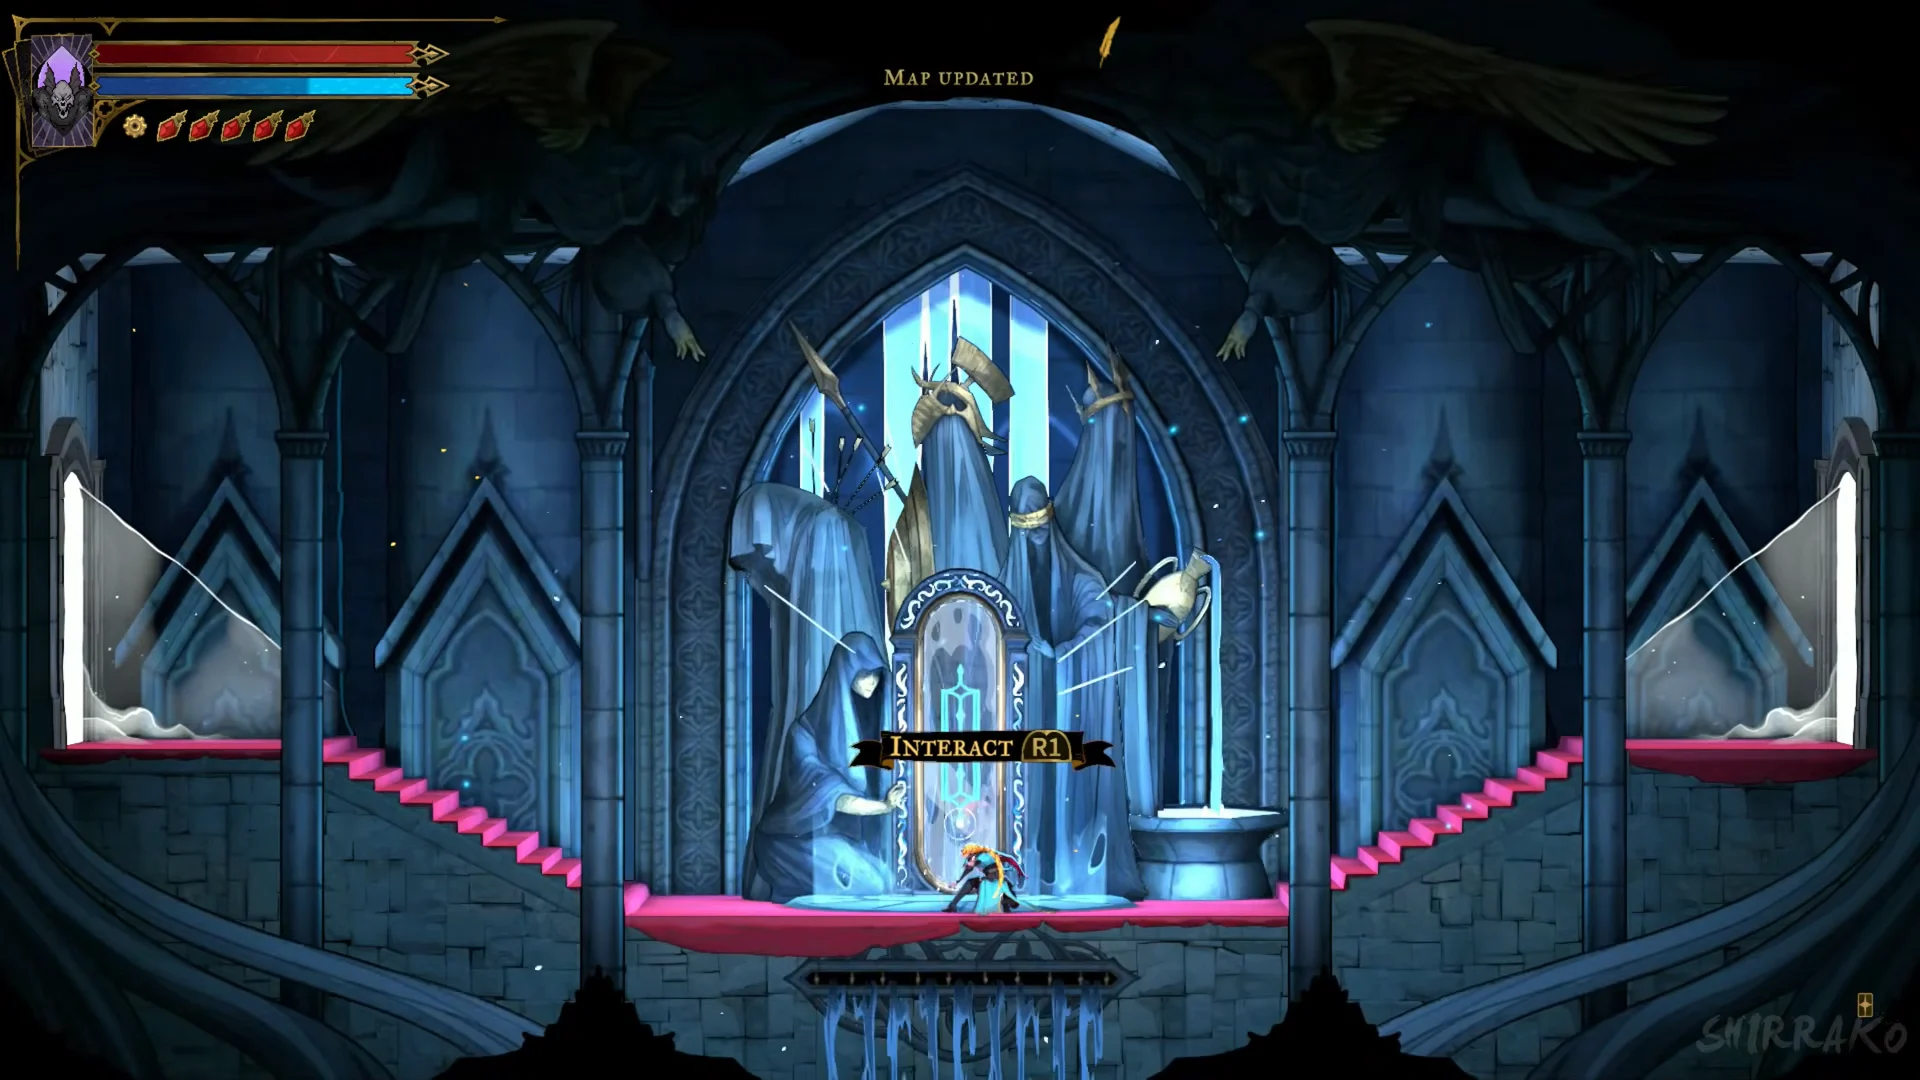
Whichever of the four mirrors you use, you arrive at the same destination: Hall of Mirrors Entrance, beneath the “HALL OF MIRRORS ENTRANCE” banner. Each exit puts you in front of its corresponding seal.
How to break a mirror seal
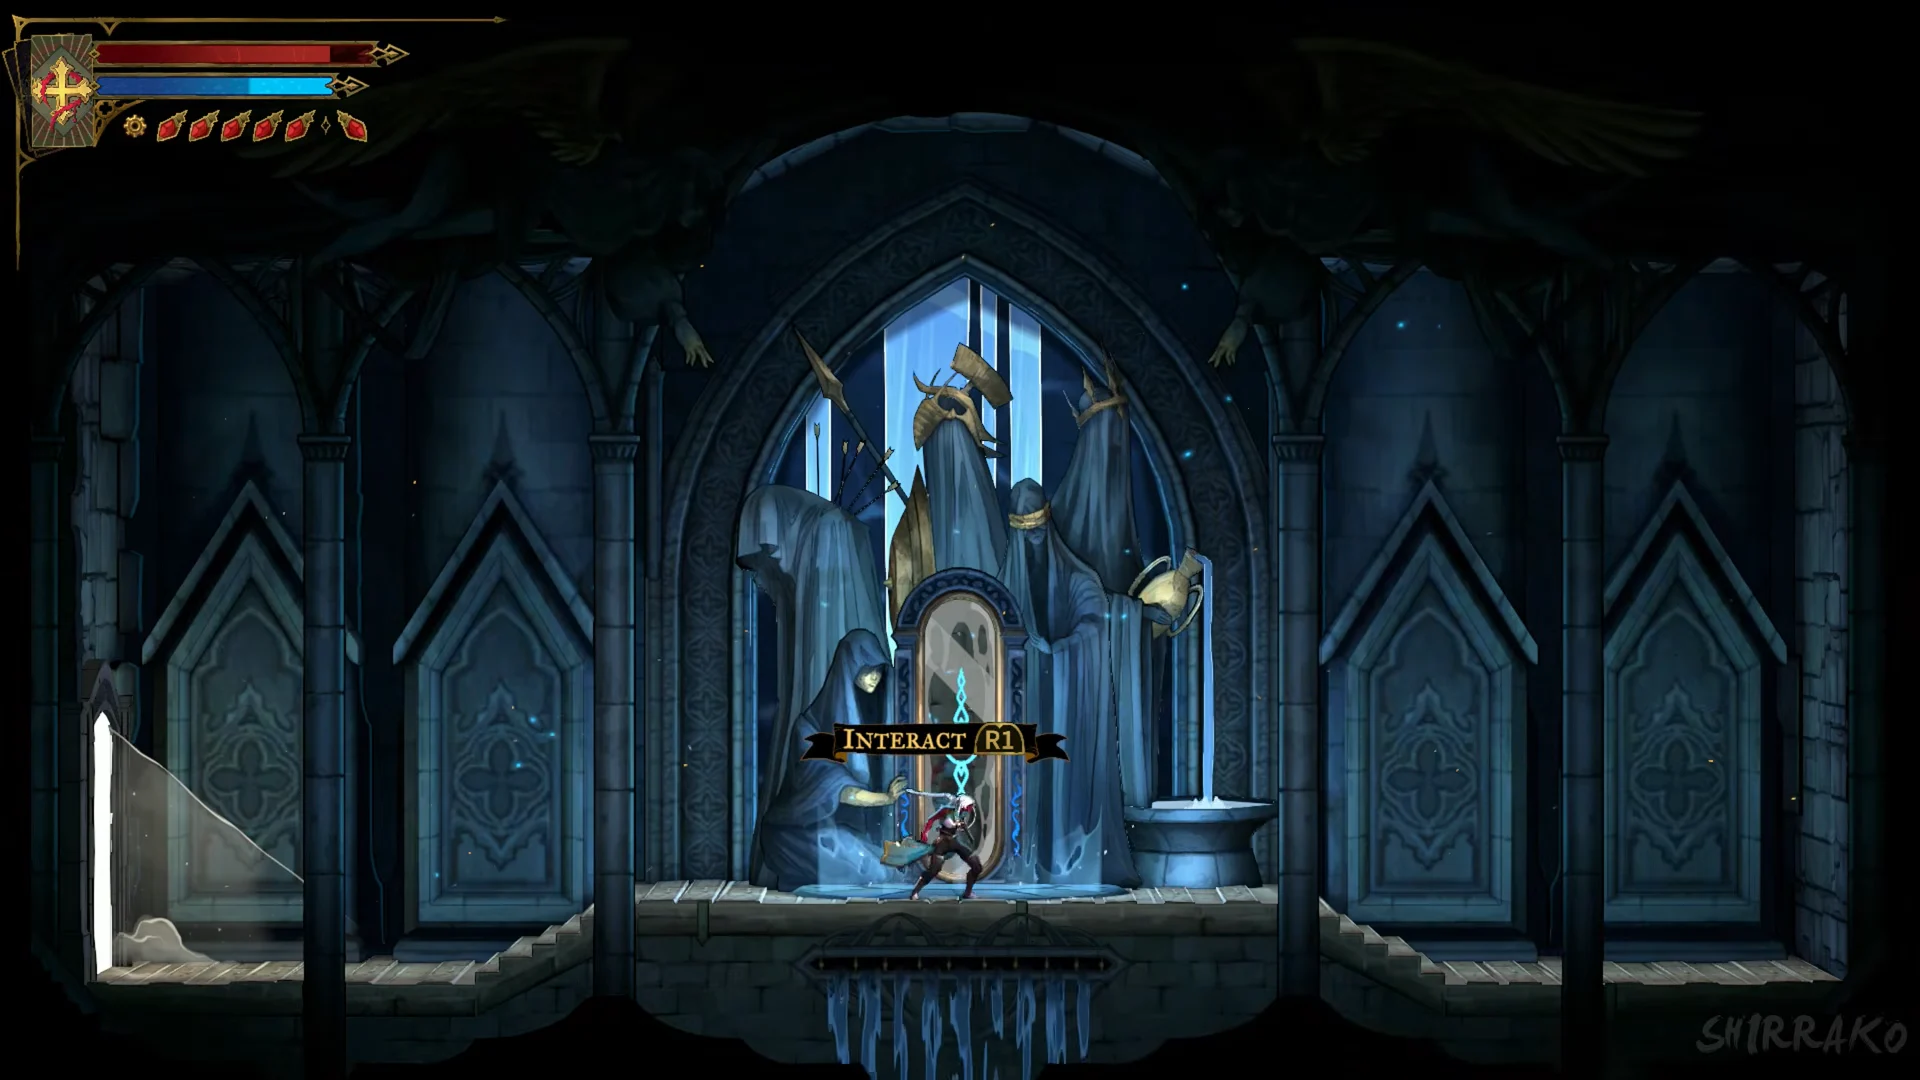
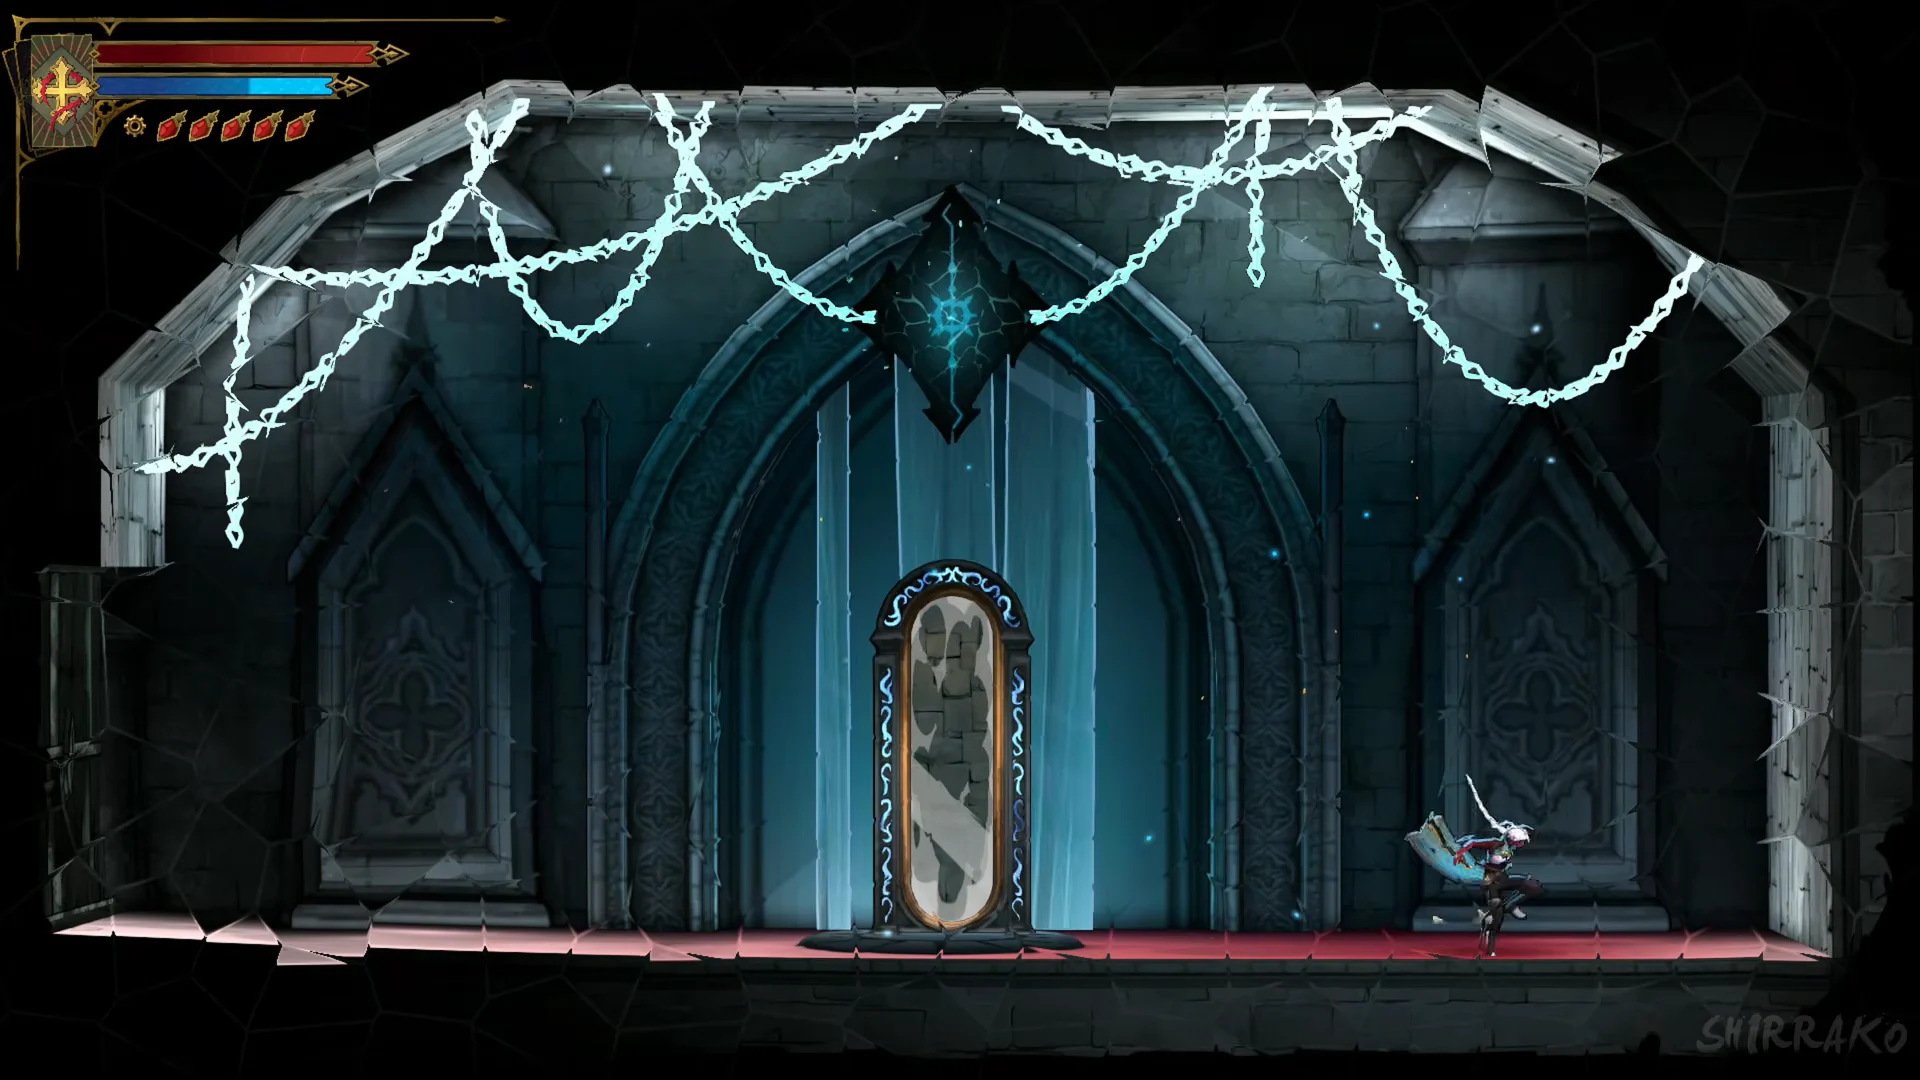
Repeat the same process at the other three Mirrors of Life. You can break the seals in any order.
What happens after the fourth seal
Once every seal is destroyed, return to the Mirror Rooms in the Main Hall. A brief cutscene begins (“What was that?”), then the chain restraining Eleanor’s mirror breaks apart. Its destruction confirms the task is complete.
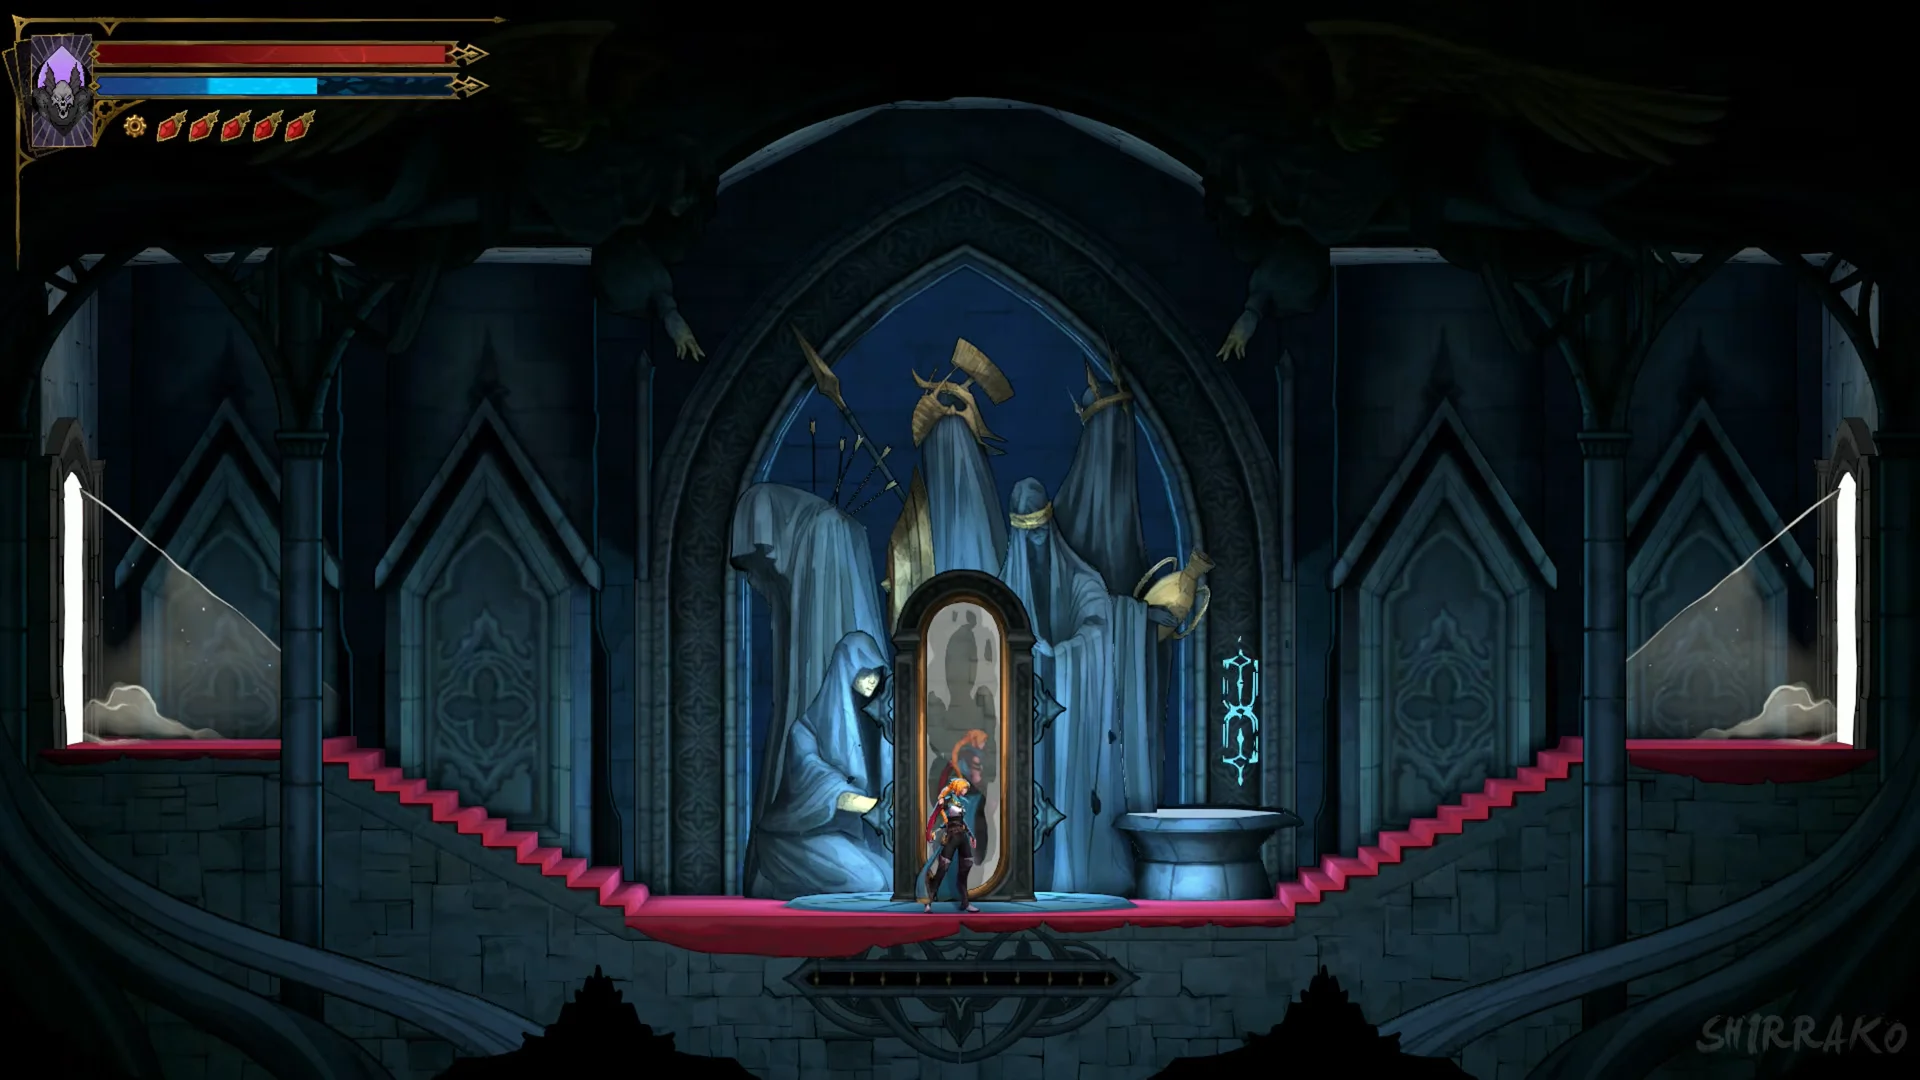
Use the freed mirror with INTERACT [R1] to enter the Hall of Mirrors maze. Its map is hidden under cloud, with the message “Something is keeping you from figuring out the area’s map”. You can read how to get through the Hall of Mirrors and find each secret area, chest and collectible in the Hall of Mirrors.
Breaking the seals releases Eleanor from the mirror, but The Sage card comes later. At the end of the maze you defeat the Succubus, Eleanor’s note “Eleanor Flees to the Cemetary” appears in the Heart of the Maze, and she waits for you in Holy Innocents’ Cemetery.
The full steps for that last stretch are in how to get The Sage arcana from Queen Eleanor, and the seals’ place in the wider story is laid out in the main route in story order.