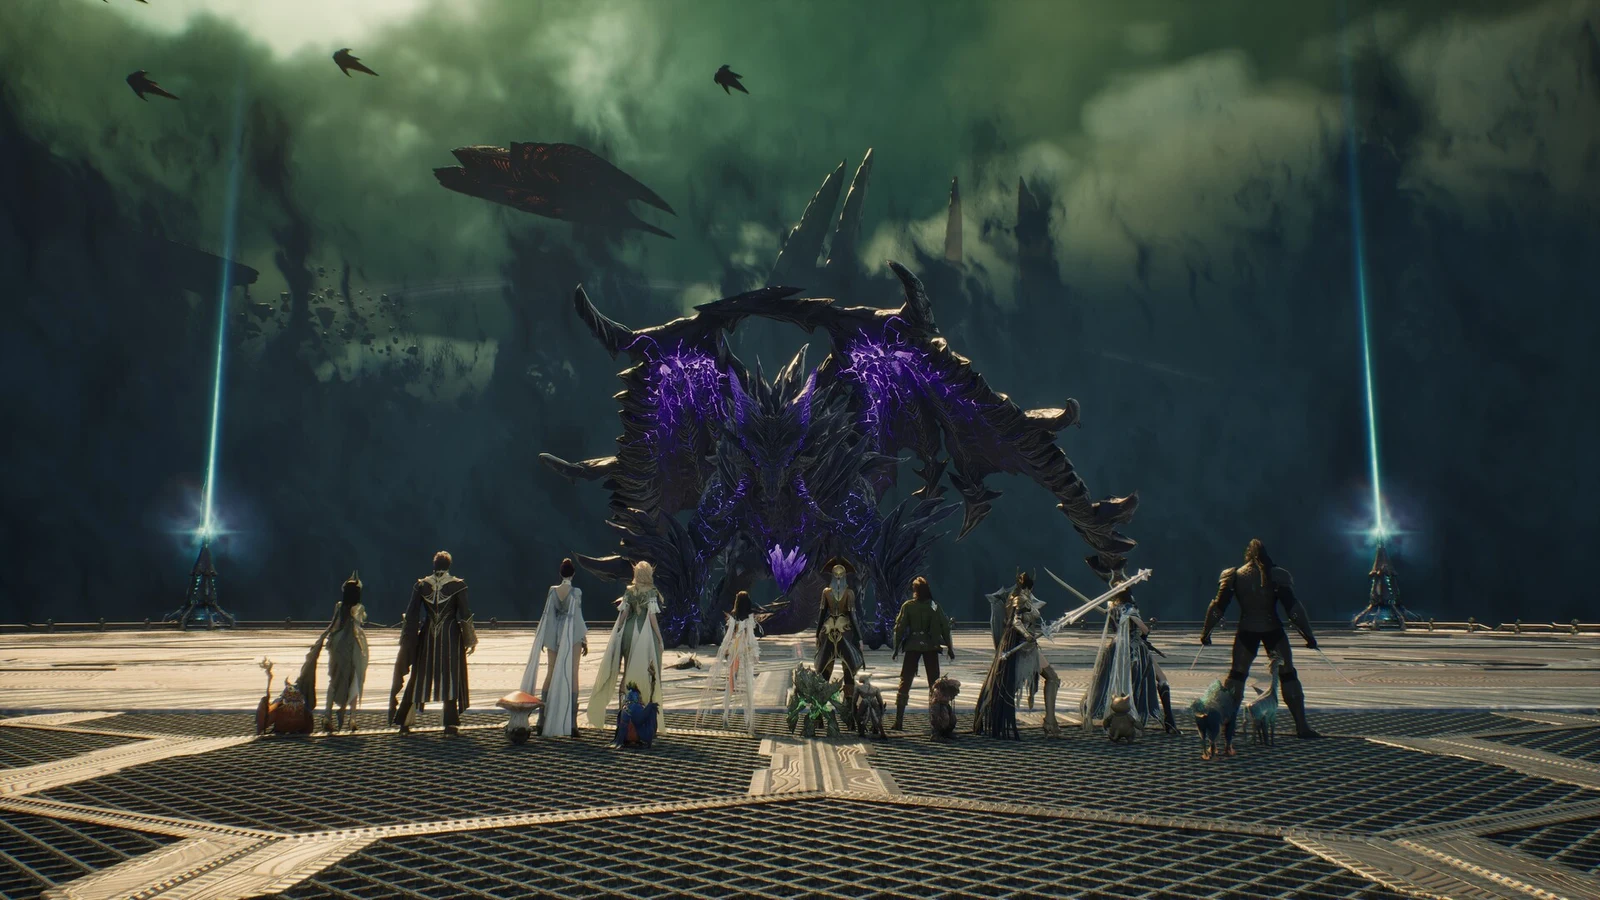
Shattered Arkanis is one of Aion 2’s Transcendence dungeons, a party instance of floating temple ruins with three level 56 bosses. Stage 4 is its top difficulty. A Templar-led group cleared it in 10 minutes and 23 seconds for an S rank, and the run shows clearly what changes at this stage.
Quick answer: Stage 4 requires a 2,500 gear score, stacks all three stage modifiers, and finishes with an Odyle Energy Cube. That cube is guaranteed to hold one Unique-grade Arcana.
Shattered Arkanis Stage 4 entry requirements and modifiers
Shattered Arkanis has two difficulties, Exploration and Transcendence. Transcendence is divided into four stages, and each one raises the gear score needed to enter. From Stage 2 onward, each stage also adds a modifier that makes the enemies harder to fight. Stage 4 is where all three modifiers apply together.
| Stage | Gear score | Modifiers active | Arcana grades |
|---|---|---|---|
| Stage 1 | 1,600 | None | Common to Rare |
| Stage 2 | 1,900 |  Poison Blood | Common to Epic |
| Stage 3 | 2,200 | Poison Blood, Elevation | Common to Unique |
| Stage 4 | 2,500 | Poison Blood, Elevation, Tolerance | Common to Unique, 1 Unique guaranteed |
Each modifier changes the fight in a specific way:
- Poison Blood leaves a zone where an Elite Tier 3 or higher enemy dies. Monsters inside the zone heal, and players inside it take damage over time.
- Elevation raises the damage of nearby non-boss enemies every time another non-boss enemy dies.
- Tolerance increases the stagger gauge on boss-tier enemies, so it takes more effort to break them.
The modifiers explain why pulling large groups of enemies gets worse at higher stages. Many of the regular enemies attack from range. Each kill inside a big pack also makes the survivors hit harder, and leaves red pools on the floor that heal any monster standing in them. Parties run with two to five players, and the dungeon allows three weekly entries. The Stage 4 entry menu shows a weekly cumulative play reward tracked out of 1,500.
The Shattered Arkanis route: four areas and a kill quota
The run moves through four named areas in this order: Shattered Floating Temple, Collapsed Corridor, Slanted Plaza, and Void Altar. A barrier holds the group at the entrance until a short countdown ends. After that, the dungeon is a steady push through waves of Shattered Water Spirits, Corrupted Water Spirits, and Infusion Elite Guardians on the temple stairs.
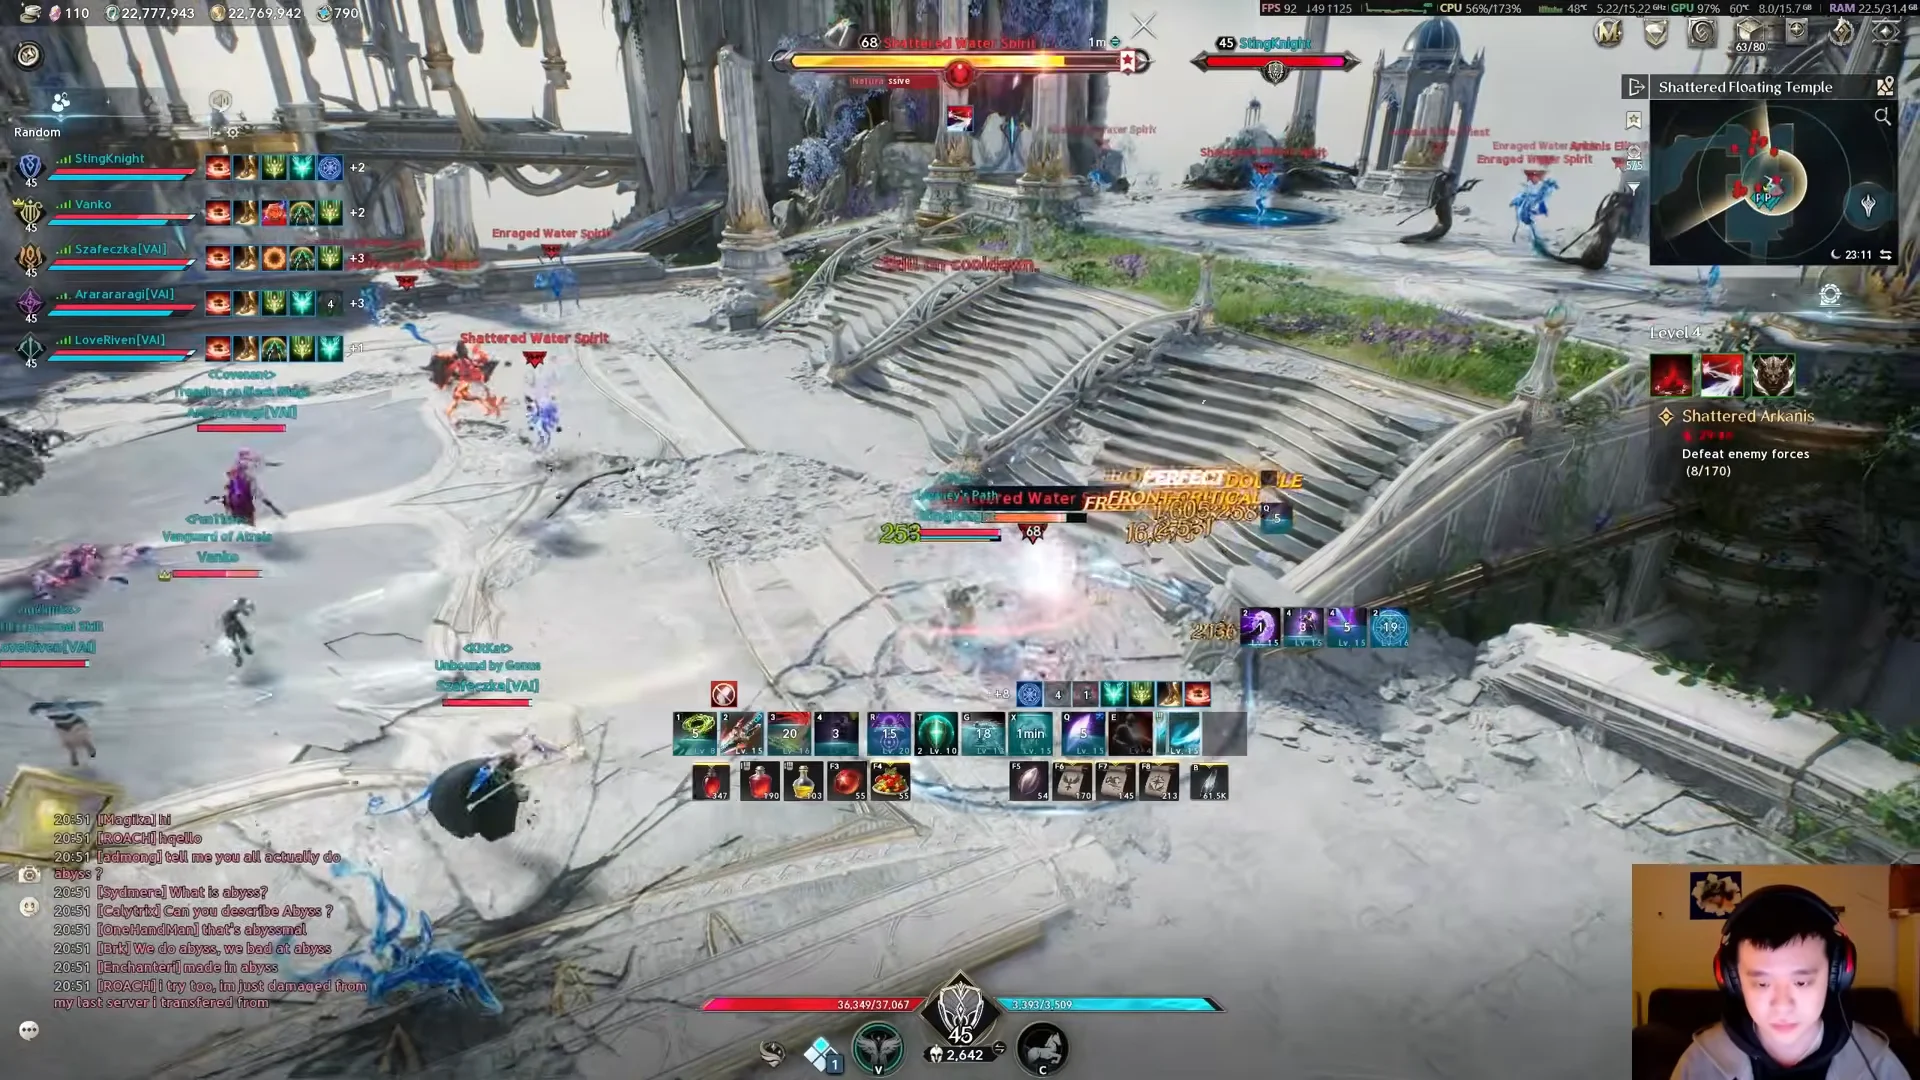
These enemies are not just filler. The final boss only appears after the party has defeated a set number of enemies, and the objective tracker counts them as “Defeat enemy forces.” That number goes up at higher stages. Each optional boss kill counts heavily toward it, which is why groups clear both mid-bosses on the way rather than skipping them. In the Stage 4 run, the party went back to sweep leftover elementals in the outer corridors to meet the requirement before moving on.
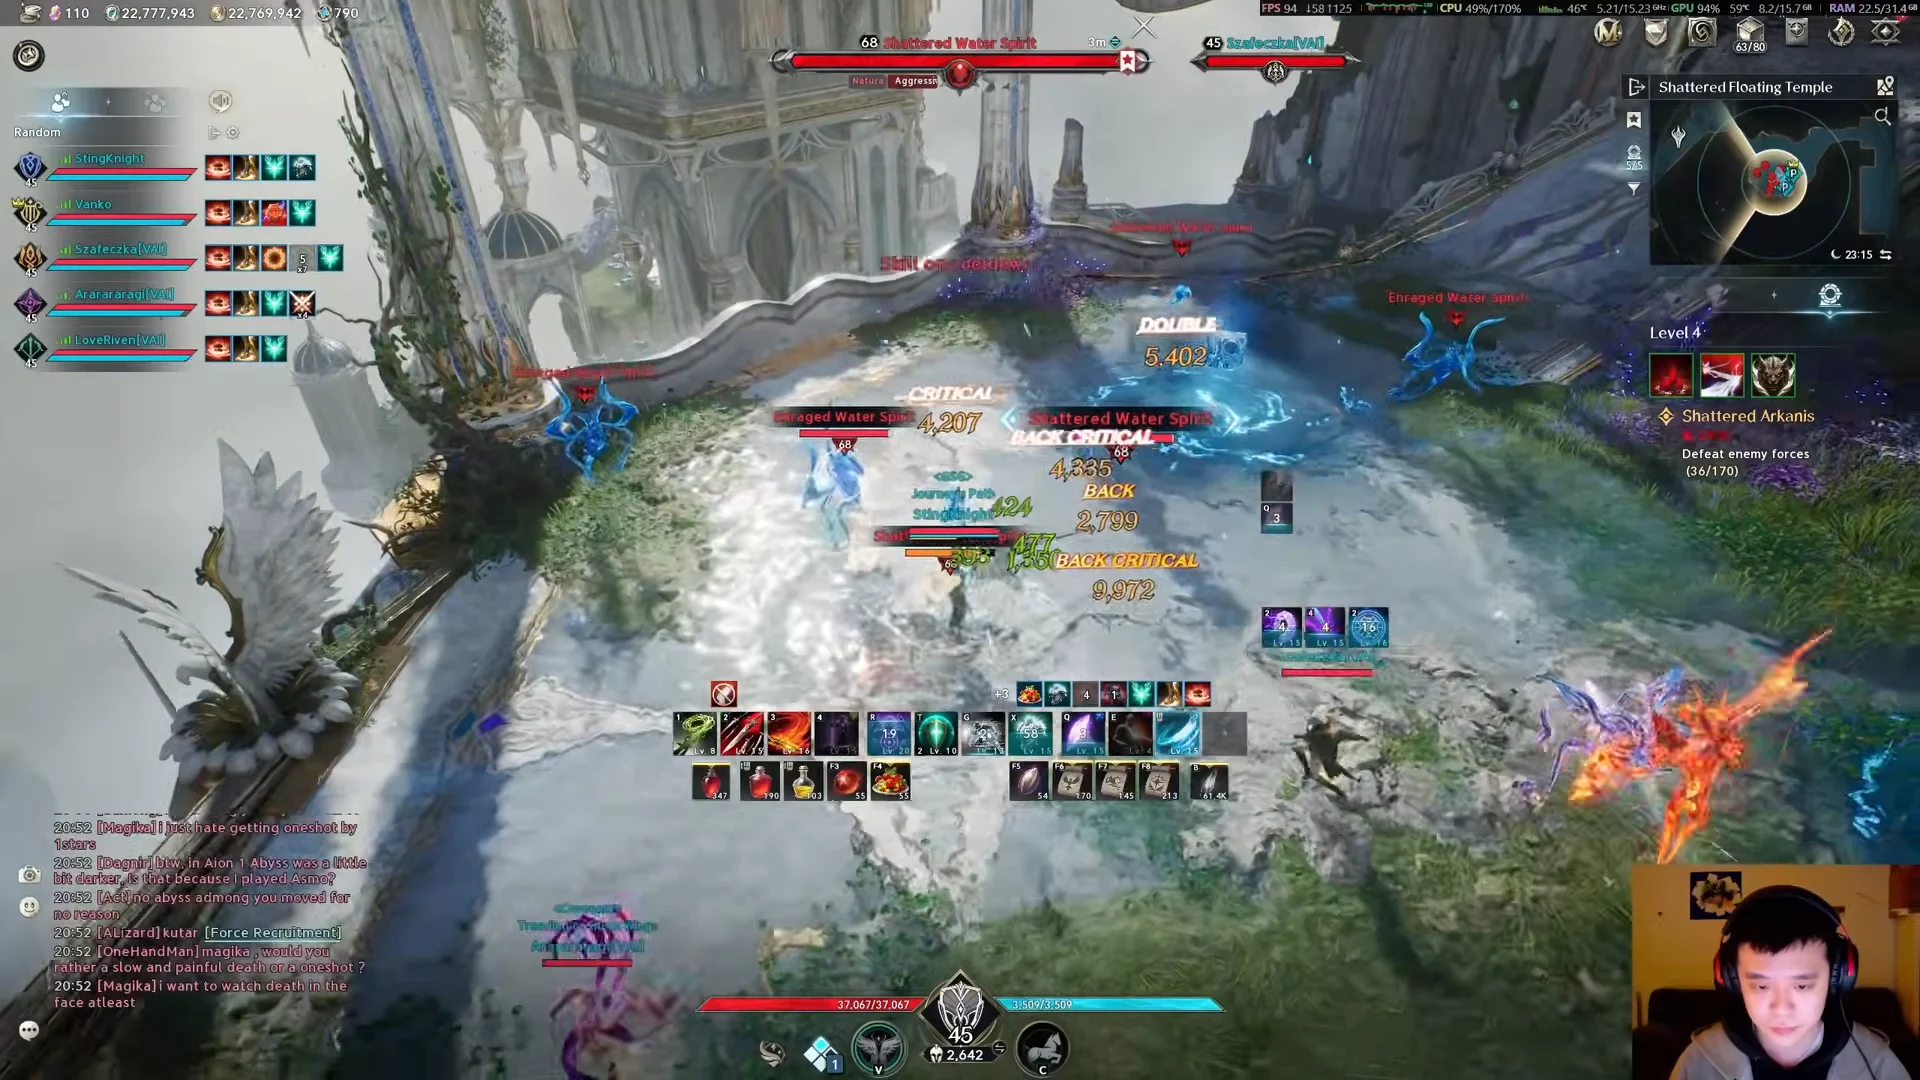
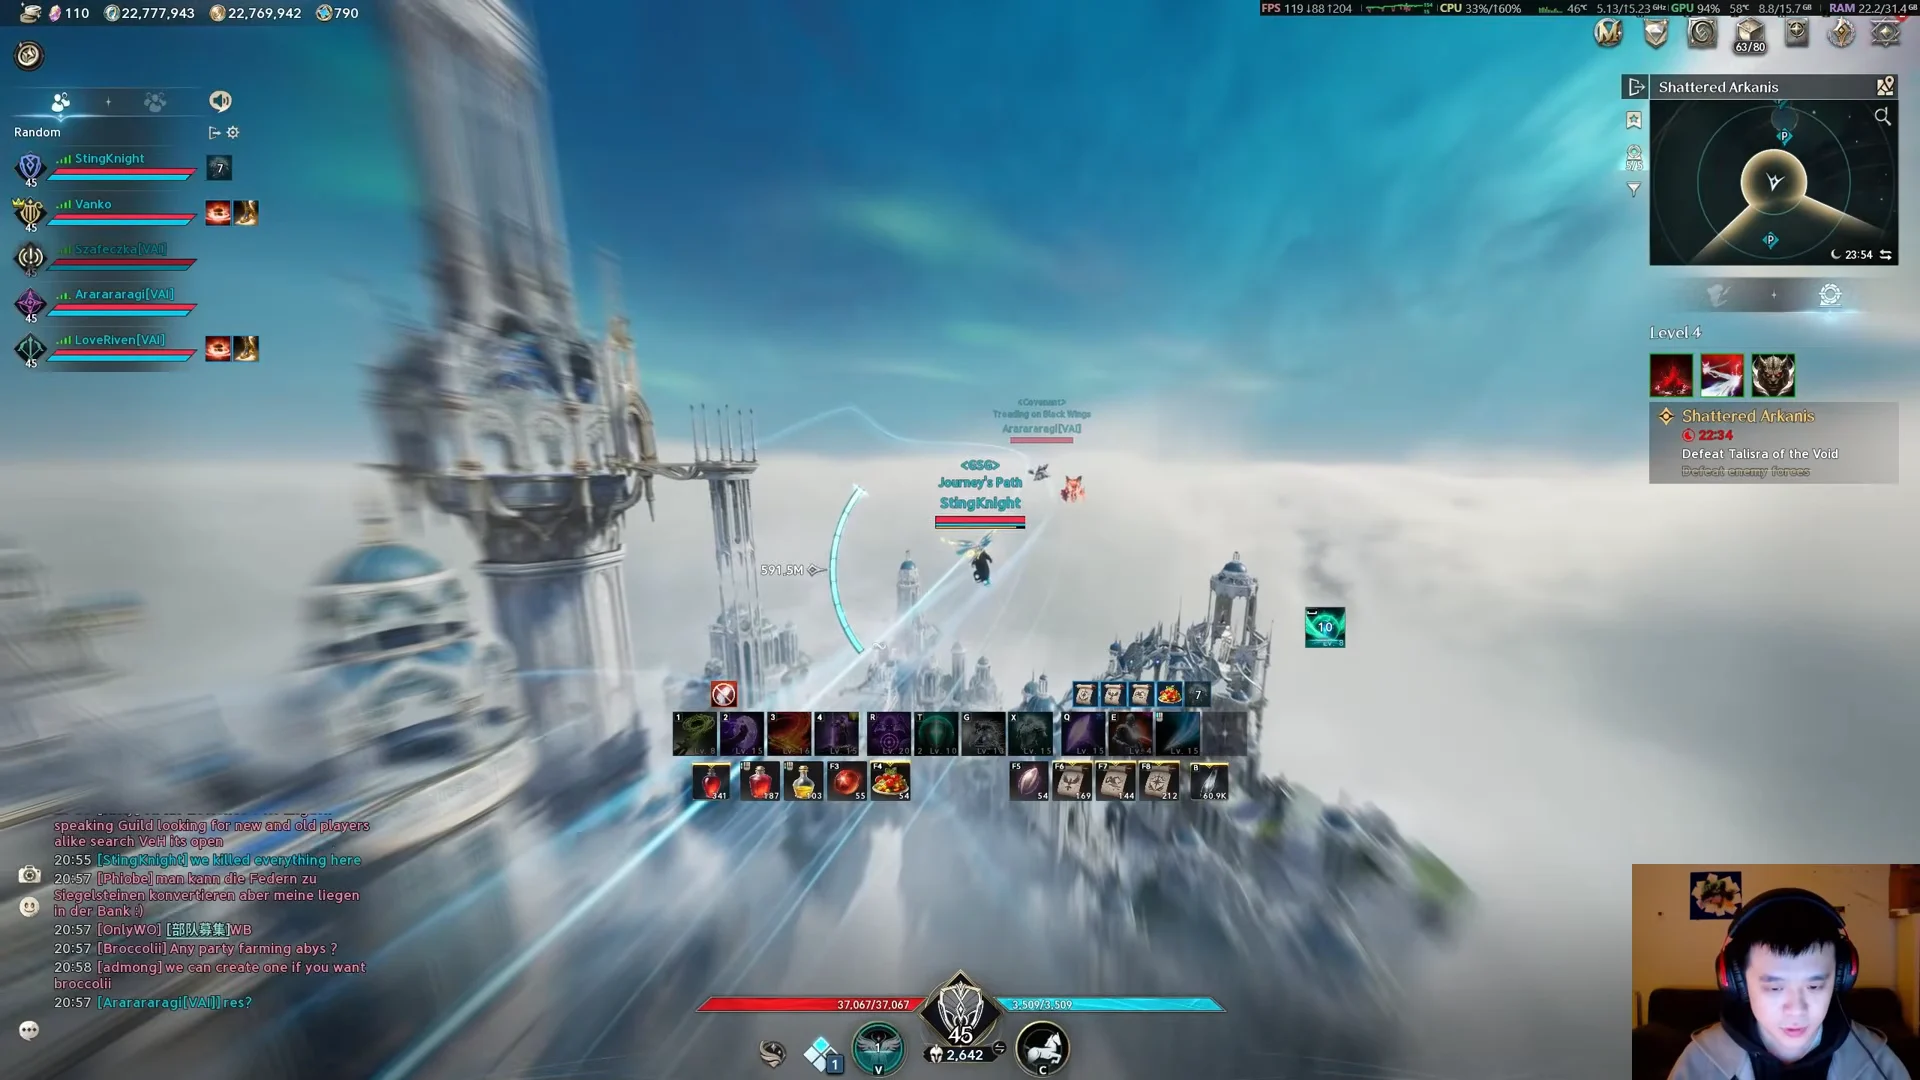
Getting between areas is part of the dungeon too. Kibelisk teleporters link sections. The Stage 4 group used one to jump to the Collapsed Corridor, then rode an updraft windstream across the floating spires to reach the Void Altar. Stage 4 also adds floor traps along the route that deal minor damage and slow movement.
Shattered Arkanis bosses at Stage 4
All three bosses are level 56 Cogni with hero (boss) rank. The first two are technically optional. In practice, groups kill both, since each one adds its loot to the end-of-run cube and pushes the kill quota forward.
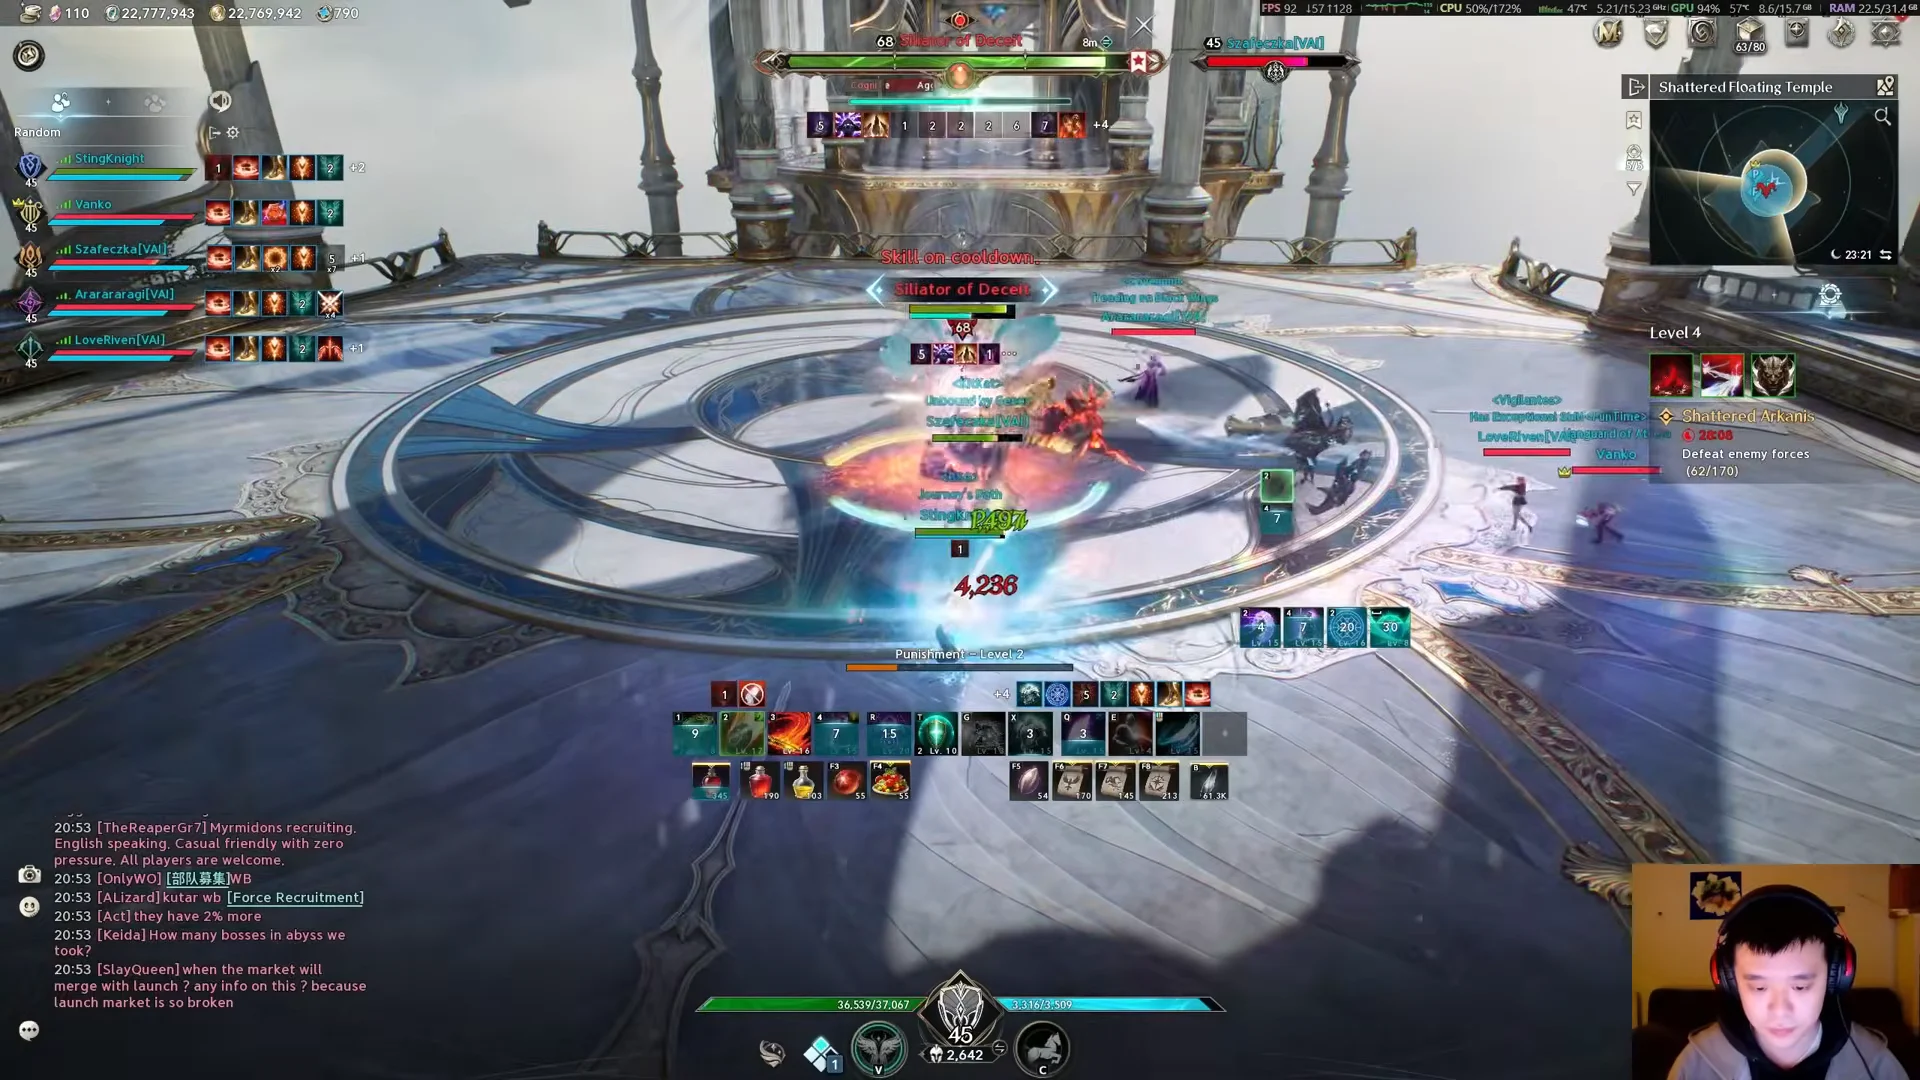
Siliator of Deceit (Shattered Floating Temple)
Siliator fights in a circular chamber of the temple and is built around chakrams. When it drops to about 70% health, it locks onto two players and throws a chakram along each of their paths. A chakram does continuous heavy damage to anyone it touches, but two chakrams cancel out if they hit each other. The two targeted players can line up so the chakrams collide. The boss also throws a spread of chakrams and then pulls them back, and the return path deals big damage. The edge of the arena shows where they will land. Higher stages add a frost zone pattern on top of this.

Ruthilis of Pain (Collapsed Corridor)
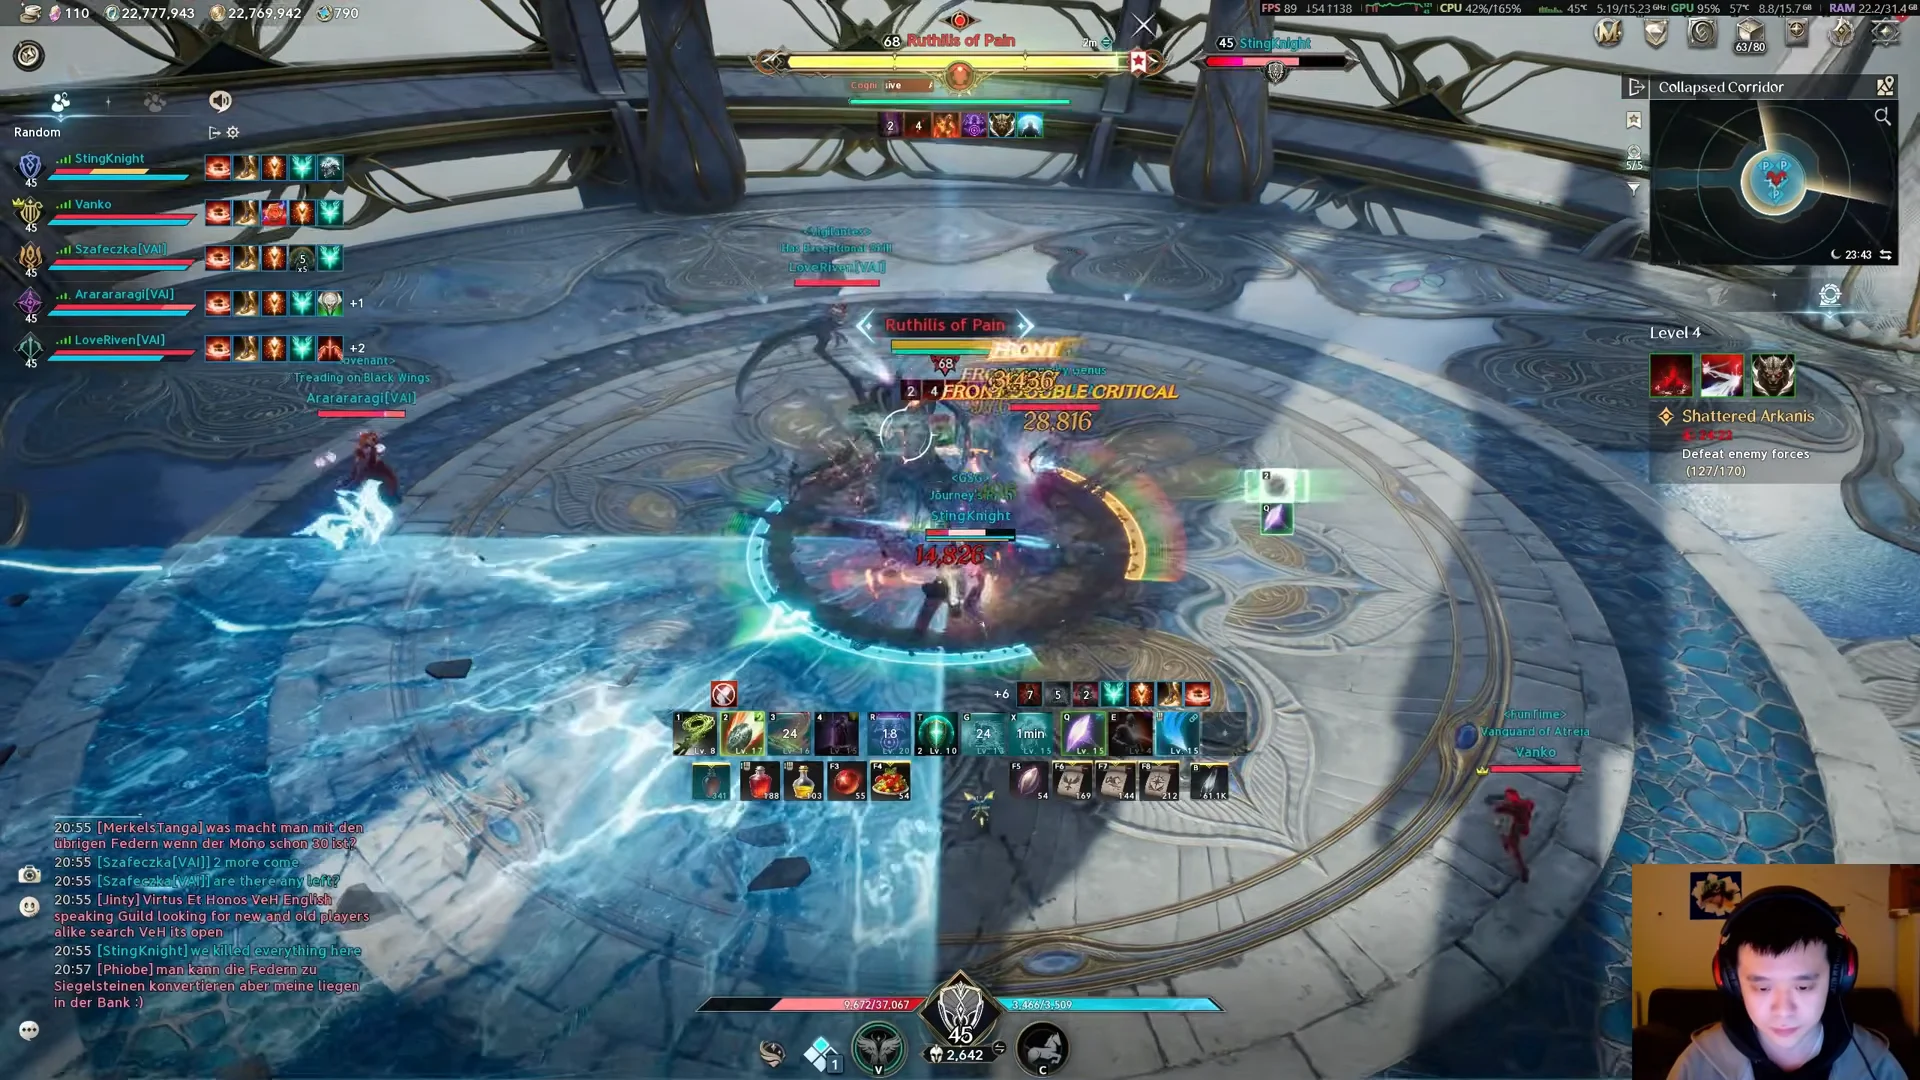
Ruthilis turns its round arena into a hazard map. Lightning strikes leave electrified ground that stays active for a long time, which keeps shrinking the space players can safely stand on. Large blue water area attacks and lines of lightning across the floor make the space even tighter. The boss also targets the player farthest away with a gap-closing melee strike followed by a big shockwave, and staying close to the boss avoids that damage.

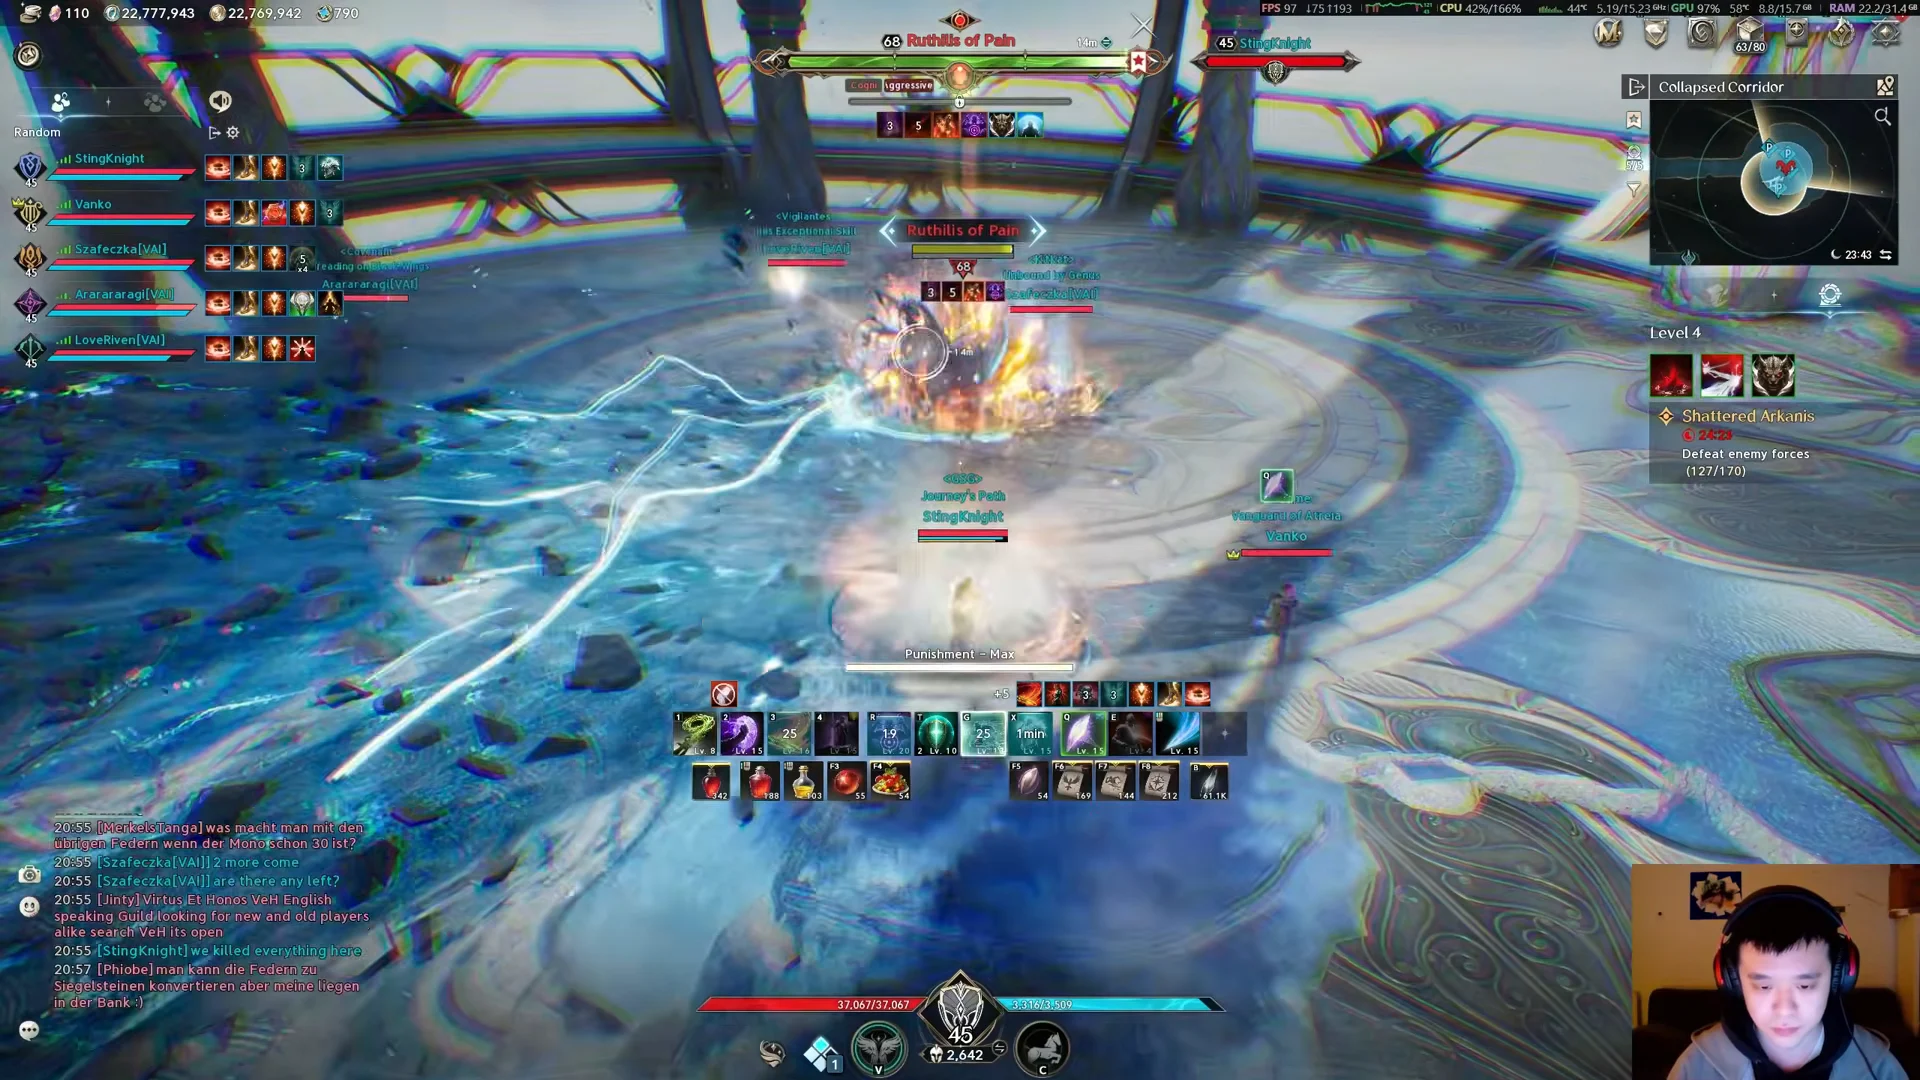
Its most disruptive attack is a series of lightning bolts that follow one player around. Anyone who gets hit receives a timed debuff, marked by a white ring around their character. When it expires, a ring of lightning bursts out and damages everyone nearby. Players with the ring need to stay away from the rest of the group.
Talisra of the Void (Void Altar)
The final fight takes place on a floating platform covered in shallow water, and it revolves around light and dark. Before the pull, the Stage 4 group assigned each player a color, Black or White. At about 70% health, Talisra moves to the center of the arena and fires light and dark projectiles inward from the edges. Each projectile that reaches her makes her stronger, so players intercept them. A player can only hold one color at a time. Touching the opposite color stuns that player and wipes the projectiles they have already collected. Players who have collected enough are then covered by protective domes that shield against the following area attack. The order in which Talisra’s crystal flashes tells players which dome color to stand under. The whole sequence repeats at about 40% health.

Stage 4 adds more on top of that. The Refracting Spear pattern traps party members inside crystals, and the spear has to be guided into the crystal to free them. Pillars of fire also circle the boss at the highest stages. Talisra also uses a two-part ring attack that travels outward and then back inward, and well-timed jumps avoid it. Her voice lines warn players before each phase:
“White sphere of judgment, condemn my enemies!”
“With this spear, forged of light and dark, you shall be judged!”
Deaths are expensive here. At lower stages, defeated players have revived at the nearest Kibelisk and flown back, or used a Resurrection Spellstone to get up on the spot. A Cleric in the party adds another option.
Stage 4 results screen: what an S rank looks like
When Talisra goes down, the Transcendence Complete screen grades the run. The Stage 4 clear scored as follows:
| Result field | Stage 4 value |
|---|---|
| Rank | S |
| Challenge Level | 4 |
| Time taken | 10:23 |
| Rank Points | 4,425 |
| Rank Score | 425 |
| Time Score | 154 |
| Monster Defeated | 76 |
| Unique Monster Defeated | 80 |
| Bonus Score | 115 |
Lower stages give a useful comparison. A Stage 3 Templar run that wiped once on the final boss finished in 17:05 with an A rank and 3,244 Rank Points. A Stage 2 run reached an S rank in 13:12 with 2,275 Rank Points. Time clearly matters for the grade. The Stage 4 group was faster than both while fighting stronger enemies.
Odyle Energy Cube rewards and boss drop rates
Loot does not drop directly at the end. An Odyle Energy Cube appears in the arena, and each defeated boss adds its loot pool to it. Opening the cube costs Odyle Energy, a resource capped at 560, or 840 with a membership. The Odyle Energy recharge item adds 40 at a time. It requires level 20, stacks to 1,000, cannot be traded, and powers the cubes that appear after Expedition, Transcendence, and Sanctuary clears. A run with no energy left ends without loot.

Shattered Arkanis is one of the main sources of Arcana. Its Mirror and Parchment Arcana come only from here, while Chalice Arcana also drops. Siliator of Deceit and Ruthilis of Pain have the same 13-item drop table:
| Drop | Grade | Chance |
|---|---|---|
 Soul Codex (Bound) | Special | 40% |
 Amplify Stone Fragment (Unique) (Bound) | Unique | 20% |
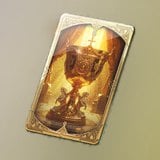 Arcana: Chalice of Vigor (Bound) | Common | 20% |
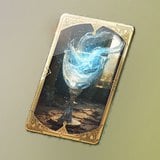 Arcana: Chalice of Magic (Bound) | Common | 20% |
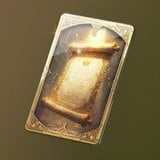 Arcana: Parchment of Vigor (Bound) | Common | 11.3% |
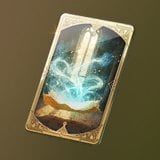 Arcana: Parchment of Magic (Bound) | Common | 11.3% |
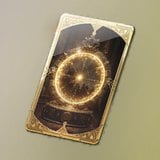 Arcana: Mirror of Vigor (Bound) | Common | 11.3% |
 Arcana: Mirror of Magic (Bound) | Common | 11.3% |
| Lesser Manastone (Bound) | Common | 10% |
| Lesser Soulstone (Bound) | Common | 10% |
 Intermediate Manastone (Bound) | Common | 2.0% |
 Intermediate Soulstone (Bound) | Common | 2.0% |
| Kina | Common | — |
Talisra of the Void also drops the Amplify Stone Fragment (Unique) at 20%, the same rate as the two mid-bosses. Across the whole dungeon there are 14 obtainable items. Beyond the boss tables above, that list includes Enhance Stone and Silentium (Bound). The Stage 4 cube is also guaranteed to contain one Unique-grade Arcana, which no lower stage offers.
The Templar’s job in Shattered Arkanis
The Templar is Aion 2’s dedicated tank. It is listed only as Tank, while the Gladiator splits between Tank and Dealer. It uses a Longsword with a shield and has 36 skills in total. Its regular kit includes taunts and defensive tools such as Insulting Roar, Ironclad Defense, Block Pain, Warding Shield, and Survival Willpower. Its stigma pool includes Taunt, Doom Shield, Nezekan’s Shield, Shield of Protection, and Battlefield Banner. In the Stage 4 footage, the Templar holds the bosses’ attention and absorbs Talisra’s judgment attacks, with potions set to use automatically at 70% HP.
Party makeup decides how much pressure lands on that tank. Here is how each class fits in:
| Class | Main weapon | Party roles | Skill total |
|---|---|---|---|
| Templar | Longsword | Tank | 36 |
| Gladiator | Greatsword | Tank, Dealer | 39 |
| Cleric | Mace | Healer | 36 |
| Chanter | Staff | Healer, Dealer | 37 |
| Ranger | Bow | Dealer | 37 |
| Assassin | Dagger | Dealer | 38 |
| Sorcerer | Spellbook | Dealer | 39 |
| Spiritmaster | Orb | Dealer | 44 |
The Brawler, a Fist-wielding Dealer with 36 skills, was unavailable at global launch. For a death on Talisra’s platform, the Cleric’s Summon Resurrection is the most direct solution. This level 22 stigma skill uses 1 stigma point and has a 120-second cooldown. You can cast it while moving to bring back a dead party member no more than 40m away, and its effects grow with each level up to 25:
- Level 5: casting time drops by 1 second
- Level 10: 3 seconds of invincibility after the revive
- Level 15: the revived player comes back with 20% of Max HP
- Level 20: invincibility after the revive lasts 5 seconds
Stage 4 does not add new bosses. It adds more pressure to the same three. Enemies hit harder, bosses take longer to stagger, the kill quota grows, and the final fight adds crystal traps and fire pillars. In return, the cube carries a guaranteed Unique Arcana, which is the reason to clear Shattered Arkanis at Stage 4.