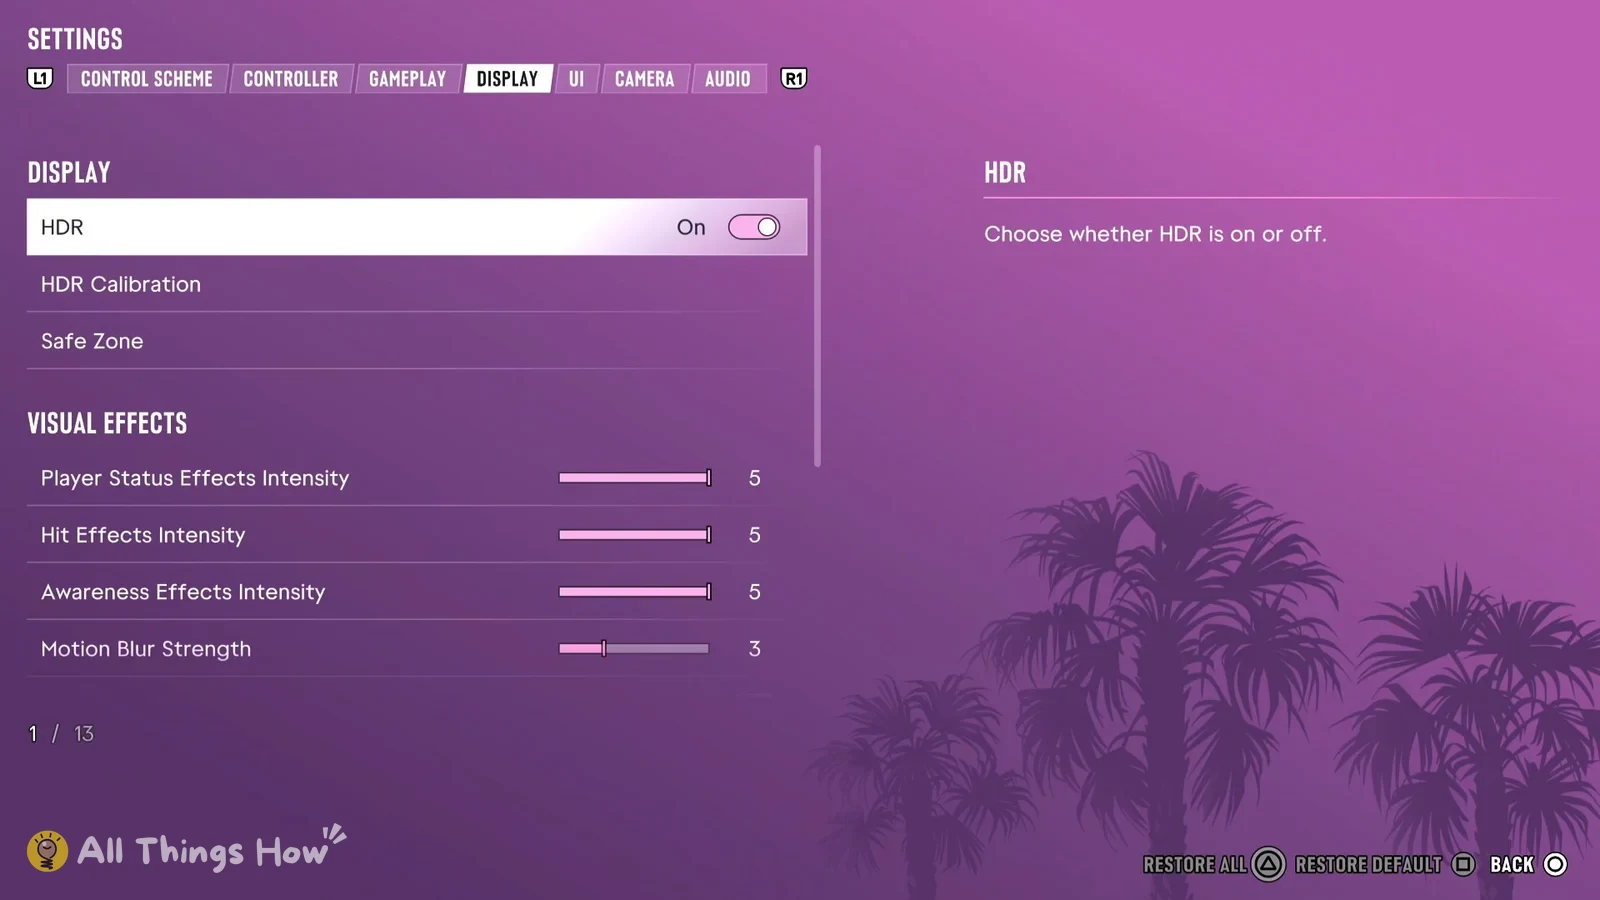
The first time you launch GTA 6 on PS5, its HDR Calibration screen appears during setup, before gameplay starts. If you skipped it or the picture looks washed out or too dark, you can reopen it from the pause menu whenever you want.
Quick answer: Pause, then go to Settings > Display > HDR Calibration. HDR is On by default. Adjust Max Brightness (600), Black Levels (50) and Paper White (50) against the three test images, then press Cross.
How to calibrate HDR in GTA 6
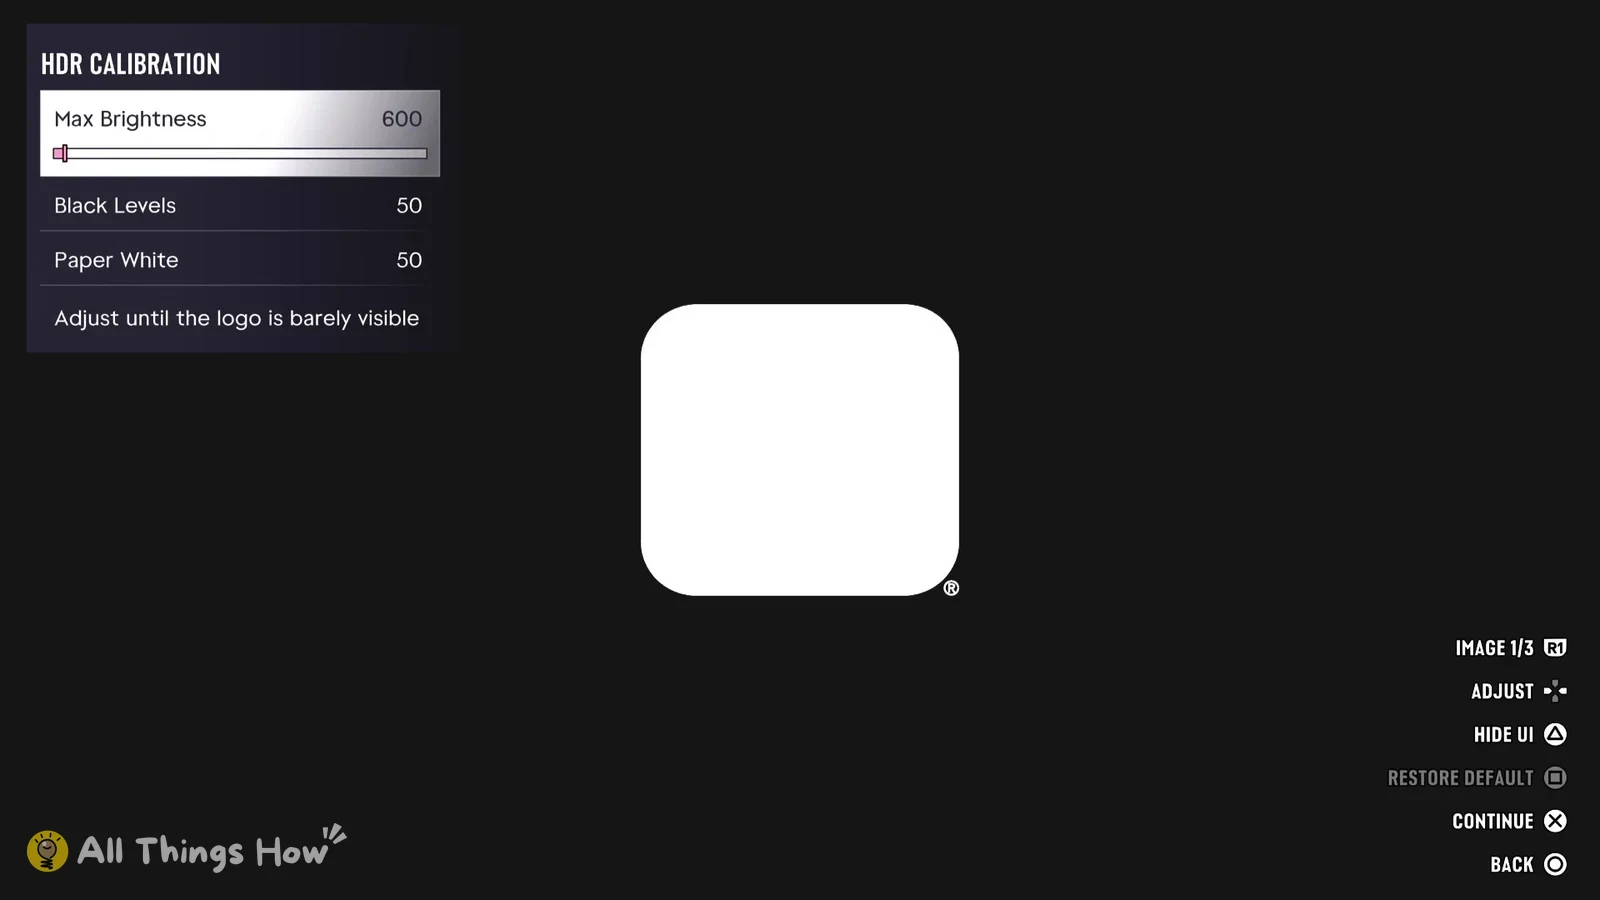
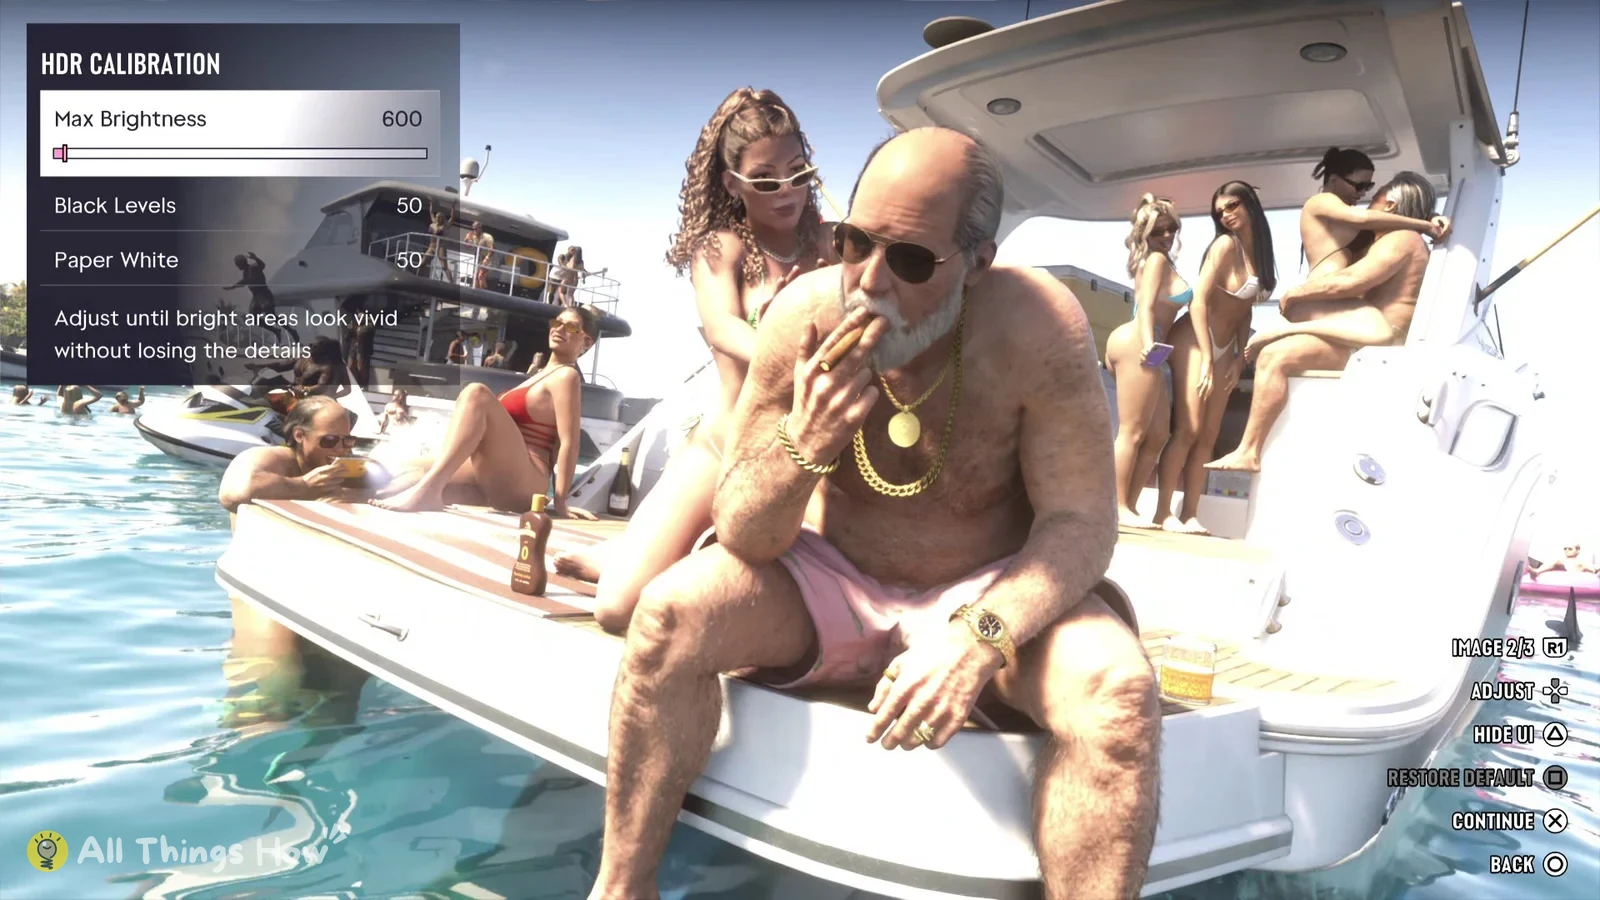
The right numbers for Max Brightness, Black Levels and Paper White depend on your TV, so there’s no single value that works for everyone. Follow the instruction the game gives for each slider and image instead of copying someone else’s numbers.
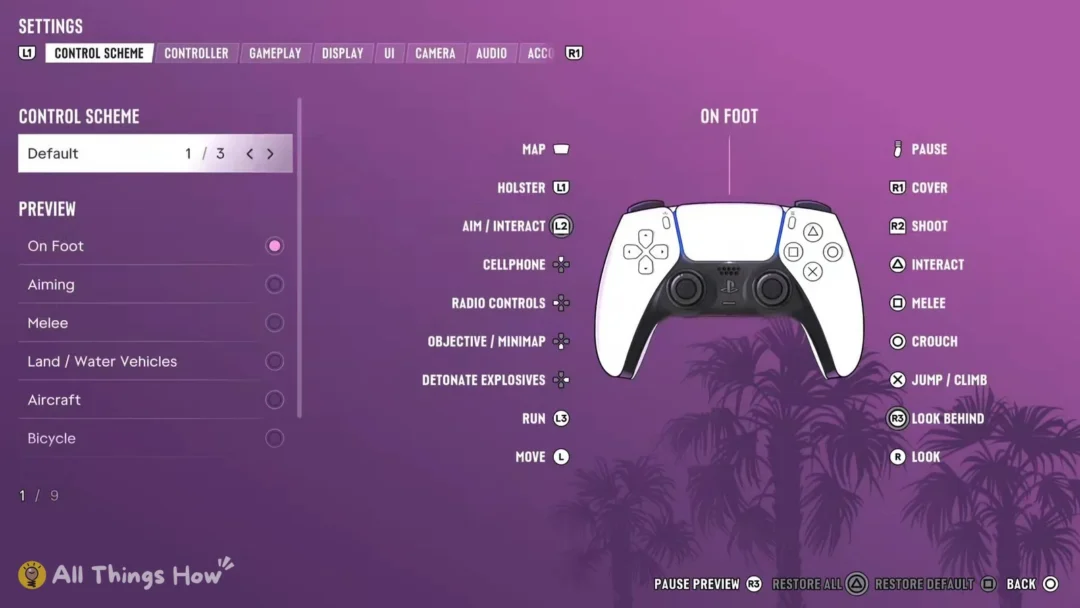
If you push a slider too far and lose track of where it started, press Square to restore the default for that slider. Circle backs out of the screen.
| Button | What it does on HDR Calibration |
|---|---|
| D-pad | Adjust the selected slider |
| R1 | Switch test image |
| Triangle | Hide UI |
| Square | Restore Default |
| Cross | Continue |
| Circle | Back |
GTA 6 Display tab settings and defaults
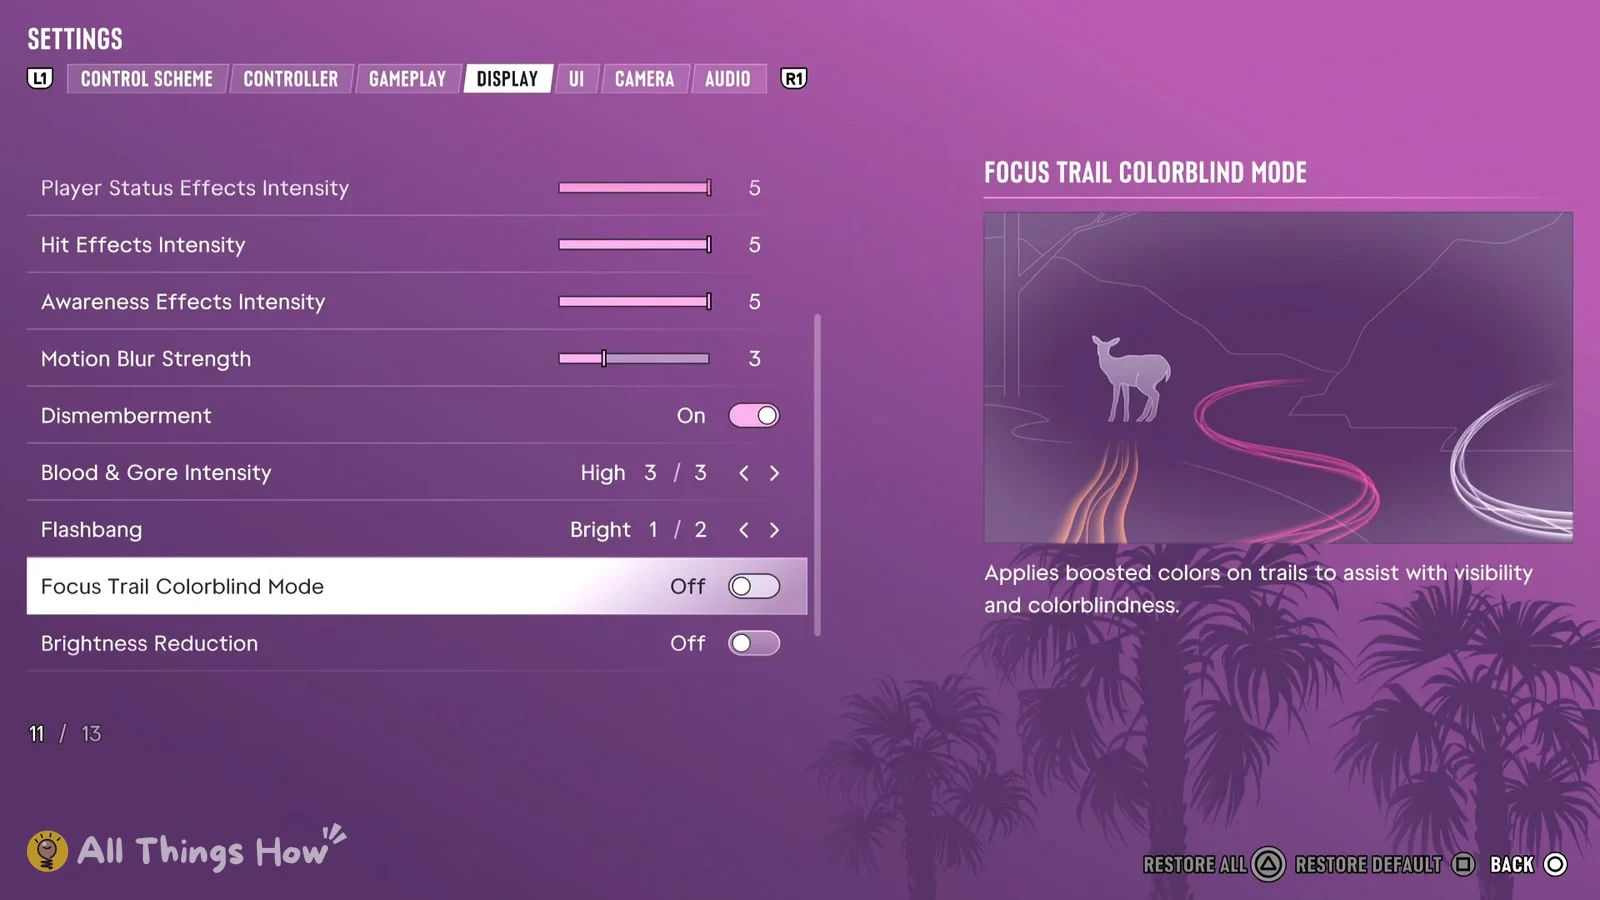
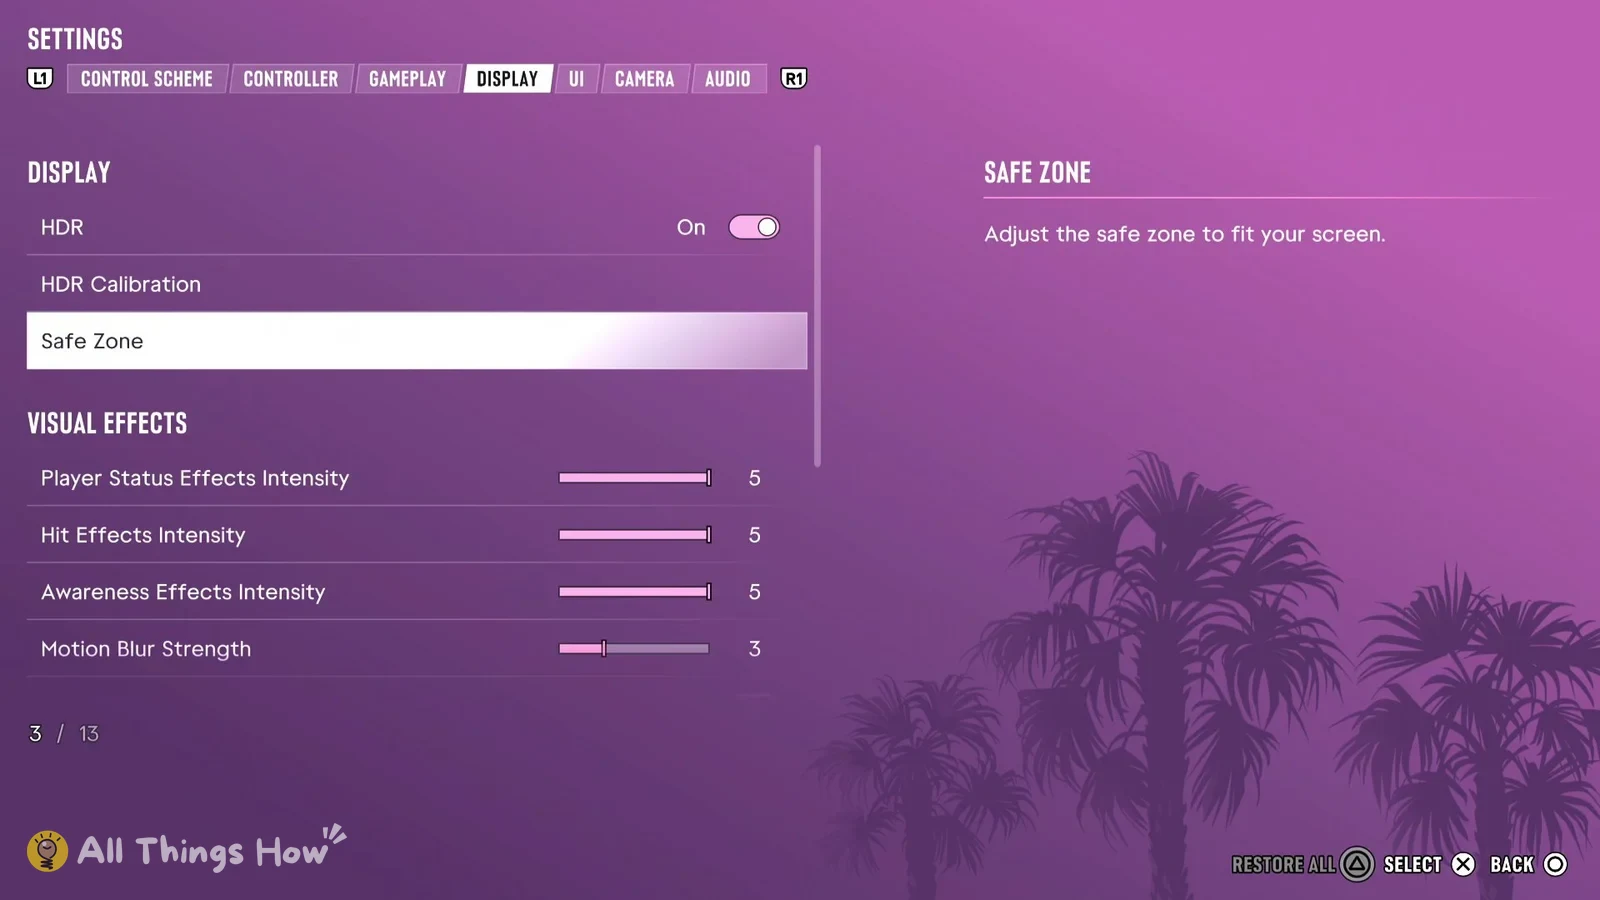
The Display tab has 13 rows split into two groups, DISPLAY and VISUAL EFFECTS. These are the values on a fresh install.
| Setting | Group | Default |
|---|---|---|
| HDR | DISPLAY | On |
| HDR Calibration | DISPLAY | Opens calibration screen |
| Safe Zone | DISPLAY | Adjustable |
| Player Status Effects Intensity | VISUAL EFFECTS | 5 |
| Hit Effects Intensity | VISUAL EFFECTS | 5 |
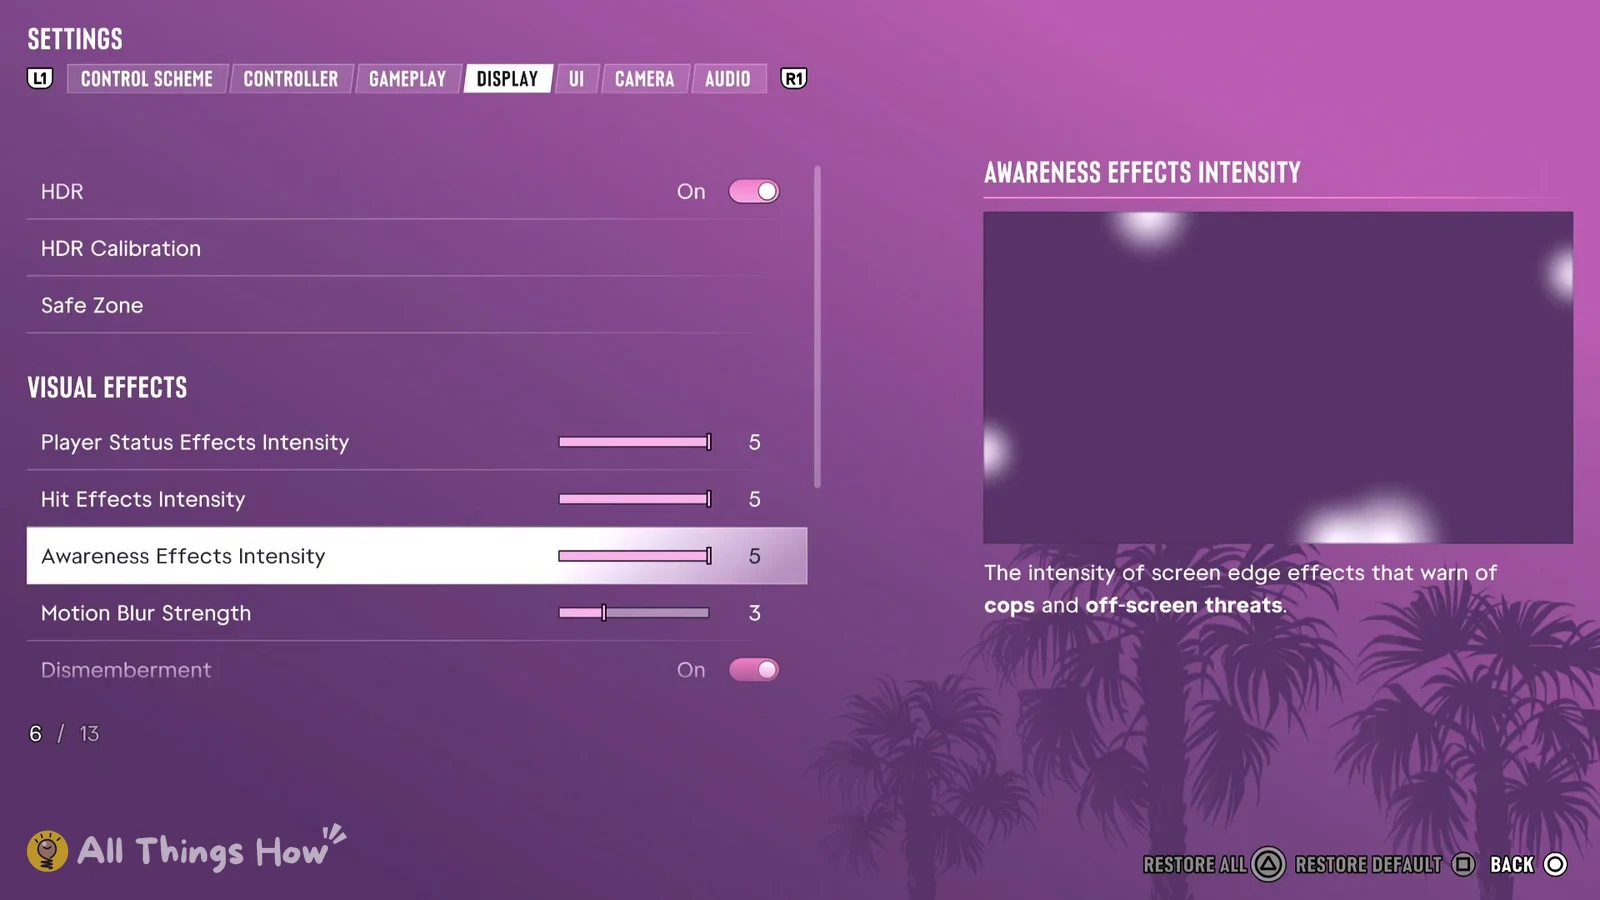
| Awareness Effects Intensity | VISUAL EFFECTS | 5 |
| Motion Blur Strength | VISUAL EFFECTS | 3 |
| Dismemberment | VISUAL EFFECTS | On |
| Blood & Gore Intensity | VISUAL EFFECTS | High |
| Flashbang | VISUAL EFFECTS | Bright |
| Focus Trail Colorblind Mode | VISUAL EFFECTS | Off |
| Brightness Reduction | VISUAL EFFECTS | Off |
Safe Zone’s description reads “Adjust the safe zone to fit your screen.” Awareness Effects Intensity covers “The intensity of screen edge effects that warn of cops and off-screen threats.” and Focus Trail Colorblind Mode “Applies boosted colors on trails to assist with visibility and colorblindness.” The three intensity sliders at the top of VISUAL EFFECTS all start at 5, which is the top of their range.
At the bottom of the tab, Triangle is Restore All, which puts every row back to its default, and Square is Restore Default for whichever row you have selected. Use Square if you only want to undo one change.
Motion blur, gore and flashbang settings in GTA 6
Motion Blur Strength is a slider that starts at 3. Unlike the three intensity sliders above it, it doesn’t start maxed out, so it already sits lower than they do on a fresh install.
Blood & Gore Intensity has three choices and starts on High, the last of the three. Dismemberment is a separate On or Off toggle that starts On.
Flashbang has two choices and starts on Bright, the first of them.