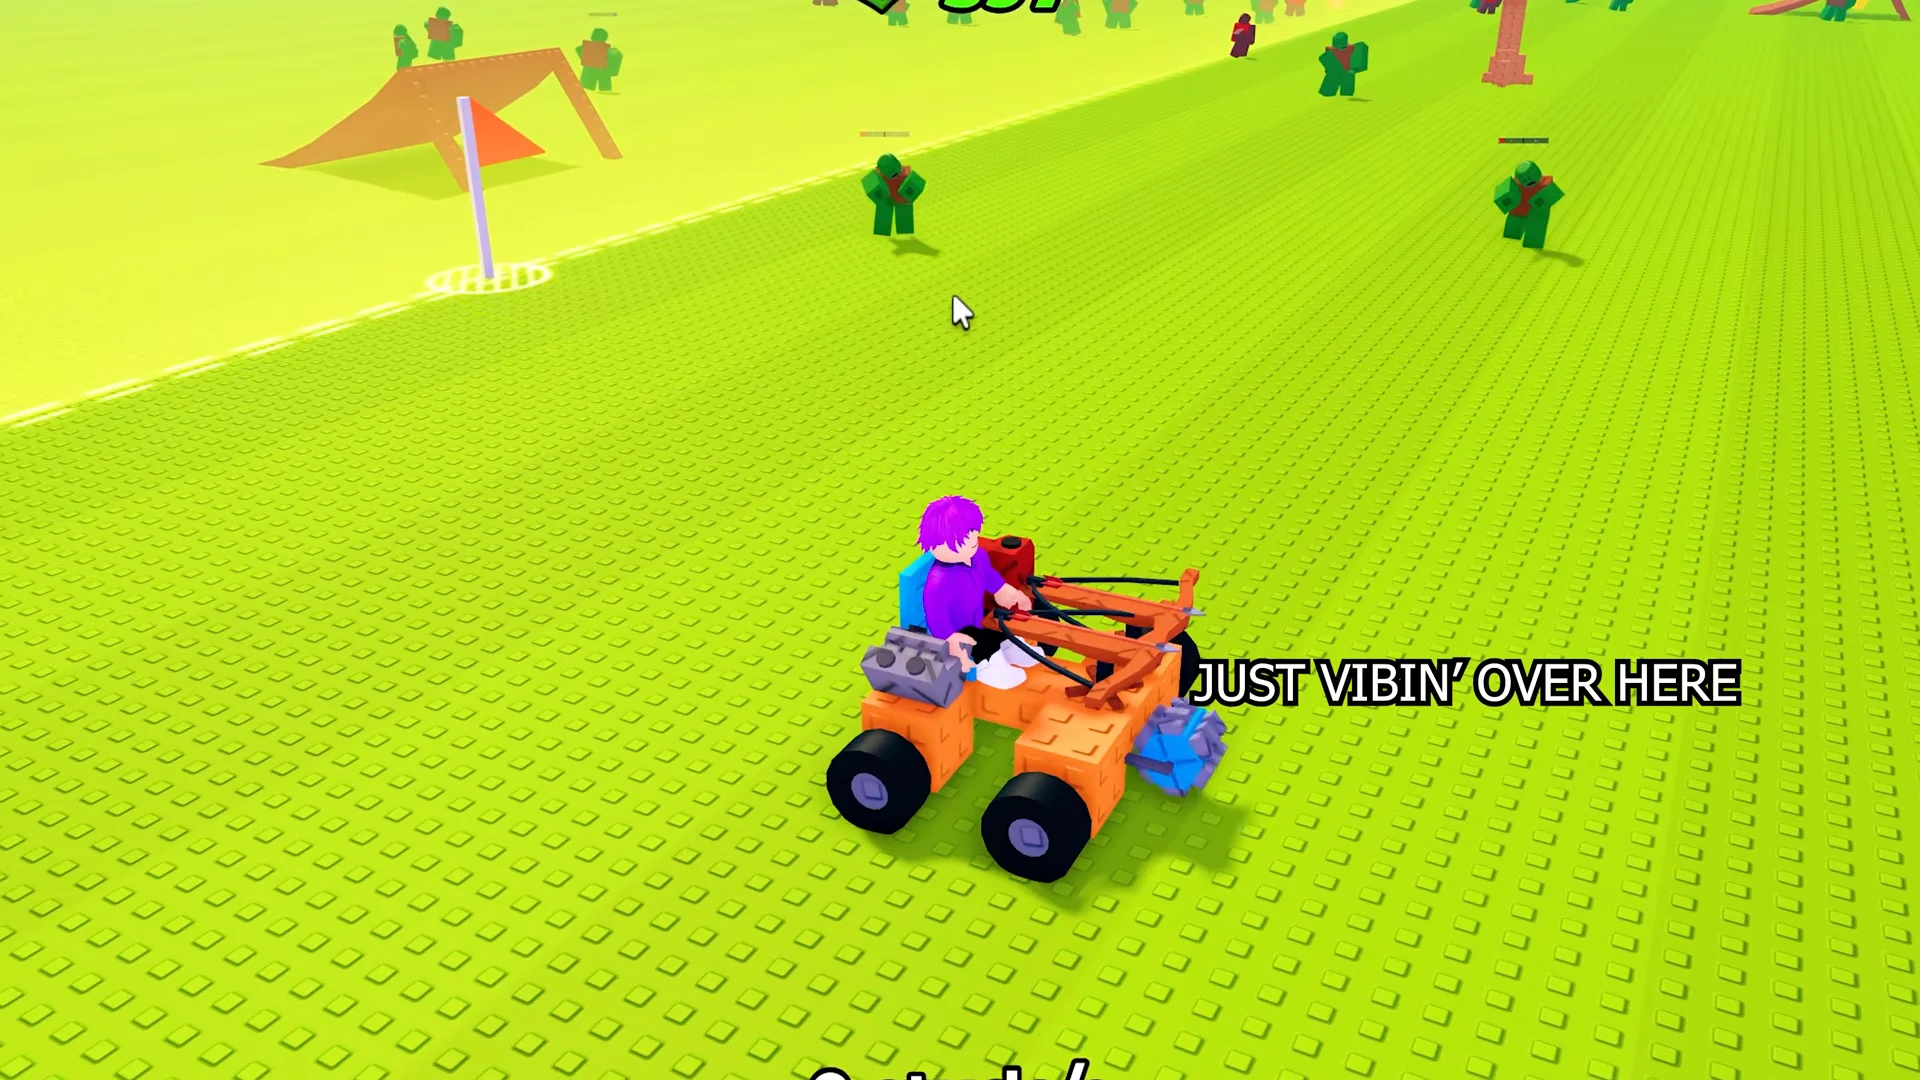
The zombie car-crushing game runs on one loop: roll for parts, bolt them onto a custom chassis, then drive as far as you can while flattening and shooting zombies for cash. Distance and kills fund better rolls, and better rolls push you into new biomes. Getting the build order right is what separates a cart that stalls at 600 studs from one that clears past 3,000.
Quick answer: Build a wide block chassis with four or more wheels, a driver seat, an engine, and a fuel tank, then mount weapons up to your support slot limit and drive to farm cash for higher-tier rolls.
How the crushing loop earns cash
A trip’s payout scales with the distance covered, with extra cash from zombies you run over or shoot. Support weapons automatically attack nearby zombies as you drive and keep firing if the vehicle stalls. At 0% fuel, it rolls to a stop. You remain seated while the guns operate until the seat or frame is destroyed.
That means a stalled car is still farming. Parking near a dense zombie pack with auto-firing weapons squeezes extra cash out of every run before the frame breaks. Take those earnings straight back to the rolling stations to pull better parts.
Build and upgrade a vehicle
The build plot holds up to 250 total components, and you start with only 2 support weapon slots. Work within those limits from the start so you do not have to tear down a finished car later.
B to bring up Build Mode, which contains the Vehicle and Weapons tabs along with the Clear Plot and Delete controls.Q to remove pieces one by one. With the plot cleared, you can choose your own chassis width.R to rotate and T to tilt pieces into place as you build.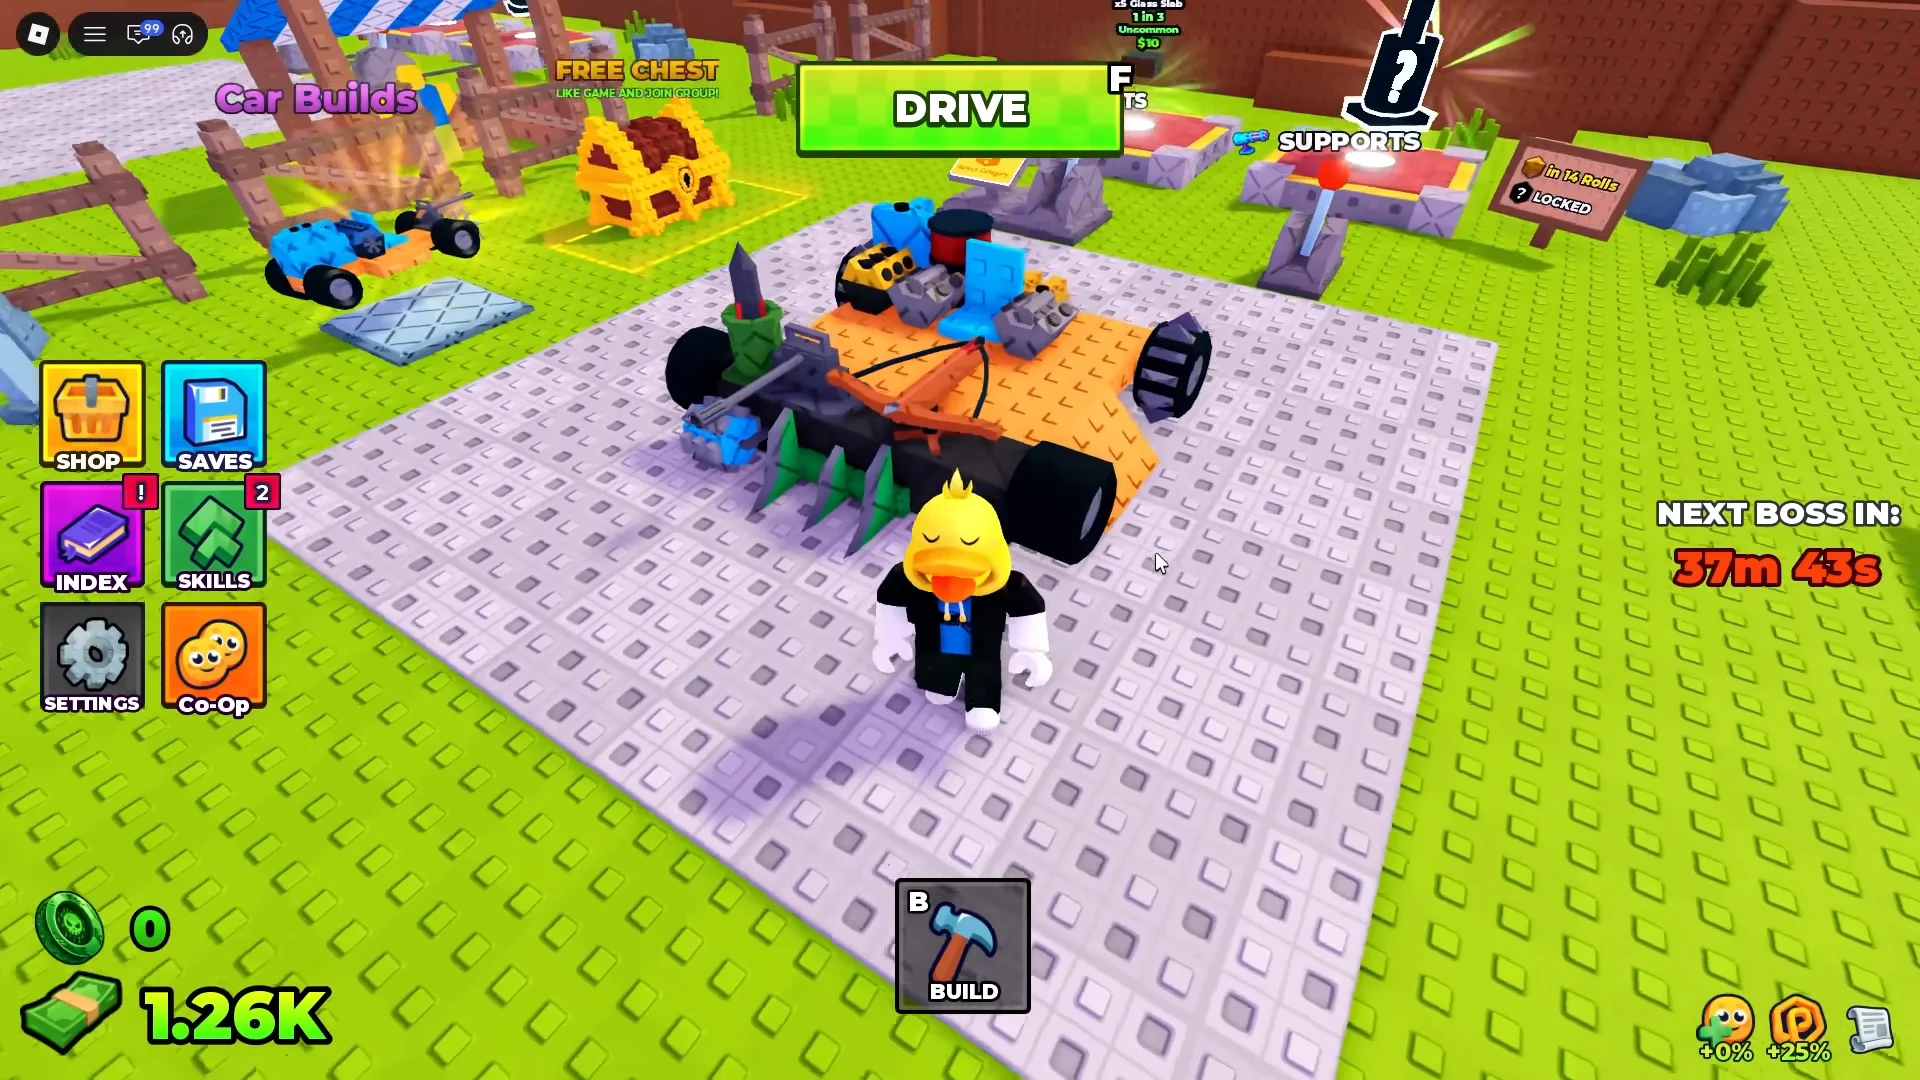
Support weapon rolls, rarities, and costs
Support weapons are pulled at the Supports rolling station. They auto-target zombies, so priority goes to higher damage and wider coverage. The Quad Launcher is the rarest pull at a 1 in 250 chance.
| Weapon | Rarity | Odds | Cost |
|---|---|---|---|
| Wooden Spike | Common | 1 in 2 | $100 |
| Crossbow | Epic | 1 in 8 | $275 |
| Metal Spike | Rare | 1 in 9 | $300 |
| Barrel Gun | Epic | 1 in 12 | $500 |
| Double Barrel | Legendary | 1 in 18 | $2.2k |
| Mounted Gun | Mythical | 1 in 32 | $4.2k |
| Quad Launcher | Mythical | 1 in 250 | $5.9k |
Because you start with only two support slots, swap rather than stack early on. A Barrel Gun reliably lands 80-damage hits on tougher SWAT zombies, and the Mounted Gun’s turret gives you continuous fire while cornering. Save the Quad Launcher for when you can afford to farm several runs toward its price.
Engines, fuels, and wheels
Engines set your top speed, fuel tanks set how long a run lasts, and wheels affect grip and how well you climb ramps and inclines. Bigger engines burn fuel faster, so pair an upgraded engine with a larger tank.
| Part | Type | Rarity / Odds | Cost |
|---|---|---|---|
| Small Engine | Engine | Common, 1 in 3 | $50 |
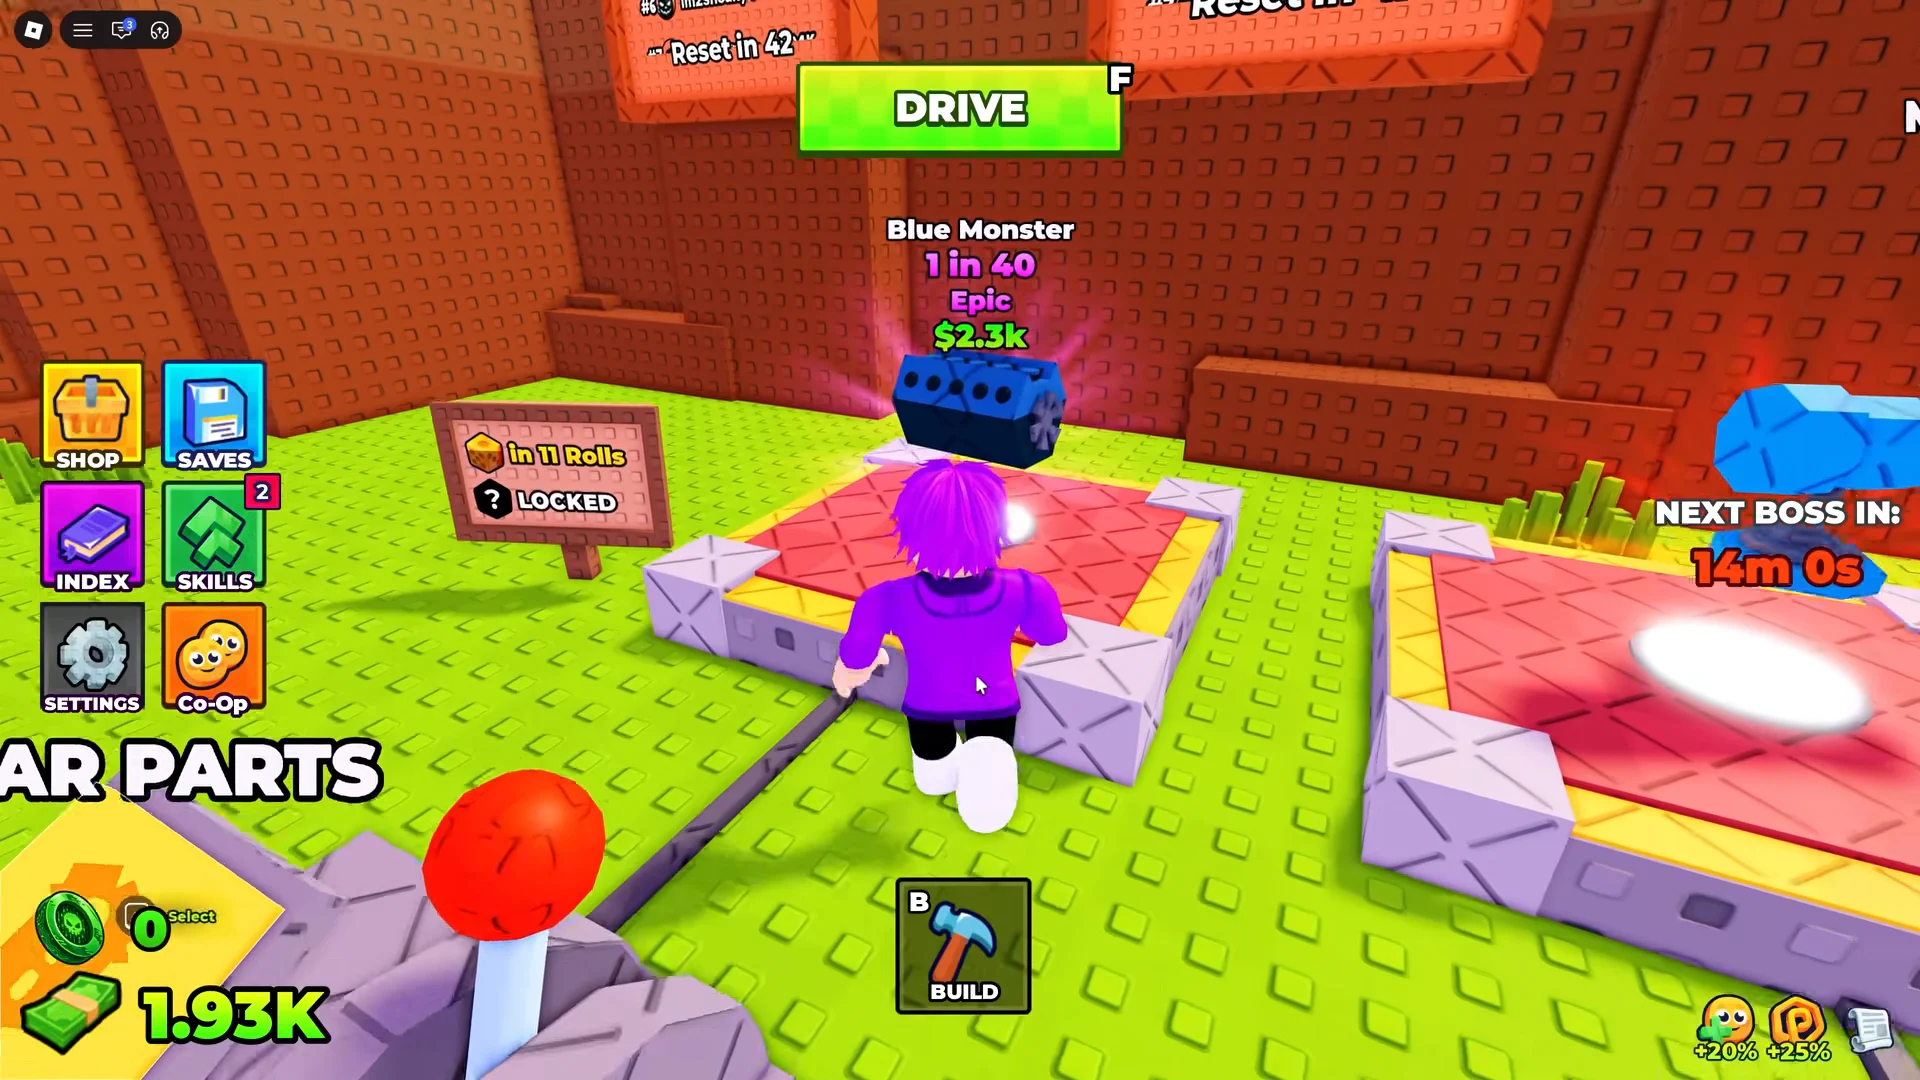
| Blue Monster | Engine | Epic, 1 in 40 | $2.1k–$2.3k |
| Small Tank | Fuel | Common, 1 in 2 | $50 |
| Dual Fuel | Fuel | Uncommon, 1 in 5 | $225 |
| Pro Fuel | Fuel | Rare, 1 in 14 | $850 |
| Fuel Barrel | Fuel | Epic, 1 in 35 | $2.5k |
| Basic Wheel | Wheel | Common, 1 in 3 | $50 |
| Rubber Wheel | Wheel | Uncommon, 1 in 7 | $250 |
| Razor Wheel | Wheel | Rare, 1 in 10 | $550 |
| Spiked Wheel | Wheel | Legendary, 1 in 18 | $1.2k |
The Blue Monster is the key mid-game engine and pushes a light frame past 1,400 studs. Watch for ramps once you are fast, since a hard landing into roadblocks or an urban pot hole can end an otherwise strong run early.
Car Builds presets
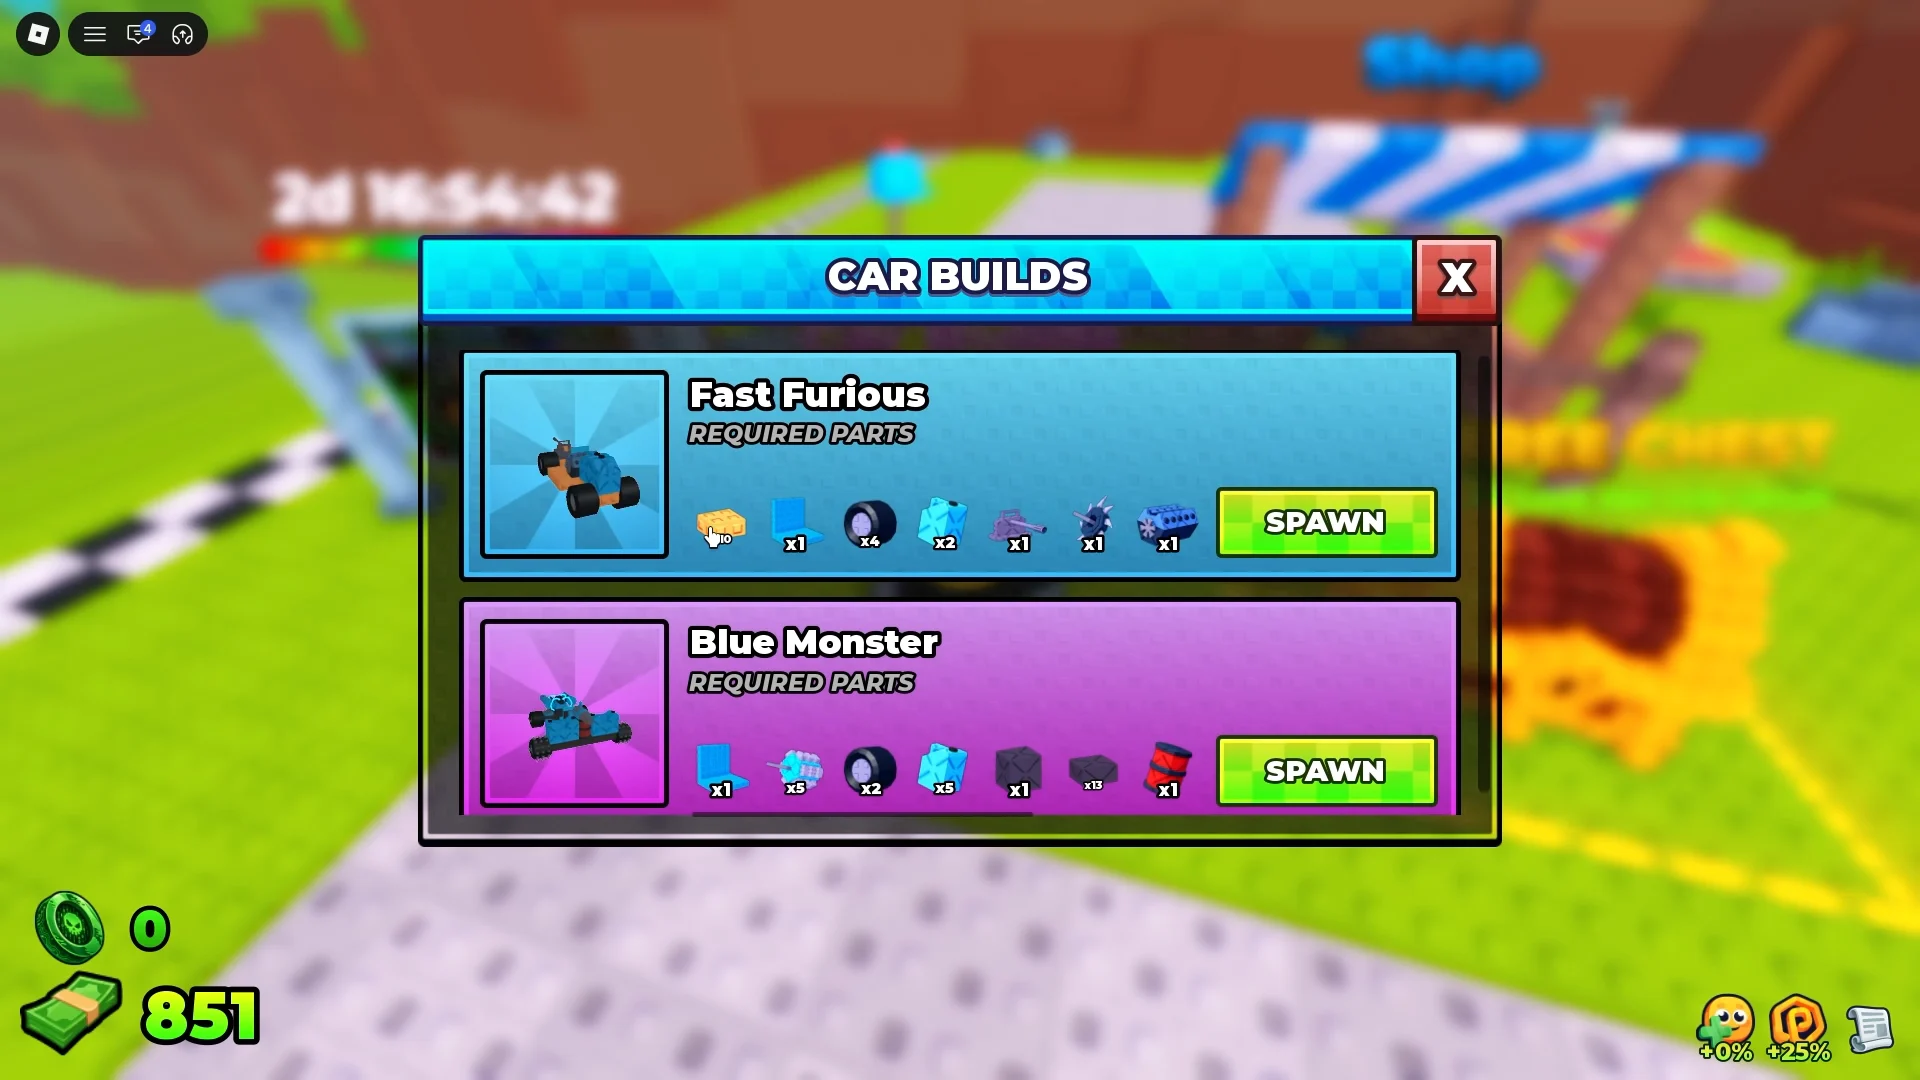
If you would rather skip freehand building, the Car Builds menu lists ready-made blueprints with their exact part requirements and a spawn button. You still need to own the required parts before a preset will spawn.
- Fast Furious — x10 Basic Block, x1 Passenger Seat, x4 Basic Wheel, x1 Small Engine, x1 Small Tank, x1 Shredder.
- Blue Monster — x12 Basic Block, x4 Basic Wheel, x1 Blue Monster, x1 Dual Fuel, x1 Passenger Seat, x1 Driver Seat, x2 Shredder.
- Glitched Tank (Limited) — x1 Hacker Engine, x1 Hacker Fuel, x8 Hacker Wheel, x12 Basic Block, x1 Glitchy Turbo, x1 Error Laser, x1 Electro Glitch, plus 450 Robux.
Skill tree priorities
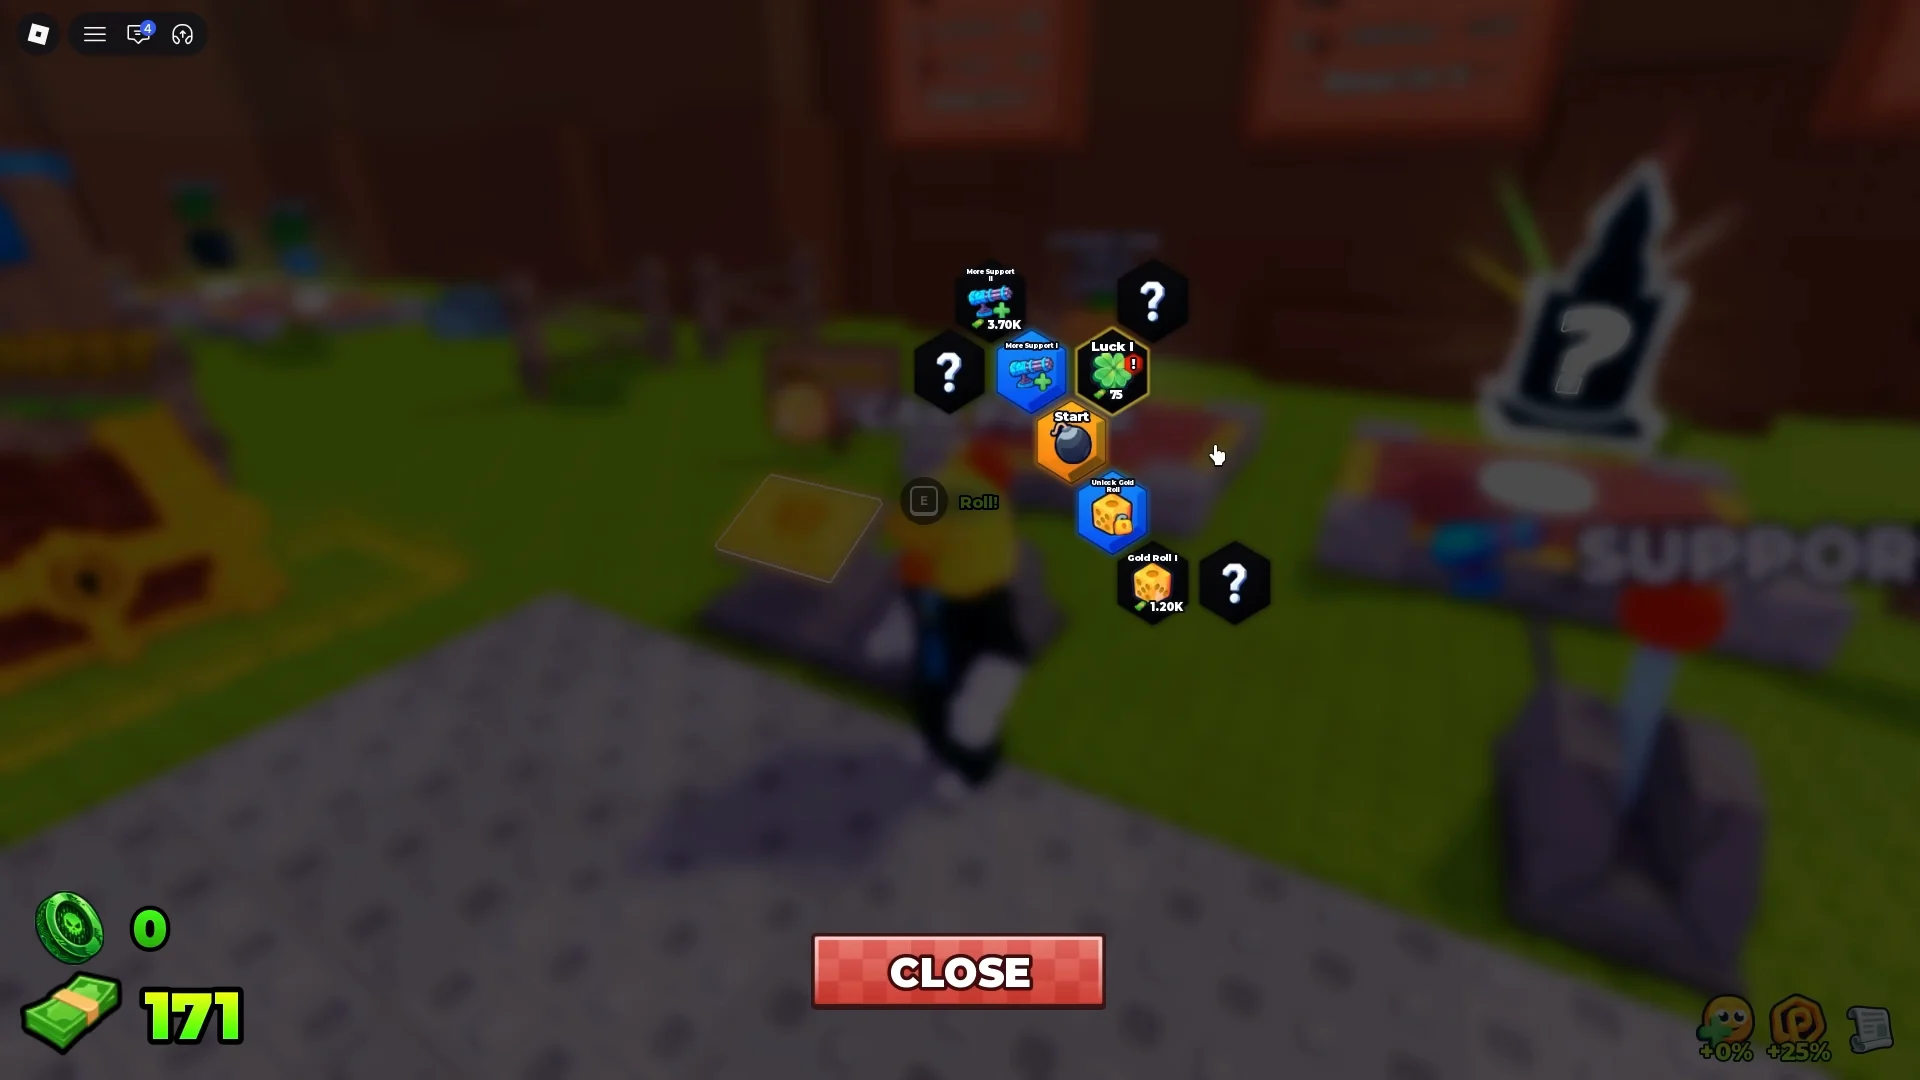
Skill nodes are bought with cash and directly improve your rolls and build capacity. Two paths matter most early: Luck, which raises your chance at higher tiers, and More Support, which unlocks extra weapon slots.
| Node | Effect | Cost |
|---|---|---|
| Luck I | +10% Luck | $75 |
| Luck II | +20% Luck | $250 |
| Luck III | +35% Luck | $625 |
| Pro Luck I | +50% Luck | $900 |
| More Support II | 3 total support slots | $3.70k |
| Unlock Gold Roll | Gold roll every 20 rolls (5x luck) | — |
| Gold Roll I | Improves gold roll tier | $1.20k |
Buy the cheap Luck nodes first, then unlock More Support so you can run three weapons at once. Gold Roll pays off later, giving a 5x luck boost on every twentieth roll for chasing Mythicals like the Mounted Gun and Quad Launcher.
Track zones and how far each build reaches
The track runs through set biomes, and reaching each one is a good marker for whether your build is keeping up. The neon crystal cave sits past roughly 2,800 studs, so a run that stops short of the cavern entrance means you need more engine or fuel.
- Starter Plains — green zombies, the opening stretch.
- City Construction Zone — SWAT zombies that take more damage.
- Werewolf Zone — dense runner packs past ~2,000 studs.
- Neon Crystal Cave — accessible past ~2,800 studs.
Exclusive Shop boosts
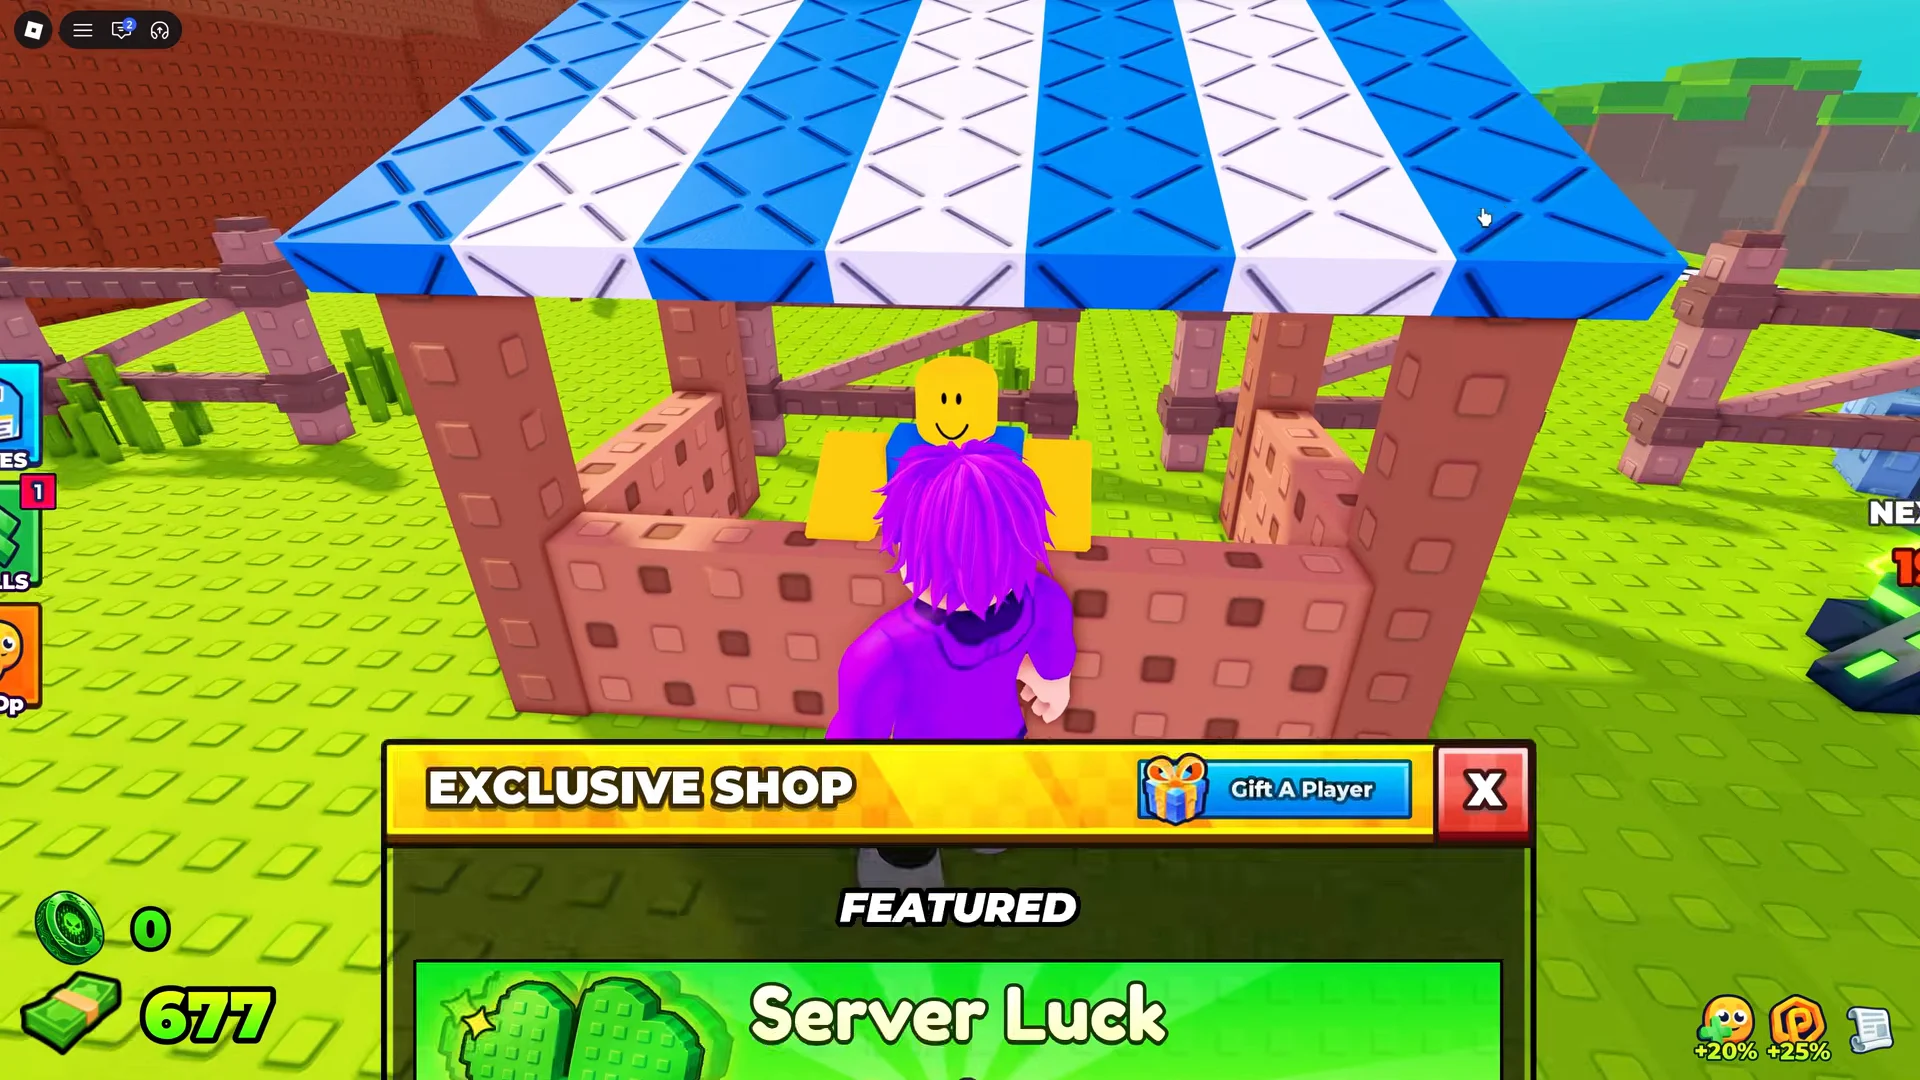
The Robux-based Exclusive Shop sells permanent multipliers that speed up the whole loop. The most useful for grinding are 2x Cash and the permanent Luck upgrades, which stack with your skill tree Luck nodes.
- 2x Cash — 144 Robux.
- 2x Luck Permanent — 120 Robux.
- 4x Luck Permanent — 184 Robux.
- Faster Roll — 104 Robux.
Hacker Event boss and the Hacker Engine
A server-wide Hacker Event spawns the 1x1x1x1 boss in a separate arena, tracked by an on-screen countdown. When the timer expires, everyone teleports in to fight the boss, which has 119K HP. You deal percentage-based damage from your vehicle weapons and earn Hacker Tokens for taking part.
Collect the fuel pickups scattered around the arena to keep firing. If your seat is destroyed or you run out of fuel, a REVIVE option respawns you immediately with a repaired vehicle for 24 Robux. Defeating the boss rewards Hacker Tokens and a badge.
Stack that reward with the weekly quests to reach the vendor’s better items faster. Crushing 500 zombies and driving 20,000 studs each pay 500 Tokens, and rolling 100 times pays 400. With those banked, the Hacker Engine costs 2.50K Hacker Tokens from the event vendor.
| Vendor item | Token cost |
|---|---|
| Hacker Bumper | 250 |
| Hacker Wheel | 500 |
| Hacker Fuel | 1.25K |
| Hacker Engine | 2.50K |
| Error Laser | 6.75K |
| Glitchy Turbo | 8.90K |
| Electro Glitch | 11.0K |
The Hacker Engine is the endgame speed part. Running it alongside a Blue Monster on a trimmed, low-weight frame pushes speeds around 181 studs/s, enough to launch across the mega-ramps and reach the neon crystal cave past 3,392 studs.
Strip excess blocks before mounting dual engines. Lower weight means higher top speed and better ramp launches, but it also makes pot holes and roadblocks more punishing, so keep your wheels matched for stability.
Confirming your build works
You will know a build is ready when each new run beats your previous fuel-out distance and pushes into a new biome. Reaching the City Construction Zone, then the Werewolf Zone past 2,000 studs, and finally the crystal cave past 2,800 studs are the clearest signs your engine, fuel, and weapons are balanced. If a run stalls well short of your last record, add fuel capacity or a stronger engine before touching anything else.