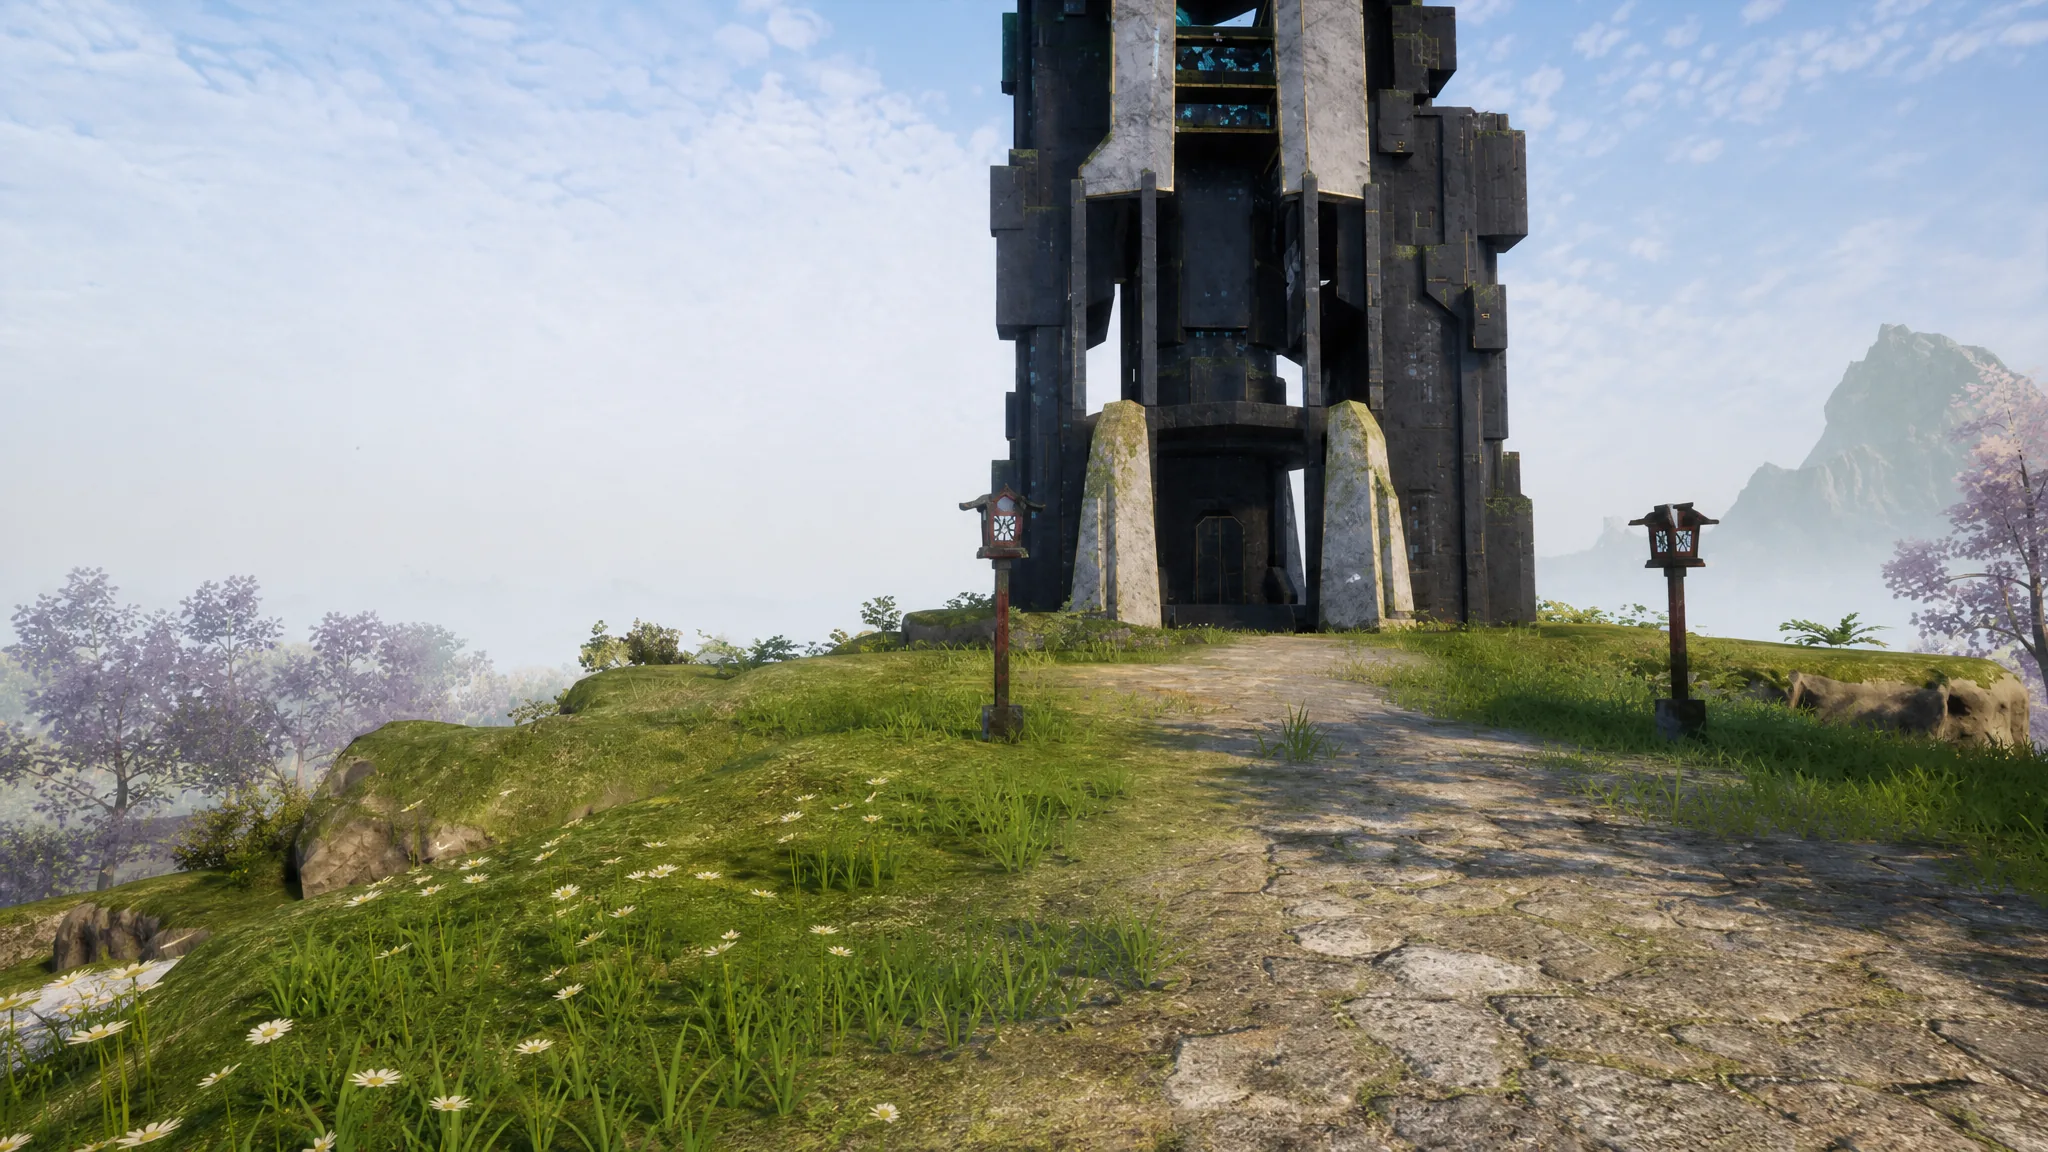
Saya and Selyne on Hard Mode are a Level 80 rematch at the top of the Moonflower Tower on Sakurajima. With 567,300 HP and a mix of Neutral, Dark, Ice, and Dragon attacks, this duo punishes underprepared players fast. The whole fight comes down to one thing: hitting Selyne’s Dragon and Dark weakness while staying mobile enough to survive its wide attacks.
Quick answer: Bring Level 80 Dragon and Dark Pals (Bellanoir Libero, Eidrolon, or Wixen Noct) fully upgraded with Pal Souls and Awakening, wear the full Ancient Armor set, use a Drone Launcher with Orserk in your party, and target Selyne with Dragon and Dark attacks while dodging its AoE moves. Clear the fight before the timer runs out to earn the Saya Hat.
Boss stats, weakness, and rewards
You unlock the Hard Mode version of this fight after defeating Auri and Shaolong. Alongside the boss, two Moonflower Genin and one Moonflower Jonin spawn as extra enemies. The pair is weak to both Dragon and Dark, so those two elements form the core of any working strategy.
| Detail | Value |
|---|---|
| Boss | 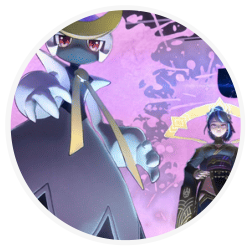 Saya and Selyne Saya and Selyne |
| Level | 80 |
| HP | 567,300 |
| Element | Dark + Neutral |
| Weakness | Dragon + Dark |
| Location | Moonflower Tower, Sakurajima |
| Extra enemies | Moonflower Genin x2, Moonflower Jonin x1 |
The first clear guarantees the Saya Hat, a Legendary headgear cosmetic. You also have a 10% chance at the Legendary Plasma Rifle Schematic, plus repeatable training materials.
| Reward | Drop rate |
|---|---|
 Saya Hat Saya Hat | Guaranteed on 1st clear |
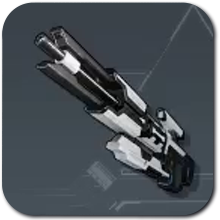 Legendary Plasma Rifle Schematic Legendary Plasma Rifle Schematic | 10% |
 Carrying Lotus (L) Carrying Lotus (L) | Repeatable |
 Life Lotus (L) Life Lotus (L) | Repeatable |
 Power Lotus (L) Power Lotus (L) | Repeatable |
 Speed Lotus (L) Speed Lotus (L) | Repeatable |
 Stamina Lotus (L) Stamina Lotus (L) | Repeatable |
 Training Crystal Training Crystal | Repeatable |
Prepare your Pals before entering
Hard Mode assumes fully invested endgame Pals. Anything short of the checklist below will struggle to survive the incoming damage or fail to kill the boss inside the timer. Meet every requirement for your active attackers before you step into the tower.
| Requirement | Target |
|---|---|
| Level | 80 |
| Pal Soul upgrades | HP +20, Atk +20, Def +20 |
| Trust Level | 7 or higher |
| Condensing | 4-Star |
| Awakening | Awakened |
The reasoning is simple: Selyne resists sloppy teams. A mixed Dragon-and-Dark roster is safer than committing to a single label, because Dragon answers the Dark half while Dark answers the Neutral half. Bring recovery medicine too, since the boss’s wide effects will clip you even when your attention is on the Pal rotation. Enter with every weapon loaded so the opening damage window isn’t spent reloading.
Best Pals for the fight
Your ace attacker should exploit Selyne’s Dragon or Dark weakness while resisting its return fire. Bellanoir and Eidrolon are the standout picks, with Wixen Noct as the strongest option if you’d rather deal the damage yourself.
| Pal | Rating | Why it works |
|---|---|---|
 Bellanoir / Bellanoir Libero Bellanoir / Bellanoir Libero | ★★★★★ | Powerful exclusive Dark attack and Partner Skill. Use either or both. Libero has Siren of the Void naturally; regular Bellanoir can breed it. |
 Eidrolon Eidrolon | ★★★★★ | Partner Skill boosts attack with a full Dragon/Dark party. Dark and Dragon typing resists both of Selyne’s STABs. |
 Eidrolon Ignis Eidrolon Ignis | ★★★★☆ | Boosts attack with a full Dragon/Fire party. Fire typing counters Selyne’s Ice attacks. |
 Blazamut Ryu Blazamut Ryu | ★★★★☆ | Strong exclusive Dragon attack and Fire typing against Ice, but can’t breed Dragon-boosting passives. |
 Wixen Noct Wixen Noct | ★★★★☆ | Changes your attack to Dark and heavily boosts Attack. Bigger boost than Frostallion Noct but no Blind. |
 Frostallion Noct Frostallion Noct | ★★★☆☆ | Strong Dark, Blind, and Attack buff to the player, plus flight for arena mobility. |
Team compositions that clear the fight
Three team shapes work here. Pick the one that matches the Pals you already have leveled. Each one pairs an ace attacker with support Pals that stack buffs and weakness bonuses.
Bellanoir quick-swap team
Run two Bellanoir Liberos as your active Pals. Have one use its attacks and Partner Skill, then swap to the second once everything is on cooldown. Fill the rest of the party with Croajiro Noct, Orserk, and Silvegis for buffs and survivability.
| Role | Pal | Purpose |
|---|---|---|
| Active | Bellanoir Libero x2 | Serenity, Siren of the Void, Immortality, God of Destruction |
| Support |  Croajiro Noct Croajiro Noct | Turns type weakness into Weak Point damage, so Dark hits harder |
| Support | Orserk | Raises active Pal Attack and Defense by 150% while the Drone Launcher fires |
| Support | Silvegis | Buffs your shield and shield regeneration |
Eidrolon burn team
Eidrolon’s Dragon and Dark typing resists Selyne’s Normal and Dark STABs, and its Dragon attacks can apply Burn. Keep it using Dragon moves that inflict Burn, then let Jormuntide Ignis multiply the damage against burning targets. Its best skills for this are Blazing Beam, Dragon Meteor, and Comet Barrage.
| Role | Pal | Purpose |
|---|---|---|
| Active | Eidrolon | Serenity, Invader, Immortality, God of Destruction |
| Support |  Blazamut Ryu Blazamut Ryu | Turns Dragon weakness into Weak Point damage |
| Support | Jormuntide Ignis | Player and Pal deal extra damage to Burned targets |
| Support |  Orserk Orserk | Attack and Defense boosts |
| Support | Celesdir Noct | Buffs active Pal Attack by 80% at the cost of slow HP drain |
Player-focused Wixen Noct team
If you prefer to deal damage with your own weapon, Wixen Noct converts your attacks to Dark and grants a large Attack boost. Have Wixen Noct apply Poison with Poison Fog, Poison Blast, or Poison Shower so you can keep firing instead of swapping to Poison Arrows. Prixter then amplifies the damage against poisoned enemies.
| Role | Pal | Purpose |
|---|---|---|
| Active | Wixen Noct | Serenity, Legend, Immortality, Demon God |
| Support |  Solenne Solenne | 80% Attack boost when the party has no duplicate Pals |
| Support | Croajiro Noct | Makes Dark weakness hits count as Weak Point damage |
| Support |  Prixter Prixter | Extra damage to poisoned targets |
| Support | Cryolinx Terra | Next weak-spot hit increased by 80% after hitting a weak spot |
Note: Vanguard, Stronghold Strategist, Reload Master, and Idiosyncratic are the recommended passive set across all three teams.
Weapons, armor, and accessories
The Drone Launcher is the single most important weapon here because it keeps firing near the boss and maxes out Orserk’s Partner Skill buff. The Plasma Rifle is the strongest general-purpose gun, the Megaboost Gun adds a buff to your active Pal, and the Mechanical Bow is useful for applying Burn and Poison to enable damage bonuses.
| Weapon | Lv. | Attack | Durability |
|---|---|---|---|
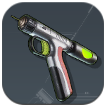 Megaboost Gun Megaboost Gun | 63 | 250 | 400 |
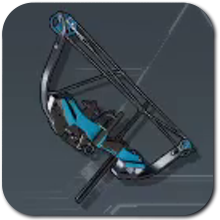 Mechanical Bow Mechanical Bow | 67 | 20000 | 2000 |
 Drone Launcher Drone Launcher | 77 | 200 | 6500 |
| Plasma Rifle | 78 | 1860 | 25000 |
For armor, use at least the full Ancient Armor set. Upgrade to a higher-tier version if you have one, but this is the survivability floor for an endgame Tower Boss.
| Item | HP | Def | Added effect |
|---|---|---|---|
 Ancient Shield Ancient Shield | N/A | 2200 | None |
| Ancient Helm | 1200 | 500 | Neutral Damage Reduction Lv.1 / Dragon Damage Reduction Lv.1 |
| Lightweight Ancient Armor | 2400 | 840 | Cold Resistance Lv.2 / Heat Resistance Lv.2 / Max Carrying Capacity Lv.4 |
For accessories, favor items that boost whichever element the boss is weak to. Dragon and Dark whistles, batons, and rings all fit here. If you’re running a player-focused build, generic boosters like the Dogen Emblem and Silvegis Emblem serve you better.
| Accessory | Effect |
|---|---|
 Dark Support Whistle Dark Support Whistle | Slightly raises your Pal’s Dark damage |
 Dragon Support Whistle Dragon Support Whistle | Slightly raises your Pal’s Dragon damage |
 Dogen Emblem Dogen Emblem | Greatly raises your Attack and your Pal’s Attack |
 Lord of the Underworld’s Baton Lord of the Underworld’s Baton | Raises Pal Attack and significantly increases Dark damage |
 Divine Dragon’s Baton Divine Dragon’s Baton | Raises Pal Attack and significantly increases Dragon damage |
 Elphidran Ring Elphidran Ring | Greatly reduces incoming Dark damage and boosts Dragon damage |
 Katress Ring Katress Ring | Greatly reduces incoming Neutral damage and boosts Dark damage |
 Jetragon’s Talisman Jetragon’s Talisman | Raises Pal Defense and boosts Dragon damage |
 Lyleen Noct’s Talisman Lyleen Noct’s Talisman | Raises Pal Defense and boosts Dark damage |
 Warsect Terra’s Belt Warsect Terra’s Belt | Greatly raises Defense and Health |
 Silvegis Emblem Silvegis Emblem | Raises your Defense and your Pal’s Defense |
Food and healing items to pack
Because the fight runs on a timer, prioritize damage food over defense food. Broncherry Fried Noodles and Mammorest Curry both raise your Attack. Damage buffs matter more here because running out of time is a bigger threat than dying with damage to spare.
| Type | Items |
|---|---|
| Food buffs |  Broncherry Fried Noodles, Mammorest Curry Broncherry Fried Noodles, Mammorest Curry |
| Healing |  High Quality Recovery Meds, Advanced Recovery Meds, Revival Potion High Quality Recovery Meds, Advanced Recovery Meds, Revival Potion |
Always carry a few Revival Potions in case a Pal drops, and keep recovery meds ready for when the boss’s AoE clips you.
Fight strategy step by step
| Pal | Partner Skill |
|---|---|
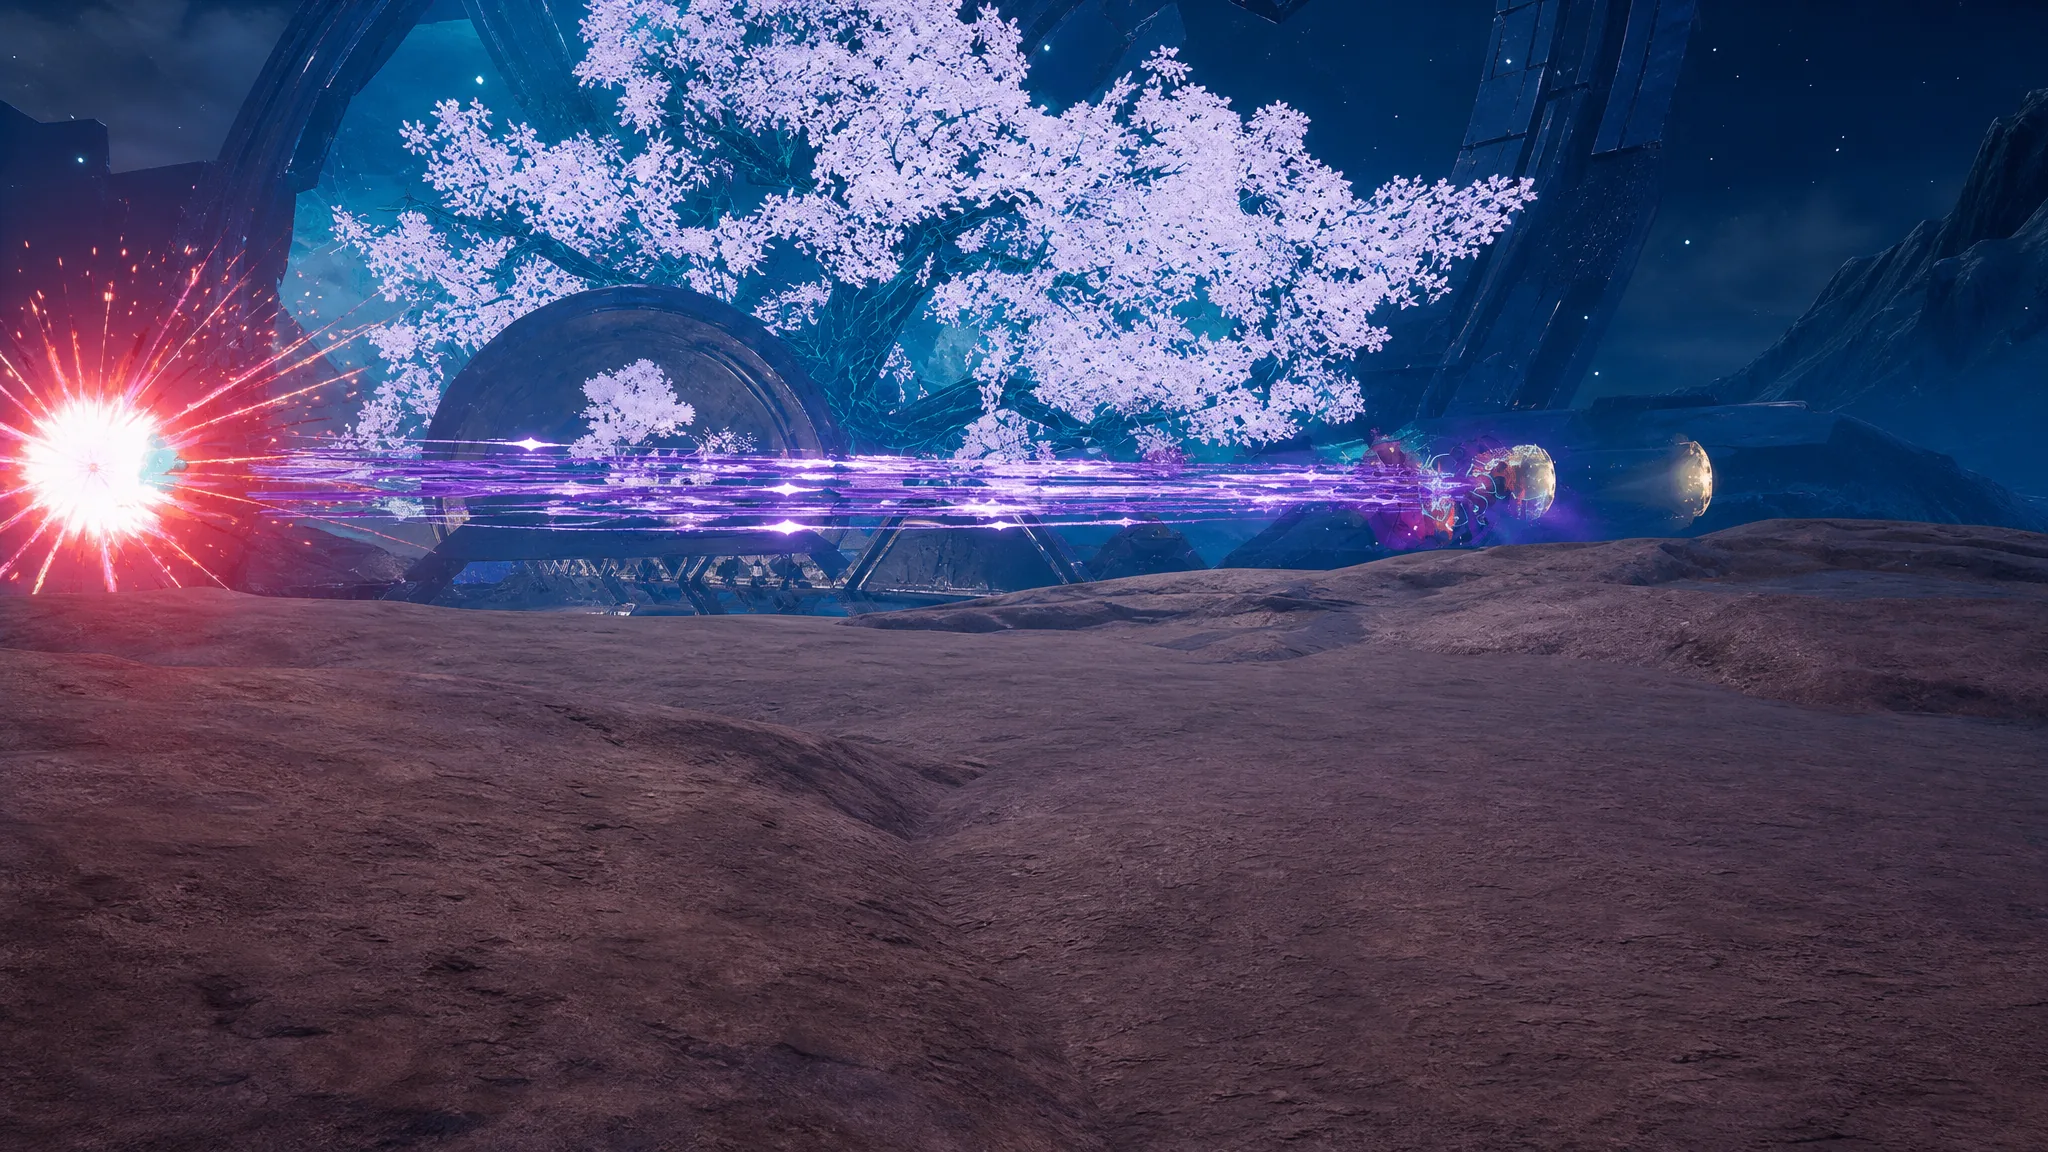
| Orserk | Ferocious Thunder Dragon — hitting an enemy with a bullet raises the active Pal’s Attack and Defense by 1/2/3/4/5% for 5 seconds, stacking up to 30 times |
Attacks to watch for
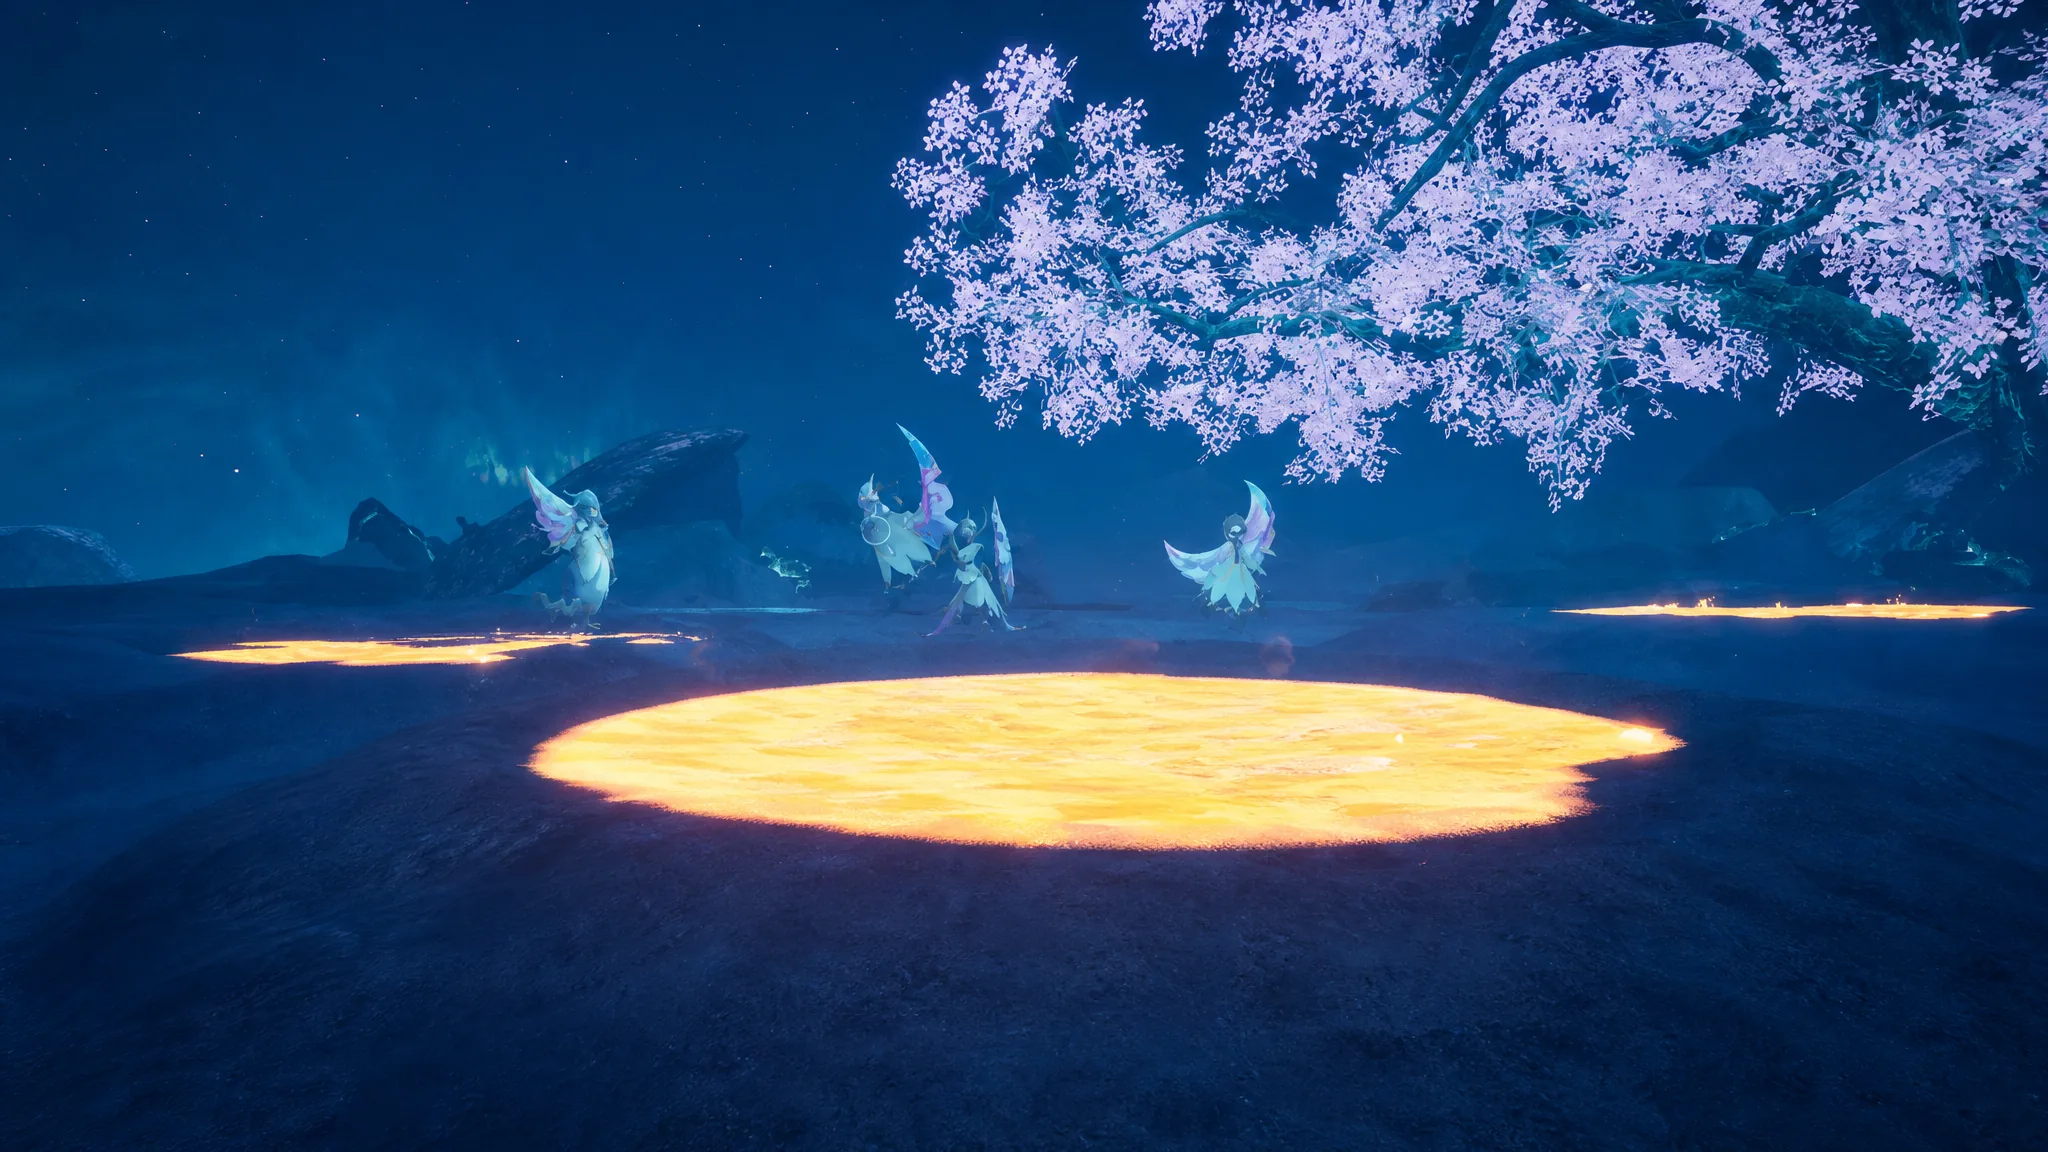
The boss mostly leans on Neutral and Dark STAB moves, but it carries Ice and Dragon coverage to punish Dragon and Dark Pals respectively. That’s why a mixed team matters. Keep an eye out for these in particular, since a single Freeze Wall or Diamond Rain can KO an unprepared Pal.
| Attack | Element | Power | What it does |
|---|---|---|---|
| Moonlight Beam | Neutral | 600 | Charges the moon, then fires a crescent beam forward |
| Seigetsu Flash | Neutral | 700 | Three fast moonlight slashes in a row |
| Holy Burst | Neutral | 700 | Wide explosion of light at your location |
| Star Mine | Neutral | 400 | Stars that explode on contact or after a delay |
| Dark Whisp | Dark | 600 | Homing ball of dark energy |
| Nightmare Ball | Dark | 300 | Giant ball of darkness thrown at you |
| Freeze Wall | Ice | 200 | Wall of ice that breaks after enough damage |
| Blizzard Spike | Ice | 450 | Giant ice lump with area damage on impact |
| Diamond Rain | Ice | 600 | Ice lumps dropped repeatedly on your head |
| Comet Barrage | Dragon | 450 | Meteorites dropped in sequence with shock waves |
Once the health bar empties and the summoned Selynes are down, the fight ends and you’re credited with the clear. The Saya Hat drops guaranteed on your first successful run, so if you’re farming for the Legendary Plasma Rifle Schematic, you’ll be replaying this fight anyway. Stick to Dragon and Dark damage, keep moving through the AoE telegraphs, and let Orserk’s stacks build while your ace attacker does the heavy lifting.