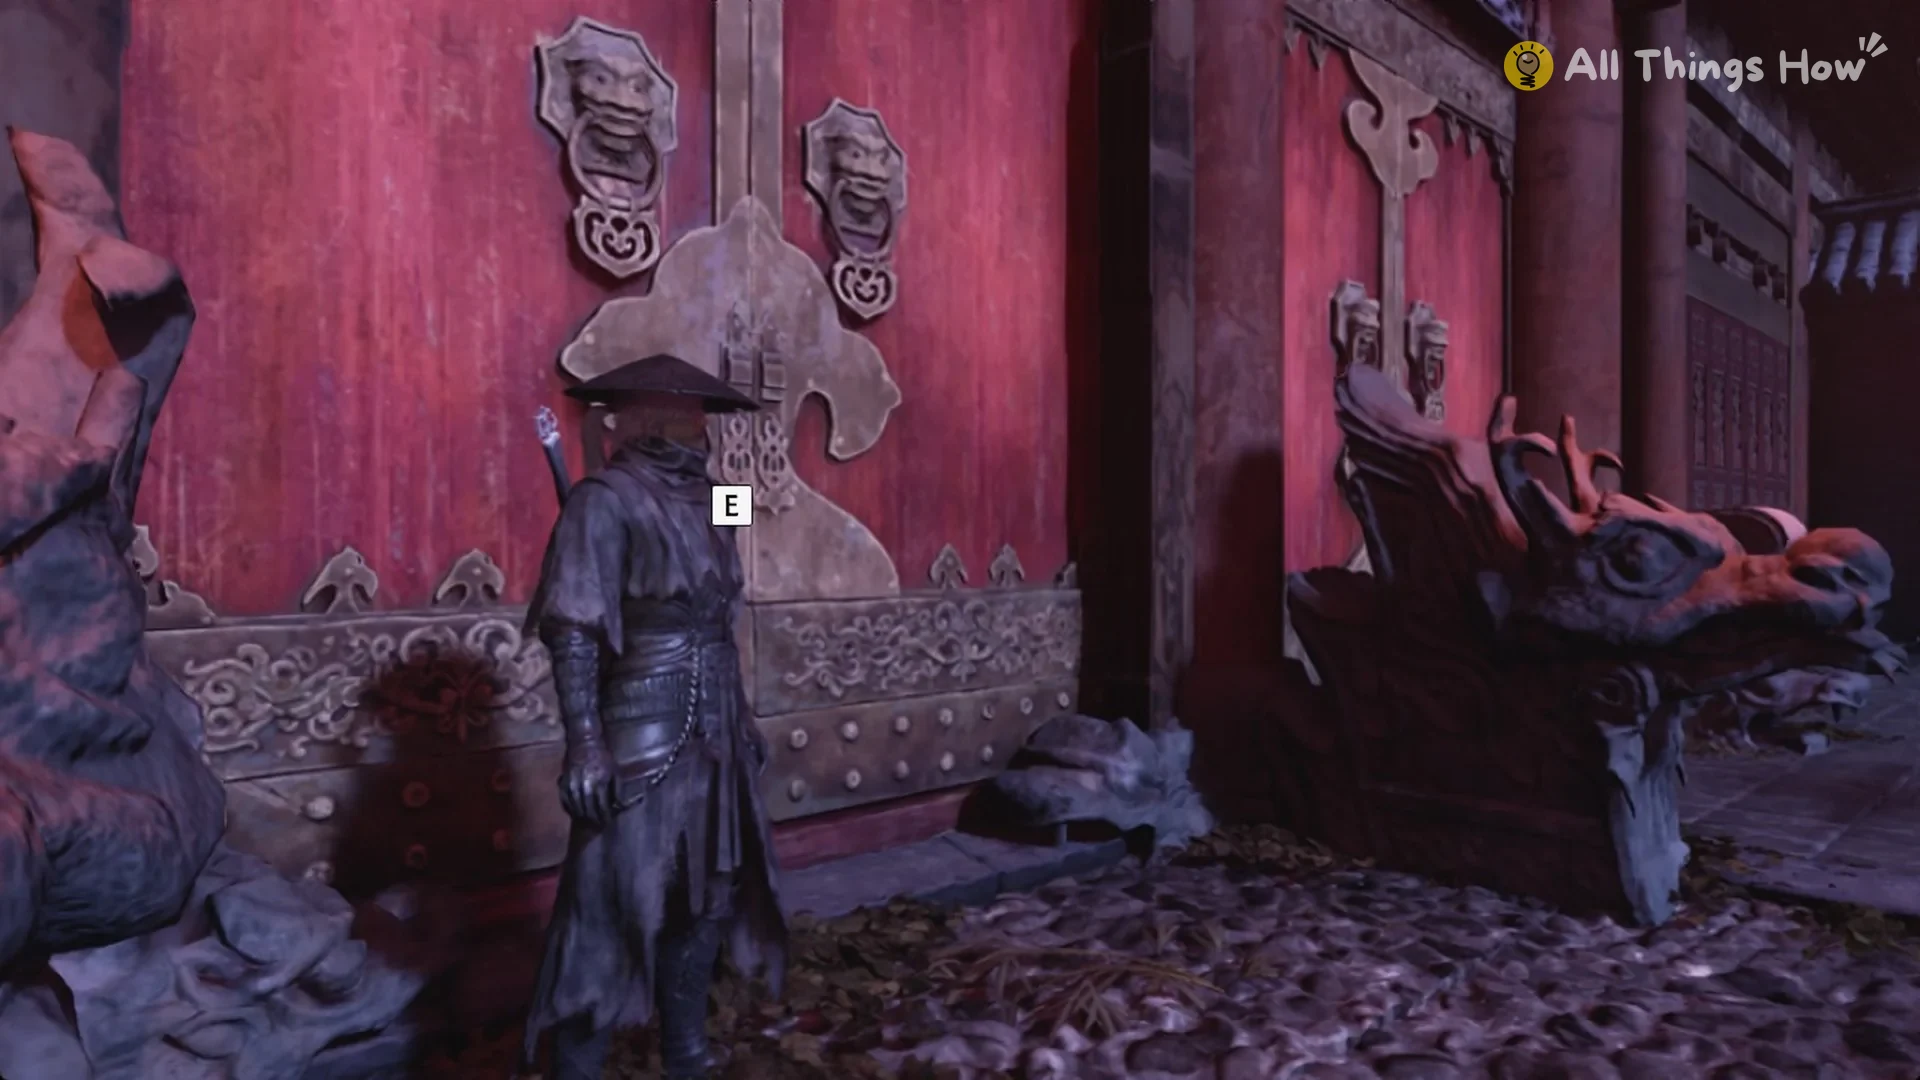
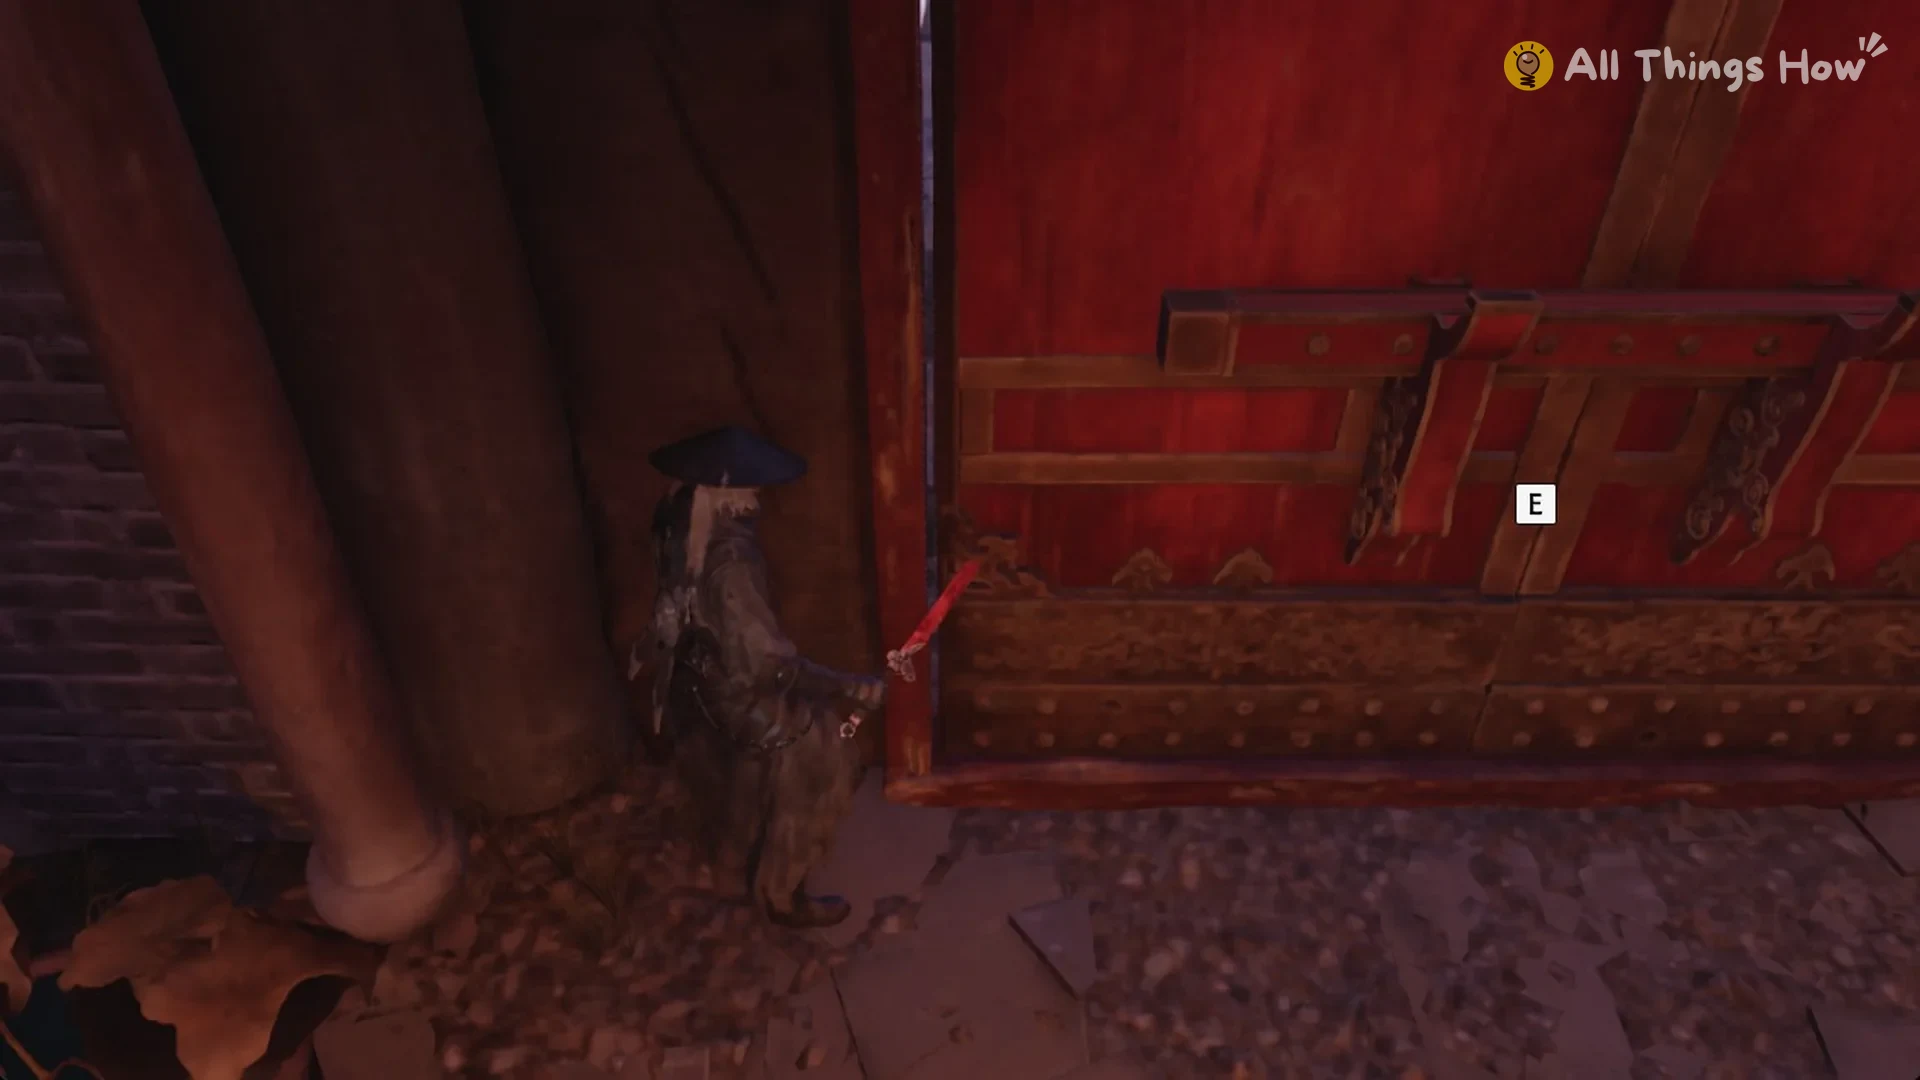
Quick answer: Enter the Green Serpent House’s hidden passage, then take the red stair beyond the red gate. When the cutscene ends, ring the Estate Rear Gate bell. Finally, press E at the seam in the middle of the large red double door.
Before you cross
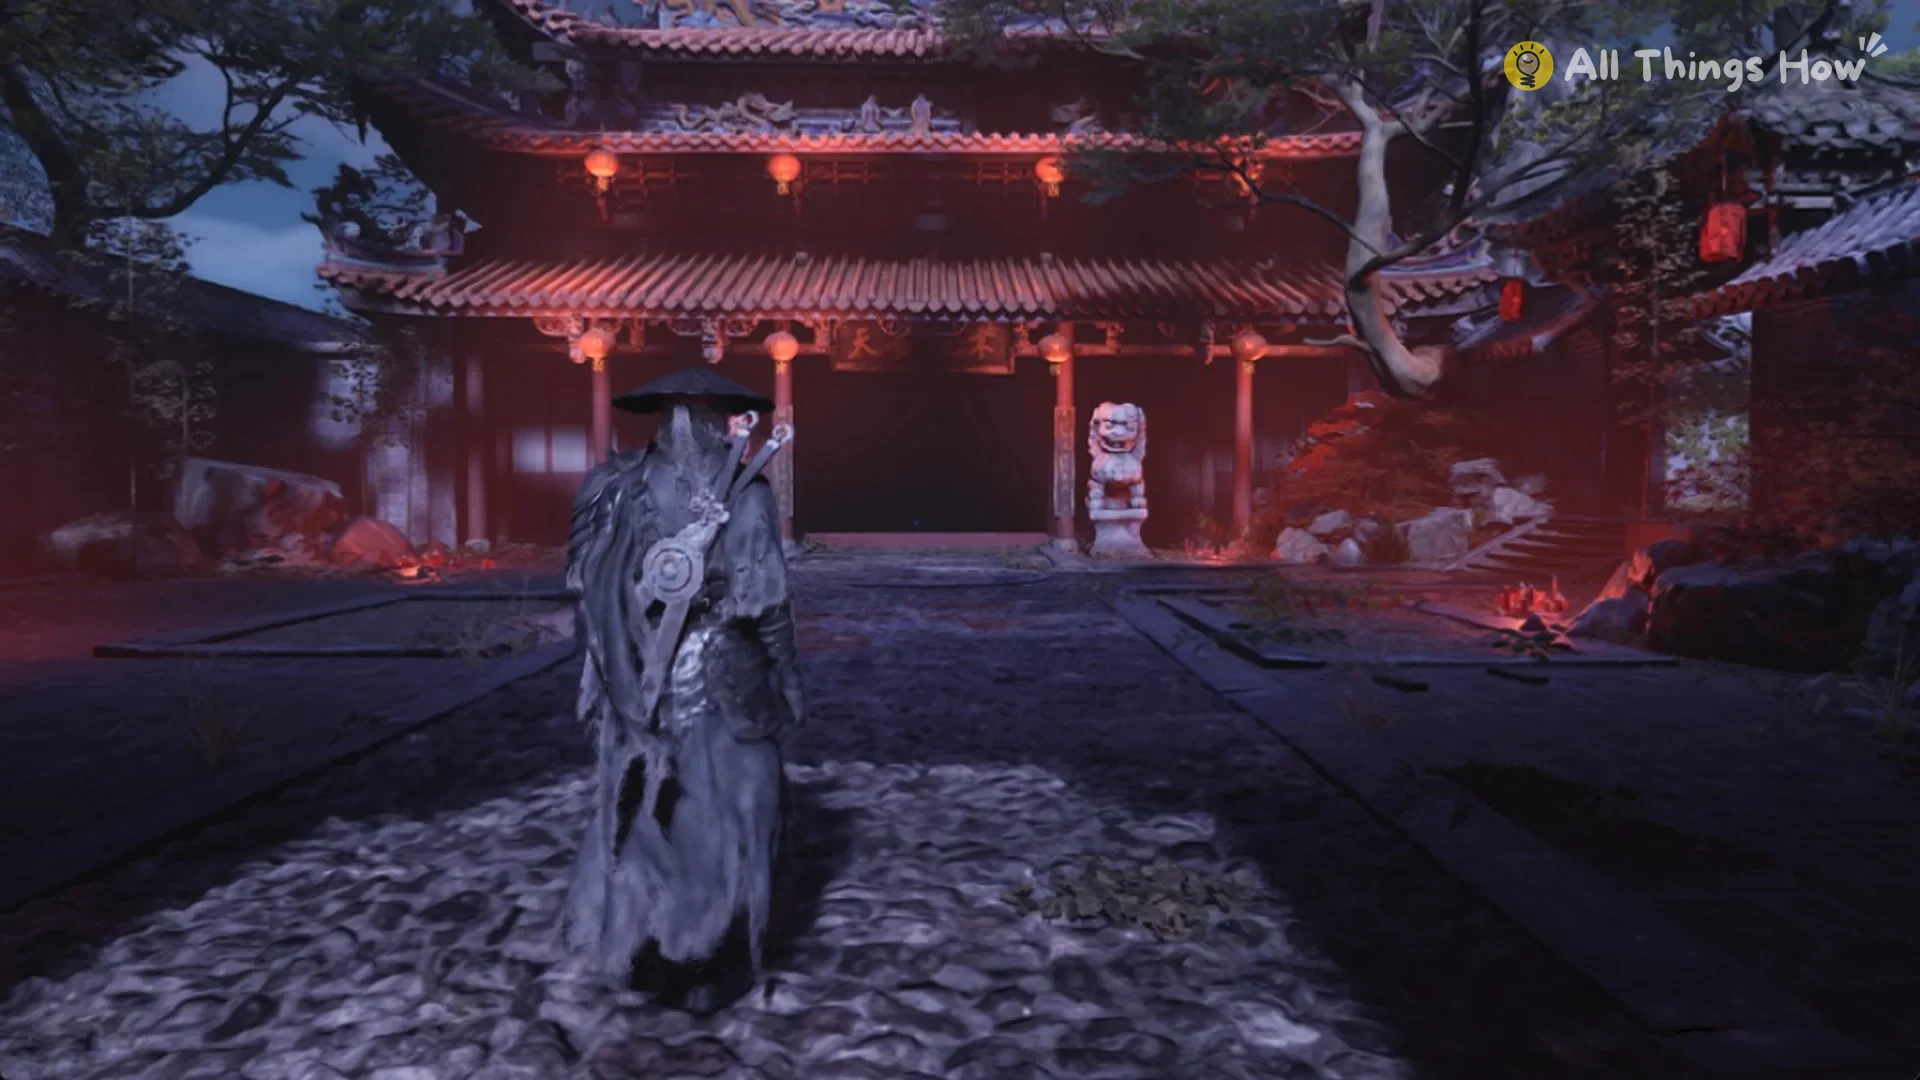
The Heart’s Trail ends with “Enter the Mirage Estate through the hidden passage in the Green Serpent House”. Start at the Green Serpent House bell, go through the serpent door, and climb the red stair to a forecourt. A red gate stands there with a long stair behind it. The first time you reach that spot, Inanis warns you: “To proceed rashly… may only invite disaster.” You then get two choices, “There’s still unfinished business. Return later.” and “No turning back now. Forward it is!” Choosing to return later sends you back so you can wrap things up.
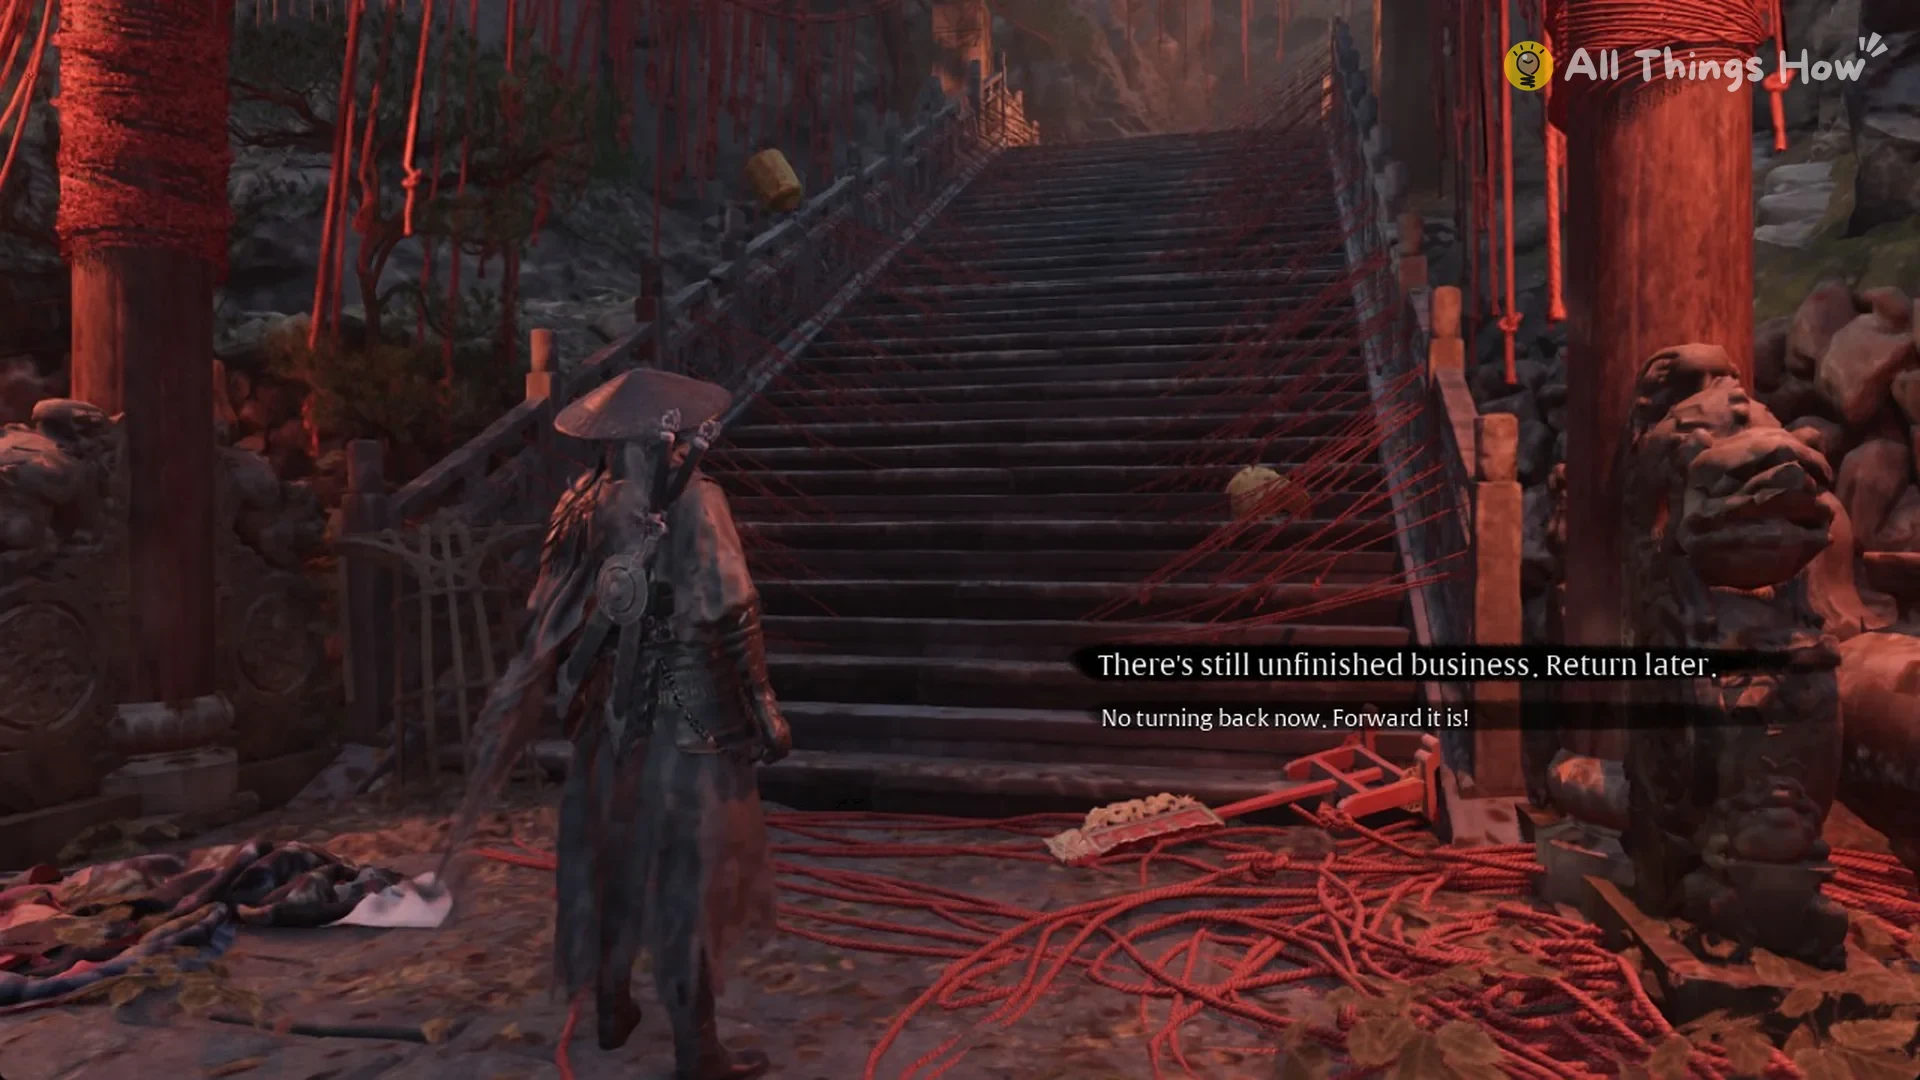
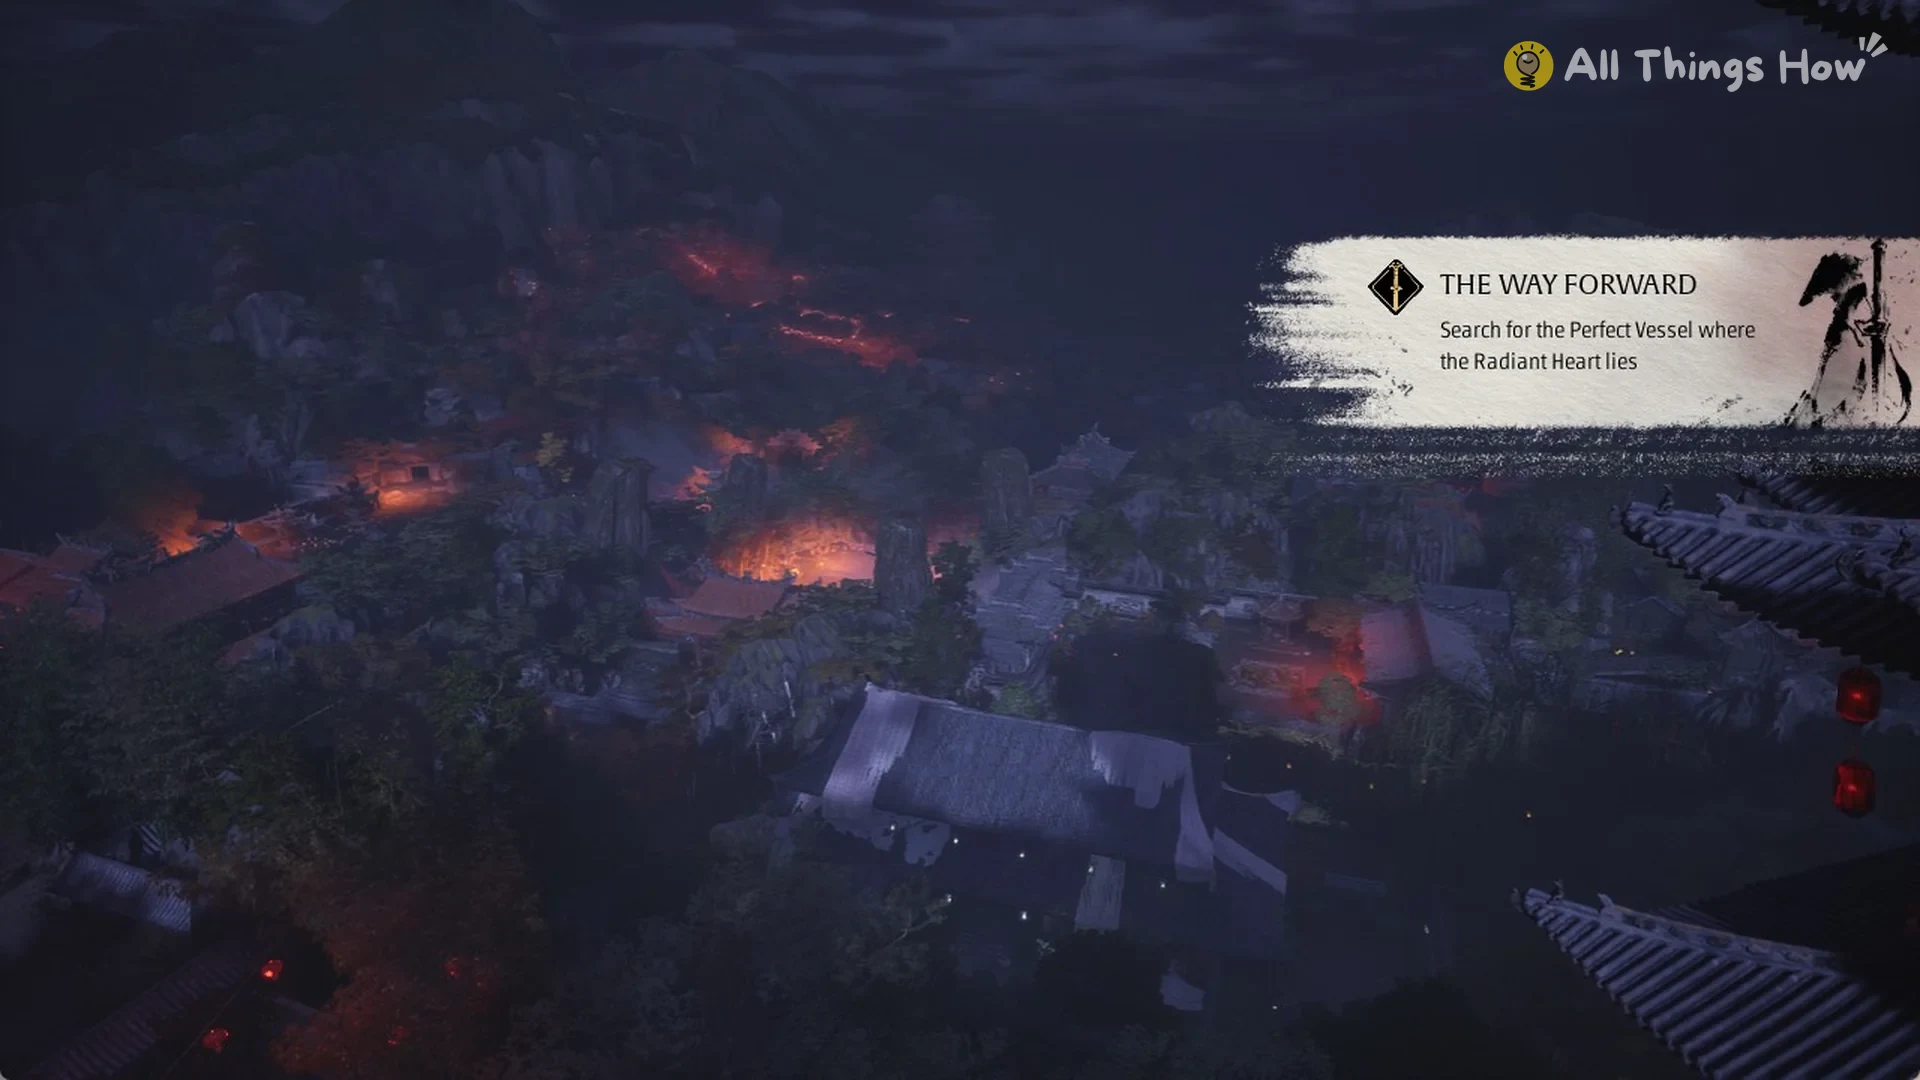
Finish WHENCE THE WEEPING before you cross, because entering the Estate closes that quest. Also complete Secrets at the Heart of the Lake and collect the Violet Blossom from Inanis. If you chose to return later, the warning does not appear on your next visit. Walking through the red gate and up the stair counts as crossing. A banner updates THE WAY FORWARD while you are on the stair, and then the screen fades to black.
How to reach the Estate Rear Gate bell
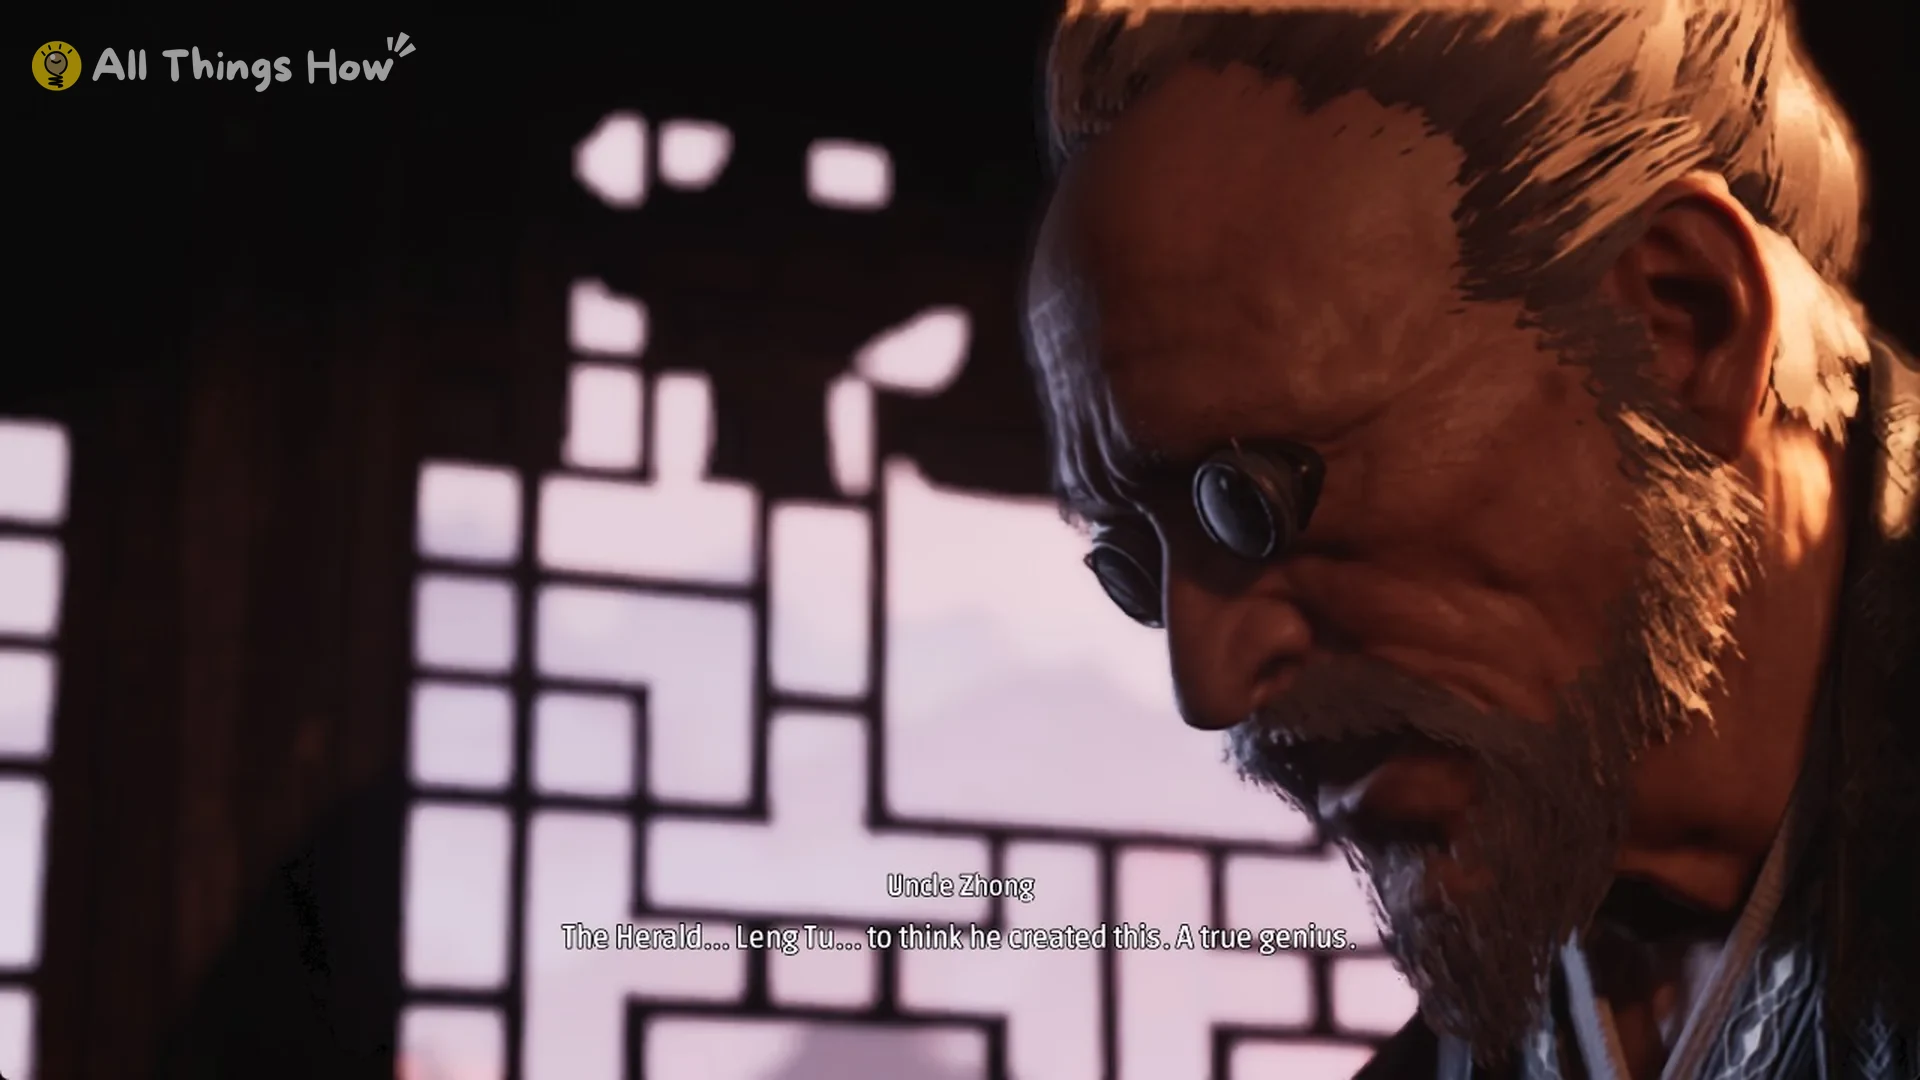
A cutscene called “One Day Before” plays first. It shows a snowy shore at sunrise, a horse-drawn carriage, and a masked man in chains. Uncle Zhong then credits the Herald, Leng Tu, with what you are seeing, calling him “A true genius.” When it ends, you are about 39 m from the first bell.
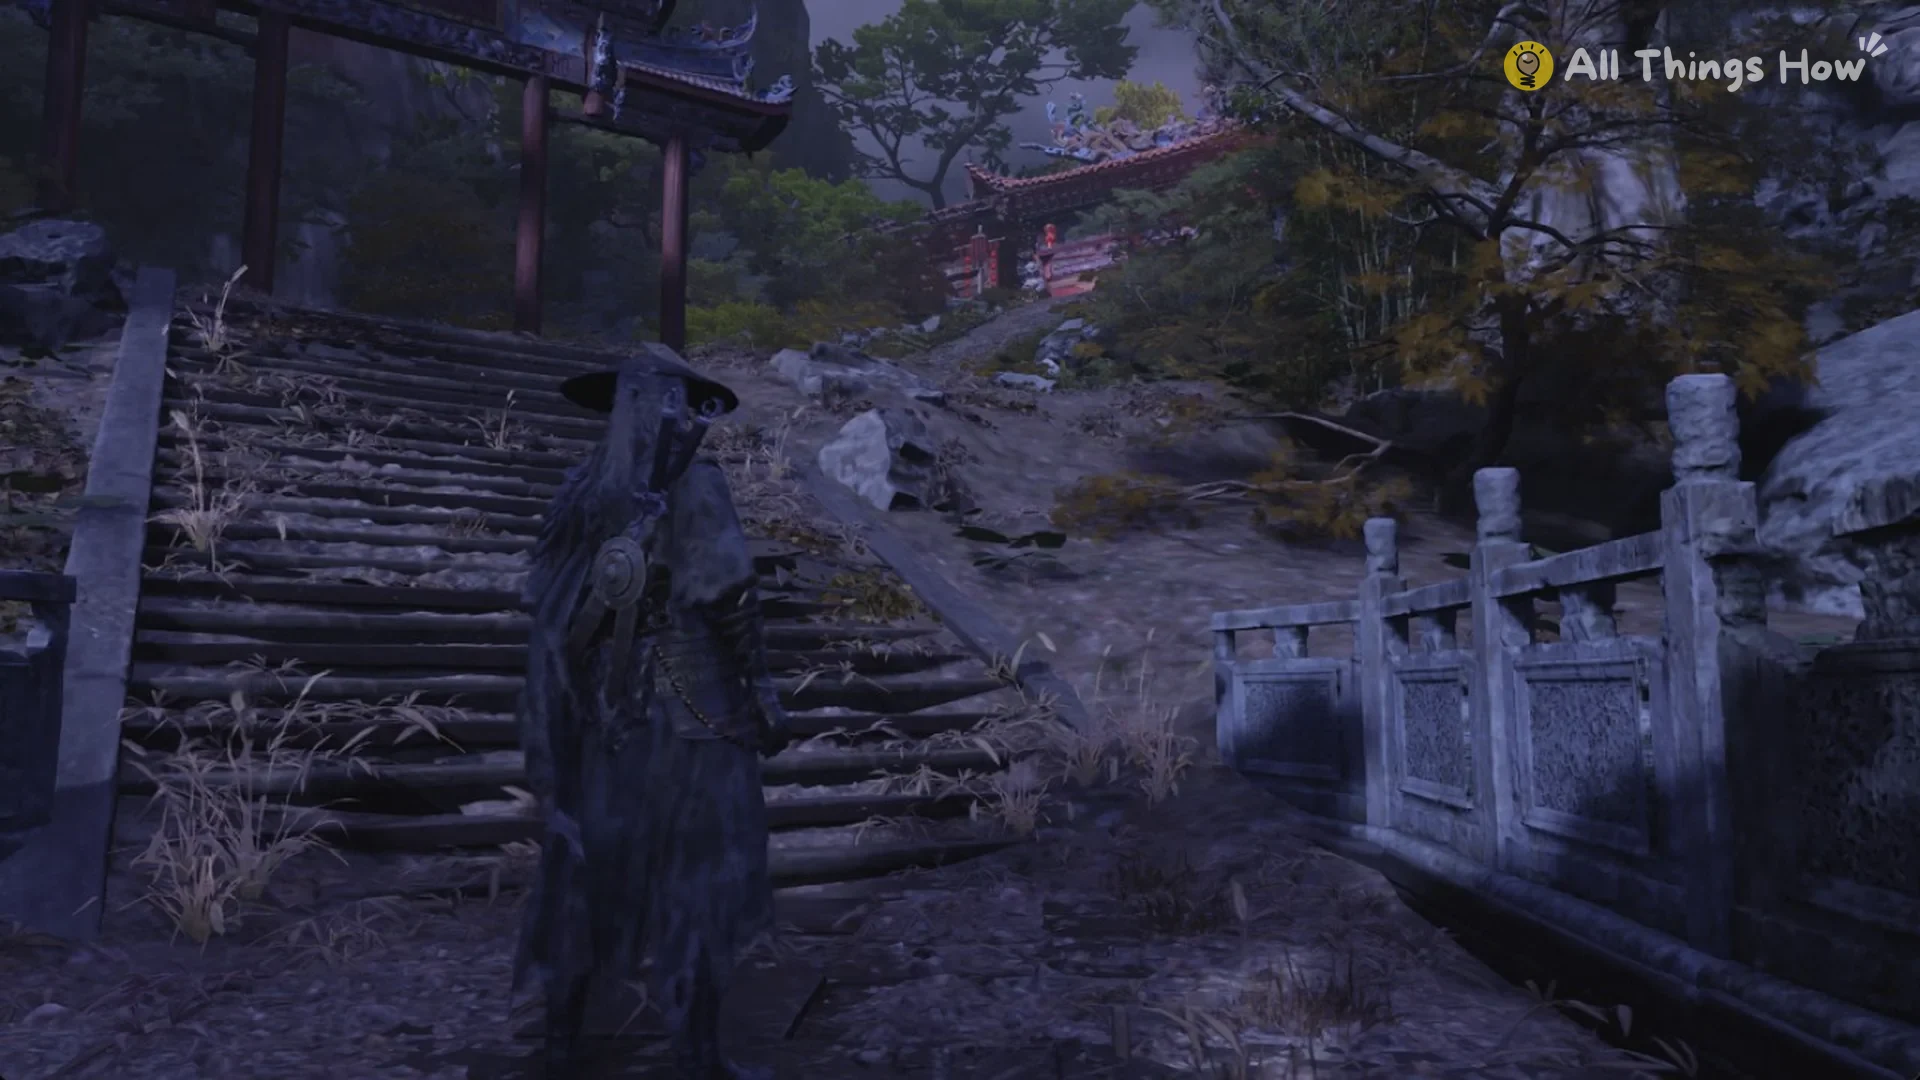
How to open the red door
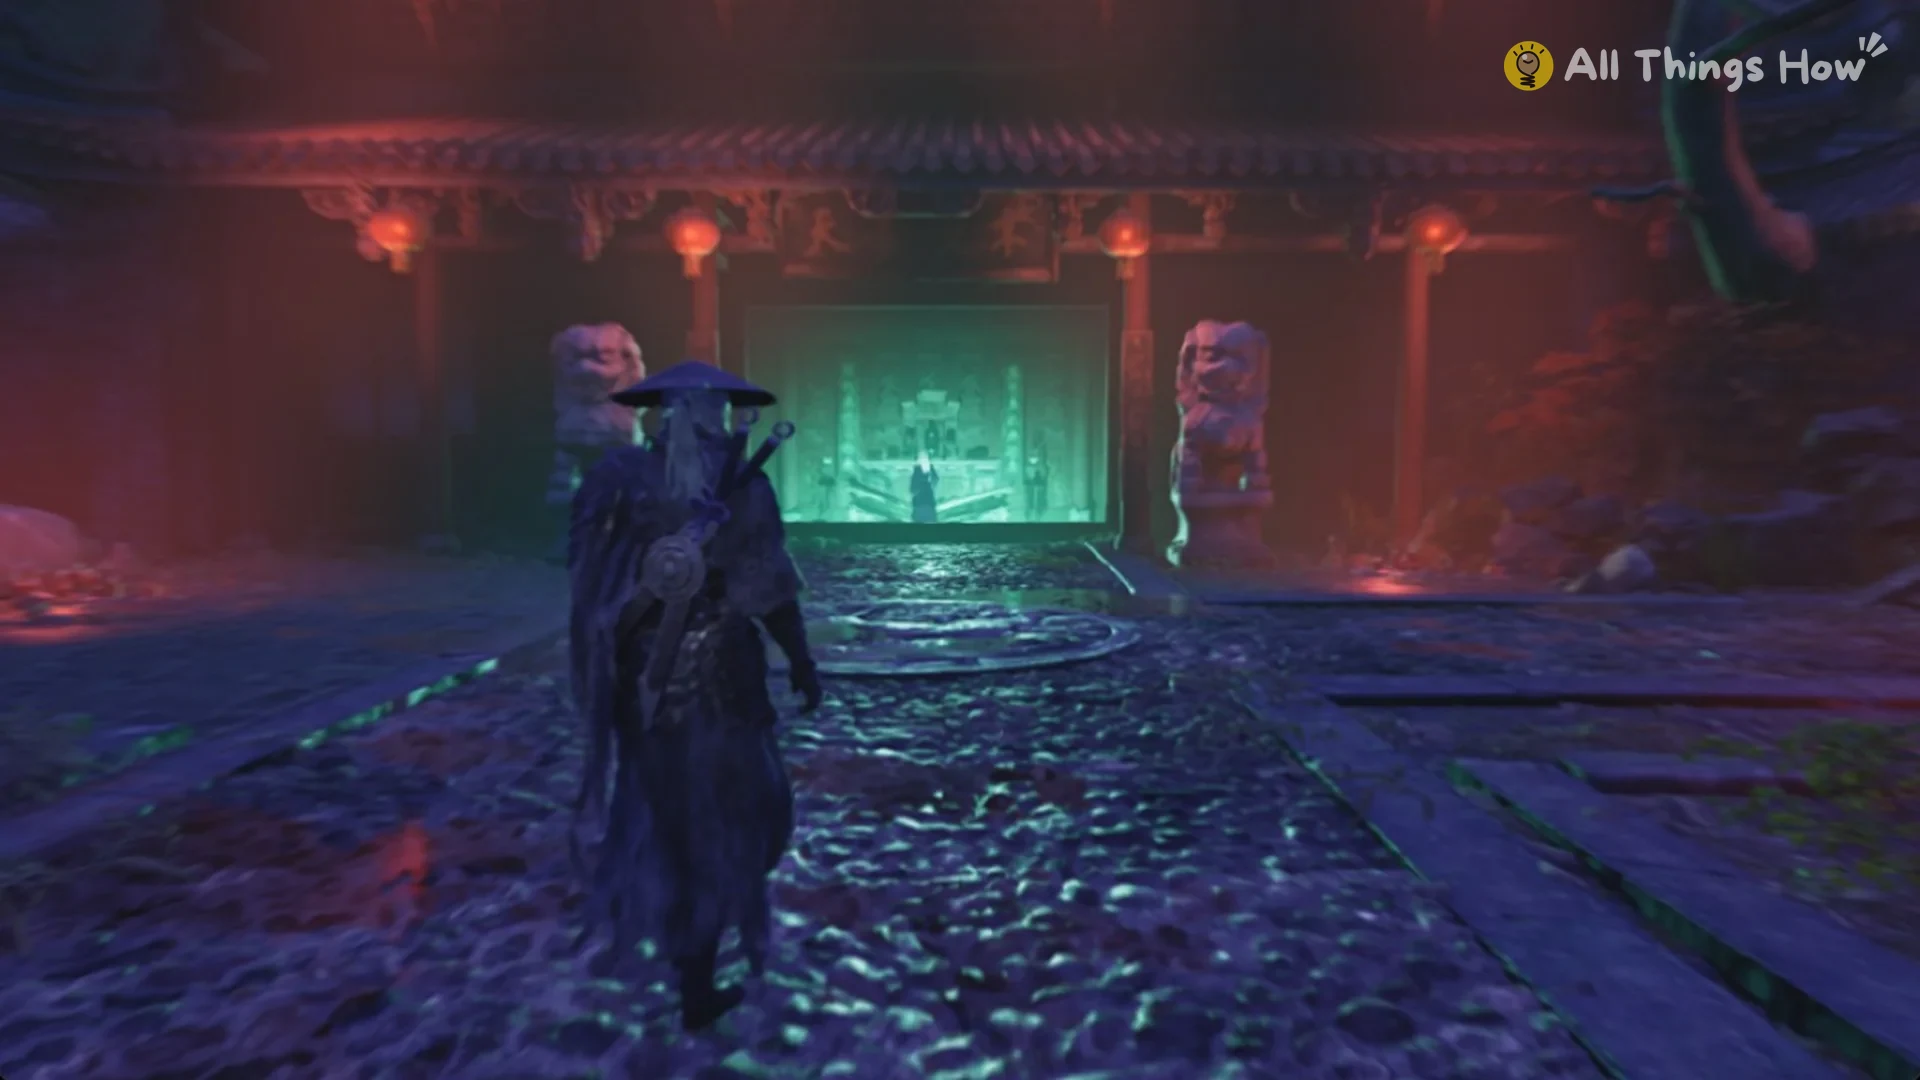
What is past the red door
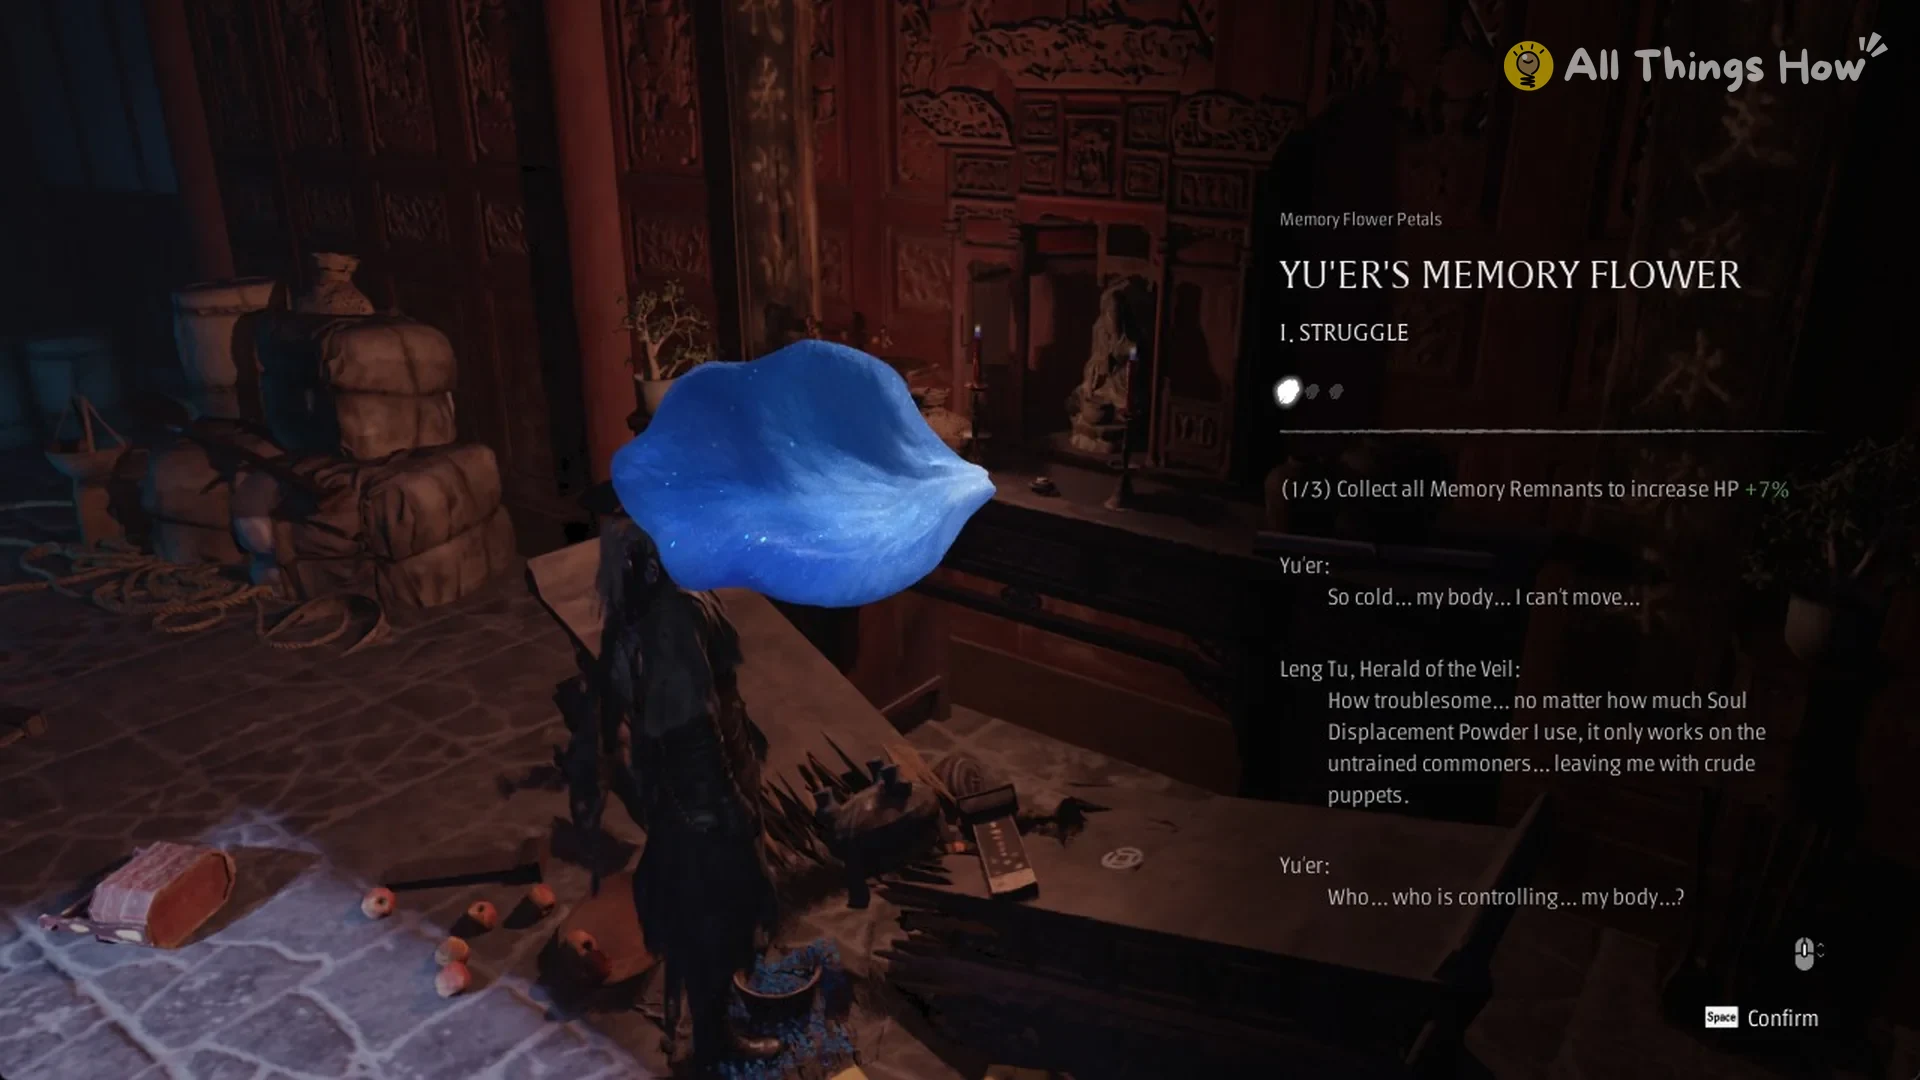
In a hall beside the courtyard beyond the door, collect YU’ER’S MEMORY FLOWER, I. STRUGGLE, the first of 3. Gathering every remnant raises your HP by 7%. The memory features Leng Tu, Herald of the Veil, discussing Soul Displacement Powder and his puppets.
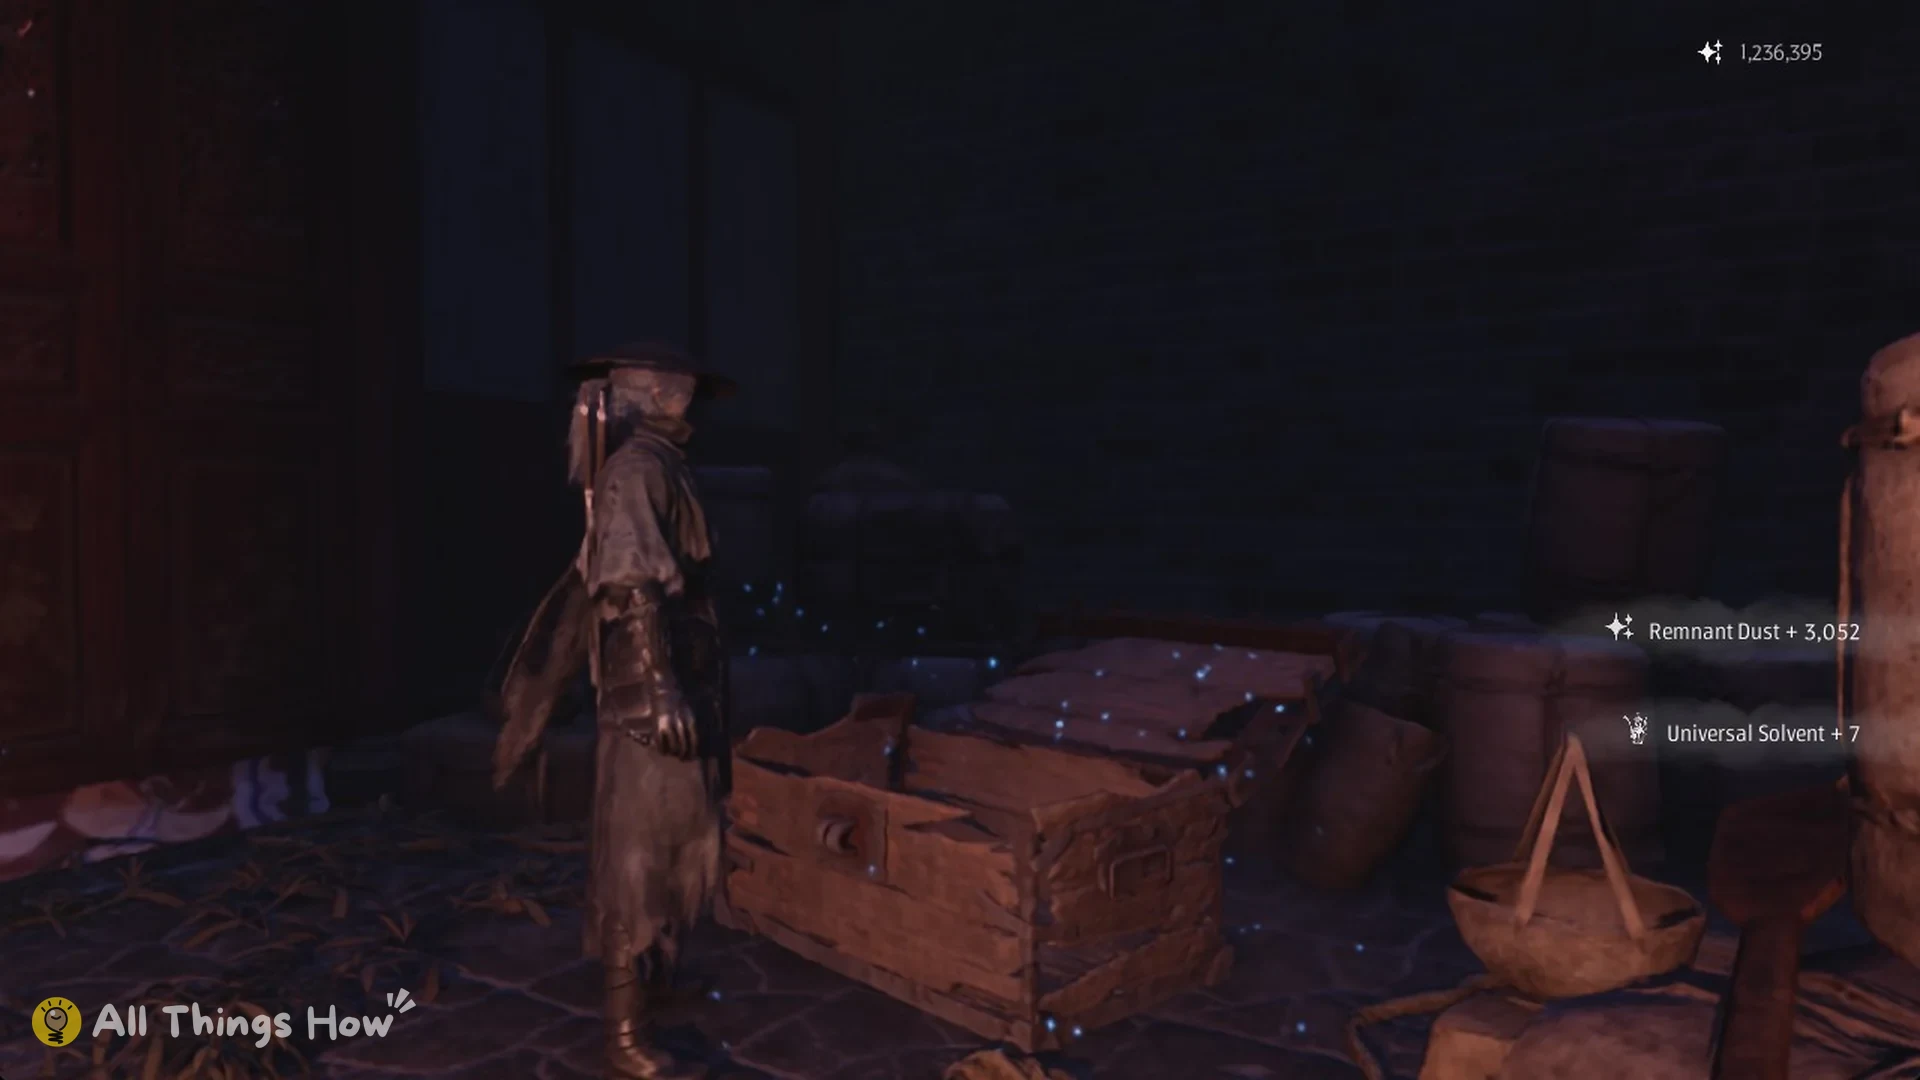
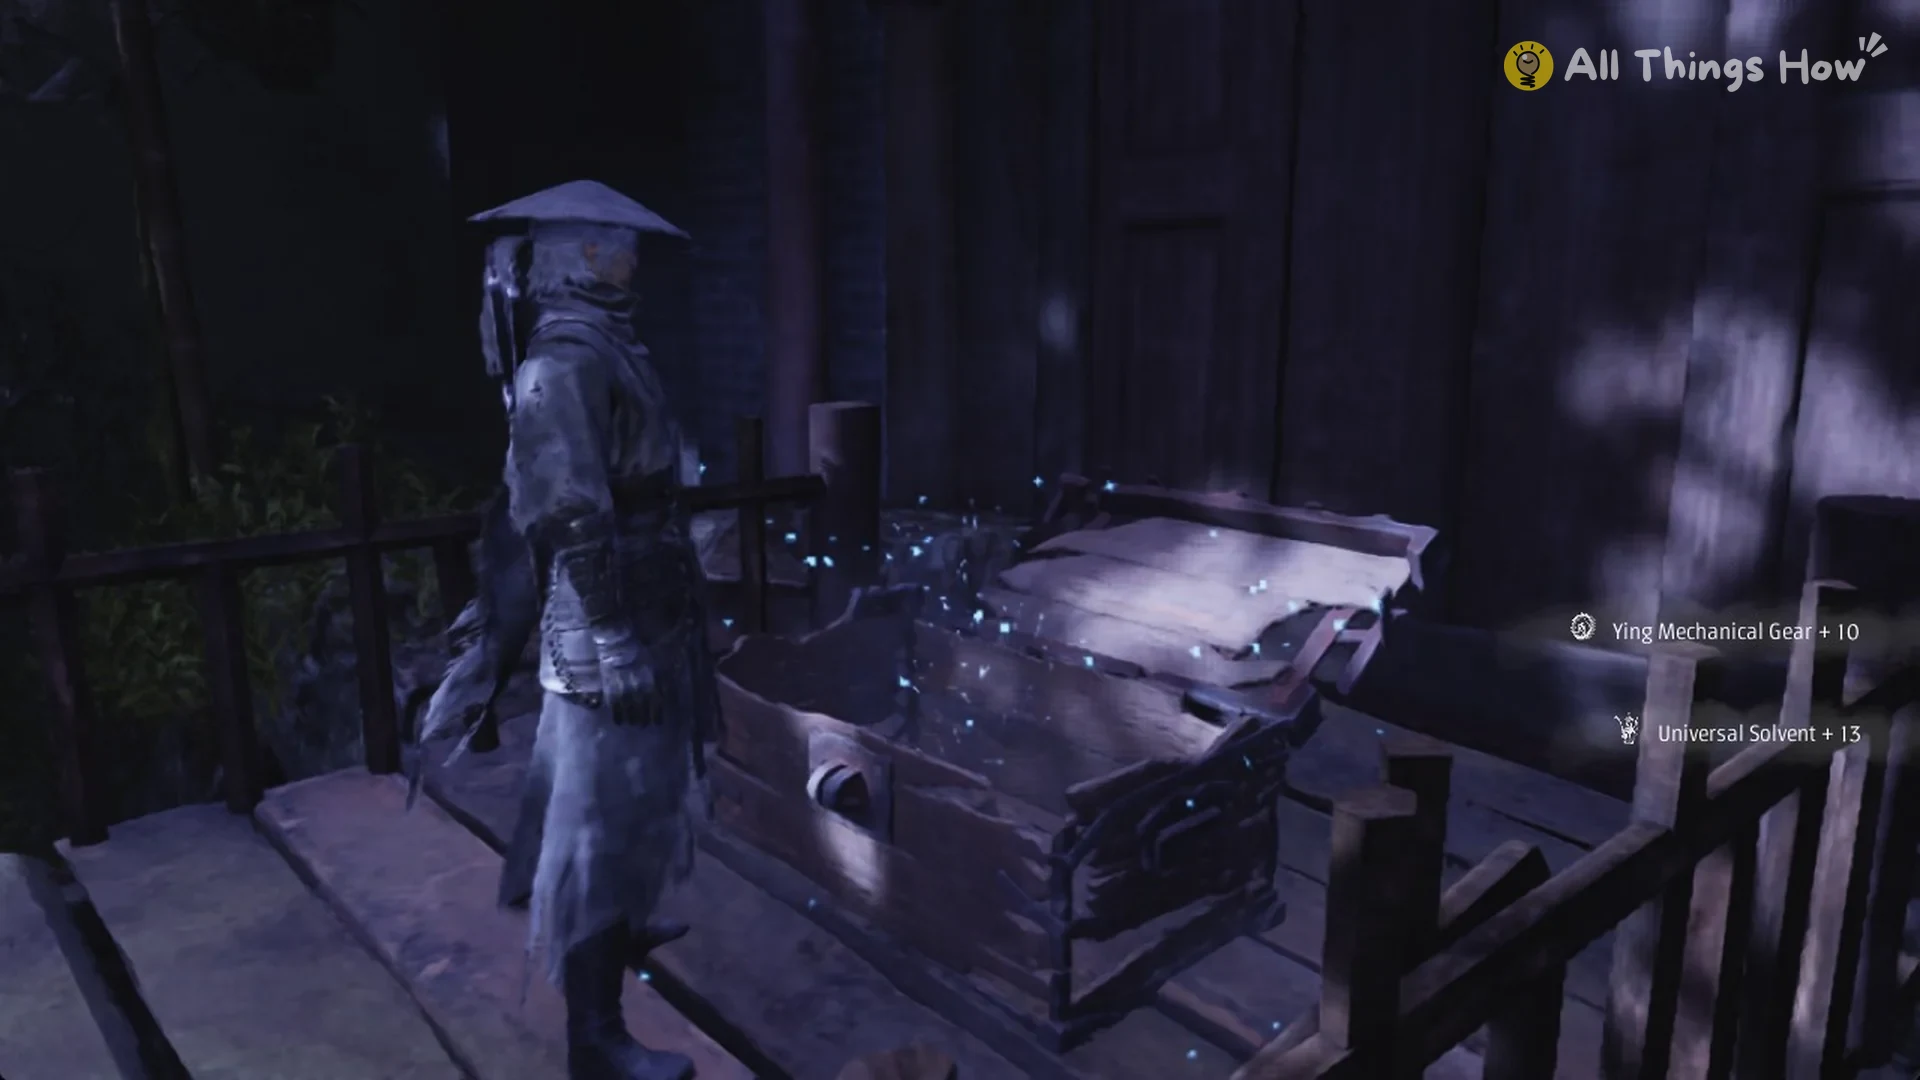
Behind that hall is a storeroom full of sacks and jars. A chest there gives you 3,052 Remnant Dust and 7 Universal Solvent.
How to reach the Nuo Mask Altar bell
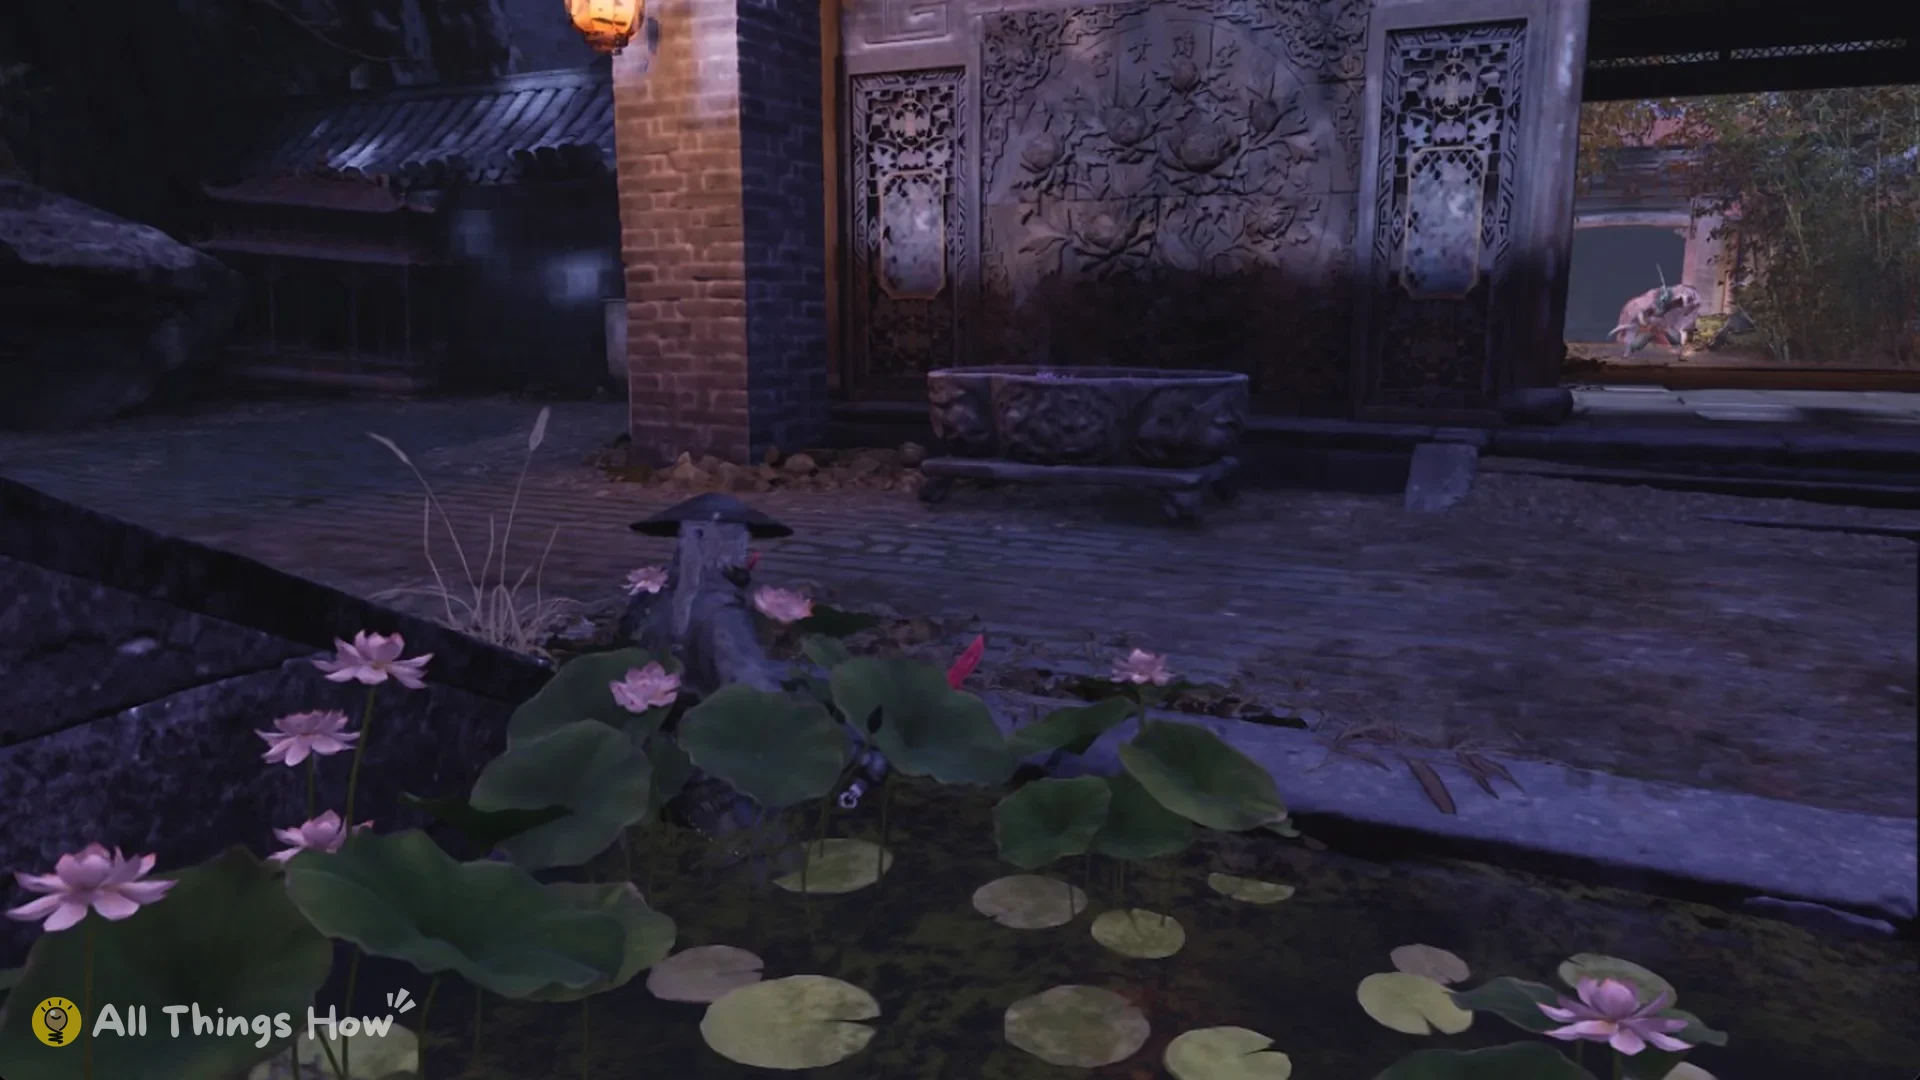
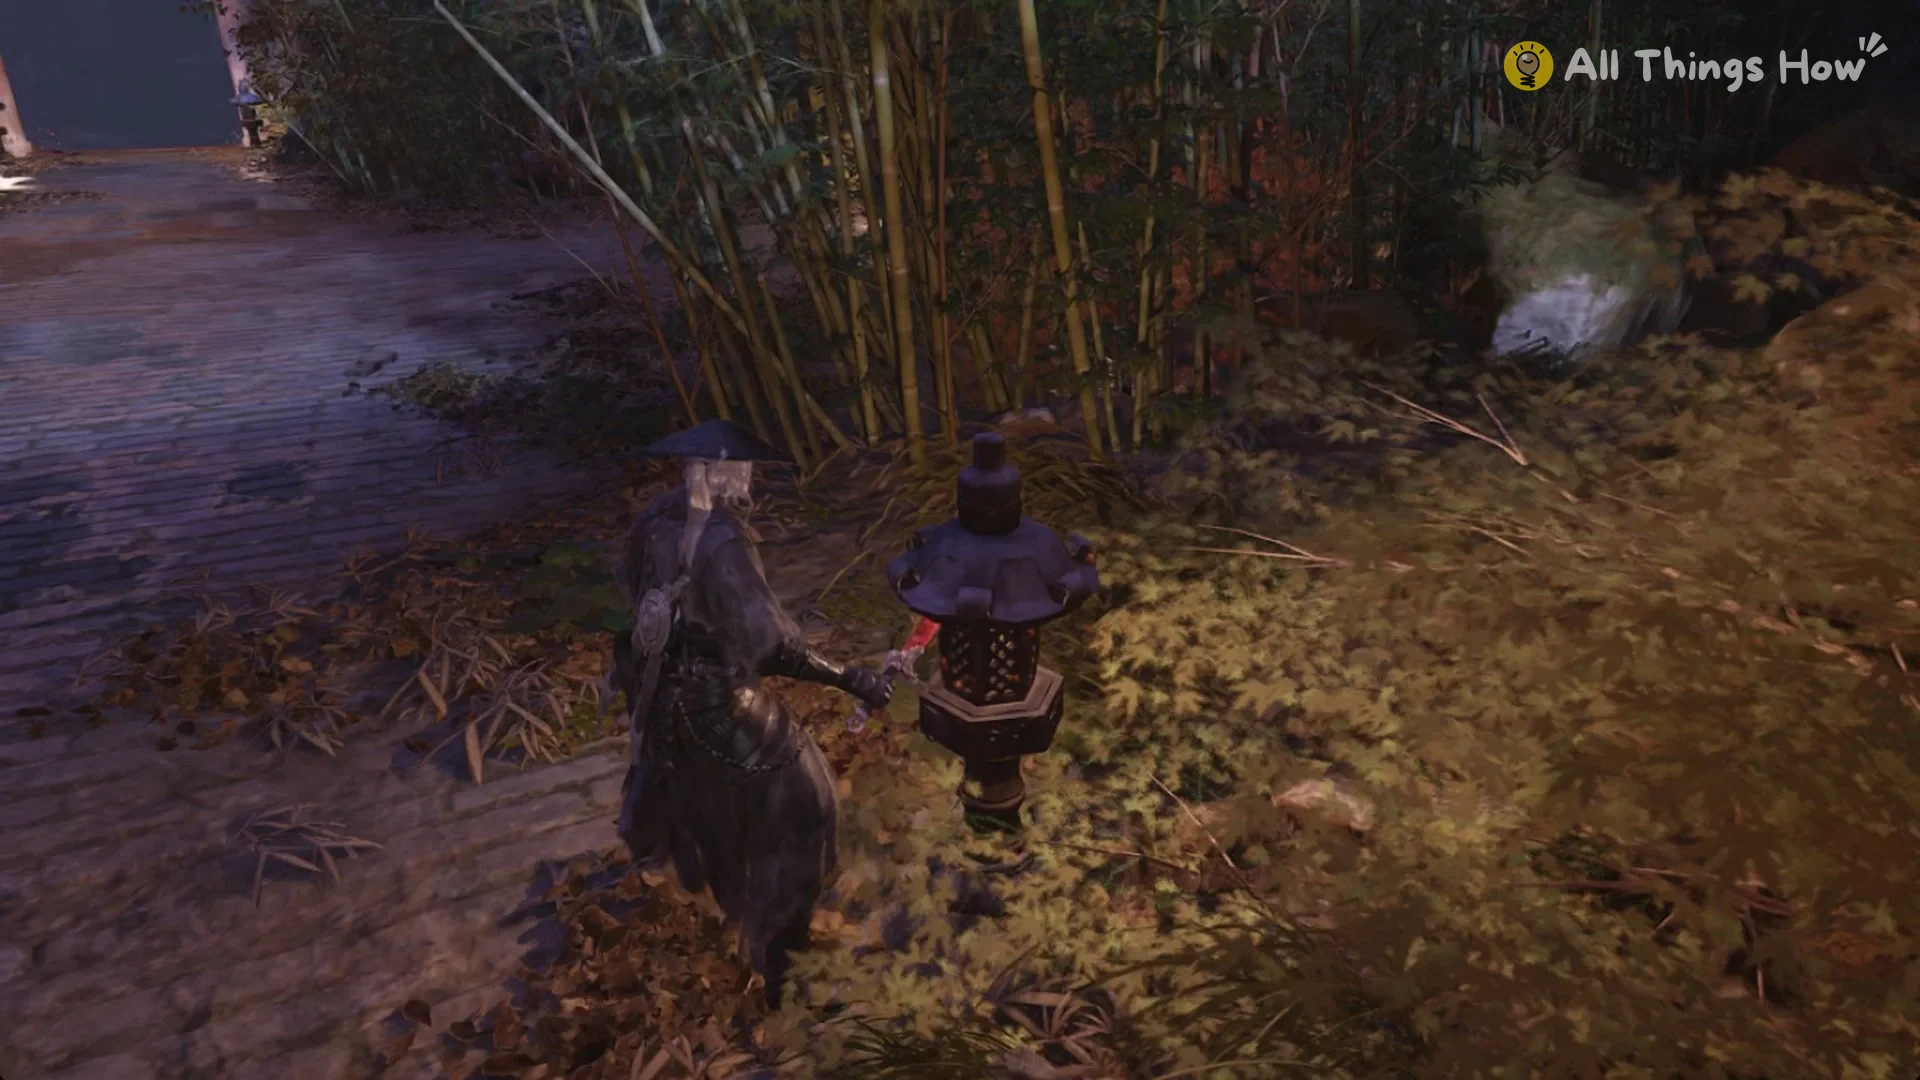
Yin and Yang Puppets are positioned along the route. They remain motionless until you come within roughly 1-2 m, then spring to life and attack. If one awakens nearby while a Shadow Assassin is attacking you, your health can disappear very quickly.
Another Shadow Assassin patrols the bamboo path by the altar. Fight these enemies individually instead of slipping past them at close range.
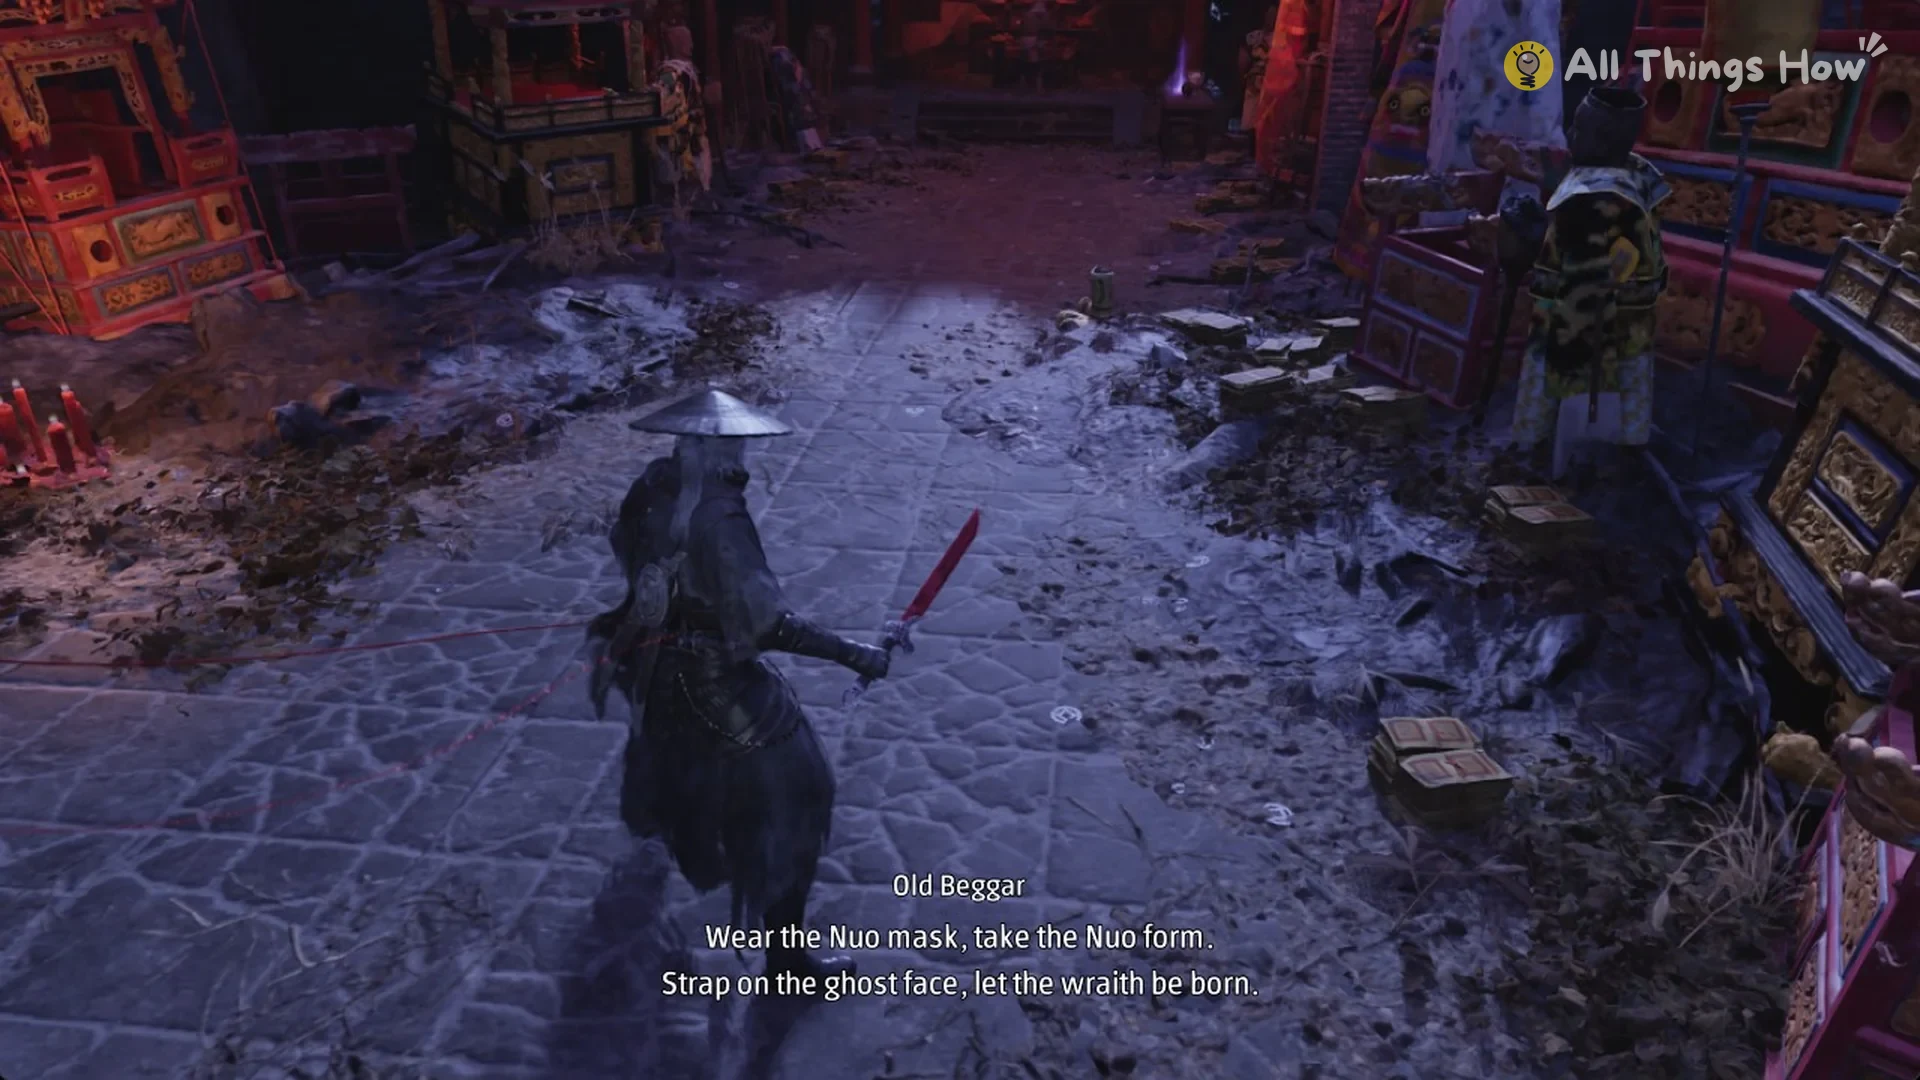
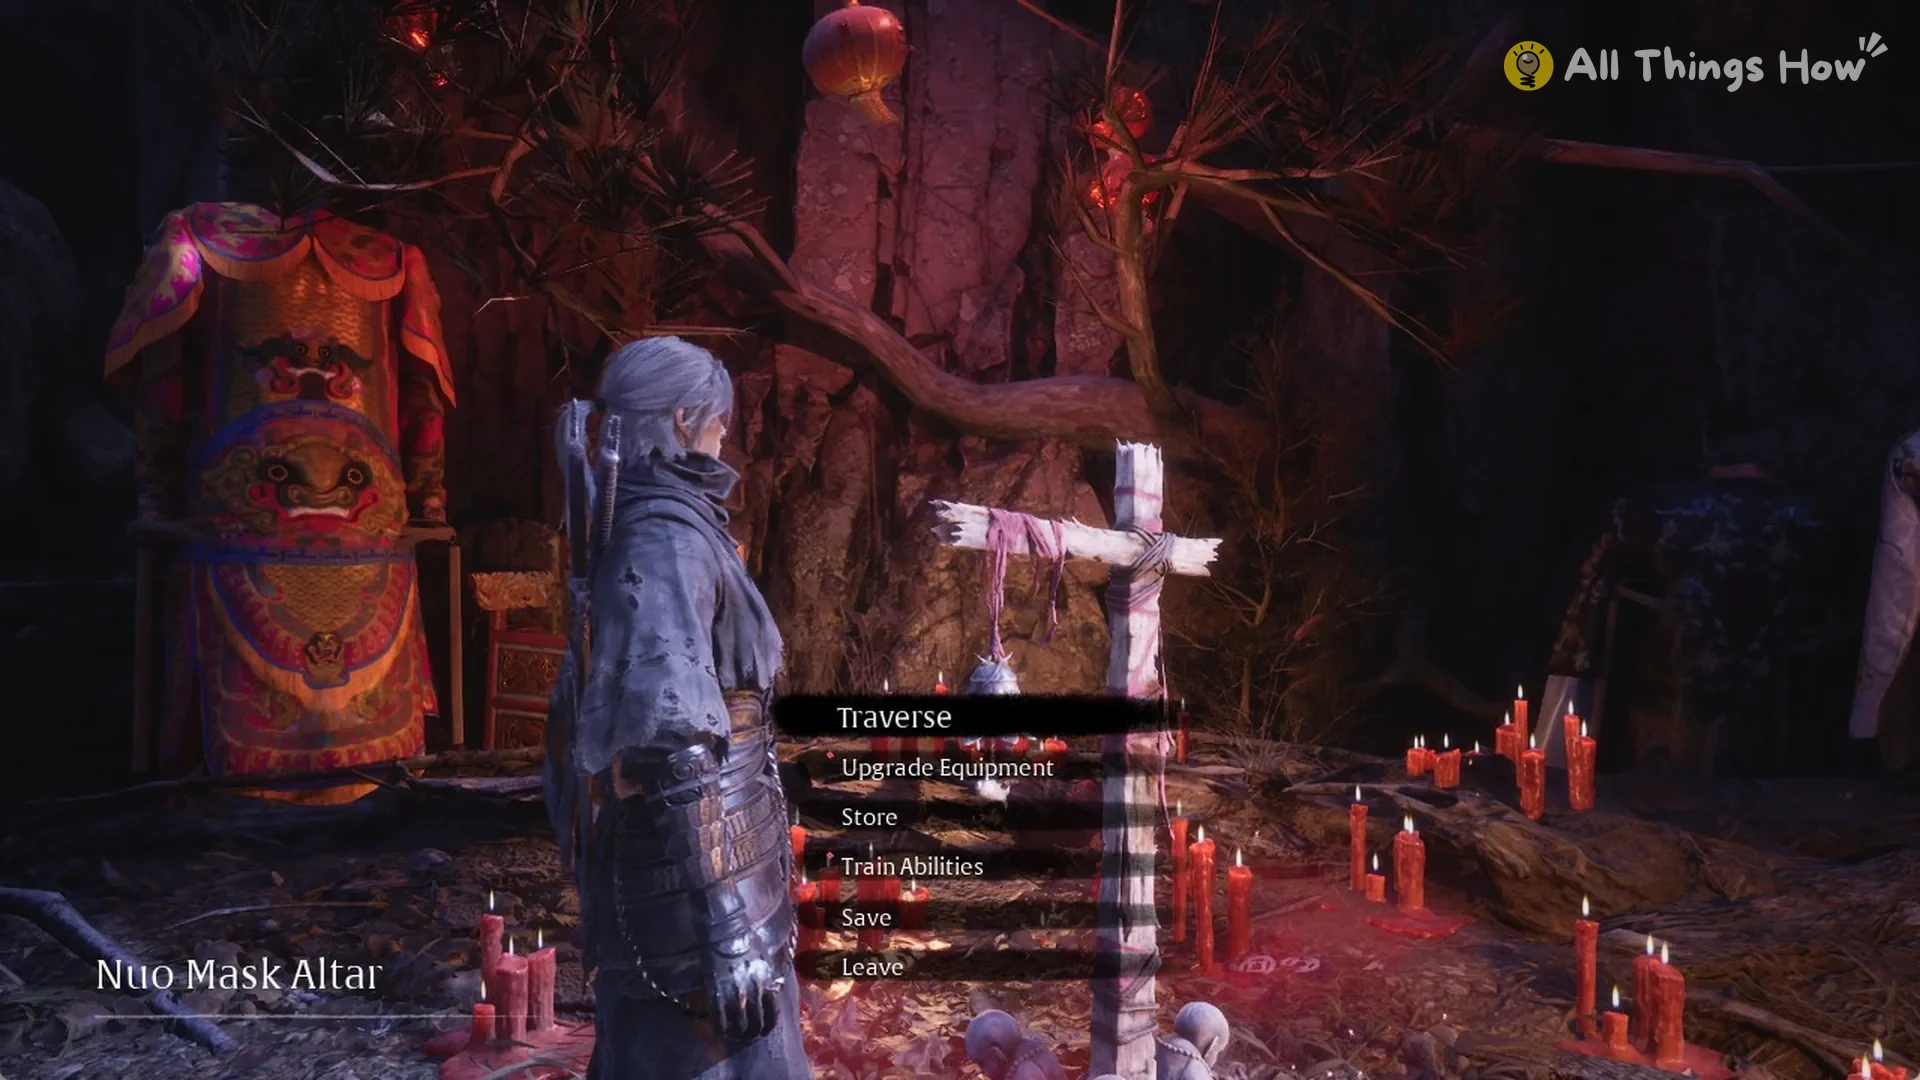
After the Estate Rear Gate, the Nuo Mask Altar is the next bell in the Mirage Estate. You’ll find it amid red candles on a street of altars, with Nuo robes and painted chests hanging there. As you enter the altar street, an Old Beggar’s voice says “Wear the Nuo mask, take the Nuo form.” and “Strap on the ghost face, let the wraith be born.”
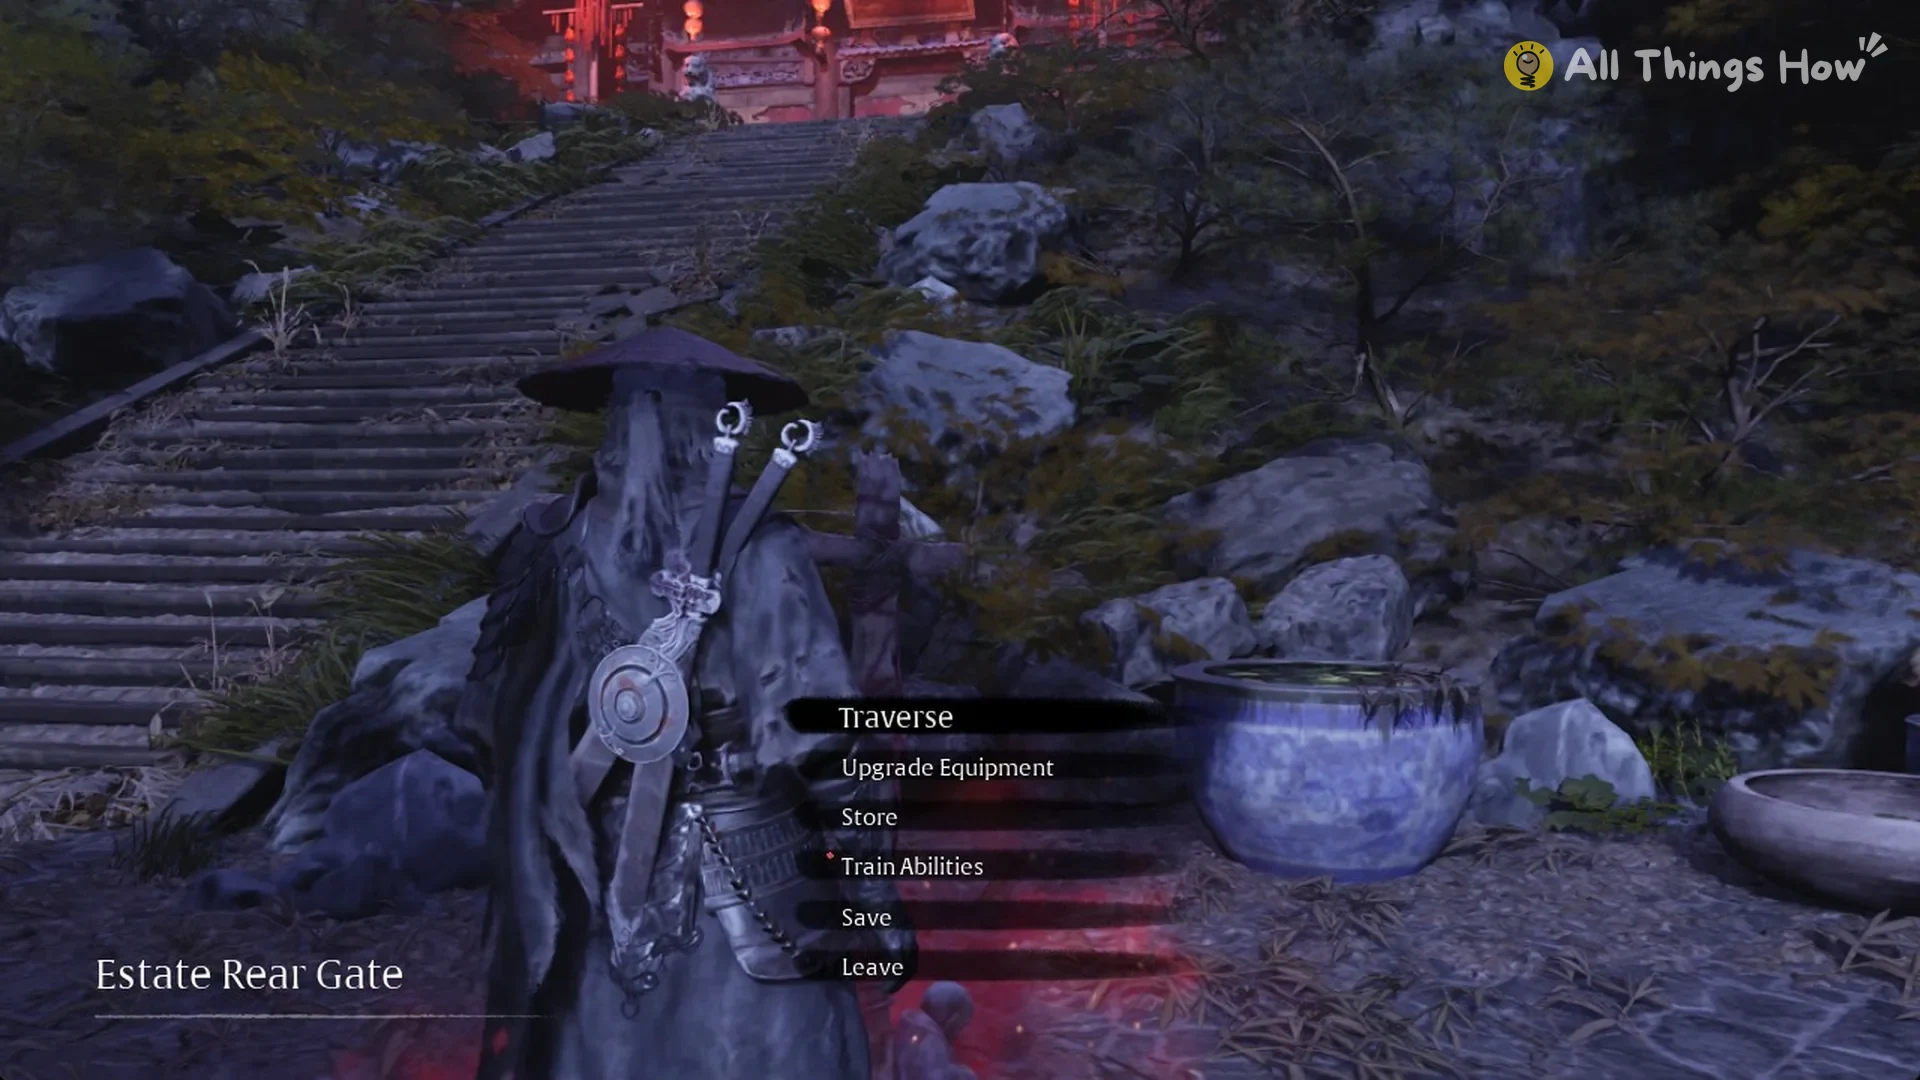
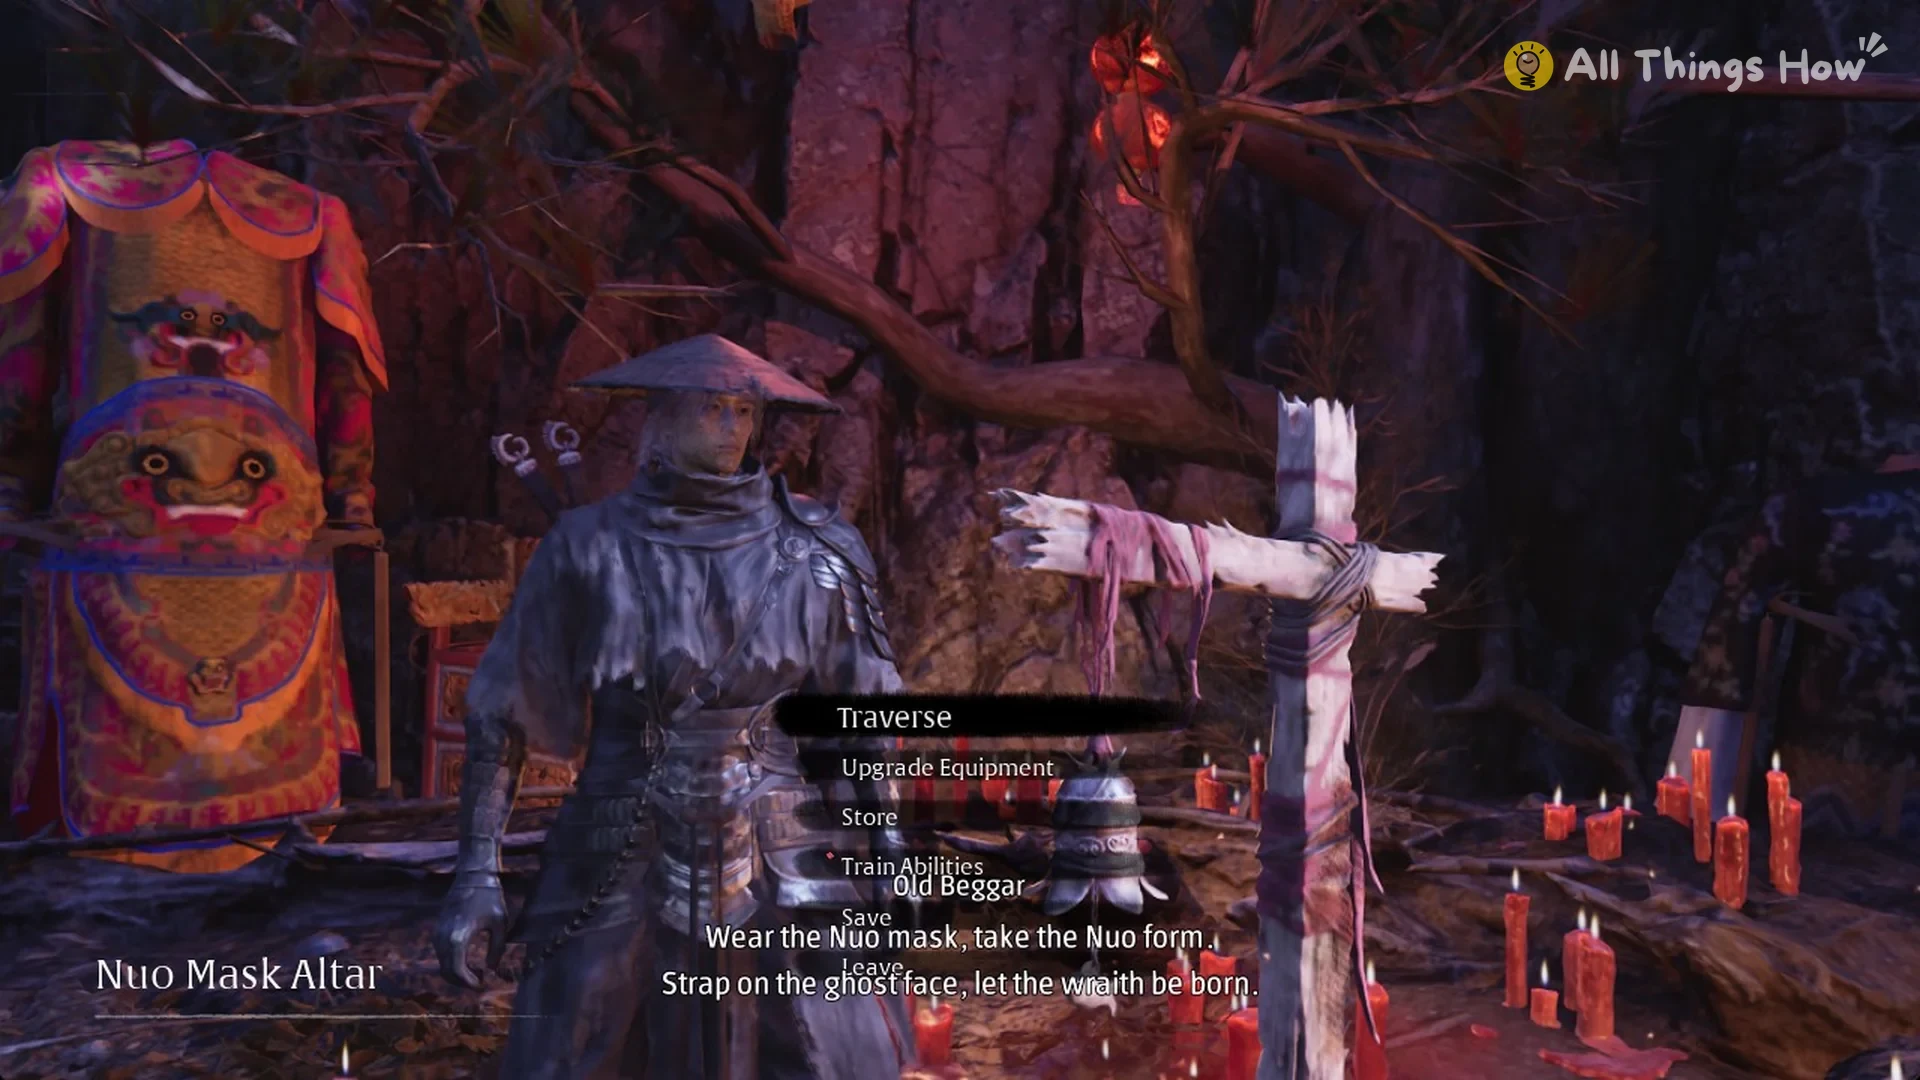
Press E at the cross to ring the bell. The menu that opens is headed “Nuo Mask Altar” and lists Traverse, Upgrade Equipment, Store, Train Abilities, Save and Leave.
The sliding lattice door past the pond court
Beyond Mirage Estate’s pond court, go down to the lower level and find the red lattice wall. Use E at the panel marked with the prompt; it slides aside to reveal a lit hall.
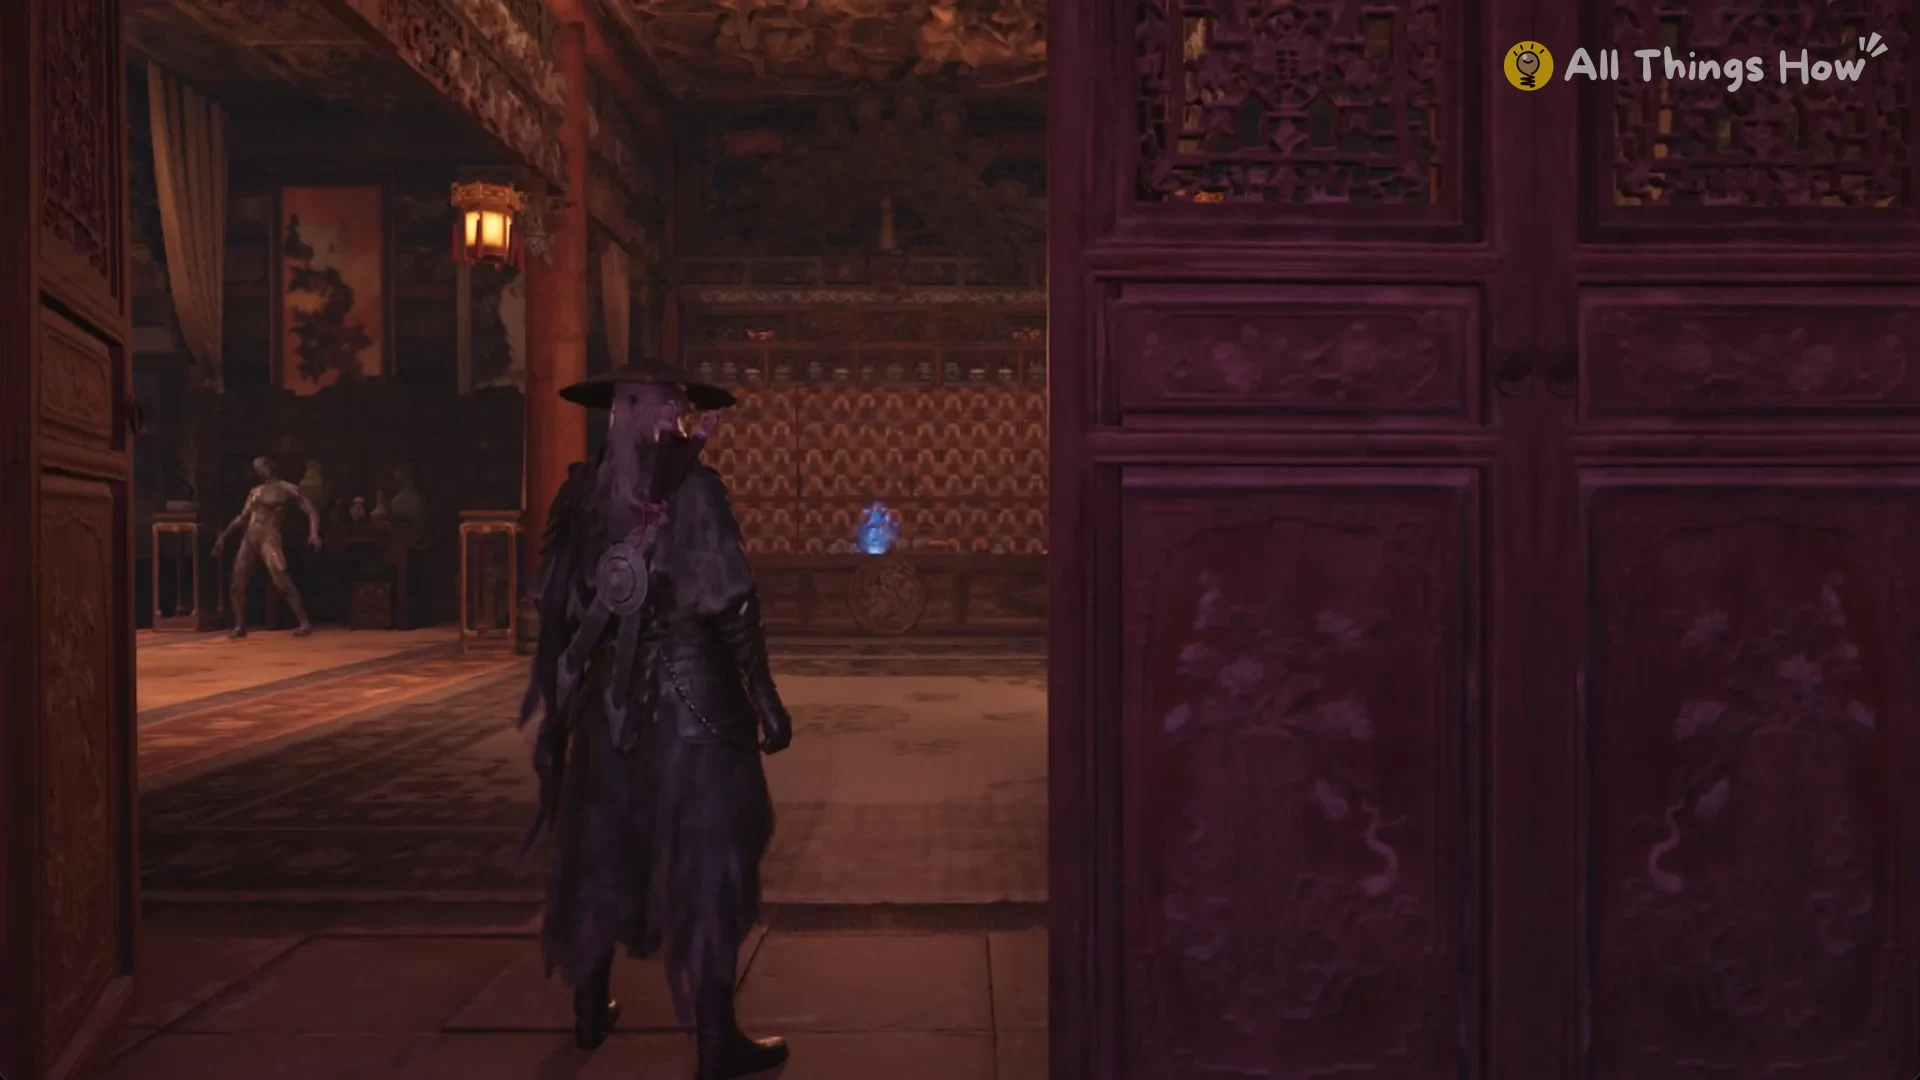
A Yin Puppet is inside, with a blue glint visible deeper in. The hall contains both a Yin Puppet and a Yang Puppet; each awakens once you get within a couple of metres. Together, the pair can kill Soul in about 15 seconds on Pathbreaker. Step into the hall slowly and be ready to fight before you go after the glint.
How to reach the Below the Fire Tower bell
Begin in the hall occupied by the Shadow Assassin. This square, wood-built room is reached by taking the rope down from the gallery, beyond the Nuo Mask Altar bell. A Floating Head and a Shadow Assassin fight inside.
Skip the balcony. A chest-high rail borders the open valley, and there is no route down from it.
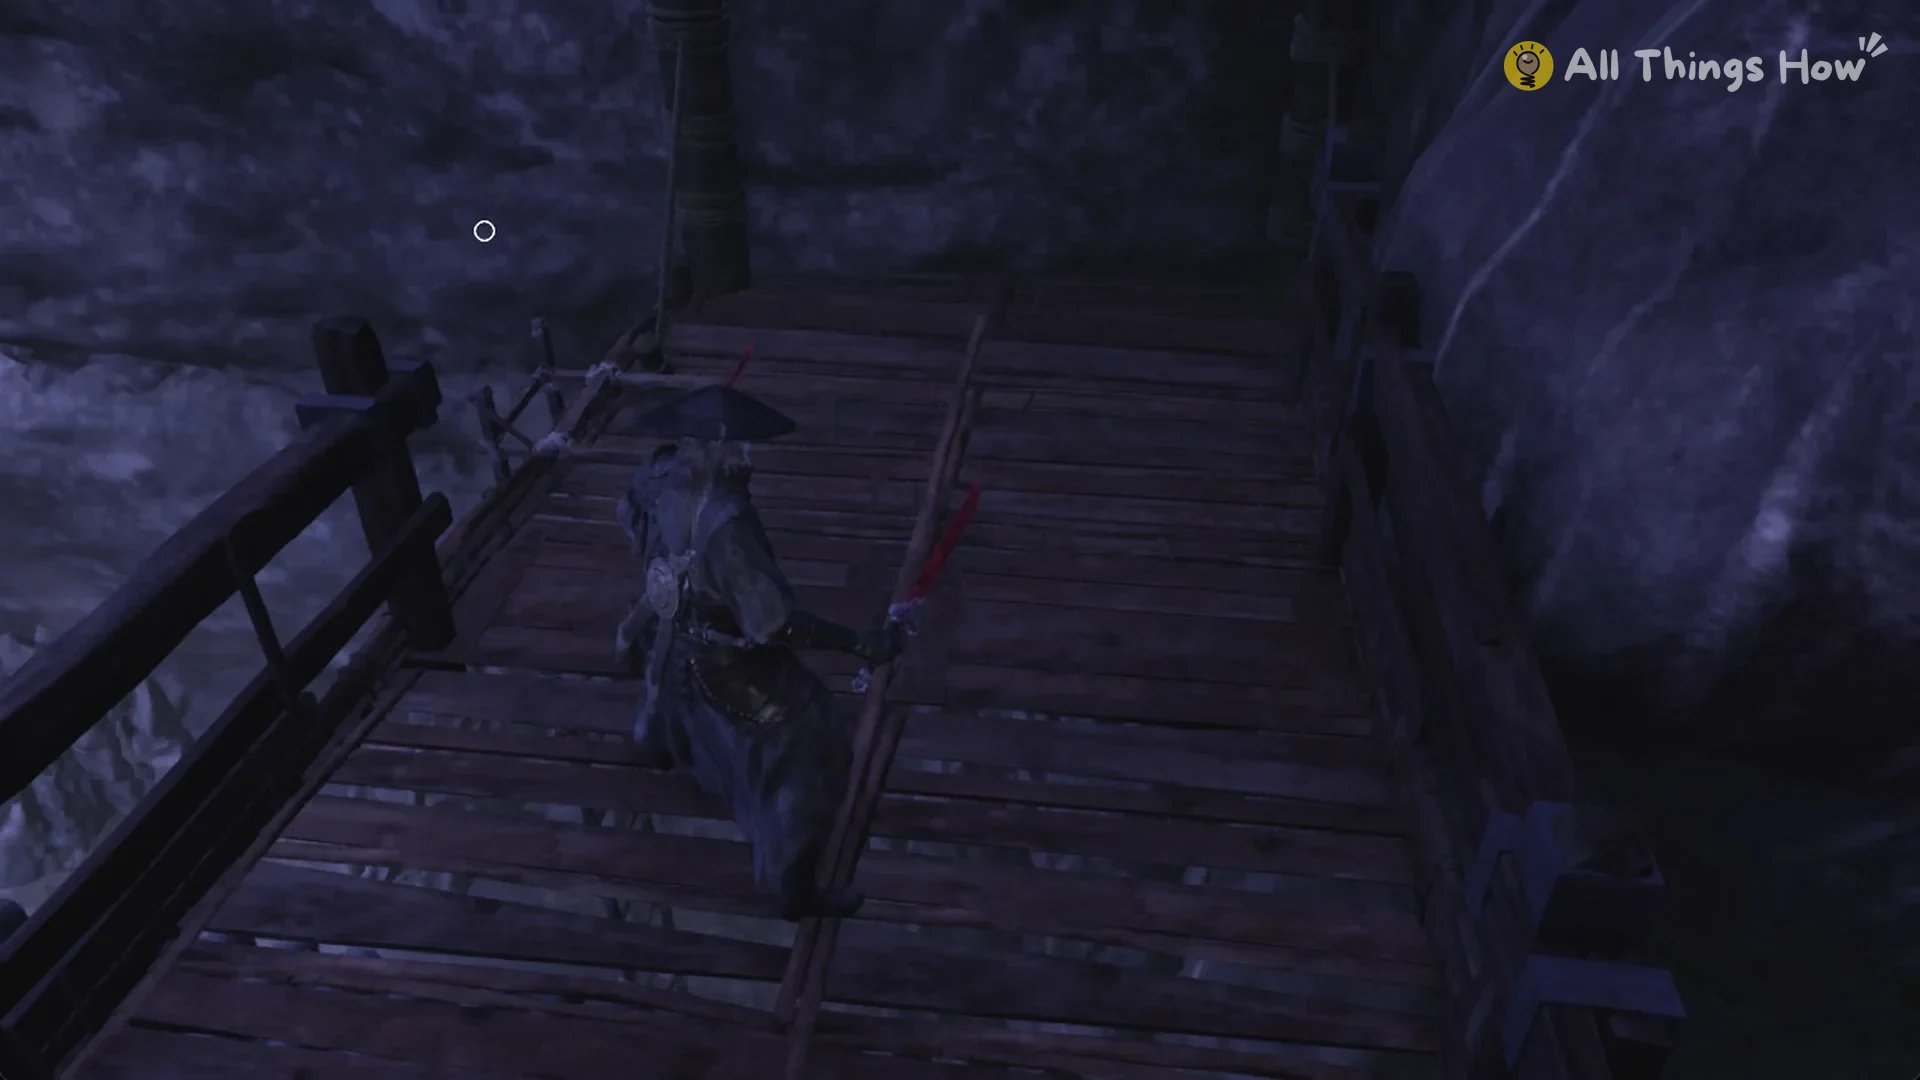
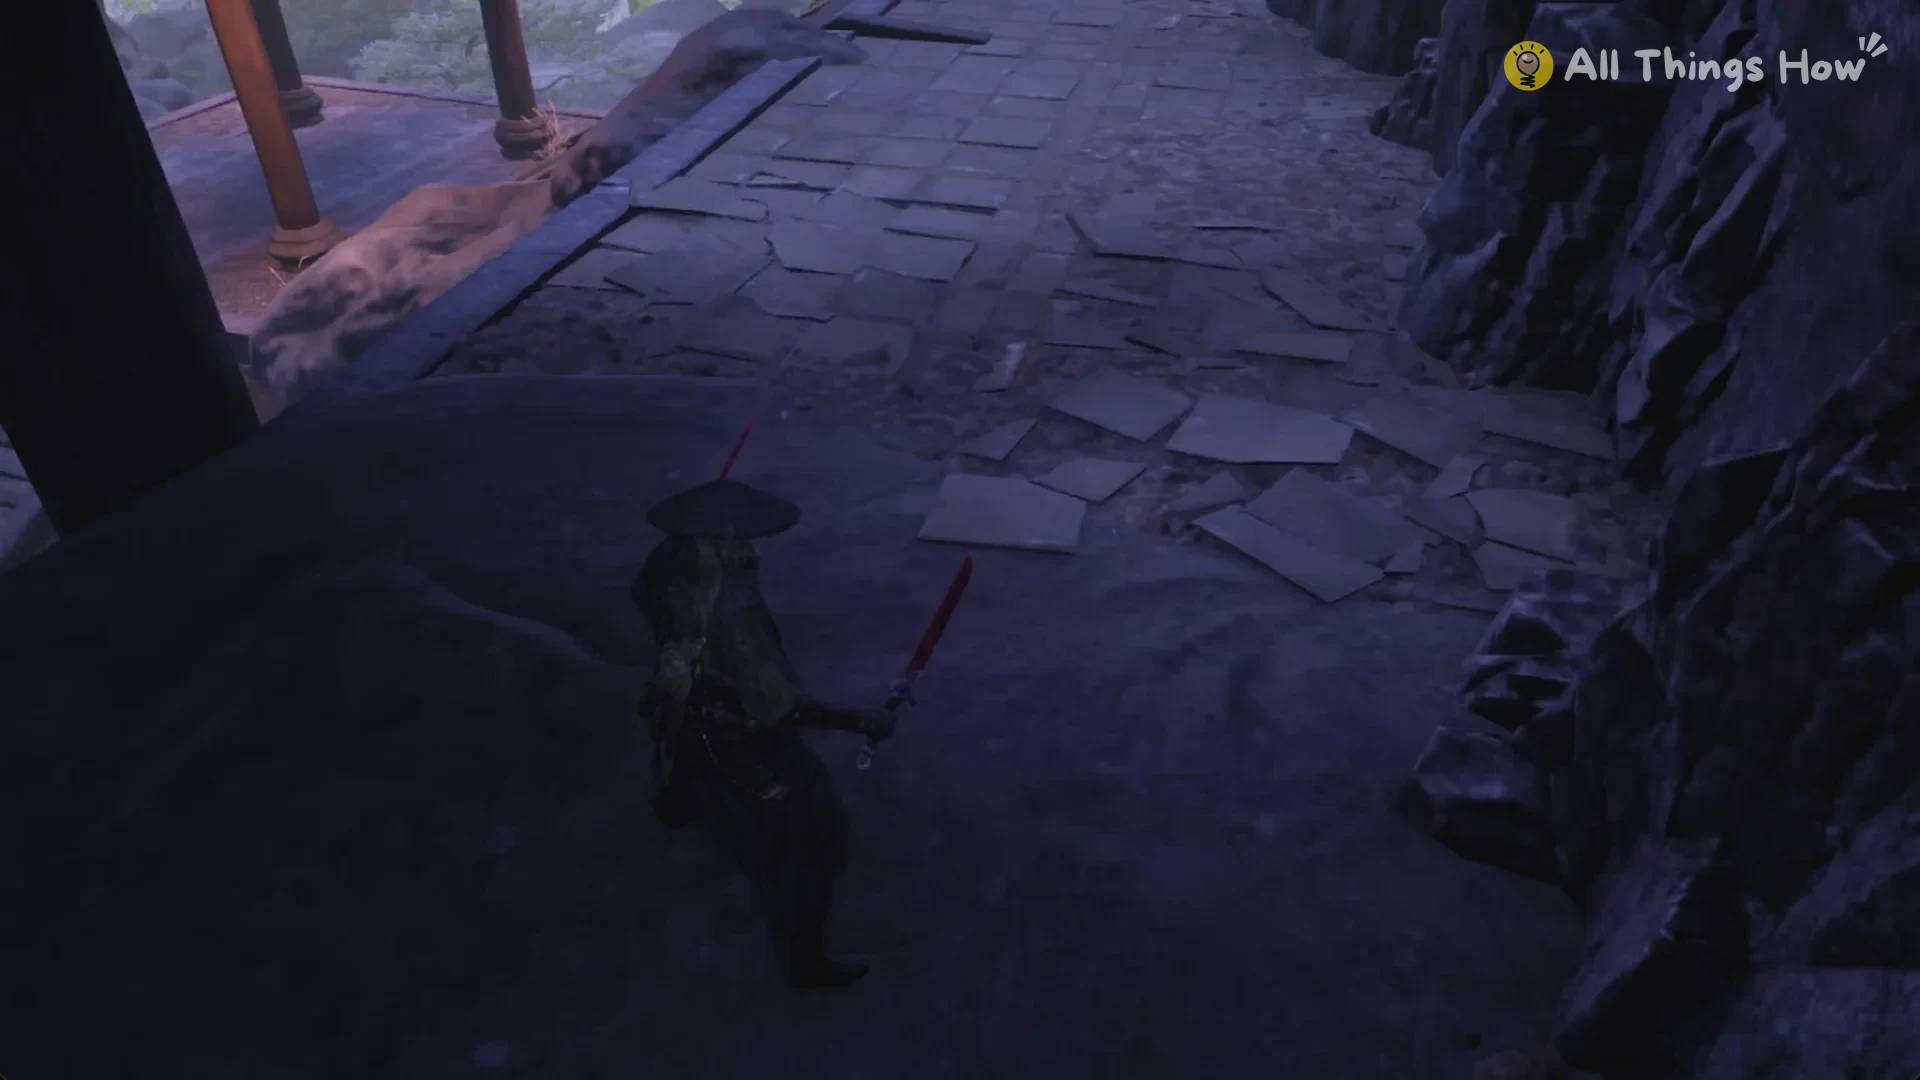
Where you land, a wooden ladder leans against the cliff with a “Space” prompt; it leads only back to the plank walkway.
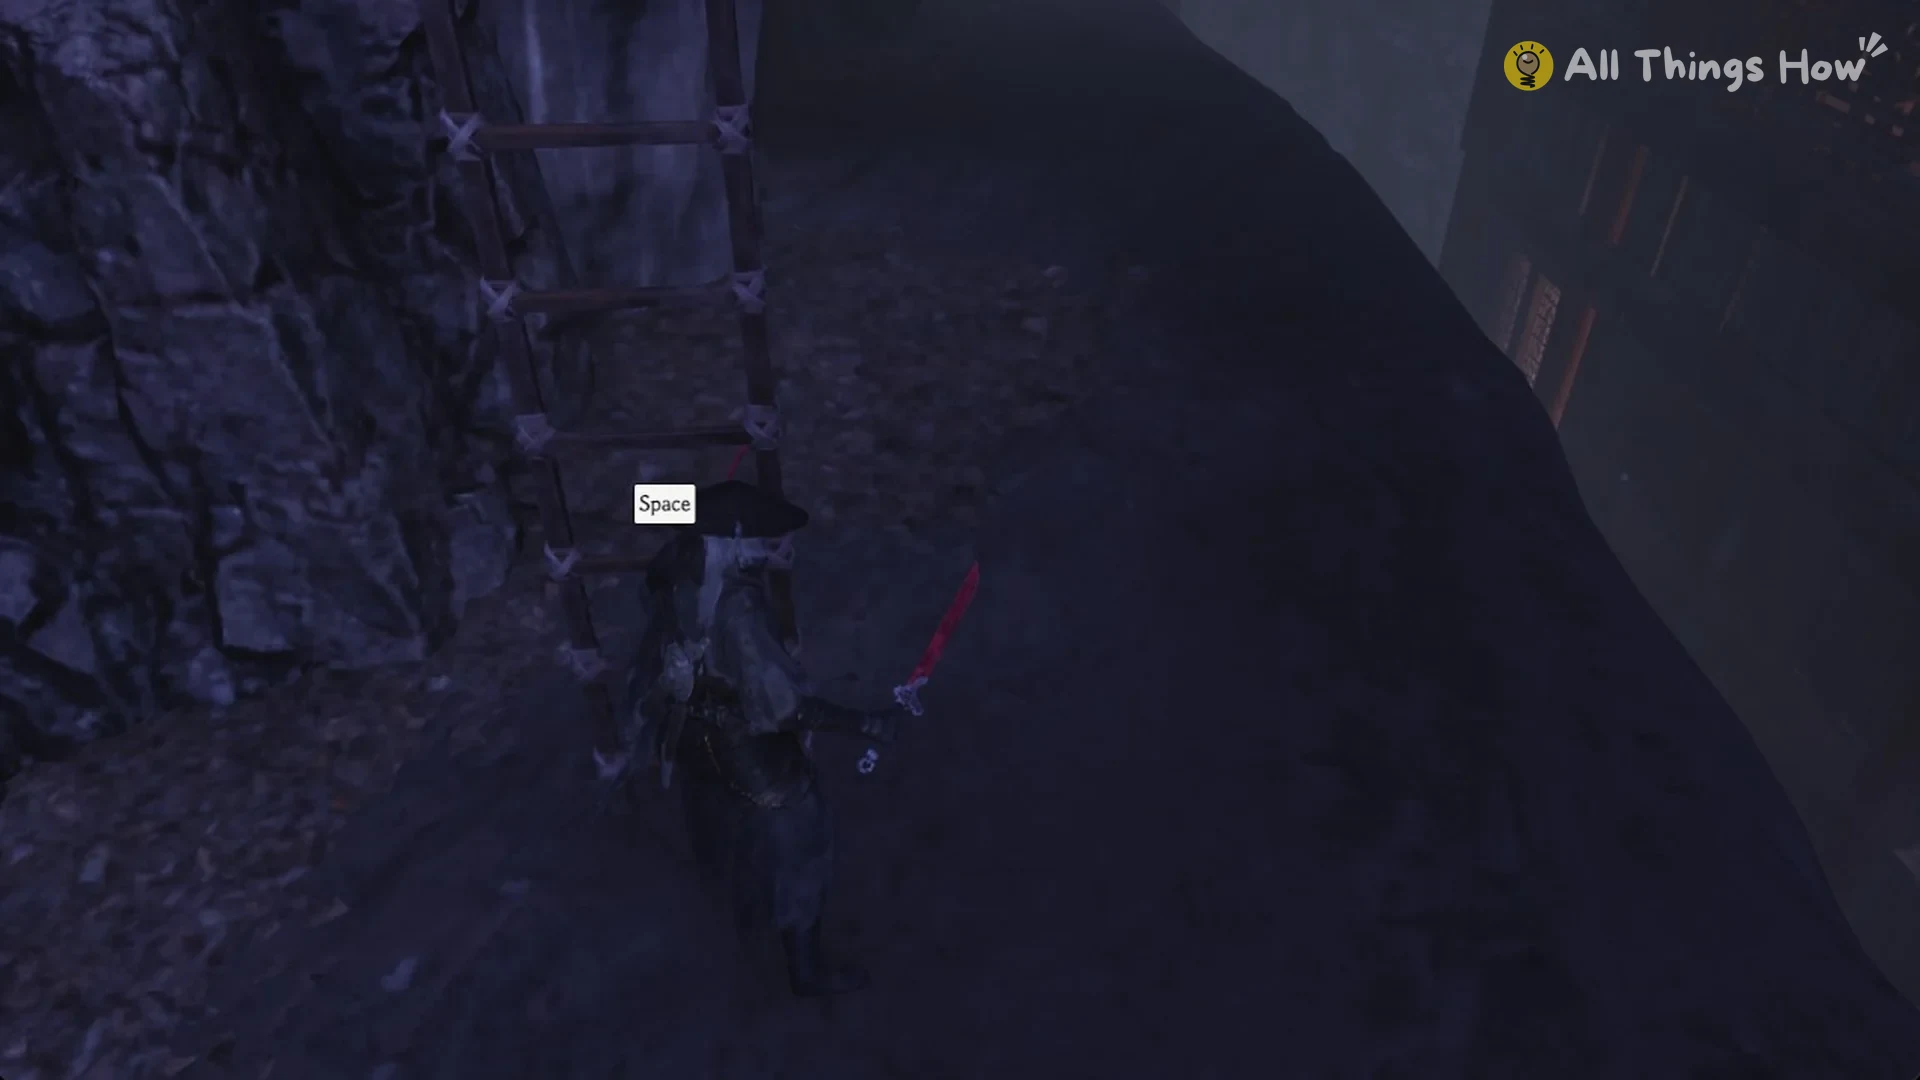
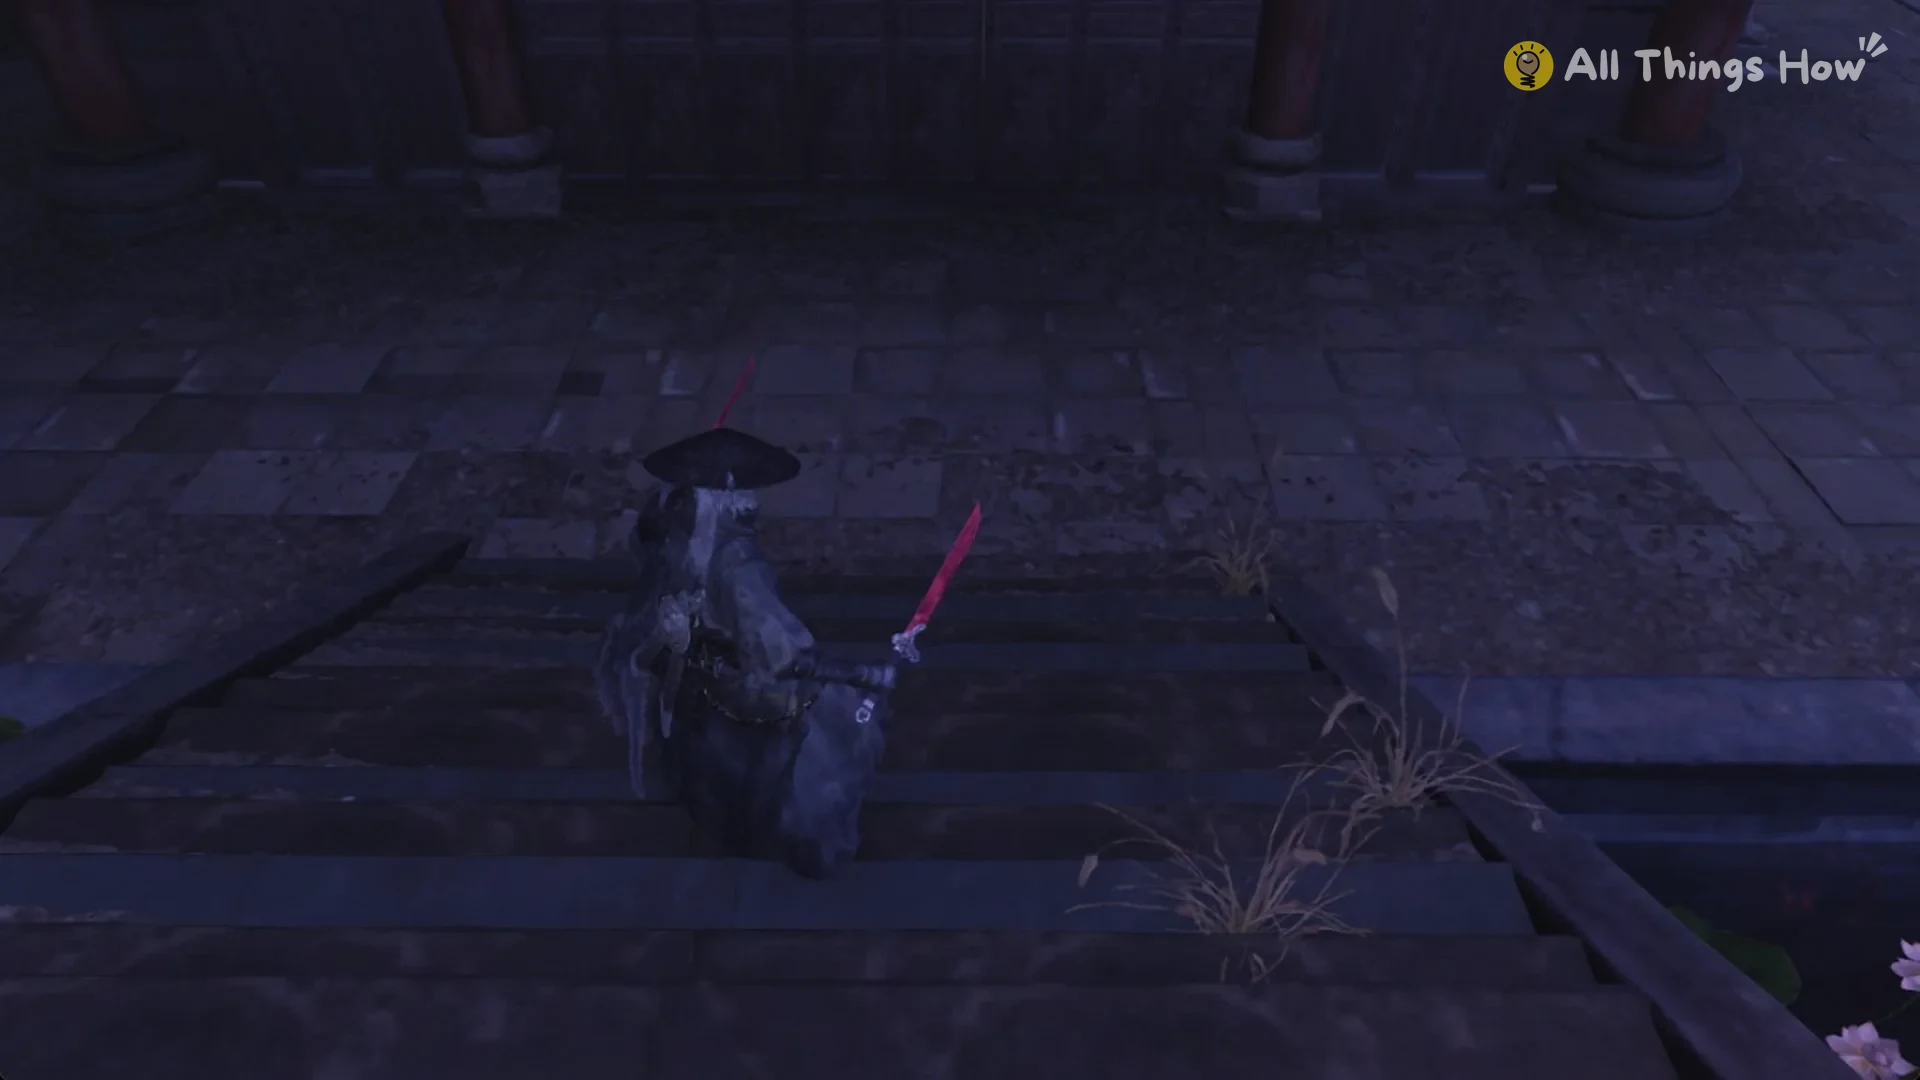
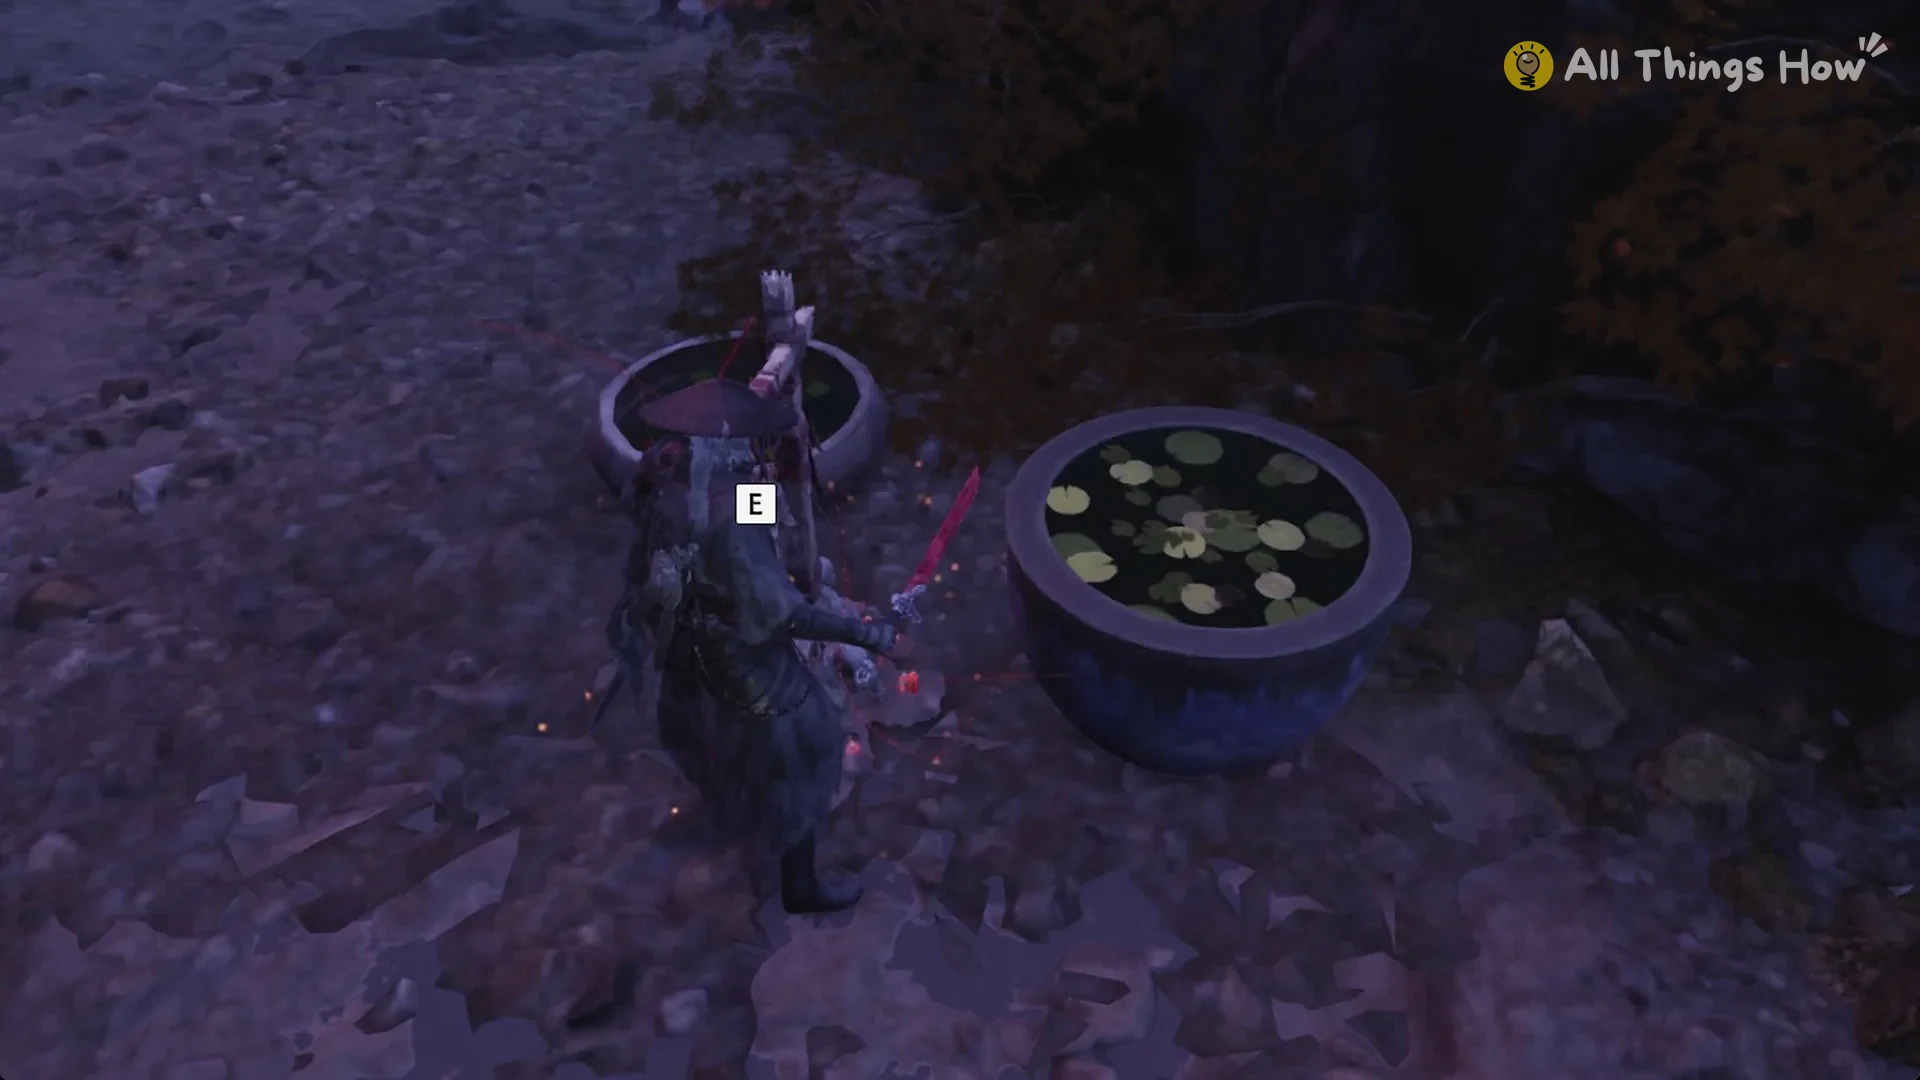
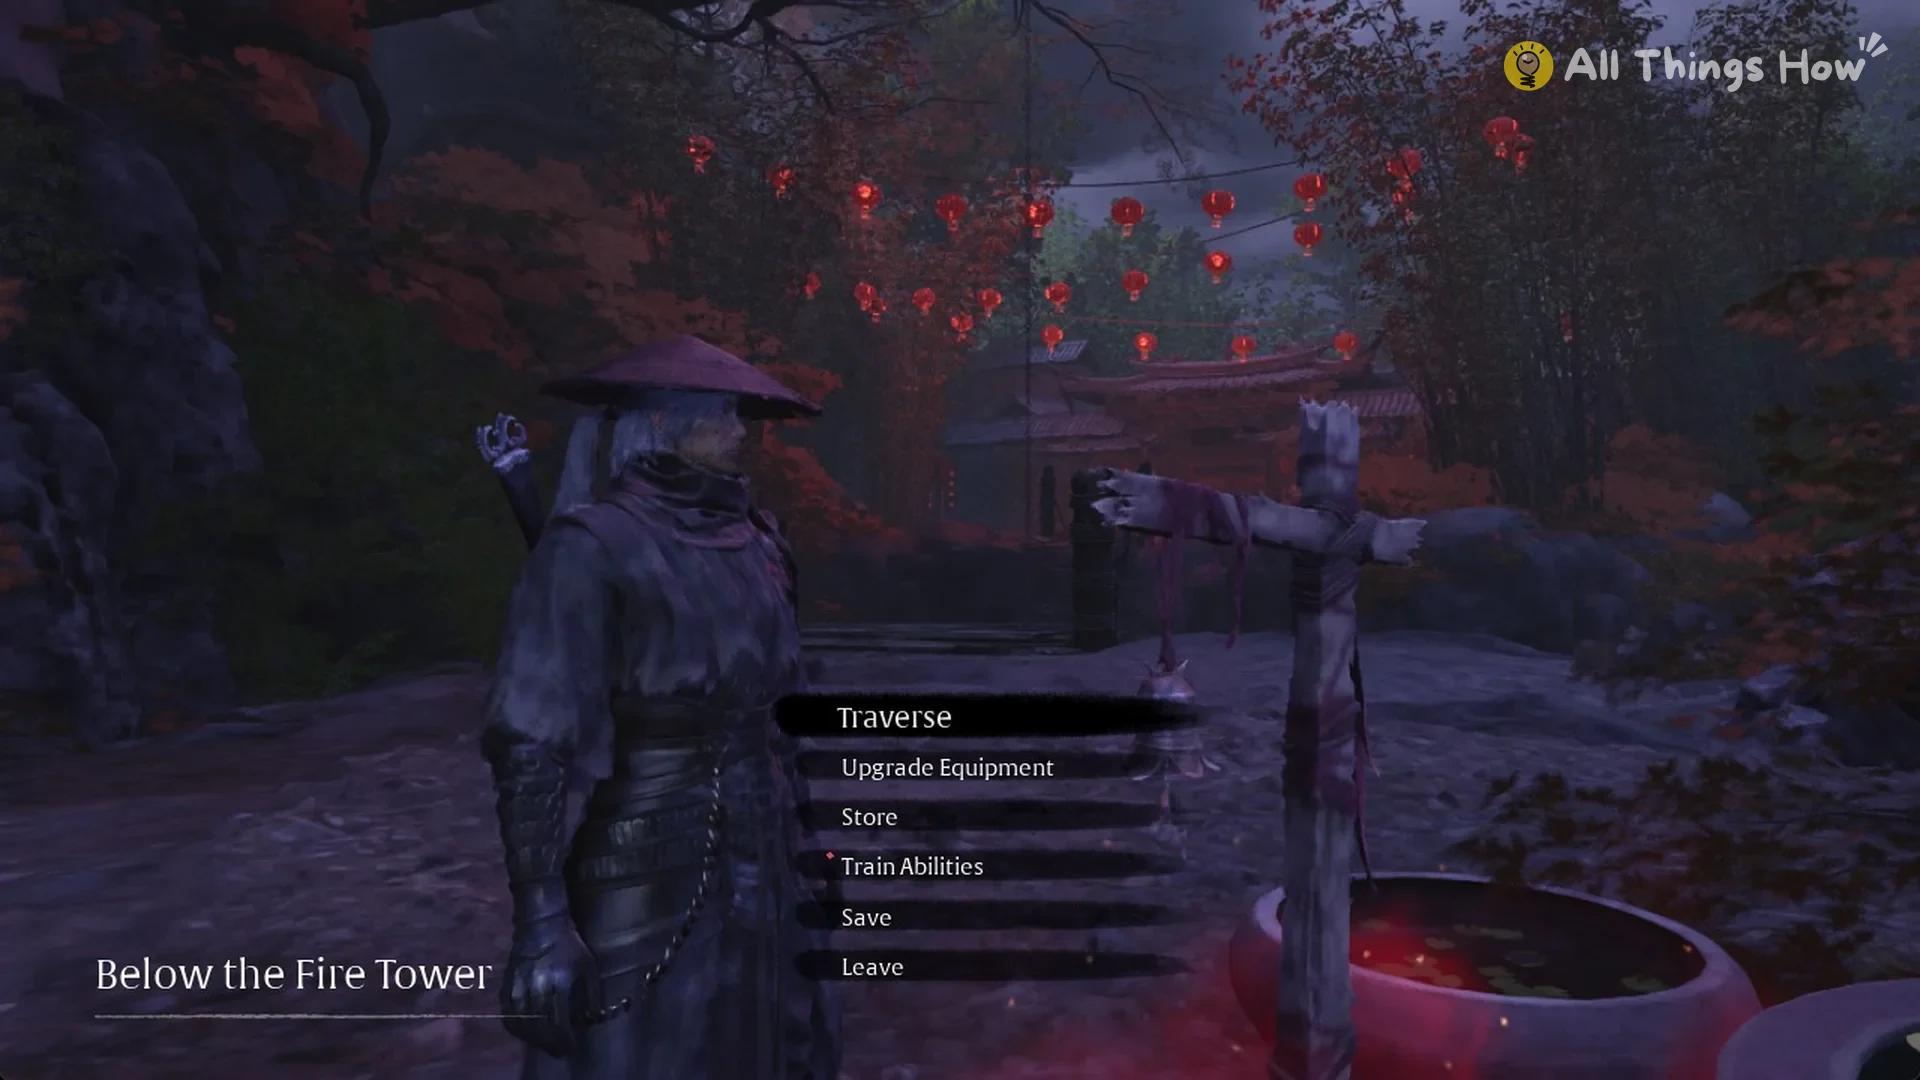
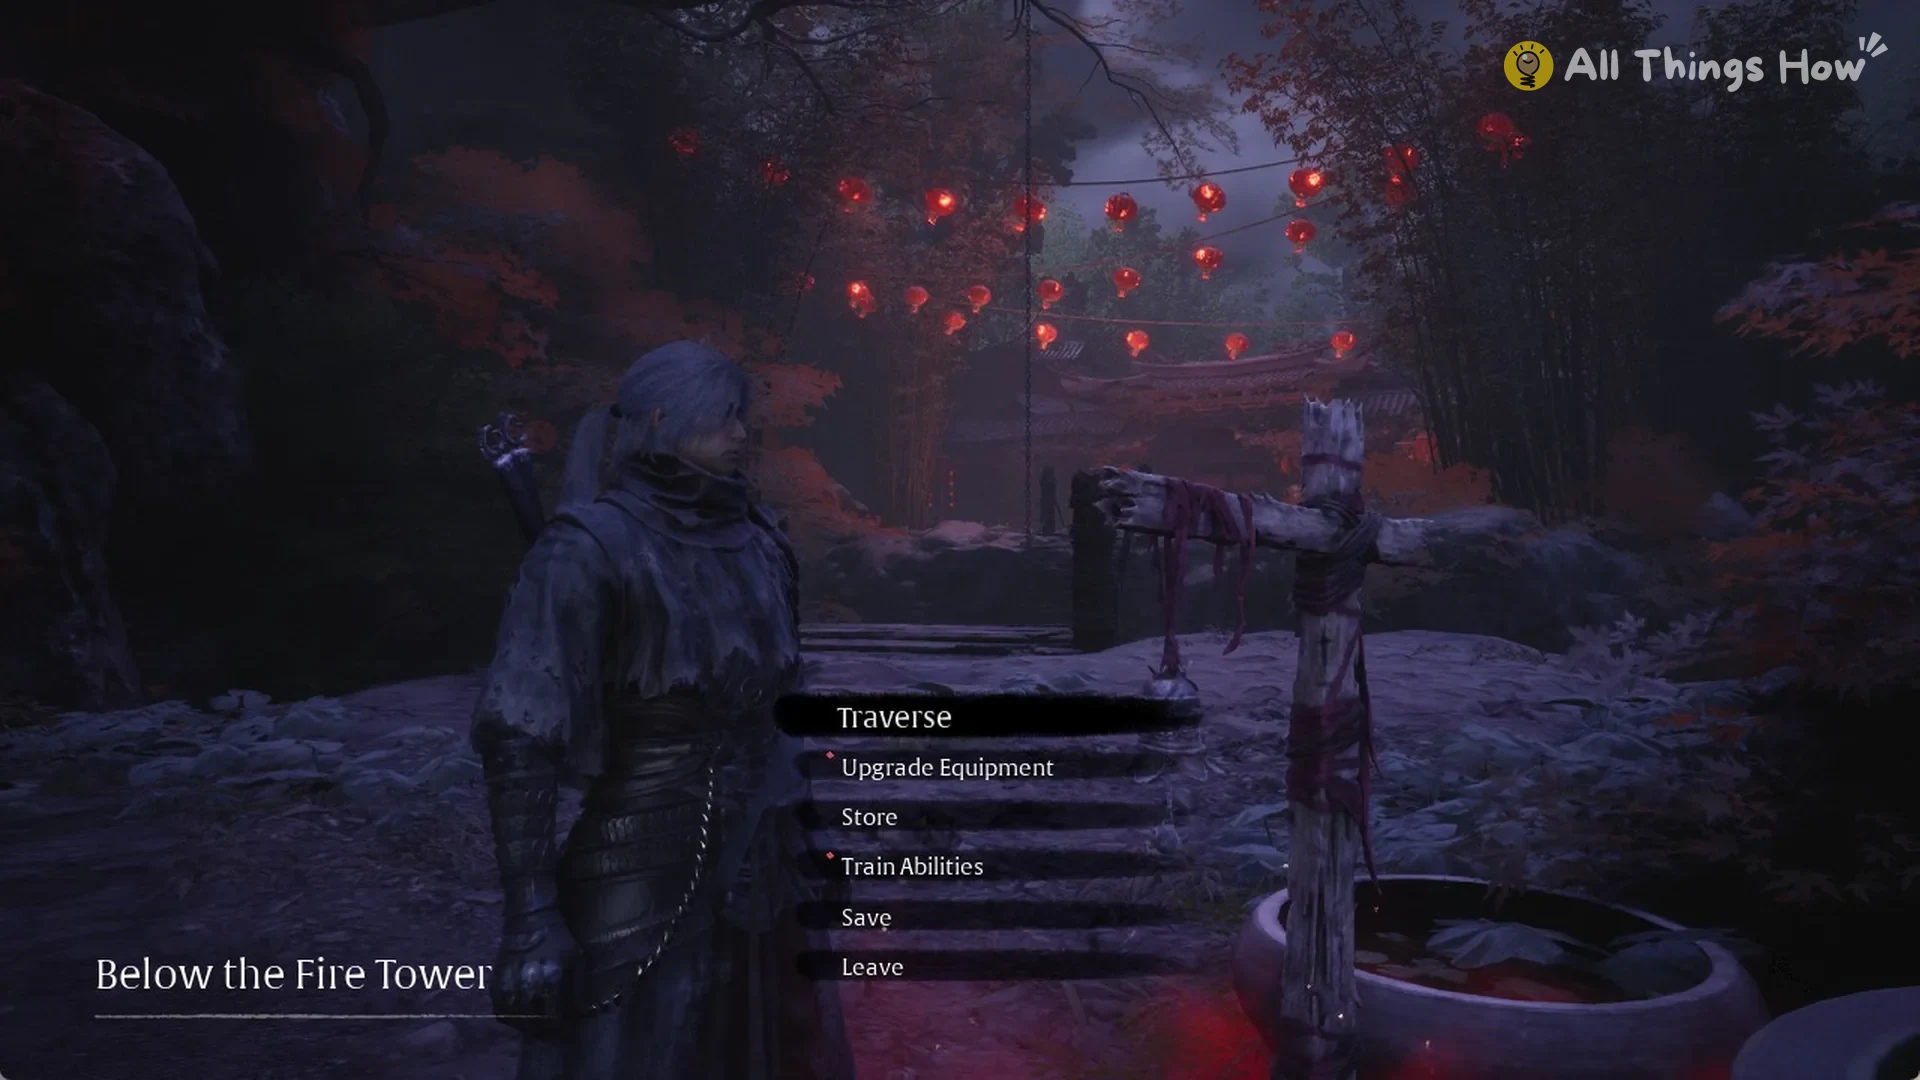
You know the bell is active when a menu opens headed “Below the Fire Tower”. Ringing it rests you and refills both your HP and your healing gourd. The menu lists these options:
- Traverse
- Upgrade Equipment
- Store
- Train Abilities
- Save
- Leave
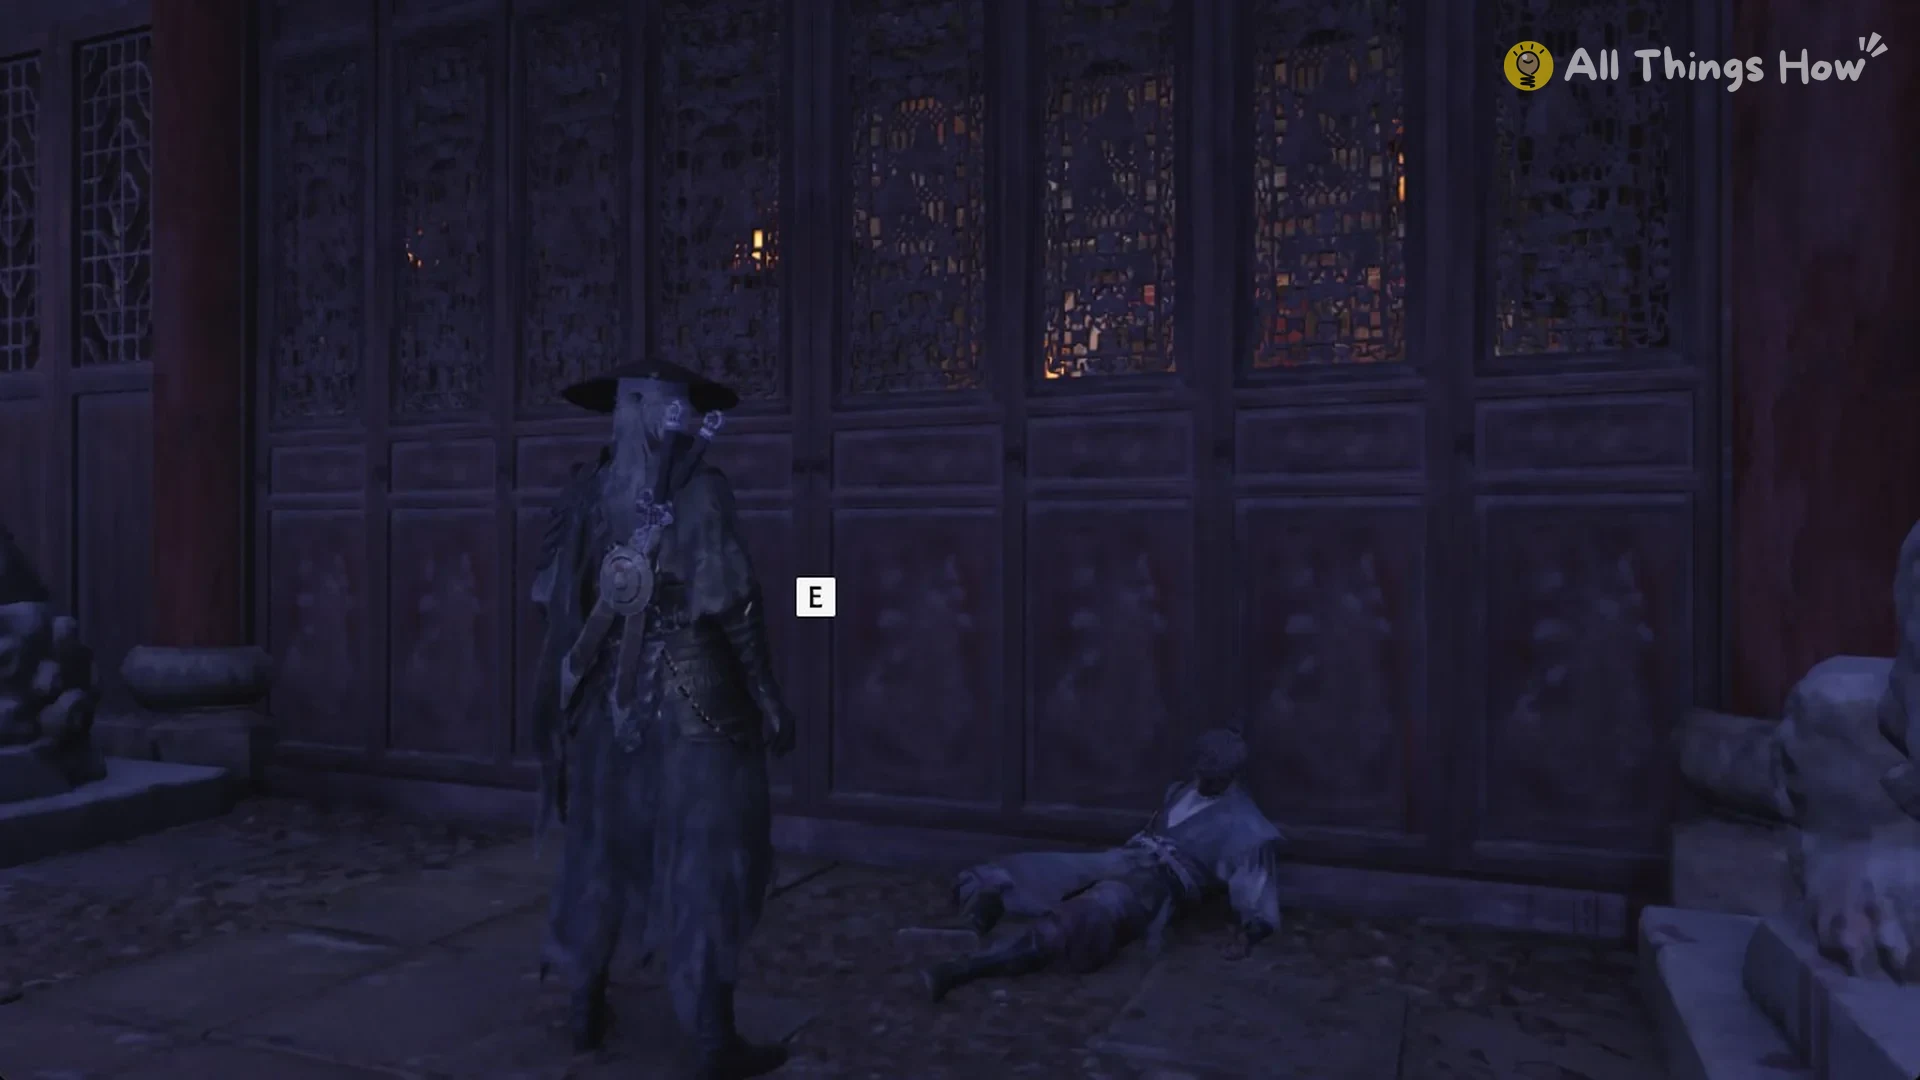
Lantern hall by the bell: Head up the short ramp beside the bell. At the ramp’s top, a fallen body rests by a tall, dark wooden double door; press E to open it. Behind it is the lantern-lit hall, guarded by a Spear-Shield Puppet, with the Feather Fan Plume on a writing table and a Ying Mechanical Gear among barrels and sacks.
Rope swing from Below the Fire Tower to the Back Hill
Starting at the bell, head to the wooden platform’s edge beside two posts tied together with rope. A chain is suspended across the gap; approach it until the “Space” prompt appears.
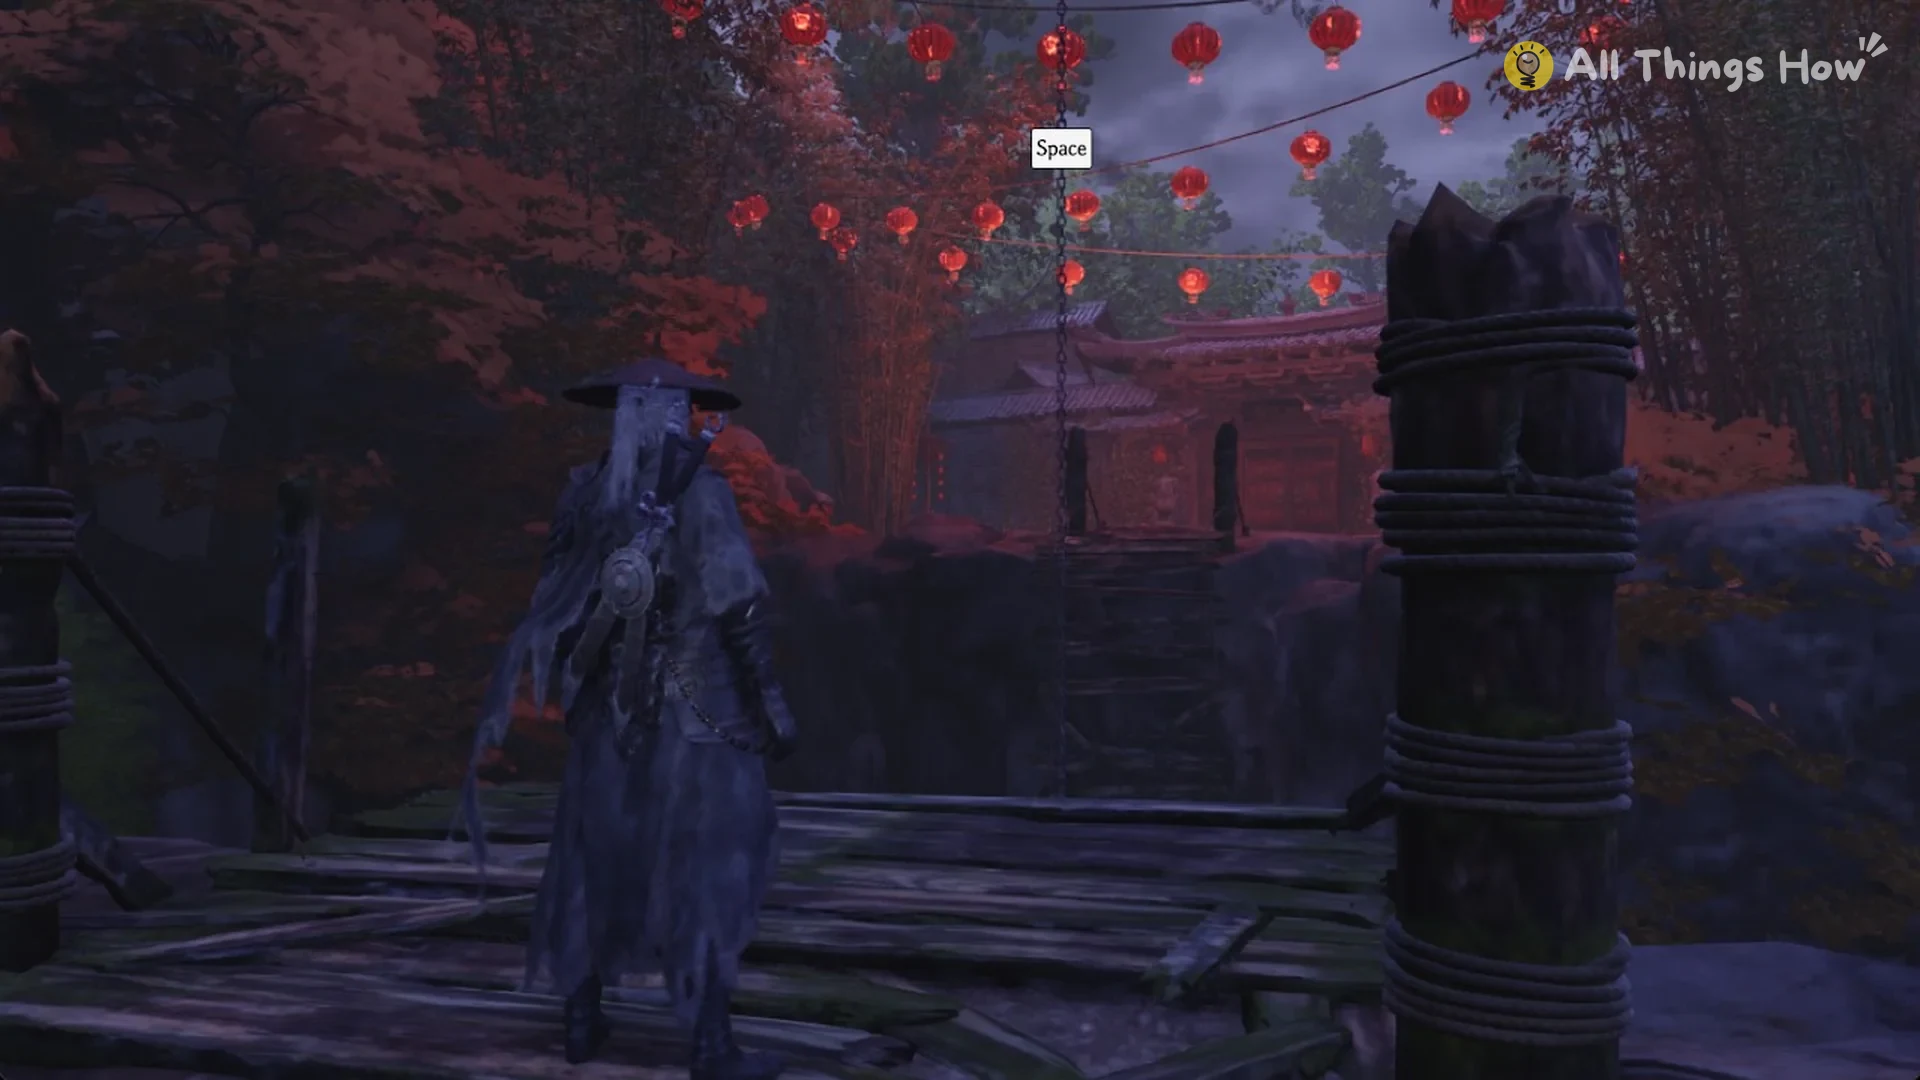
Press Space to grab the chain. Your character swings across the gap and lands on the Back Hill automatically about 3 seconds later. The landing causes no damage. The swing works again after a rest at the bell.
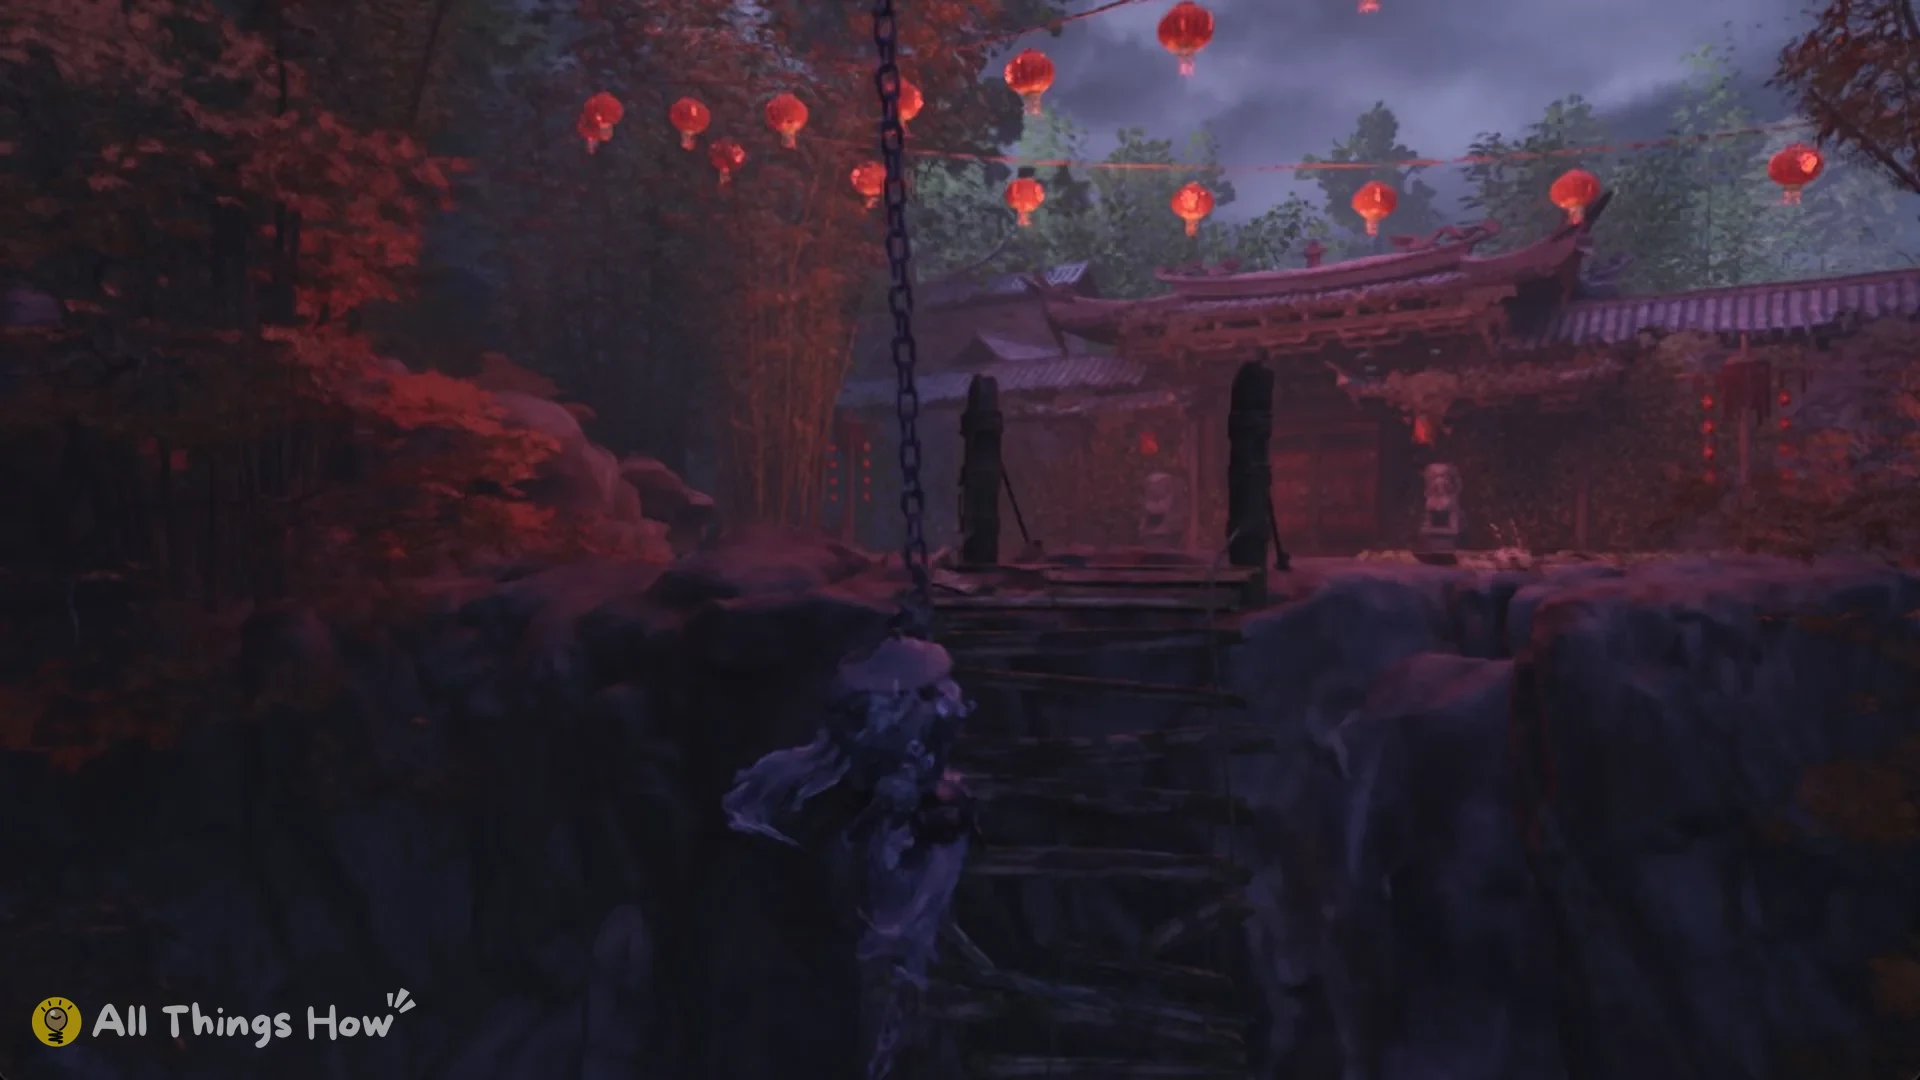
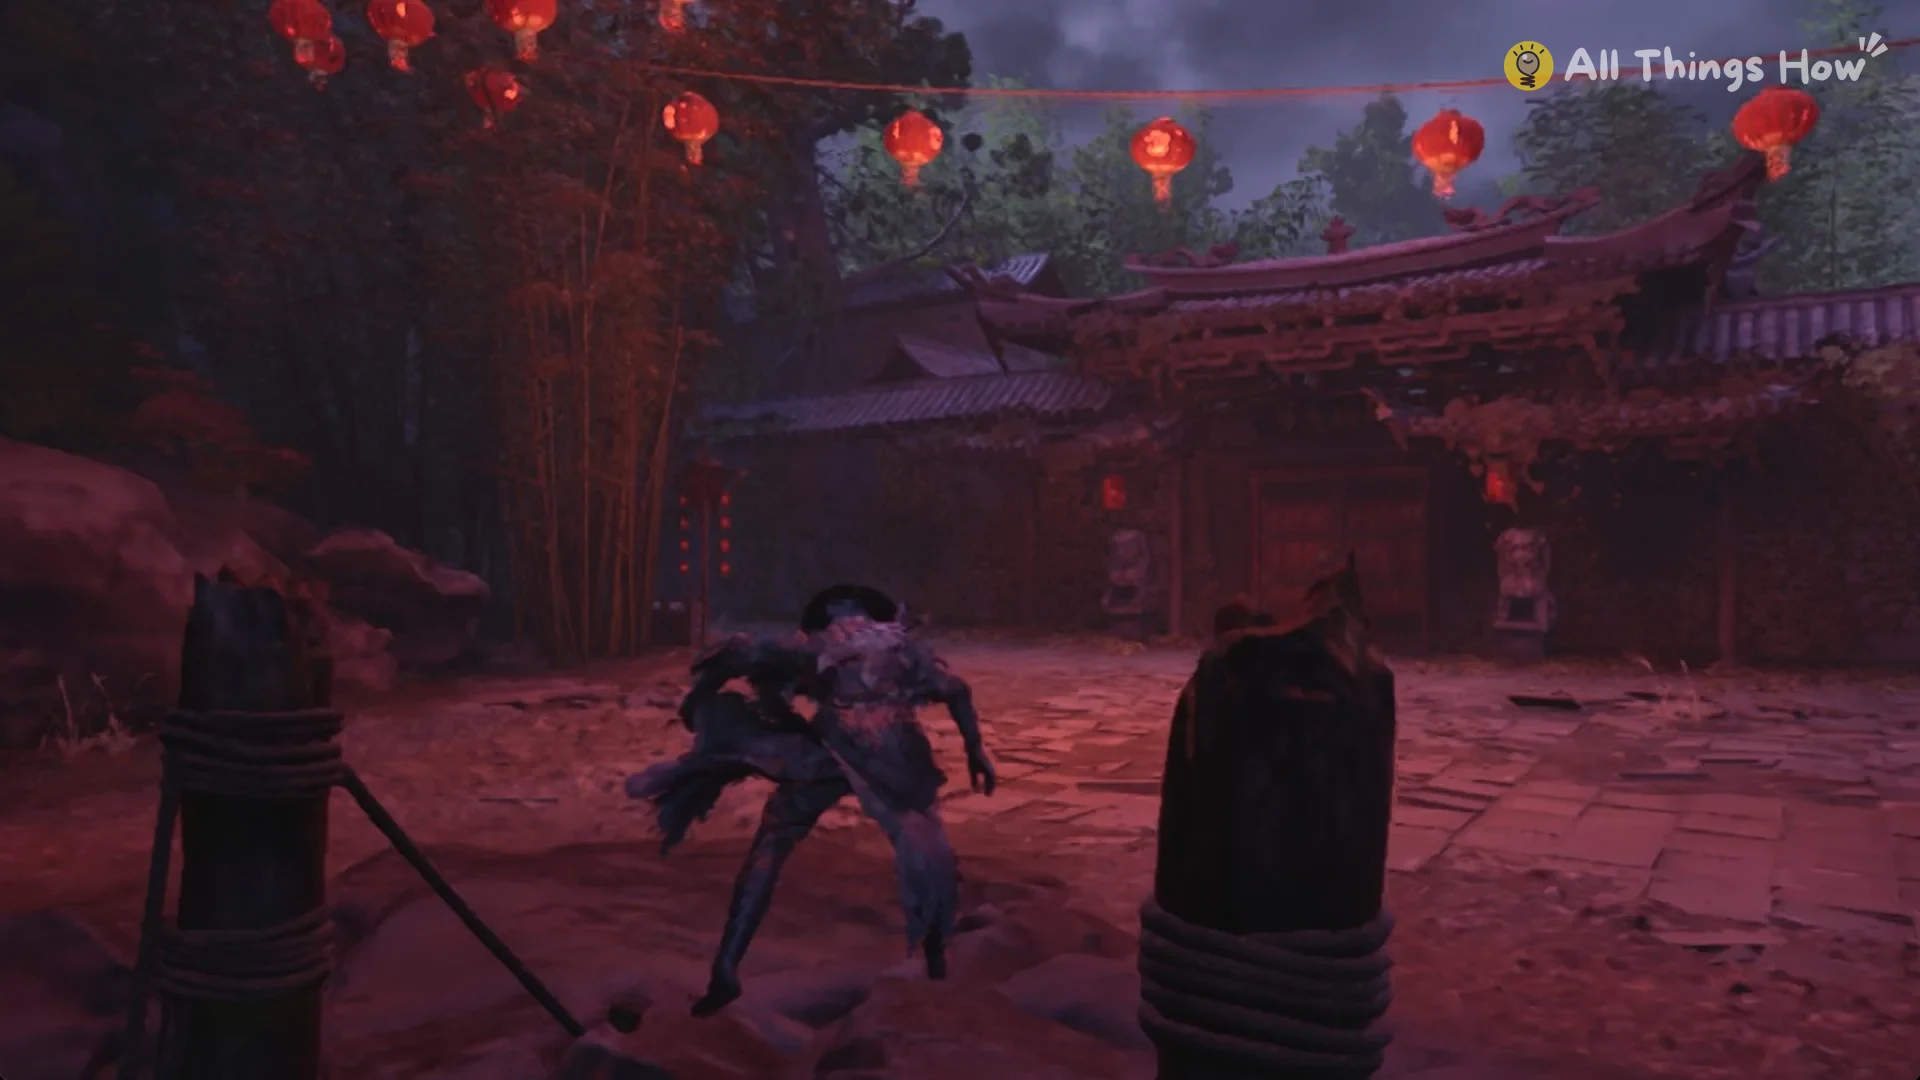
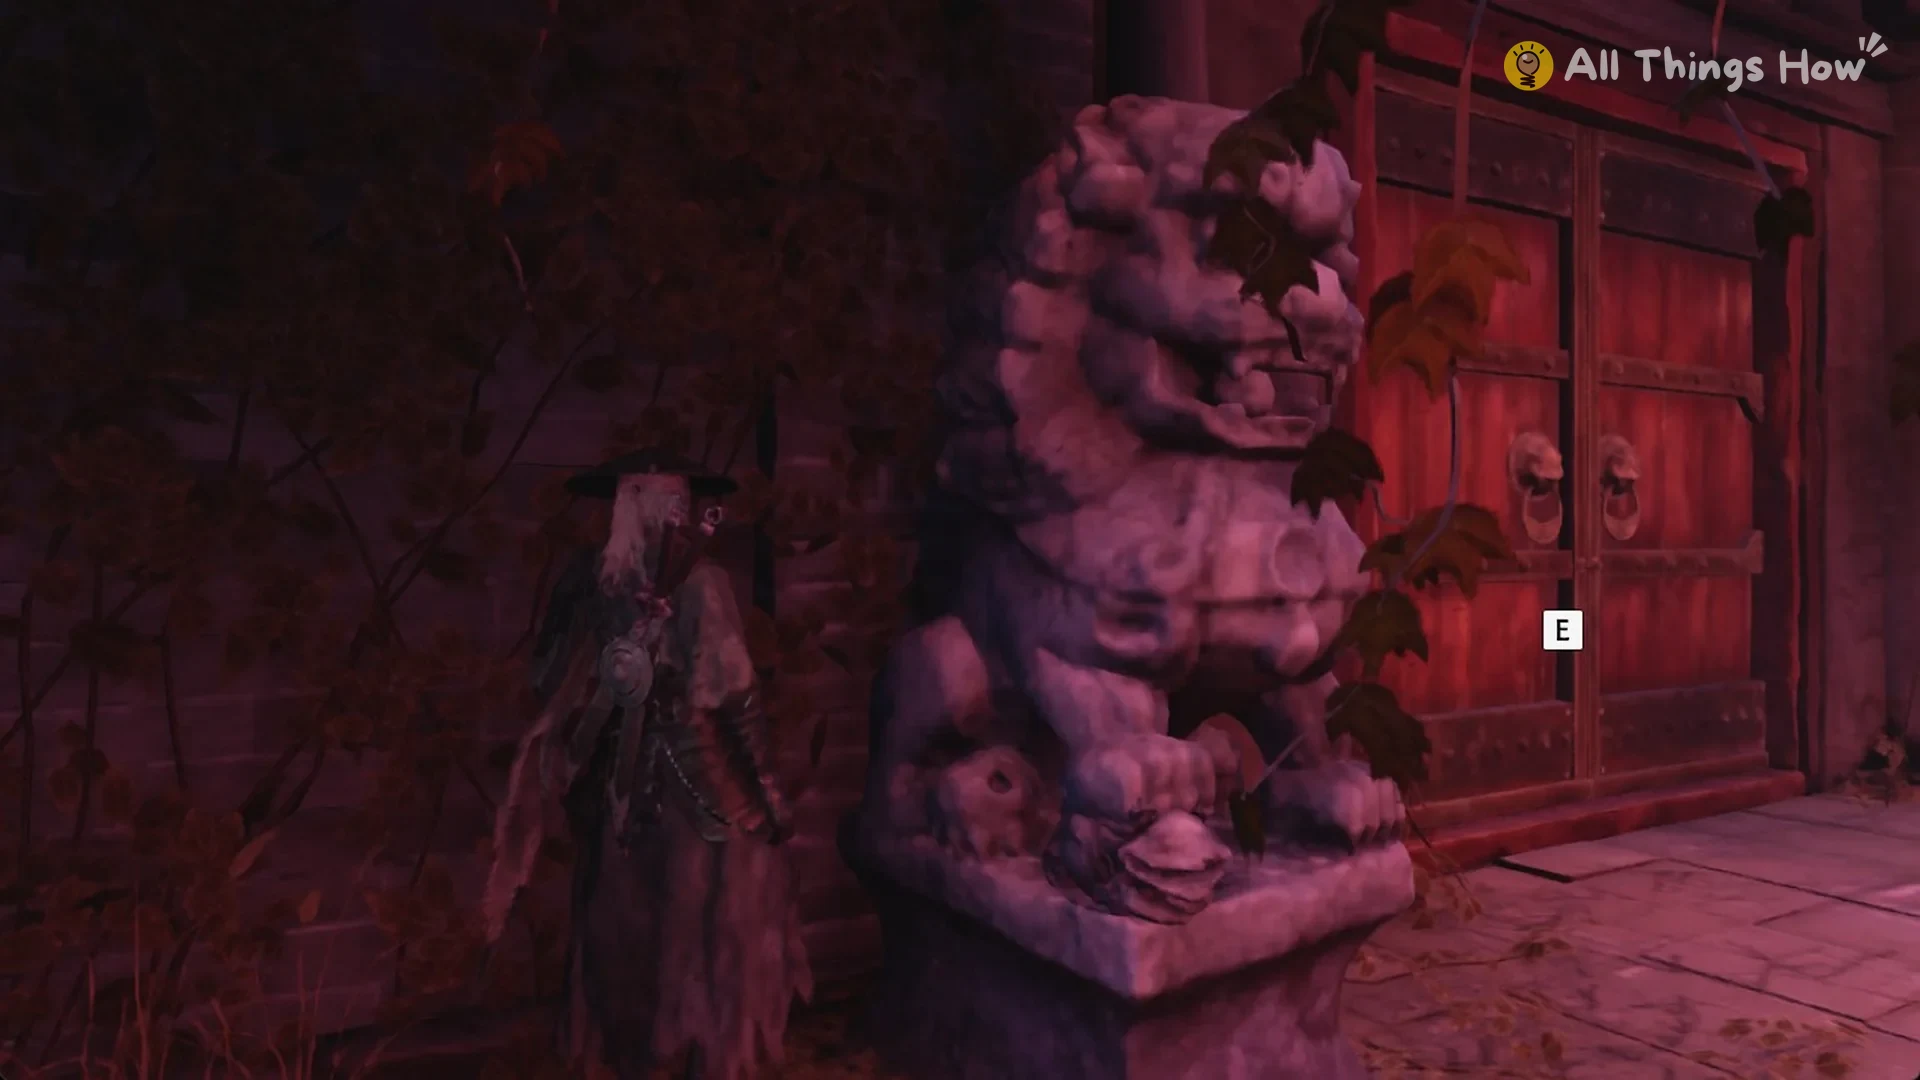
The landing spot is a courtyard strung with red lanterns. Straight ahead, a temple gate building has a red double door, with stone lions on either side.
How to reach the Back Hill bell
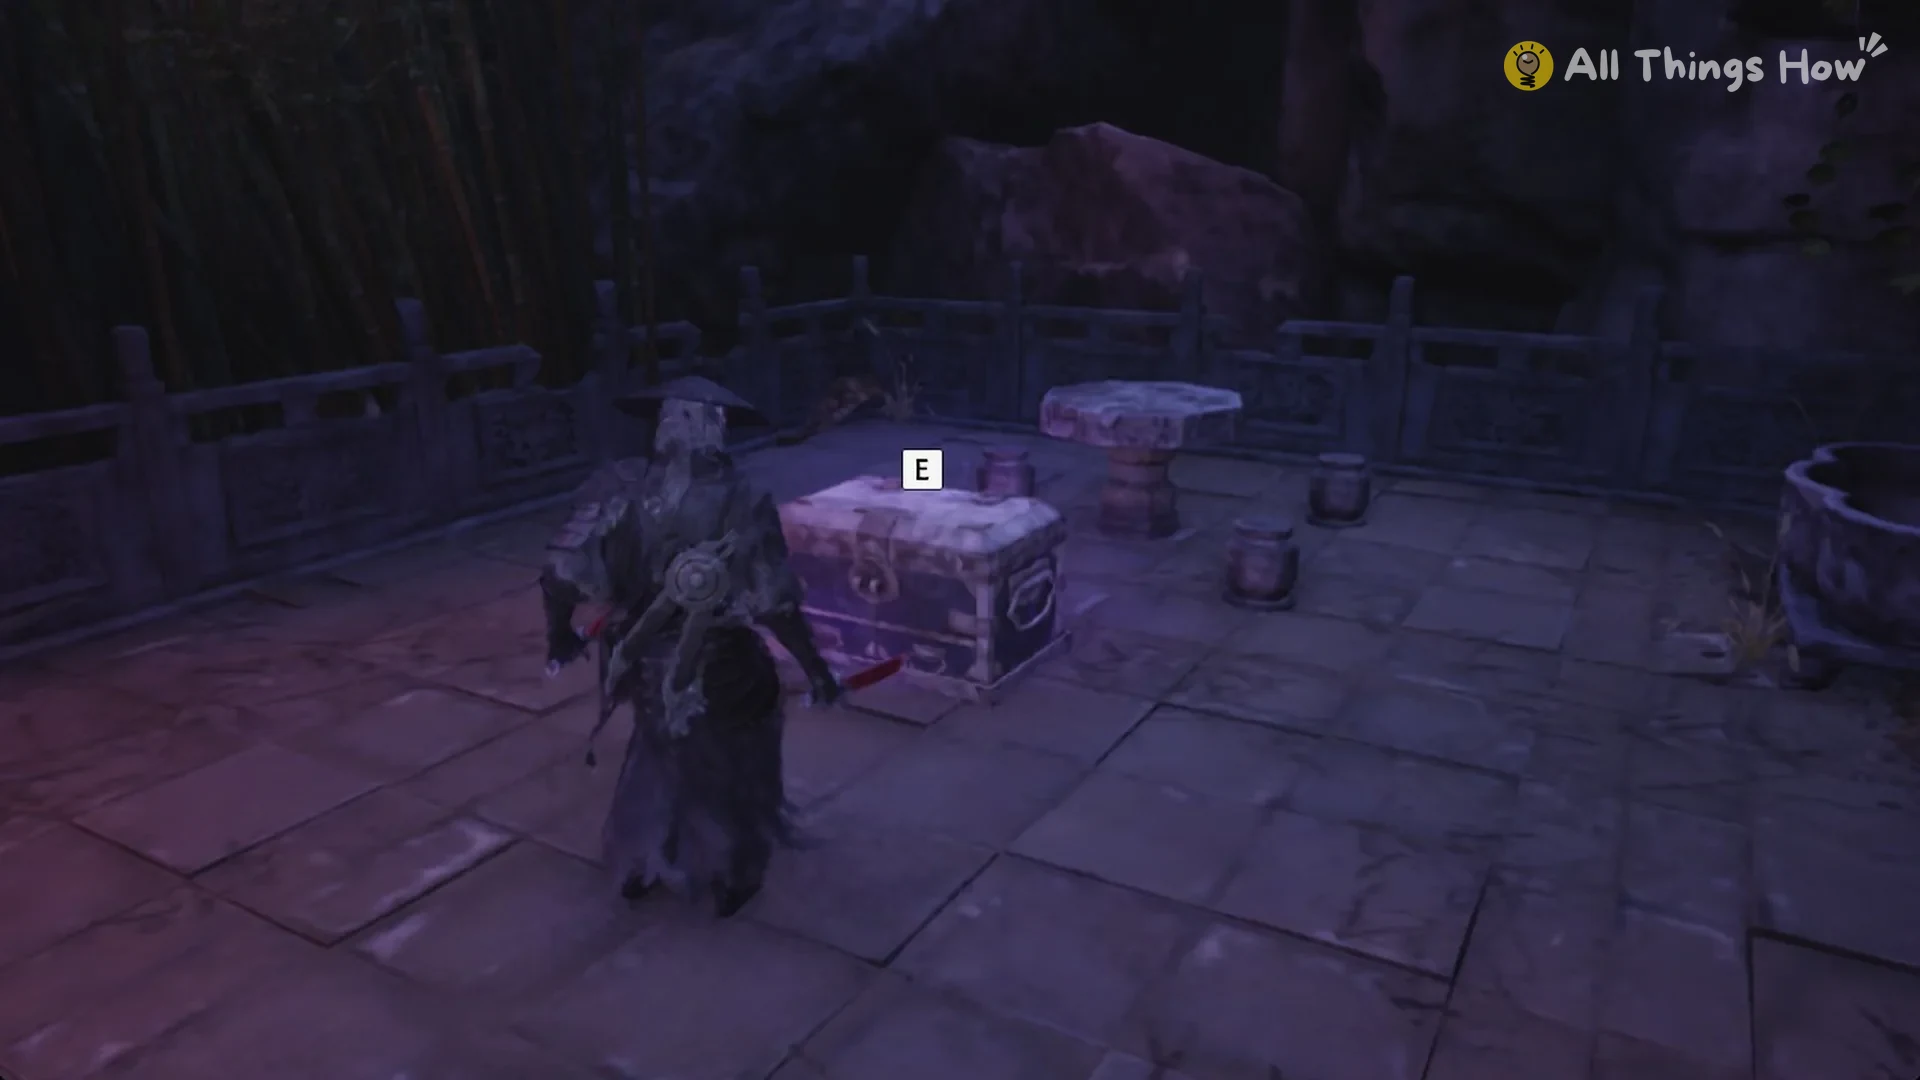
Use E to open the chest beside the courtyard before heading to the temple door. It rests on an elevated stone terrace at the courtyard’s edge, furnished with a carved railing, a stone table and stools; bamboo grows behind the terrace.
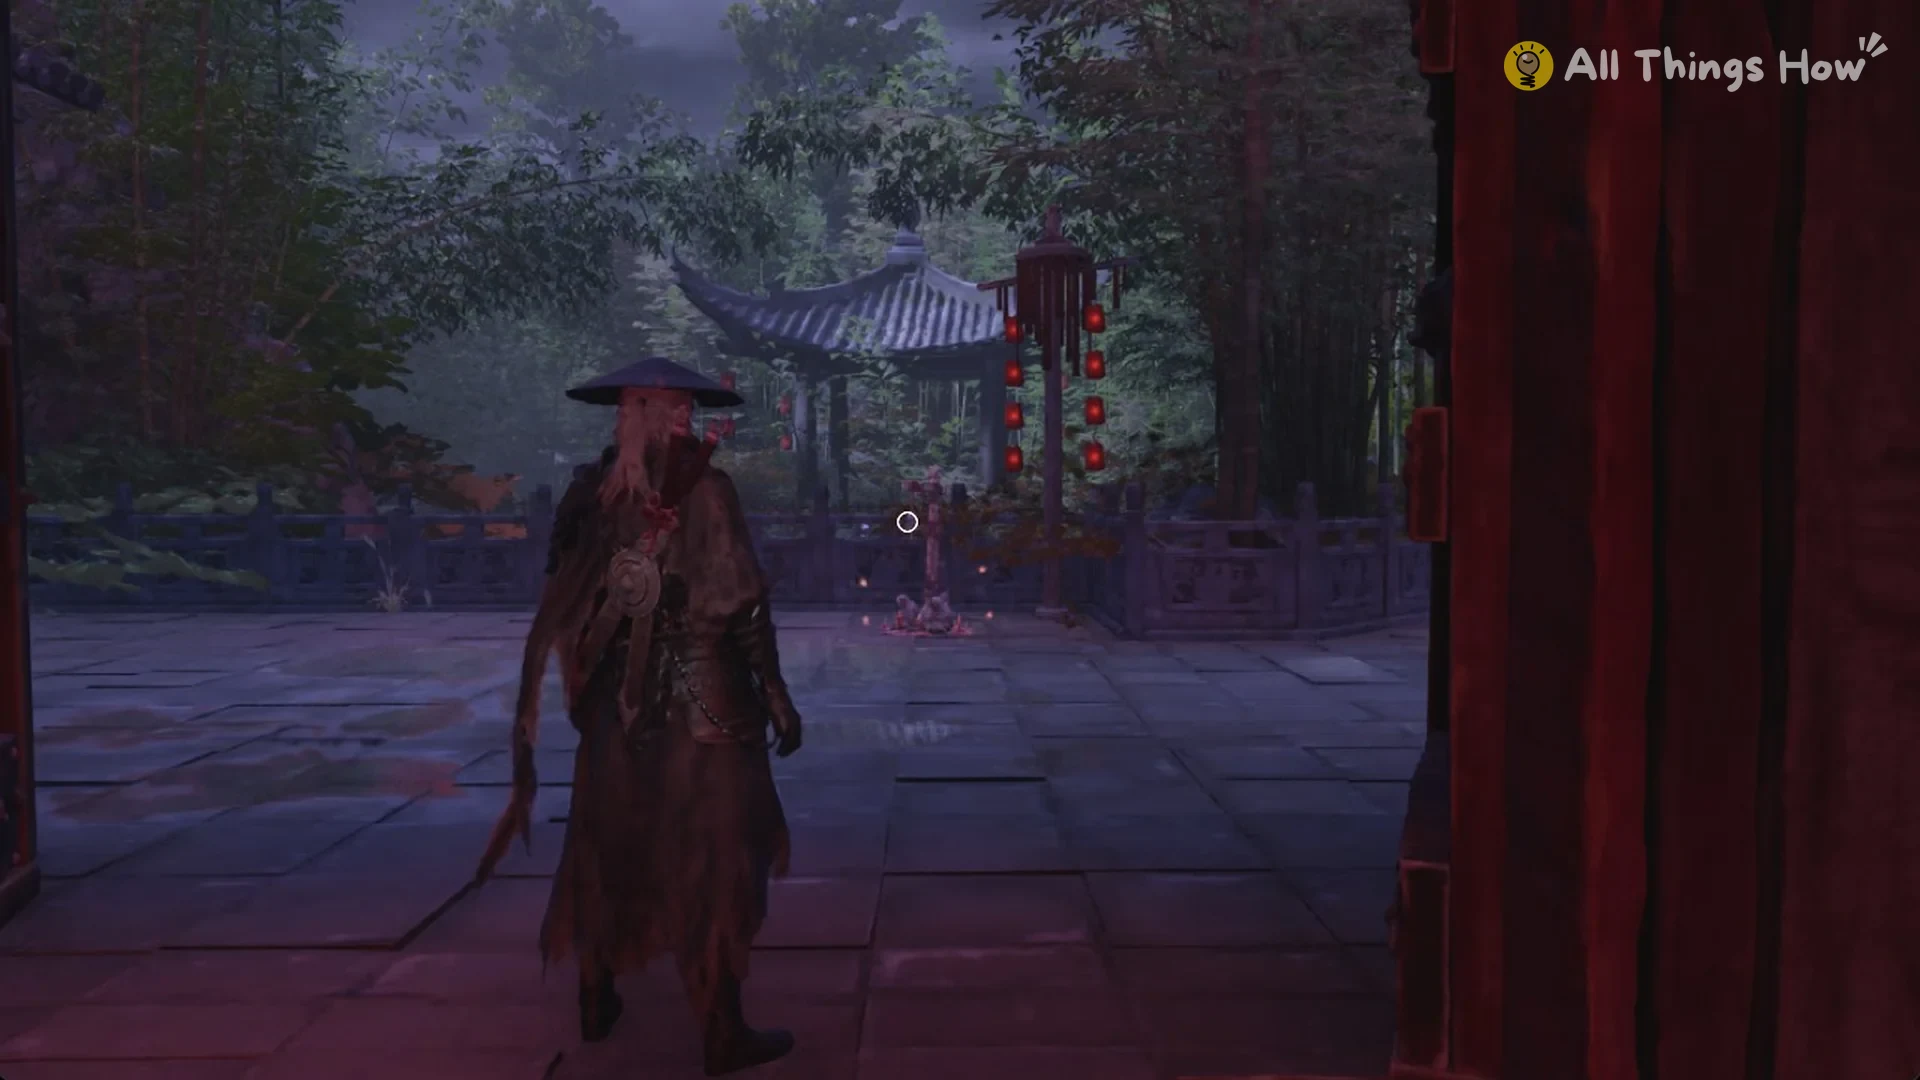
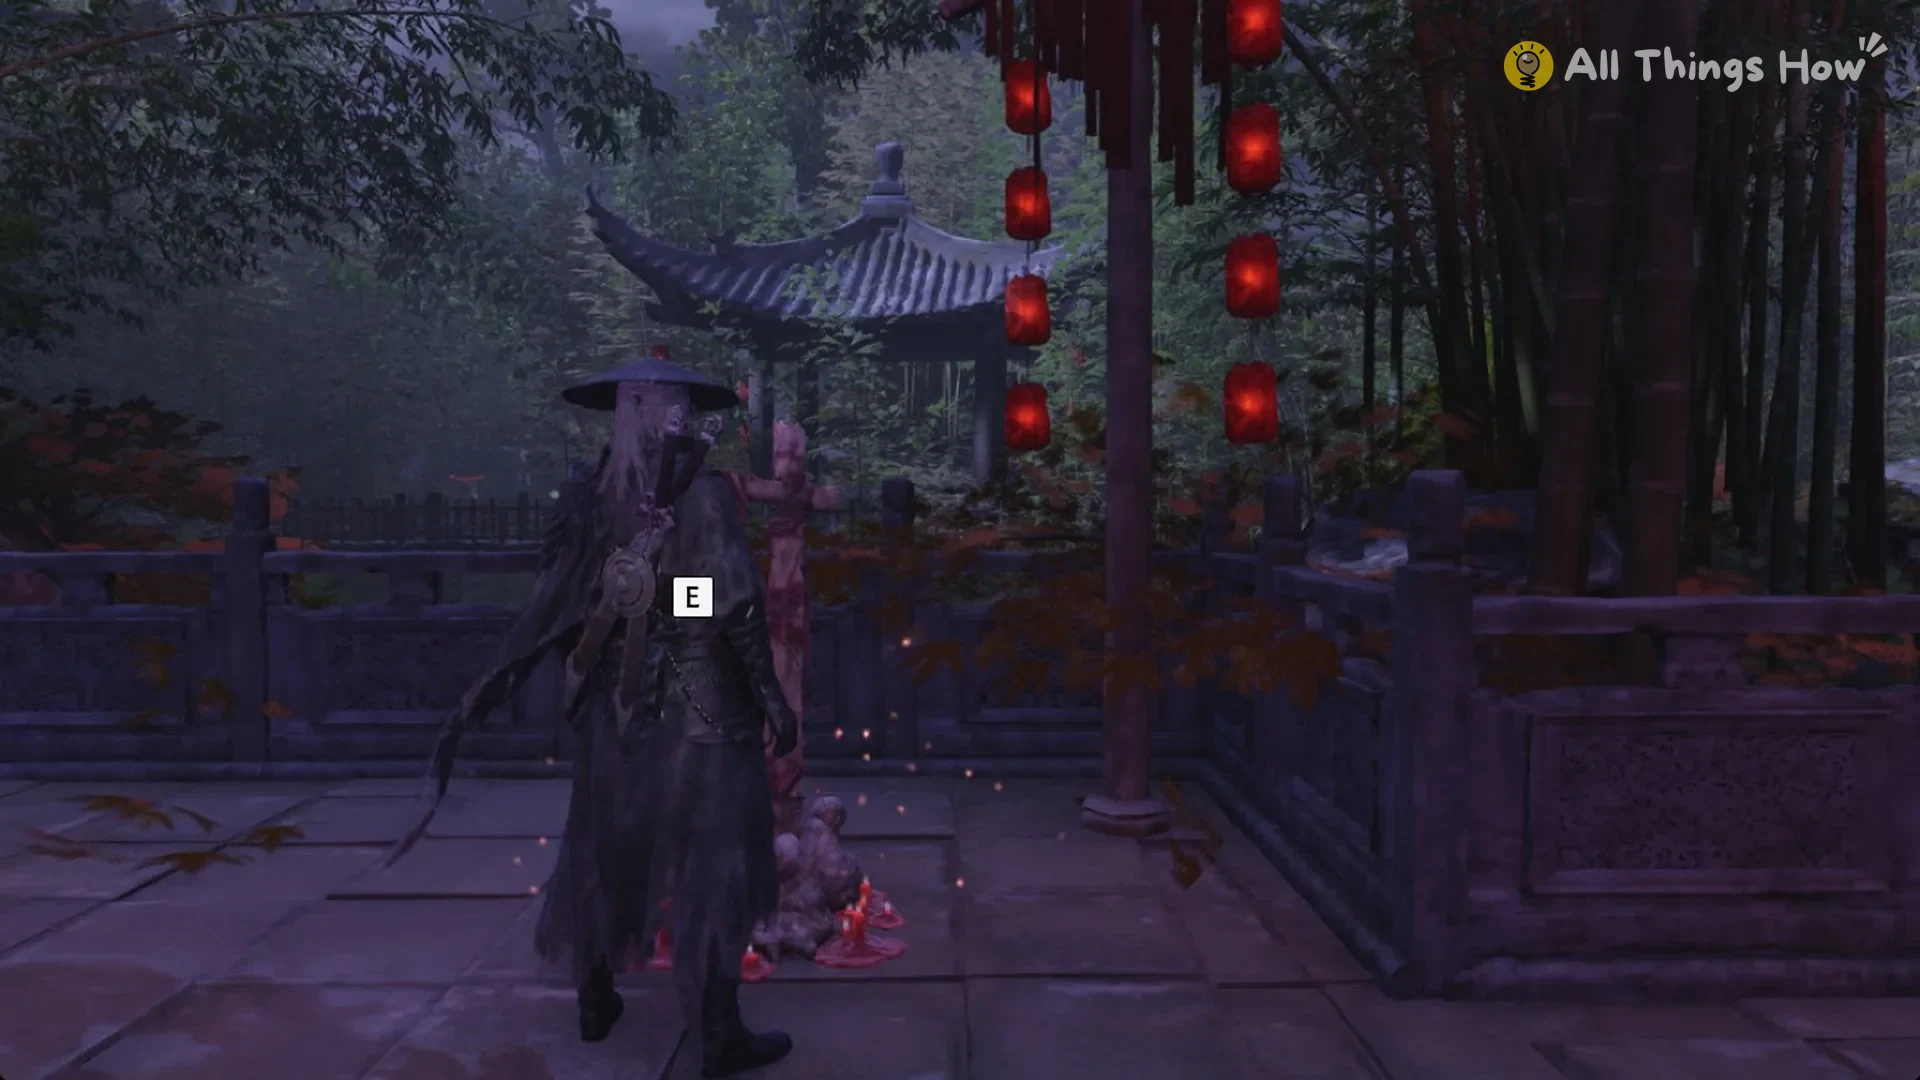
Ringing the cross rests you. Your HP and your healing gourd are refilled.
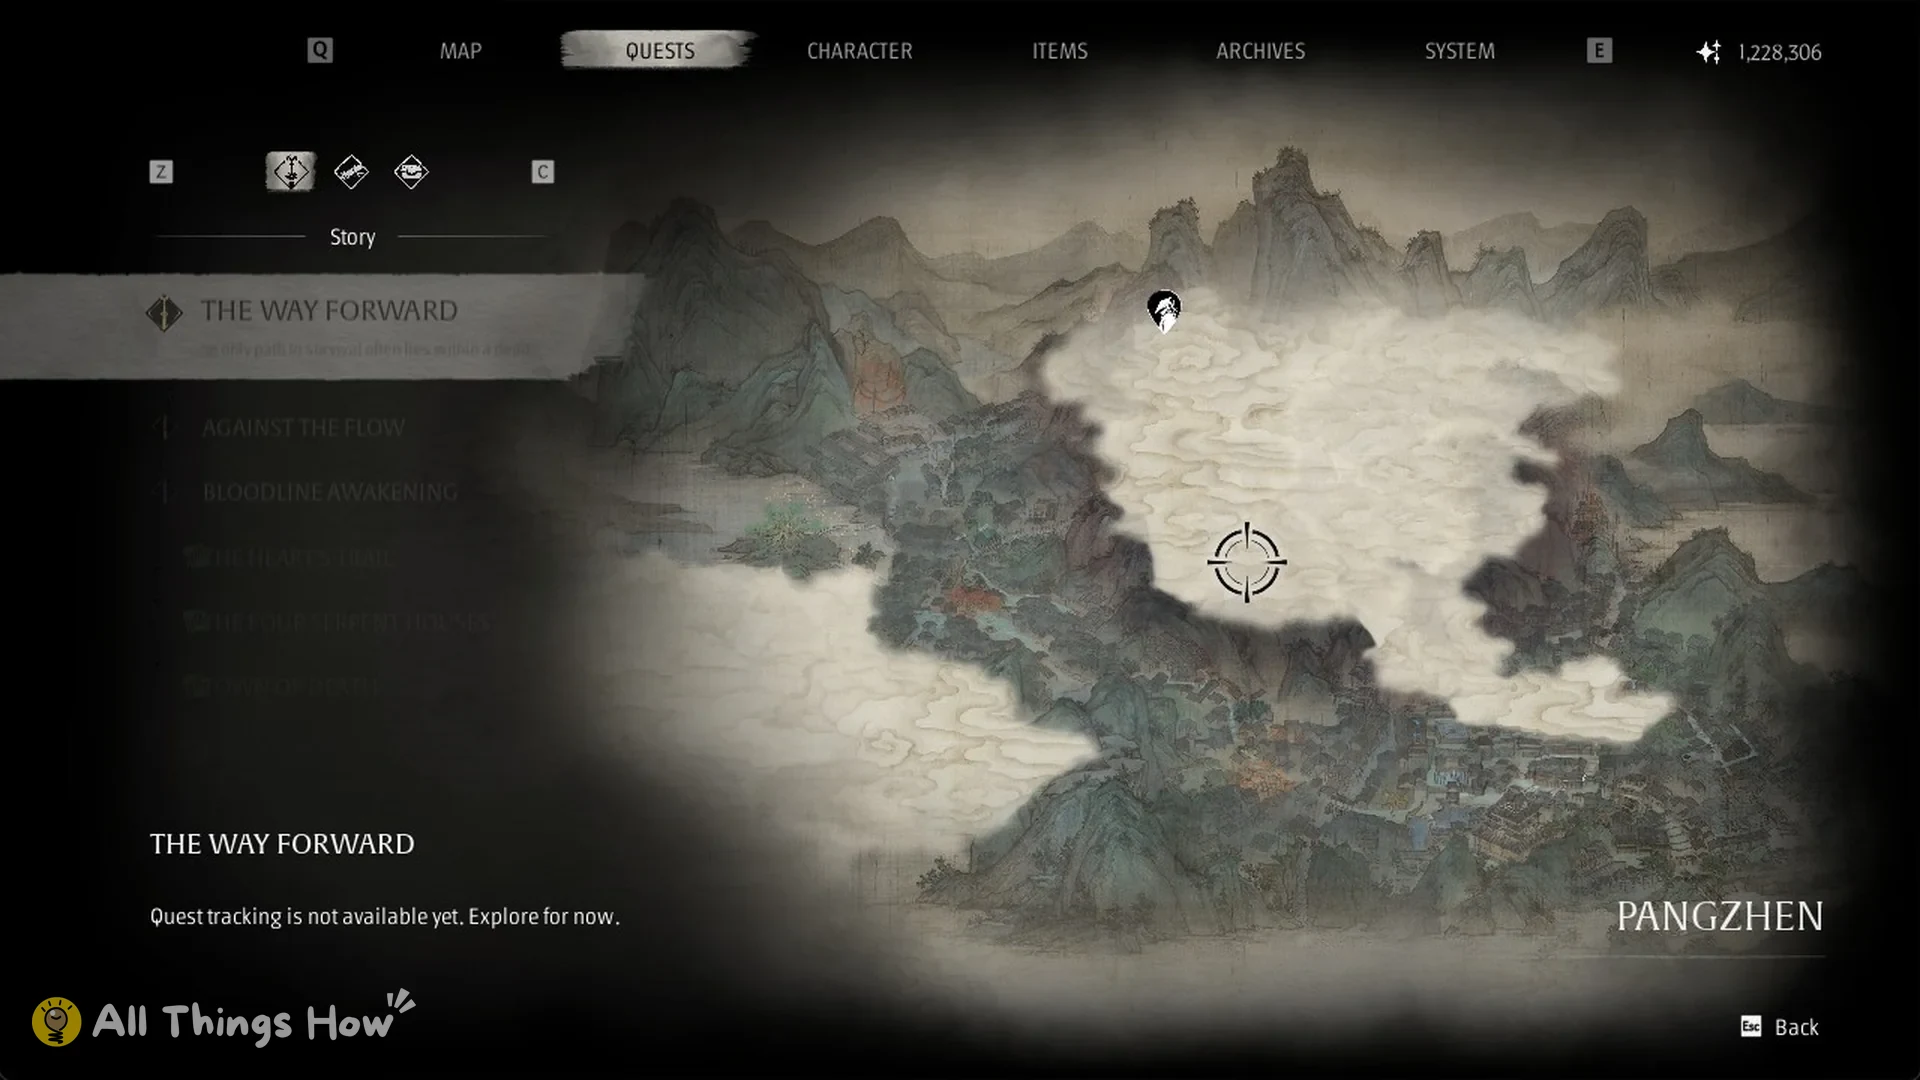
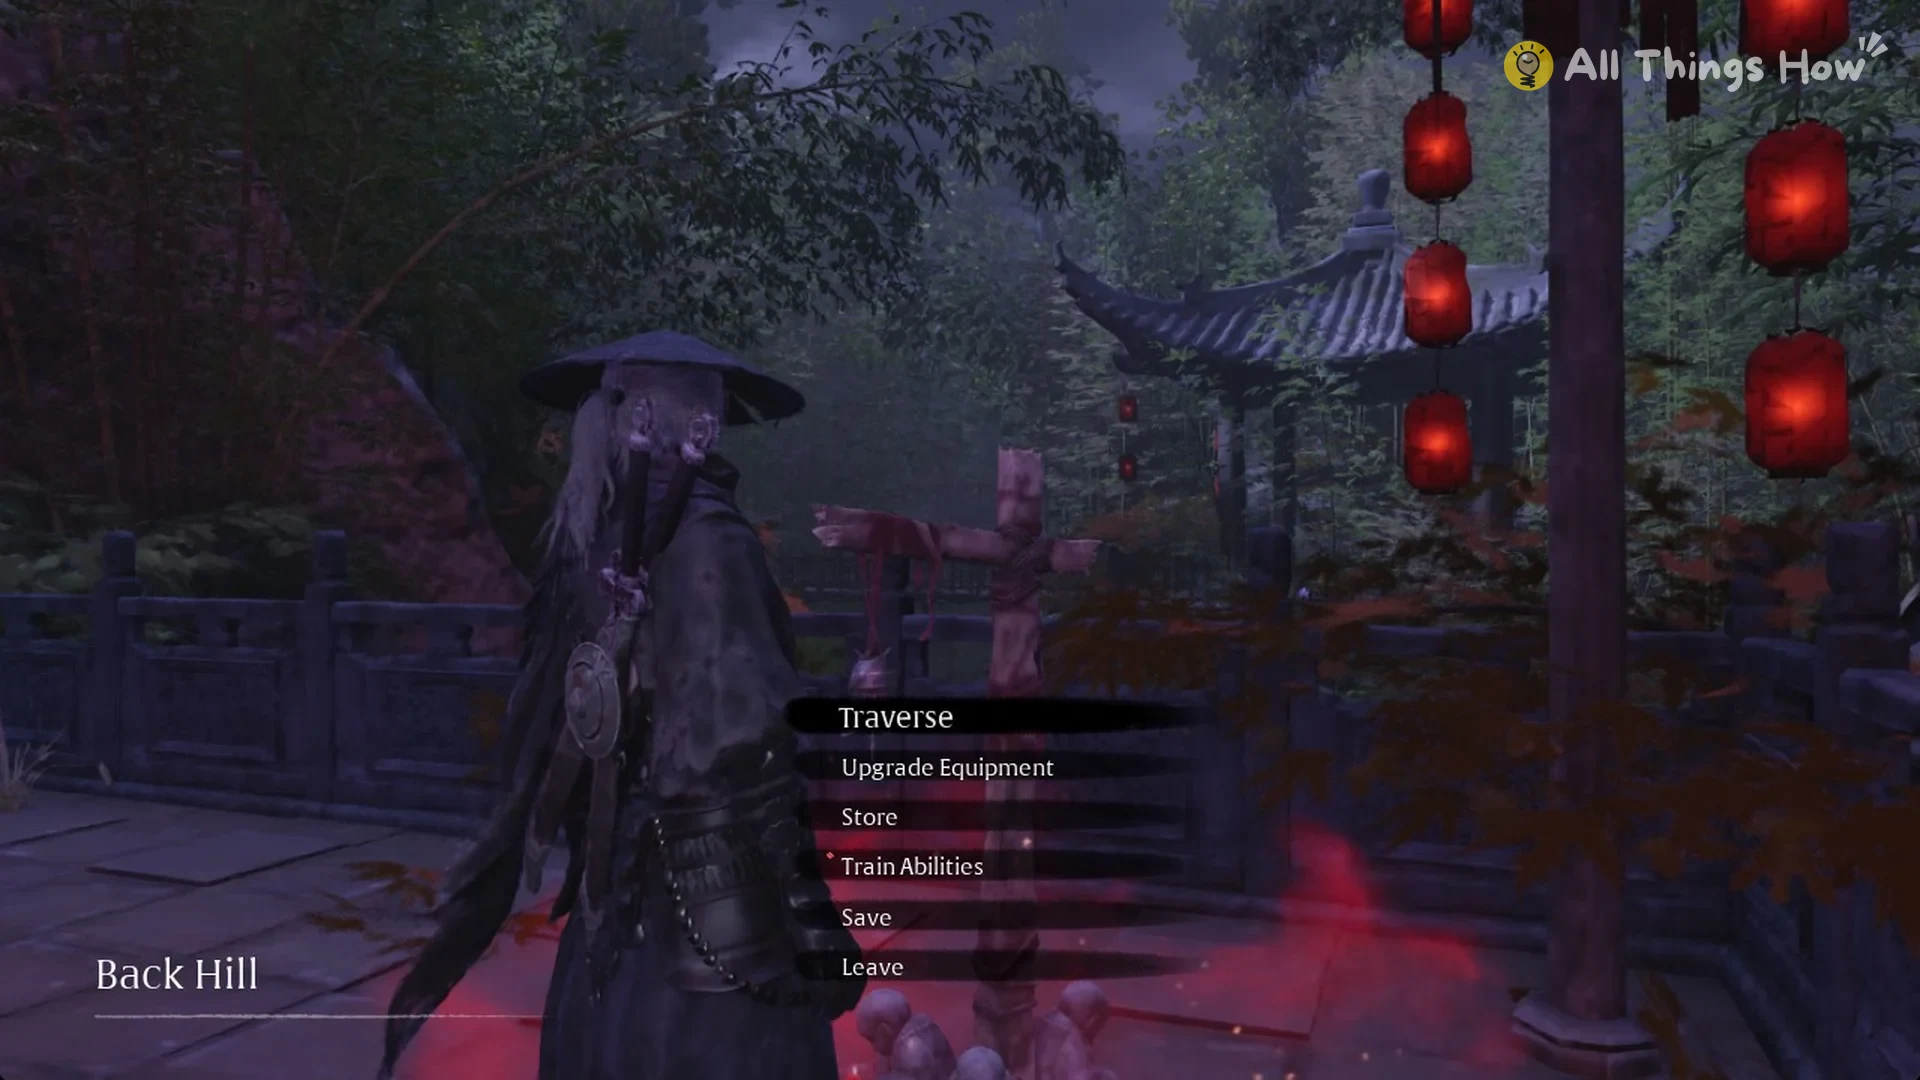
Next, the Pangzhen area map automatically appears, displaying the section you just uncovered. Close it to bring up the bell menu, headed “Back Hill”. This heading confirms the bell is active. The menu offers these options:
- Traverse
- Upgrade Equipment
- Store
- Train Abilities
- Save
- Leave
How to reach the Shaded Bamboo Path bell
The Shaded Bamboo Path bell sits at the far end of the plateau beyond Back Hill.
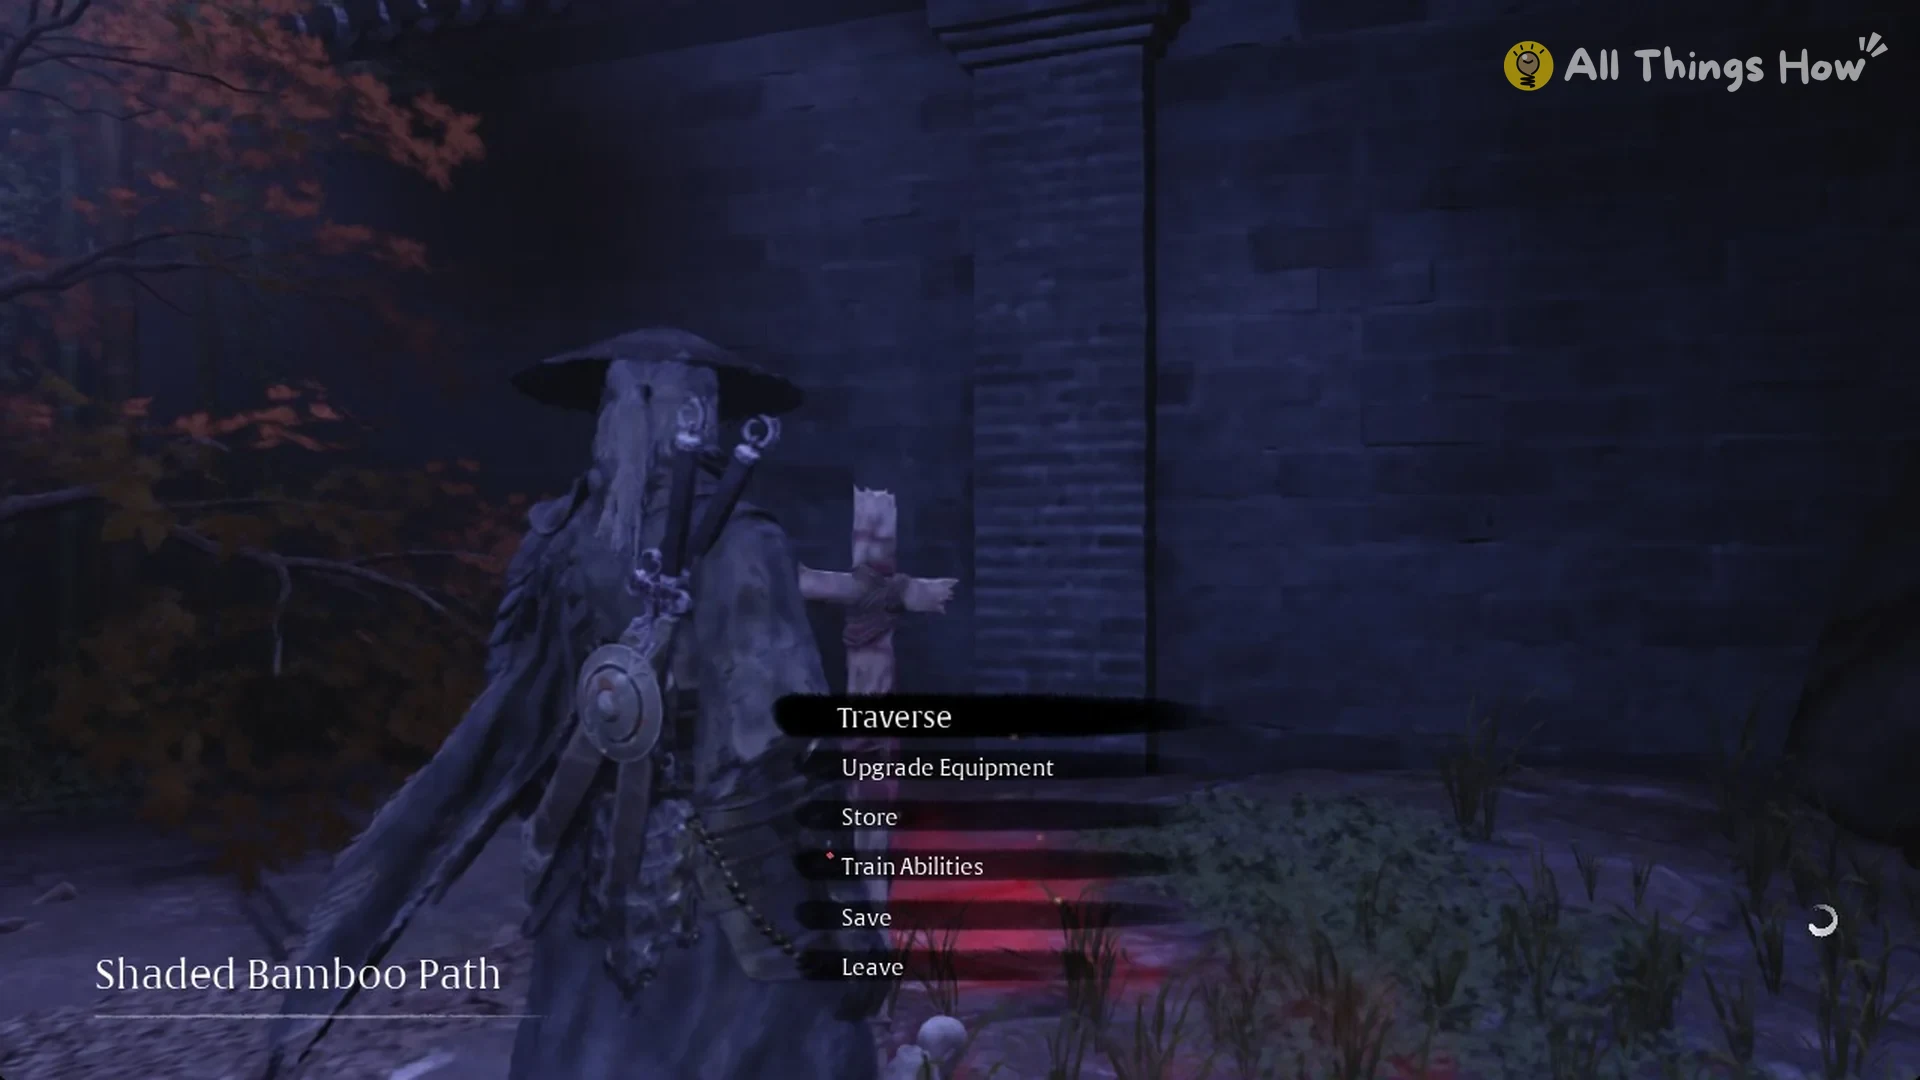
Further on from the bell, a Shadow Assassin and a Weaponless Yang Puppet wait. Neither moves until you get close.
Where the Zhang’s Hideout (Mirage Estate) bell is
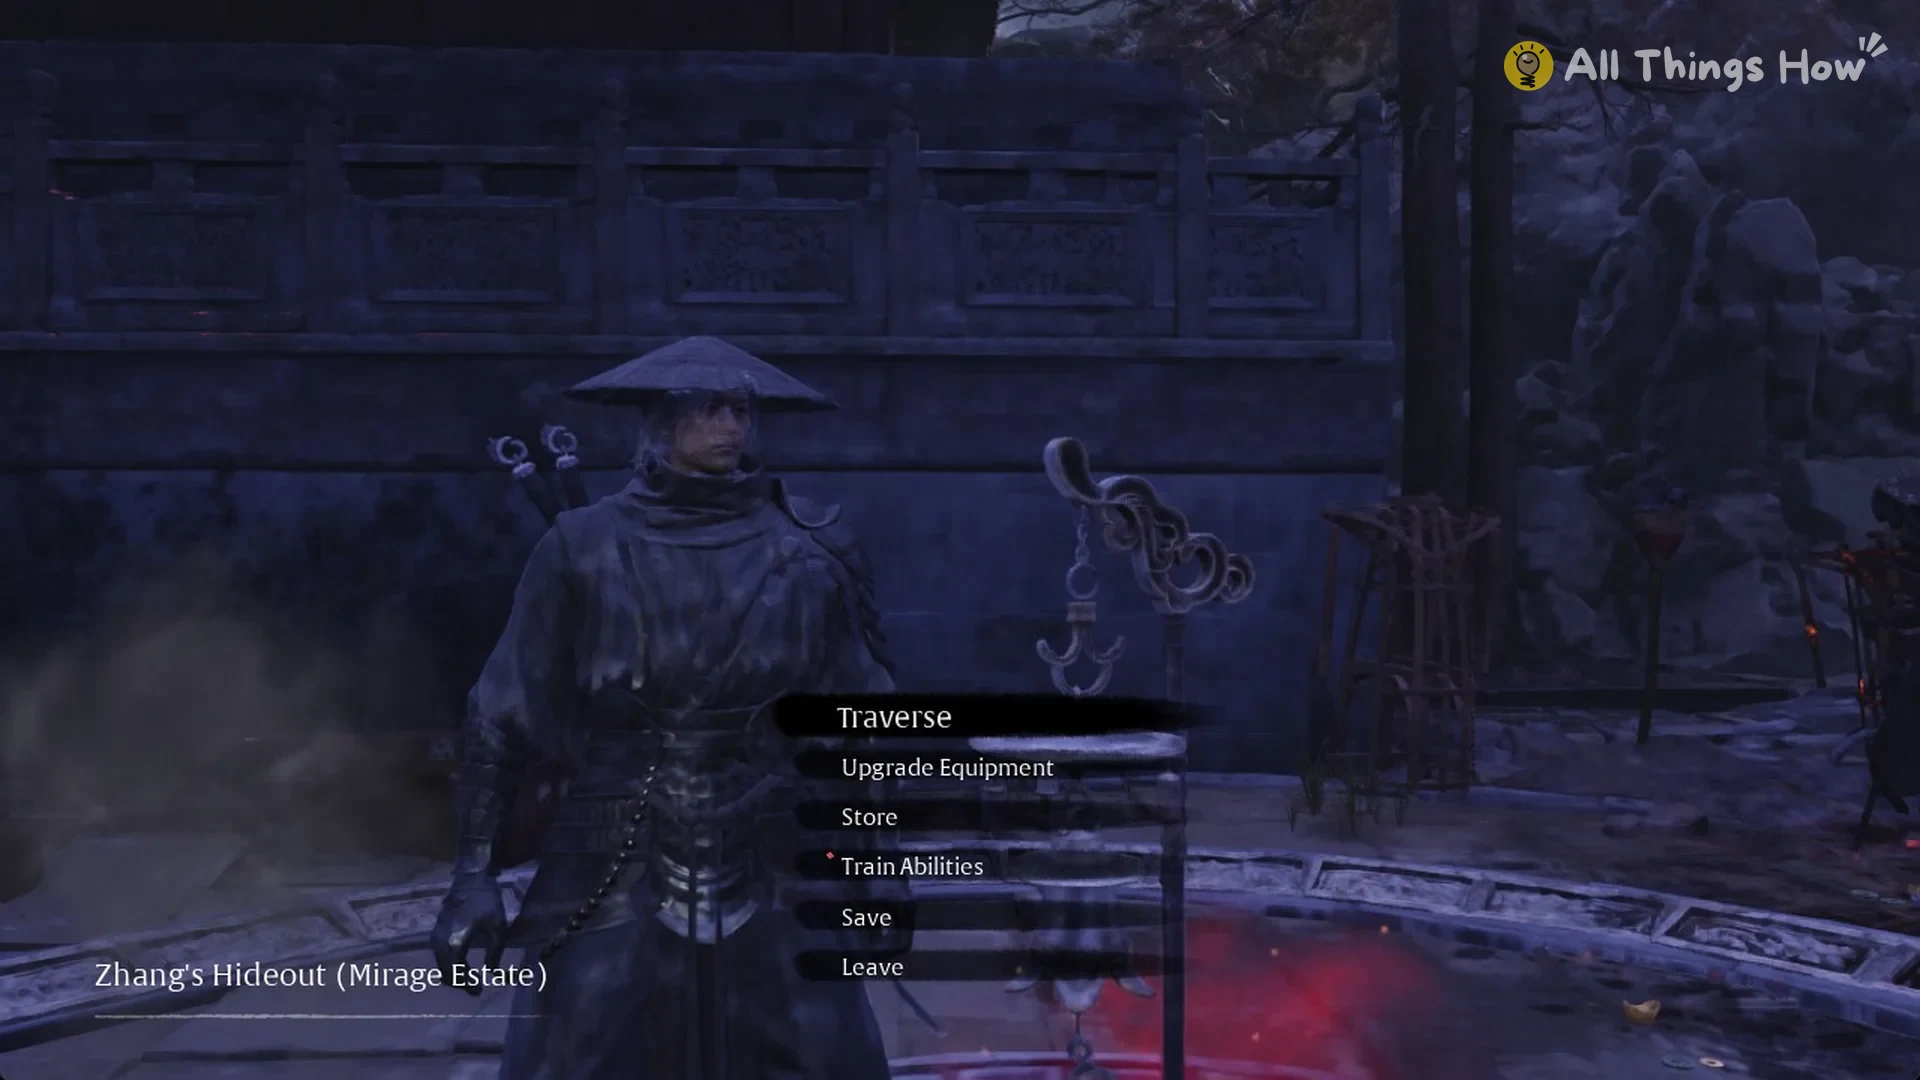
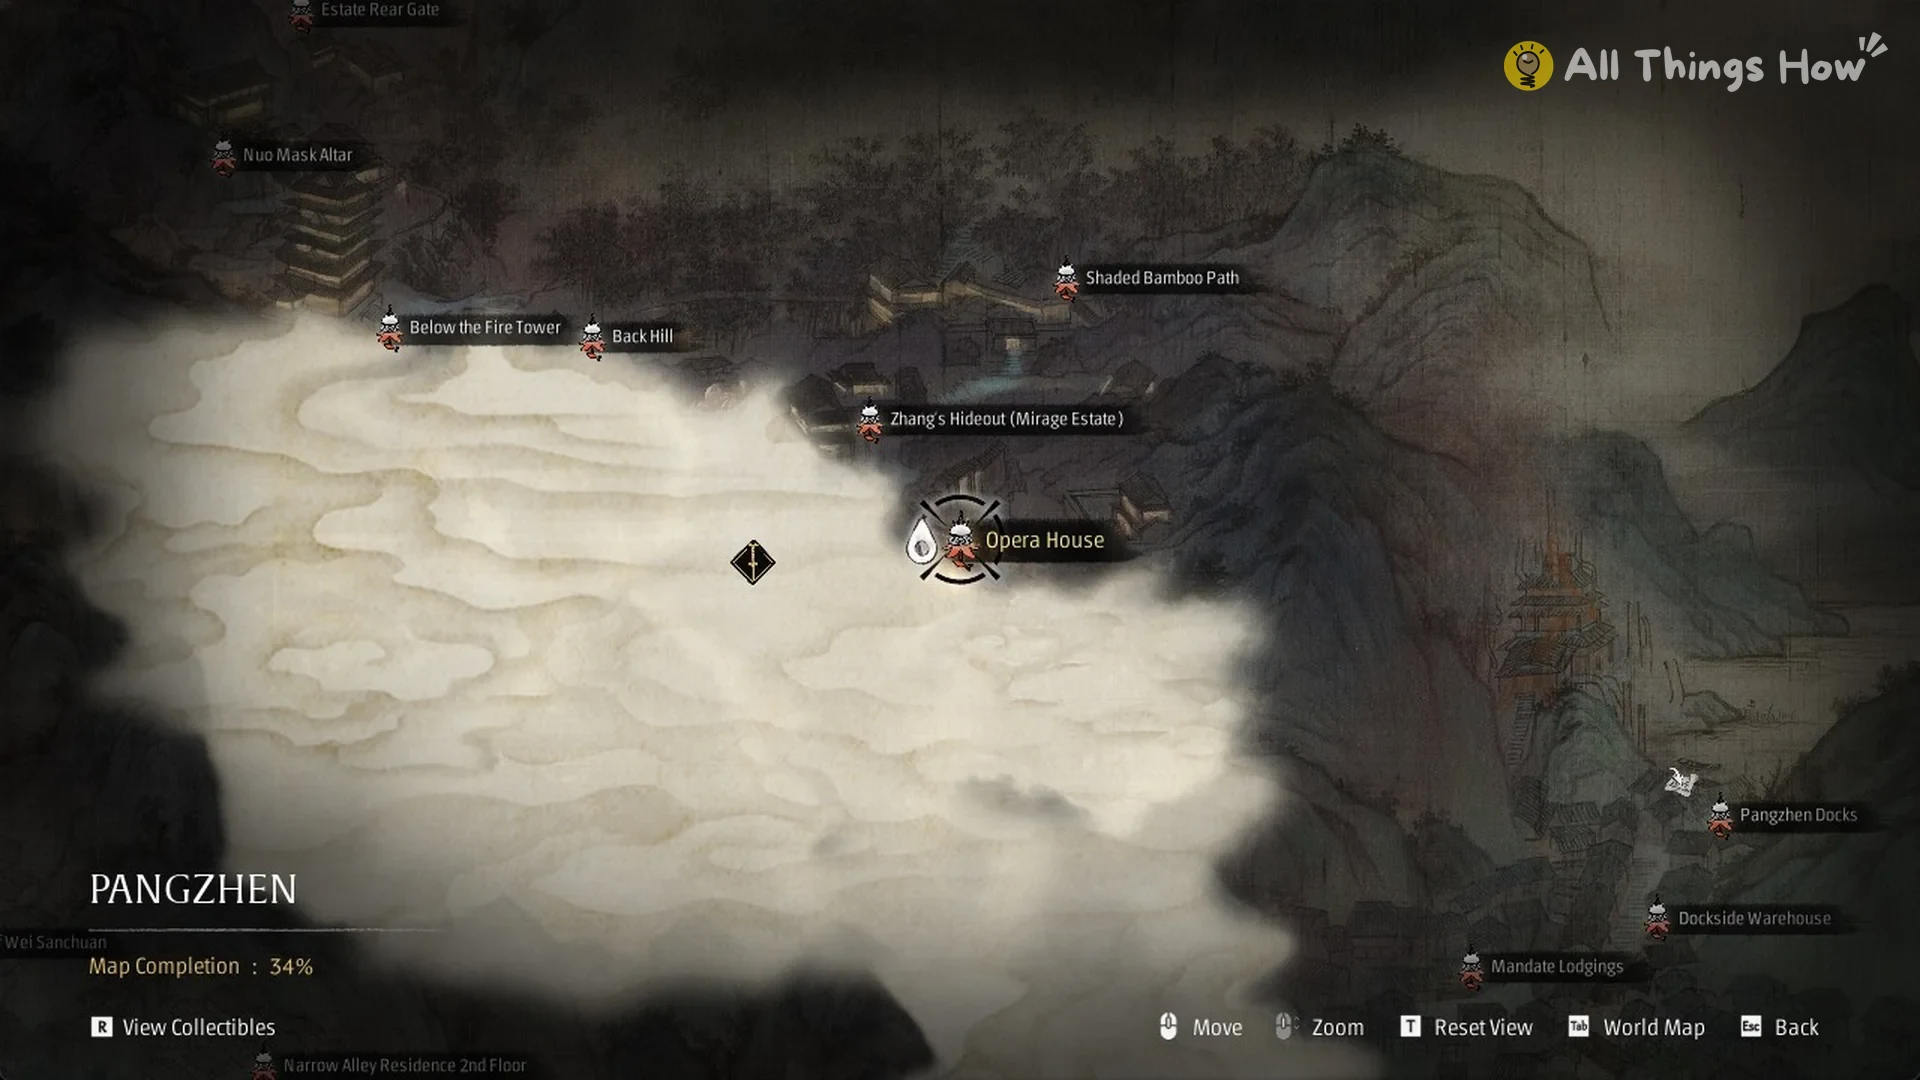
The “Zhang’s Hideout (Mirage Estate)” bell is on a low level past Shaded Bamboo Path, under a big lantern hall with an upper gallery. On the Pangzhen map, it sits between the Shaded Bamboo Path and Opera House bells.
- The way down from Shaded Bamboo Path drops into a yard held by a Shadow Assassin, two Weaponless Yang Puppets and an Alloy Cannon Puppet.
- A room past that drop holds a Traversal Talisman.
- The bell menu reads “Zhang’s Hideout (Mirage Estate)” with Traverse, Upgrade Equipment, Store, Train Abilities, Save and Leave.
How to reach the Opera House bell
The Opera House bell stands in a pavilion by a pond, about 120 m from the Zhang’s Hideout bell.
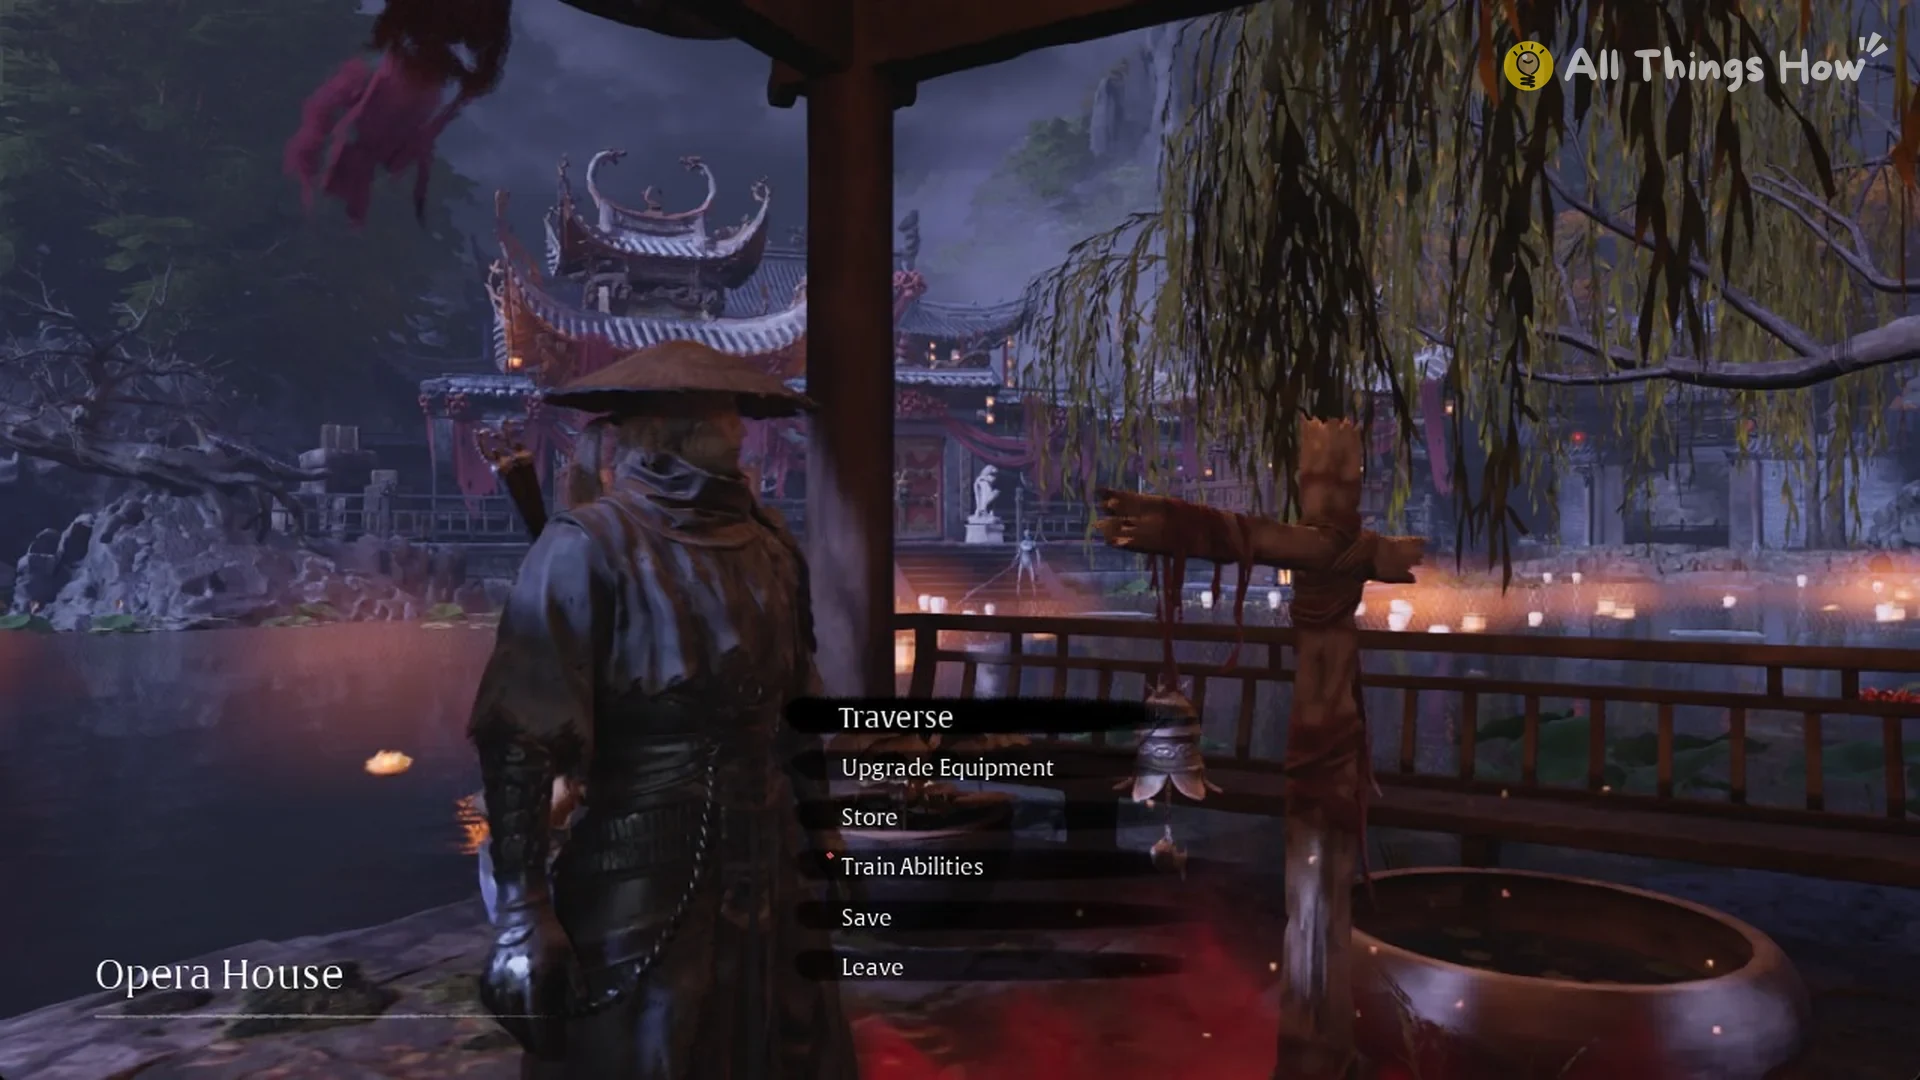
A Halberd War Puppet stands about 30 m from the bell. Once the bell is rung, the Pangzhen map lists Opera House alongside Zhang’s Hideout (Mirage Estate), Shaded Bamboo Path, Back Hill and Below the Fire Tower.
How to reach the Training Grounds bell
The route from the Opera House bell runs over a ridge, past two enemy groups, and ends with a climb down a cliff. Leave the Opera House bell, cross the lantern-lit yard, climb onto the ridge, and follow it to the cliff edge past the overlook. Press Space to climb down. The bell is about 40 m away.
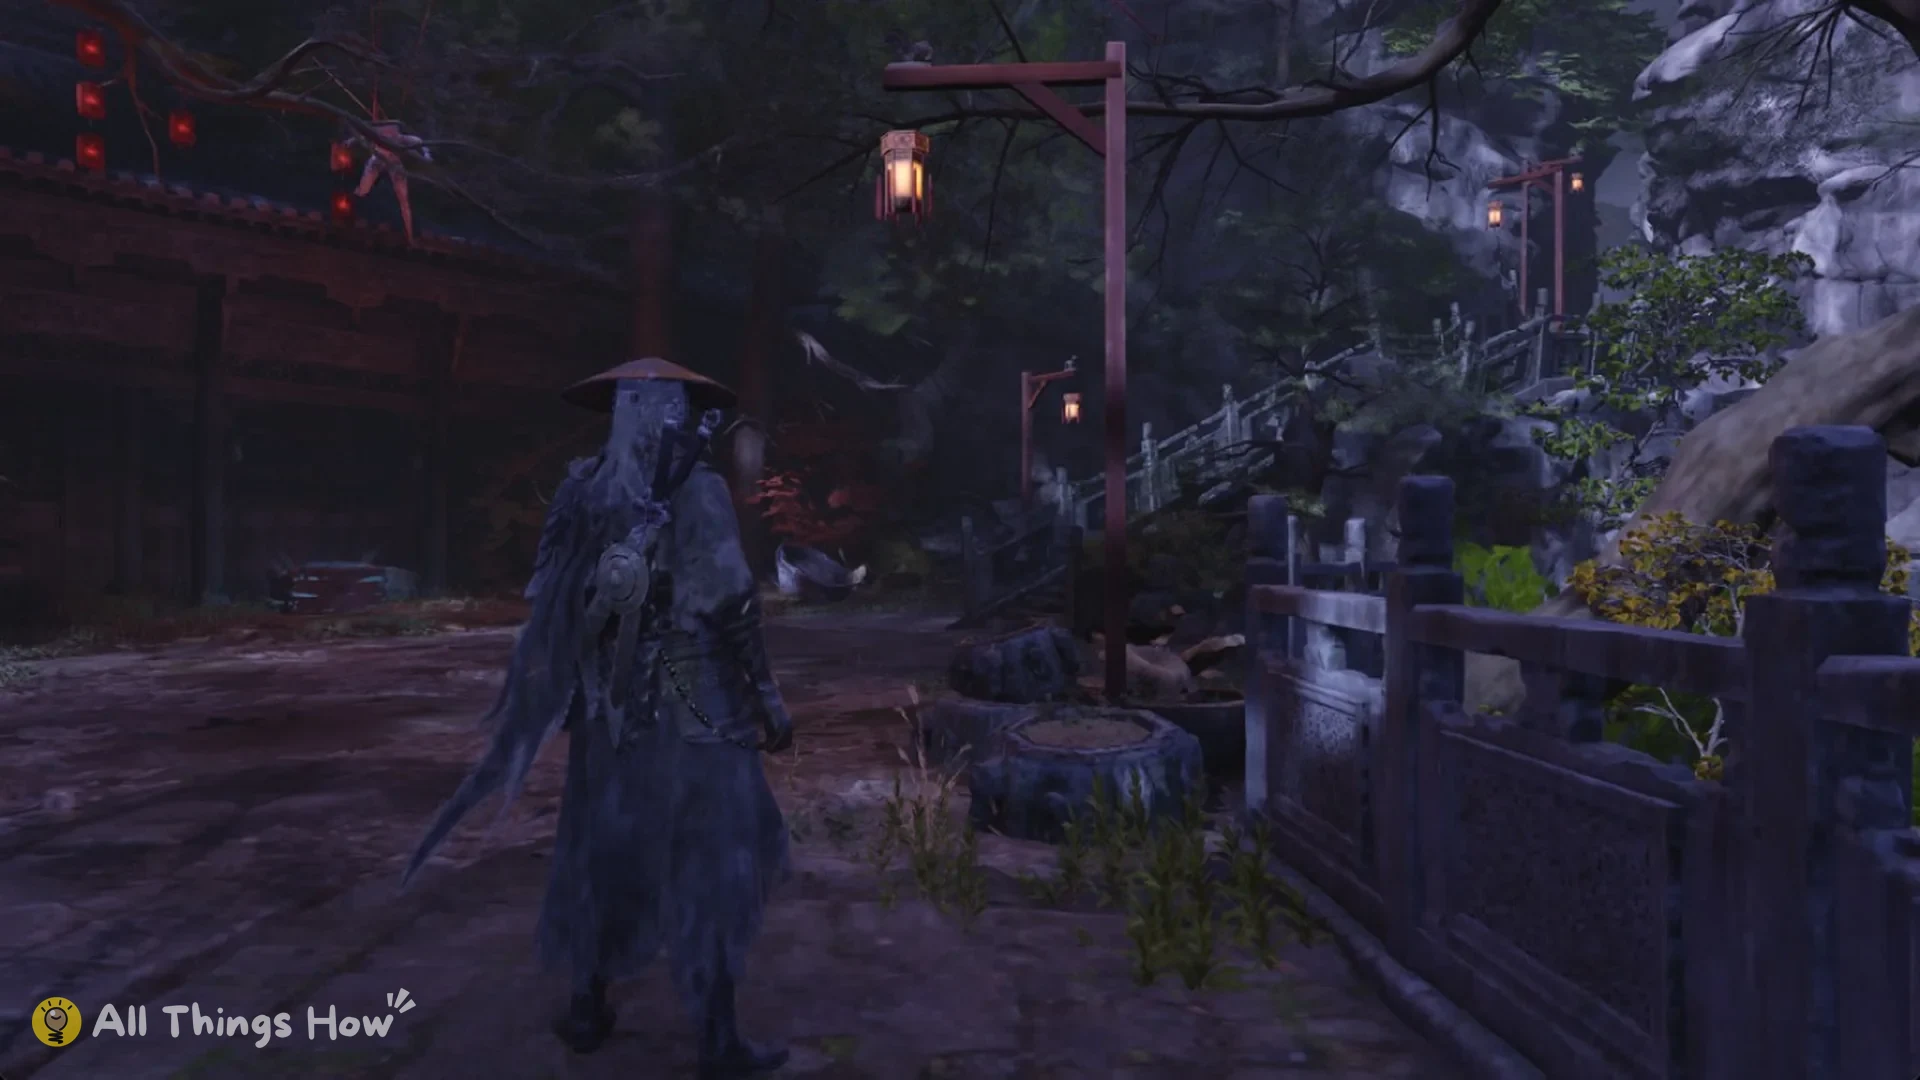
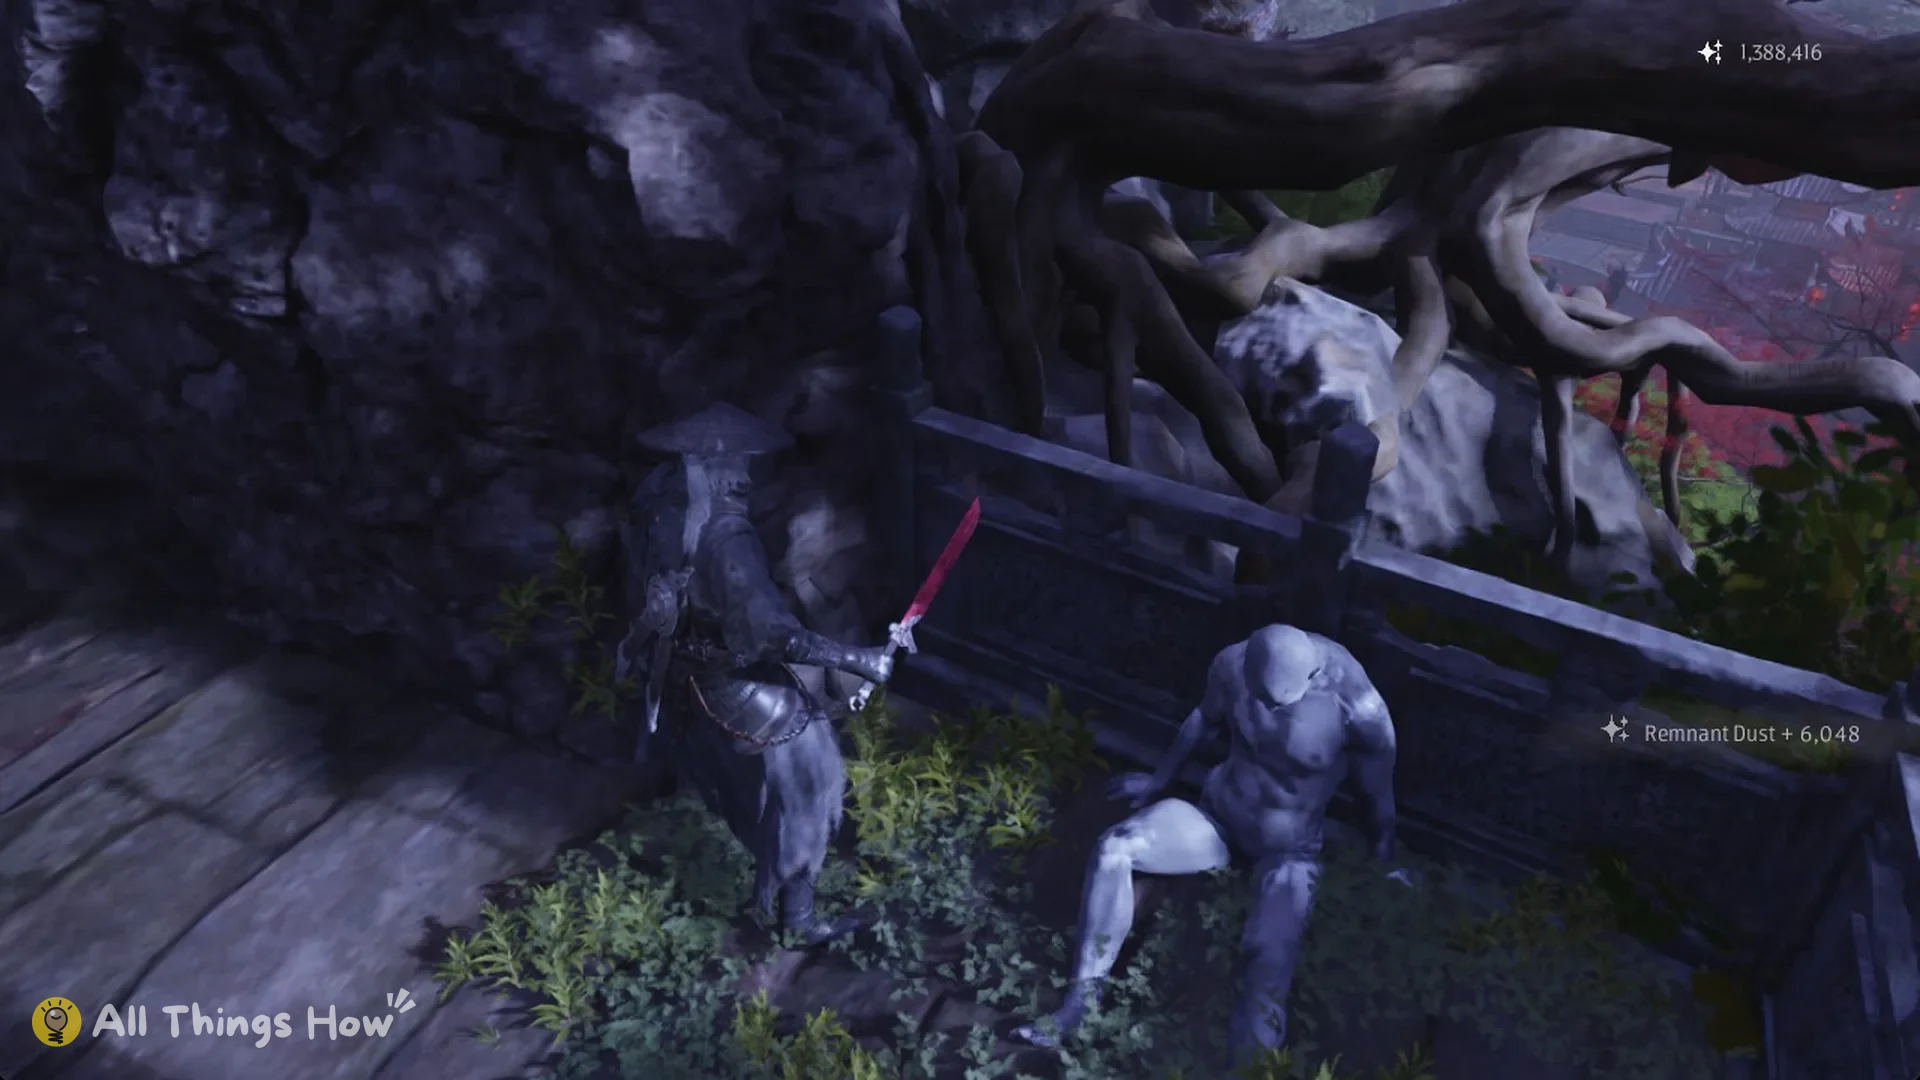
About 50 m past the Shadow Assassins, the ridge narrows. For roughly 75 m it is packed with enemies, and walking straight through gets you surrounded. The stretch holds:
- Two more Shadow Assassins
- Weaponless Yang Puppets
- A Yin Puppet
- Yang Puppet lower halves
- An Alloy Cannon Puppet
- An Iron Umbrella Puppet on the higher ground above
Once you’re past that stretch, the ridge continues about 60 m to an overlook above the Training Grounds.
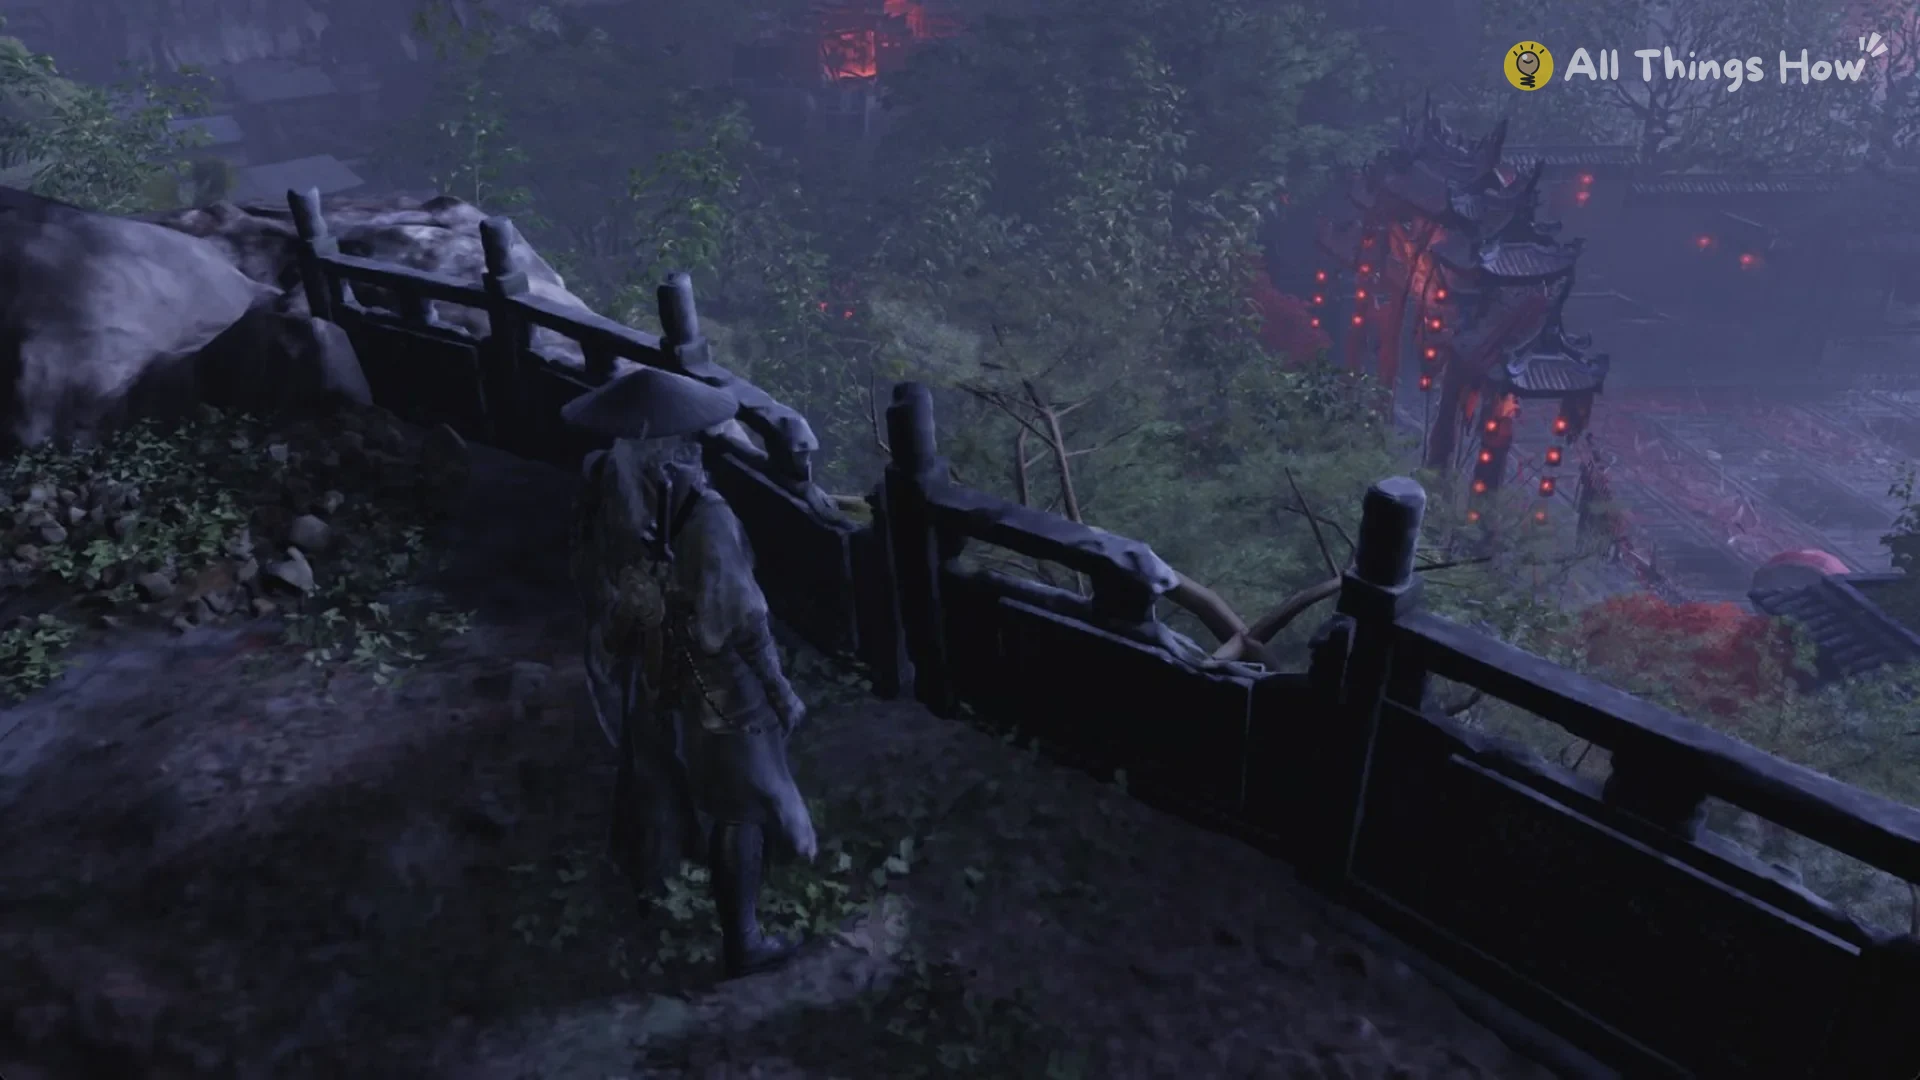
Keep going about 50 m beyond the overlook until a “Space” prompt appears at the cliff edge.
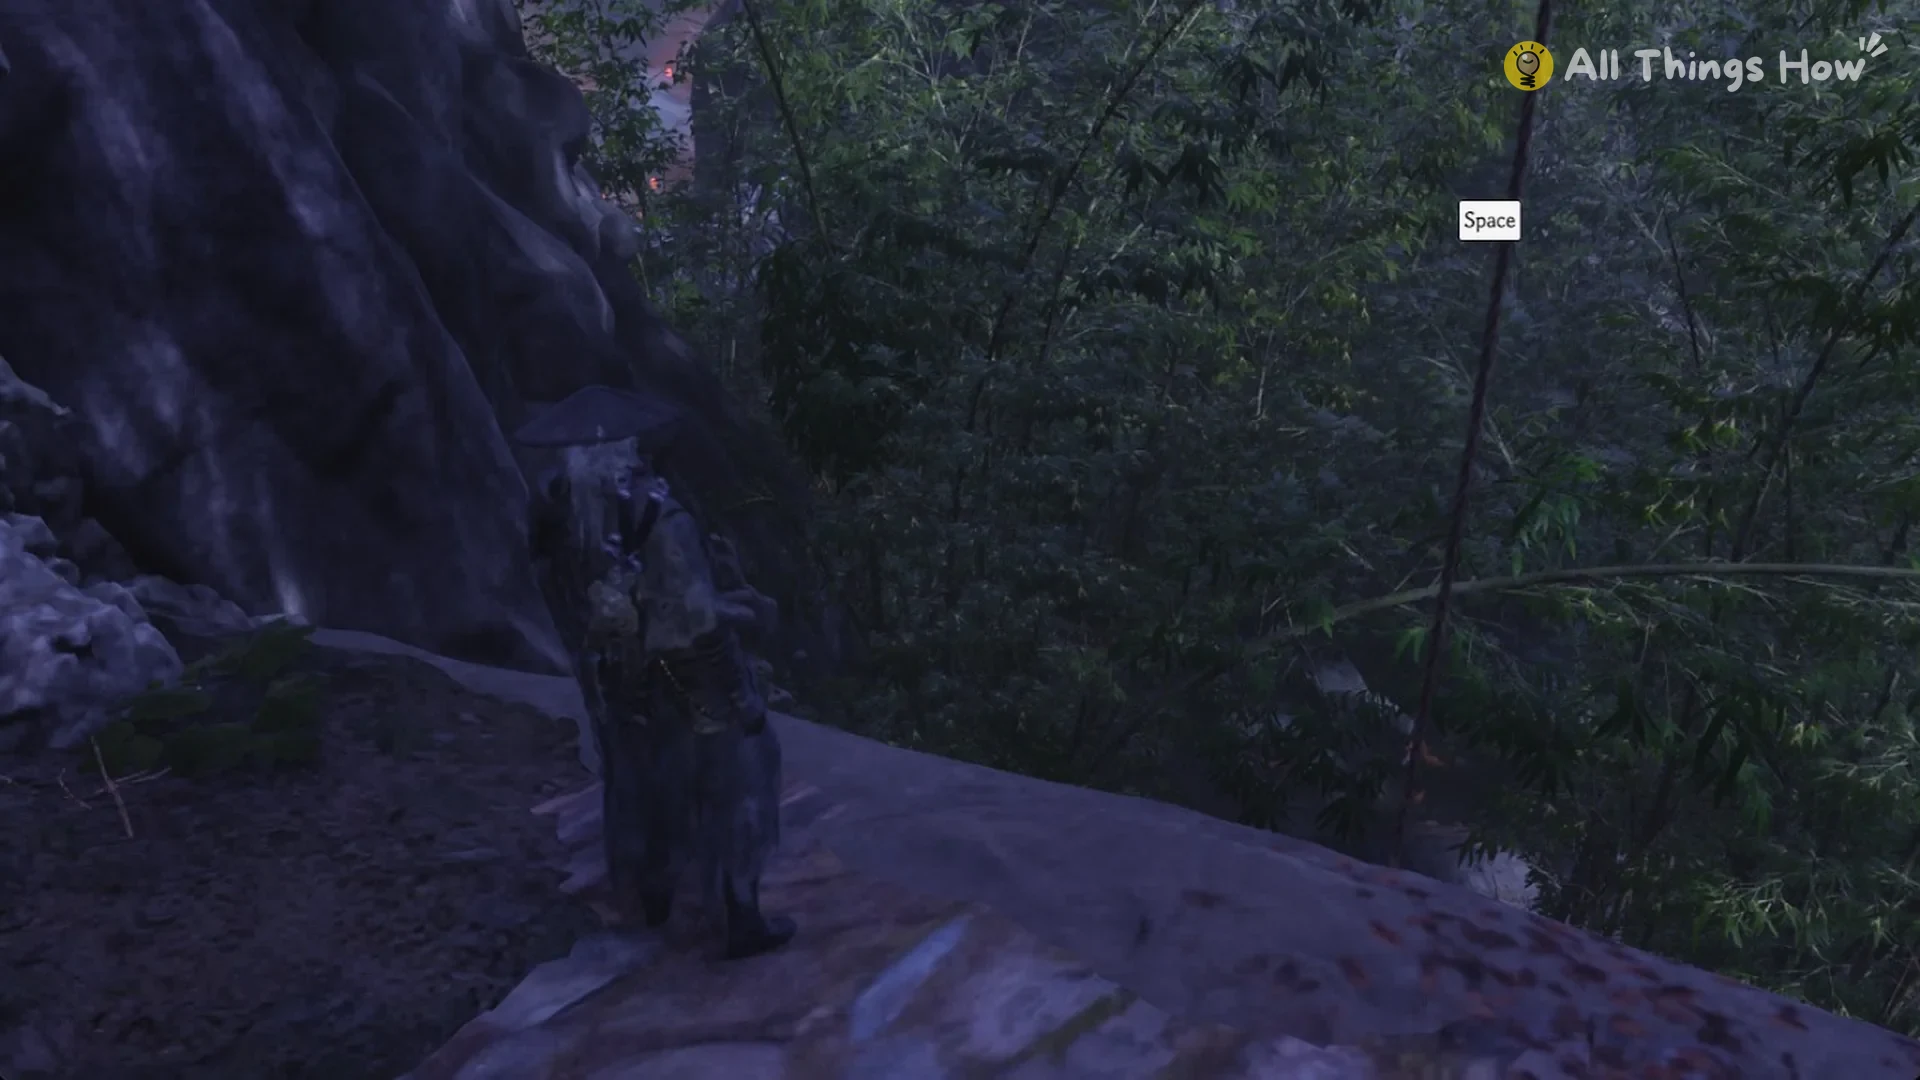
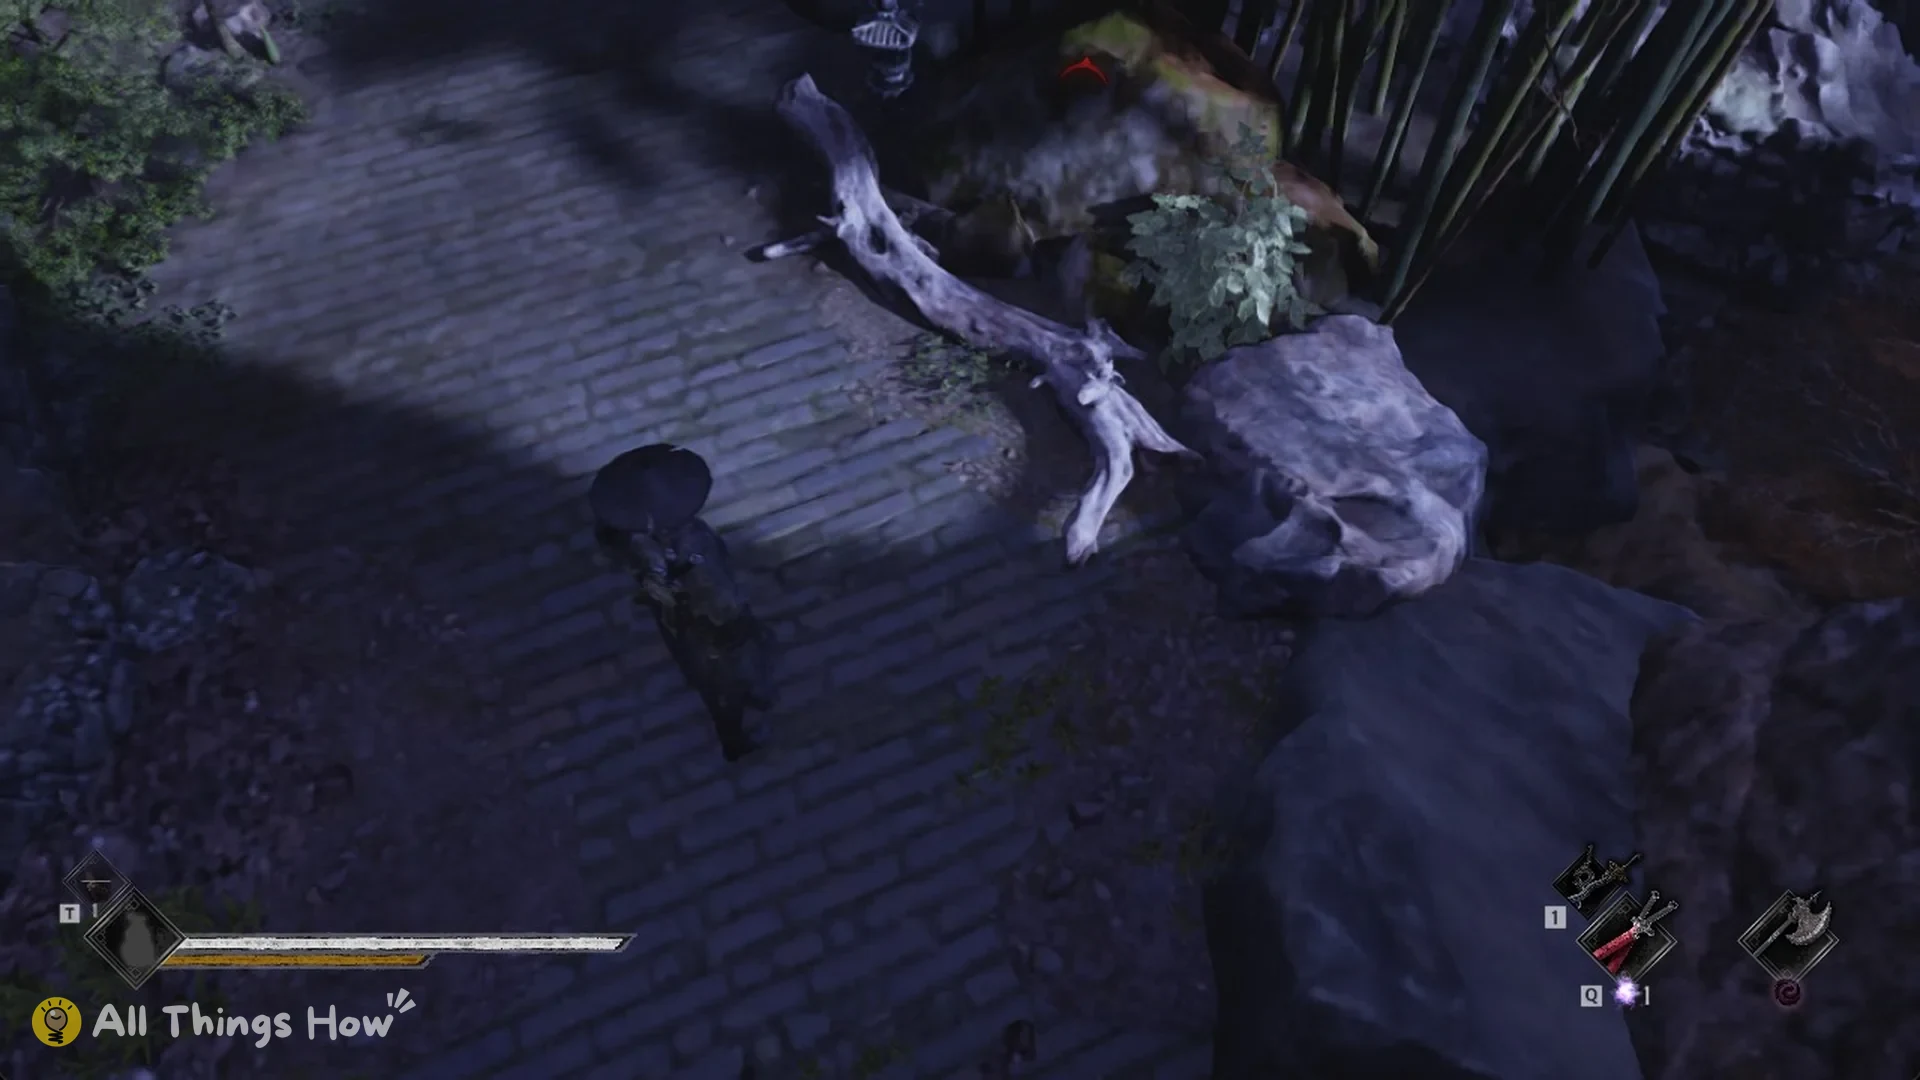
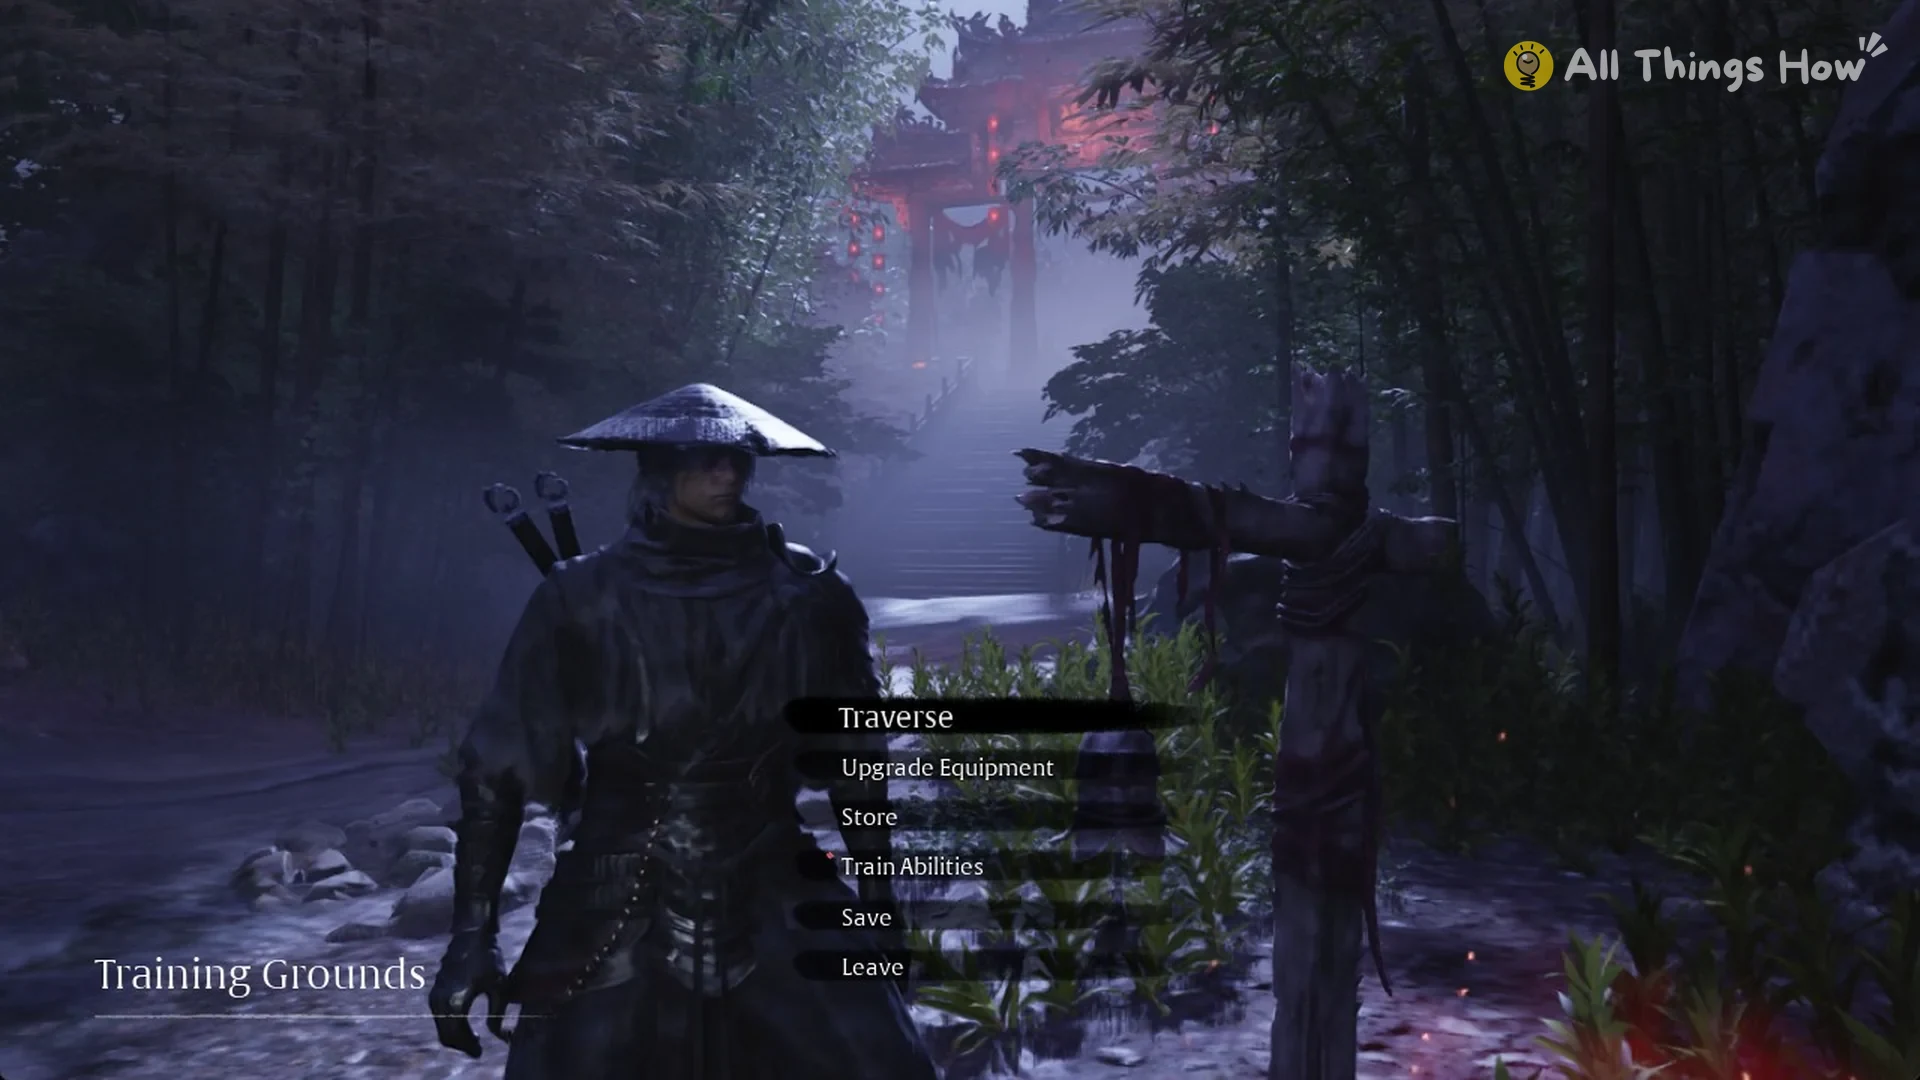
You know it worked when the menu header reads “Training Grounds”. The menu lists these options:
- Traverse
- Upgrade Equipment
- Store
- Train Abilities
- Save
- Leave
Which enemies come back after a rest
Resting at a bell respawns the yard’s group of three puppets. A rest does not revive the two Shadow Assassins on the ridge or the Halberd War Puppet near the Opera House. Dying without resting leaves the yard group dead.
The Training Grounds yard fight
The Training Grounds yard is in the Mirage Estate, at the top of a flight of stone stairs about 60 m from the Training Grounds bell. It runs as five waves of puppets and dolls, followed by the boss Yuding, No.12, Crescent Blade Puppet. Each wave appears the moment the last enemy of the previous one falls, with no break in between. From wave 4 on, a small big-head doll links purple beams to the other enemies and takes no damage while linked, so attack the enemies it links to instead.
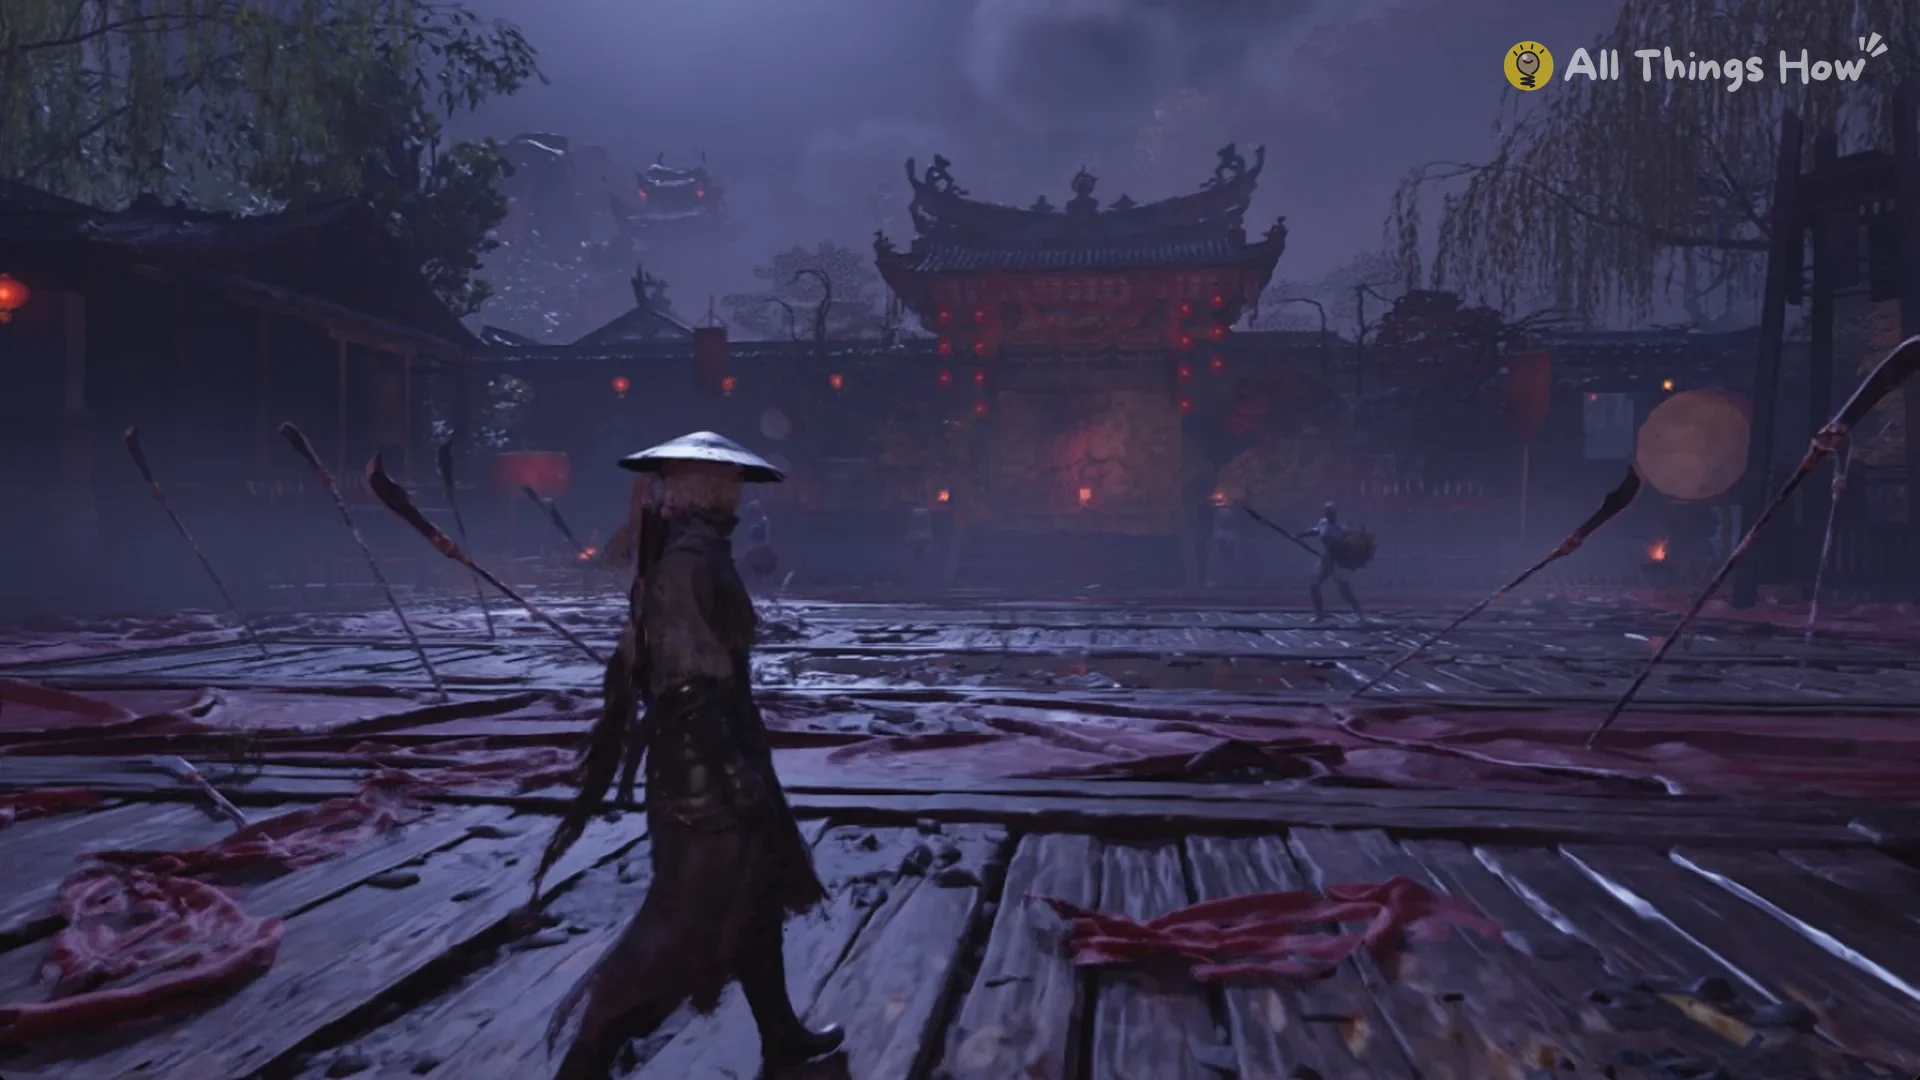
The masked red door by the Opera House
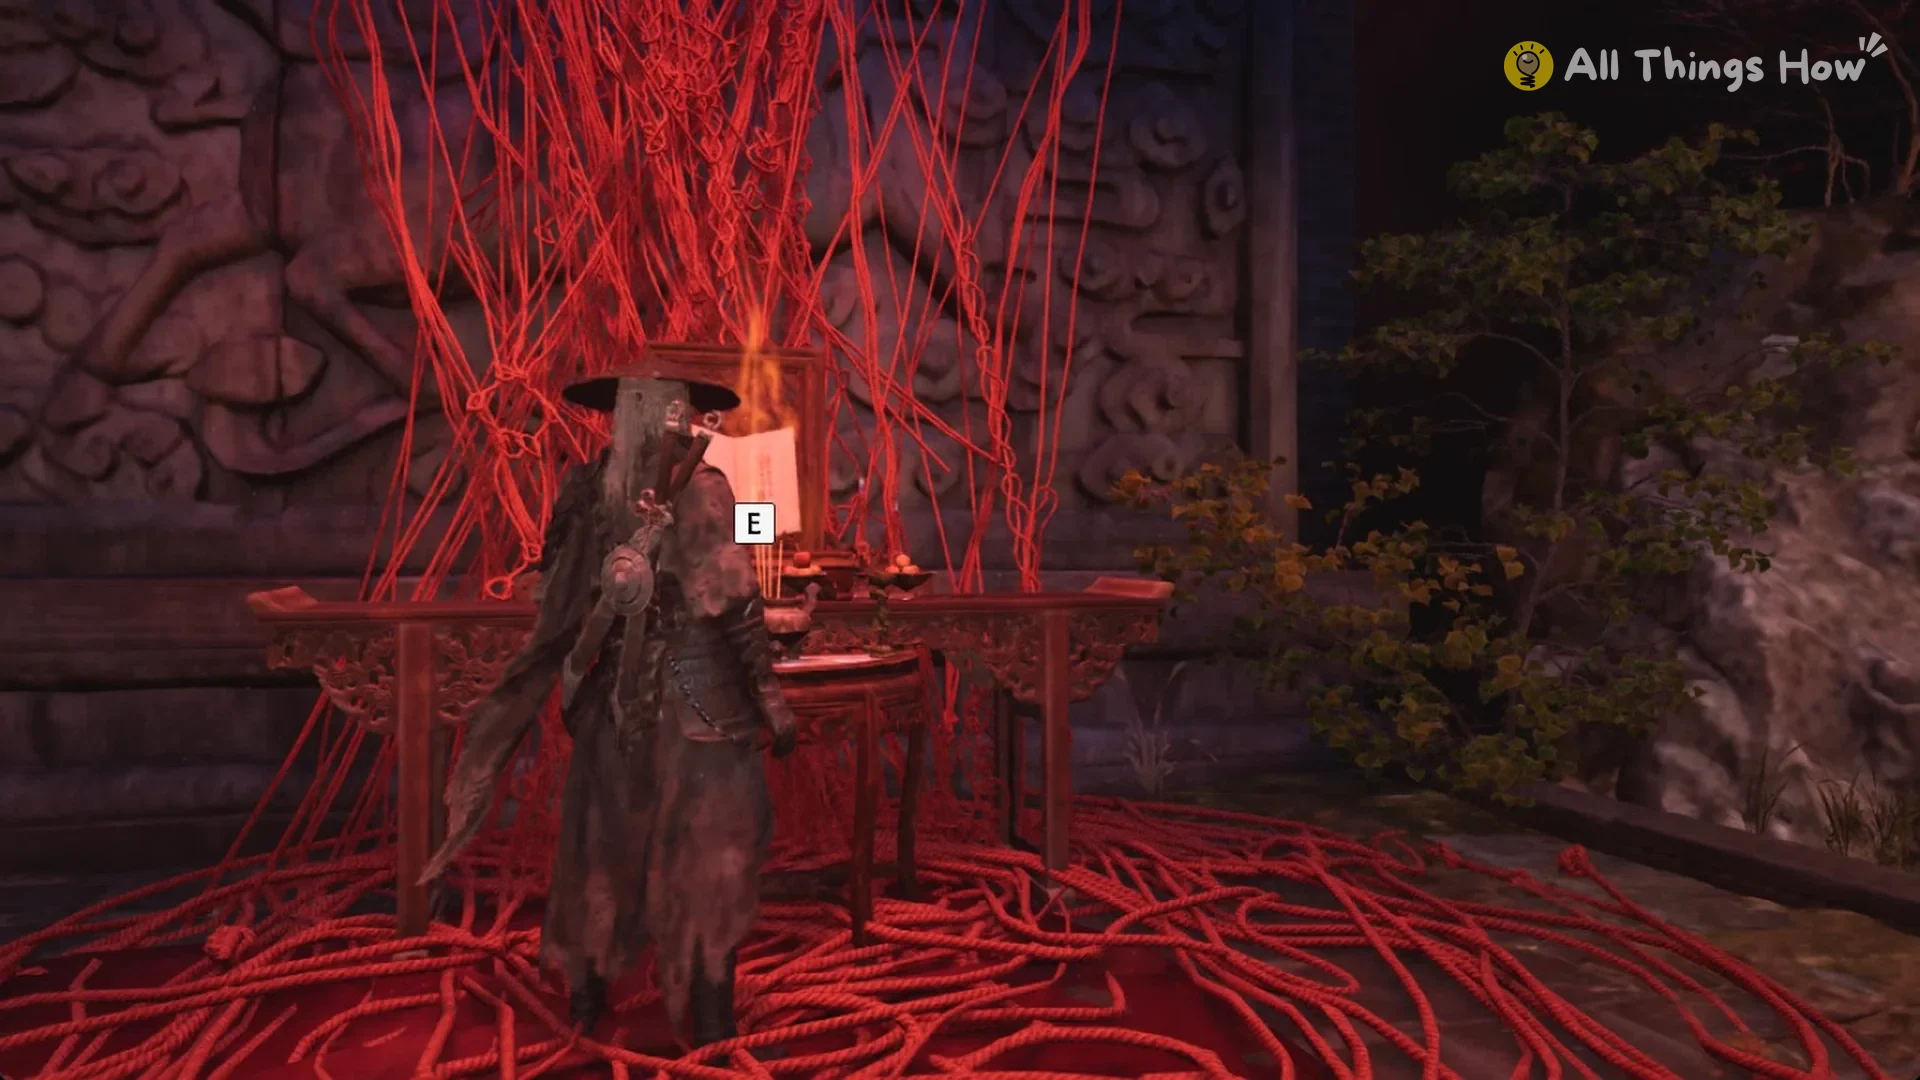
Pick up the Opera Ticket first. It rests on a lit altar table inside a nest of red ropes, at the top of a red-carpeted stair past the training yard near the Training Grounds bell.
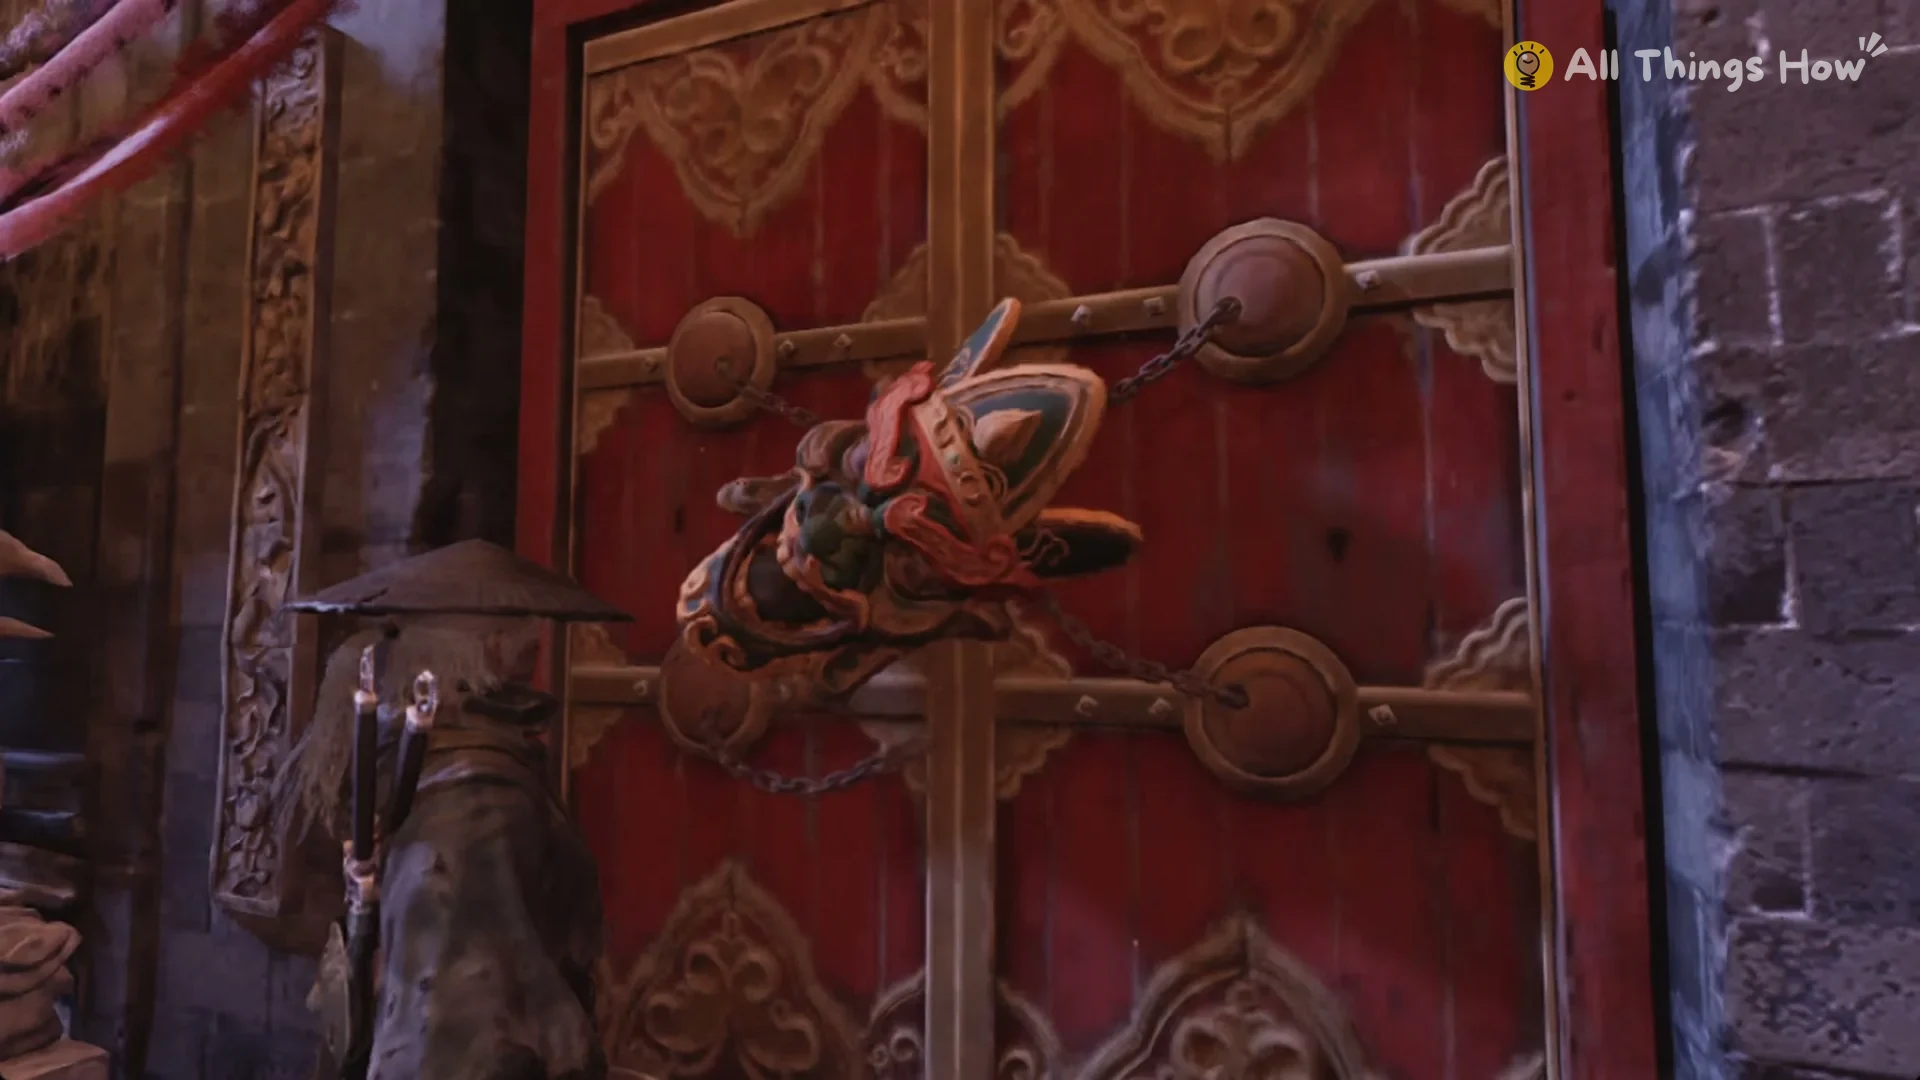
Starting at the Opera House bell, cross the lantern-lit pond to the entrance. Two white stone lions flank its red double doors, which have chained knockers and a horned mask colored red and green. With the Opera Ticket, press E. The mask pivots on its chains, and the doors open onto a yard containing a carved stone screen.
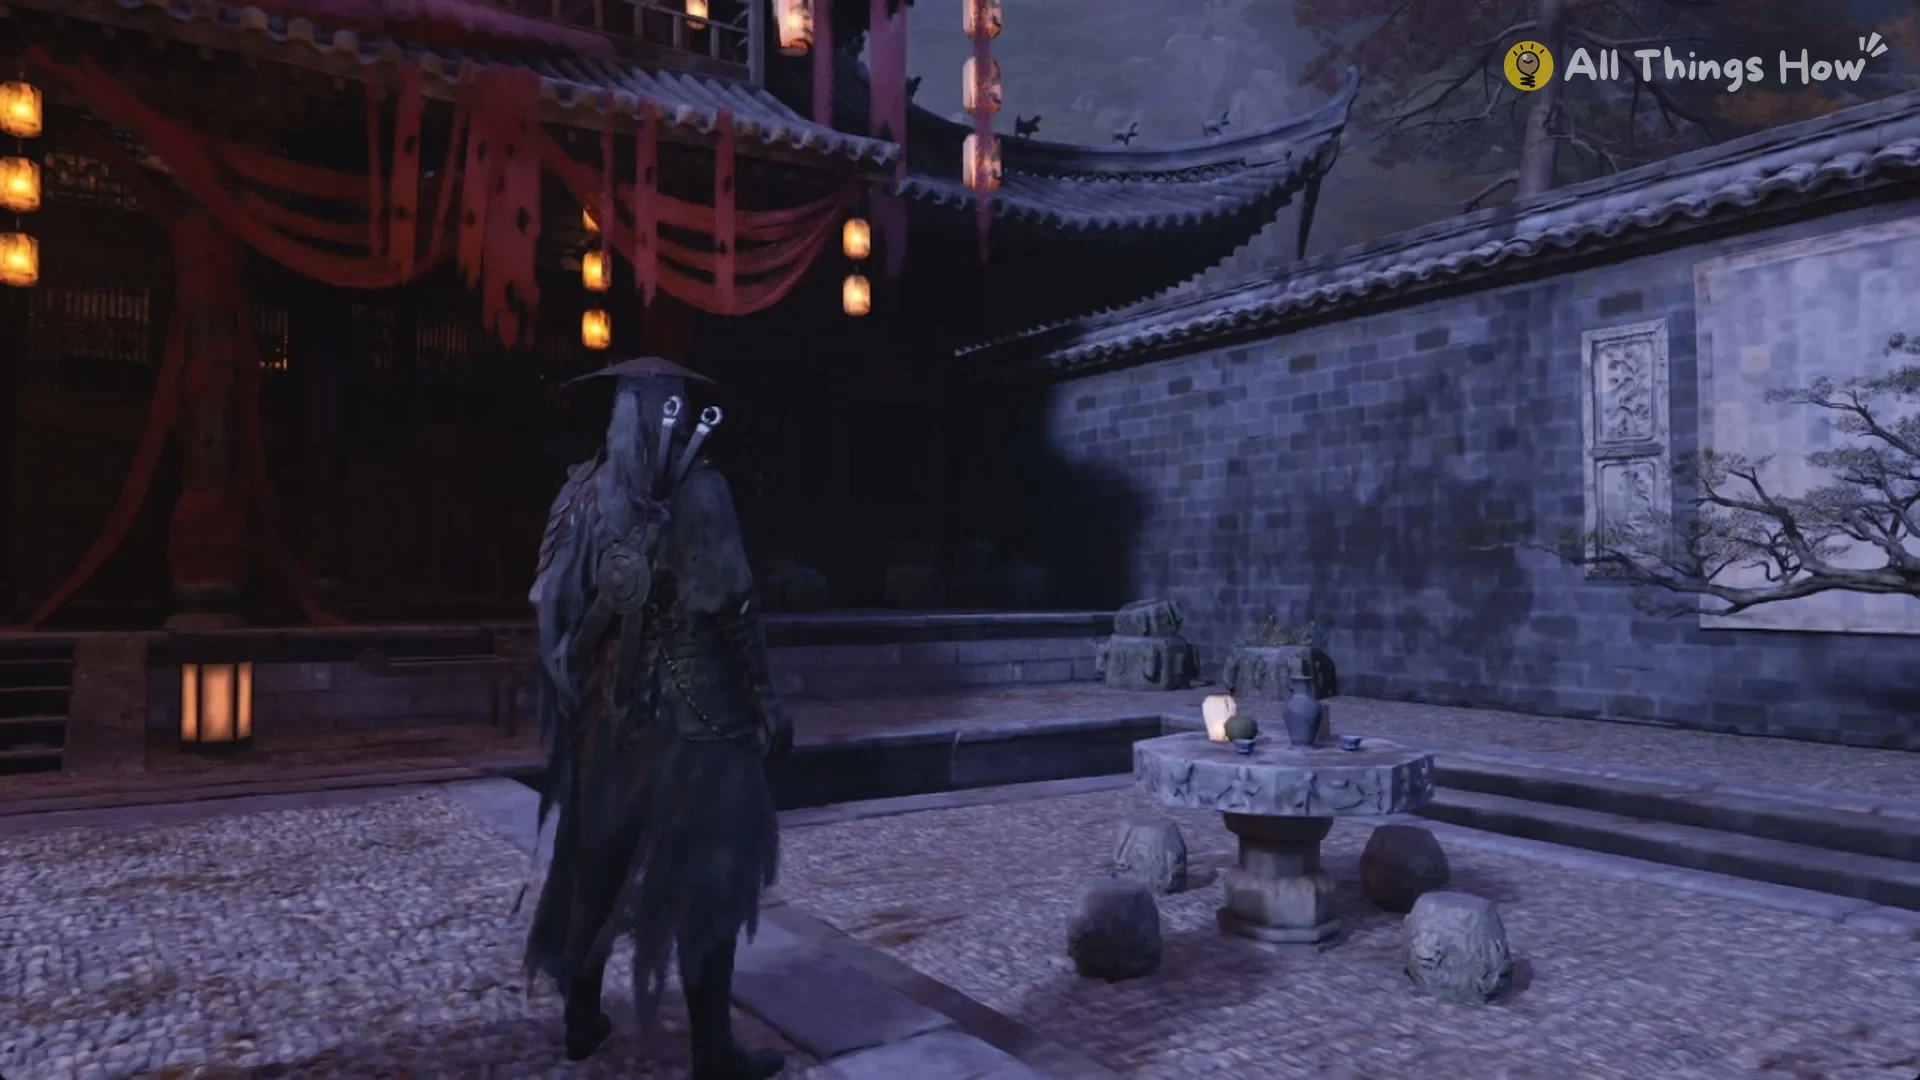
Go through the yard and the hall lined with red curtains to enter a study with painted screens. A green-glowing chest inside contains the Gold-and-silver Sachet, one of Quick Hand Zhang’s Treasures.
Beyond the study behind the masked red door, a corridor lined with demon masks leads to the red double door that opens the shadow puppet play, covered in full in the Phantom Blade Zero shadow puppet play walkthrough.
Through the red door to the Covered Corridor bell
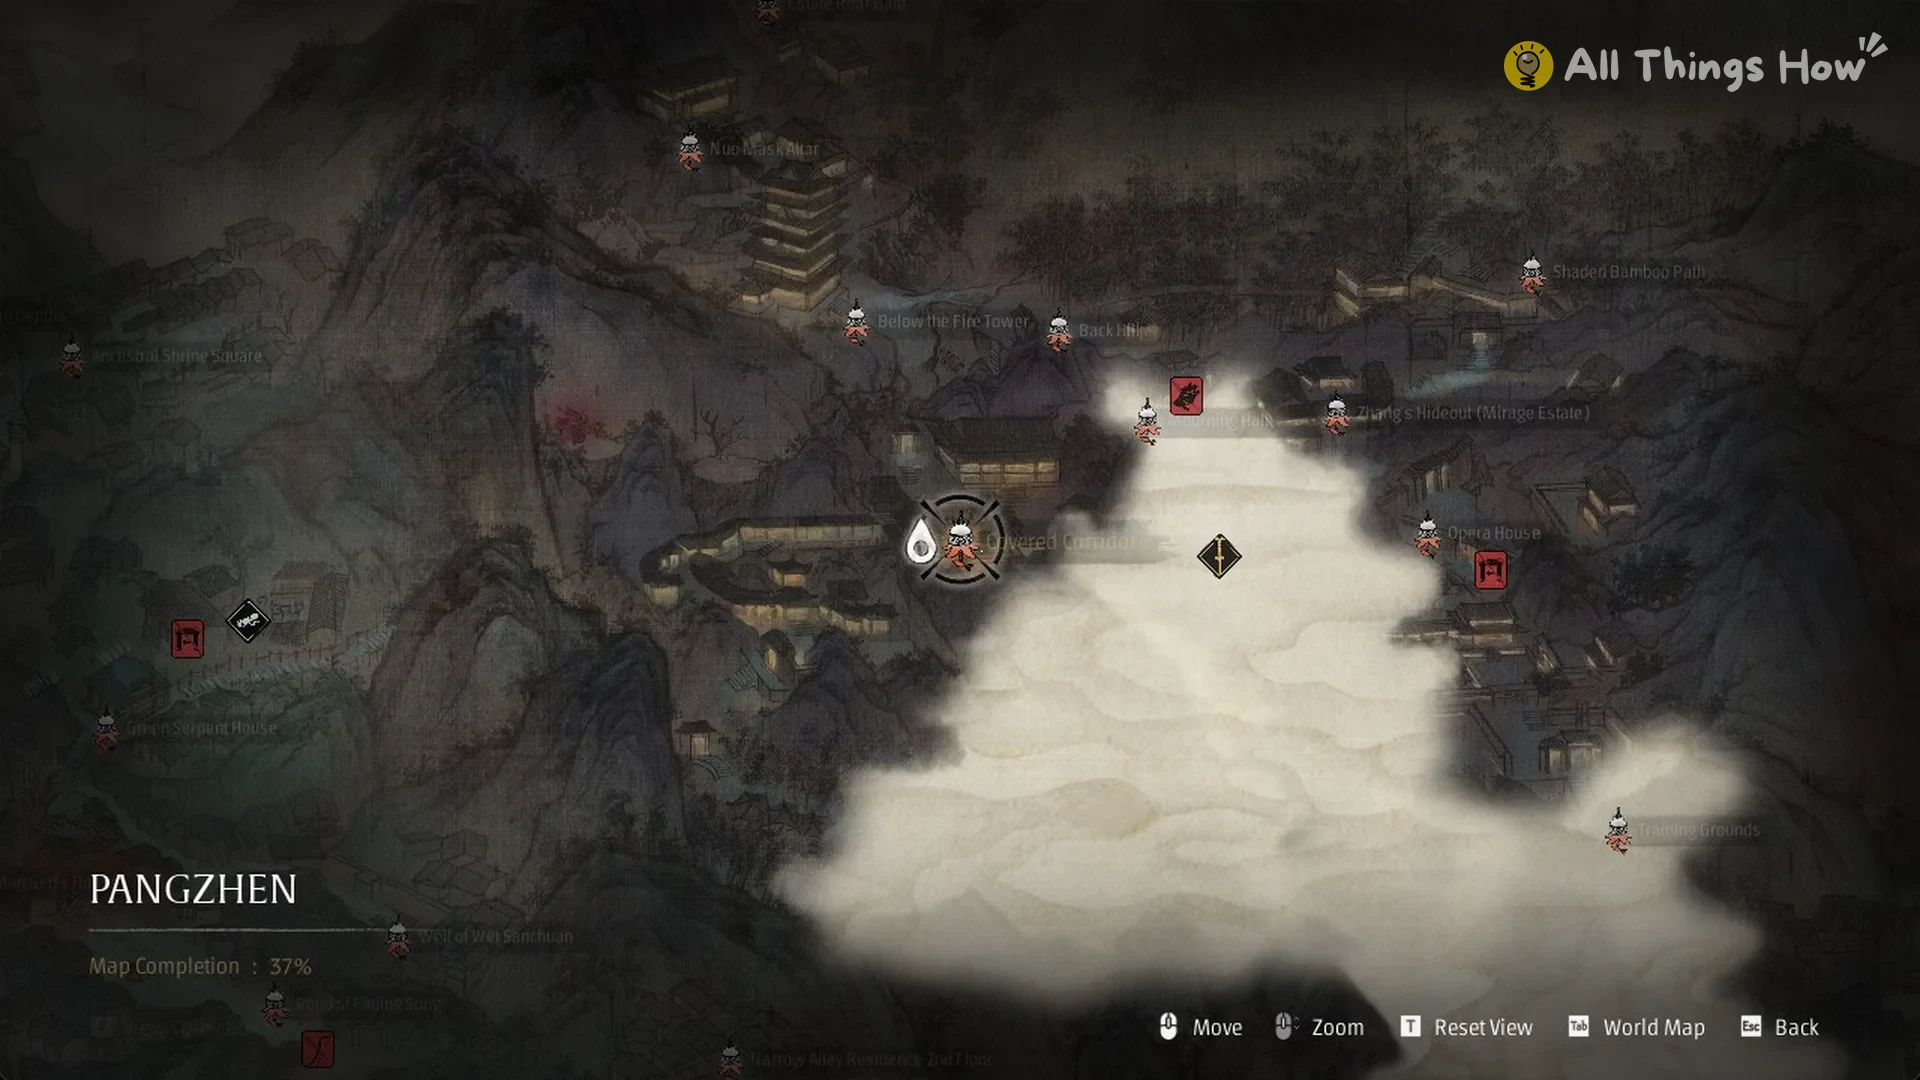
In the Mirage Estate, find the Mourning Hall bell beside Zhang’s Hideout, beneath Back Hill on the Pangzhen map. Its courtyard is recognizable by a stone stair rising beside a long white banner, with a lantern-strung hall overhead. Sound the bell to add “Mourning Hall” to the Pangzhen map.
From the Mourning Hall bell, ascend the stone steps. At their summit, around 30 m away, a large red double door fitted with ring knockers blocks the way.
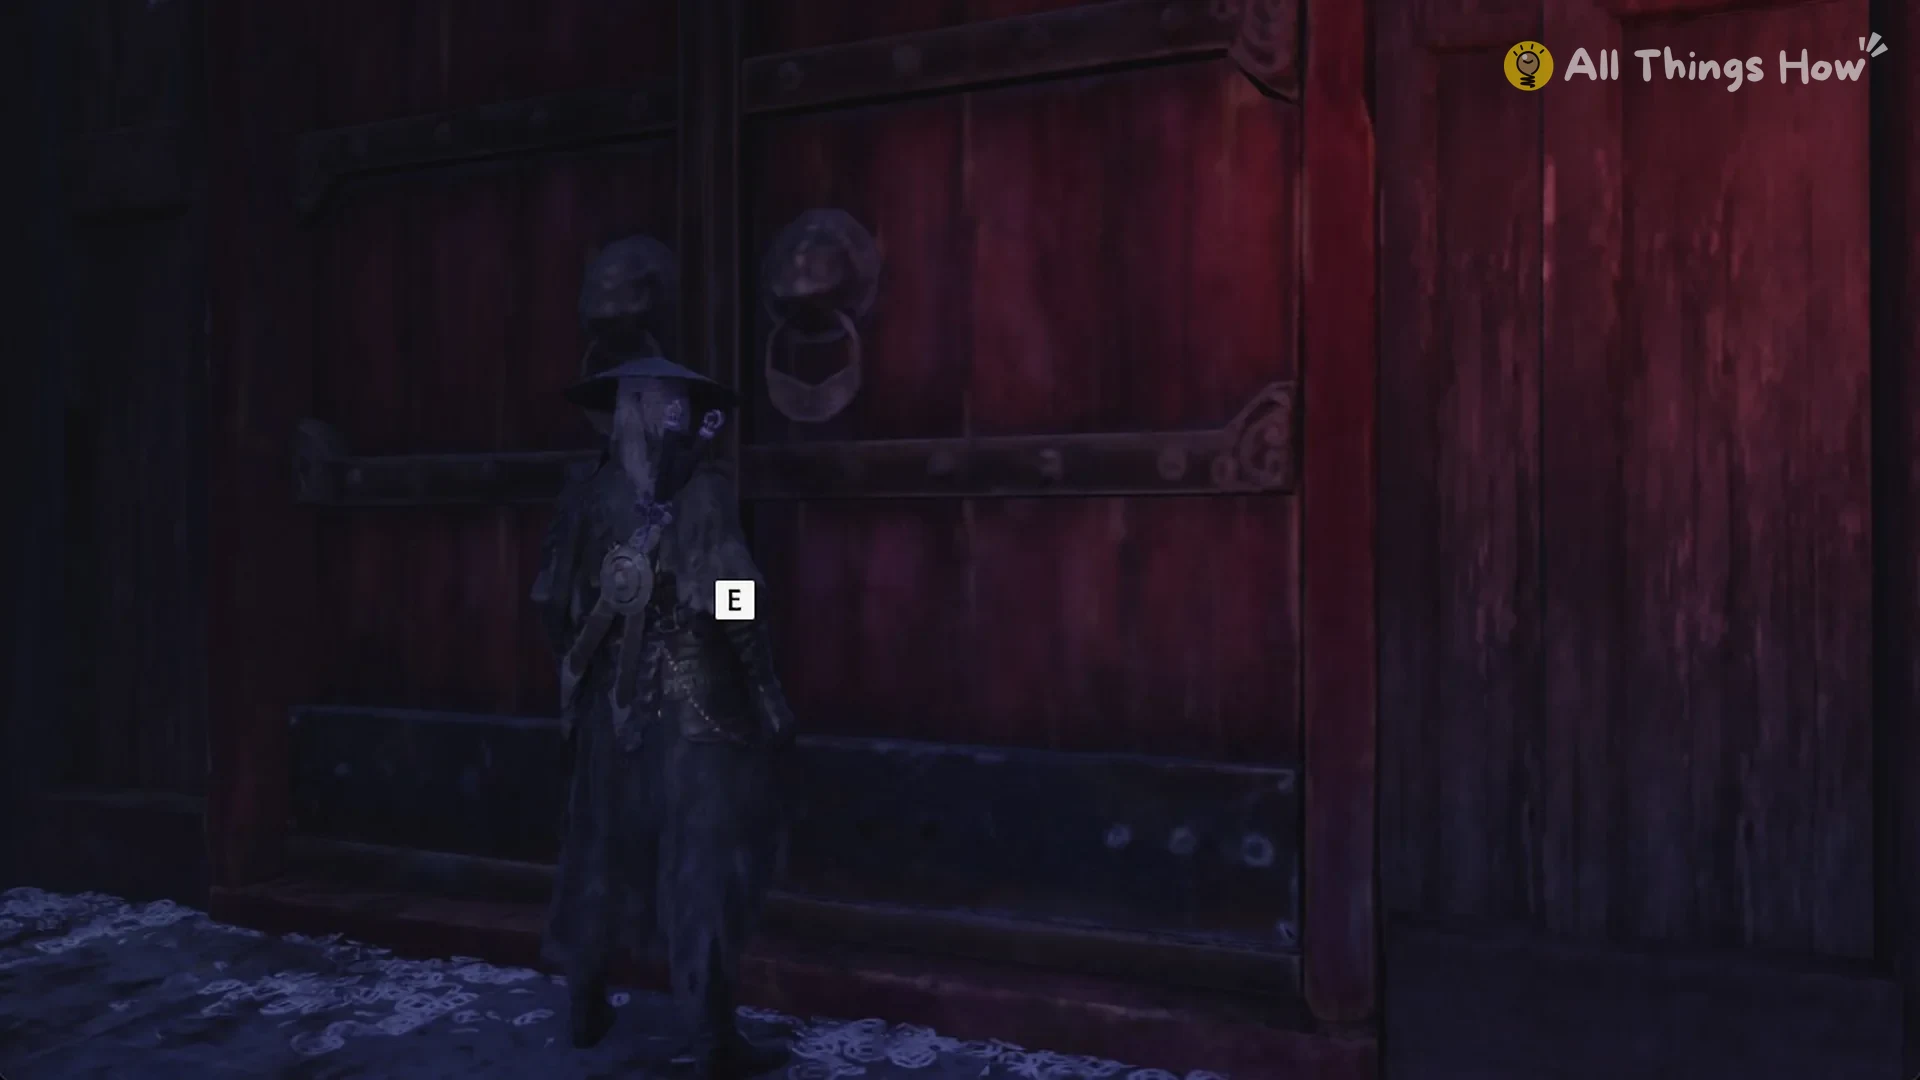
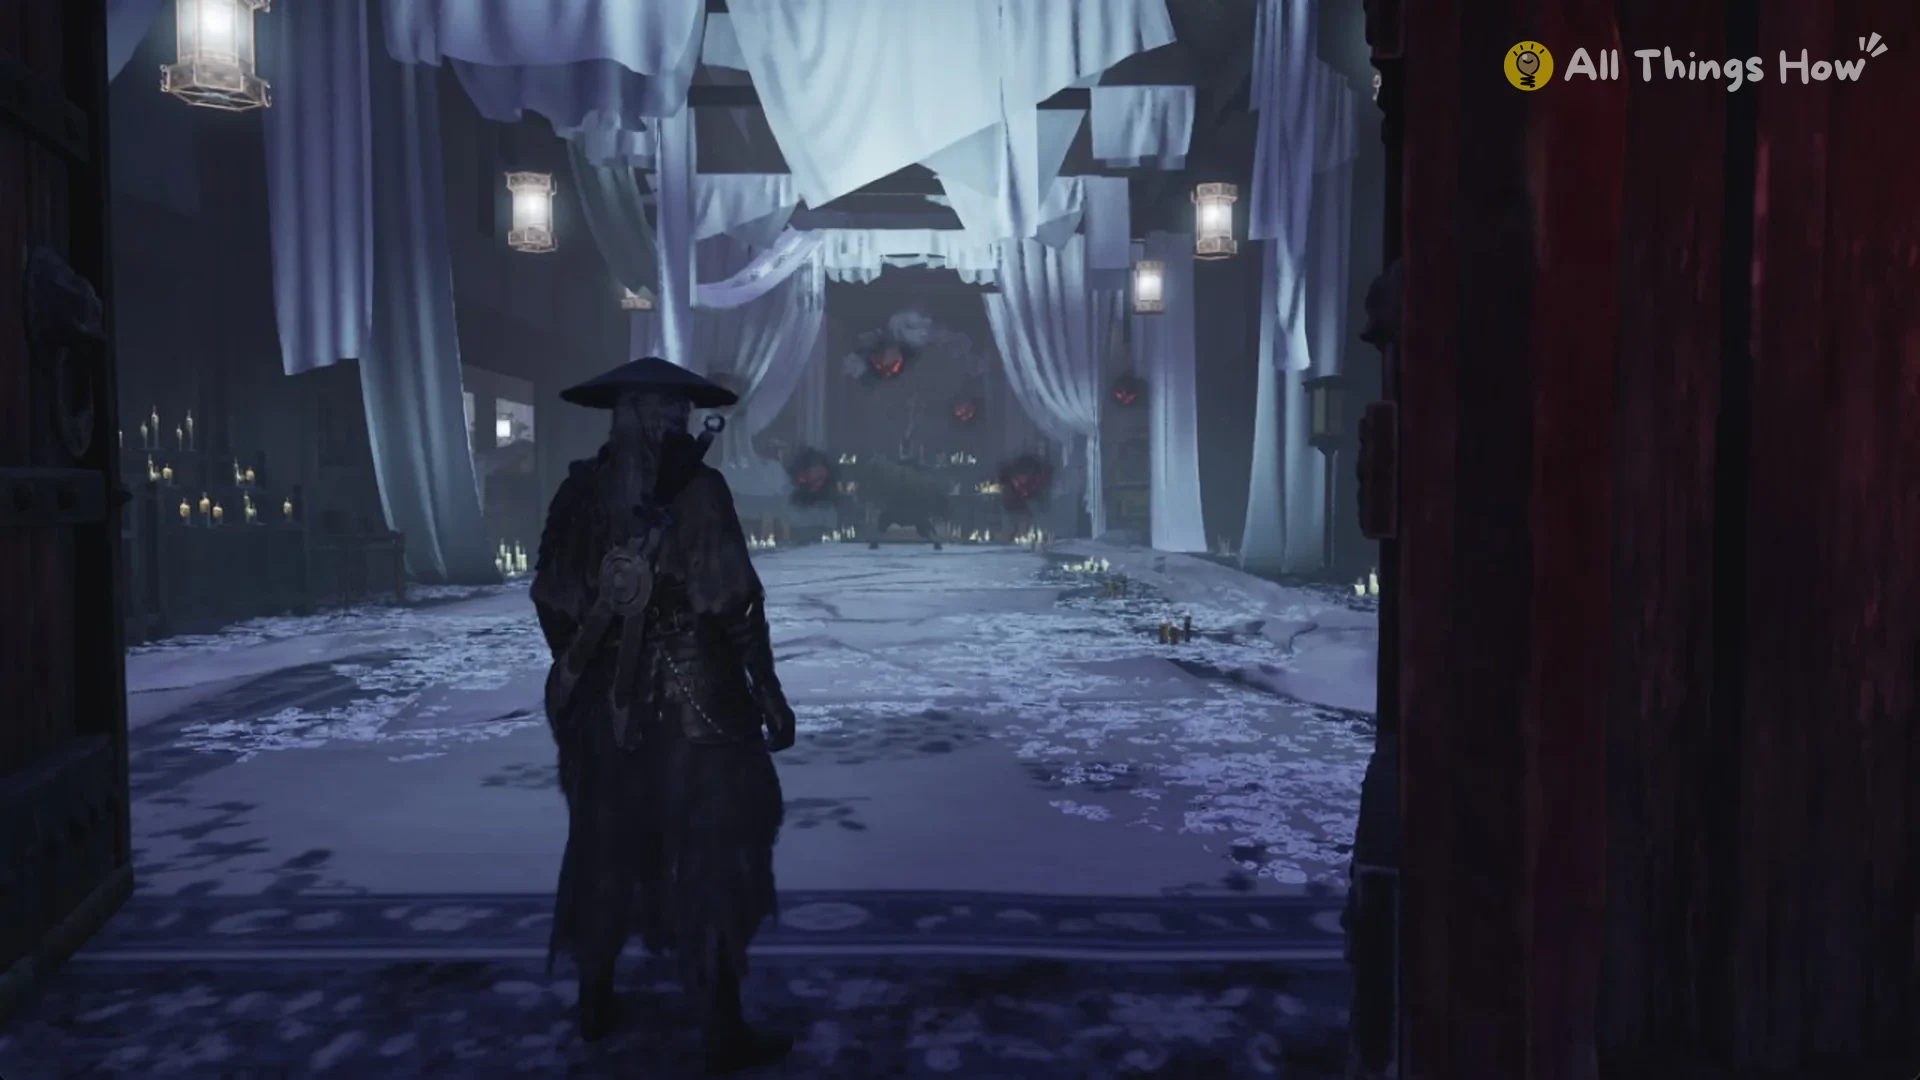
Beyond is a long hall draped in white, illuminated by lanterns and candles along the walls; paper money covers the floor, and an altar stands at the far end. Go through the white-draped hall, where Qiu Feng, the Crimson Boneblade catches you in an ambush.
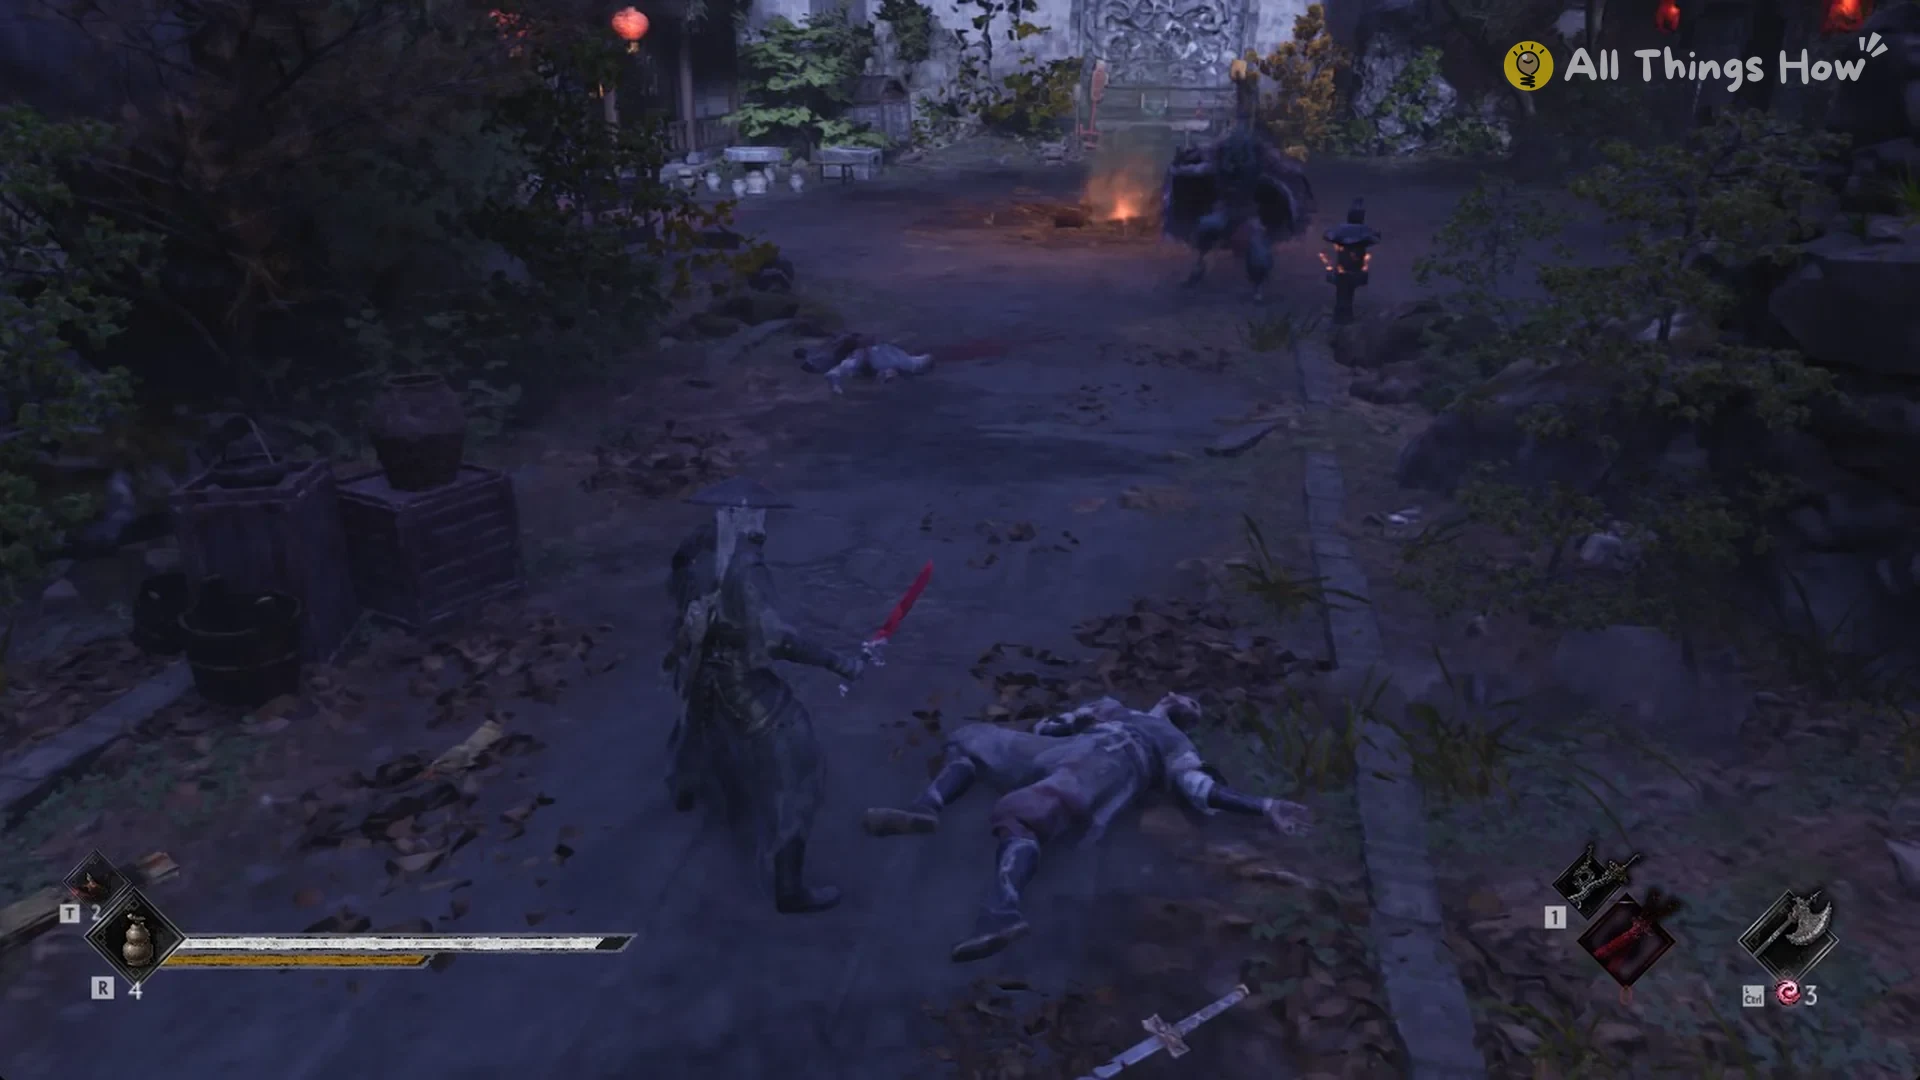
Leave the hall through its far exit. Follow the path for about 65 m to a courtyard strewn with bodies and containing a small fire; two Cyan Shadow Assassins guard the area.
Continue onward for roughly 60 m. The Covered Corridor bell stands beside a tree in a courtyard hung with red lanterns; it’s a wooden cross post bound in red cloth. Press E to ring it, and “Covered Corridor” appears on the Pangzhen map just below the Mourning Hall. The bell menu opens under the heading “Covered Corridor”, with Traverse, Upgrade Equipment, Store, Train Abilities, Save and Leave.
From the Covered Corridor bell to Leng Tu’s Study
At the Covered Corridor bell in the Mirage Estate, head beside the pond, passing a stone lantern beside the rail. Two Cyan Shadow Assassins guard this stretch; a Puppet Spearman, an Alloy Cannon Puppet and a Spear-Shield Puppet are there as well. Farther on, a big-headed doll occupies a railed yard off the path. Sprint by it. It can land a few hits, but it does not follow.
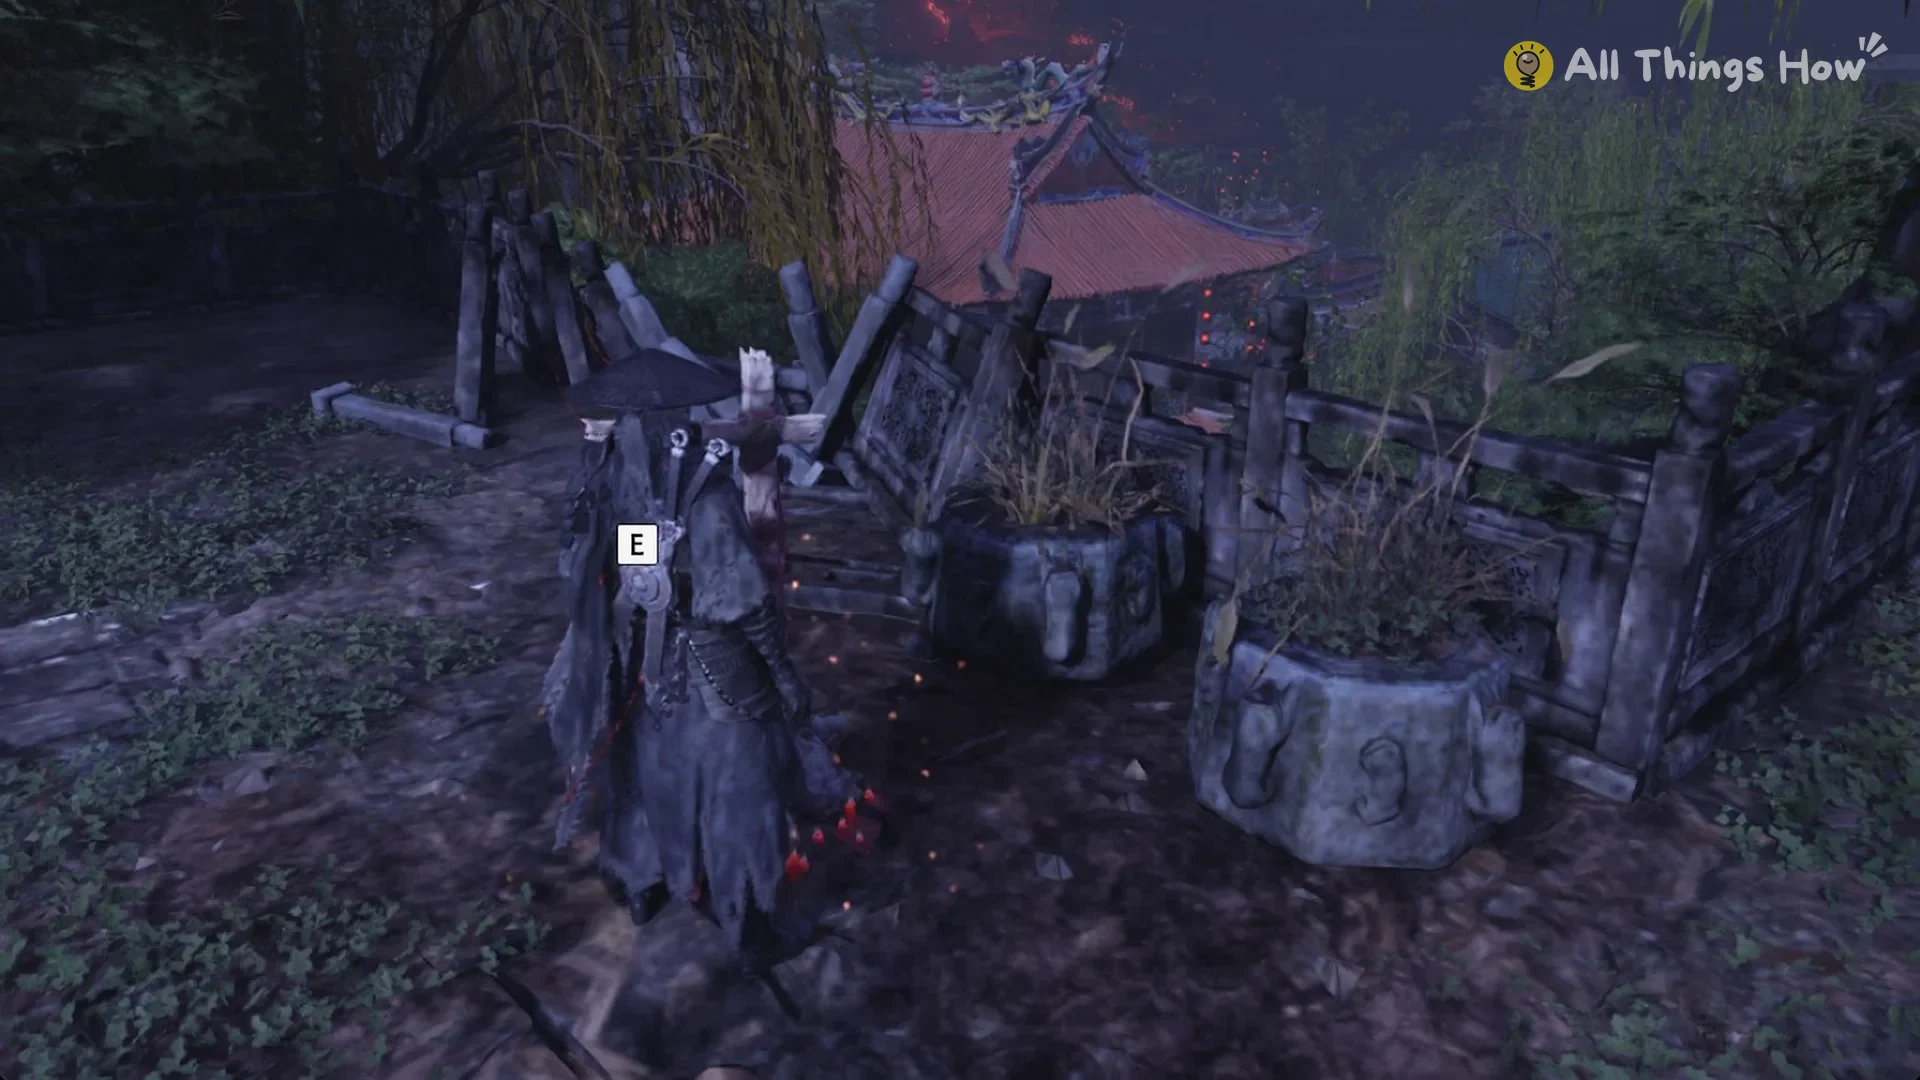
Roughly 190 m beyond the Covered Corridor bell, find the Willow Pavilion bell beneath weeping willows, beside a stone railing with carved stone planters and overlooking a red-roofed pavilion. Press E to ring it. The menu is headed “Willow Pavilion” and lists Traverse, Upgrade Equipment, Store, then Train Abilities, followed by Save and Leave. The new bell appears on the Pangzhen map below Covered Corridor.
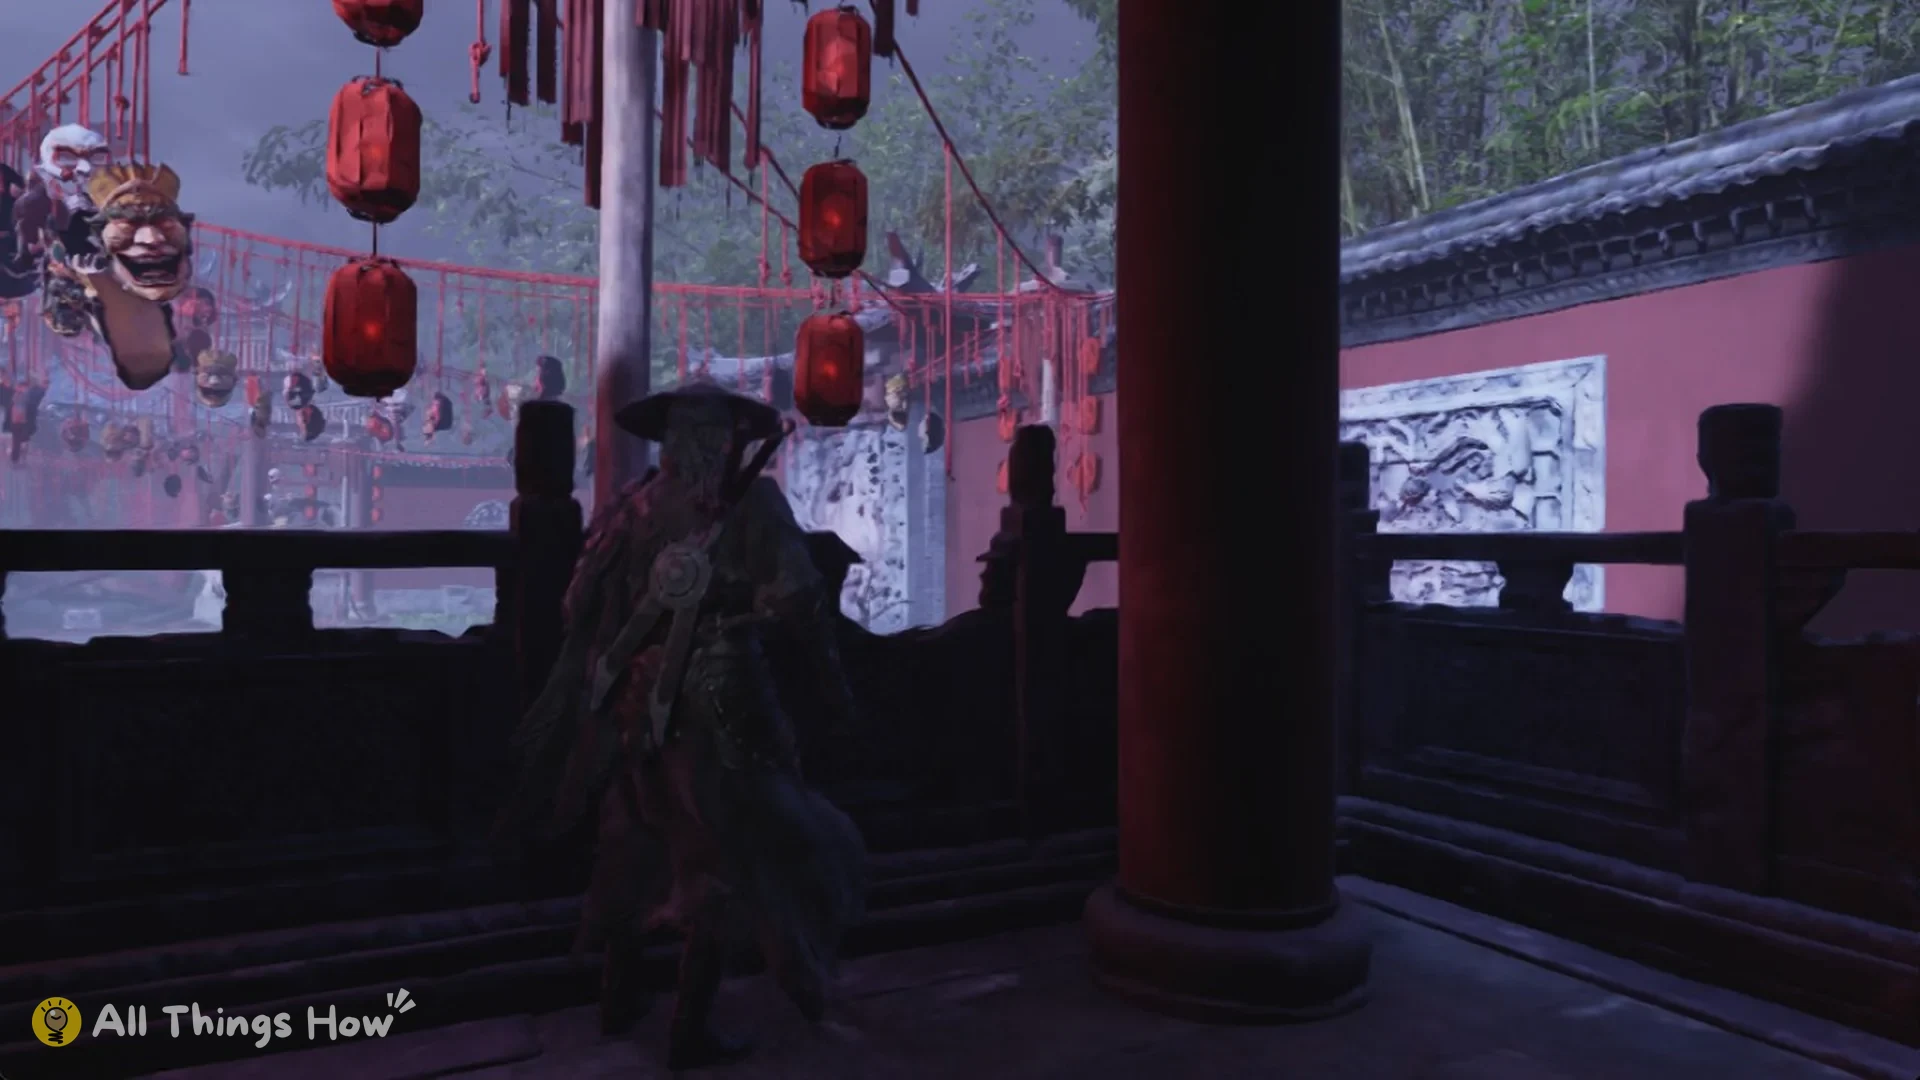
This stretch runs about 220 m. First, two Cyan Shadow Assassins have an Alloy Cannon Puppet supporting them; Floating Heads appear next, followed by another pair of Cyan Shadow Assassins. The route finishes in a dim shrine chamber containing opera costumes, lanterns, offering tables and candles. Leave using the doorway’s right side; the left catches on the frame. You’ll come out onto a veranda with railings, decorated with suspended opera masks and red lanterns.
At the far end of the veranda, beside a pillar, a stair drops into a round arena under hanging opera masks and red ropes. Seated dolls ring a glowing red-orange pillar with a white figure inside. Stepping in triggers a scene in which “Yu’er’s body controlled by the Herald” says: “You’ve walked through mountains of corpses to get here… how are you and I any different?” When the line finishes, two Alloy Cannon Puppets, two Spear-Shield Puppets and a big-headed doll spawn, and cannon shells and a purple blast hit at the same moment.
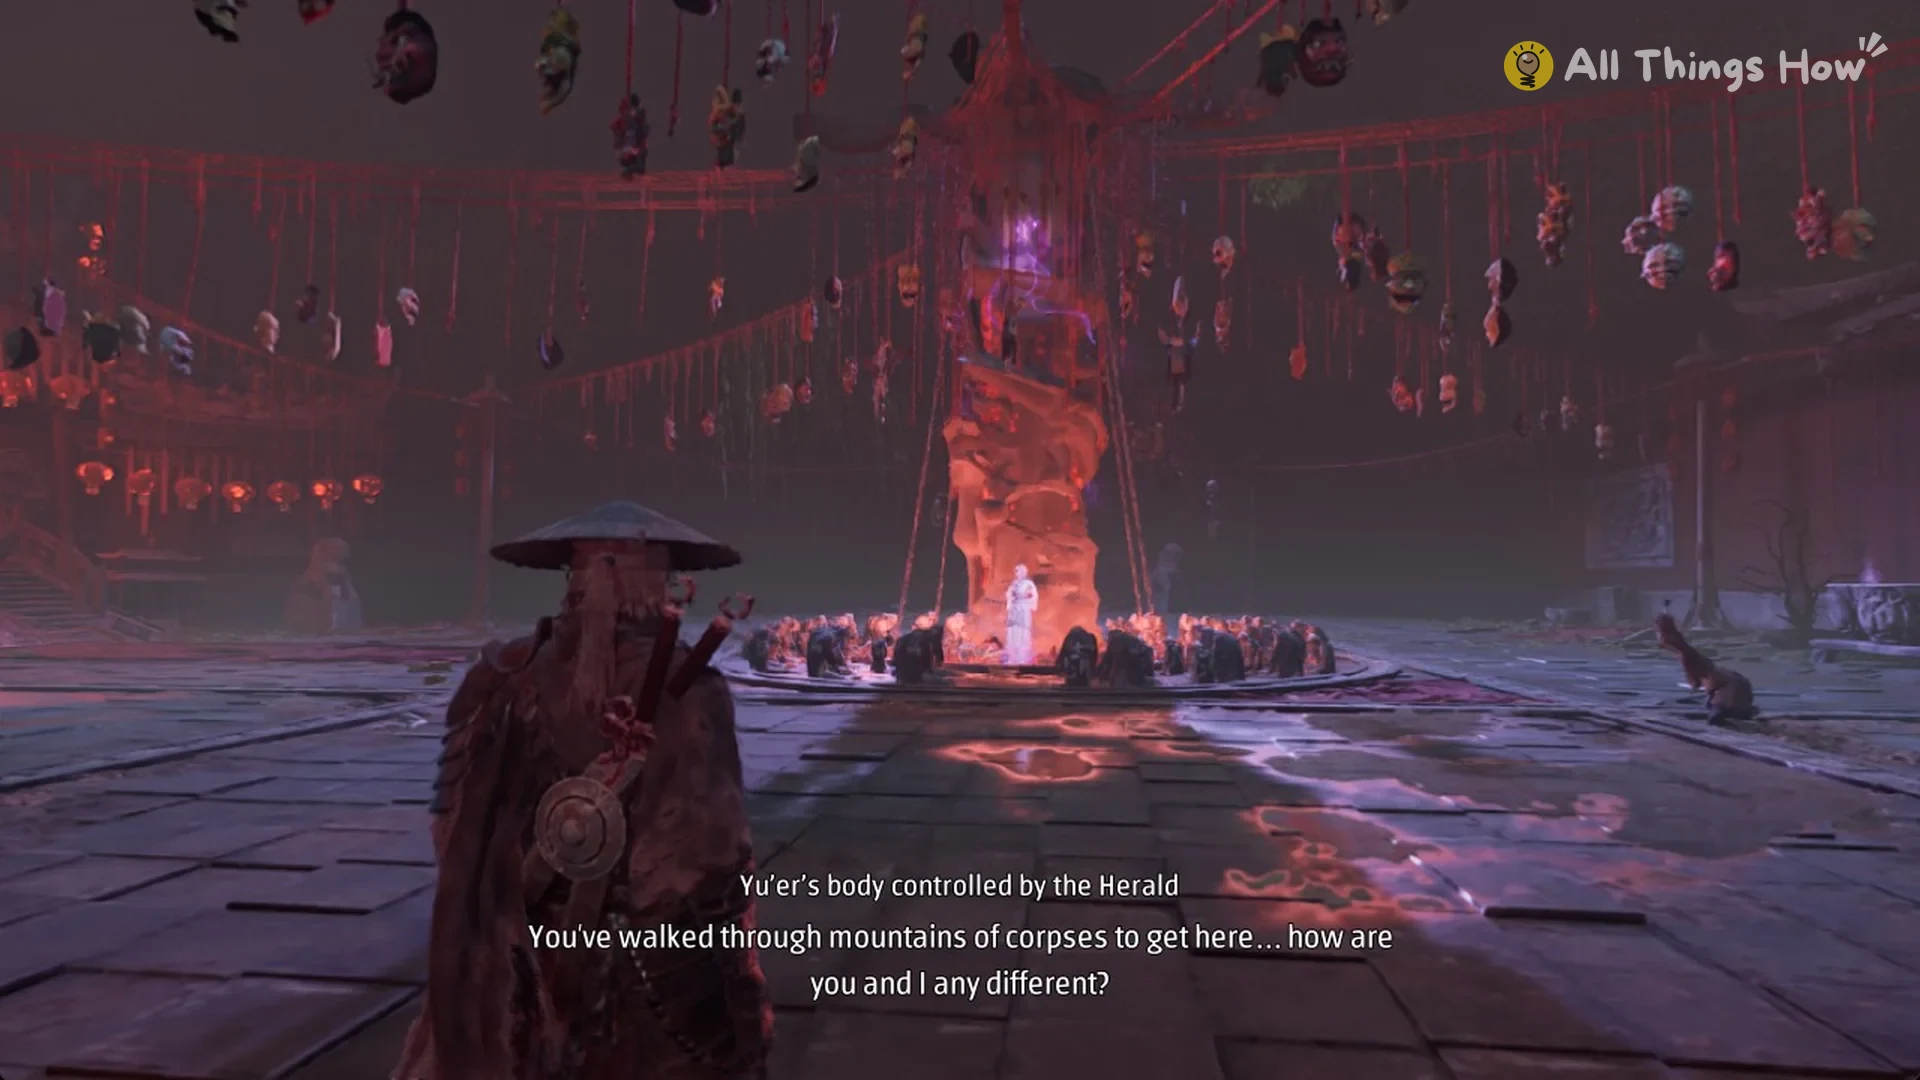
Standing still when the line ends can be fatal within seconds, so start moving immediately. Eye of Insight drops once you clear the puppets in the masked arena.
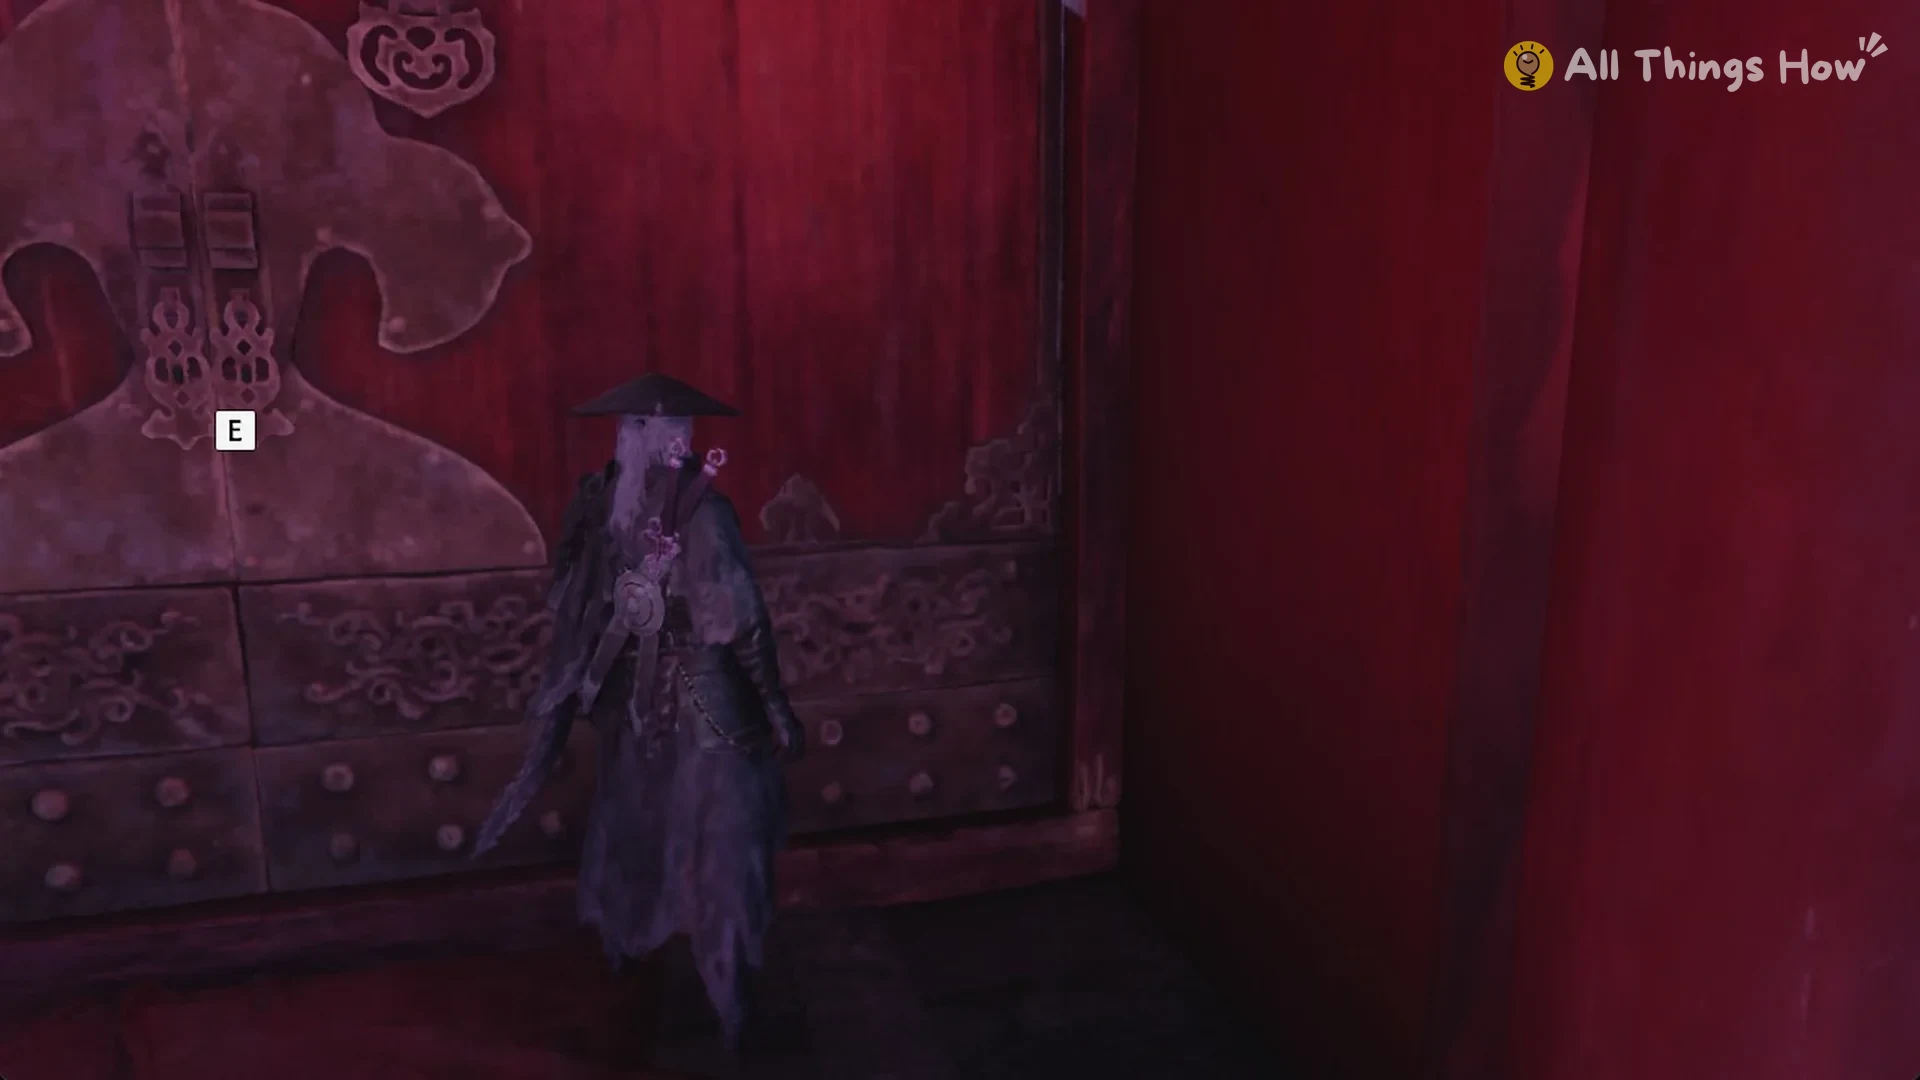
On the arena’s far side, climb the stone stairs to a large, red, studded double door next to a guardian lion statue. To get the E prompt, stand directly against the center of the door and face it; it won’t appear elsewhere. Press E to push the door open.
Beyond the door, follow the red carpet between walls bearing lanterns until you reach a broad stone stair. The Leng Tu’s Study bell is at its base, about 23 m from the door. Ring it with E. “Leng Tu’s Study” is added to the Pangzhen map below Willow Pavilion, and its menu lists Traverse, Upgrade Equipment, Store, then Train Abilities, followed by Save and Leave. The painting scroll puzzle is upstairs in the study.
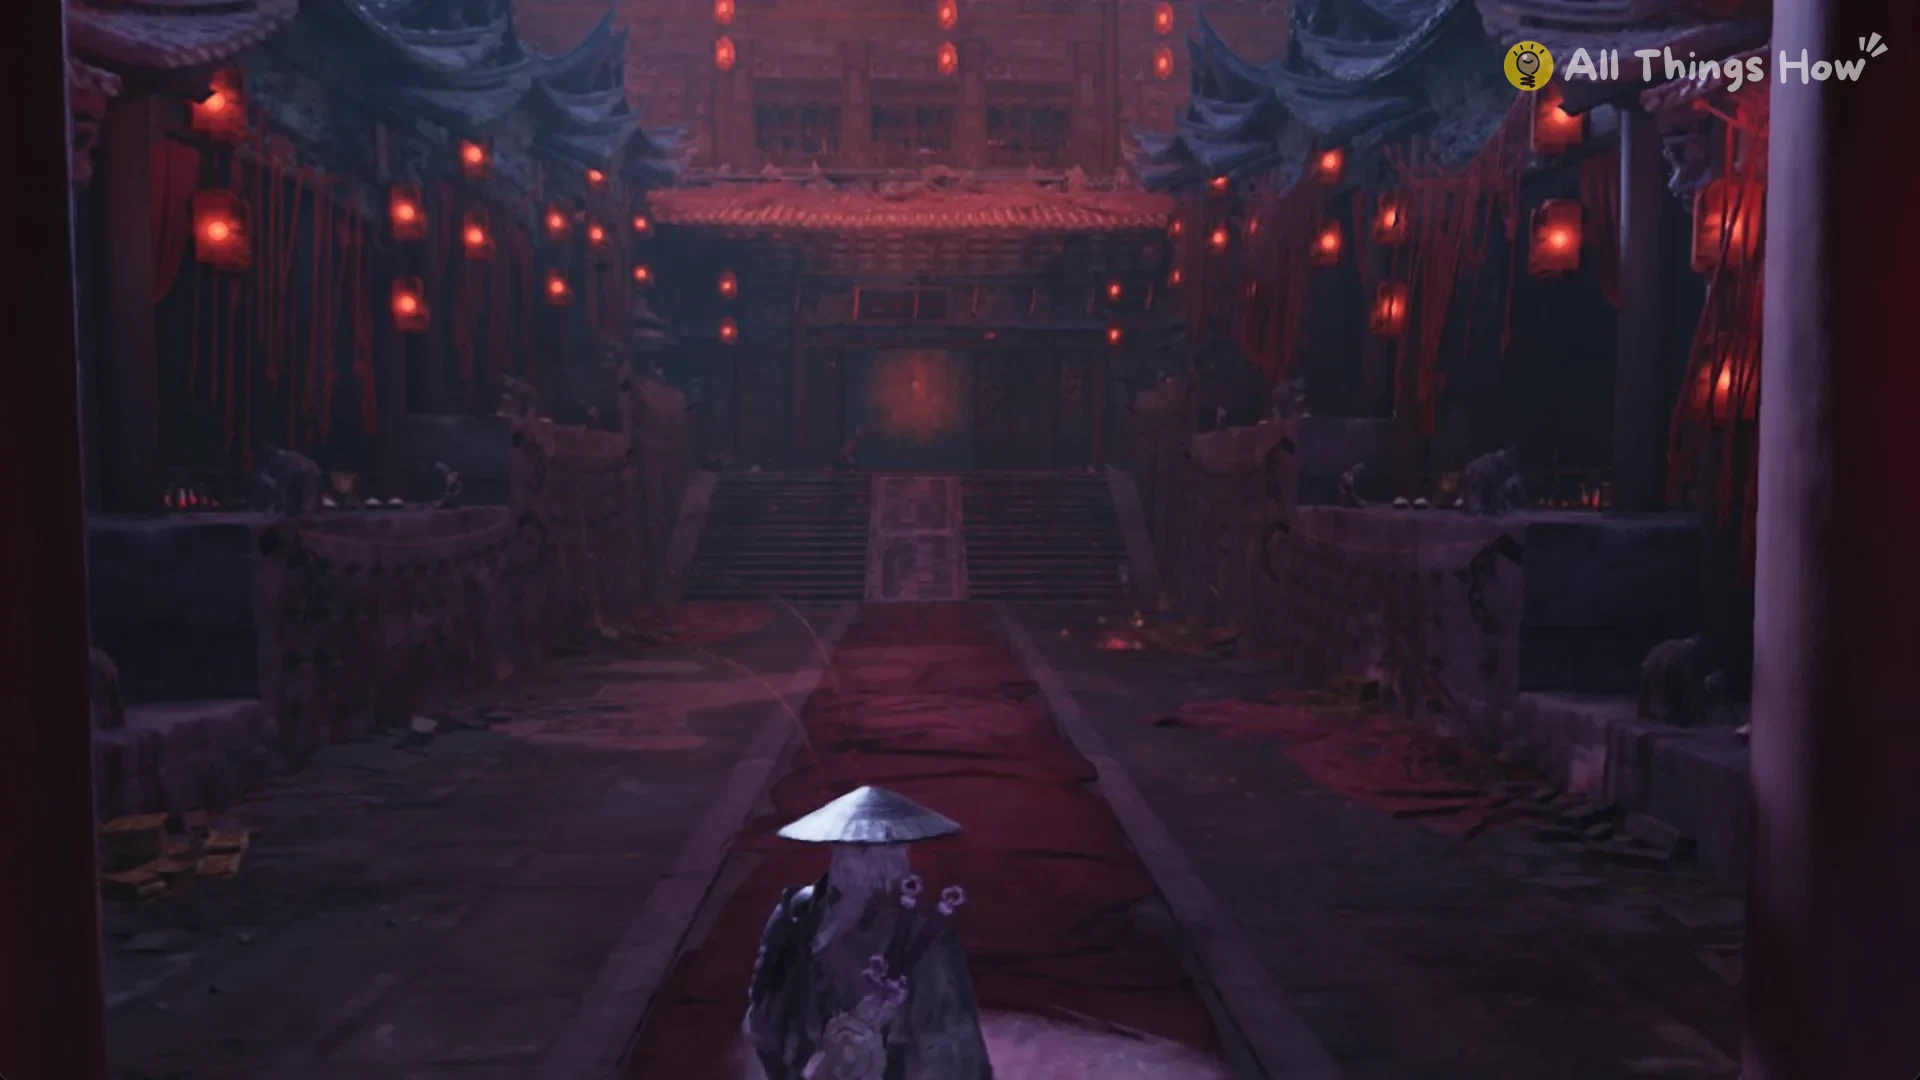
From Leng Tu’s Study to the Perfect Vessel Pond bell
At the Leng Tu’s Study bell in the Mirage Estate, go up into the study. Reveal the concealed passage behind the painting scroll and proceed along the lantern corridor to its endpoint, a small shrine room containing a statue altar. Find the shadowed opening in the wall beside the altar; it leads into a high stairwell hung with red lanterns. Go through the opening and descend the stairs, passing the tall lattice windows.
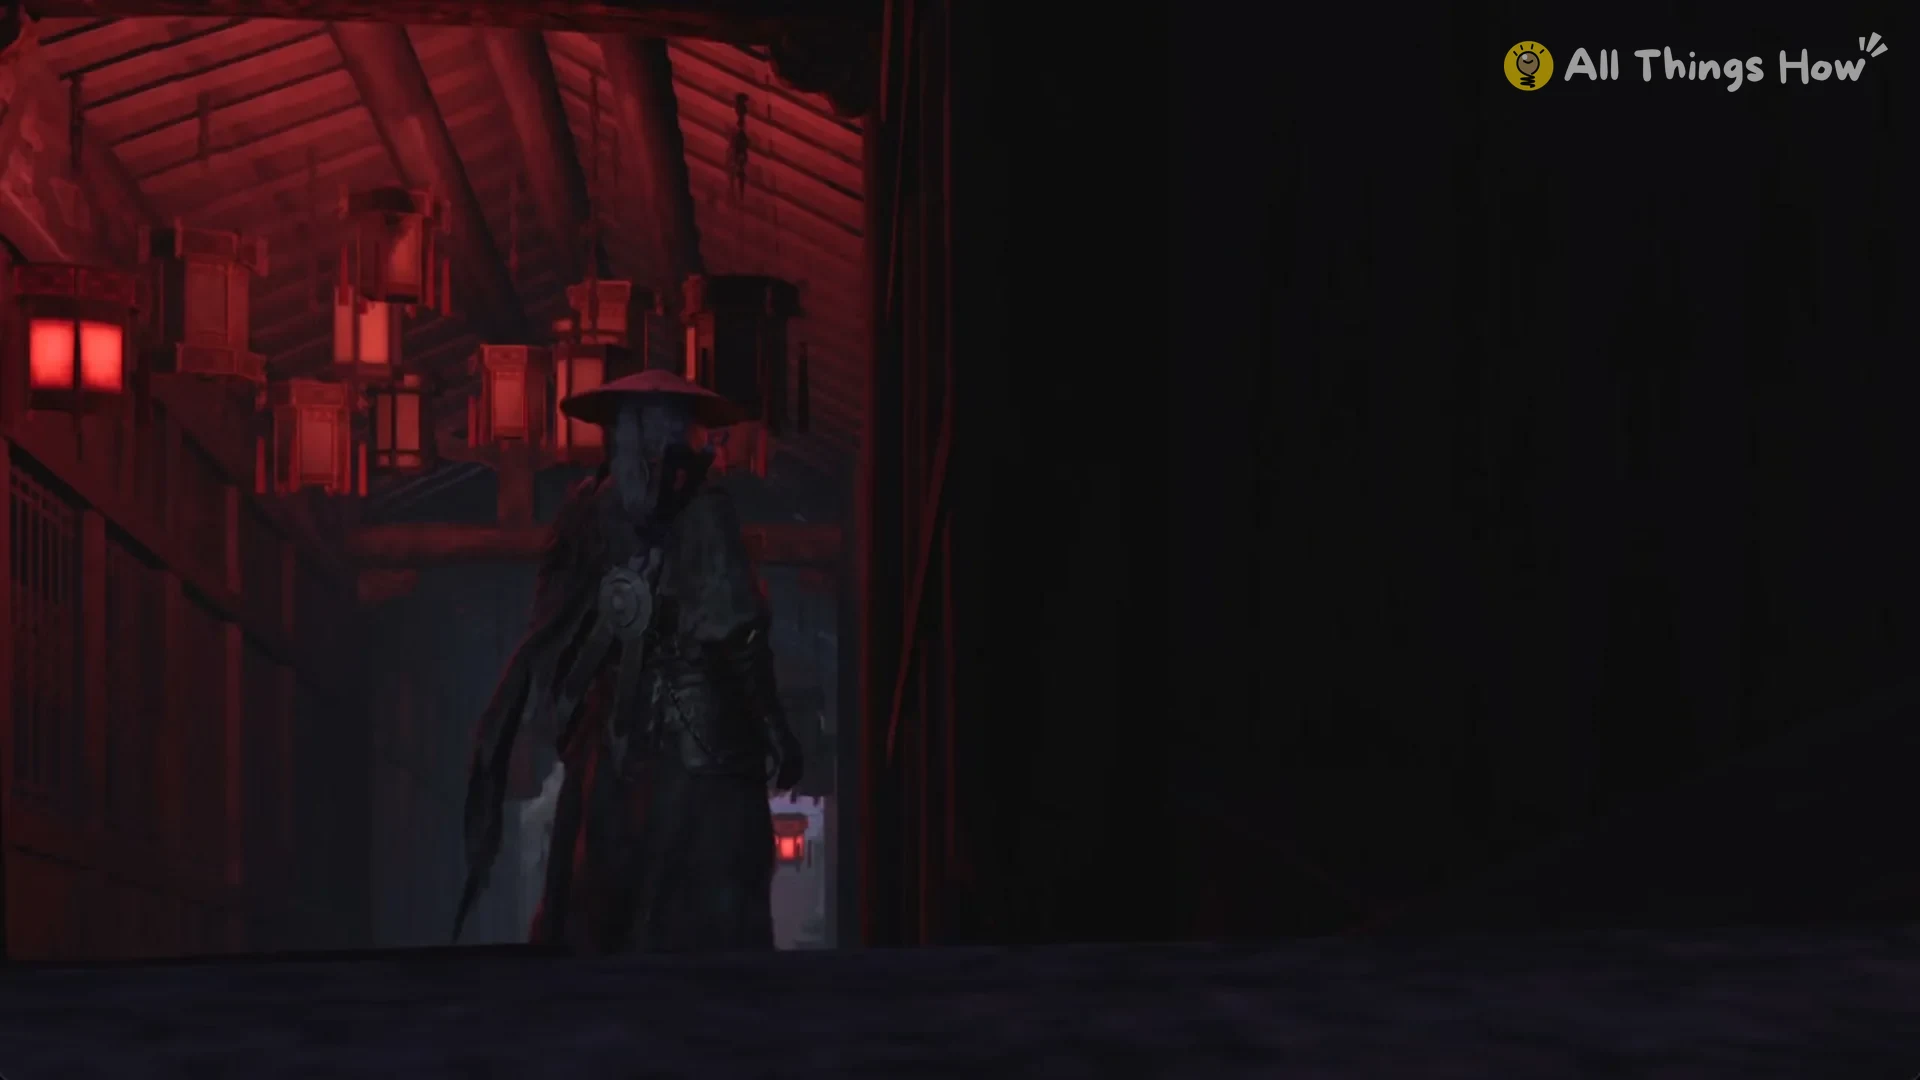
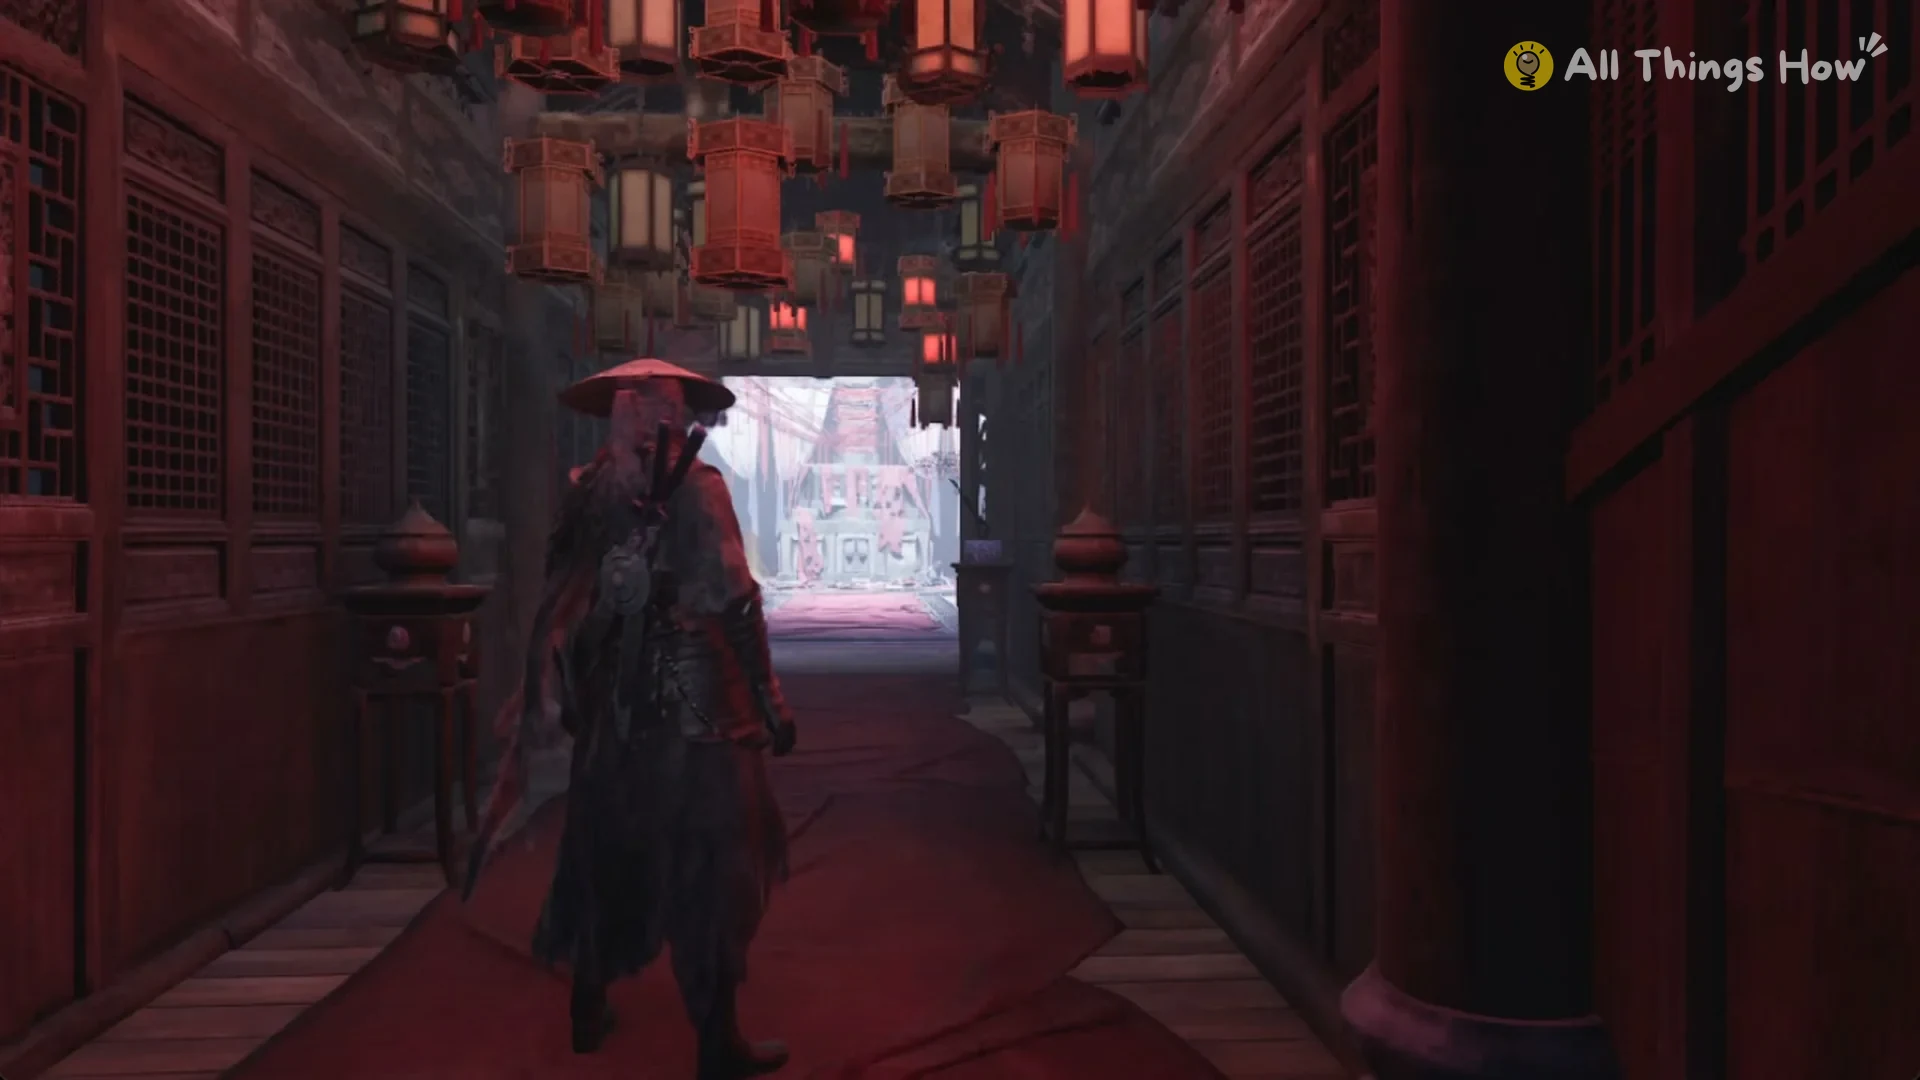
The stairs bottom out in a narrow corridor. A red carpet runs down the middle, lattice walls close in on both sides, and dozens of lanterns hang overhead. Keep going toward the bright hall you can see at the far end.
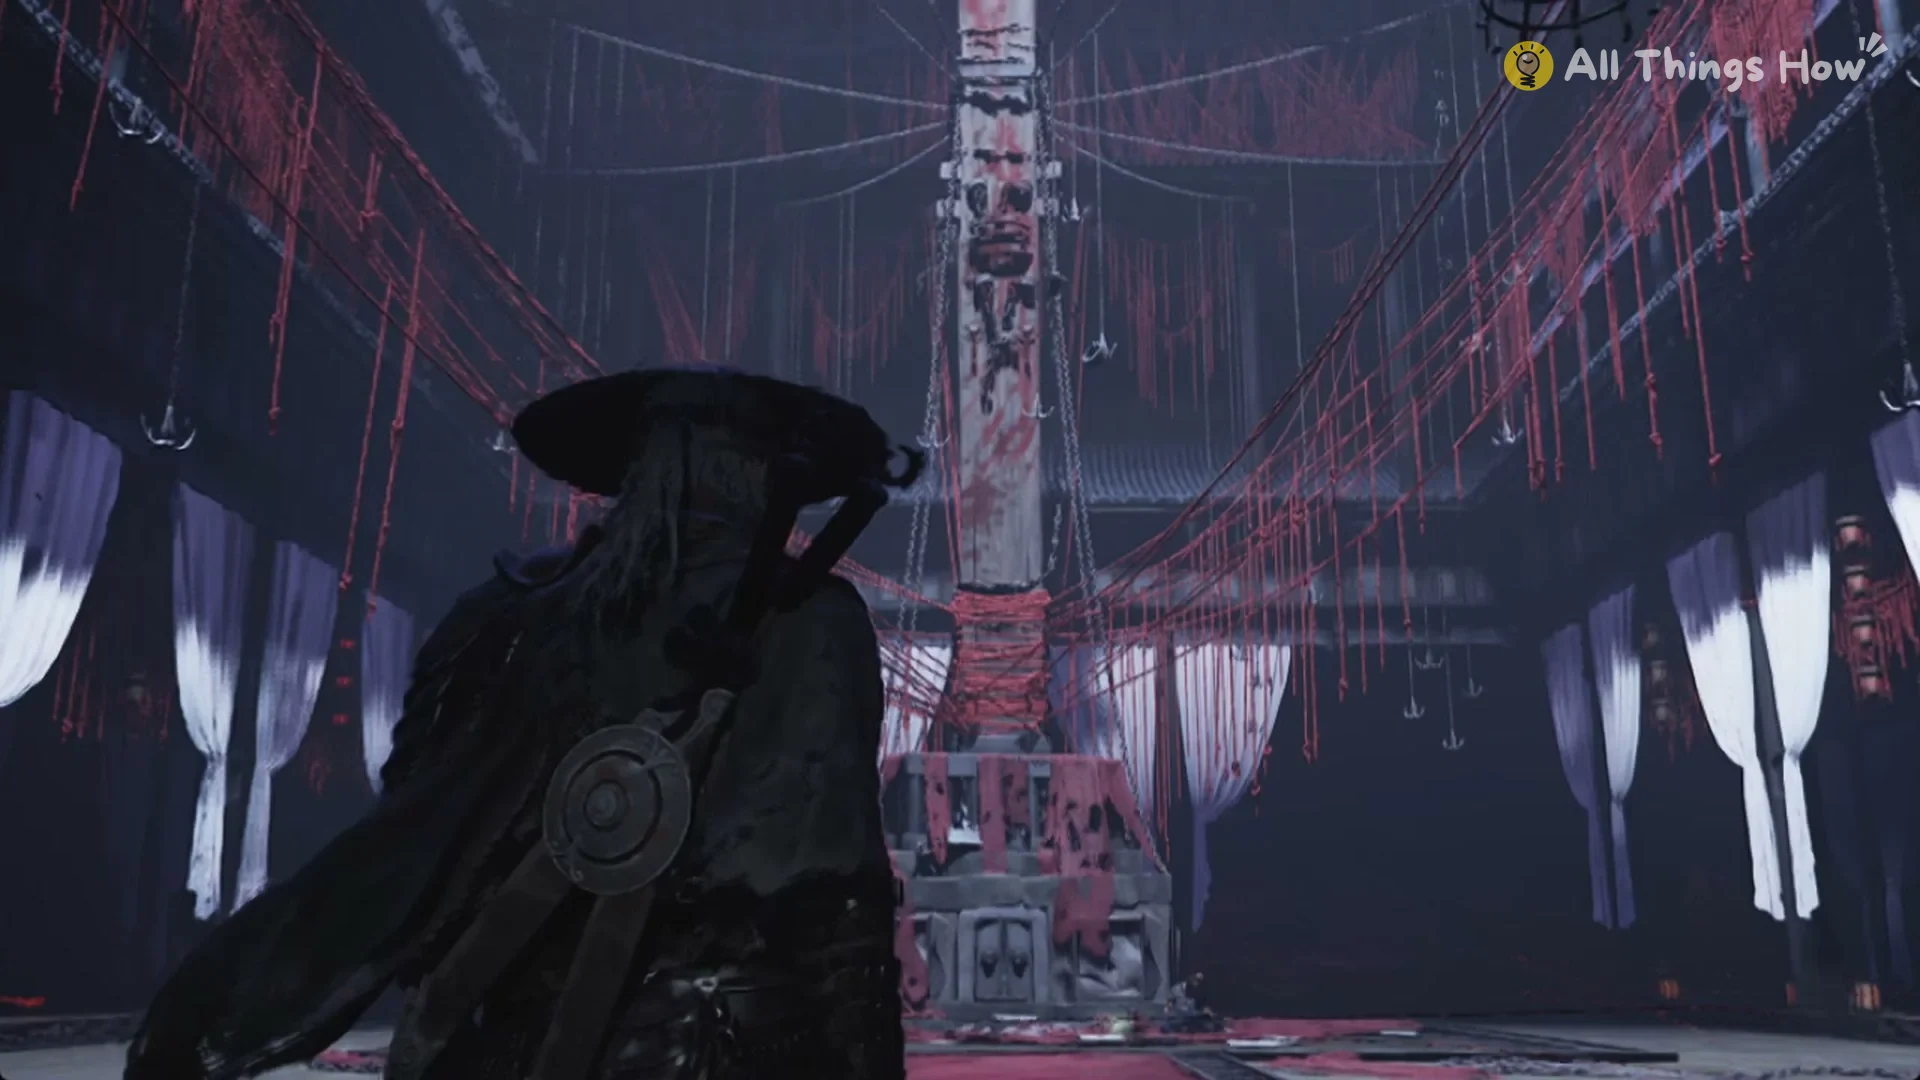
That corridor opens into a tall hall draped in white-and-red curtains. Red ropes stretch from the walls to a very tall pillar, which rises out of a big stone altar block in the center of the room. Three puppets guard the space: a Golden Assassin Puppet, a Halberd War Puppet and an Iron Umbrella Puppet. Sprinting straight through the hall works: they may land a few hits, but none of them follow. The Golden Cloud-Moon Hairpin chest sits at the altar’s corner.
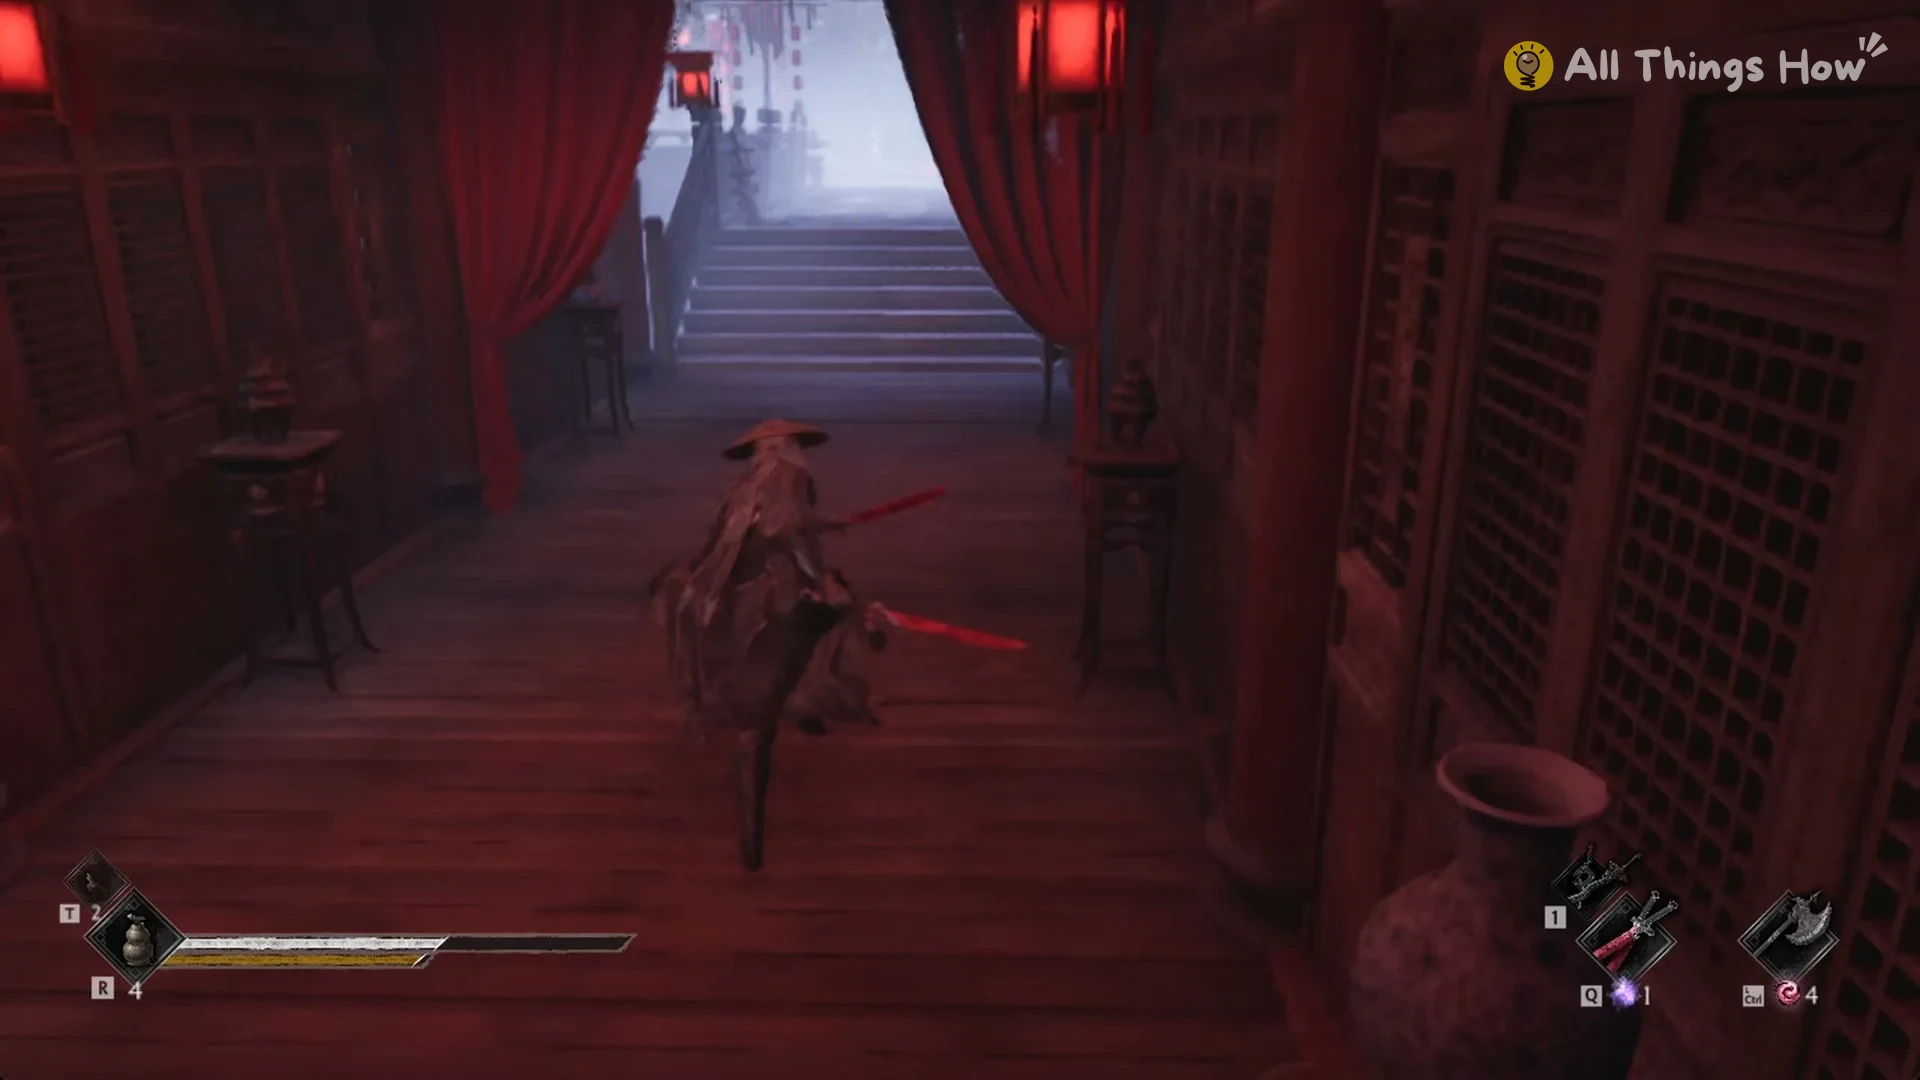
Across the hall, a wooden corridor lined with red curtains and tall vases carries you to a short stair. Climb it and you step out into the open air.
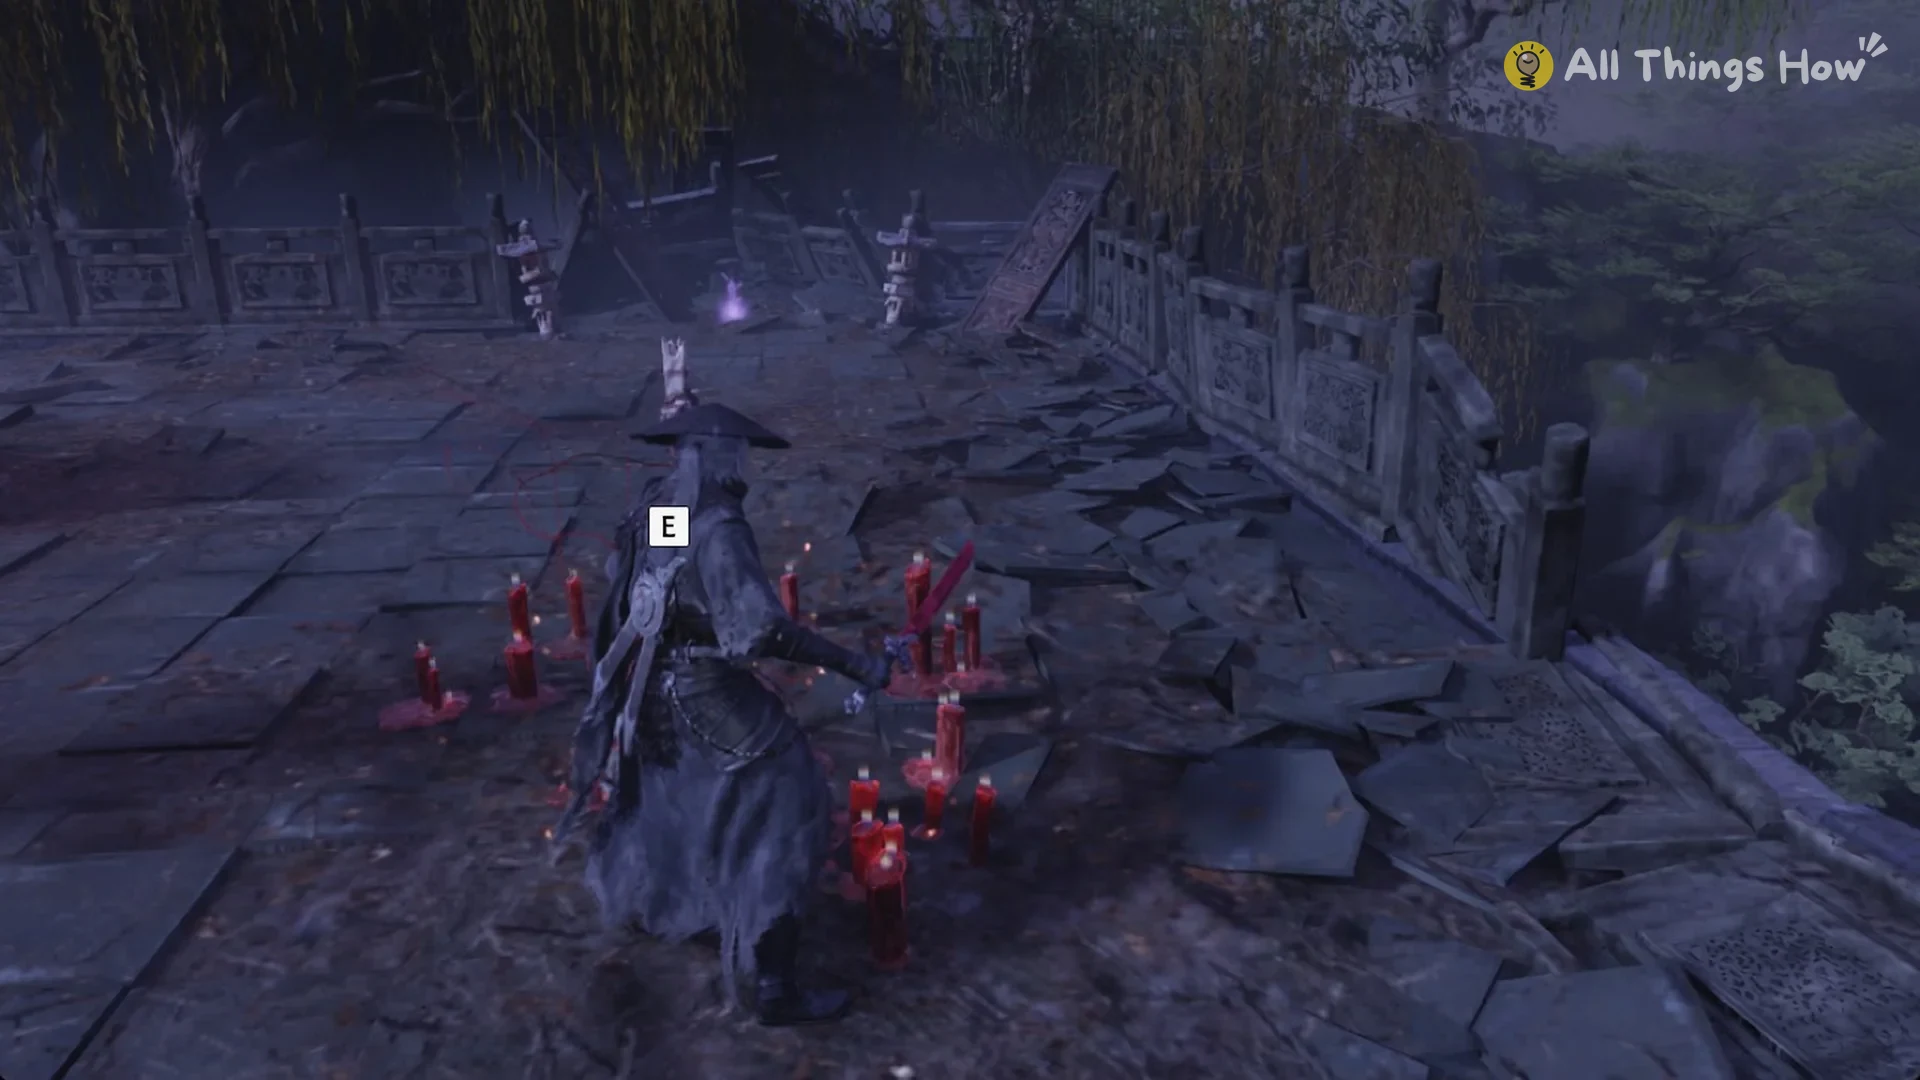
You’re now on a stone terrace with carved railings, shaded by weeping willows. The Perfect Vessel Pond bell stands inside a ring of red candles. Press E to ring it.
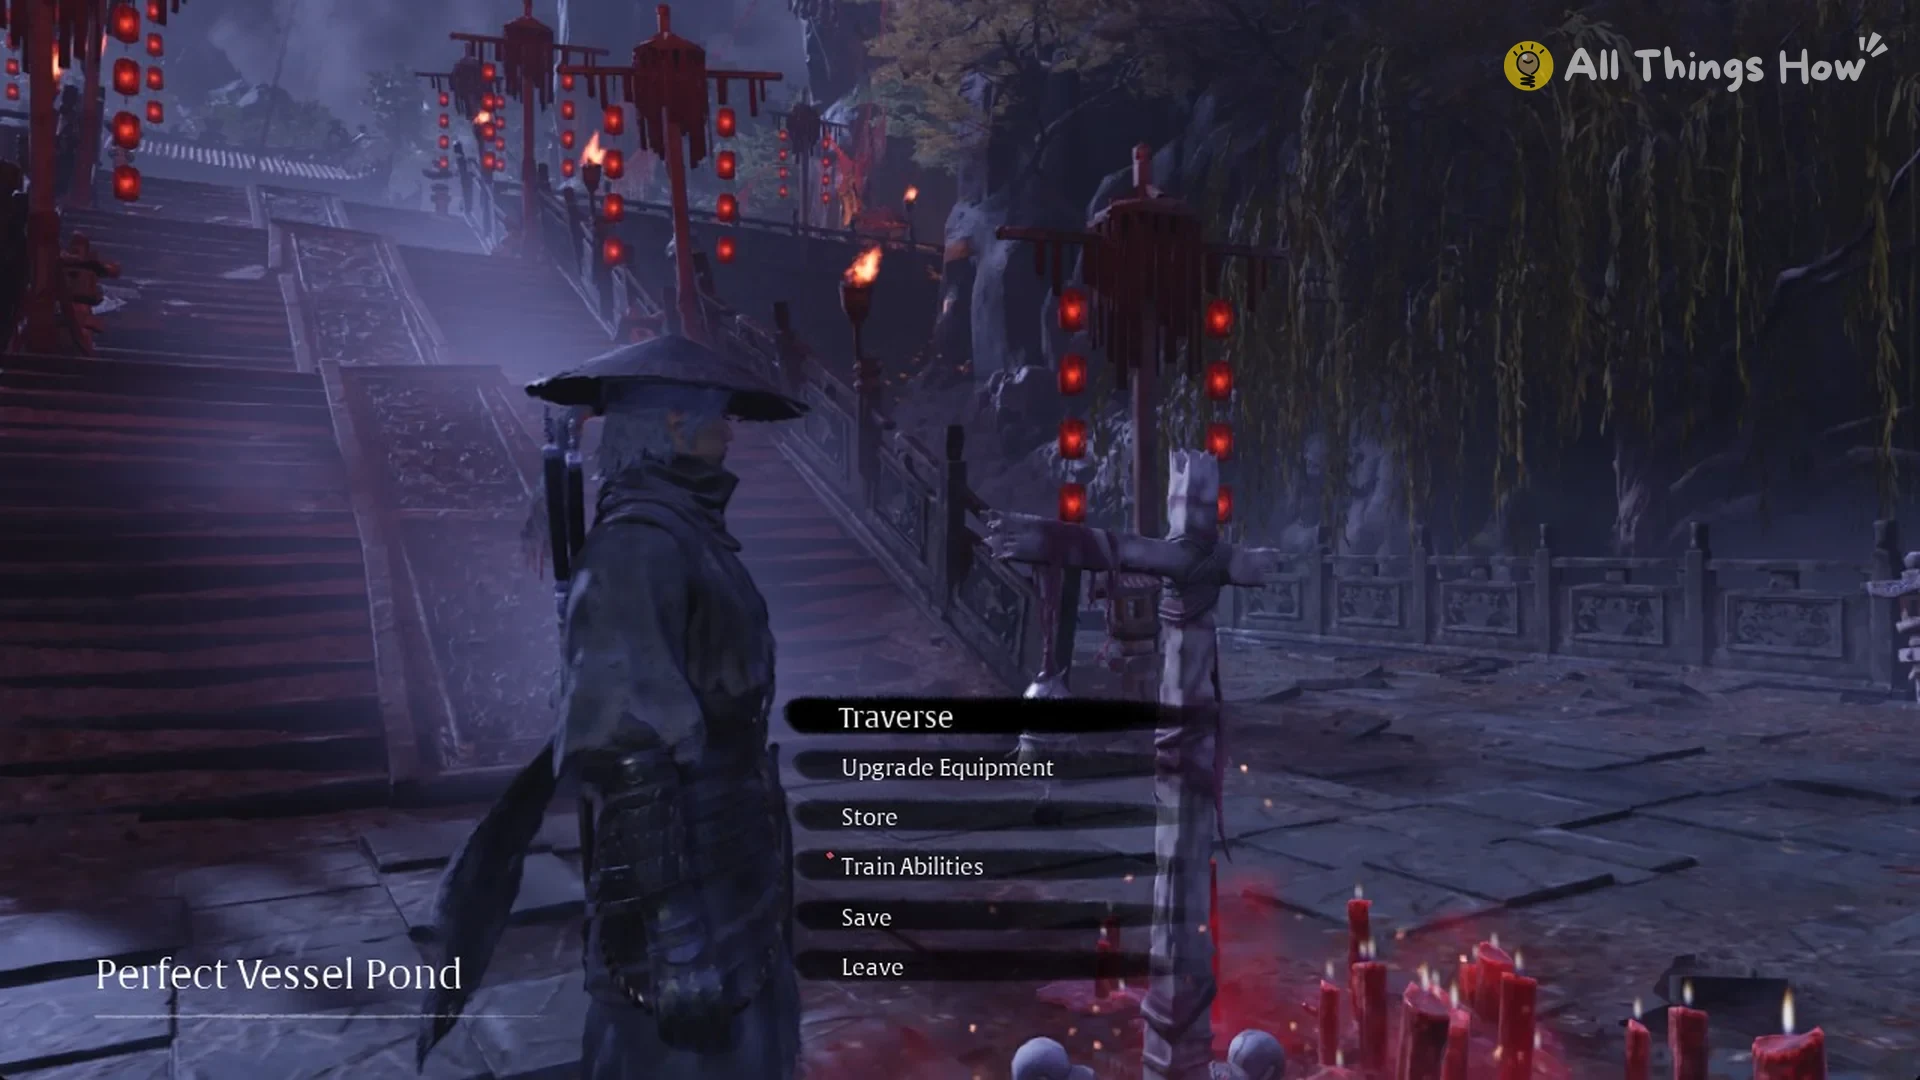
The menu opens under the heading “Perfect Vessel Pond” and offers Traverse, Upgrade Equipment, Store, Train Abilities, Save and Leave. On the Pangzhen map, the bell sits below the Mourning Hall bell and to the right of Willow Pavilion. A wide stair hung with red lanterns climbs up behind it.
From the Perfect Vessel Pond bell to the Perfect Vessel Estate bell
Use the bell at Perfect Vessel Pond as your starting point; it stands on the stone terrace beneath the weeping willows. Cross the terrace past the poles with red lanterns. The small gatehouse has a red-curtained doorway between two stone lanterns.
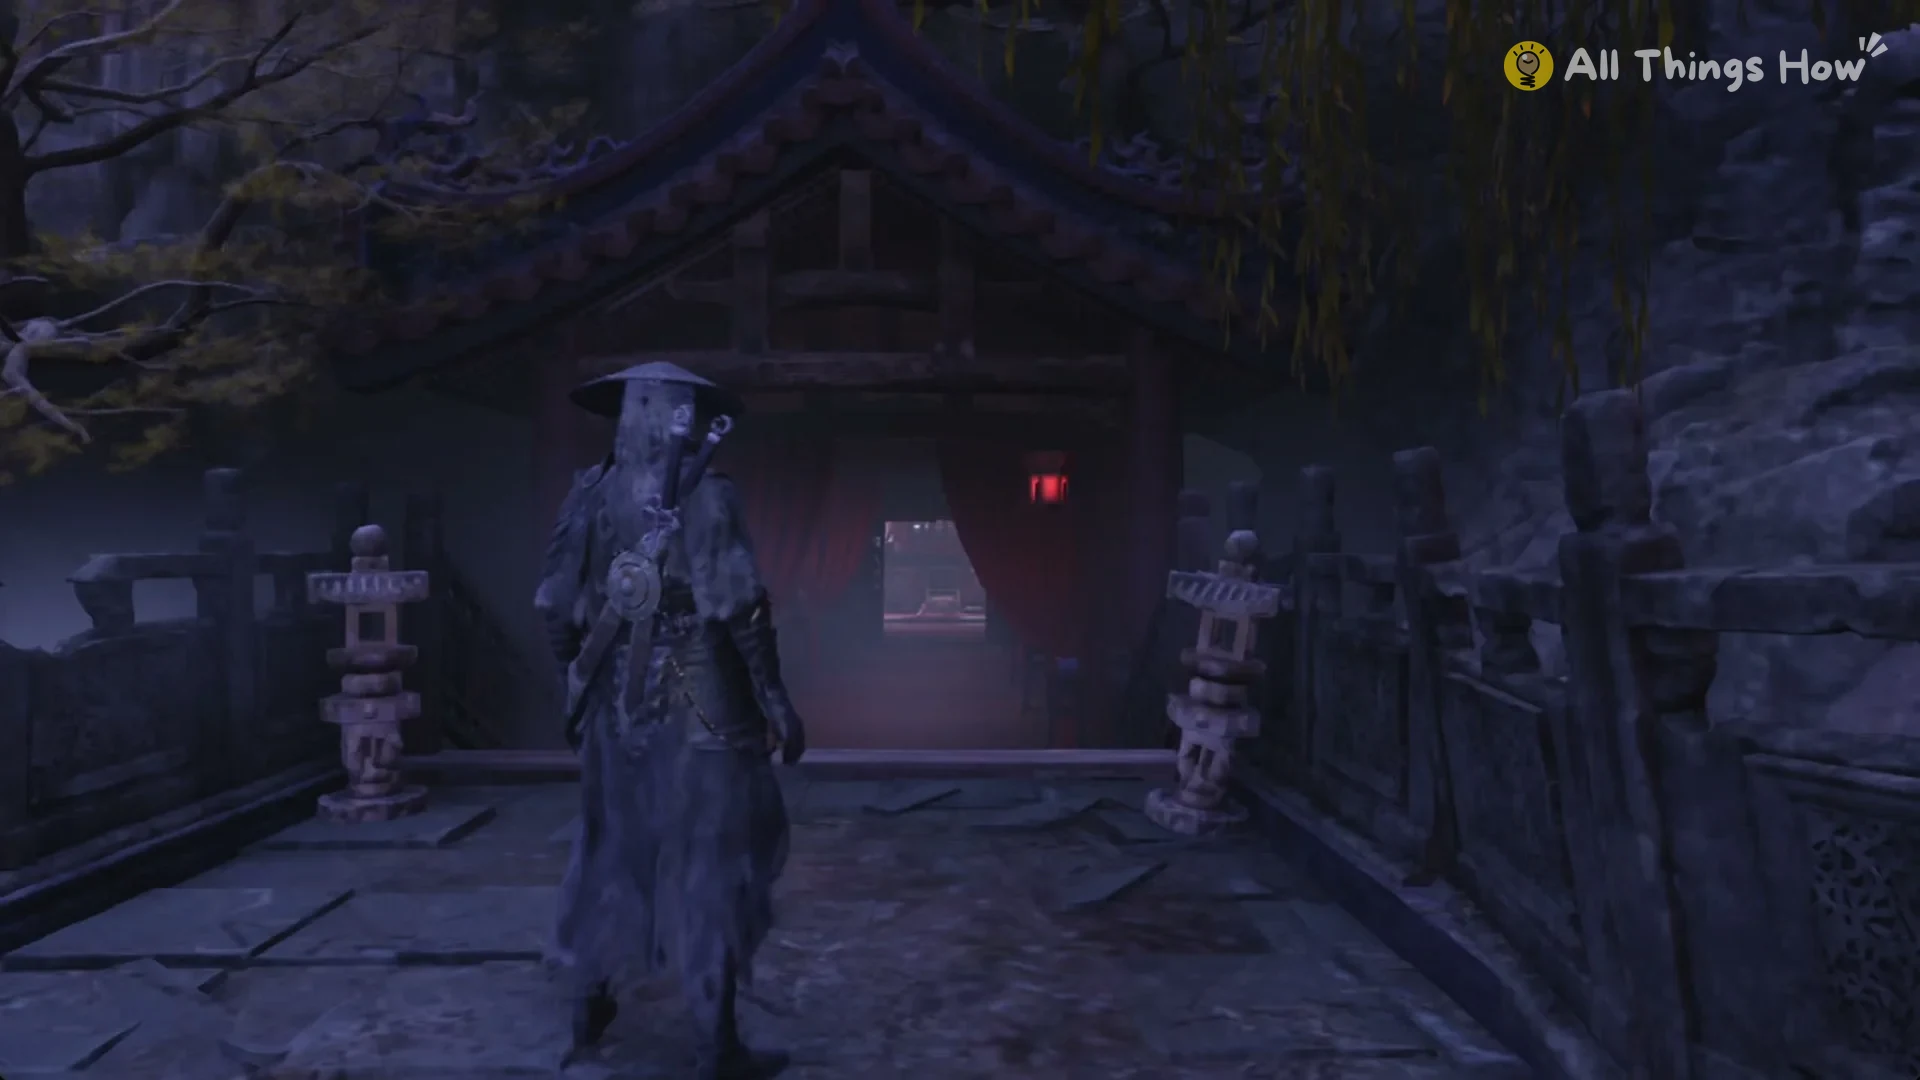
Enter the gatehouse and continue into the wooden corridor, which has red curtains and tall vases along it. Keep going until you reach the doorway at the opposite end.
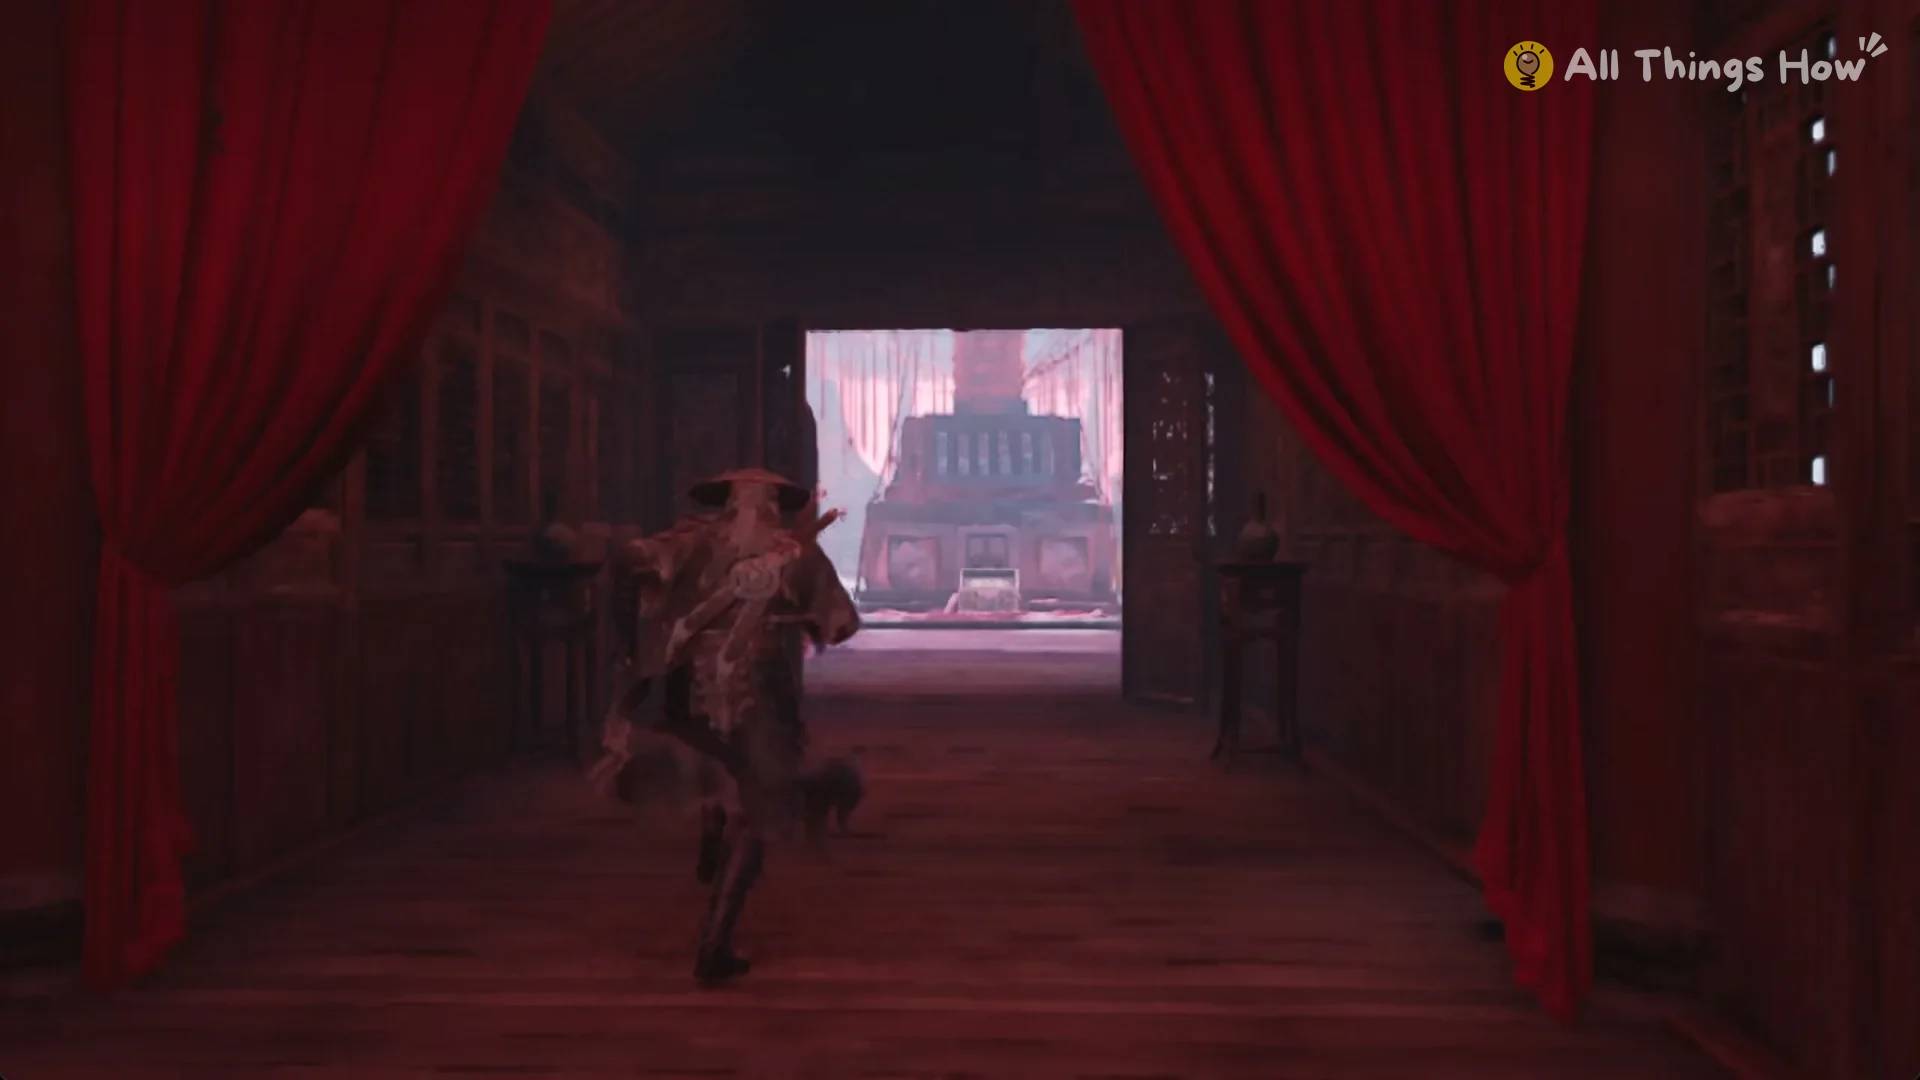
The doorway opens into a high, curtained hall with a very tall pillar rising from a stone altar block. The Golden Cloud-Moon Hairpin chest is also in this hall, at the altar’s corner. Go beyond the altar and take the aisle at the hall’s side; pink curtains hang before tall bookshelves there. The bell is in this aisle, roughly 80 m from the Perfect Vessel Pond bell. Press E to ring it.
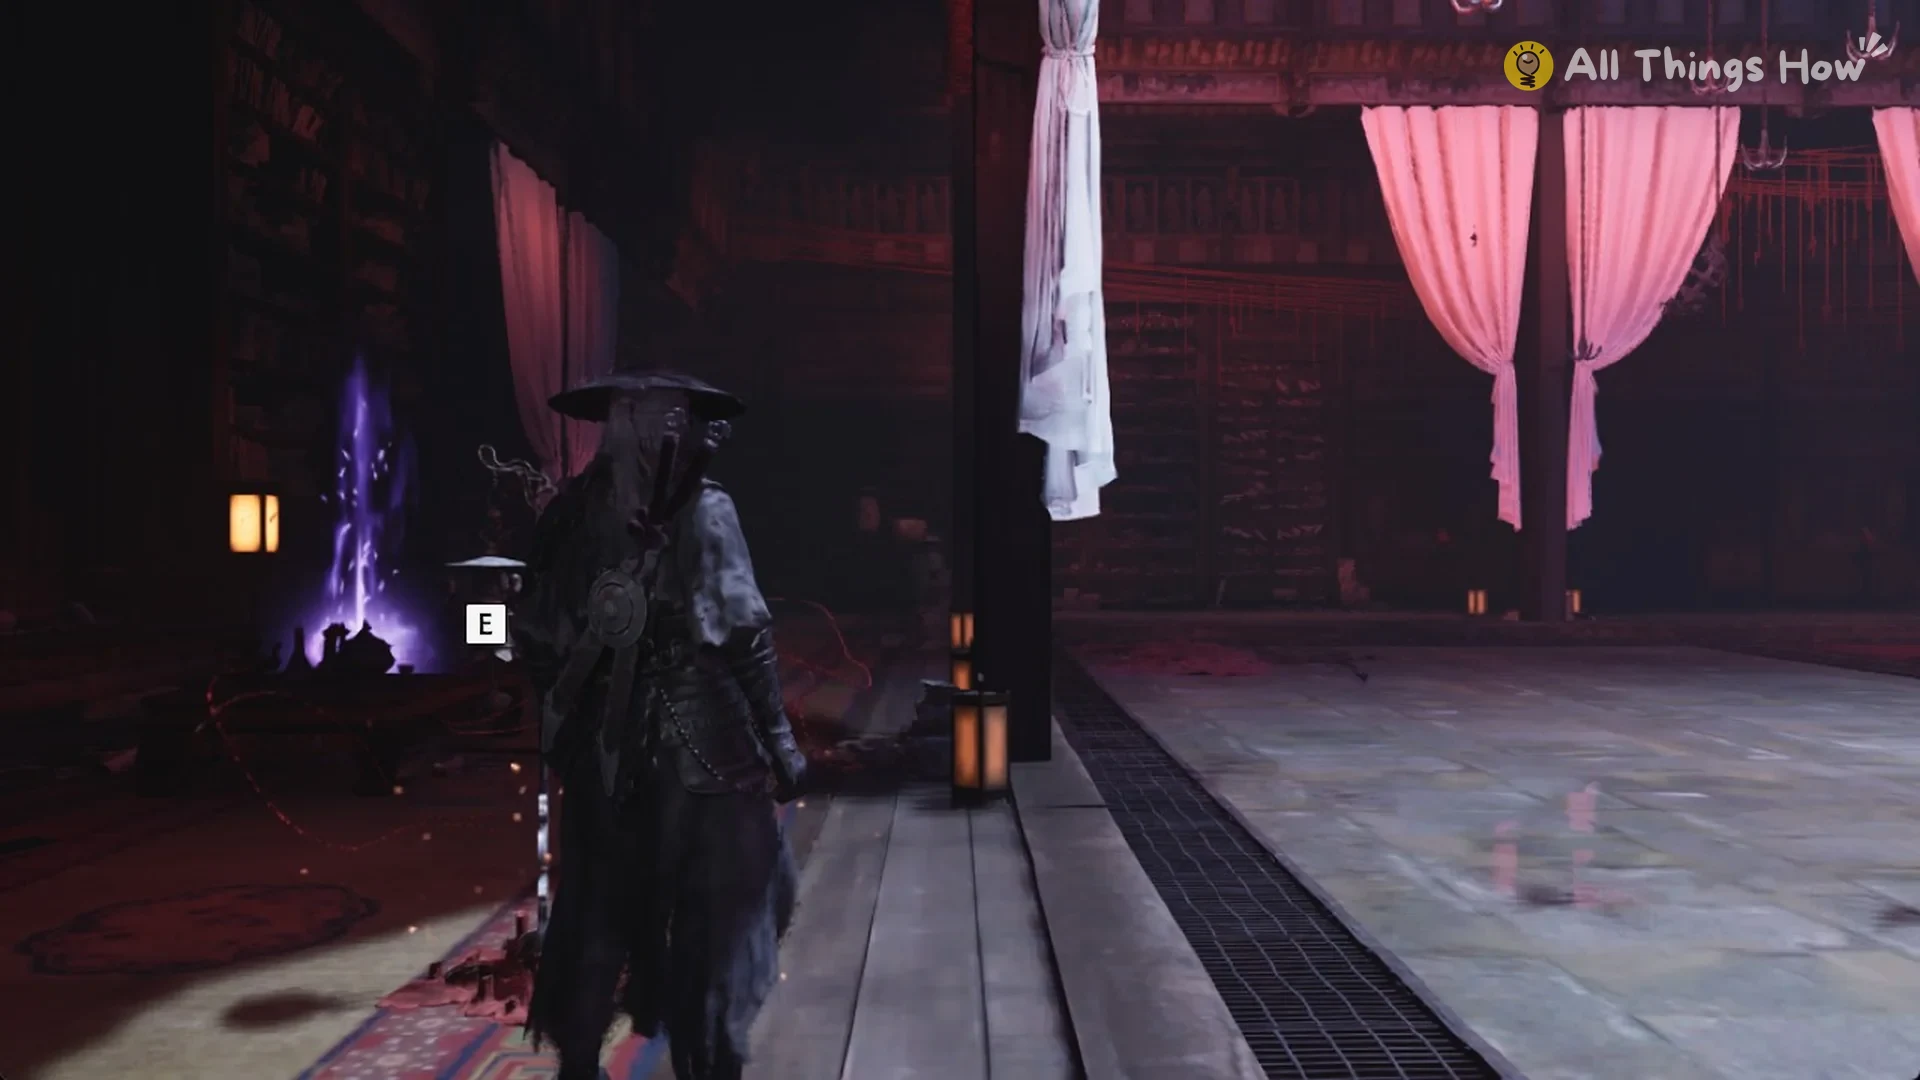
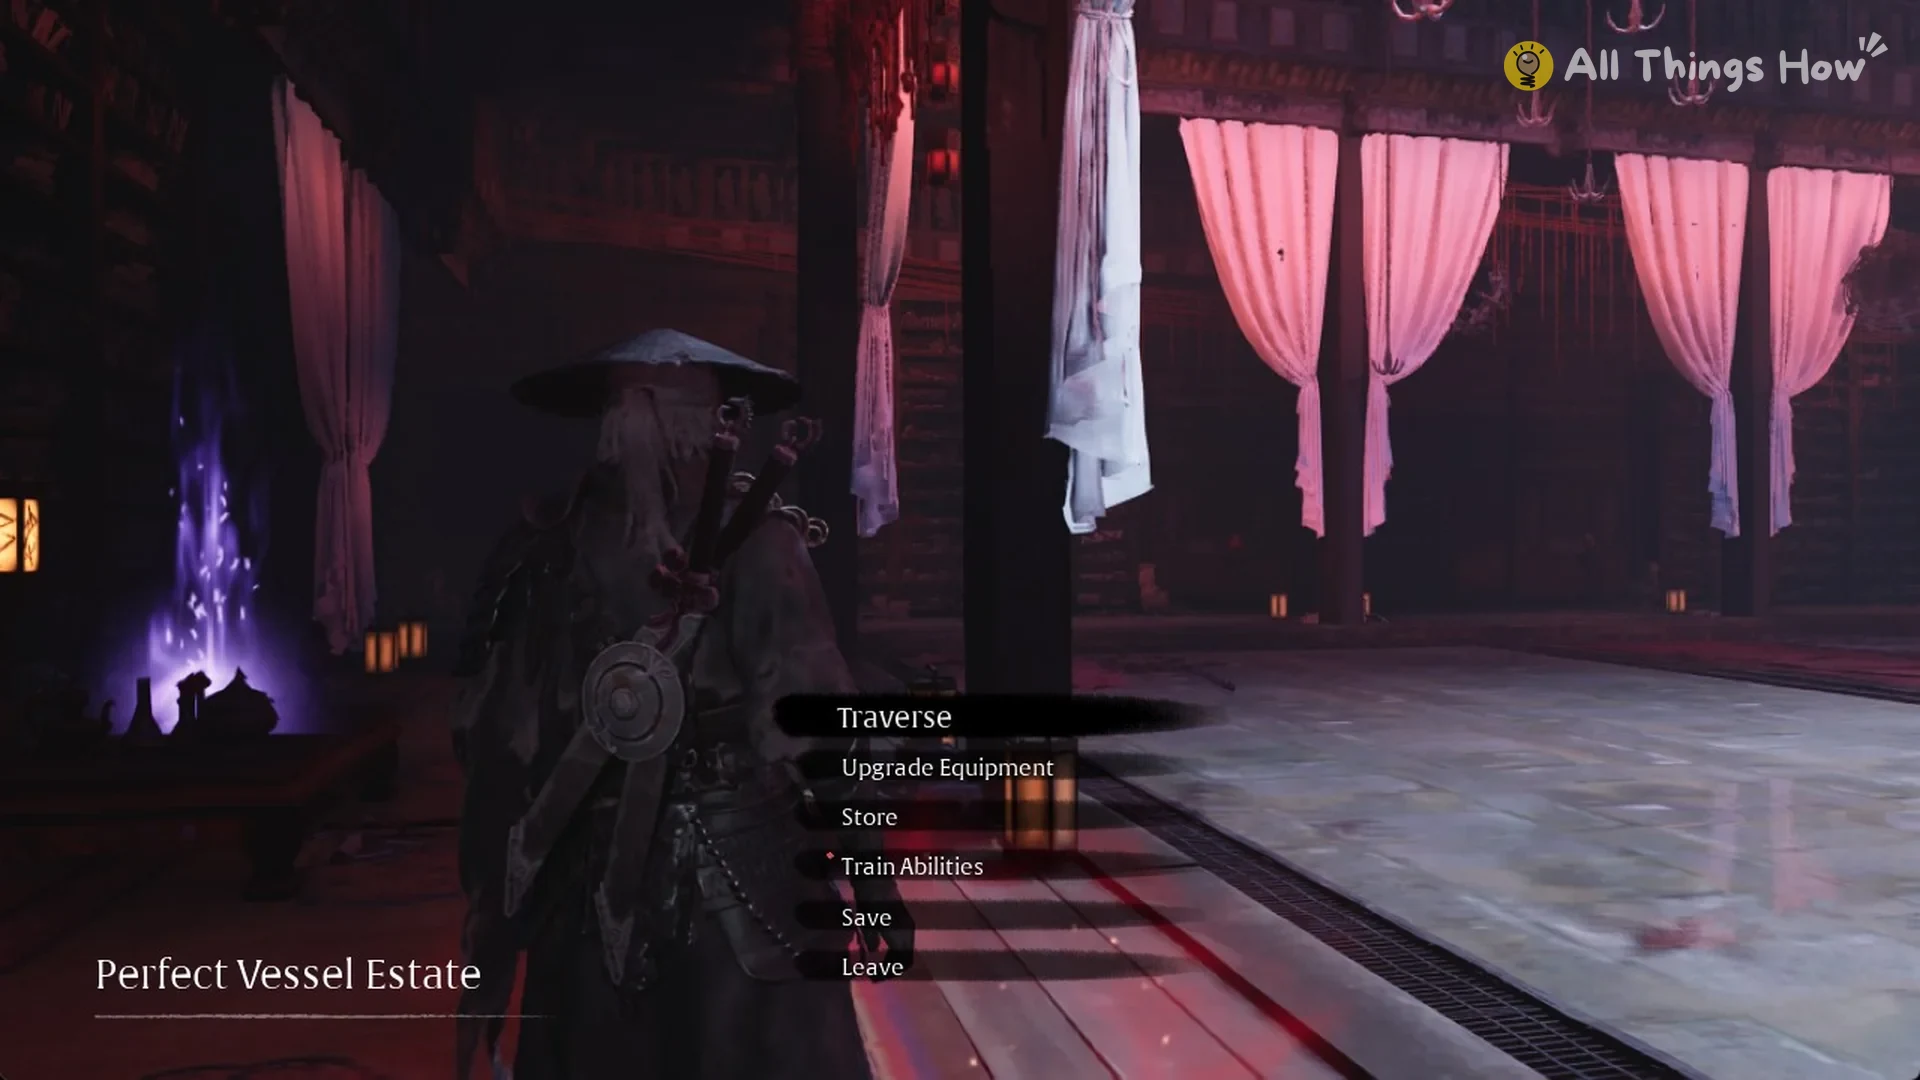
Ringing it opens a menu headed “Perfect Vessel Estate”, with the options Traverse, Upgrade Equipment, Store, Train Abilities, Save and Leave. On the traverse map, the new bell appears between Willow Pavilion and Perfect Vessel Pond.
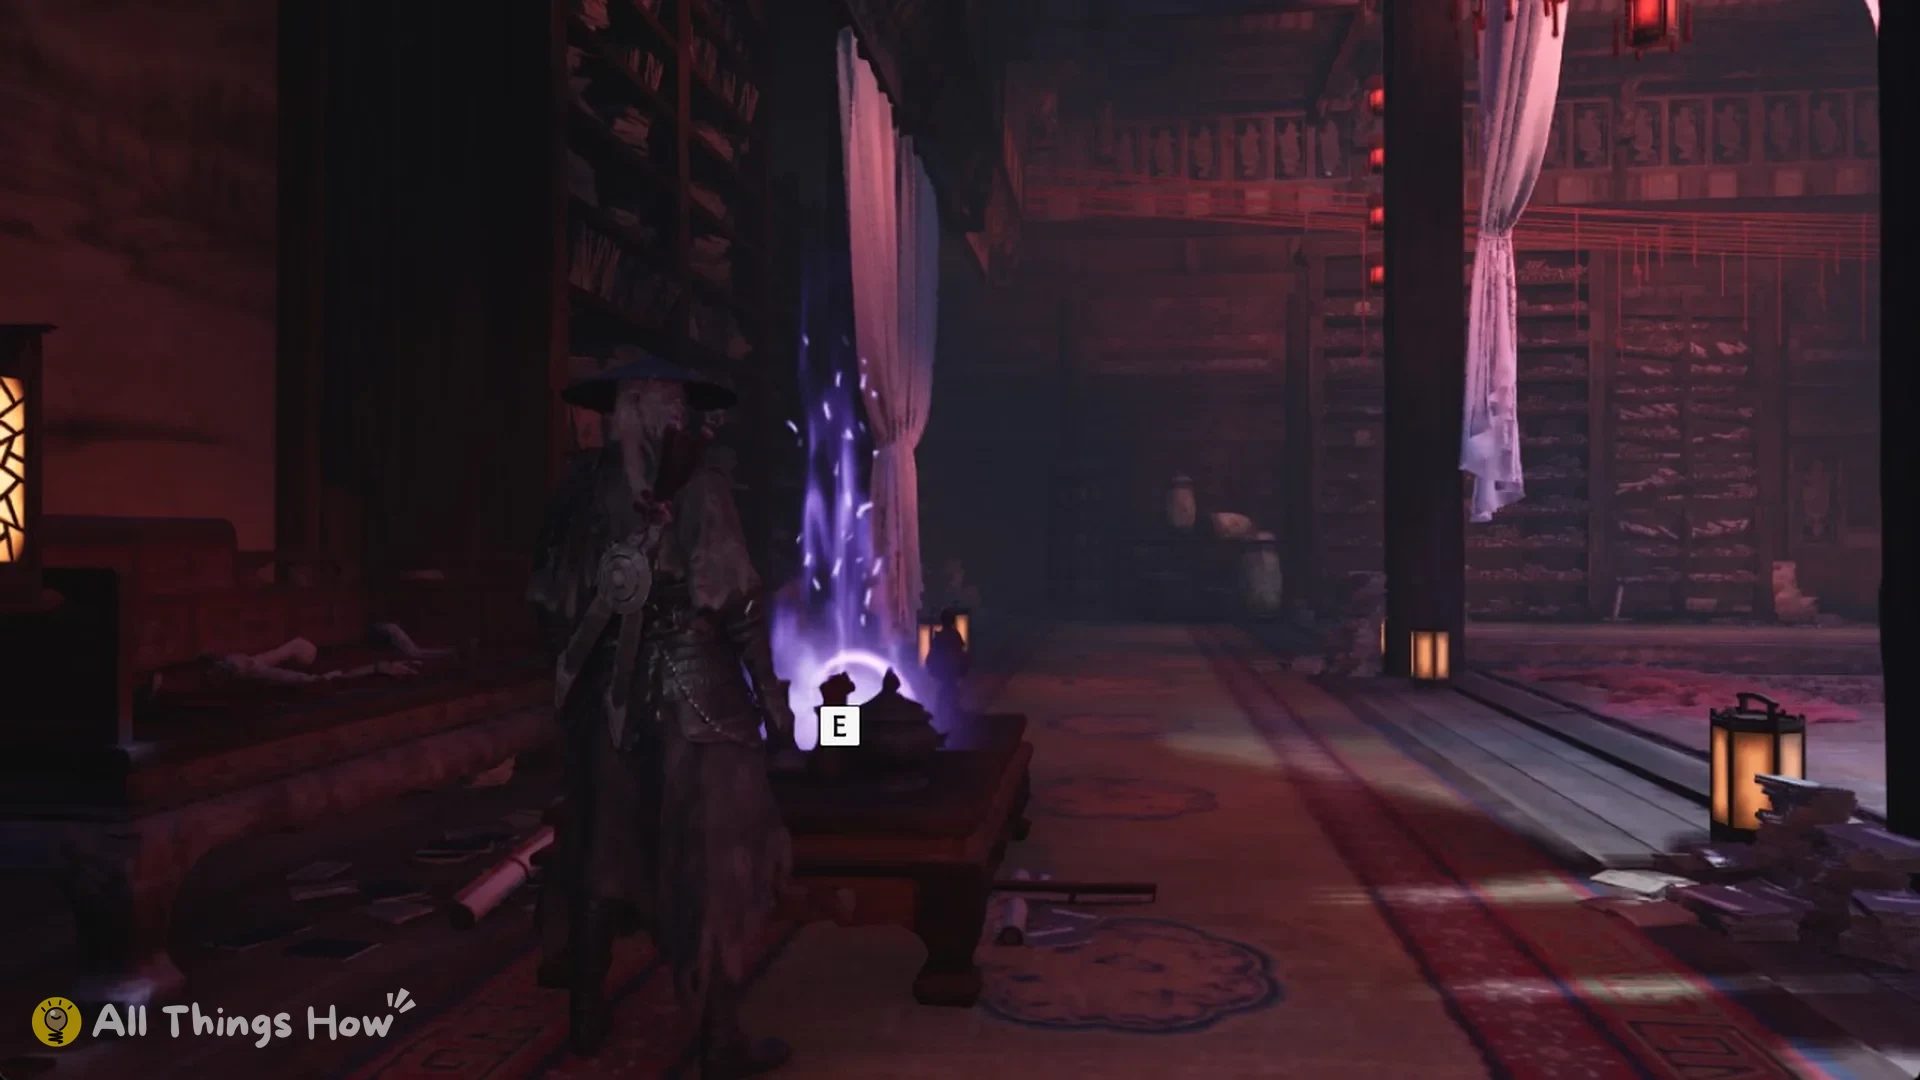
A purple sparkle marks a Blackstone Shard on a low tea table beside the bookshelves, about 4 m from the bell. Approach it and press E to collect it.
From the Perfect Vessel Pond bell to Lei Dang
From the Perfect Vessel Pond bell, take the wide staircase behind it and follow the red lanterns toward the large gate building above. At the summit, a scene reveals Lei Dang crouching there, and the Lei Dang boss fight starts immediately afterward.
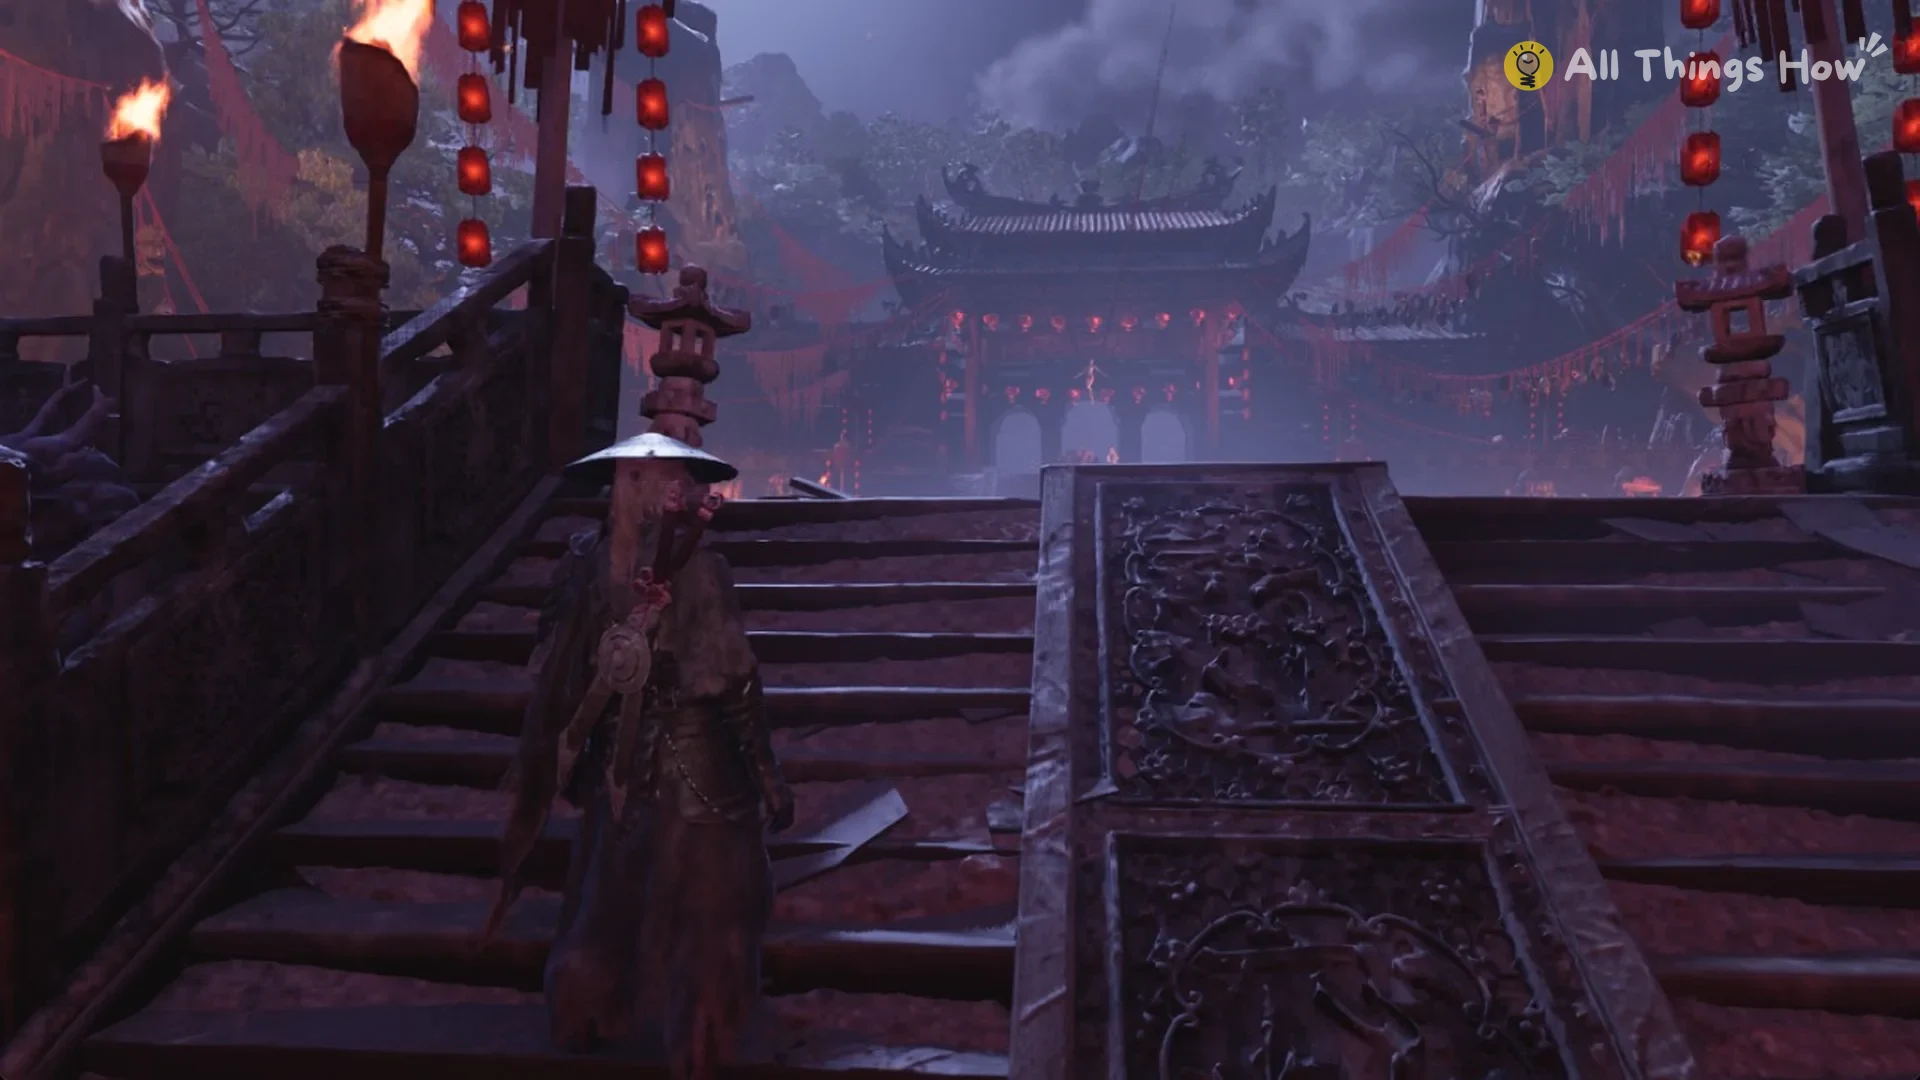
Yu’er after the Lei Dang fight
Go back up from the Perfect Vessel Pond bell into his arena. Yu’er lies on the red carpet at the edge of the arena, with an E prompt beside her.
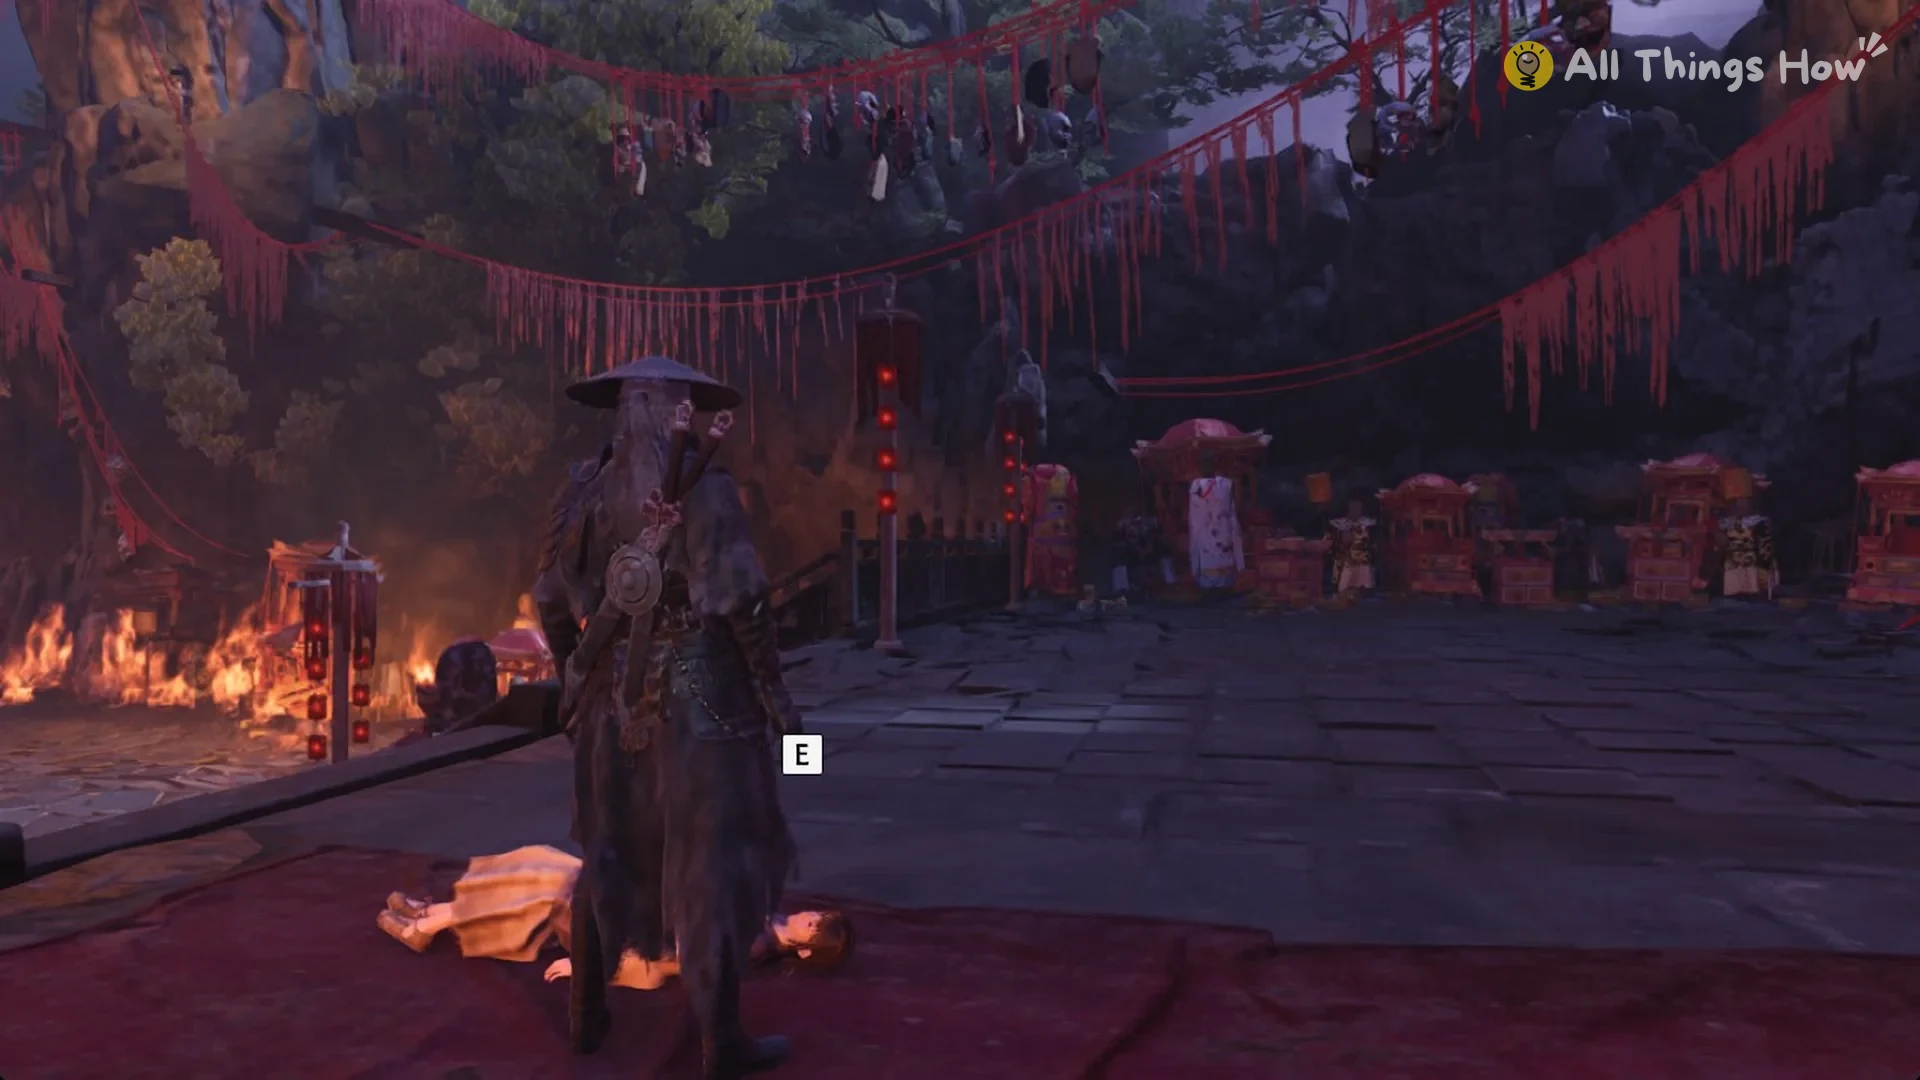
Use E to trigger the scene. Yu’er says “Mister Soul… you really came… to save us…” and asks “My father… is he alright…?” Soul answers “He’s… really well.” She replies “Thank you…” before warning “Lengtu… he’s going to Soulrend Cliff…” She continues, “Mister Soul… I’m so cold…”, “I’m sorry… in this Wulin… people like us…” and “Can’t… help… but shed tears…” Her eyes close, and Soul lowers her onto the carpet.
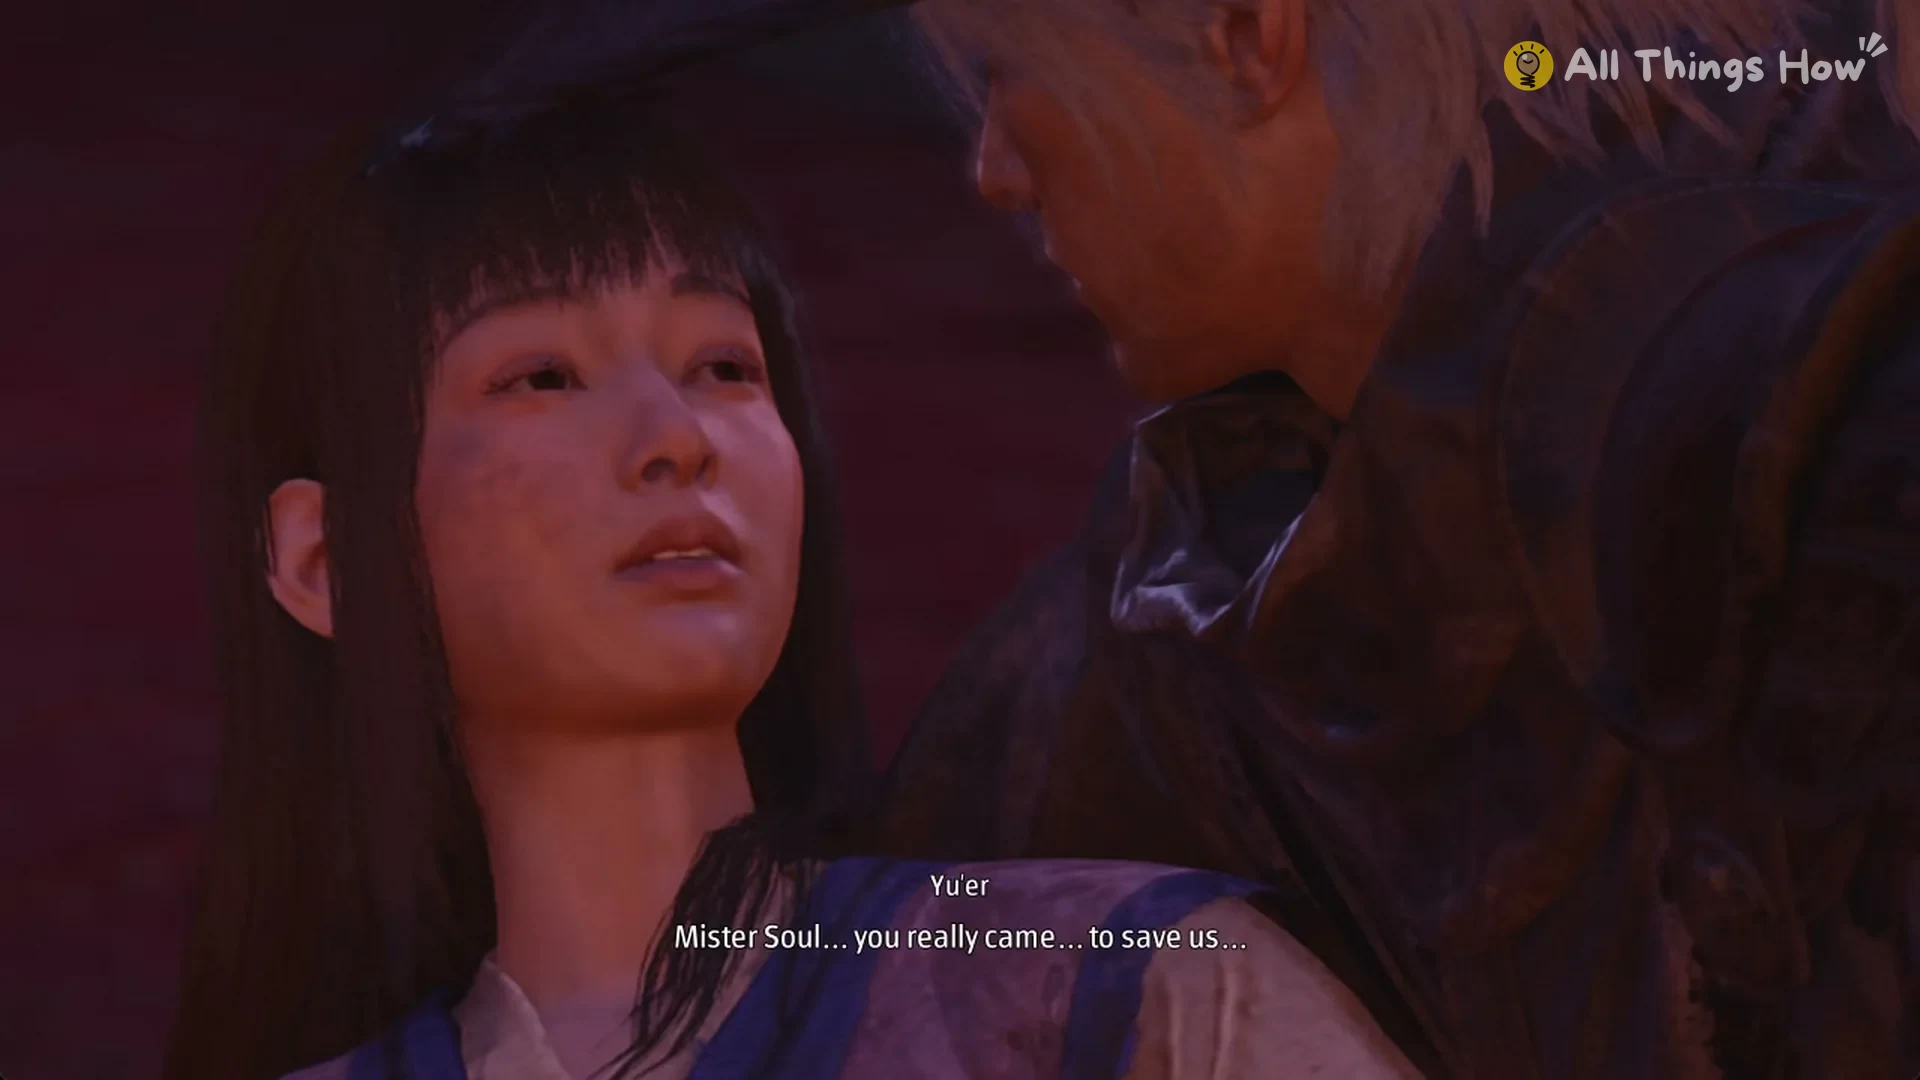
As you step off the carpet, Soul says “The wall near the Mourning Hall…?”
When Soul returns after resting at a bell, the arena is vacant, and Lei Dang is still gone.
The flower appears only after you speak with Yu’er. When the scene finishes, a blue Memory Flower appears on the carpet beside the spot where she was lying. Press E to collect it.
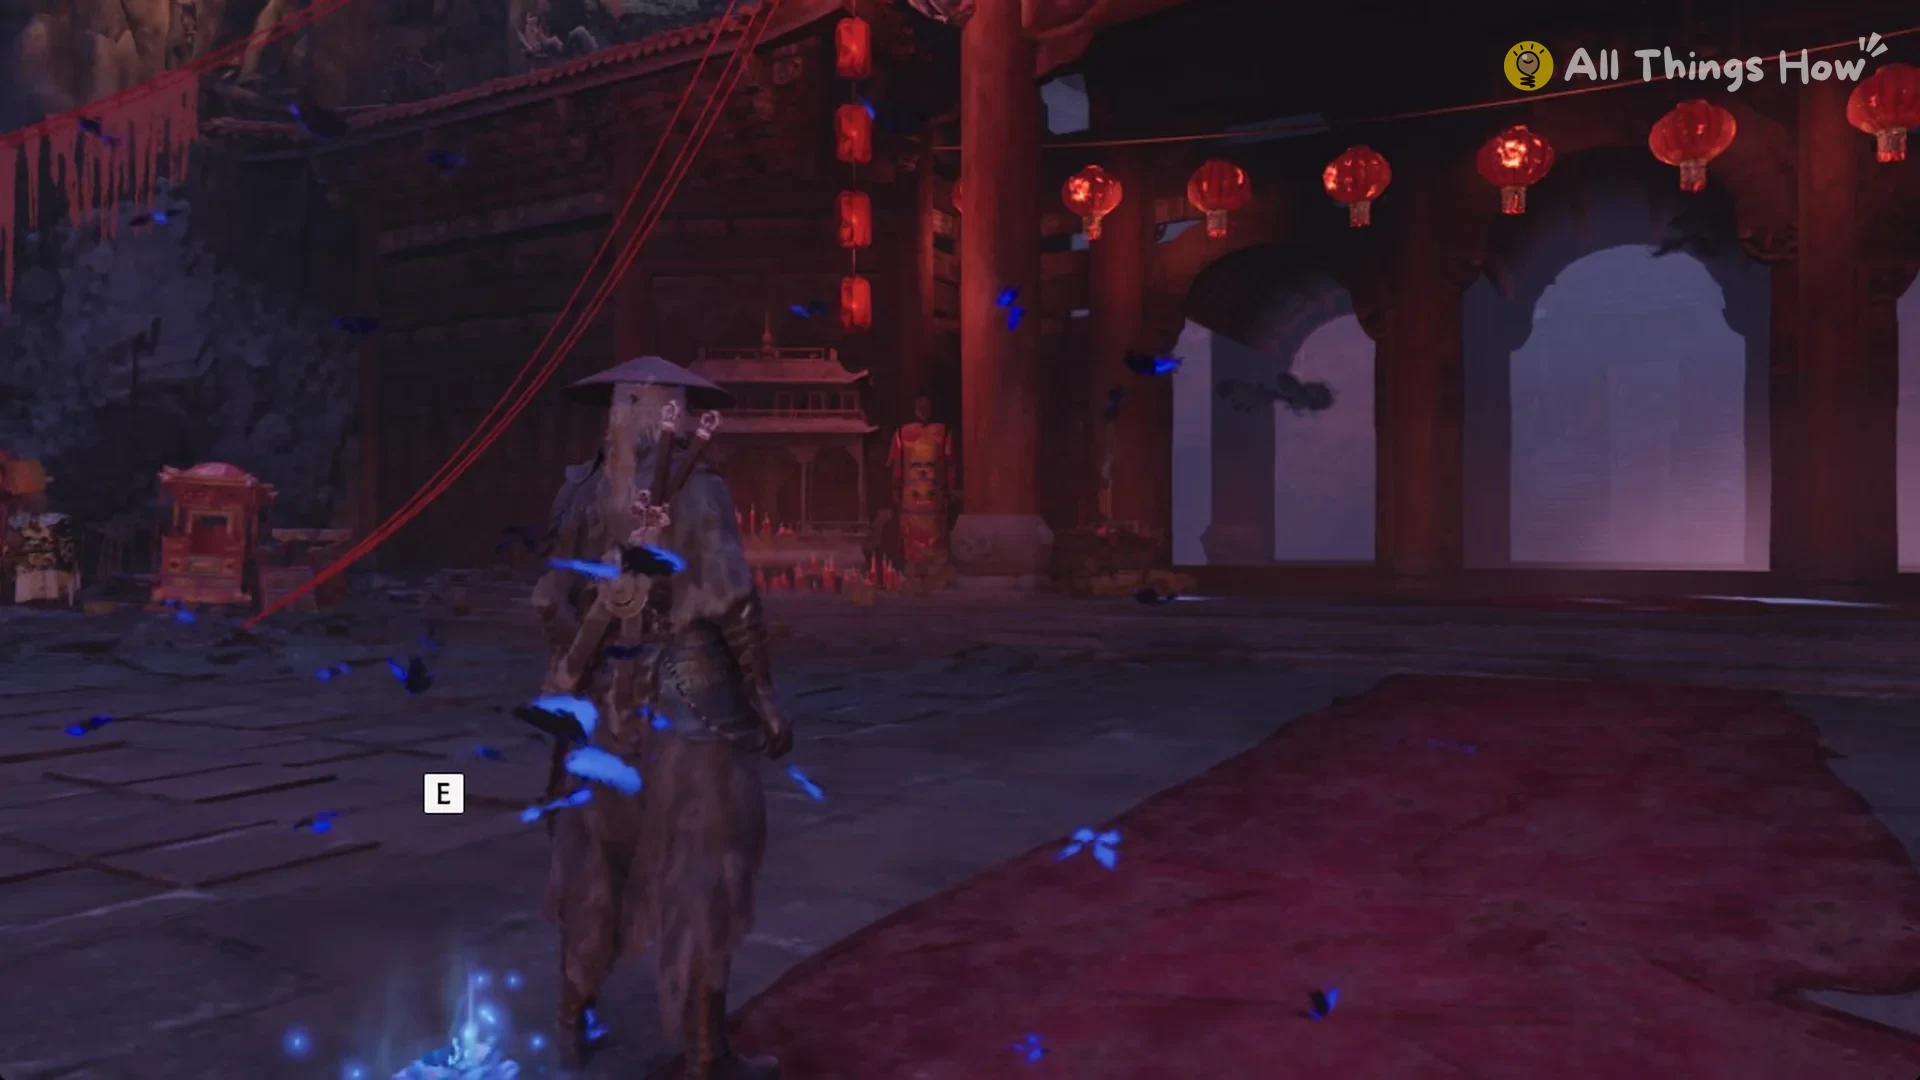
The shortcut back from Lei Dang’s arena
After the battle, retrace your route uphill from the Perfect Vessel Pond bell through Lei Dang’s arena. Continue to a tall pair of red doors secured with a wooden latch bar.
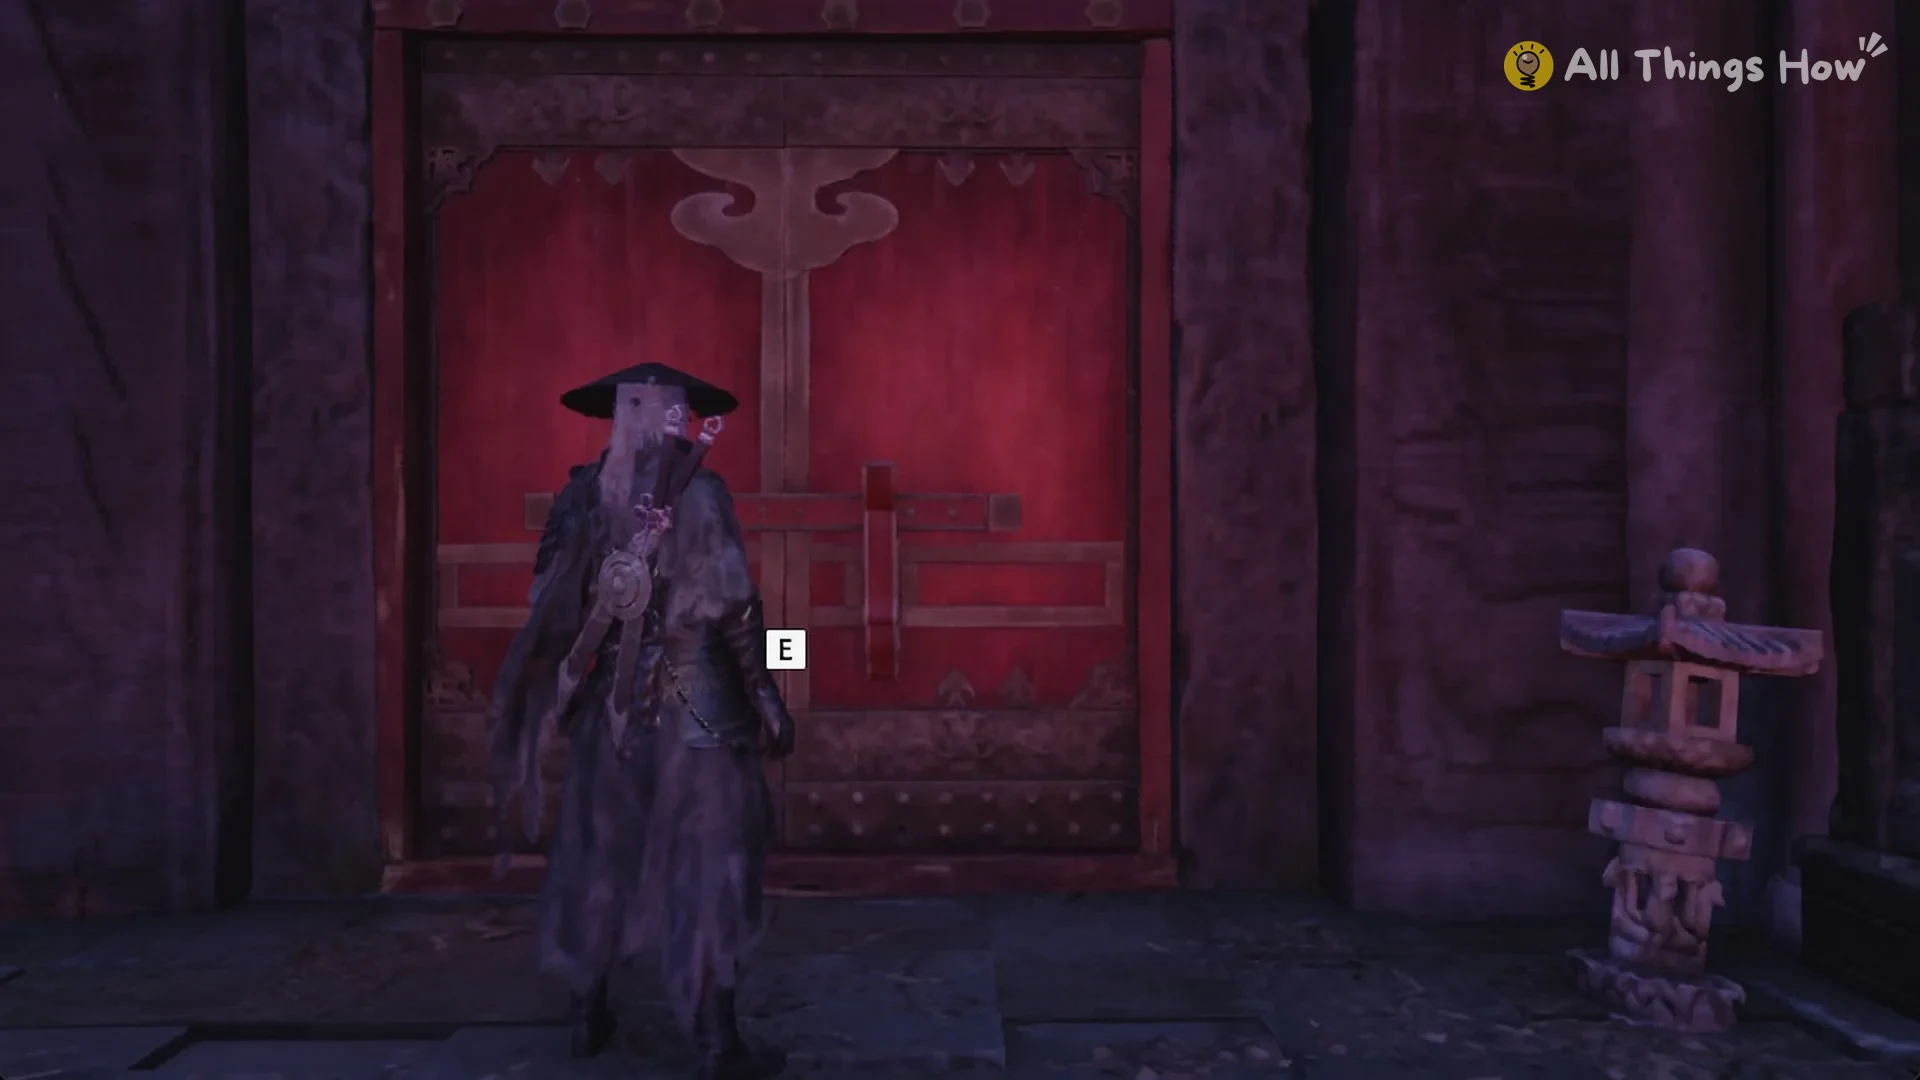
Press E on the latch, and Soul will lift the bar, opening the doors onto a red-lantern-lit stone bridge.
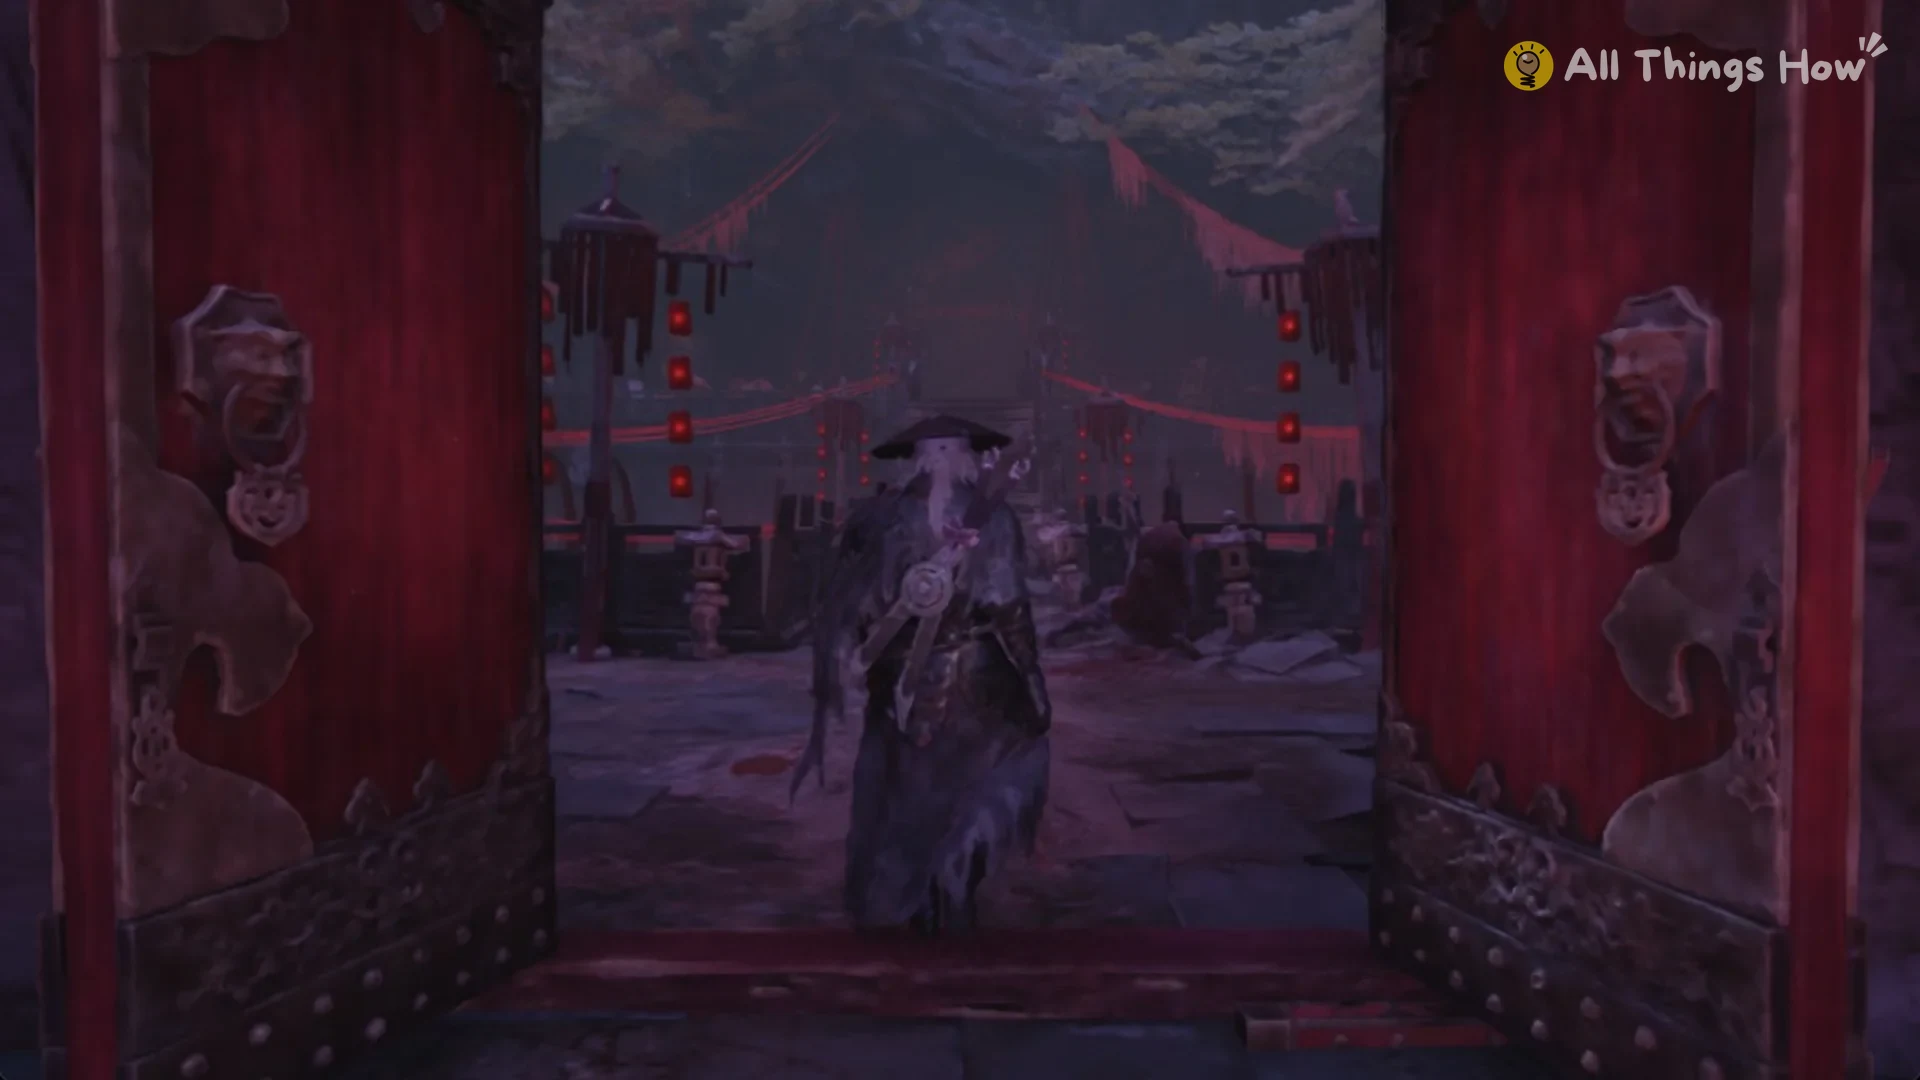
Make your way across the bridge. Beyond it, loose red threads scattered on the ground show that the route ahead has opened.
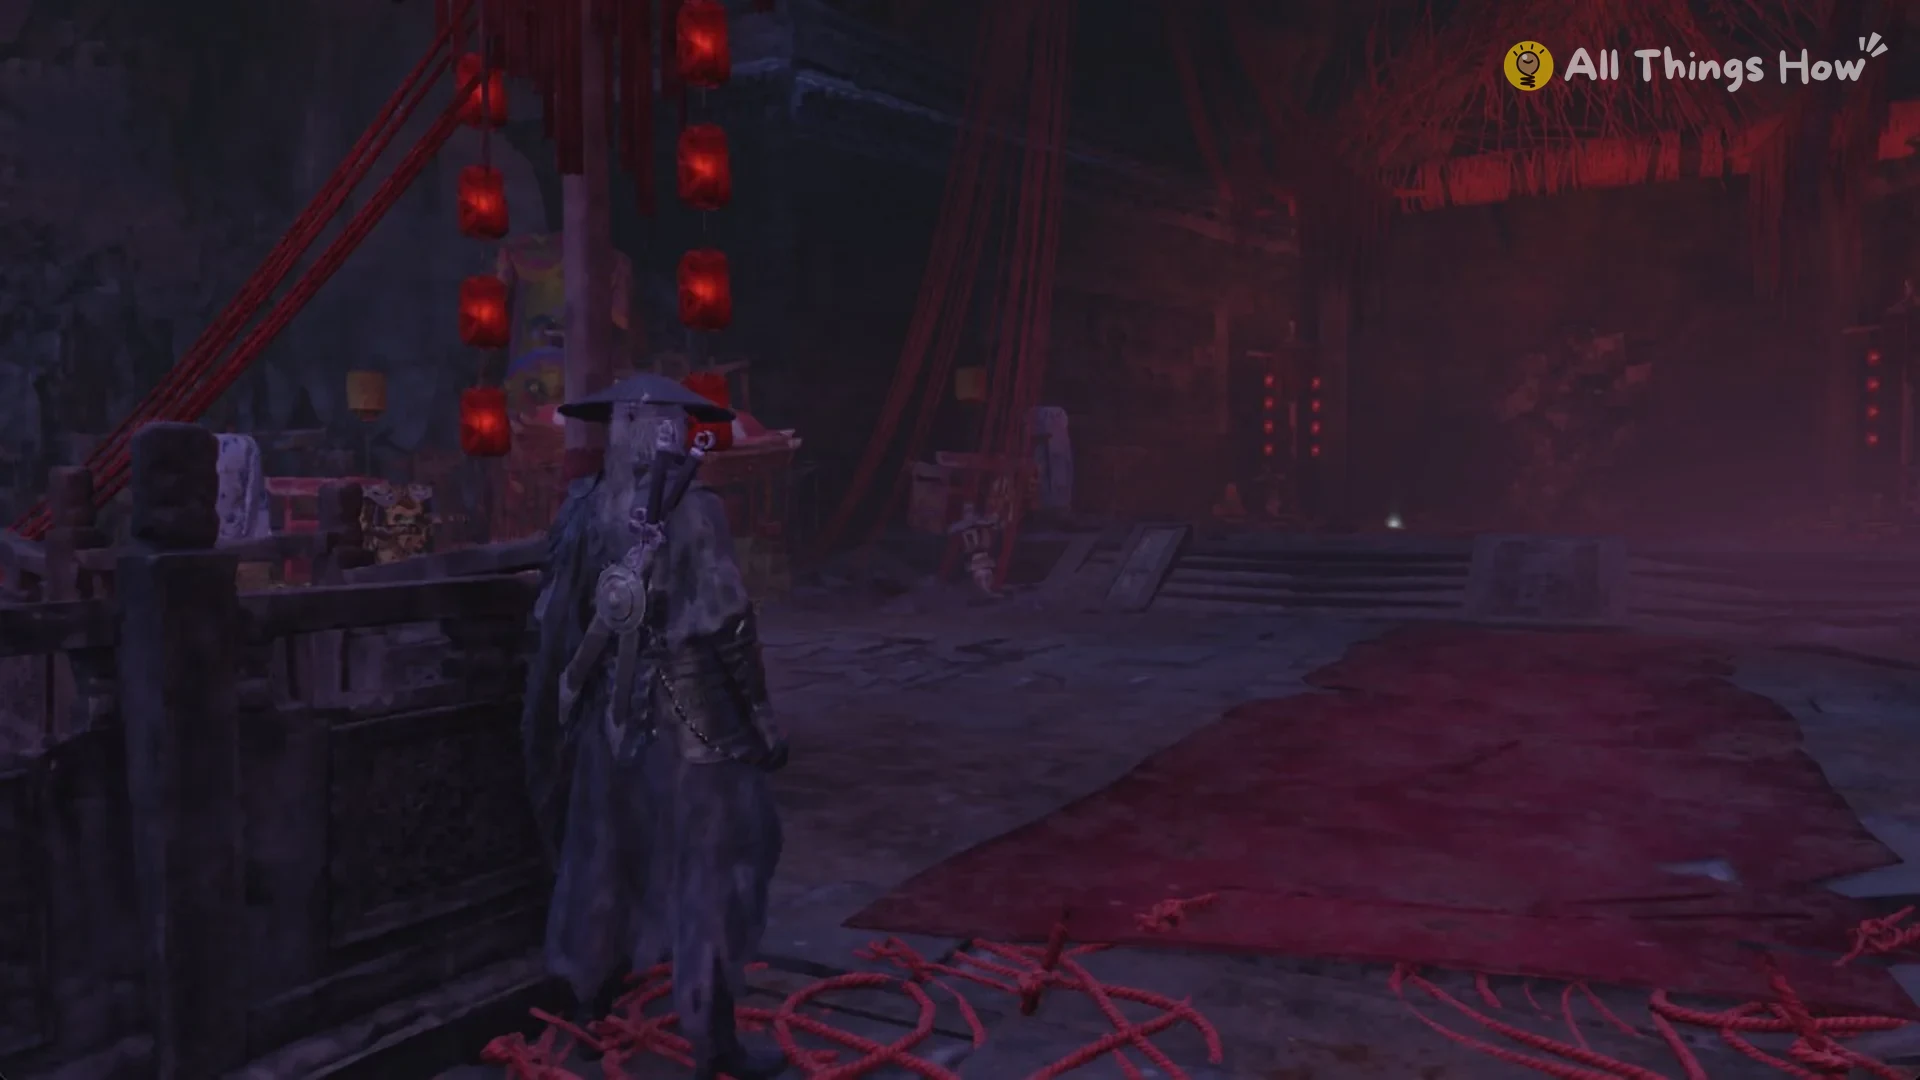
Continue onward to a hall washed in deep red light. A barrier of cracked boulders blocks your path there. Reaching the hall from the arena takes about 25 seconds.
The cracked stone wall
Stand facing the cracked boulder wall and a Ctrl prompt appears on it. The prompt shows up while another Phantom Edge is equipped.
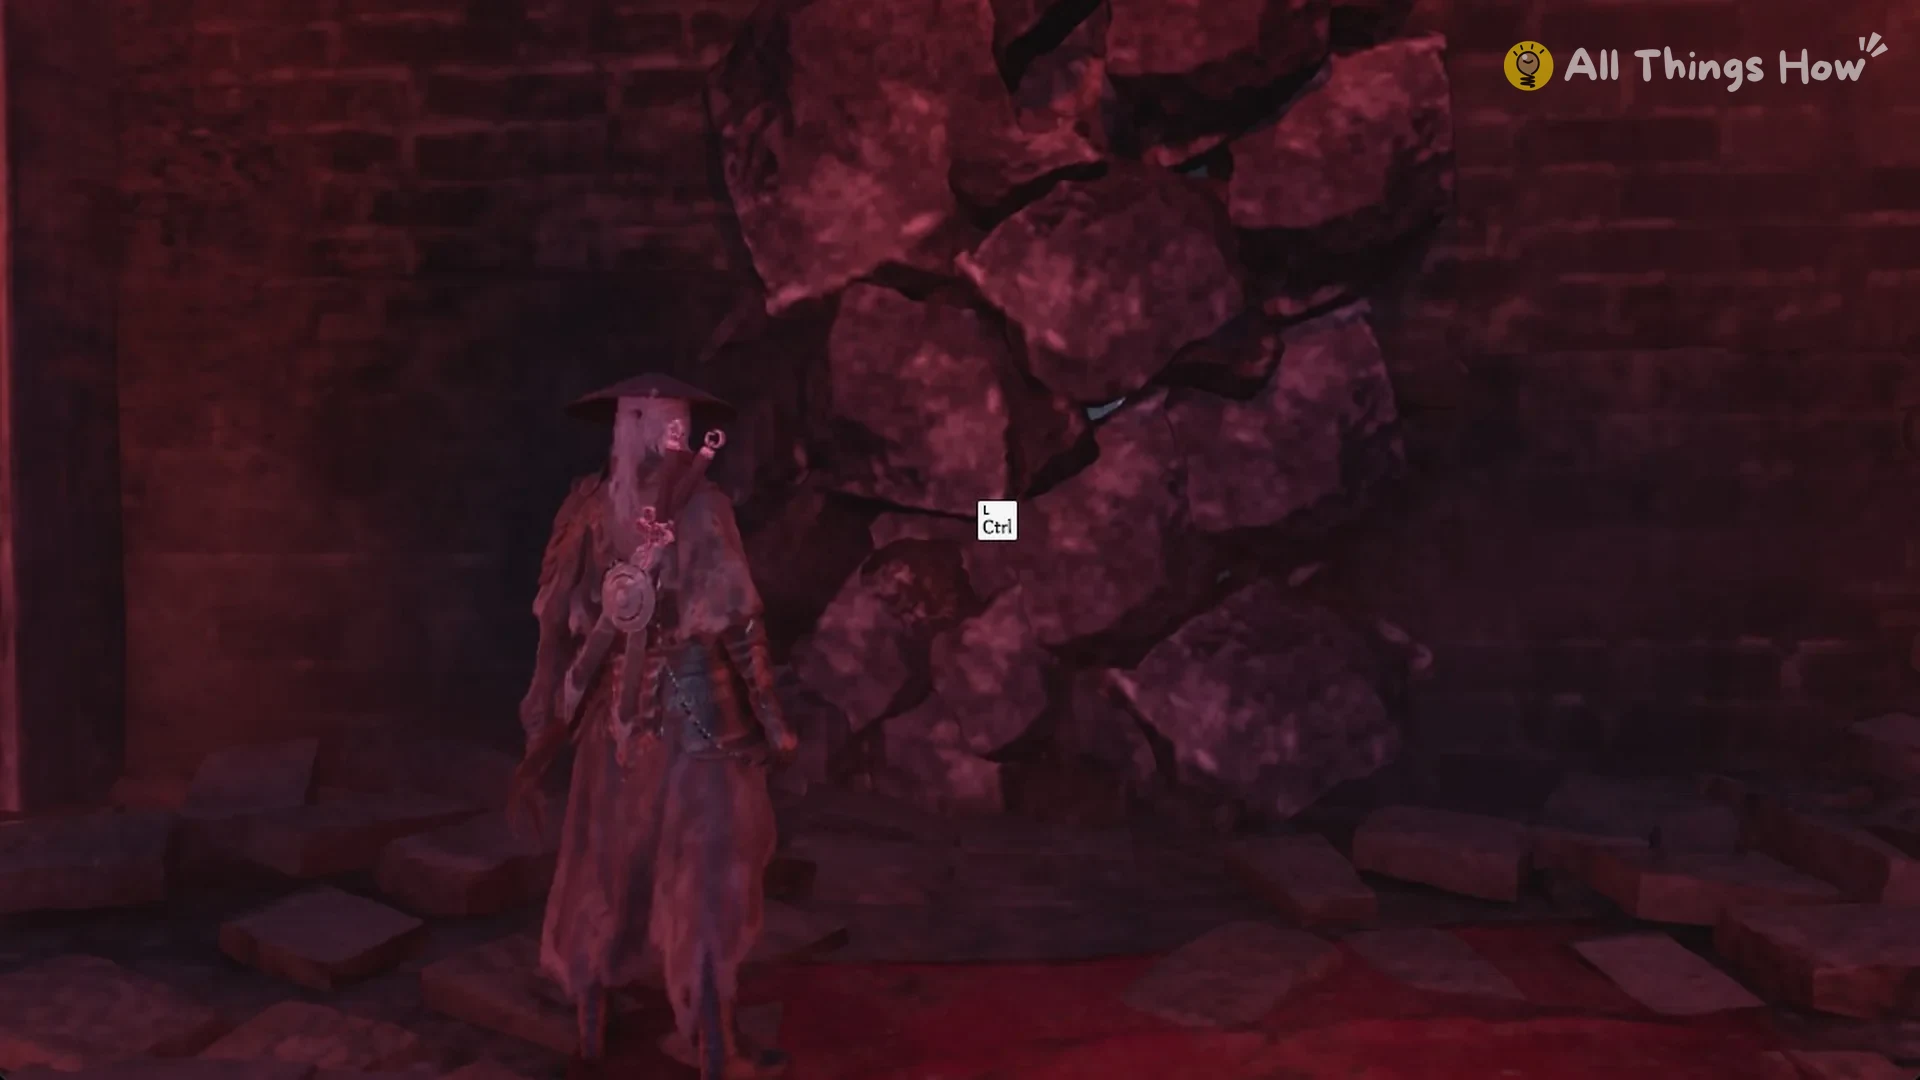
Press Ctrl to raise Soul’s cannon arm and fire. Dust clouds the hall as the wall comes down, leaving a ragged opening onto a blue-lit ravine.
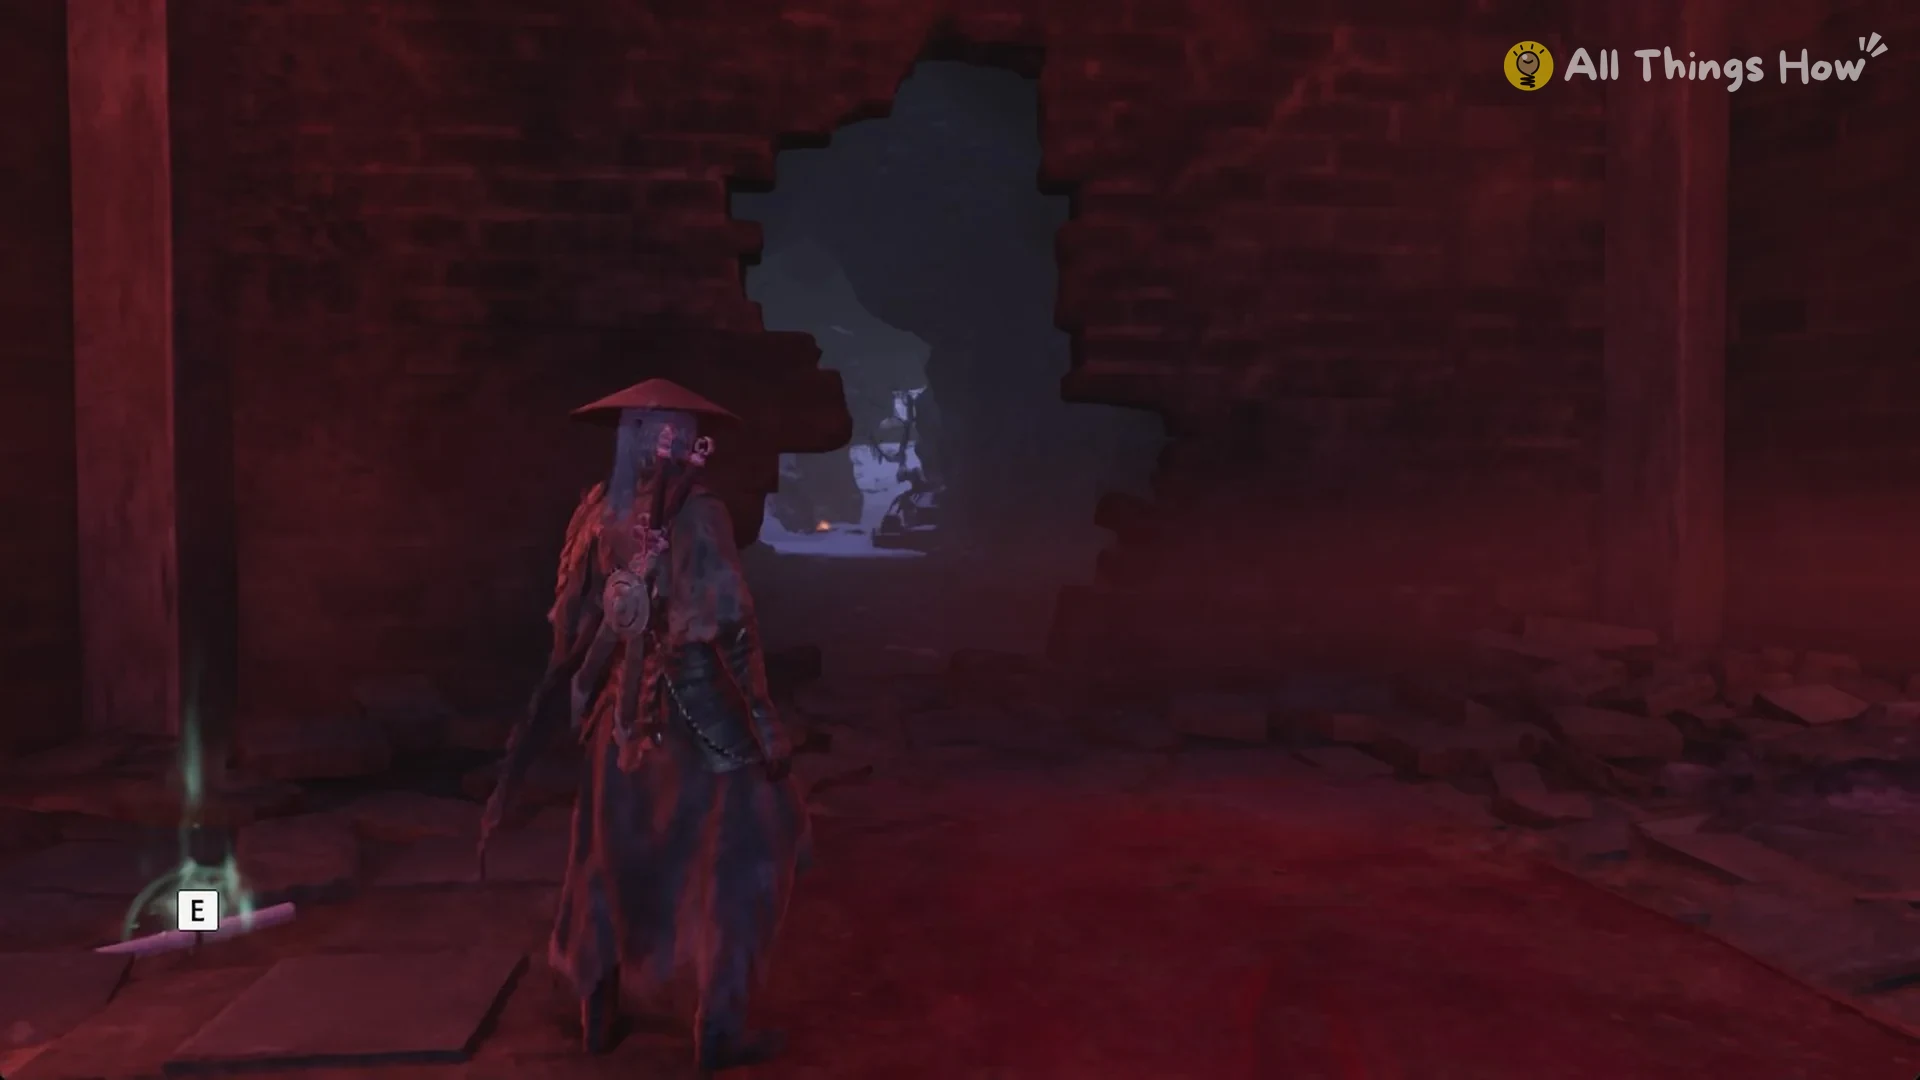
A glowing pickup sits on the floor beside the hole. Grab it for the book page Soulrend Mountain Gazetteer (Reflections) and Remnant Dust +5,881.
Pass through the opening the Tiger Cannon makes in the fractured wall near the Mourning Hall bell. At the top of the ravine past the Mourning Hall bell, THE WAY FORWARD quest card appears with “Travel to Soulrend Mountain” struck through, followed by a black card reading “THE WAY FORWARD / END OF CHAPTER”.
Can you leave the Mirage Estate
Rest at the Estate Rear Gate bell and select Traverse; press Tab to bring up the world map. Pick a bell in a different region, such as the Scavenger Pens bell in Weeping Creek Valley. Loading begins immediately, with no warning. To get back, use Traverse on the Pangzhen map to reach the Estate Rear Gate.
The Mirage Estate in Cycle 1
If Secrets at the Heart of the Lake is still unfinished in Cycle 1, Inanis gives the same warning at the bridge, “To proceed rashly… may only invite disaster”, and offers two choices: “There’s still unfinished business. Return later.” and “No turning back now. Forward it is!”. Pick the second one to continue into the Mirage Estate.
When the opening scene finishes, the route to the Estate Rear Gate bell has no enemies. Ring the bell and rest before moving on; the next section is much tougher in Cycle 1.
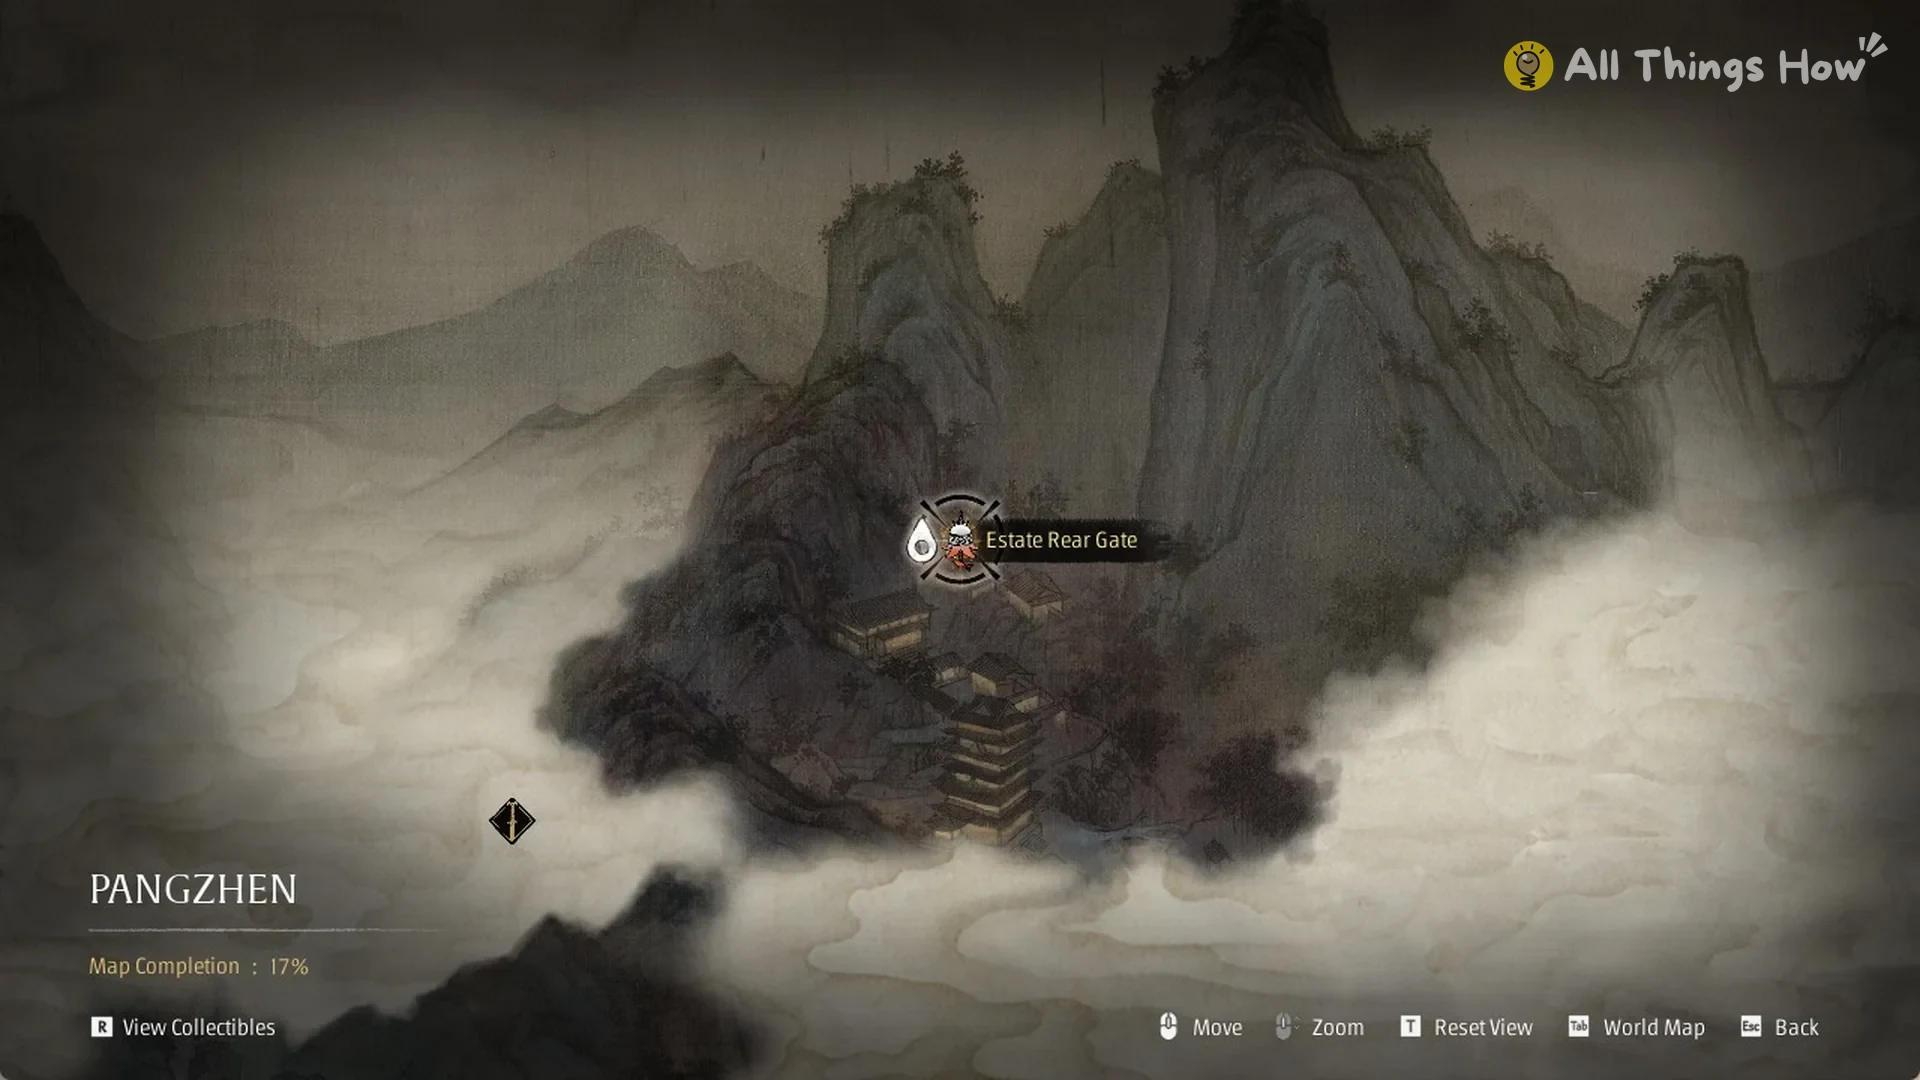
As the red door opens, a Shadow Assassin emerges with two Yang Puppet (Upper Half) enemies. In Cycle 1, the Assassin has 38,580 HP, while each Yang Puppet (Upper Half) has 6,173 HP.
On the way to the Nuo Mask Altar bell, a second Shadow Assassin hides next to a Yang Puppet and strikes at close range. Lure the Shadow Assassin away from the puppet and fight it one-on-one. Slightly off the path, a group of Yin and Yang Puppets with a Floating Head holds its position as long as you keep your distance. In Cycle 1, each Yin or Yang Puppet has 22,634 HP, and the Floating Head has 5,144 HP.
After you pass the Nuo Mask Altar bell, use the gallery rope to descend into a hall occupied by the third Shadow Assassin and two Floating Heads. Hold off its blade strings until the execution prompt appears, then execute it to finish the fight. The Below the Fire Tower bell can be found beneath the hall.
Along this walk, a THE WAY FORWARD banner appears with the objective “Search for the Perfect Vessel where the Radiant Heart lies”.
On Wayfarer, a Shadow Assassin’s HP goes from 22,530 in the first cycle to 38,580 in Cycle 1, an increase to roughly 1.71 times the original amount.