

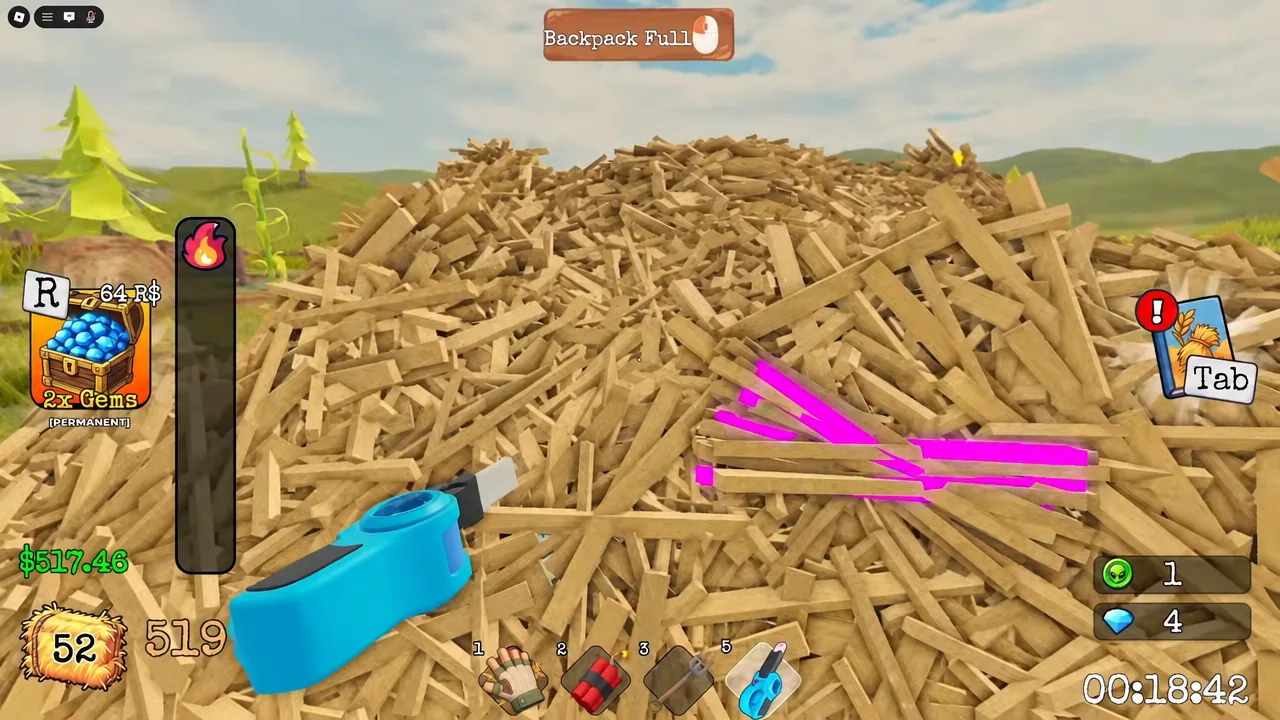
A Search For The Needle run is a throughput problem dressed up as a scavenger hunt. One giant haystack, one needle buried in it, and a shop that sells you the ability to move hay faster. The players finishing in a couple of minutes are not luckier than everyone else — they are clearing more hay per second and looking in the right part of the pile.
Quick answer: Redeem the code ALIEN for 200 Gems and 200 Coins, spin for Demolitionist in the lobby, dump Gems into Hay Value, then buy Dynamite in the barn and blast the outer edges and top of the stack — not the center — until the needle drops out.
Cash resets, Gems do not
Before anything else, understand which wallet matters. Cash comes from feeding hay to the cow and buys tools, bag size, and tool upgrades inside the round. When the round ends, those tools and every upgrade on them are gone unless you own the matching permanent pass. Gems survive. They buy class spins and permanent stat upgrades, and they are the only thing that makes your next run start stronger than your last one.
| Currency | Earned by | Spent on | Carries over? |
|---|---|---|---|
| Cash | Selling hay at the Feed window | Tools, bag size, tool upgrades | No, without the matching pass |
| Gems | Clearing the map, login bonuses, codes | Class spins, permanent perks | Yes |
That split explains why in-run decisions should always favor speed over hoarding. Cash left in your pocket at the end of a round is wasted cash.
Lobby setup: code, class, and permanent perks
ALIEN pays out 200 Gems and 200 Coins, which is enough to fund class spins immediately instead of grinding for them. You can join the experience from its official Roblox page.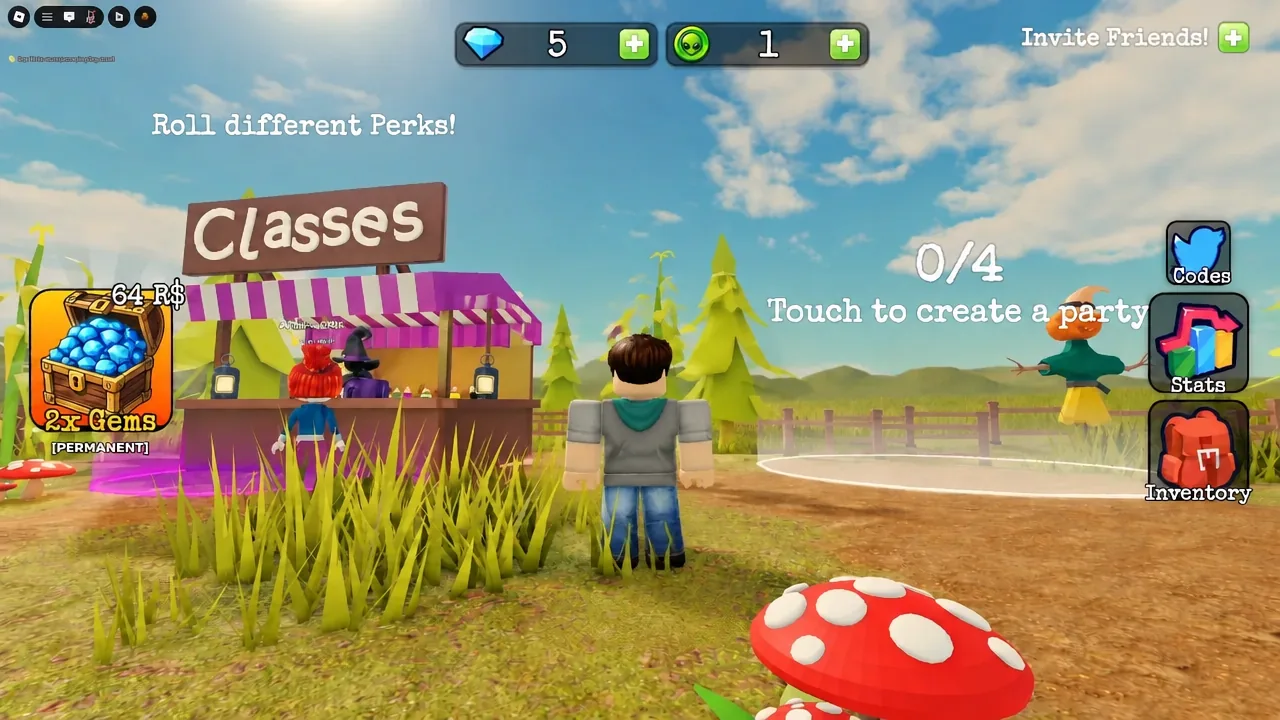
| Class | Roll chance | Bonus |
|---|---|---|
| Starter | 40% | None |
| Pack Mule | 25% | +50% carry capacity |
| Hay Merchant | 14% | +20% money from selling hay |
| Forkmaster | 9% | +25% hay per Pitchfork swing, −25% Pitchfork upgrade cost |
| Demolitionist | 7% | +20% blast radius, 10% chance to split into 3 charges |
| Prospector | 3.9% | Diamonds 50% more common, hay can turn into Diamonds |
| Drone Specialist | 1% | Free Drone, 30% faster, carries 40% more |
| Ultimate Farmer | 0.1% | Every other class bonus at once, plus Golden Harvest |
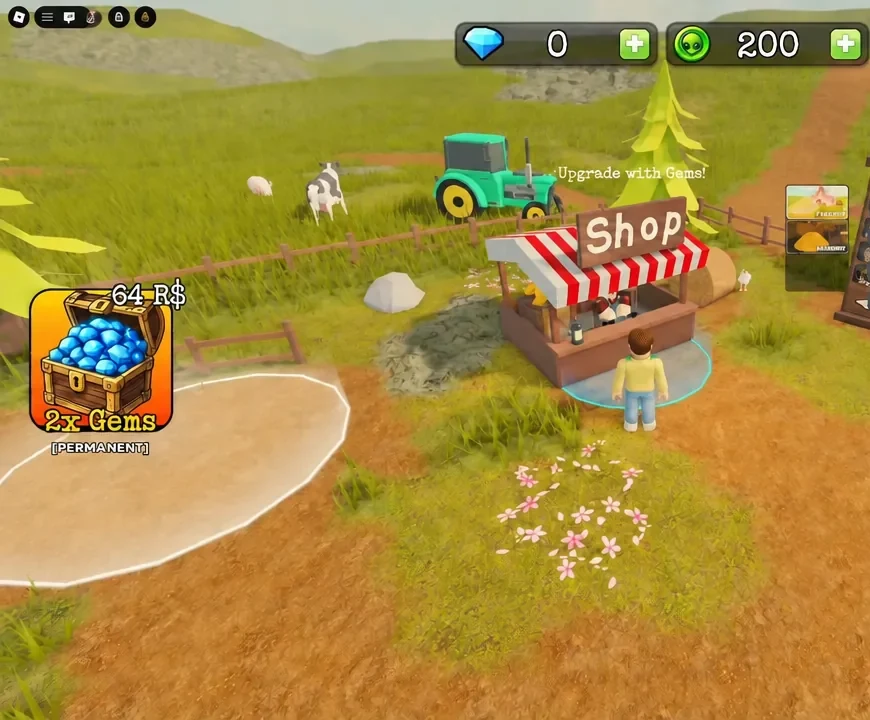
Note: solo is the cleaner speedrun, but servers hold 20 players. Setting party size to 1 at the Farmhouse portal keeps a private pile to yourself, while a coordinated four-player team can strip the stack far faster than any solo setup.
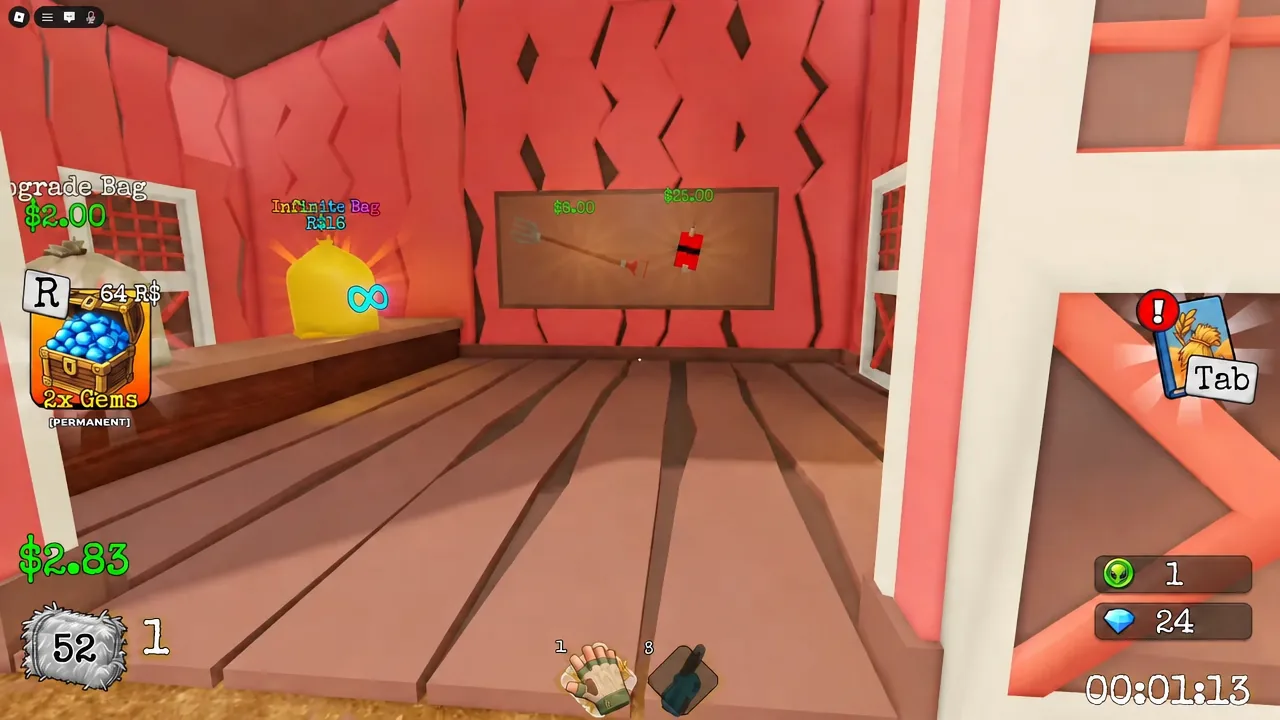
In-run buy order: hand upgrades, then bag, then Dynamite
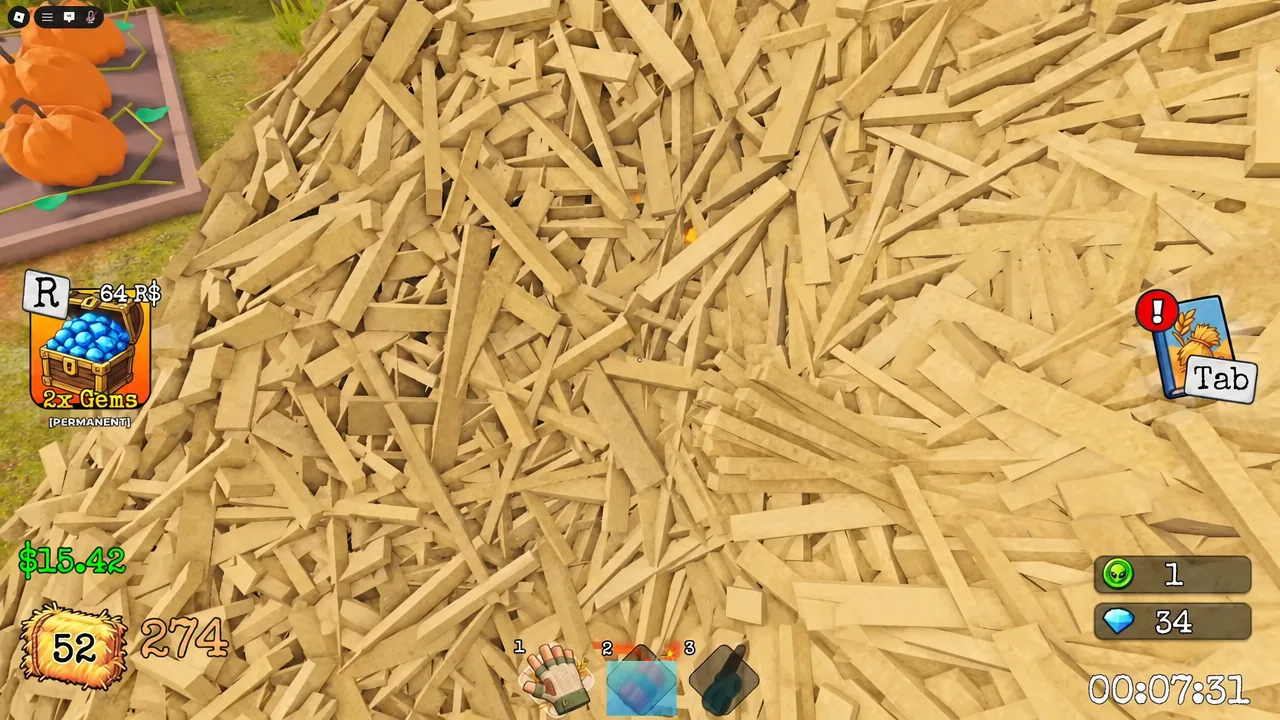
| Upgrade | What it changes | Ceiling |
|---|---|---|
| Power | Blast area per throw | 4.80 studs |
| Speed | Cooldown between throws | 8.5 seconds |
| Lucky Blast | Chance blasted hay becomes rainbow hay | Scales with level |
The Pitchfork is a fine stopgap if a Dynamite purchase is still out of reach, and the Vacuum clears loose hay quickly once explosives have scattered it. Neither should come before Power and Speed on the Dynamite tree.
Where the needle sits in the haystack
This is where most runs are lost. The instinct is to tunnel straight down through the middle of the pile, and the middle is the least likely place to pay off. The needle tends to rest near the surface and along the outer edges, including the bottom outskirts of the stack.
Throw dynamite around the perimeter and across the top, working the ring rather than the core. After each cluster of blasts, climb up and look over the hay that has been thrown clear — the needle frequently ends up sitting on top of scattered flakes rather than inside what is left of the pile. Cone-shaped peaks that survived earlier blasts are worth flattening deliberately, since they hide the needle more often than open ground does.
Tip: rainbow flakes are worth chasing even mid-search. Grabbing them keeps cash flowing for the next upgrade tier without breaking your rhythm around the edges of the stack.
Confirming the win and banking your time
When you touch the needle, the screen displays “YOU FOUND THE NEEDLE! Equip it and take it to the farmer.” Picking it up is not the completion — you have to equip it and carry it to the farmer NPC, which triggers a cutscene and closes out the run. Only then do you get your completion time and your Gems, and the Gems follow you back to the lobby for the next set of permanent perks.
For calibration, a clean solo run with no gamepasses lands somewhere in the 6 to 10 minute range. A coordinated group of four working the same pile can close it out in roughly two minutes. If you are well past that, one of the causes below is usually the reason.
Why runs drag on
- Digging a shaft down the center instead of stripping the outer edges and top of the pile.
- Collecting with an un-upgraded Hand for too long, so every bag is small and every trip is slow.
- Skipping the Bag Upgrade and doubling your walking time to the cow.
- Expecting tools to persist. Without the matching permanent pass, Dynamite and every upgrade on it are wiped when the round ends and must be rebought.
- Picking up the needle and stopping there. The run only registers once it is equipped and handed to the farmer.
Only around 28 in every 100 players who have ever joined a run have found the needle at all, which says less about difficulty than about how many people quit while hand-grabbing flakes off a million-piece pile. Get to Dynamite, keep the blasts on the perimeter, and the haystack stops being the obstacle. Hand the needle to the farmer and he drops it into his basement, which is where Chapter 2 picks up.





