

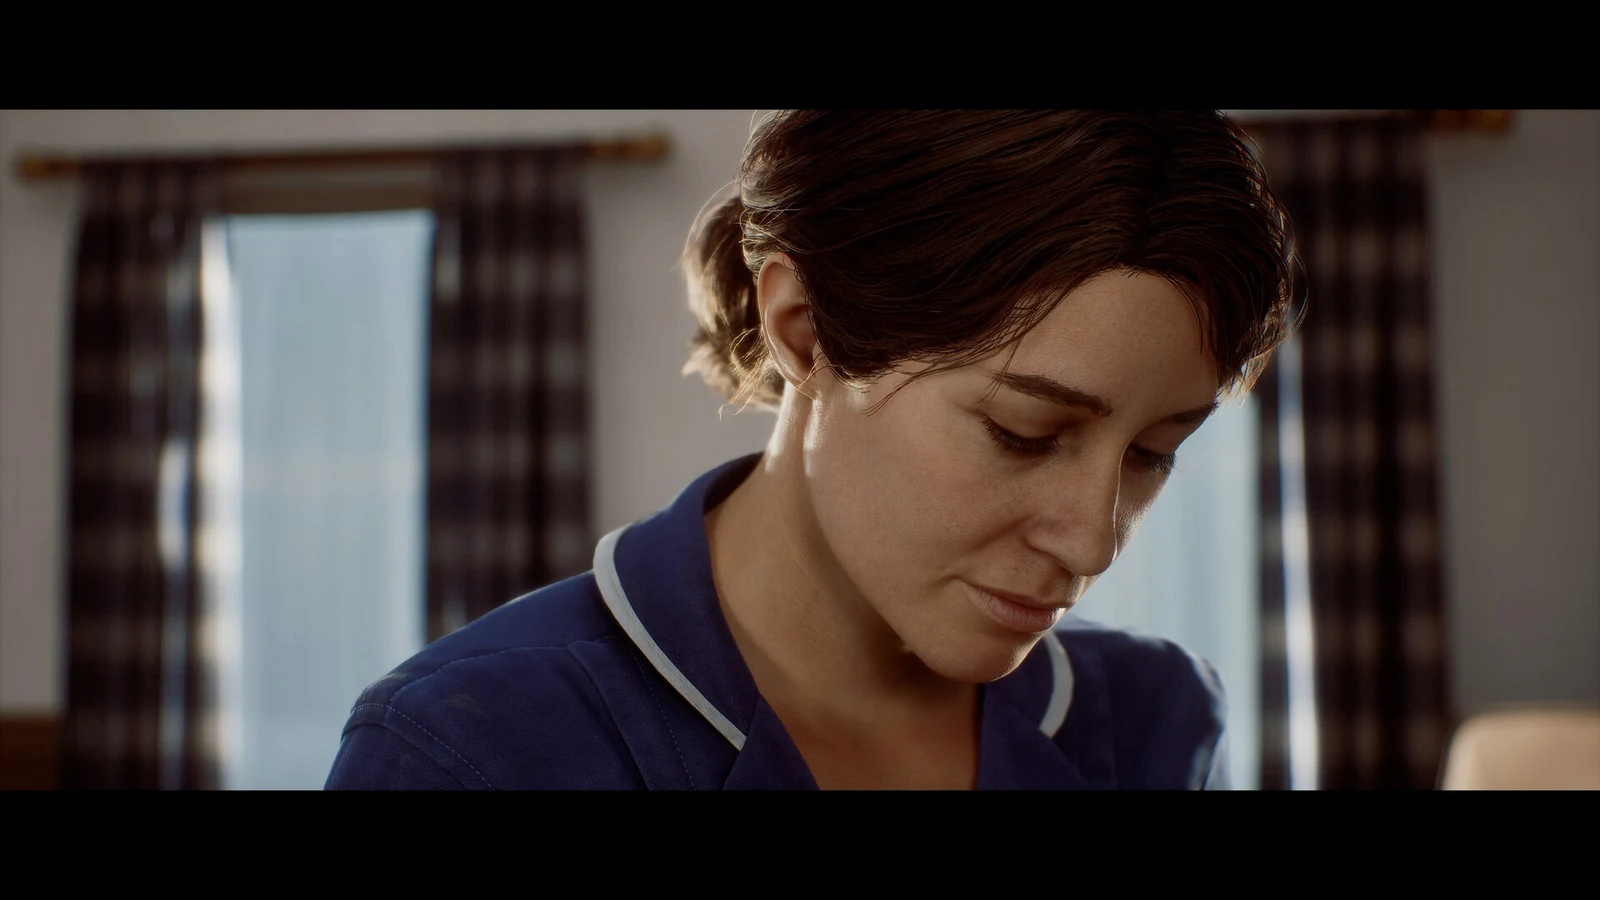
The St. Amelia Pharmacy is locked twice. The front door is sealed with a paper covering that a key will not touch, and the rusty locker in the back room sits behind a four-digit combination that only the in-game CRTV can explain. Both barriers stand between you and the Prescription Dosage Error Note, one of the three items the Clinic’s scales demand.
Quick answer: Cut the Pharmacy door open with the Scalpel from the Clinic’s Z Ellis room, then enter 6539 on the back-room locker to take the Prescription Dosage Error Note.
What you need before the Pharmacy will open
The building cannot be entered on your first pass through town, and nothing inside it becomes interactive early. Two things gate it.
- Zoe’s Lanyard, taken from the organ transport box in Zoe’s House after you restore the power and set the dials to 956 left, 133 right. The lanyard unlocks the Clinic.
- The Scalpel, found inside the Clinic. It is permanent equipment, not a single-use key, so it stays in your inventory for every similar door later on.
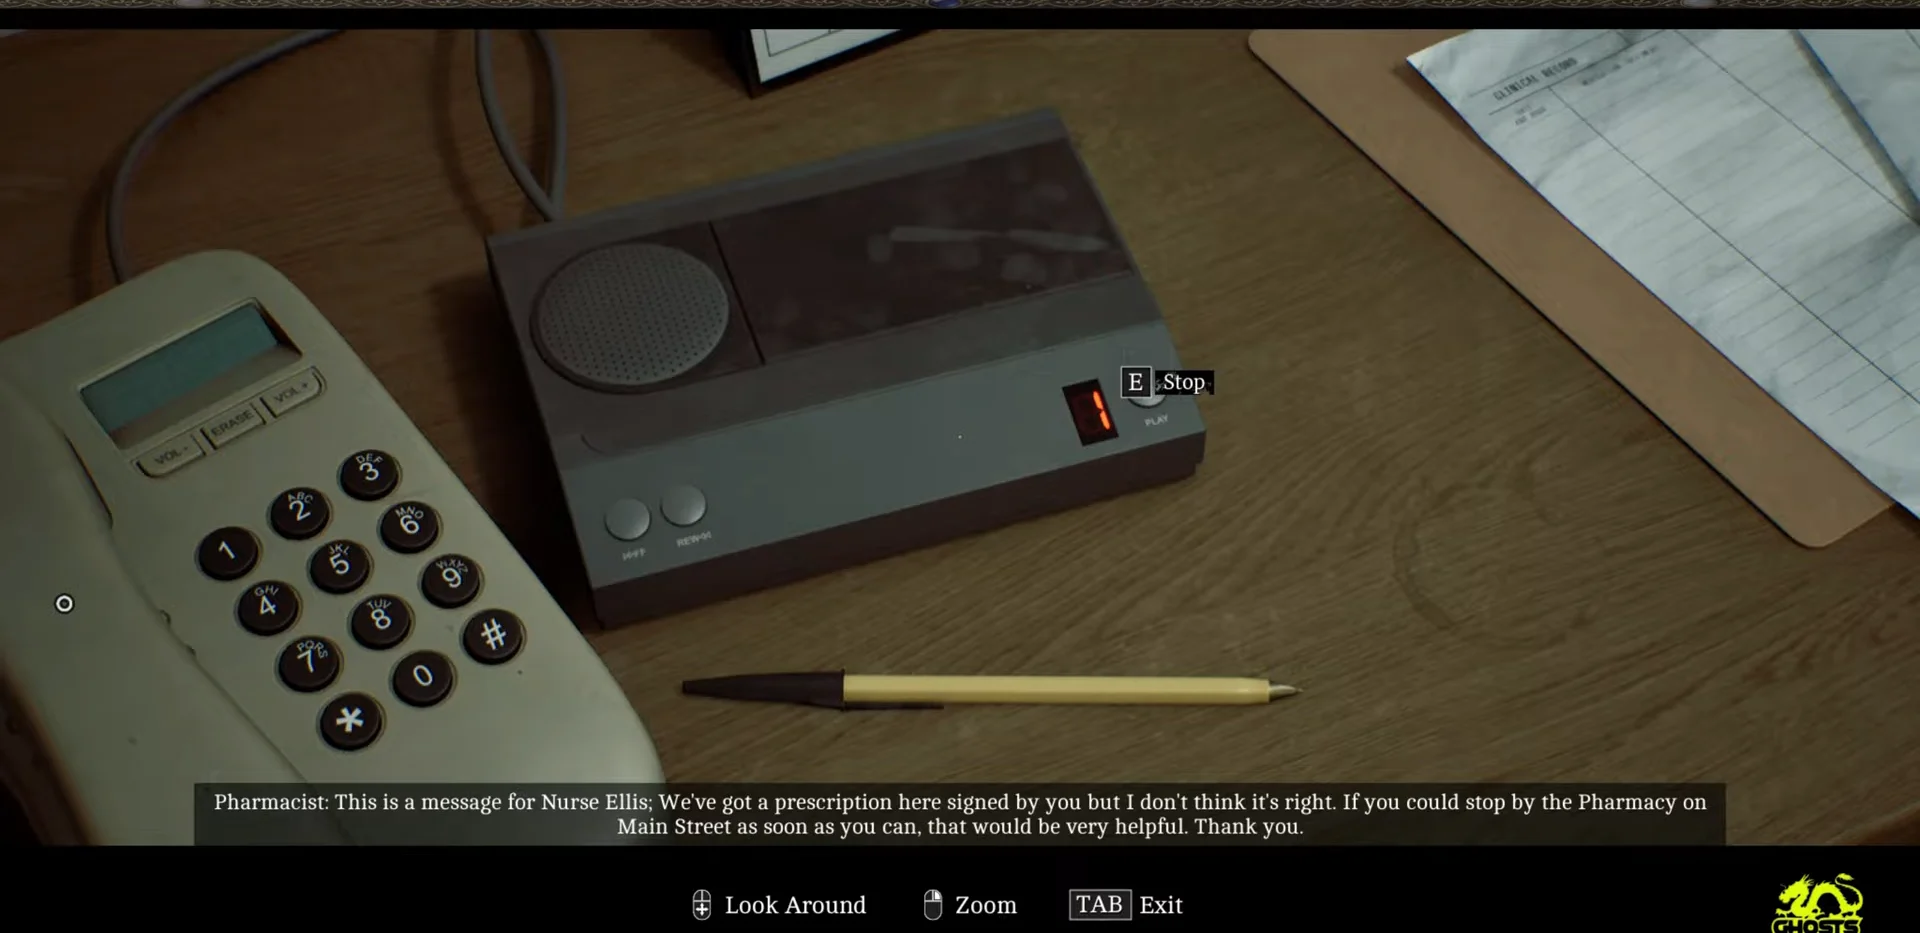
While you are in the Clinic, the answering machine on the office desk plays a message about a prescription waiting for Nurse Ellis at the Pharmacy on Main Street. That voicemail is what points you across town in the first place.
Where to find the Scalpel in the Clinic
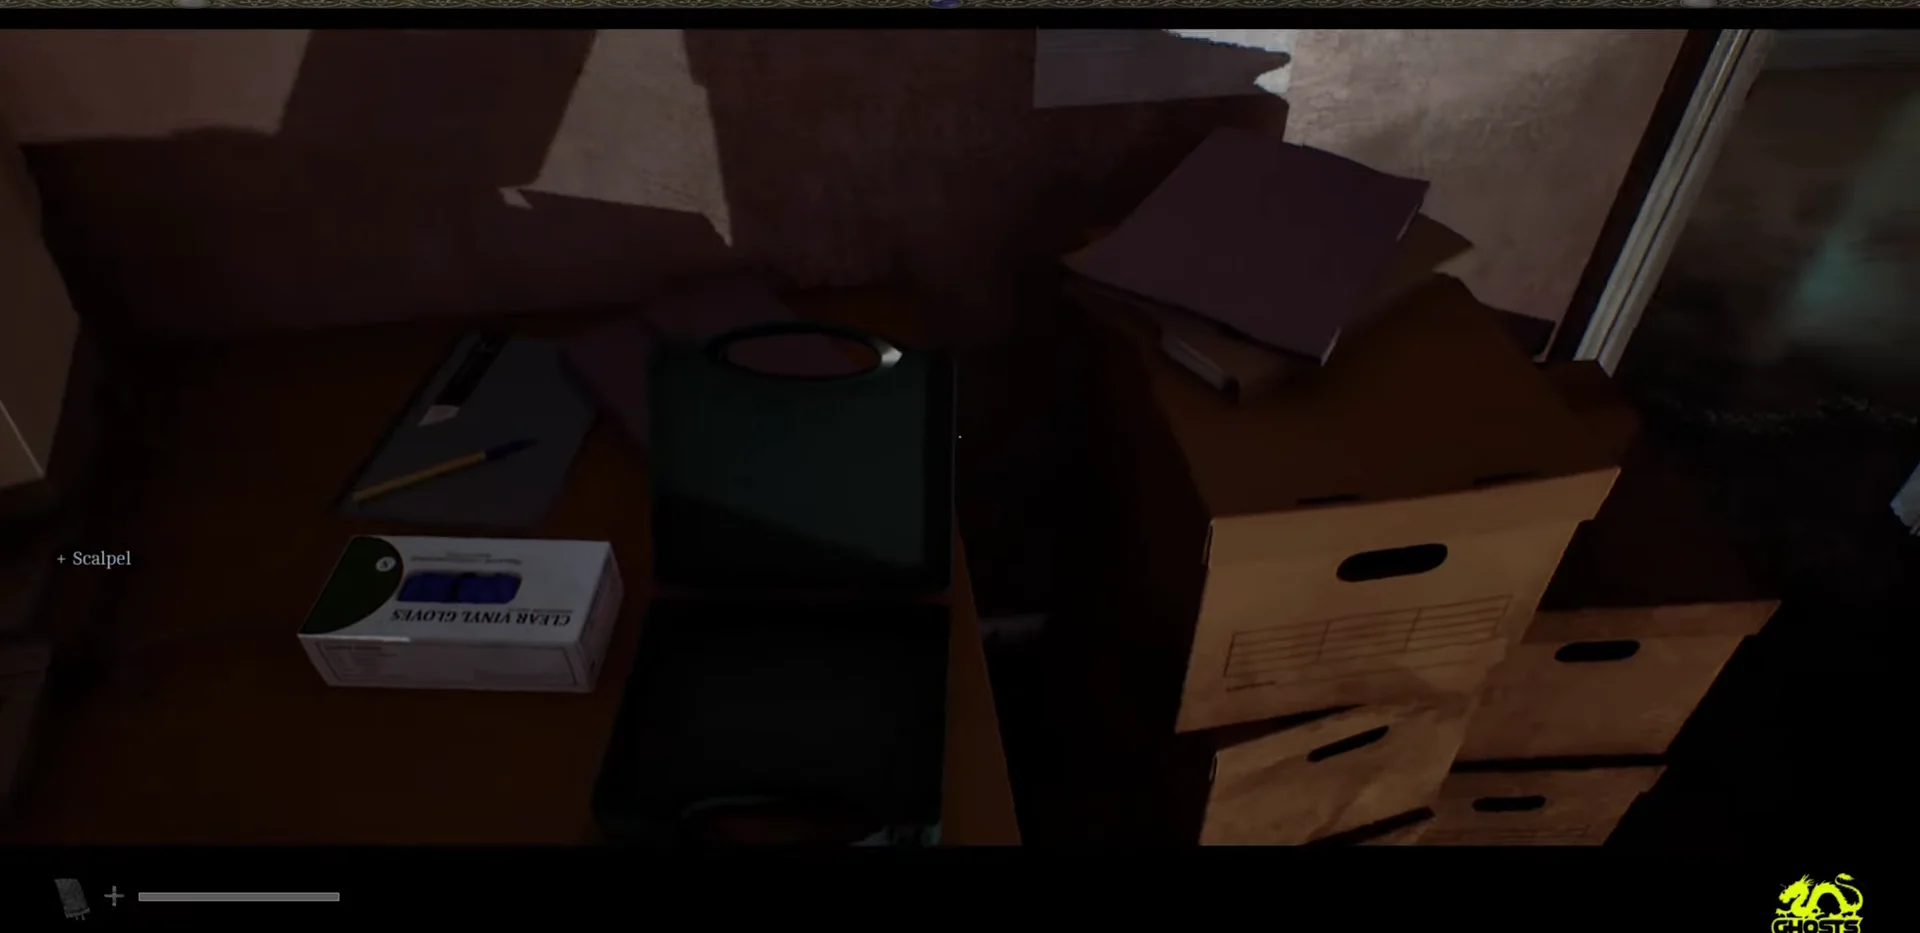
The Scalpel also cuts the blocked entrance to St. Amelia’s Park, which is how you eventually reach Jess’s House and the Broken Stethoscope. Doing both trips in one loop saves a lot of walking.
Route to St. Amelia Pharmacy and cutting the front door
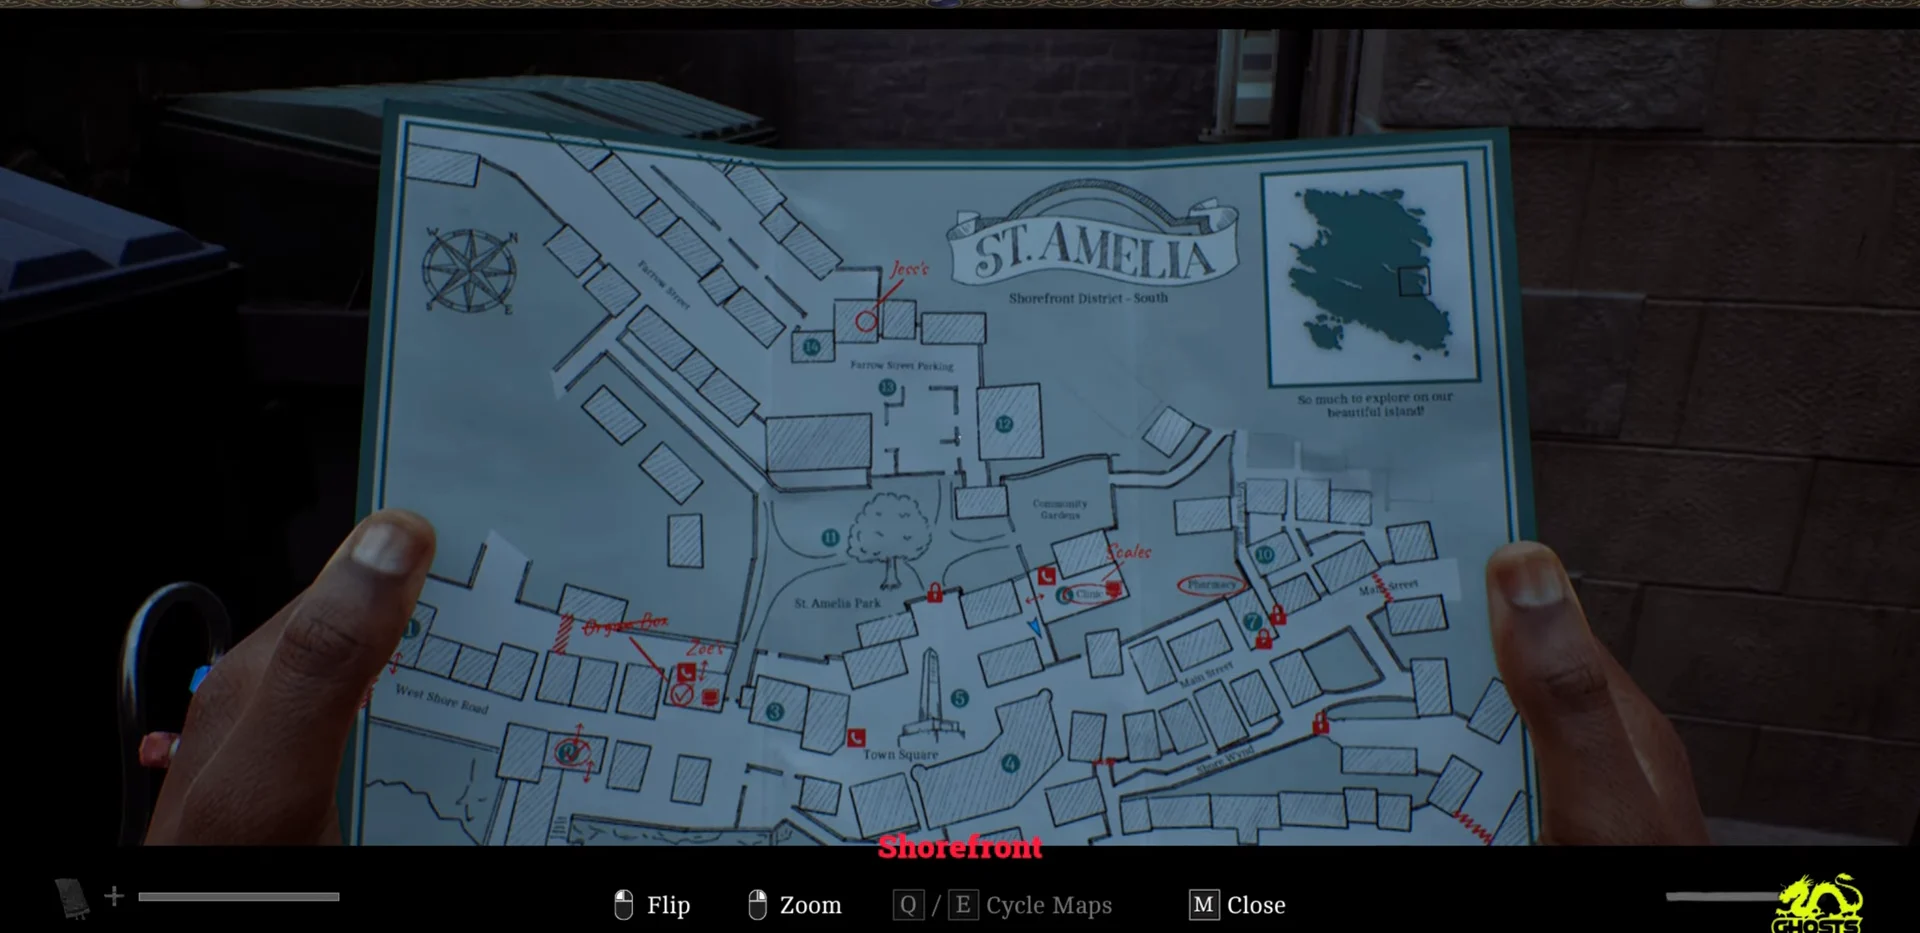
Open the Shorefront map before you set off. The Pharmacy sits on Main Street, and the direct roads are broken up by fog, dumpsters and market stalls, so you will be cutting through back alleys for most of the trip. Faceless enemies patrol the streets on the way, so treat it as a run you may need to redo.
At the building, use the front door’s mail slot instead of its handle. Choose the Scalpel when prompted, then hold the cut input to slice the paper covering from inside. The door opens right away, and you keep the Scalpel.
If you are collecting documents, the Restocking Issues note is sitting on the front desk as you walk in.
Tuning the CRTV signal in the back room
The back room introduces Fine Tuning, and the locker will not make sense until you use it. Pull out the CRTV and adjust the picture until the overlapping images line up, then align the RGB signals on top of each other. The calibration meter fills as you get closer, and the screen reads CALIBRATION COMPLETE when it is correct.
Hold the store-signal input (C on keyboard) to lock the broadcast in. The CRTV then plays a short sequence showing four of the health posters hanging around the Pharmacy, in a fixed order.
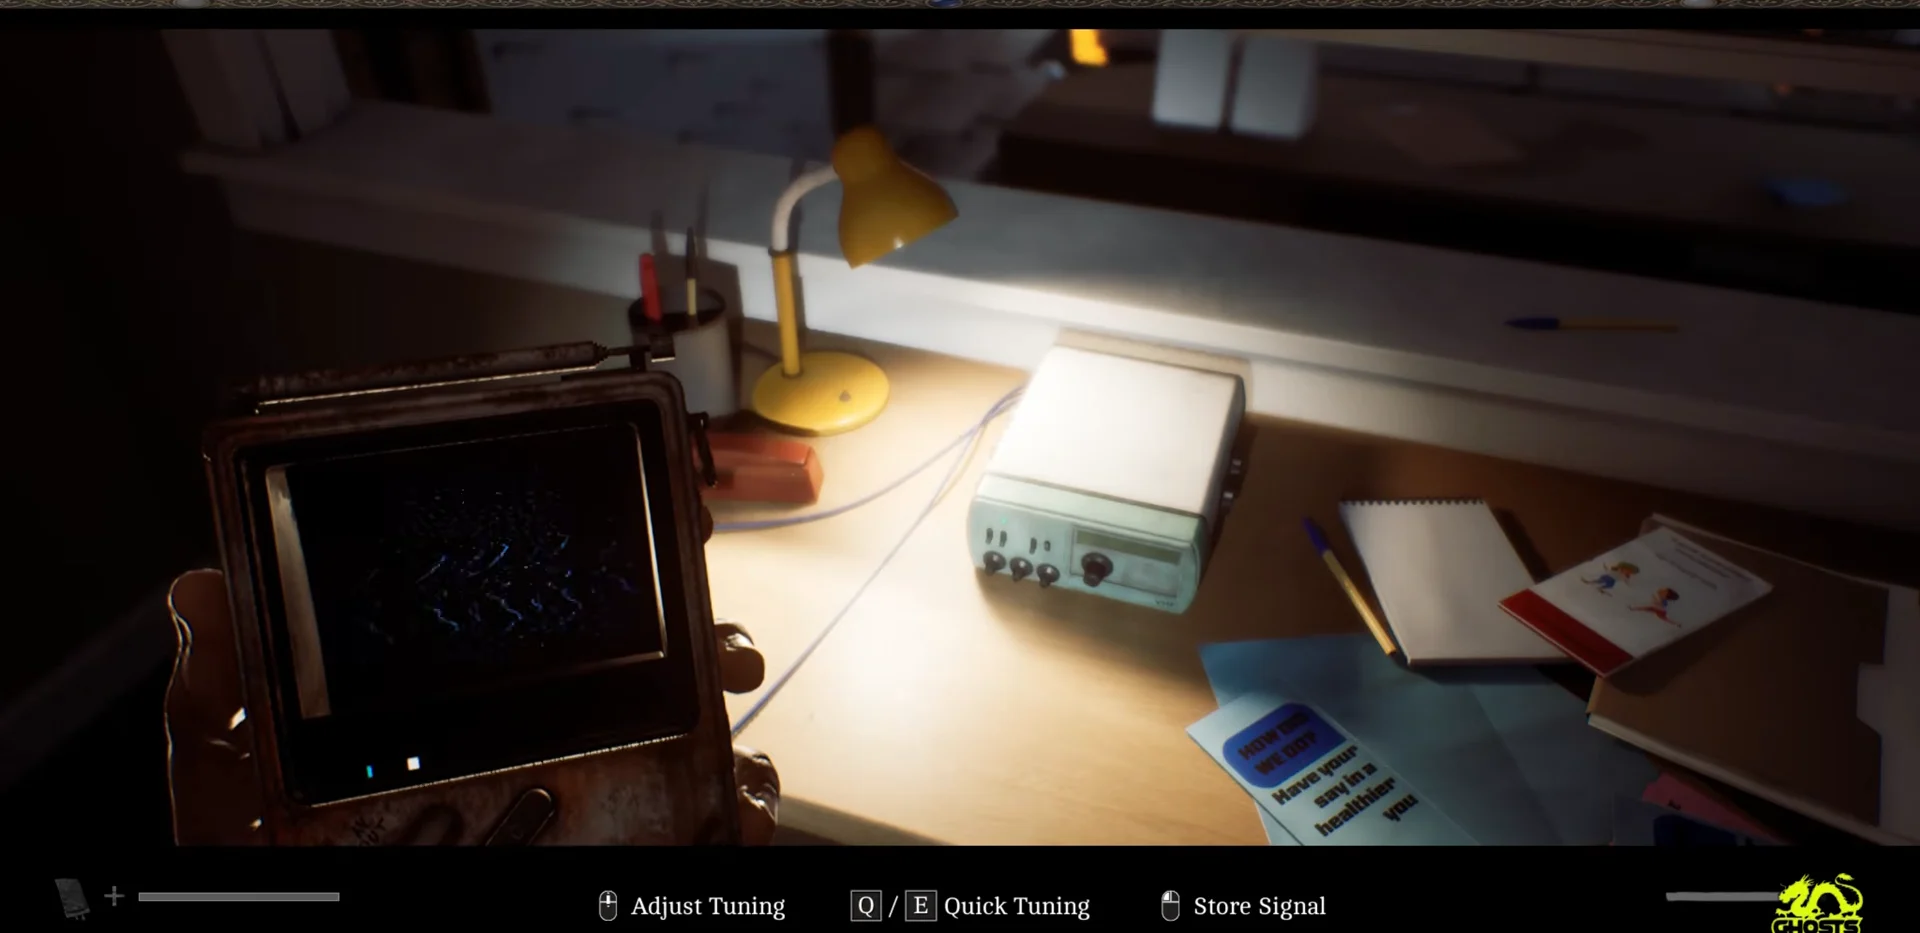
Pharmacy locker code: 6539 and the four posters behind it
Each poster in the broadcast hides a single digit, and the order the CRTV shows them in is the order you dial. The numbers are easy to misread, which is where most people lose time.
| Order | Poster | Where it hangs | Digit |
|---|---|---|---|
| 1 | Hand-washing poster | Bathroom | 6 |
| 2 | Prescription Drugs and You | Wall, main room | 5 |
| 3 | St Amelia Pharmacy consultation poster | Main room | 3 |
| 4 | Taking Antibiotics | Main room | 9 |
The hand-washing poster reads “Washing my hands helps protect me and you,” and the illustrated hands show six fingers between them. The prescription poster prints a large 5 for its “5 Steps for Safer Medicine” heading. The consultation poster carries a blood pressure gauge with the dial resting on 3. The antibiotics poster shows a blister pack with nine tablets left in it.
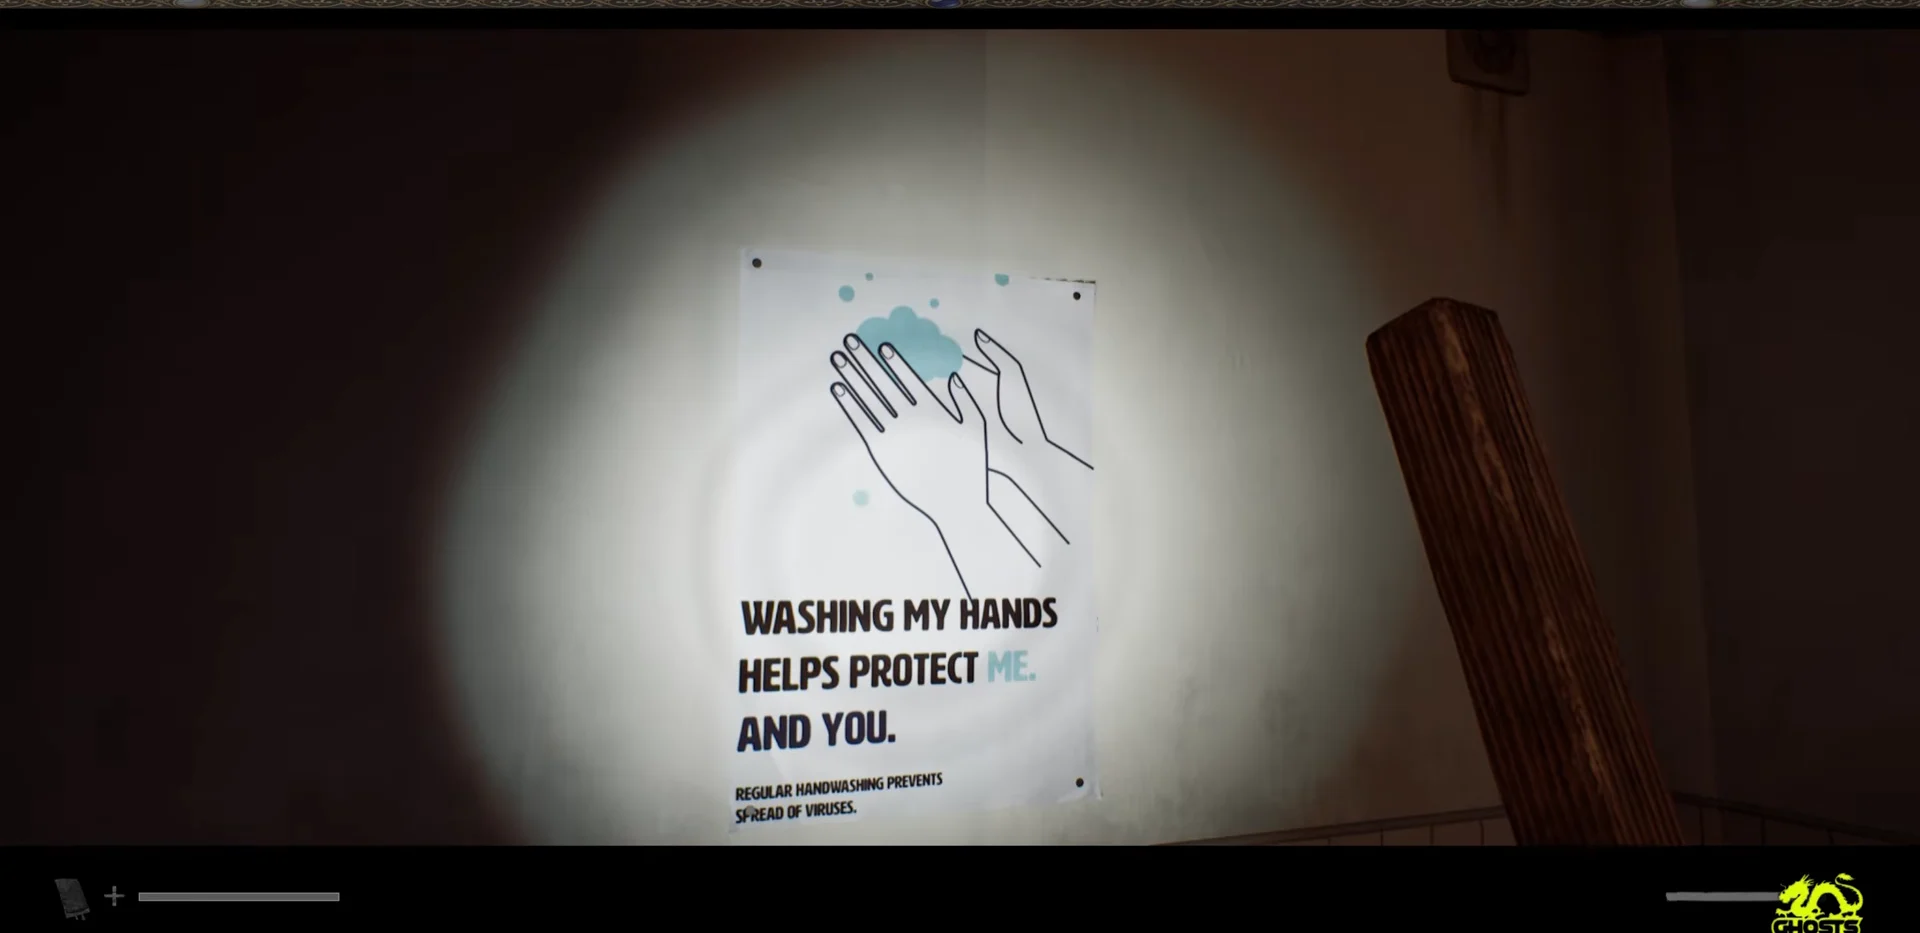
Put those together and the combination is 6539. Approach the rusty locker and rotate the dials to each digit in turn.
How to confirm it worked and what the note is for
With the correct combination entered, the locker door swings open and you pick up the Prescription Dosage Error Note, logged as a Key Item. The attached note concerns Mr. Stewart, flagging a dosage far above his previous one. If the locker refuses to respond at all, you have not tuned and stored the CRTV signal yet.
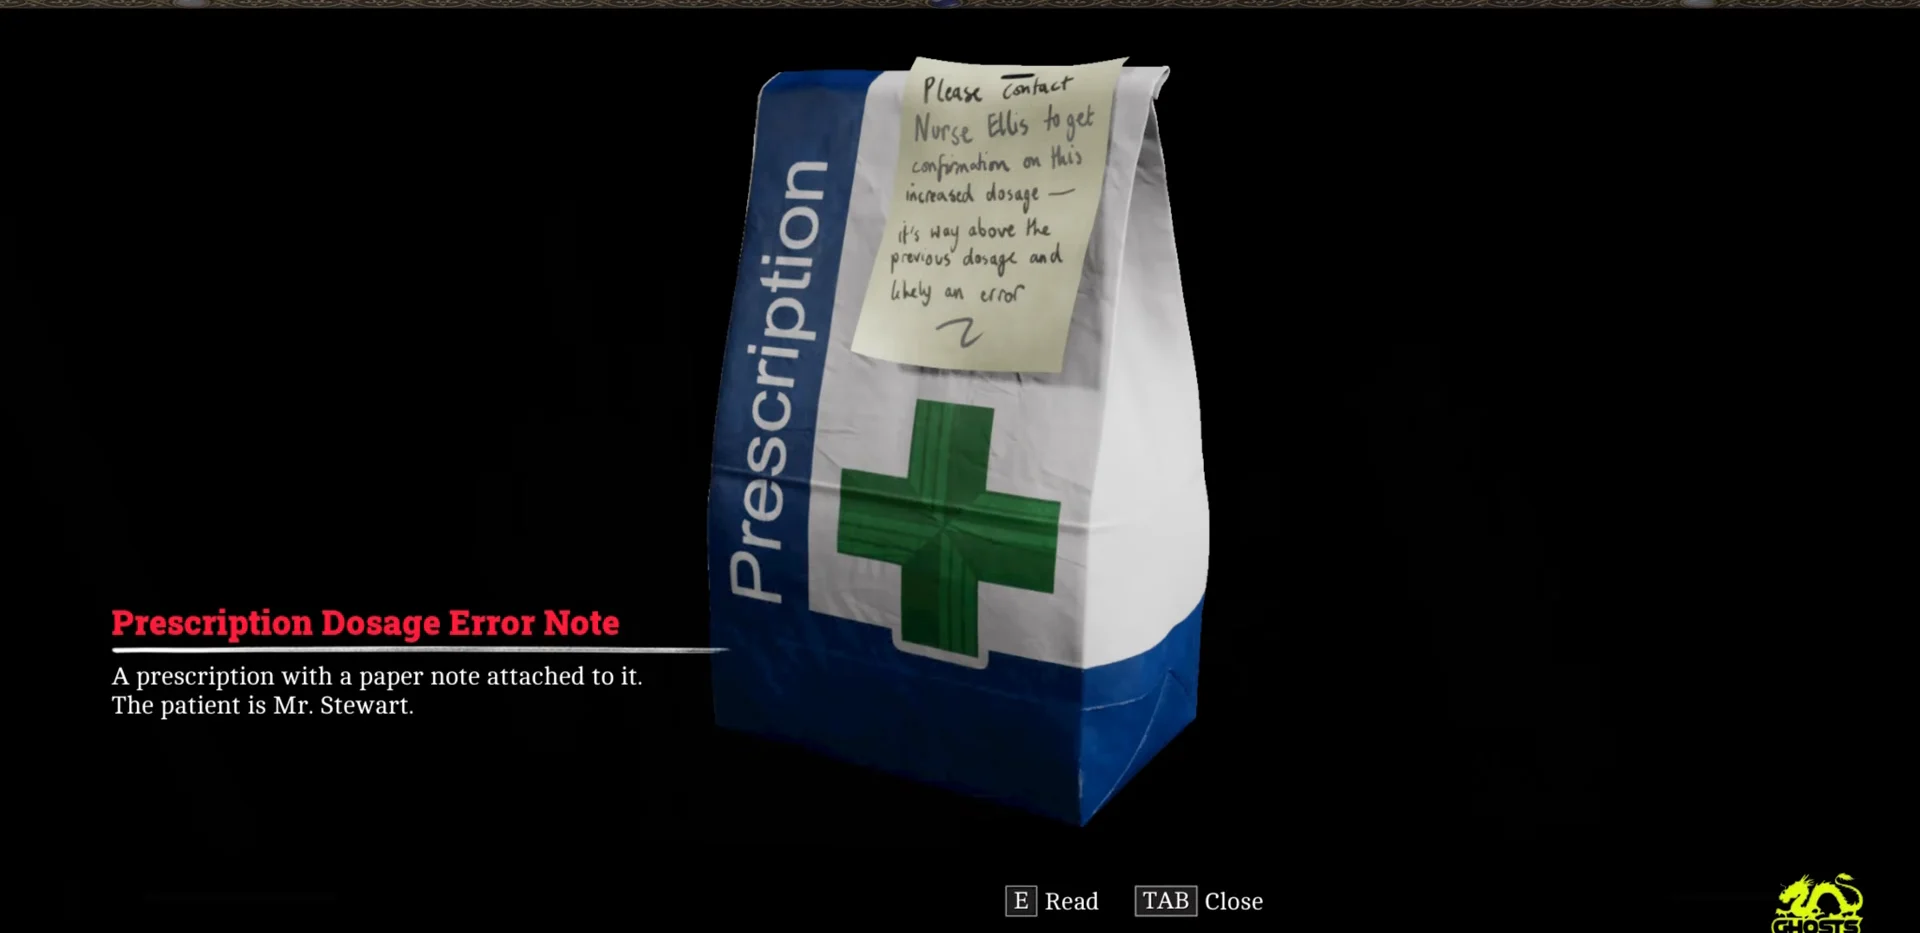
That note is one of three objects the scales in the Z Ellis room need. The other two are Zoe’s Lanyard, which you already hold, and the Broken Stethoscope from the bed in Jess’s House, reached with the 21 Farrow St. back door key from apartment 1/2 in the building opposite 14. Once all three are in hand, place the Broken Stethoscope on the left scale, the Prescription Dosage Error Note in the middle, and Zoe’s Lanyard on the right, and the story moves on from there.





