


In Slayers 2, Wen is the resource you burn through fastest. The same wallet pays for weapons, refinement, potions, shrine unlocks, and the 15,000 Wen horse tame, while quest rewards fall short before mid-game. V.12 improved the situation by increasing the value of the junk item that’s easiest to farm, making one merchant the quickest route to money.
Quick answer: Once the V.12 buff is active, take Coin Pouches to Ginzo at Mistfall Harbor; each sells for 1,000 Wen. His sell menu requires level 45 and completion of the jeweler box quest.
What the V.12 update changed for Wen
The V.12 patch, released on September 22, 2026, pushed the Coin Pouch sell price from 750 Wen to 1,000 Wen. That single line is what makes chest and boss farming the best income in the game right now, because pouches drop in bulk and have no crafting or quest use whatsoever. They exist to be sold.
Three other changes in the same patch feed the same loop. Ouwigahara hands out a free chest every 10 floors, tower points now convert at 1,000 Wen per 2,500 points, and the Tomioka Serenity discount applies to refinement and crafting for non-series items, which lowers what you spend on the other end.
| Server state | Per pouch | 100 pouches |
|---|---|---|
| Updated | 1,000 Wen | 100,000 Wen |
| Not yet updated | 750 Wen | 75,000 Wen |
Older servers still quote 750 Wen at the sell screen, so read the number before you confirm anything. A stack of 309 pouches on a current server pays out 309,000 Wen in one transaction; the same stack on a stale server costs you more than 77,000 Wen for nothing.
An old value means you should leave the server and rejoin a fresh one, then fast travel to the Mistfall Harbor shrine. Coin items do not expire, so there is no penalty for waiting.
Unlock Ginzo’s sell menu: level 45 and the jeweler box quest
A new character cannot sell even one coin to Ginzo. His trade option is locked behind two single-use requirements, and completing them permanently unlocks it for the account.
- You must reach level 45 before Ginzo will purchase anything.
- Finish the jeweler box quest assigned in Hidden Mist Village.
- Find Ginzo’s stall in Mistfall Harbor, a short walk from the shrine teleport.
- His dialogue confirms the deal with a lump sum, such as “309 piece(s) then. I will give you $309,000 for the lot.”
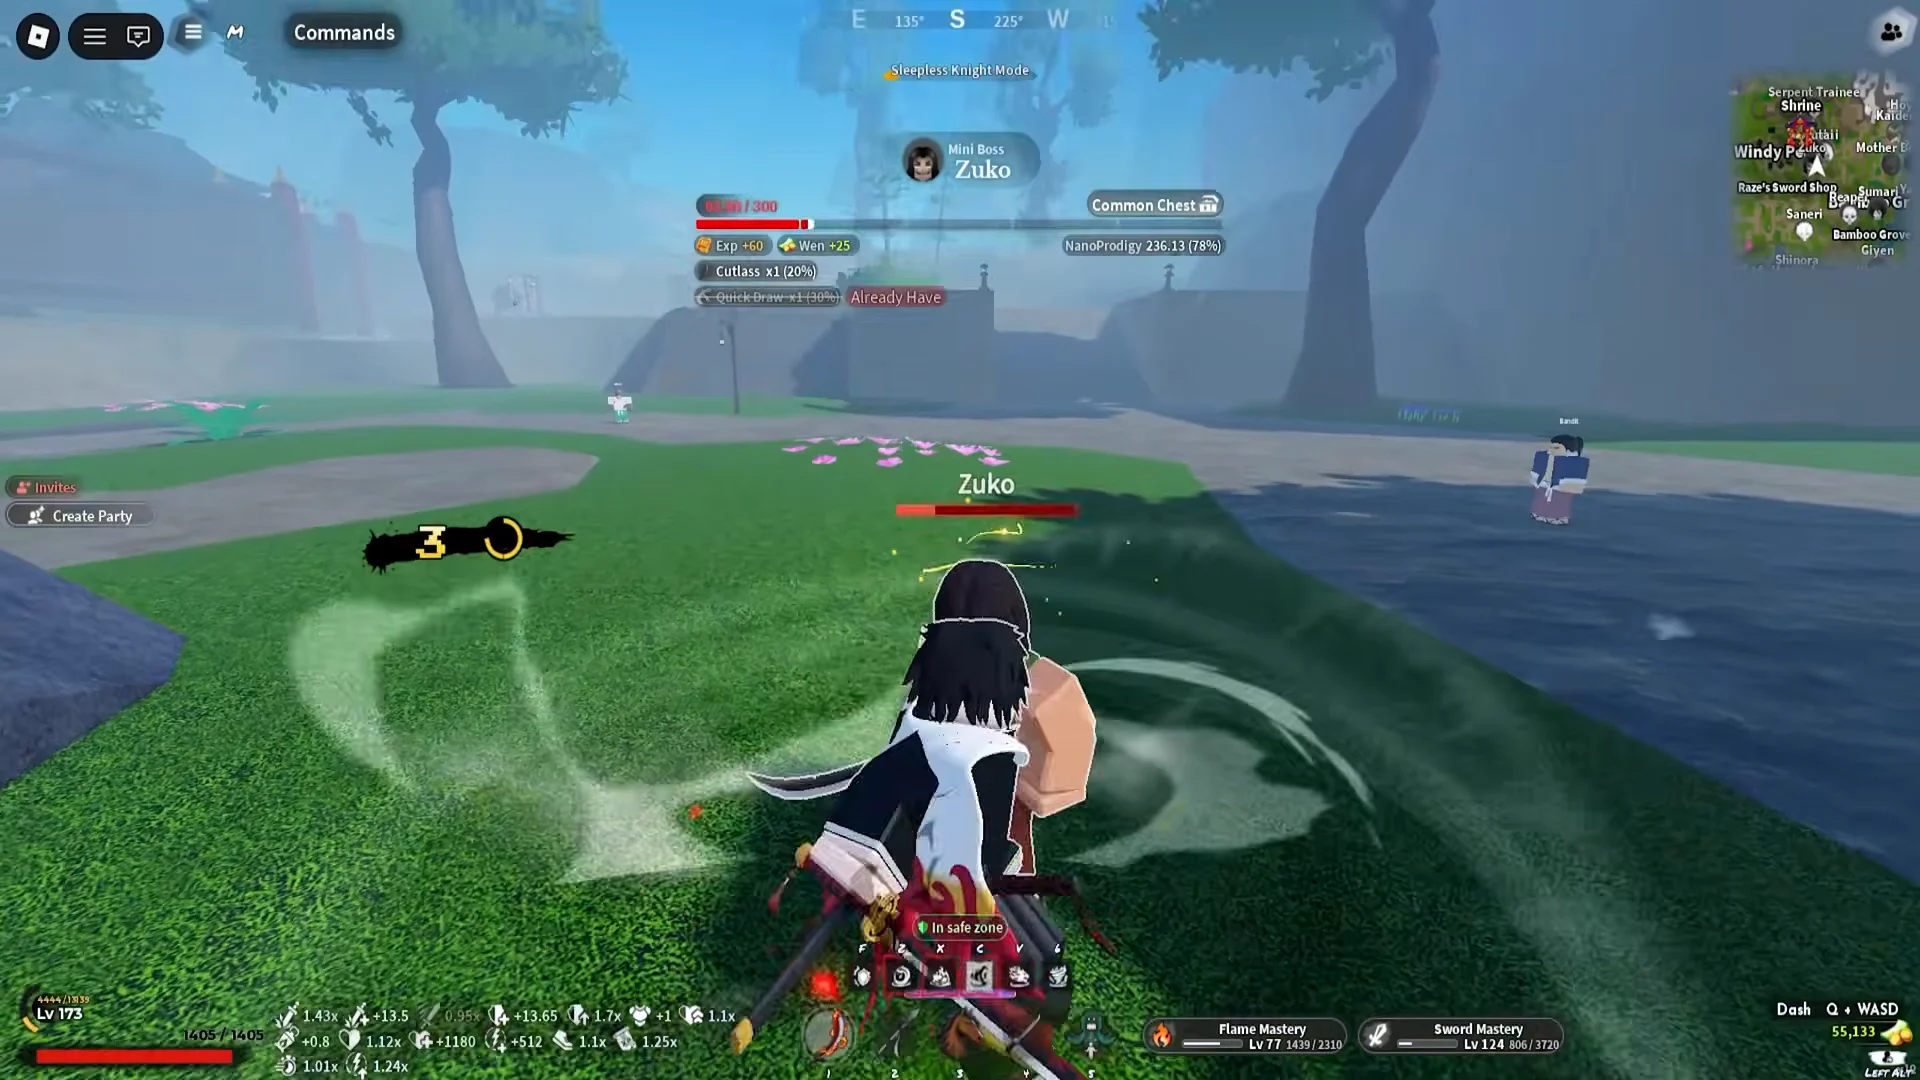
If you are still climbing toward 45, the early route runs through Krue’s beginner quests and bandit tasks up to level 7, then the Bandit Boss Zuko for his Cutlass drop, then world map quests across Bamboo Grove. You can hoard pouches the entire time, because nothing in the stack decays.
Coin items and where they drop
There are four coin items, and each exists only to be sold. Open the Archives menu and search for “coin” to see every container that can produce one.
| Item | Drops from |
|---|---|
| Coin | Sealed Cache T1, T2, T3 |
| Coin Stack | Sealed Cache T1, T2, T3 |
| Coin Pile | Sealed Cache T2, T3, Snow Chest |
| Coin Pouch | Sealed Cache T3, Snow Chest, Ouwigahara Chest |
Only the Coin Pouch is worth planning a route around. Still grab the lower coin items when you see them, since they go into the same sale, but Tier 3 containers, Ouwigahara Chests, and boss drops are where the money actually is.
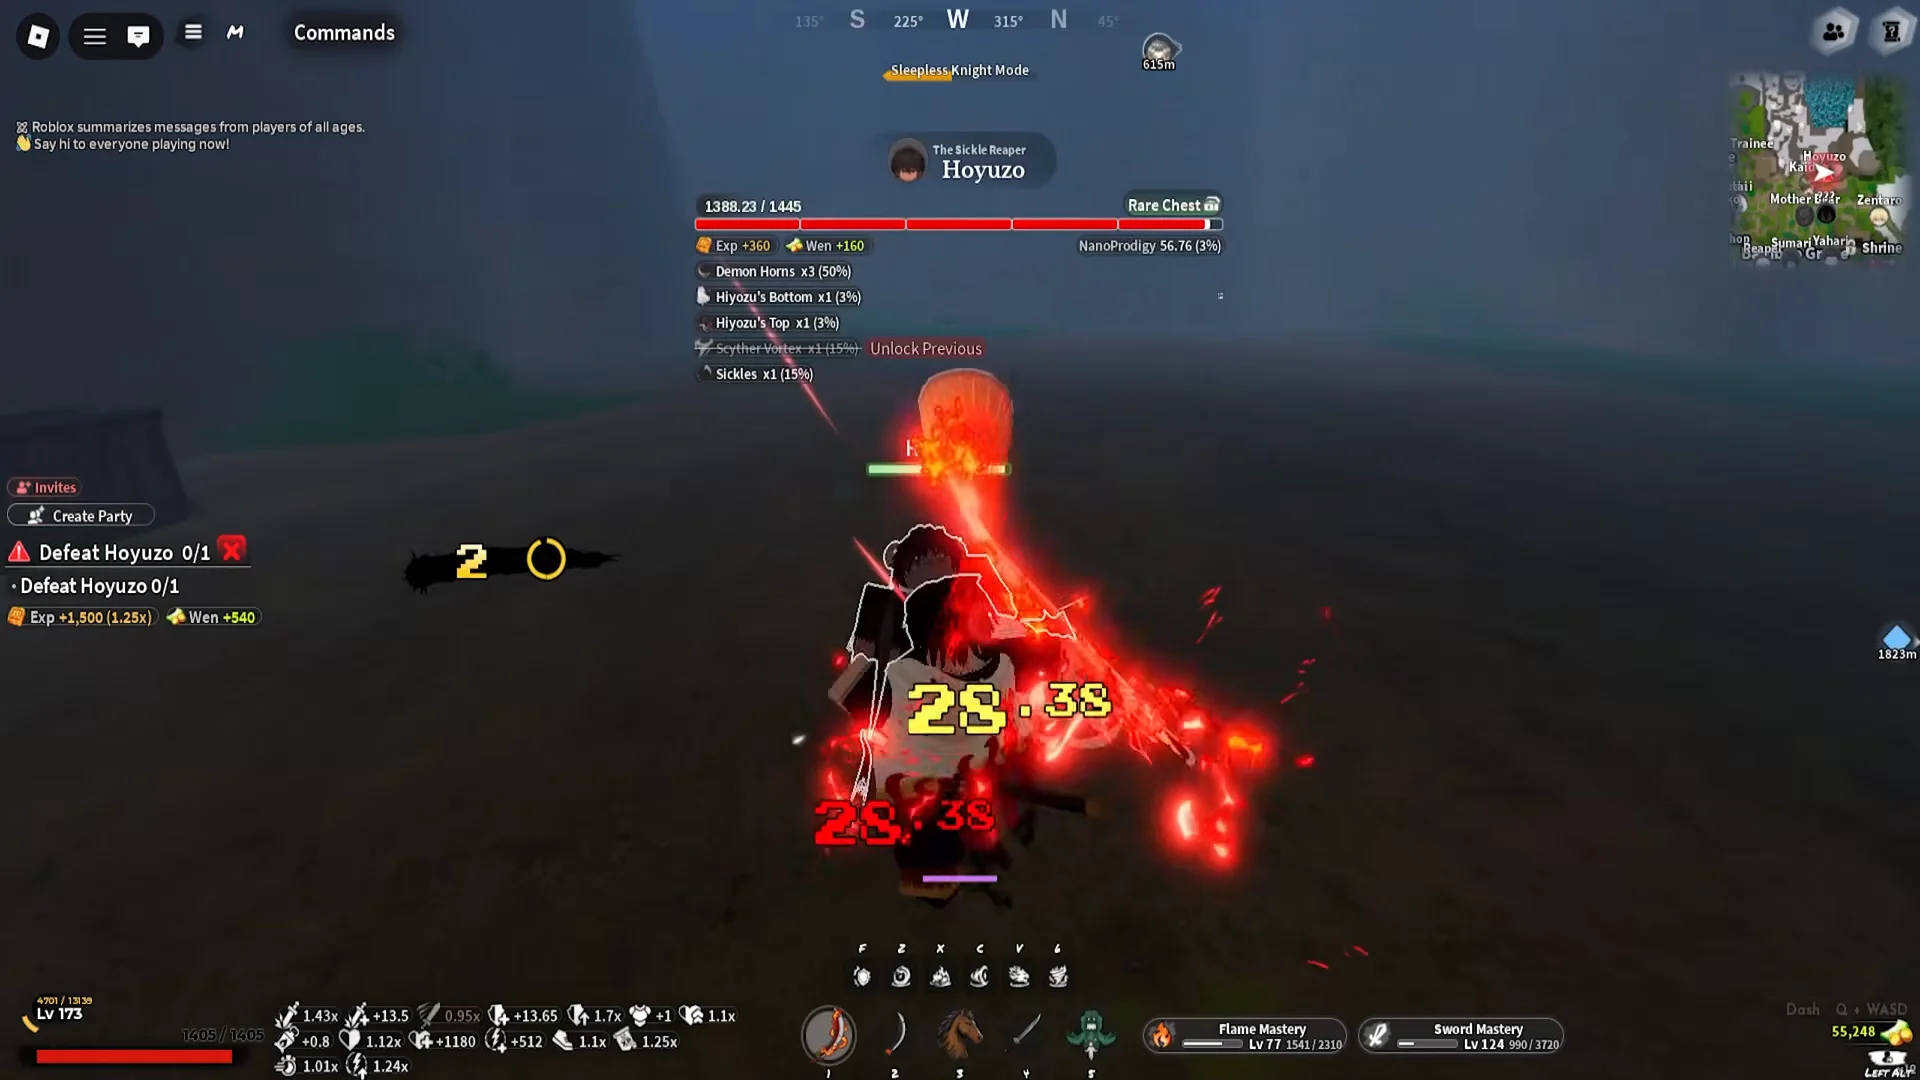
Every boss kill leaves a World Events Chest holding three guaranteed Coin Pouches. The drop cannot fail, so each boss is worth 3,000 Wen in pouches before any quest reward lands on top. Floor drops such as Health Potions, Metal Scraps, Refinement Ore, and Silk Thread appear alongside the chest, and they all sell in the same visit to Ginzo.
Bamboo Grove boss rotations for Coin Pouches
The densest cluster of farmable bosses sits in Bamboo Grove, and the roster changes between morning and evening. Set your spawn point near the Mother Bear area first, because the whole loop depends on resetting your character to snap back to that point instead of running the map twice. Grinding these rotations lands somewhere in the range of 200,000 to 300,000 Wen per hour, or roughly 5,000 Wen per boss once quest payments are included.
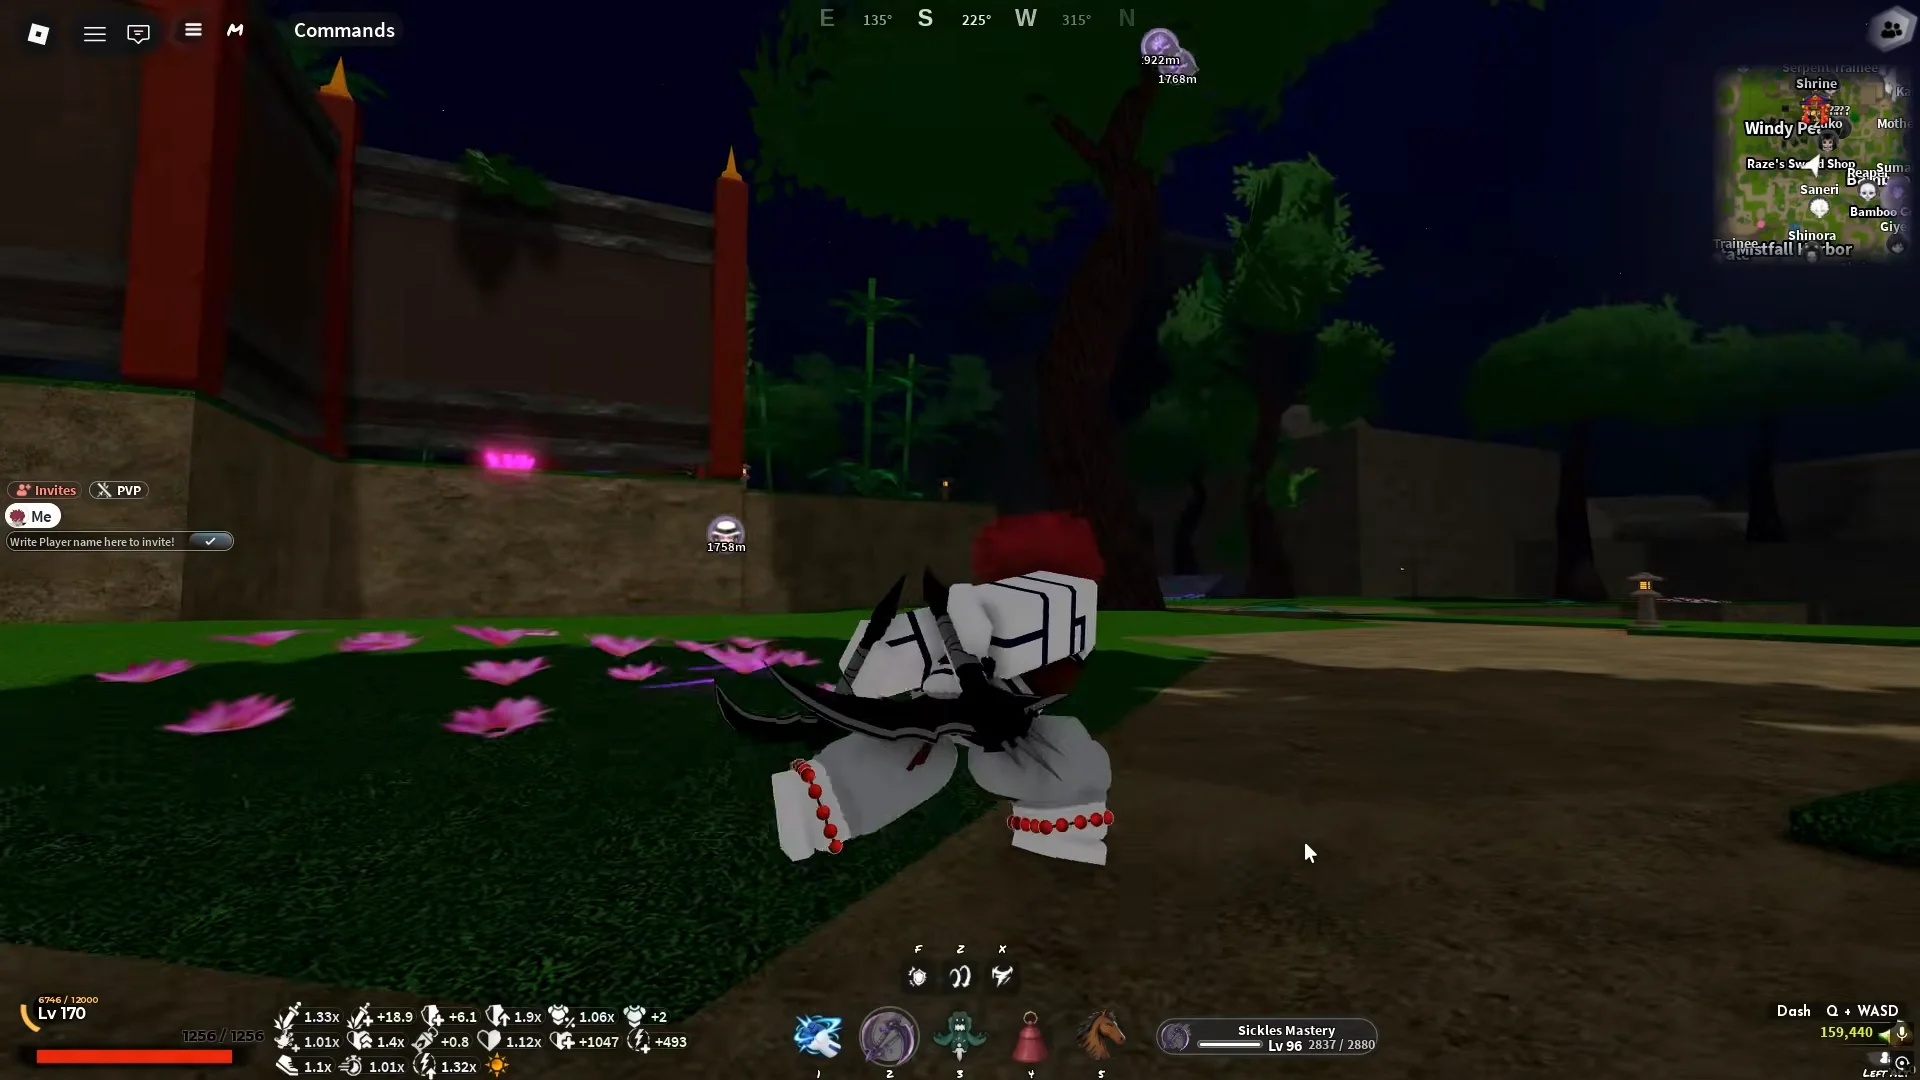
Morning rotation: Saneri, Shinora, Obari, Giyen
Evening rotation: Sumari, Yahari, Reaper, Gyutai, Datai
Stack boss quests before you start killing
Quest payments stack on top of the chest loot, which is why the order matters. Take the contract first, kill second. The morning roster is mostly Slayers, so Demons take those quests through the bell; the evening roster is mostly Demons, so Slayers take those through the crow.
Muzan elimination contracts for Demons
Use the Biwa bell on the golden teleport pad to reach Muzan’s Lair and pick up elimination contracts before you drop back into Bamboo Grove. His board lists targets including Eliminate Rengu, Eliminate Tengai, Eliminate Obari, and Eliminate Giyen. A Wind Hashira contract pays roughly 1,890 Wen plus 4,200 XP on completion.
Kasugai Crow tasks for Slayers
Slayers queue the equivalent jobs from the Kasugai Crow menu. Grab all of them before the rotation starts so a single kill closes a quest and drops a chest at the same time.
- Defeat Enru
- Defeat Nezura
- Defeat Akazo
- Defeat Datai
- Defeat Gyutai
Private servers let you fight bosses without competition and provide clean respawn timing. After level 125, however, public servers give higher crow quest values. Choose the option that removes your current bottleneck.
Raid chest circuit from Bamboo Grove to Iceveil Valley
Raid chests appear across the open world as glowing red containers in three tiers, and the higher tiers sit in the more dangerous regions. Travel is the real cost of this farm, so run the route as a circle and the earliest chests will have respawned by the time you close the loop.
| Tier | Regions | Nearby landmarks |
|---|---|---|
| Tier 1 | Bamboo Grove | Bamboo Grove Town, Mother Bear |
| Tier 2 | Mistfall Harbor, Butterfly Estate, Forgotten Ruins | Shinora and Rengoku zones, Waterfall Valley |
| Tier 3 | Snow region, Iceveil Valley | Snow Chests, Ouwigahara Chests, Windy Pass |
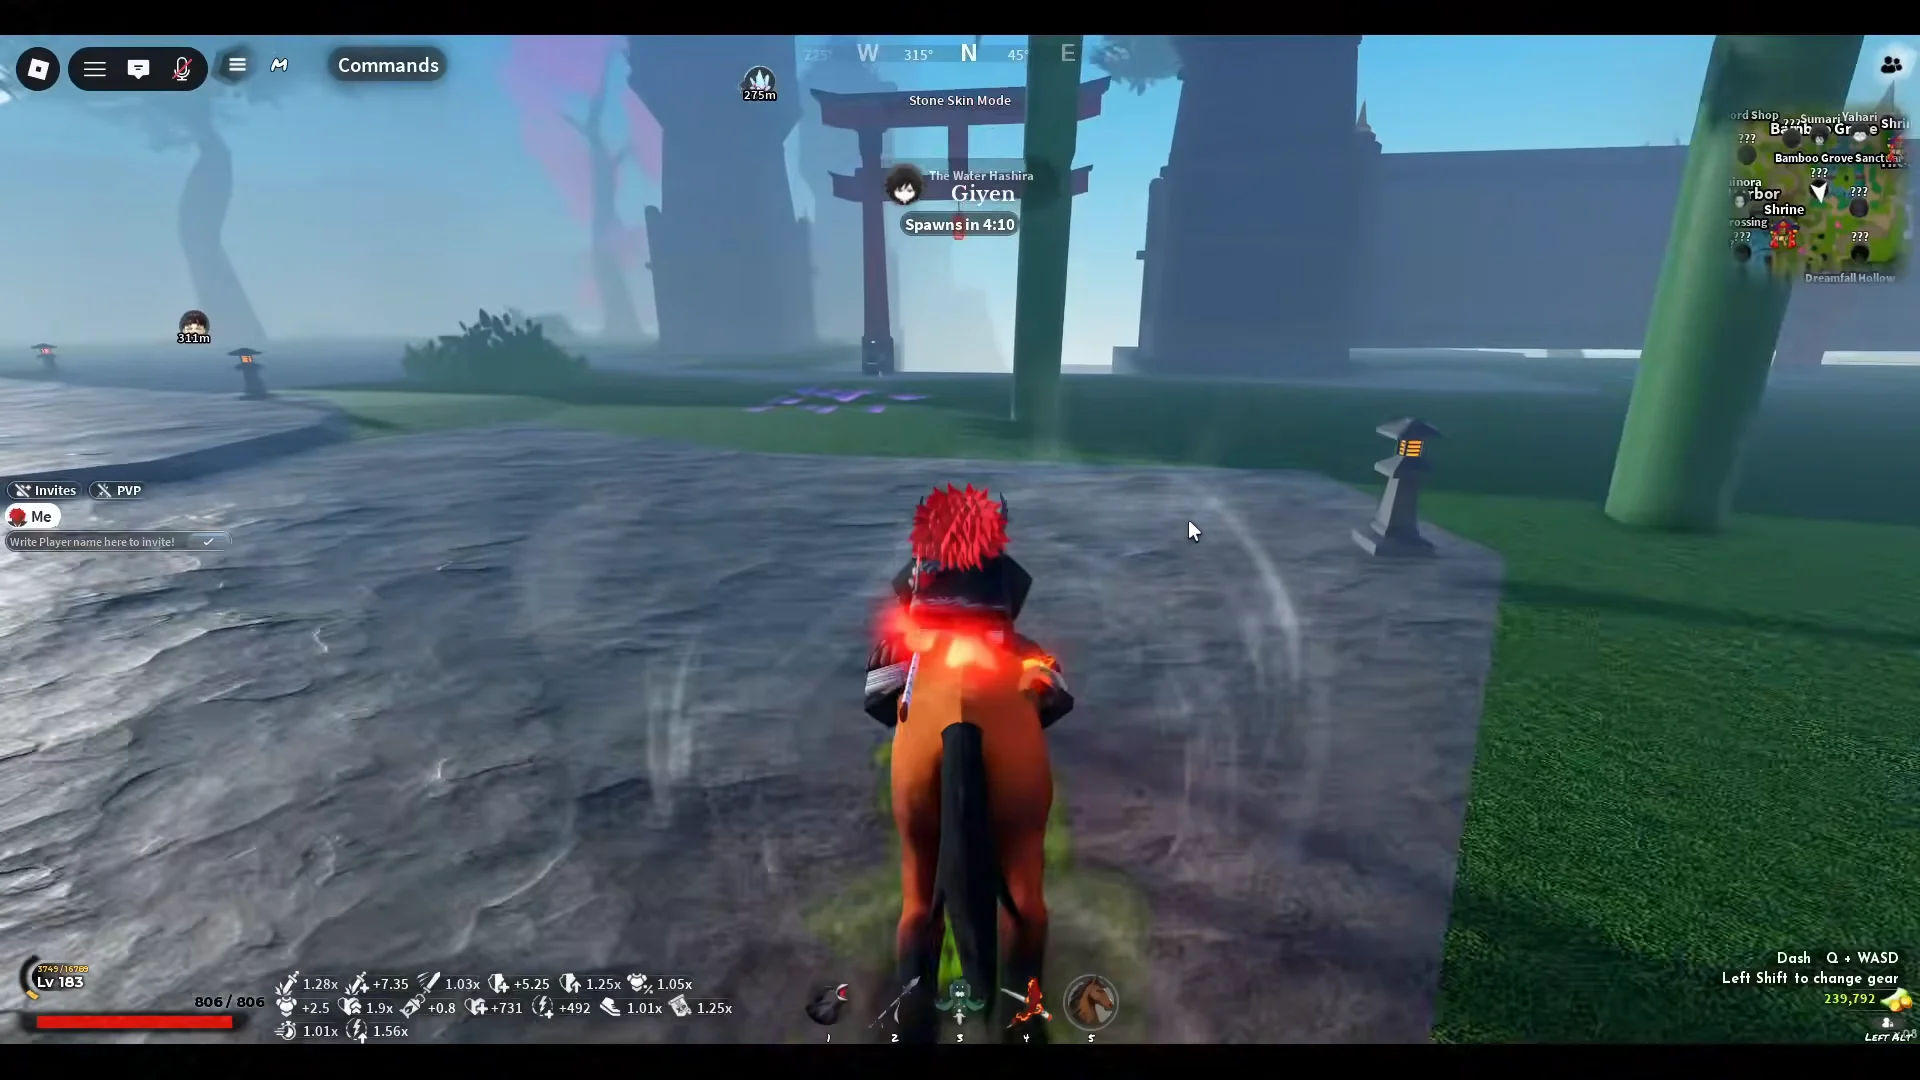
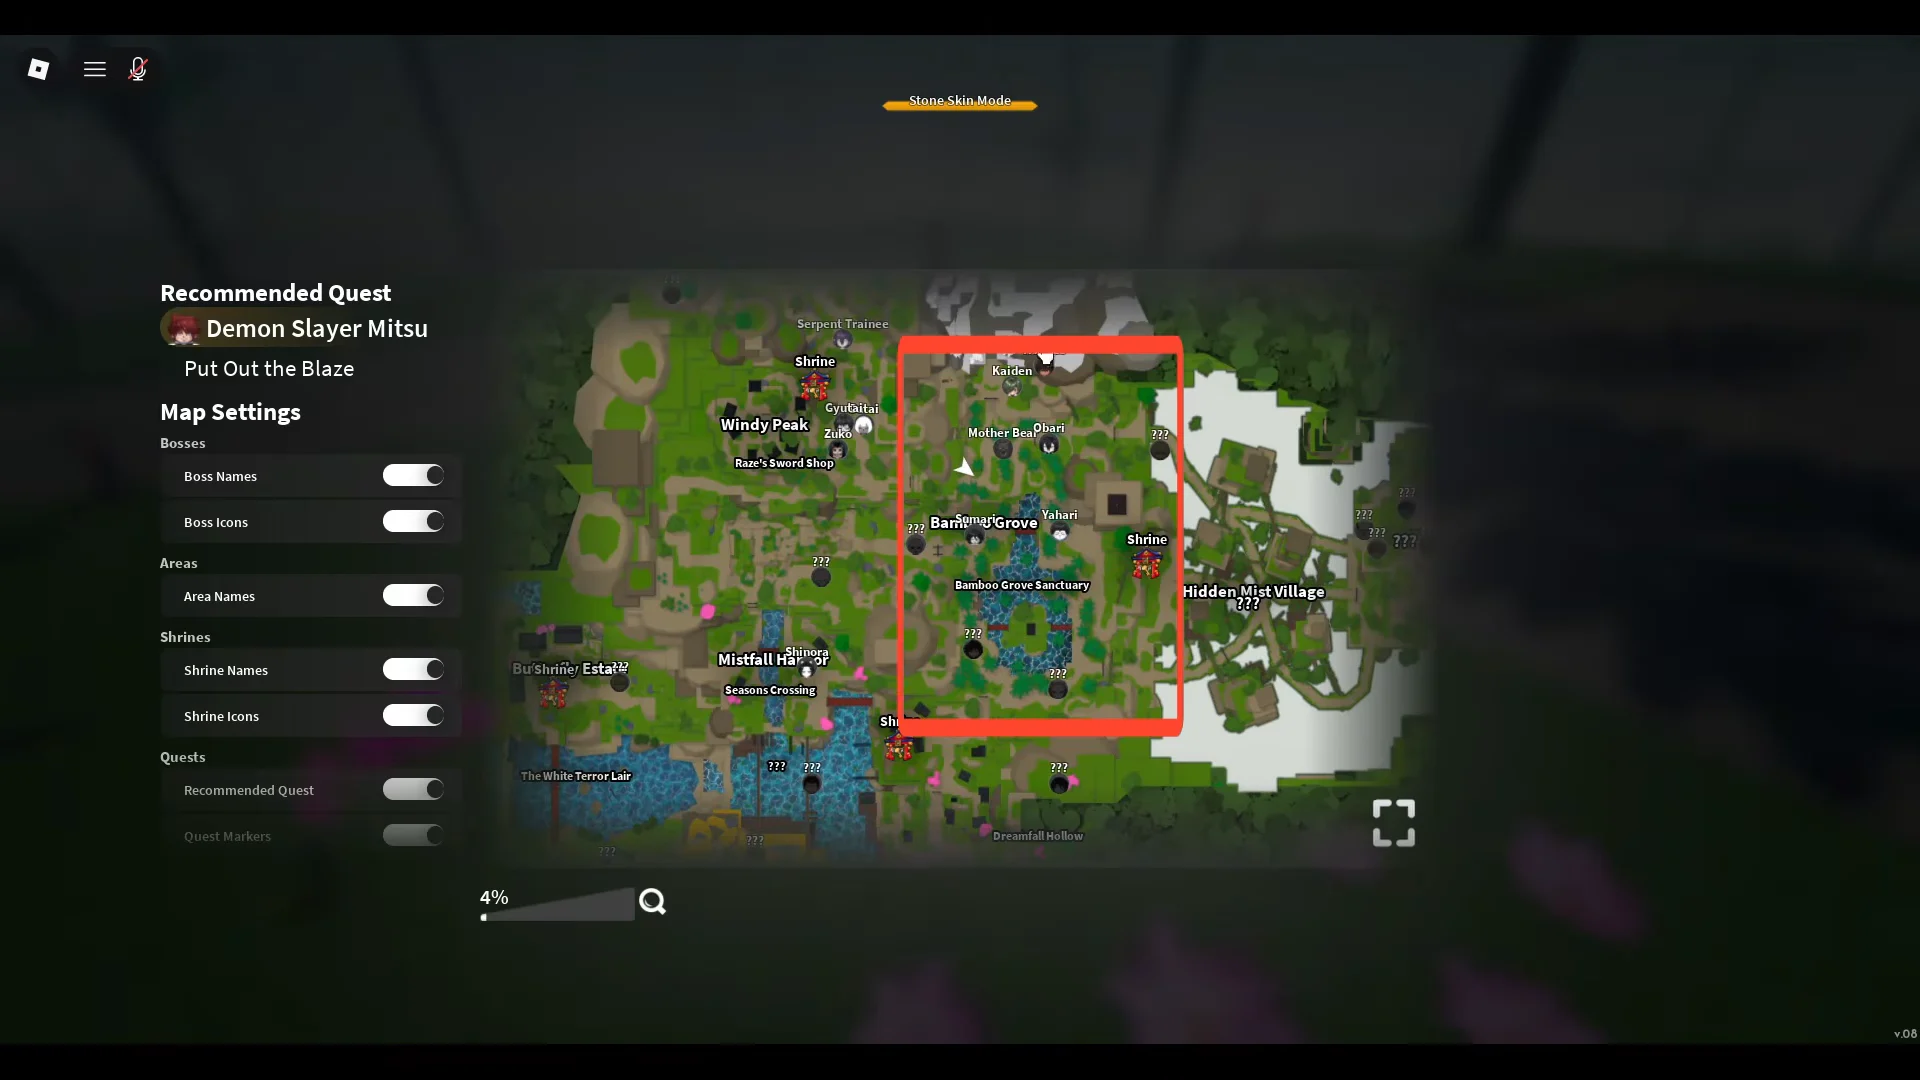
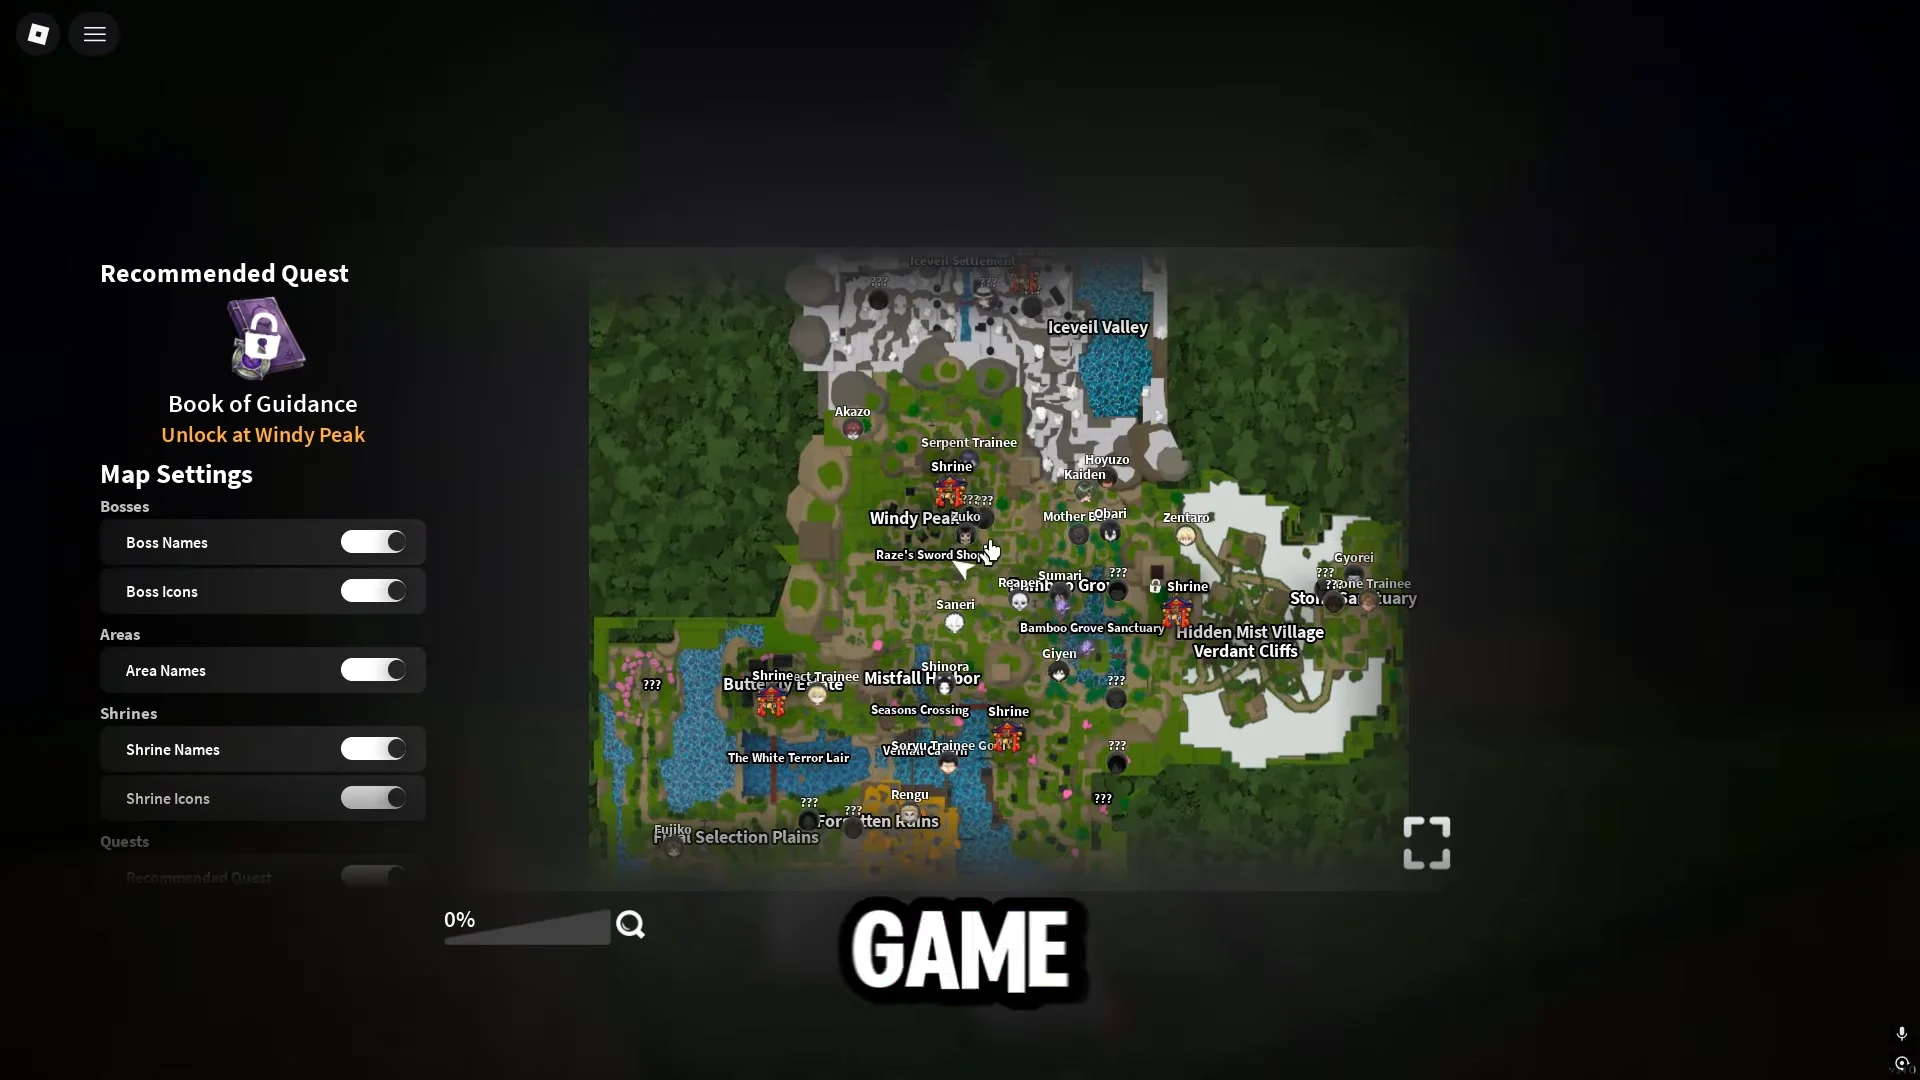
Remove Iceveil Valley if its snow enemies keep defeating you. You can repeatedly run the shorter Bamboo Grove-to-Butterfly Estate route without dying, and Hoyuzo is directly along it, inside the cave beneath Mother Bear behind the waterfall.
Ouwigahara dungeon runs and the tower point exchange
Dungeons provide two ways to build the same sale pile. Victory chests can contain coins and Coin Pouches, while tower points earned during the climb can be exchanged for Wen at another vendor. The portal must be unlocked before using this method.
Solo play lets you choose every card and retain all bonuses from the run. When grouped, specifically seek cards that share points; otherwise your payout can be lower than a solo result.
What does not increase your Wen
Buying the 2x Wen gamepass for 240 Robux will not improve this farm. Since merchants use a fixed price for each item instead of treating it as an earned reward, Ginzo pays the same total with or without the pass. Purchasing the multiplier also leaves chest-run earnings unchanged.
Arena PvP is the other dead end for pure income. Ranked matches do pay large EXP, Wen, and mastery rewards at the end, but once you add travel and fight length, the hourly return falls below a clean boss rotation.
Confirming the sale went through
Before leaving the stall, verify the totals. Ginzo names the combined amount in his dialogue; press the “Deal!” button to approve it, and his closing line confirms the promised sum. The sold items then vanish from the sell menu, the Coin Pouch count becomes zero, and your balance increases by 1,000 Wen for every pouch along with the value of the other items included in that transaction.
A missing trade option or pouches remaining in your inventory has only two explanations: your level is under 45, or you have not completed the jeweler box quest. No other issue prevents the sale.
After you know the route, the totals remain consistent. Complete a boss rotation, collect the chest tiers while heading out, add a dungeon clear, and sell everything during one trip to Mistfall Harbor. Turn in large batches, use quest rewards as extra income rather than your main source, and check the sell-screen price before you confirm.





